Halloween is coming up fast!
Hey Guys,
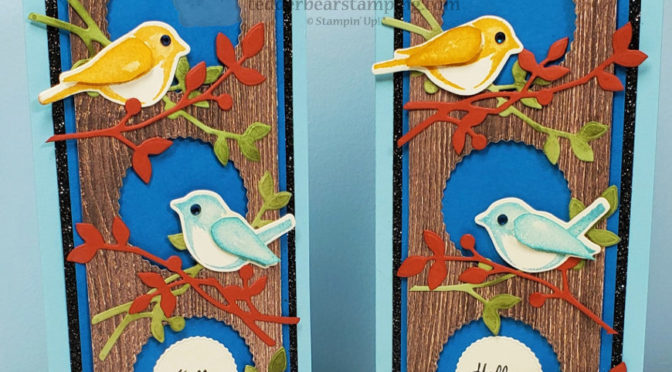
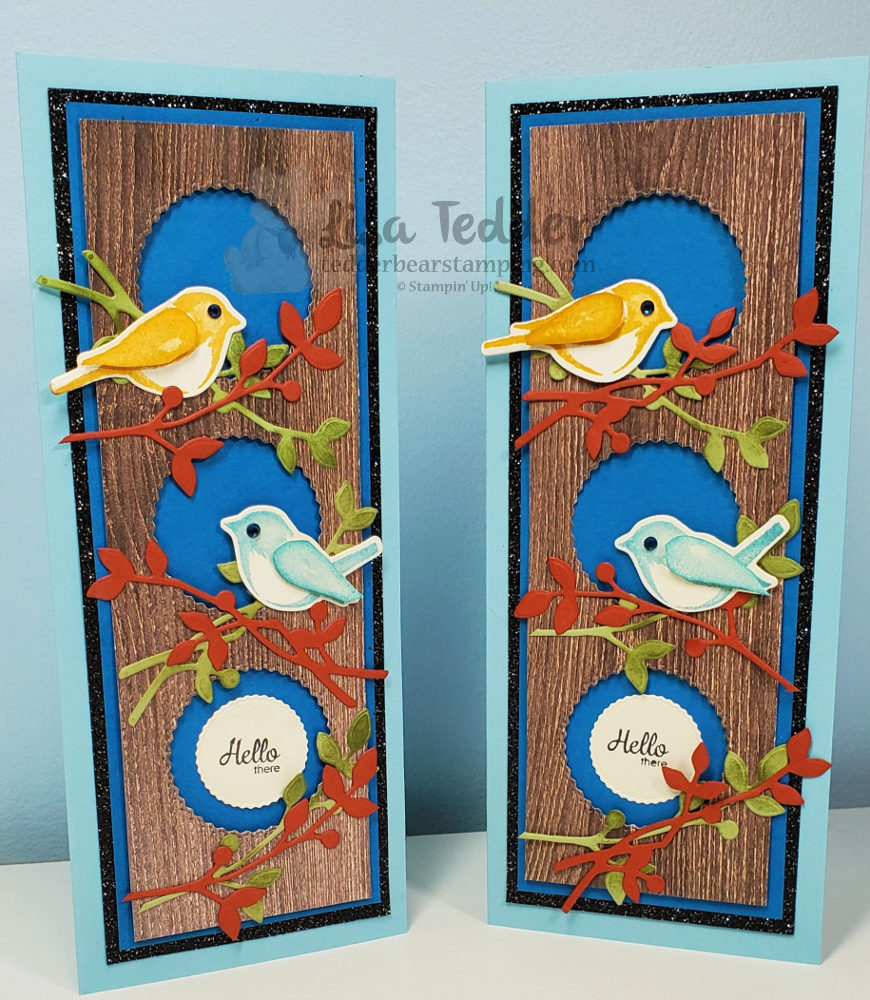
Halloween is coming up fast, Let’s get scary or NOT! Basically, I LOVE Halloween, especially when I am scrapbooking! As you know, Halloween comes up every year and when your kids are young you take a lot of pictures when they go out to Trick or Treat. Therefore, you have all the pictures to put in a scrapbook every year, and I think that each page for every year needs to be different. Hence, the reason why I love Halloween, I have to get really creative with my pages. Subsequently, I felt the need to be creative with my cards that I made for my YouTube video today! Hopefully you will love them as much as I do!
As can be seen, I always list the supplies/dimensions below. Overall, I want it to be easy for you to figure out how I made what you see. Consequently, below you will see all the supplies in written form but also below my signature you will see them in picture from, click on any of the pictures and you will be taken to my OnLine Store! Without a doubt, I would LOVE to be your Stampin’ Up! Demonstrator if you live in the United States! Not only will you get my undivided attention, but you will also get from qualifying orders ($35 or more) a pdf that has 16 projects with pictures and step by step instructions!
Supplies:
Stamps:
- Cutest Halloween
Inks:
- Memento Black
- Smoky Slate
- Black Marker
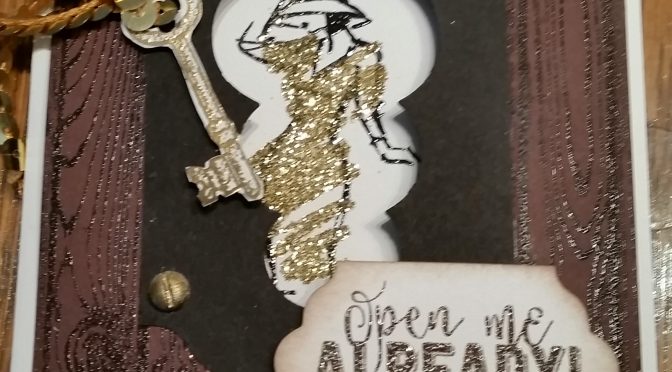
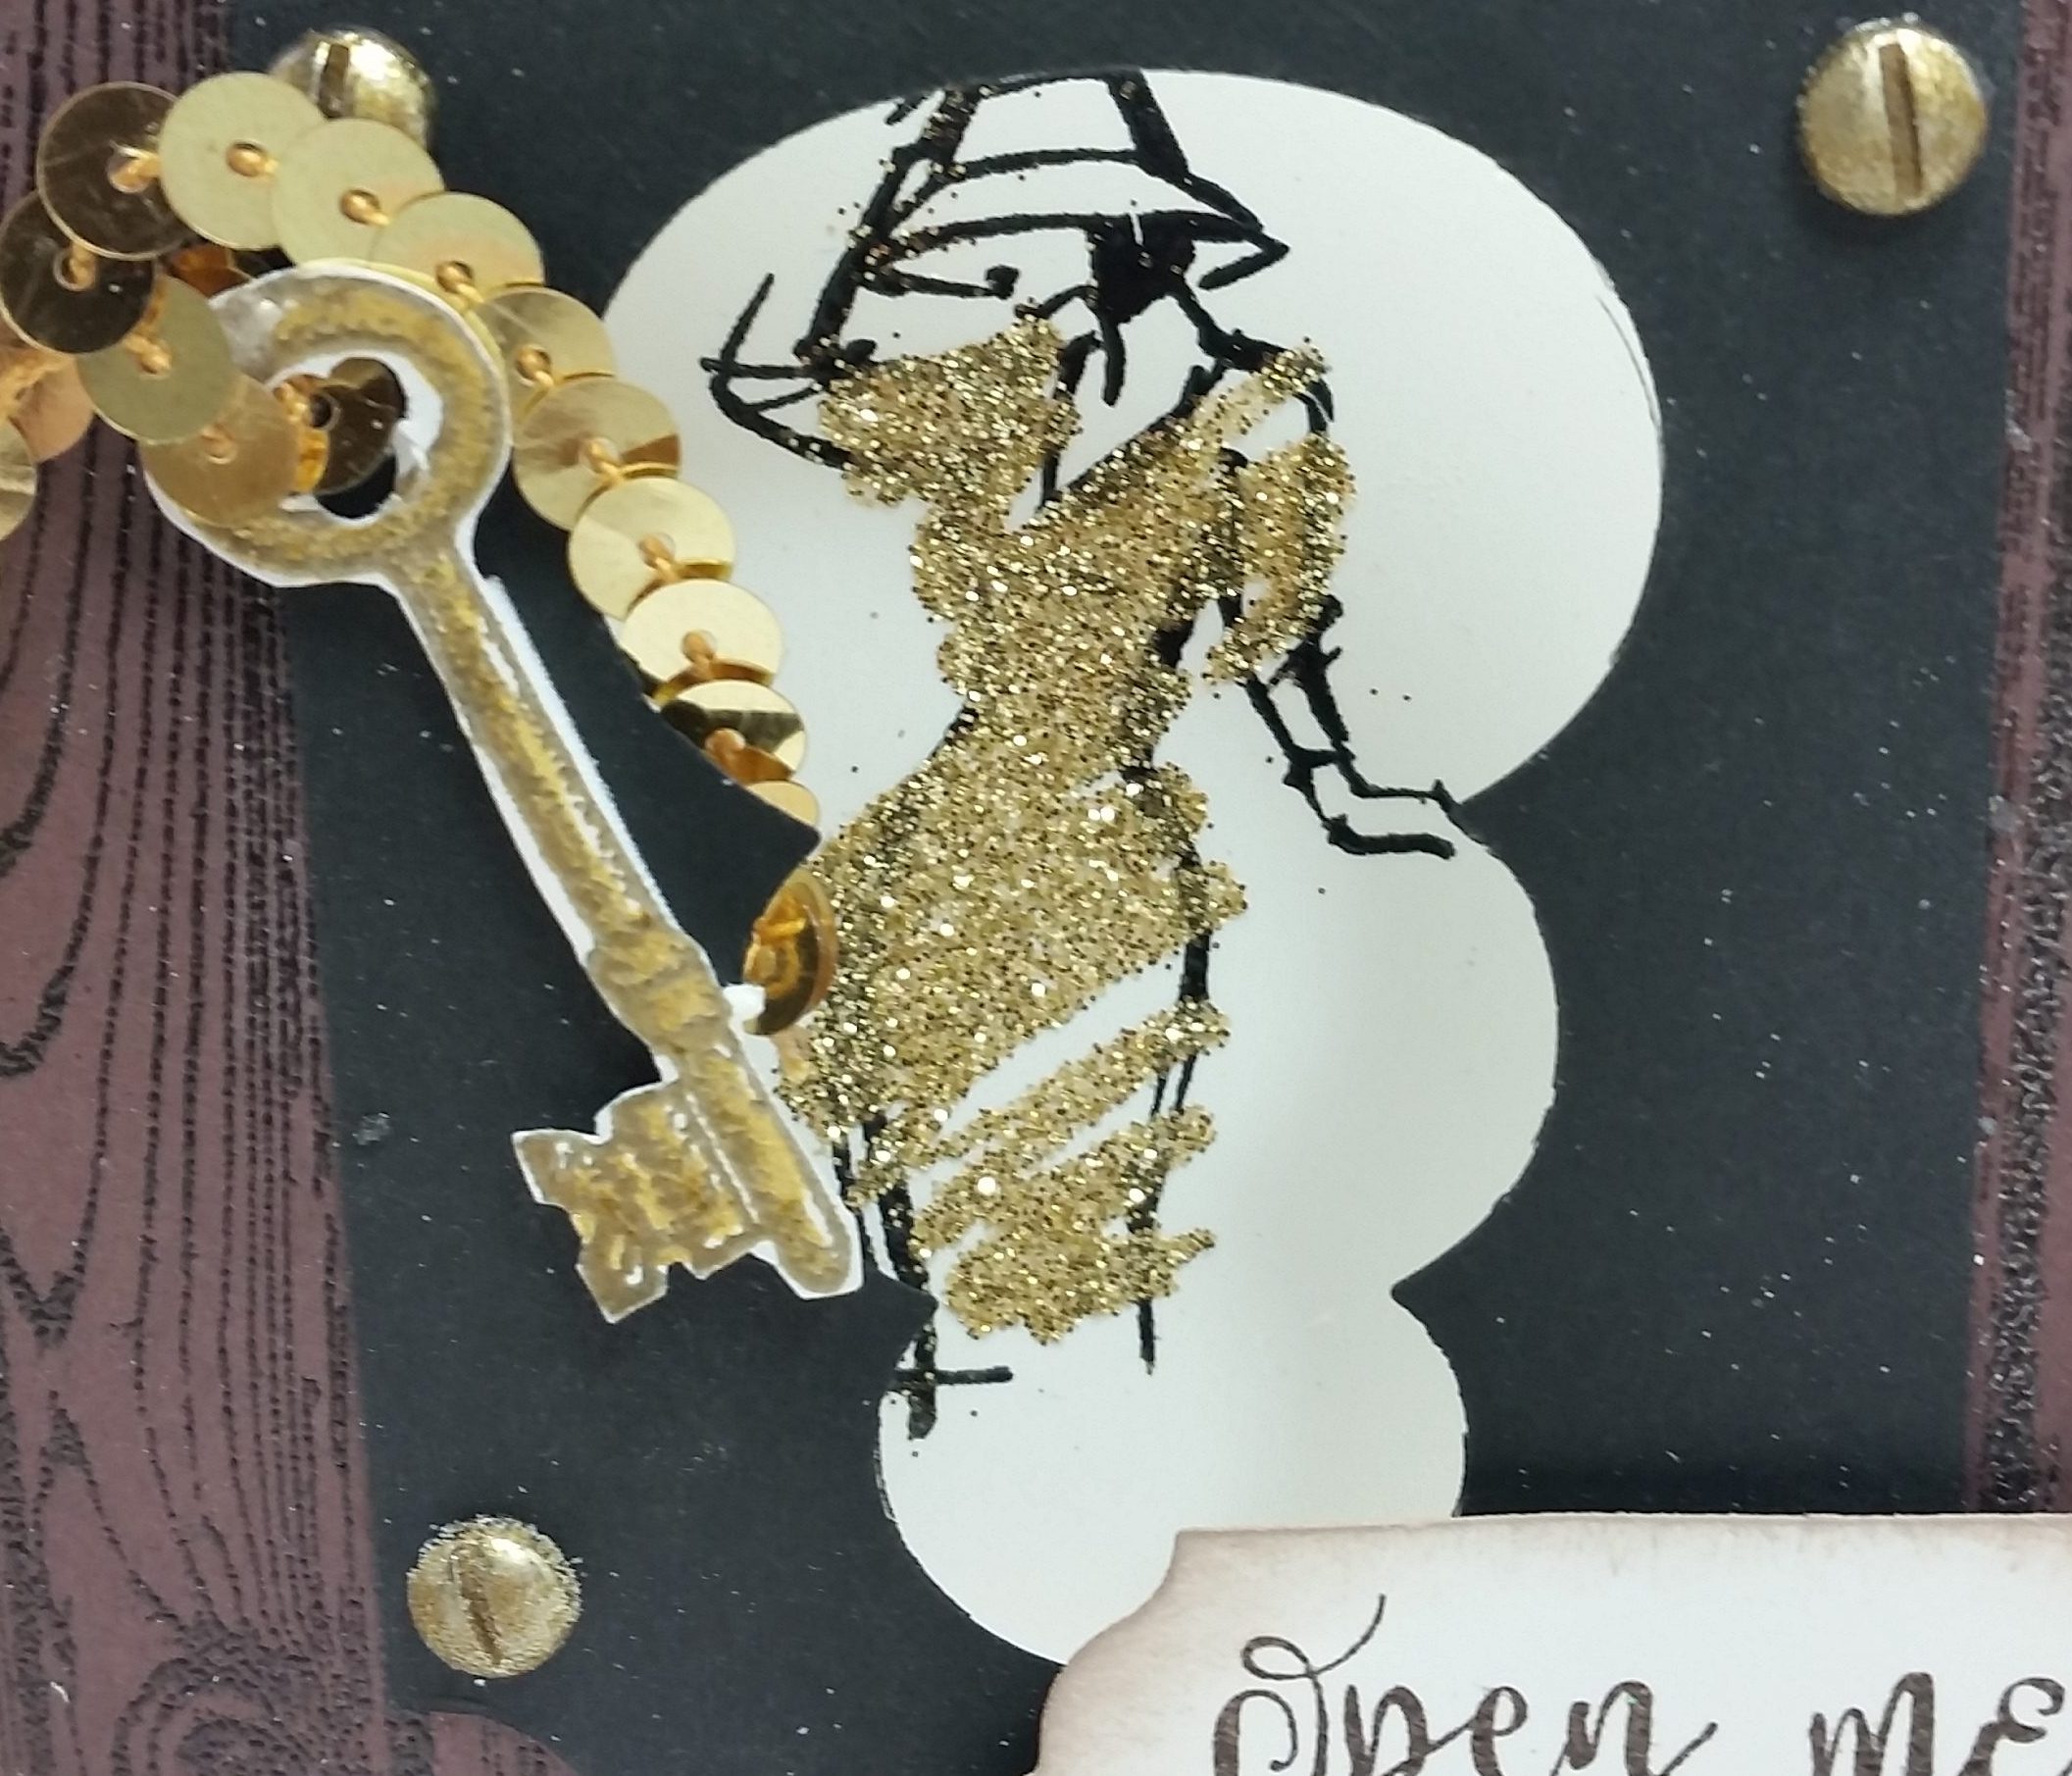
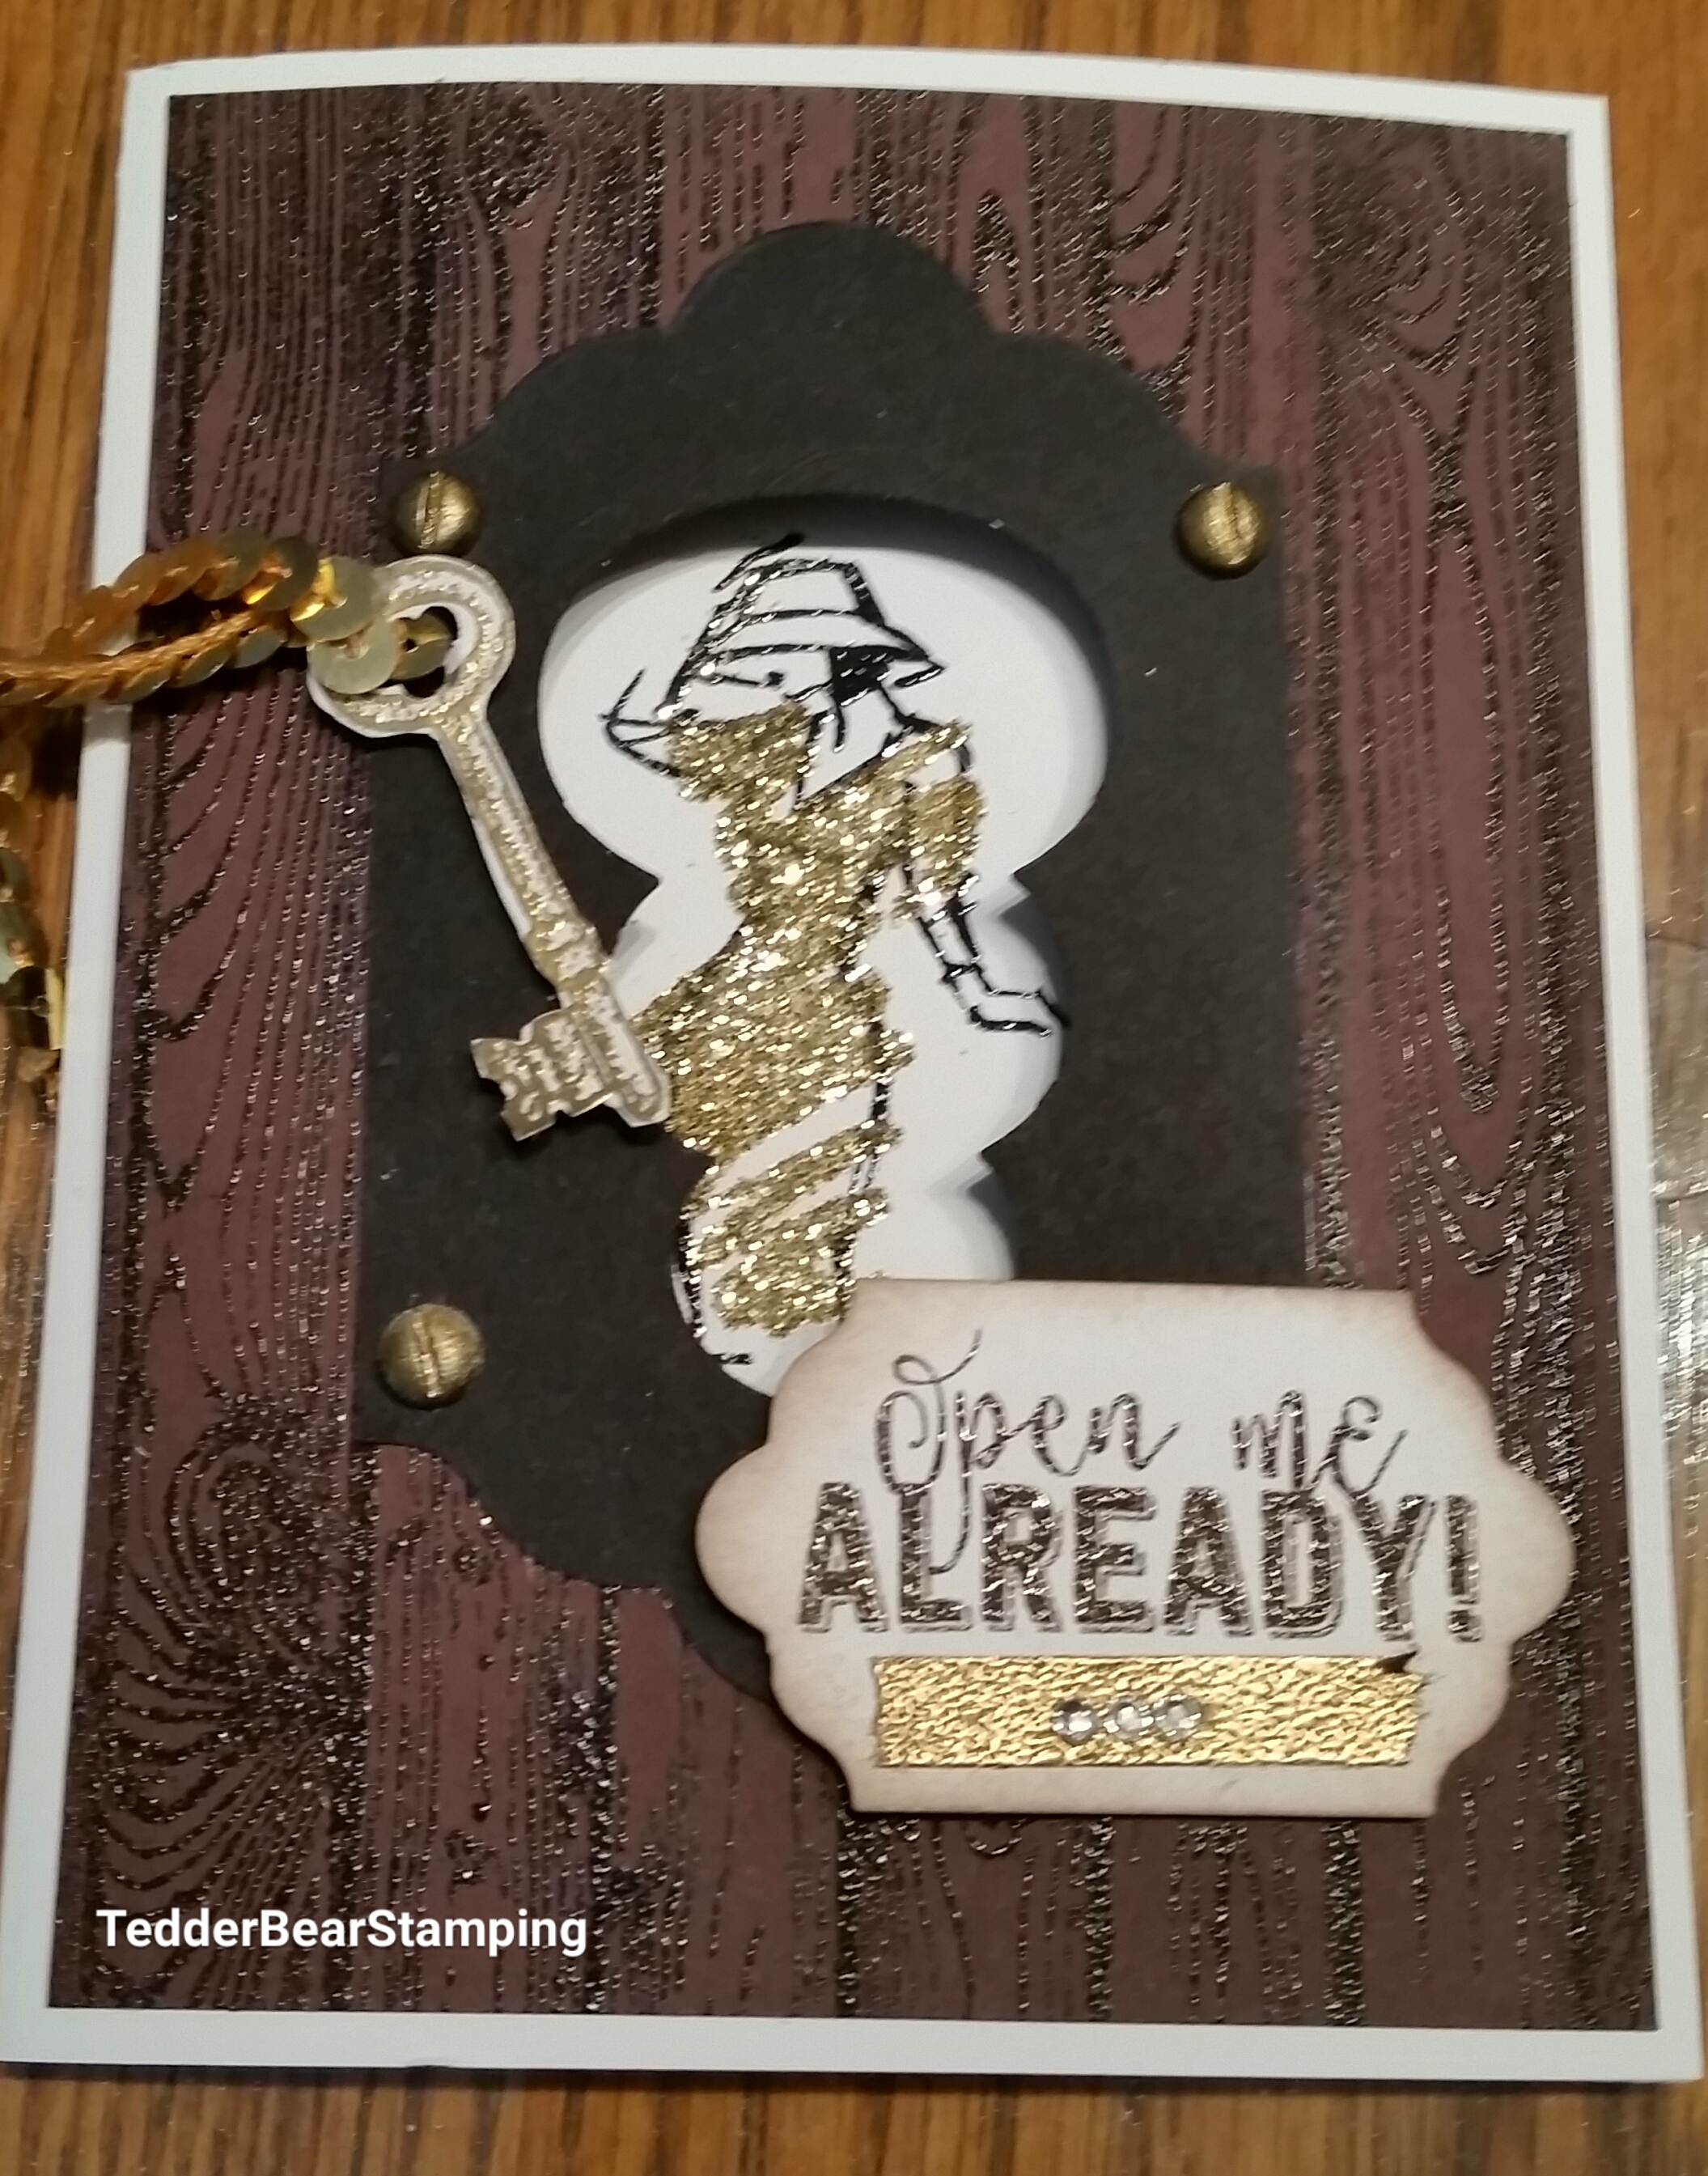
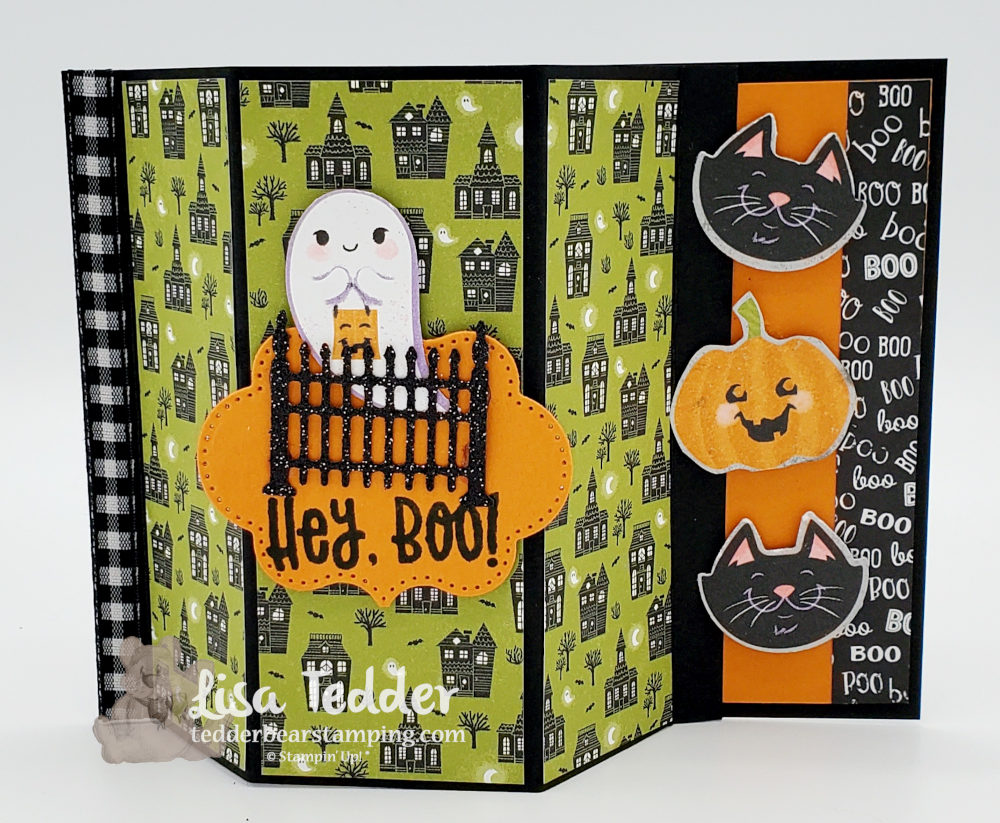
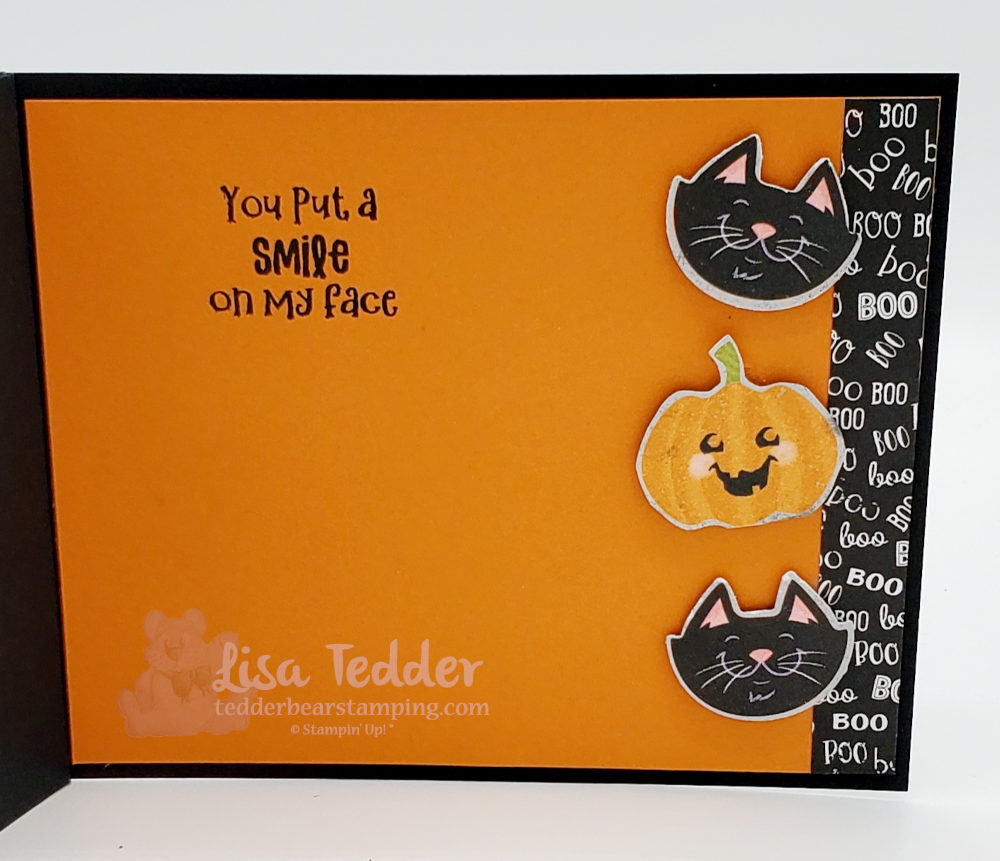
Card 1
Paper:
- Basic Black 4 1/4″ x 11″ scored @ 3/8″, 1 7/8″, 3 5/8″, 5 1/8″ & 5 1/2″
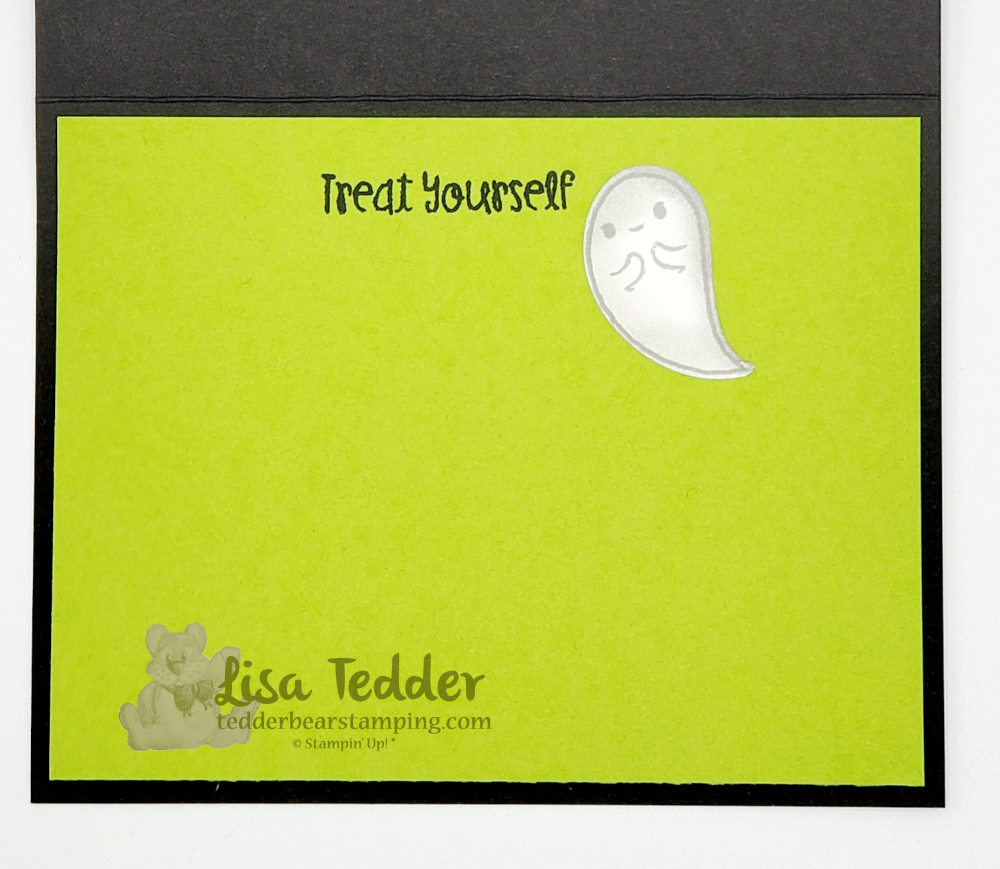
- Cute Halloween 6″ x 6″ Designer Series Paper 4 1/8″ x 4 3/8″ Place Long edge at top of trimmer, cut 3 pieces 1 3/8″, 1 5/8″ & 1 3/8″, keeping in order so when you put them on the front, they will ‘line’ up. Also cut a piece of coordinating DSP 1/2″ x 4″, You will need to use punch with Bundle to punch out ghost from DSP & the kitties and pumpkin for inside
- Pumpkin Pie 4″ x 5 1/4″, scrap for die on front
- Scrap of Black Glitter Paper for fence
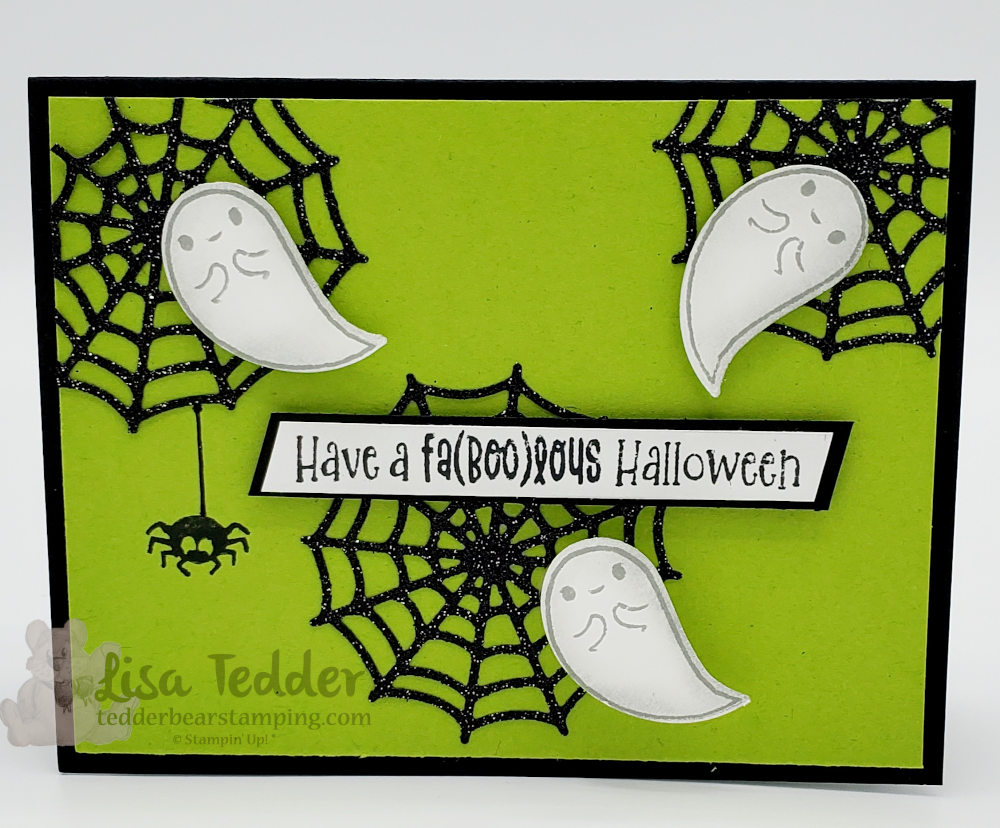
Card 2
- Basic Black 5 1/2″ x 8 1/2″ scored at 4 1/4″, 1/2″ x 4″ (for sentiment)
- Granny Apple Green 4″ x 5 1/4″ (x2)
- Basic White scrap for 4 ghosts and sentiment
- Black Glitter Paper scrap for 3 cobwebs
Misc:
- Black Gingham Ribbon
- Dimensionals
- Frightful Tags Dies
- Glue Dots
- Wobble
- Blending Brush (for edges of ghosts)
Without a doubt, Halloween is a fun Holiday for me to scrapbook, but now I love doing cards too that I can send to my grand kids! My hope is that you enjoy this too, and that you will join me on my YouTube Live on Thursday’s @ 4 eastern. Until next week!
Lisa Tedder
A former California girl living in North Carolina
Product List


 Designer Series Paper")


 Gingham Ribbon")


")