Tag Archives: clear embossing powder

Sneak Peek of NEW Stampin’ Up! stamp sets Eastern Beauty, Eastern Madallions and Colorful Seasons

Today I TRIED to do a Facebook Live, and it came out ok, but I REALLY need to practice more!  hahahaha

I wanted to share with you today TWO/Three NEW sets from SU! that is coming out in June!  The reason I say Two/Three is because I am showcasing a set that has a Thinlit that works with it.  Not sure you would say they are separate sets, but they could be used apart.

The one I am sooooo excited about it Eastern Beauty and Eastern Medallions!  This set is so Versatile!  You can use the stamp set to make ALL kinds of great designs!  I have to still work on seeing what it does, so for now I will be sharing the card I made using the Eastern Medallion thinlits and a few of the stamps!!

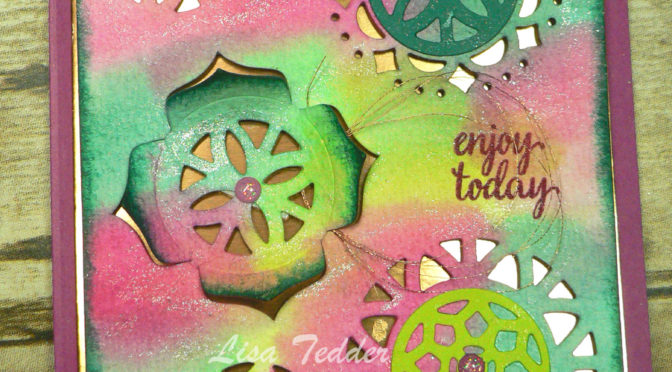
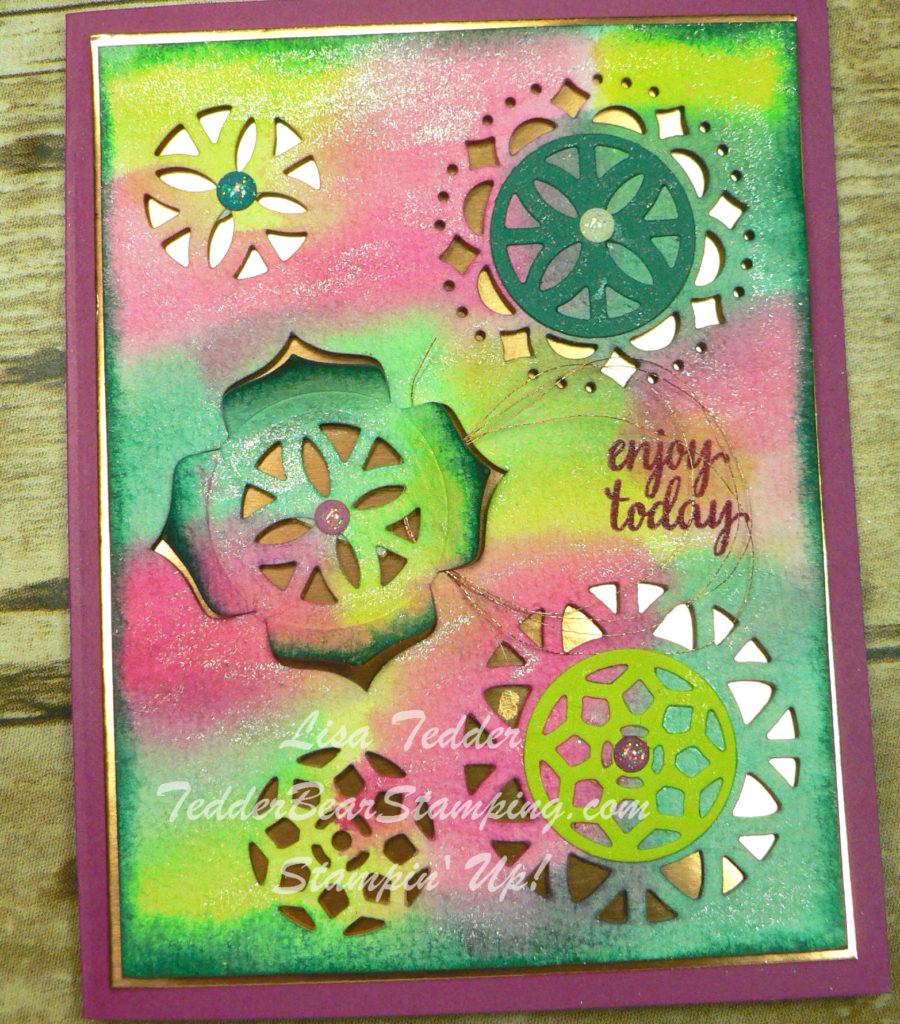
Here is the card:

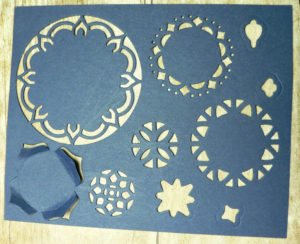
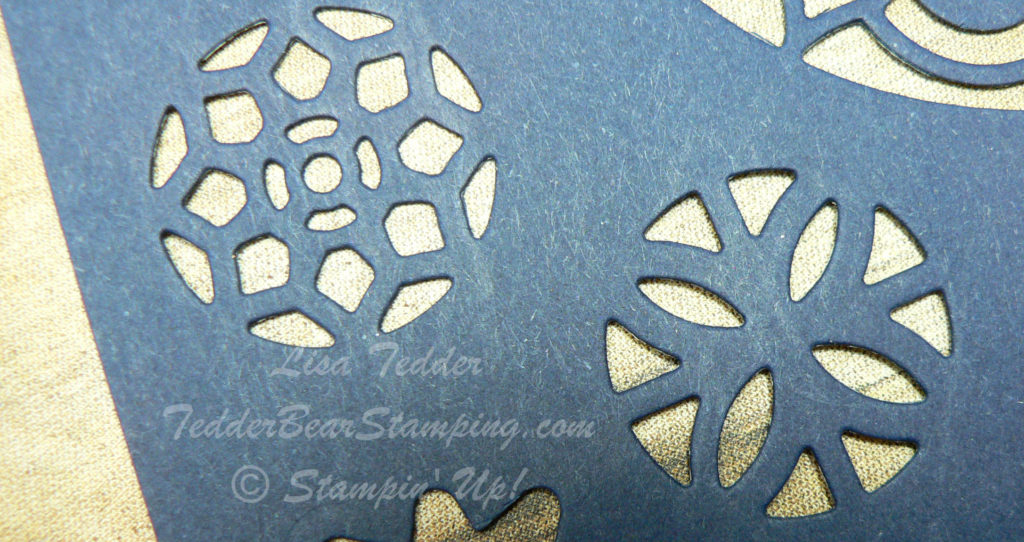
VERY pretty colors, right?  This is made with a lot of the framelits.  The cool thing is that you can mix and match them!  The one on the card that has the popped up part, is usually solid in the middle.  I used one of the other thinlits and placed it in the middle and made it so you can see through it!  Here is a sheet showing the one still attached to the cardstock and the other framelits in the set:


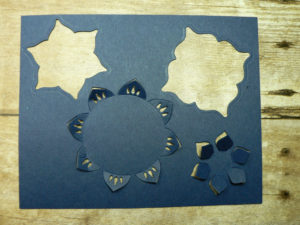
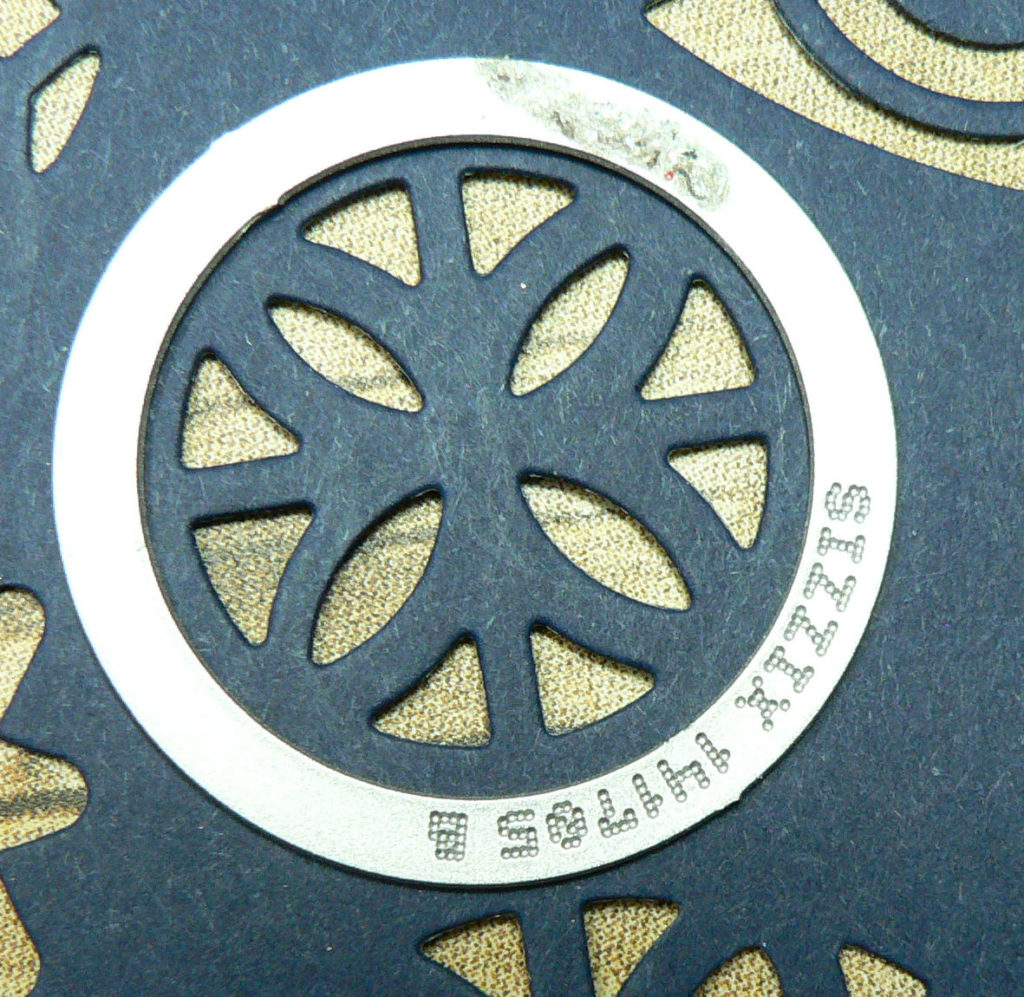
If you want to cut out an image to either put in the center. or cut out a center, you can see this piece leaves just the cutouts that you see:

OR if you want to cut out the image, use the smallest circle from the Layering Circles #141705 and t cuts it out perfectly!

Doesn’t Stampin’ Up! think of everything!  🙂

I started with a 3 3/4″ x 5″ piece of Watercolor Paper and placed a lot of the Thinlits on the Watercolor paper, then added to them, to get the look I wanted.   I then got my Aqua Painter and colored some of the new pretty In Colors on the top of the Water Color Paper, making it as bright and pretty as I could!

I used Wink of Stella to make the paper sparkle and then popped up the piece in the center left by making the edges pull up (the piece doesn’t pop out all the way, just the petal edges).  I placed Dimensionals on the bottom of the entire Piece of Paper and then placed it on  5 1/8″ x 3 7/8″ piece of Copper Foil.  It looks so pretty in person, with the copper peeking out!

I stamped the saying from Eastern Beauty “enjoy today” on the right center and then used clear Embossing powder on it to make it more textural (I LOVE that our inks are wet enough to do this!!)

I used the brand new Glitter Enamel Dots that I got from attending OnStage in Savannah GA!!  If you are a demonstrator one of the MANY perks is that you get to see product before anyone else!  AND if you attend OnStage (which is all over the world!) you can pre-buy certain product before other demos that didn’t attend!  Of course I HAVE to go, so I can see/touch and order new goodies……as I’ve said MULTIPLE times, I am NOT  a patient person!  LOL

For the added touch before putting it onto the Berry Burst Cardstock I wrapped some Copper Thread so it peeks out of the side of the lifted petal and goes around the sentiment!

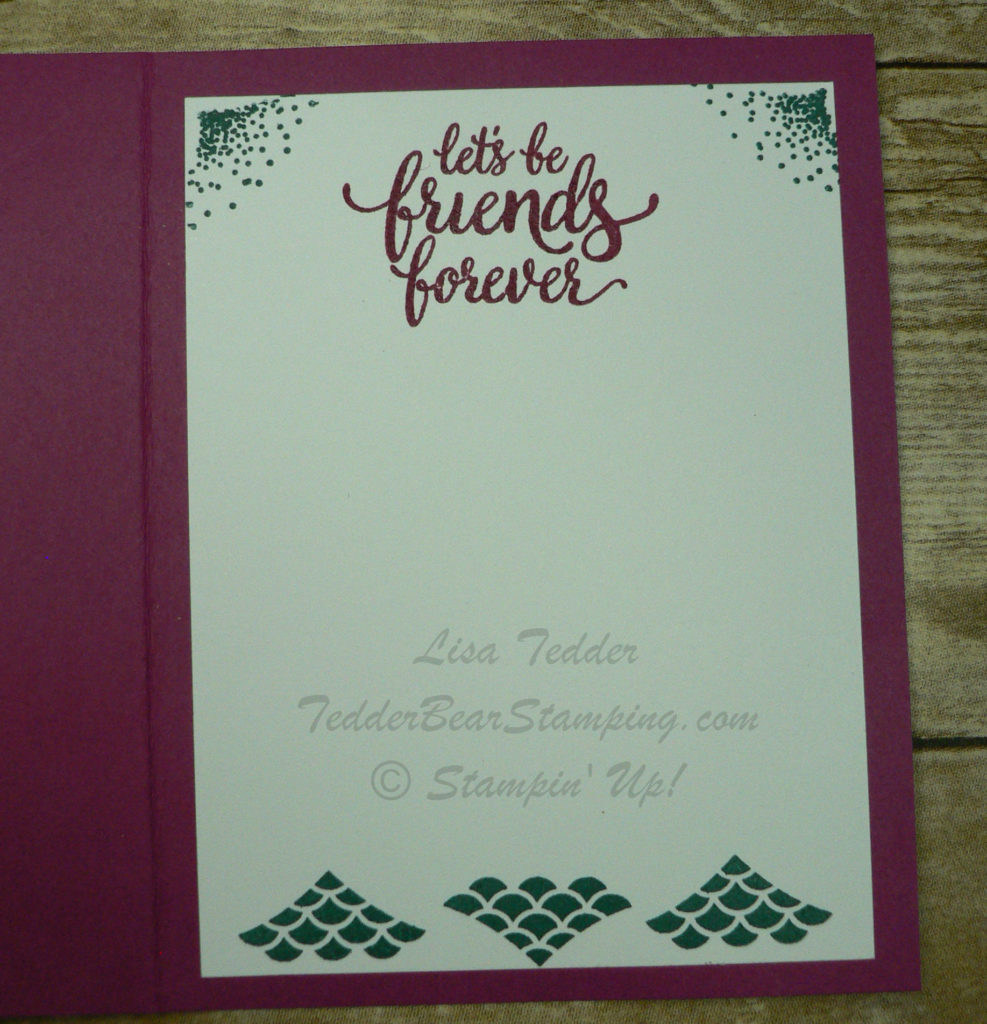
Here is the inside of the card!

Again, I used the stamps from the Eastern Beauty to adorn the inside!  Well?  Do you like it?

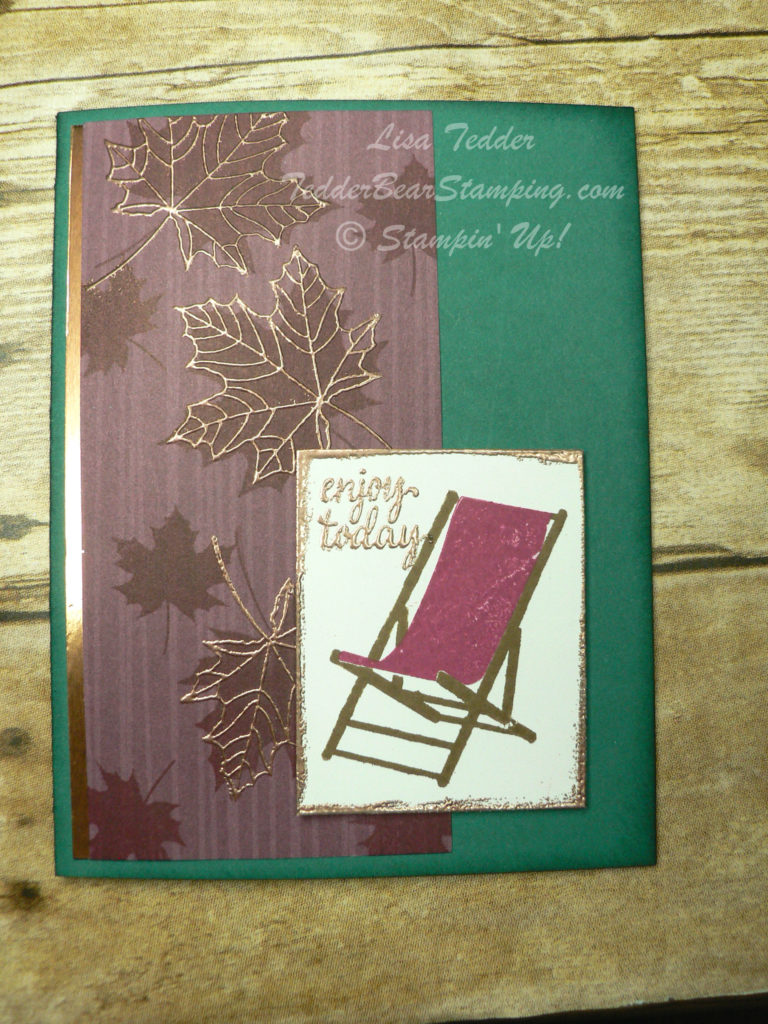
On my Facebook Live Video  New Sneak Peek Stamp sets I also showed another card.  I showed how this one was made, so I will show you the picture and if you want to see it made, go see the video…..just ignore how silly I look/sound/act……..this is what happens when you are not super experienced at it!  HAHAHAHA

I won’t show you the one I tried to make better on the video, because in the long run, I liked this one better!

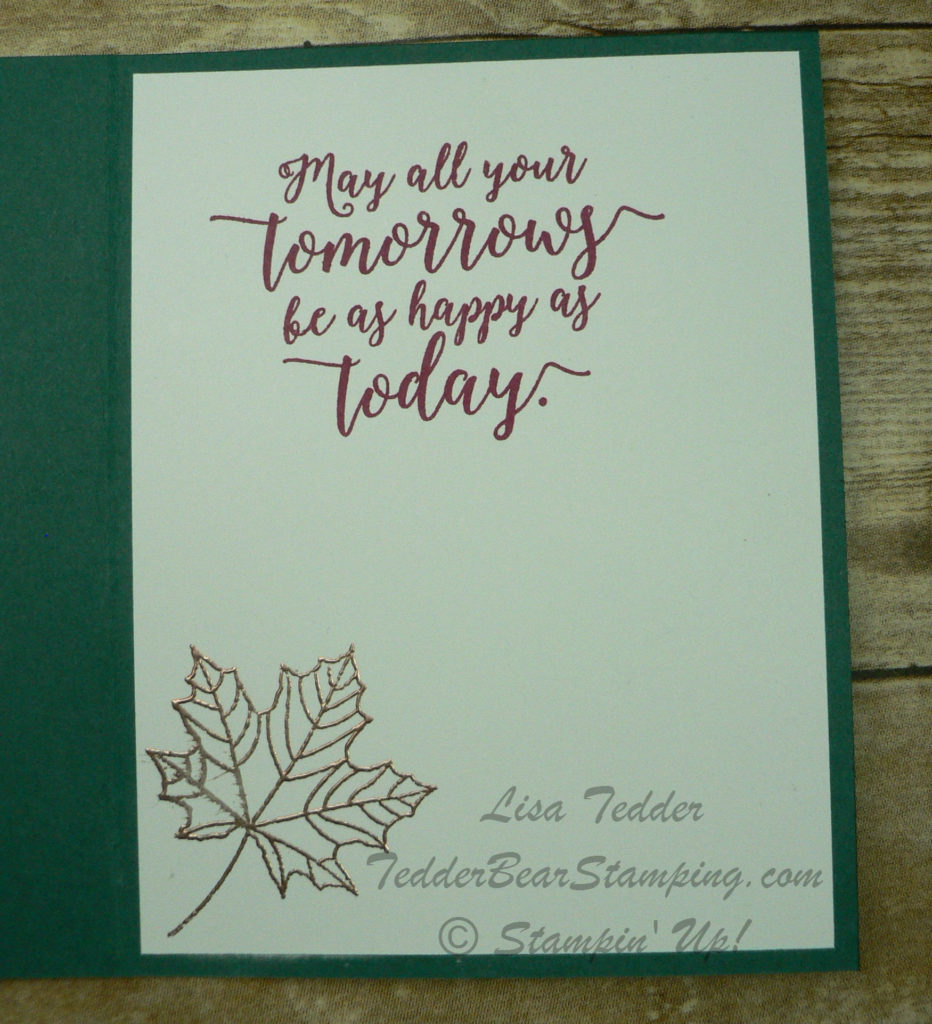
Here is the inside:

I really love the Copper on the Designer Series Paper (DSP), don’t you?!  And the leaf in Copper looks so pretty on the inside!

If you live in the USA, I would LOVE to have you be a part of my Team!  You can sign up under me, get a discount, get to attend SU! functions, order product early and get to meet the BEST people!  What can be better than getting paid to do what you love to do!?

Check back in with me, I’ll be posting more retiring ideas AND new product!  Subscribe both to my blog and to my Newsletter and you won’t miss anything!

Lisa Tedder
TedderBearStamping
A California Girl living in North Carolina

Unconventional uses for Stampin’ Up! Products!

I have finished my FIRST YouTube video in quite a while!  It’s been years!  I was doing two videos every Tuesday for 3 years!  They are over on Vimeo.  But you can check out my video for this card here.

There are THREE things that I used differently, I’ll put a number by the line where they are, just in case you don’t want to read everything!

I did quite a few things with several products, but switched up their USUAL purpose!  I LOVE coming up with new ideas, especially finding more than one way to use something!!  That just means more bang for our BUCK!

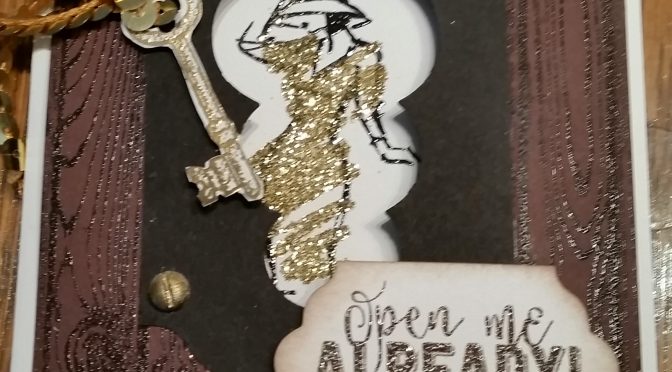
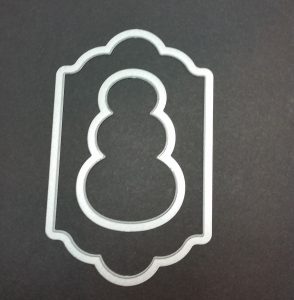
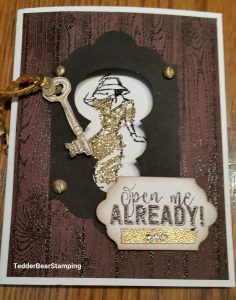
  1.  For this card I used the Hardwood stamp set as a ‘door’ for my keyhole to look authentic.    For the Keyhole, I put two framelits together.  The 2nd from the outside of the Lots of Labels and the snowman from Snow Friends.


BUT for a keyhole I turned it upside down!  Plus, on the card, I put the sentiment over the bottom of the keyhole to ‘hide’ the snowman!  I hope you can see the keyhole and NOT the snowman!!

Then I cut out out the middle of the white cardstock so you can ‘peek’ inside!  For that I used the 3rd framelit from outside in the Lots of Labels so the ‘keyhole’ can stack flat and still be adhered to the front.

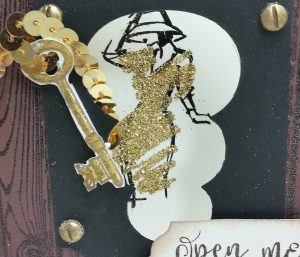
2. For the screws on the front of the door around the keyhole I used the screws from the Urban Underground Embellishments (in the Occasions mini), BUT I colored them with the Gold Wink of Stella and immediately embossed with clear, since the color would just wipe off otherwise.  This way I am all coordinating!! I also used the gold embossing powder to emboss the key so you (hopefully) will figure out that it’s a key hole!!  Here is close up of the screws being all gold:

The sentiment is from Balloon Adventure and it says:  Open Me Already!  hahahaha  I got such a kick out of making this card!  Can you tell?
I attached (after fussy cutting the key) the gold sequin ribbon to the key and popped it up on the front of the card!!

3. To make the Gold line under the Sentiment I used the Tear & Tape under, made sure it was stuck down well, then tore off top, poured Gold Embossing Powder on it, and heat it!  And it embossed!  Didn’t know that would happen!  Just thought I would try it.  LOVE it, so glad I tried!

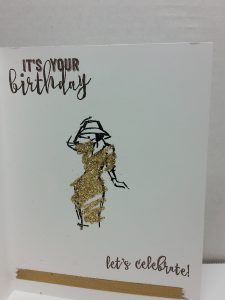
Ok, for the inside, I stamped the girl from Beautiful You, lining her up so she would peek through in the front.  I stamped her with Early Espresso, then embossed with Clear EP (I tend to do that with SU! ink) because it stays wet long enough so I can do it!  And it adds so much texture to your card!

For her dress I stamped it with versamark, then poured Heat & Stick onto the Versamark, heat it only until it gets shiny NO LONGER, or it will loose it’s stickiness!  Once that is done, I poured Gold Glitter onto the Heat & Stick, shook off excess, then heat it ONLY FOR A FEW SECONDS!  This way it really adheres to it!  Watch the video you will see how I rub on it and it stays!!  I don’t use Heat & Stick very often, but I really love how great it works, think I’ll use it more often now!  Here is the inside of the card:

I ran some of the Tear & Tape along bottom and put some more Gold Embossing Powder on it and heat it!  Love how it really adds some shine to the card!  Stamped my two inside sentiments ‘It’s your Birthday’ at the top and ‘Let’s celebrate!’ at the bottom, both in Early Espresso and embossed with clear!

She is so pretty in the gold dress!!  I hope you liked my Unconventional ways of using  product!  Please leave me some feedback on what you think!

And just in case you didn’t get a good picture of the card, here it is again:

I really enjoyed doing this card, I saw the framelits put together like this on Pinterest, but she was making a Snowman Shaker Card.  I saw it, and immediately saw the keyhole and not the snowman!  That’s so weird.  I guess my mind works in mysterious ways!!  LOL

I hope to be making more blog posts and videos, so subscribe and hopefully you’ll catch them!

Lisa Tedder
Kernersville NC

A California Girl living in NC!