Tag Archives: Dazzling Diamonds Stampin’ Glitter

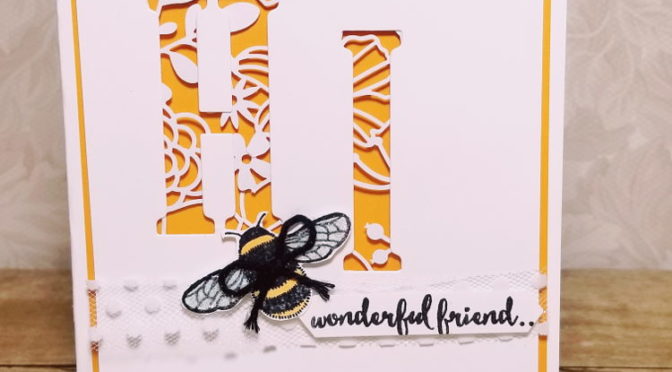
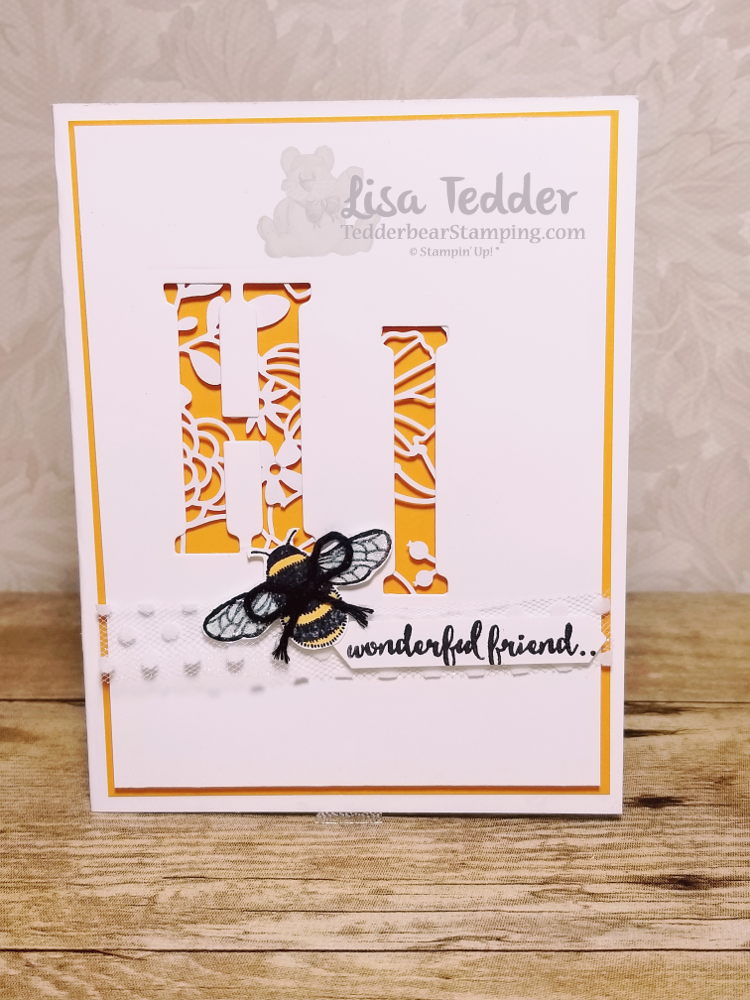
Bees, don’t you just love bees?!

Hey Guys!

Today I am sharing with you a card that I saw on Pinterest by Monica Gale.  I only changed up the yellow behind the ‘HI’, so technically I CASE’d it (Copy and Share Everything).

I fell in love with it as soon as I saw it and HAD to make it!  LOVE when that happens, it really gets my creative juices flowing!

I used the Large Letter framelits to cut out the HI, then placed some of the Delightfully Detailed Laser cut behind the panel, added dimensionals and then had the Mango Melody behind.  Colored the Bee  using the Mango Melody  Blend!

Here are the particulars for this card:

PROJECT 3: Hi
Stamp Sets Pg #
Dragonfly Dreams
Paper
Whisper White Thick 8 1/2″ x 5 1/2″
Whisper White 5 1/4″ x 4″ (x2), scrap
Mango Melody 5″ x 3 3/4″ (x2)
Inks
Memento Black
Blends: Mint Macaron light, Mango Melody Dark
Accessories
Large Letter Dies
Delightfully Detailed Laser Cut DSP
Classic Label Punch
Black Bakers Twine
Dimensionals
Wink of Stella/Whisper White Polka Dot Ribbon

Dazzling Diamonds with glue on wings

I was very happy with how it came out, can’t wait to see what my girls think when we do it in class!

Below are pictures of all the supplies used for this card, click on any of them and you will be taken to my OnLine Store!  Every Online order receives a gift from me!

If you are in the market for a Stampin’ Up! Demonstrator, I would love to be her!  Or you could join my Team and become a part of my SU! family!

Thanks for stopping by, hope you come back soon!

Lisa Tedder
A California Girl living in North Carolina

Product List

Dragonfly Dreams Photopolymer Stamp Set

Large Letters Framelits Dies

Delightfully Detailed Laser-Cut Specialty Paper

Whisper White 5/8" (1.6 Cm) Polka Dot Tulle Ribbon

Dazzling Diamonds Stampin' Glitter

Fine-Tip Glue Pen

Stampin' Dimensionals

Classic Label Punch

Whisper White 8-1/2" X 11" Thick Cardstock

Whisper White 8-1/2" X 11" Card Stock

Mango Melody Classic Stampin' Pad

Mango Melody Dark Stampin' Blends

Light Mint Macaron Stampin' Blends Marker

Big Shot

Basic Black Solid Baker's Twine

Christmas Card #12 Alpine Adventure with Lovely as a Tree

Hey Guys!

I had my 2nd Christmas Card class on Saturday with 12 people attending.  I THINK they loved it, at least they told me they did!

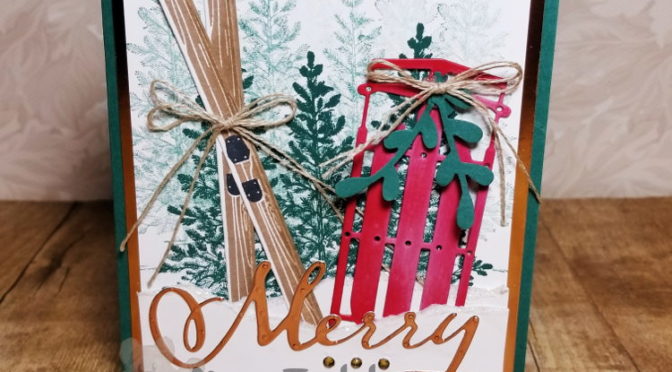
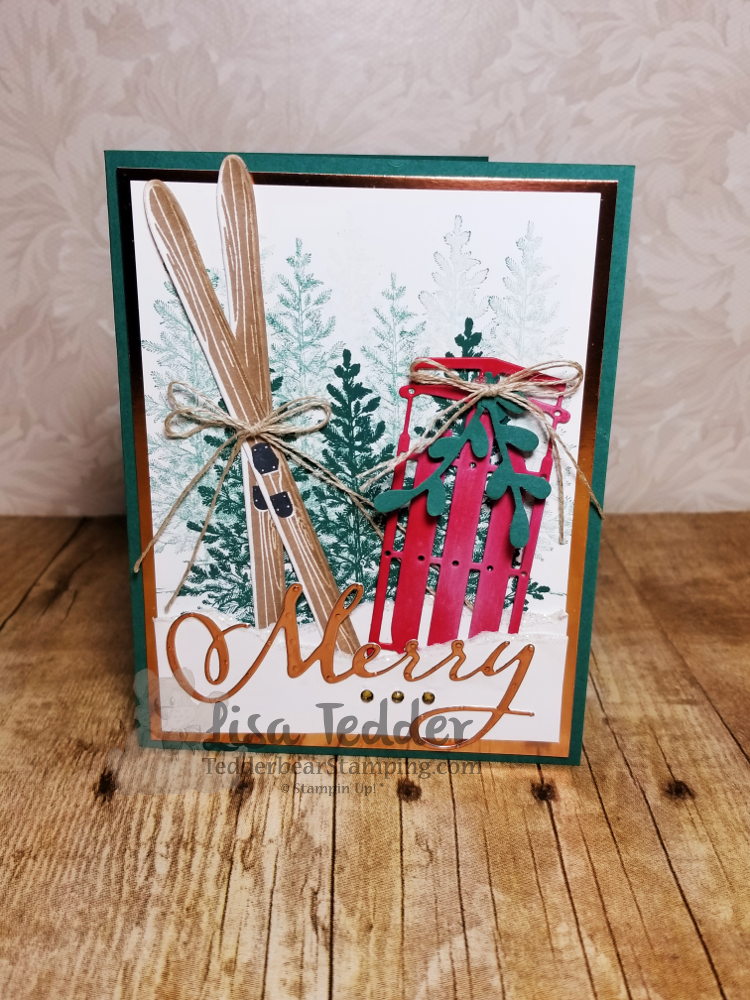
Are you ready to see my next Christmas Card?  This one is one I REALLY love!!  It uses Stampin’ Up!’s stamp set Alpine Adventure and Lovely as a Tree.  Lovely as a tree is a staple for every stamp room!  And Alpine Adventure has those cool winter designs that can be used for Christmas.

Here is my card:

Isn’t this the cutest?!    I added Wink of Stella to the Sprig on the Sled. This gives it a great sparkly look.  You can’t see it in the picture, but it is really pretty in person.

Here are the particulars for this card:

Stamp sets: Alpine Adventure Bundle, Merry Christmas to All bundle, Lovely as a Tree
Cardstock: Tranquil Tide 5 ½” x 8 ½”, scrap, Copper Foil 51/4” x 4”, White 3 ¾” x 5”, 4” x 5 ¼”, 5” x 1”, 1 ½” x 3 ¾”, Real Red 3 ¼” x 1 ¾”
Inks: Tranquil Tide, White craft, Crumb Cake, Momento Black, Real Red, Cajun Craze Blend Dk
Misc: Wink of Stella, Linen Thread, Big Shot, Sprig Punch, Rhinestones, Glue Dots, Fine Tip Glue pen, 2 Way glue pen, Dazzling Diamonds

Below are the supplies used for this card, click on any picture and you will be taken to my OnLine Store!  If you live in the US and would like to add me as your Demonstrator I would be thrilled!  Or if you would like to join my team ‘LETs Stamp!’ I would welcome you with open arms!

Thanks for stopping by!  Check back in to see my other Christmas cards and projects.

Lisa Tedder
A California Girl living in North Carolina
Product List
A NON Christmas Card using Farmhouse Christmas

Hey Guys!

I am so excited that as a demonstrator for Stampin’ Up!, that I get to purchase NEW items a month before they are available to the public!  I wanted to use them right away BUT didn’t necessarily want to do Christmas.  So, my dilemma……….how do I use these obvious Christmas sets and NOT have it be Christmas.

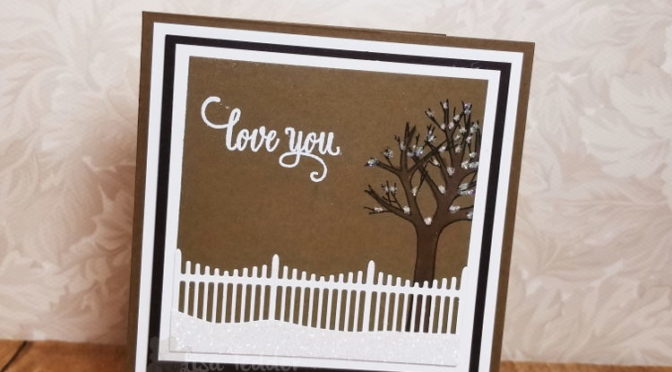
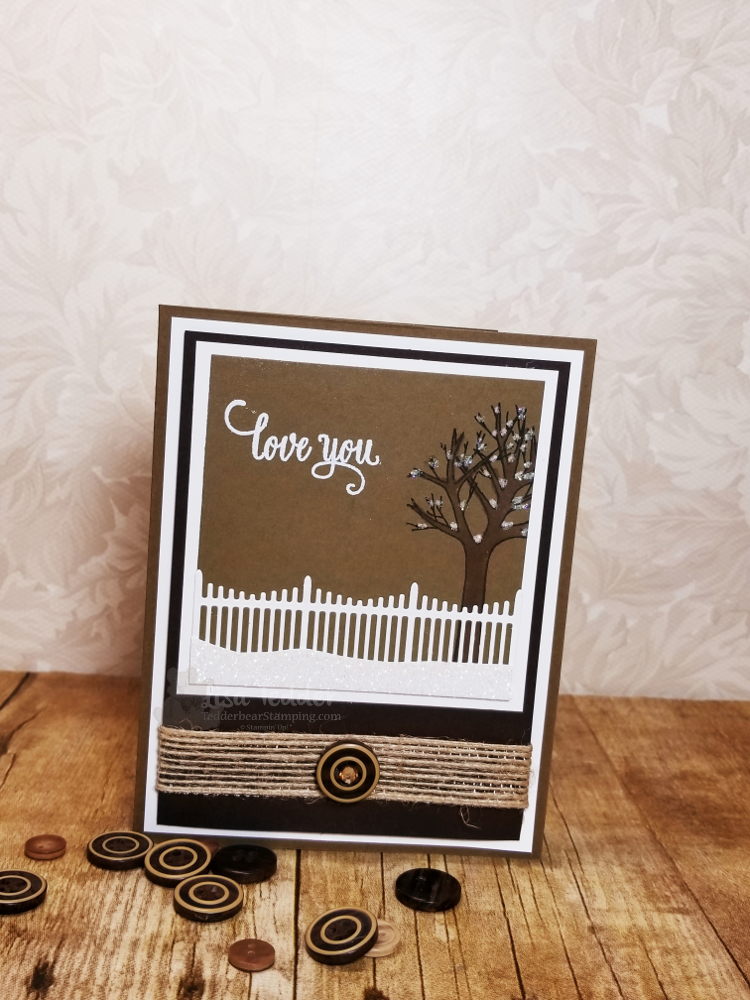
I got out the Farmhouse Christmas stamp set, decided to use the tree  AND the incredible fence!!  Did you see the fence!!??  I stamped the tree on Soft Suede using Early Espresso ink. This stamp set better stick around because I can use that fence for a lot of things!  Follow this link to see my video.

Isn’t it the cutest!!??  Not sure if you can see the Glitter snow in front of the fence, but in person it is very shiny and sparkly!  The tree has snow in all its crannies.  I used the Fine-Tip Glue pen to go over the white (used the chalk marker) and then sprinkled Dazzling Diamonds over the wet glue.  I forgot how much I LOVE Dazzling Diamonds!  I will be getting that out a lot more.

I stamped the ‘Love You’ from the Enjoy Life stamp set using Versamark and white embossing powder.

I layered these onto a piece of Early Espresso, but before I layered these onto white I wrapped some Burlap Ribbon around and adhered a True Gentleman button in the middle.  If you look closely you can see a Rhinestone that I colored with the Bronze Blend to go into the middle of the button (I HATE threading linen thread through those tiny holes!).  The final layer is Soft Suede to tie in all the colors.

I’m planning on doing this card in a class this month.  Hope they like it as much as I do!

Below are all the supplies I used for this card.  Click on any picture to be taken to my OnLine Store!

Thanks for stopping by!  Check back in!  I’m adding all my cards that I do for my classes to this blog!

Lisa Tedder
A California girl living in North Carolina
Product List
 

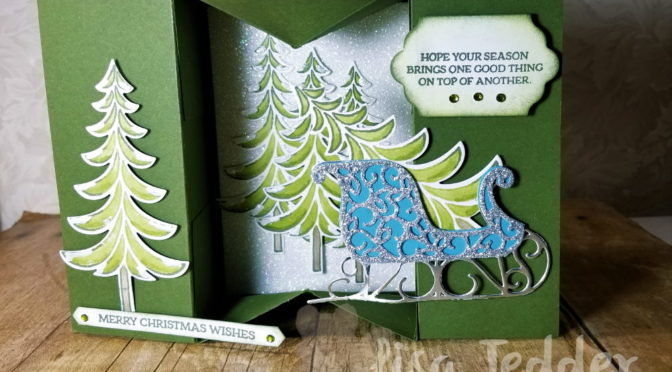
Make your own Dimensional Snow!

Hey Guys!!

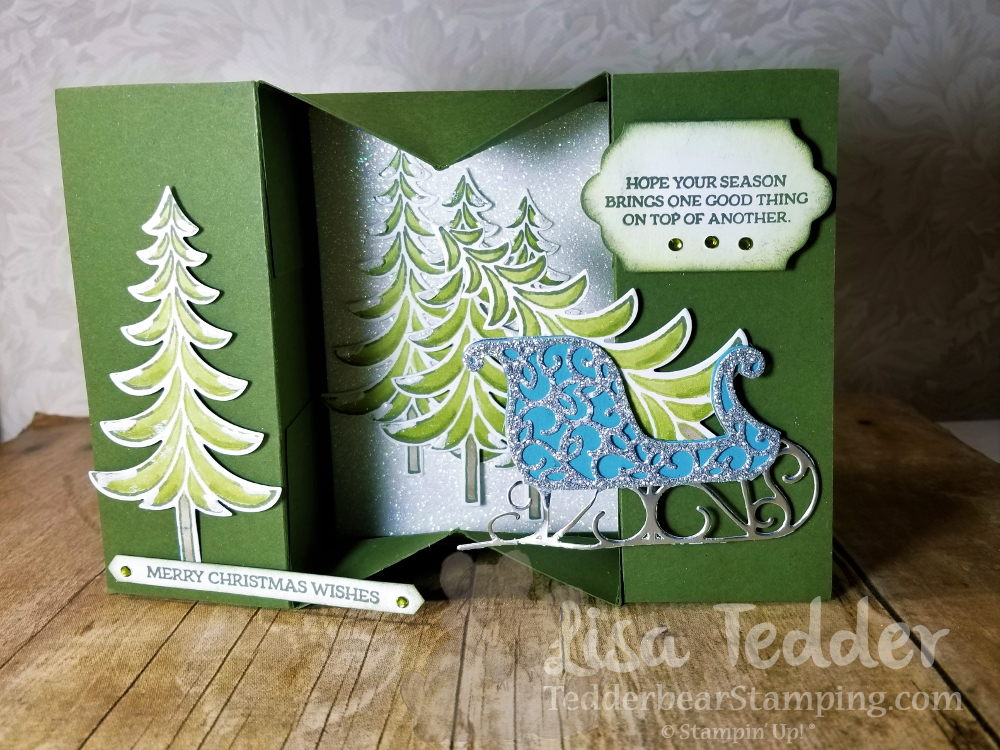
I was making a Christmas card (Yes, I DO know that it’s March, but I had an idea!) and needed my trees to have snow on them.  I wanted to try something and it worked!  NOT sure it’s been done before, but I’ve never heard of it!

First, here’s the card:

It’s really hard to see on this picture, but the trees have touchable snow.  It’s puffy, shiny, white and sparkly!  If you want to see it made in person (along with other stamping tips) you can go see my video here!  I was super excited to see that my idea not only worked, but it was EASY! AND you probably have the supplies in your stash already!

You need to get your Fine Tip Glue Pen, and draw lines with the glue where you want your snow.  Once you have all your lines, then dip it STILL WET into White Embossing Powder, set aside for about 10-15 minutes.  You can use that time to create the box card.  Go to this blog post to see how to make the box part.   You can see the video for that on my YouTube channel here.

This Christmas card is SUPER pretty!  Even prettier than the one I made with the Magical Day and I loved that one too.

Below you will see all the product used for this project, click on any picture to be taken to my OnLine Store. I would love to be your Stampin’ Up! Demonstrator if you live in the US.

Thank you for stopping by.  Hope to see you again soon!

Lisa Tedder
A California Girl living in North Carolina


Product List

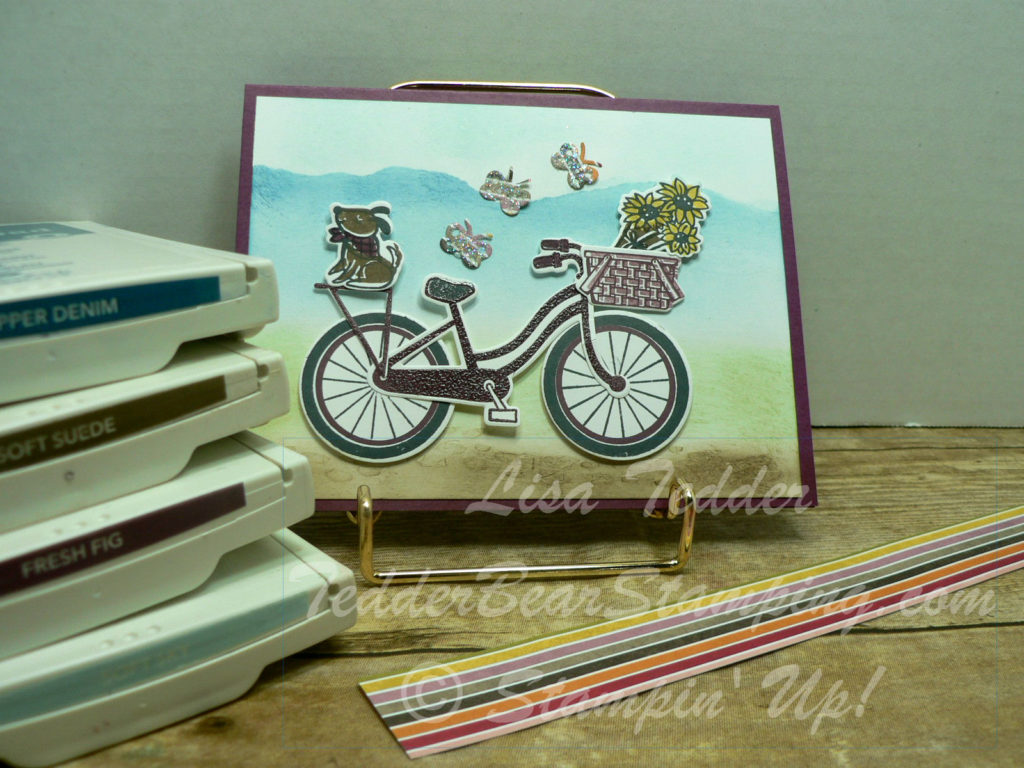
Bumpy Bike ride near the Mountains

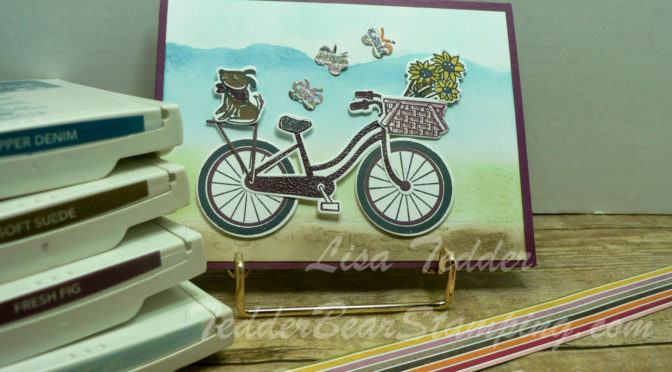
Today the mail came and inside was my framelits for Bike Ride from Stampin’ Up!  Of course I had to give it a try!

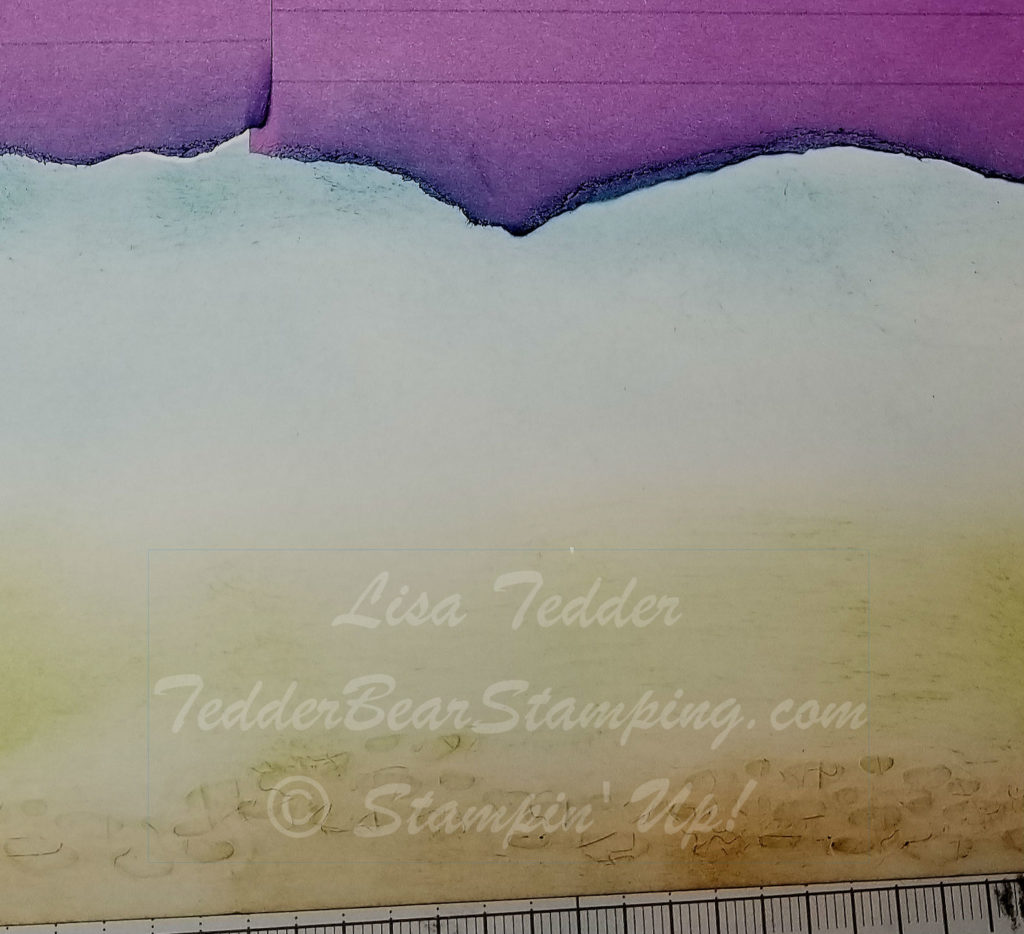
I wanted mountains in my picture so I tore some Post-It notes and stuck them to the top of my card:

I then sponged lightly Dapper Denim at the top, making the part closer to the Sticky Notes darker, and then fading the color away.

I ran the cardstock that I was using through the Big Shot with the bumpy rock thinlit under the paper, then ran it though.   This gave the Cardstock the bumps!  They look like rocks so I sponged over them using Soft Suede, this highlighted the rocks!  I was so tickled by this! Normally you put your thinlit OVER your cardstock to cut it out, but this time I wanted the impression.  Came out pretty didn’t it!?

I stamped the Bike in Fresh Fig, SU’s NEW In Color!  I also stamped the basket in it!  The dog’s scarf is Fresh Fig too!

Here is the card:

The thinlits I used are the bike frame, dog, basket, flowers and butterflies.  Oh! And my favorite the rocks!

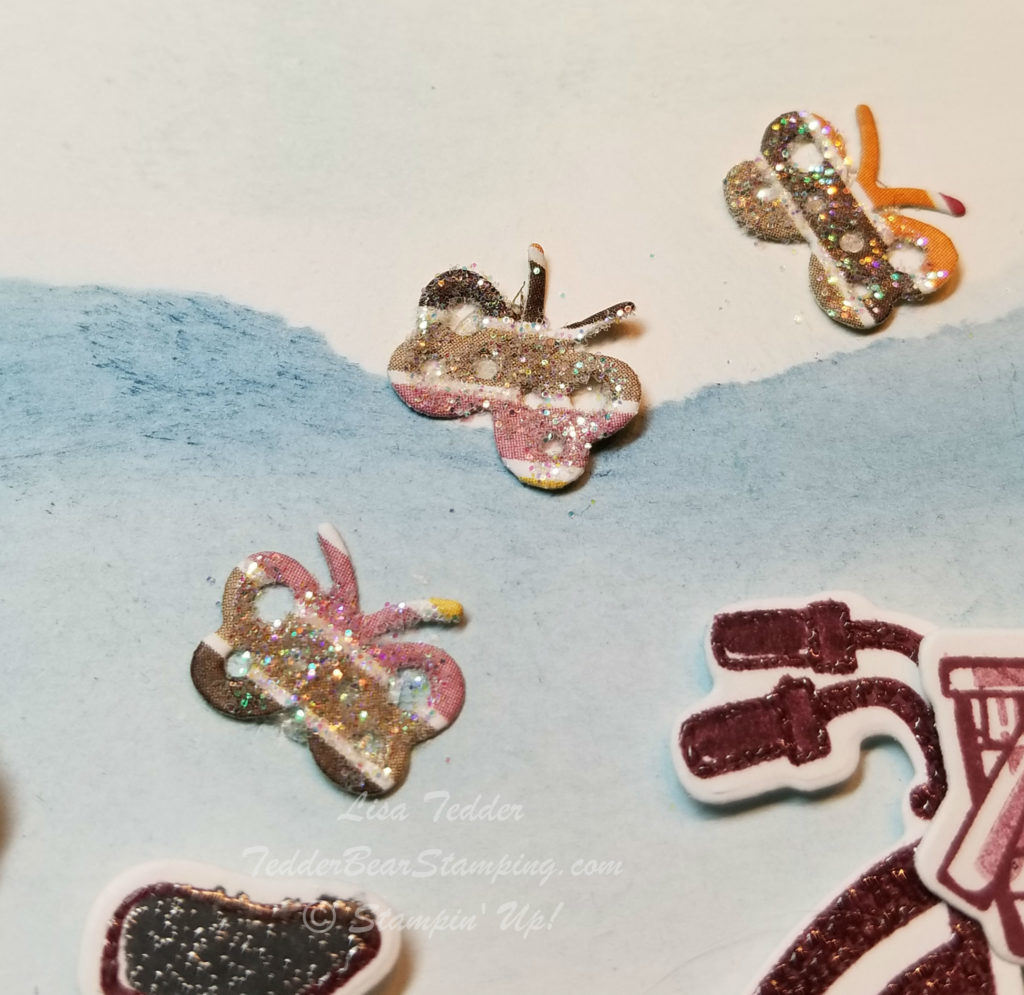
The butterflies are cut out of the Designer Series Paper Birthday Memories:

I LOVE this thinlit! Just cut out the butterfly and it has the antenna, wings and ALL!  I HAD to add Dazzling Diamonds to make them look even prettier!

The Measurements are the normal card size with the Base being in Fresh Fig 8 1/2″ x 4 1/4″, scored at the 5 1/2″ line to make the card.
The Whisper White is 4″ x 5 1/4″  And scraps for all the cut outs!  This was a really fun card to make!!  I love how you can make so many different things  be on the bike!  Just change out your background and the stamp set can be for sooooo many different occasions!

I hope you enjoyed your visit today!  I have more Blog Candy to give away  on here tomorrow!!  Be sure and visit so you can be in the drawing to win!

Click on any of the pictures below to be taken to my Online Store! If you purchase goodies from me, I will send you a handmade card and a little gift!  Please use the Hostess Code: C62FFAR3

Lisa Tedder
TedderBearStamping
A California girl living in North Carolina
Product List