Tag Archives: Versamark Pad

Punch Art using Pansy Patch

Hey guys!,

The NEW catalog is almost LIVE, today I am sharing with you Punch Art using Pansy Patch! Plus another pretty card! Above all, I love when I see a stamp set/Die and something pops out at me that isn’t the norm. Hence, I saw the dies first and immediately saw fish fins and then I saw the Lure Fish tentacle. Of course I had to make it! Conversely, I had no idea if it would work out, but I’m so pleased it did! Here is that card:
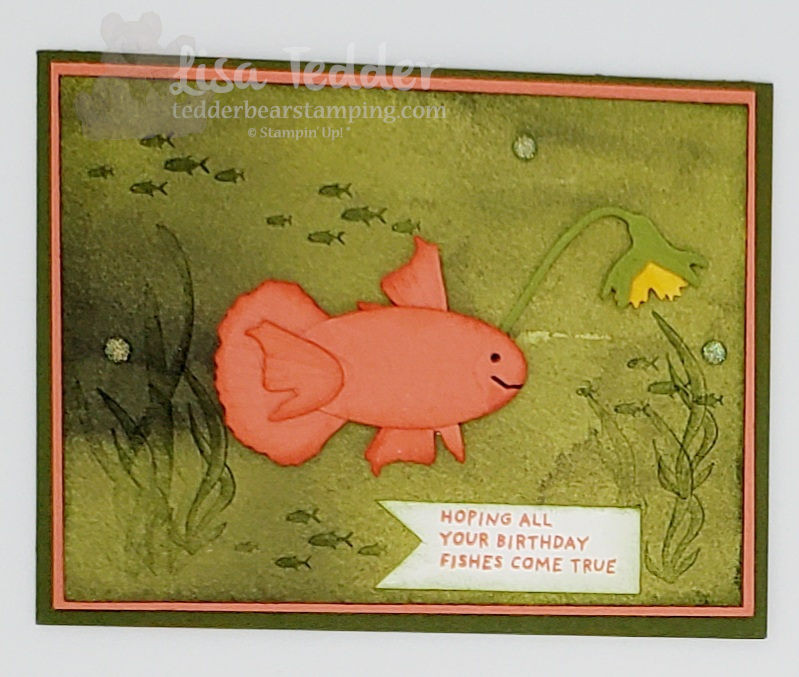
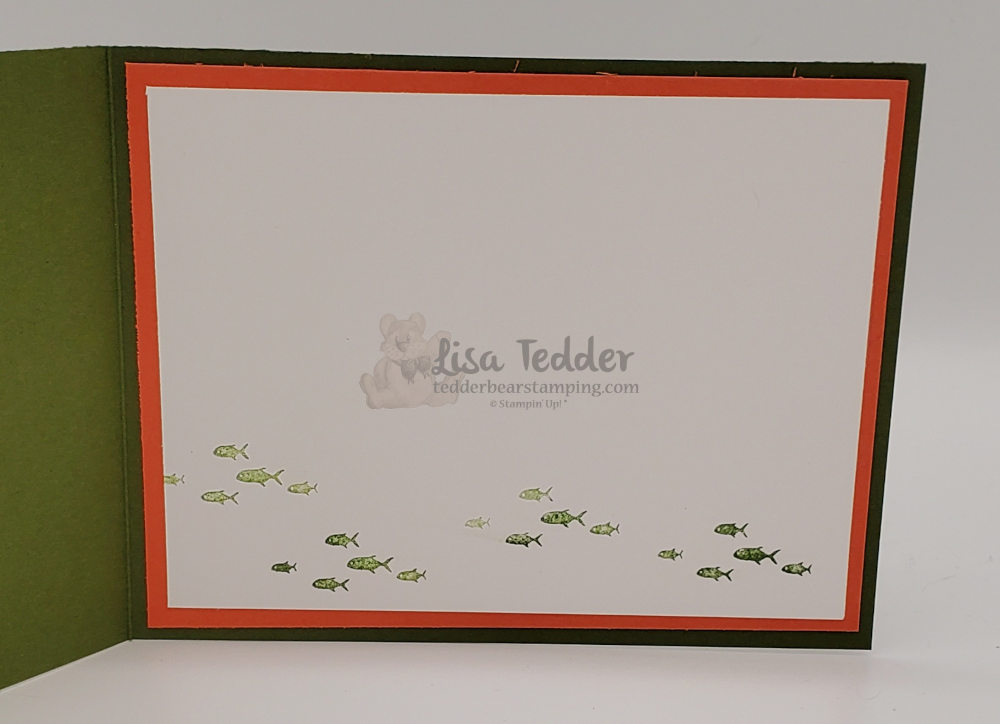
Punch art using Pansy Patch

So, that was the first card that I did in my Live YouTube today, if you missed it you can watch it here! As a result of doing these Lives every Thursday at 4:00 (eastern), I have had so much fun sharing with you the cards I make, especially the Punch art using Pansy Patch!

Next, I am sharing with you the 2nd card I made with my Live! In this case, I used the stamp set as it was designed and made a gorgeous monochromatic card with just a tiny splash of color! Here it is:
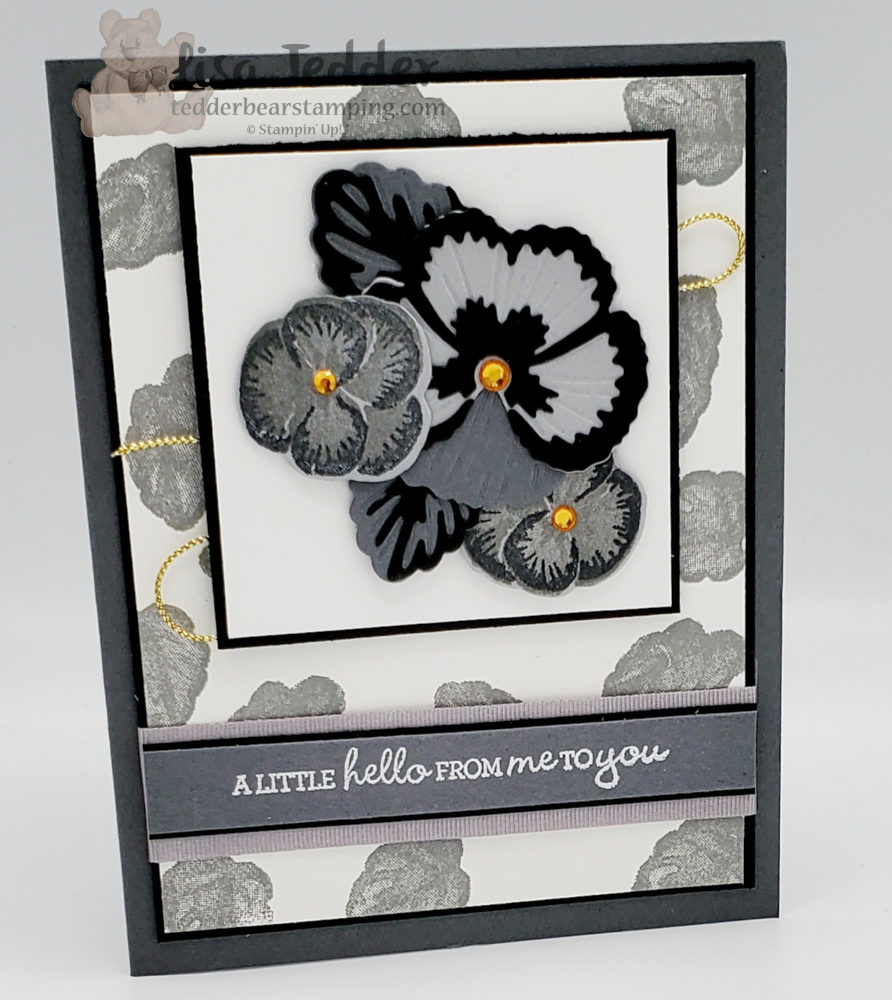
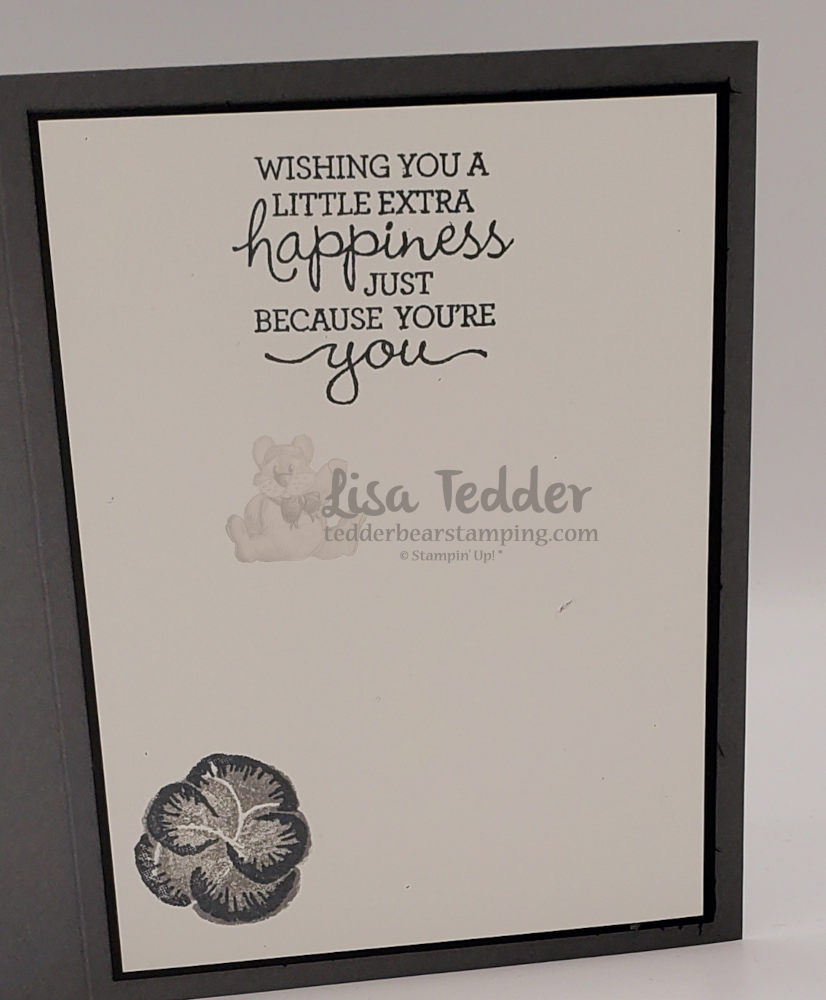
Inside

As always, here is the list of the dimensions and supplies used for both of my cards:

  • Stamp sets:
  • Pansy Patch Bundle
  • Whale Done
  • Inks:
  • Basic Gray
  • Memento Black
  • Versamark
  • Calypso Coral
  • Mossy Meadow
  • Paper:
  • Card 1:
  • Mossy Meadow 4 1/4″ x 11″
  • Calypso Coral 4″ x 5 1/4″ (x2), scraps for ‘fish’
  • Beauty of the Earth Designer Series Paper (3 3/4″ x 5″)
  • Basic White 3 3/4″ x 5″, scrap for sentiment
  • Old Olive scrap for Lure
  • Daffodil Delight scrap for Lure
  • Card 2:
  • Basic Gray 5 1/2″ x 8 1/2″, 1/2″ x 3 7/8″, scraps for flowers
  • Basic Black 3 7/8″ x 5 1/8″ (x2), 2 7/8″ sq., 5/8″ x 3 7/8″, scraps for flowers
  • Smoky Slate scraps for flowers
  • Basic White 3 3/4″ x 5″ (x2), 2 3/4″ sq.
  • Misc:
  • Simply Elegant Trim
  • Holiday Rhinestones
  • Dimensionals
  • White Embossing Powder
  • Heat tool
  • Smoky Slate 7/8″ ribbon

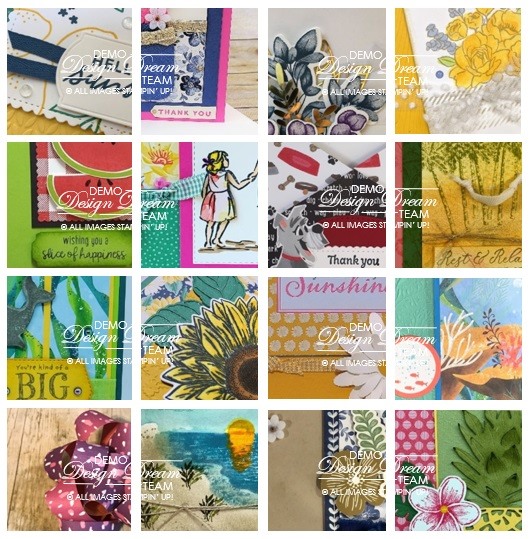
Lastly, I want to let you know that if you purchase a Qualifying order of $35 or more you will get the card packet for this class (as long as you order before Wednesday May 5th). Otherwise you will get the latest class I did! Also, if you put in a qualifying order you will get a pdf of 16 projects where each project has pictures and step by step instructions. For Example, here is a snippet of what you will get:
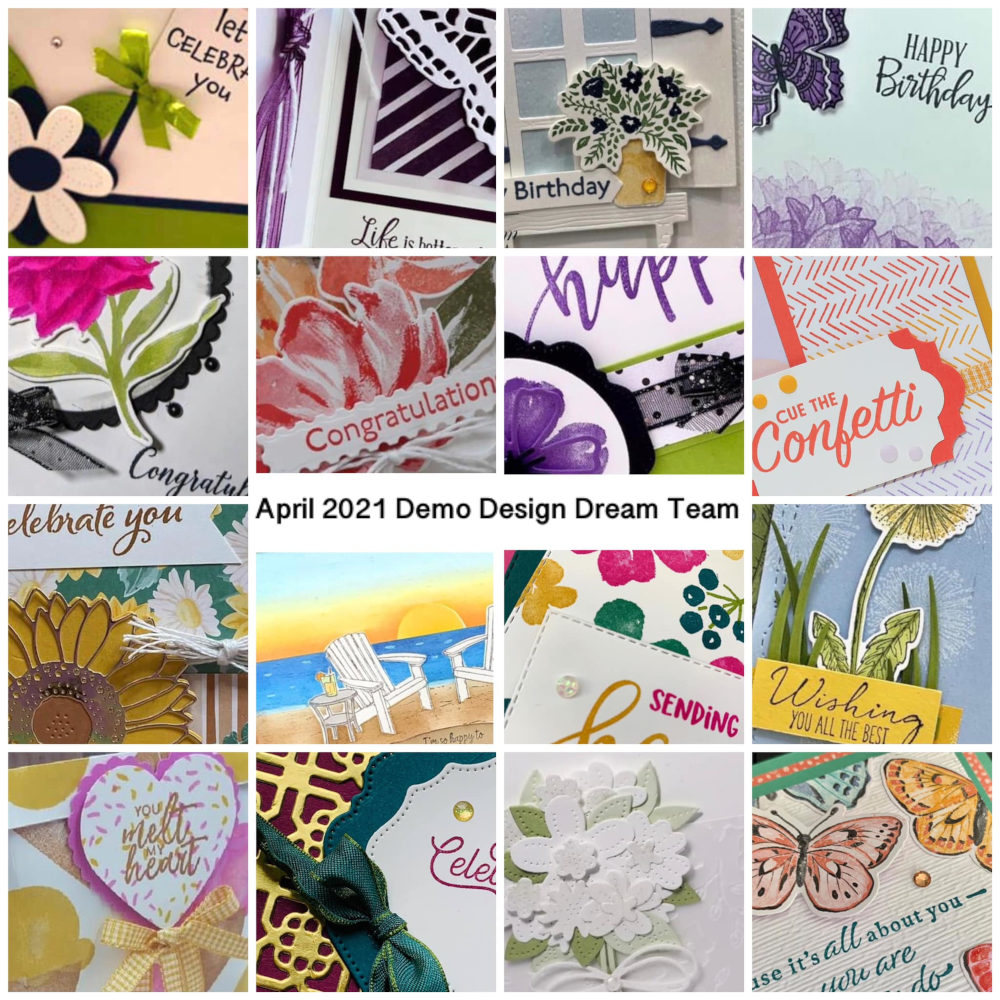
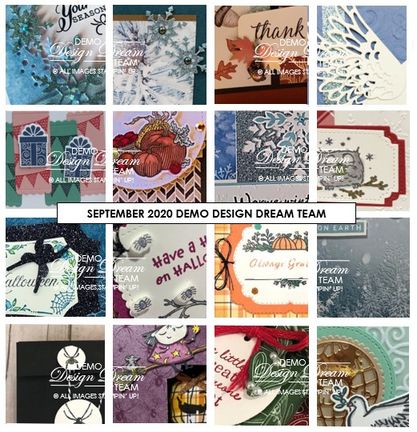
Month of April Qualifying orders will get all these!

Above all I want you to join the Besties Club where we meet each month and have fun making 6 projects made by Me and my Besties Carol Hickman (Arizona) and Hetty Jones (Canada), yes….we are International! You can check out all the specifics here! You will love being a Bestie!

Thank you for stopping by! I appreciate that you support me and my small business. Stop by next week to see what my YouTube video project is!

Lisa Tedder
A former California girl living in North Carolina

Product List

How much fun can one card be!?

Hey Guys!

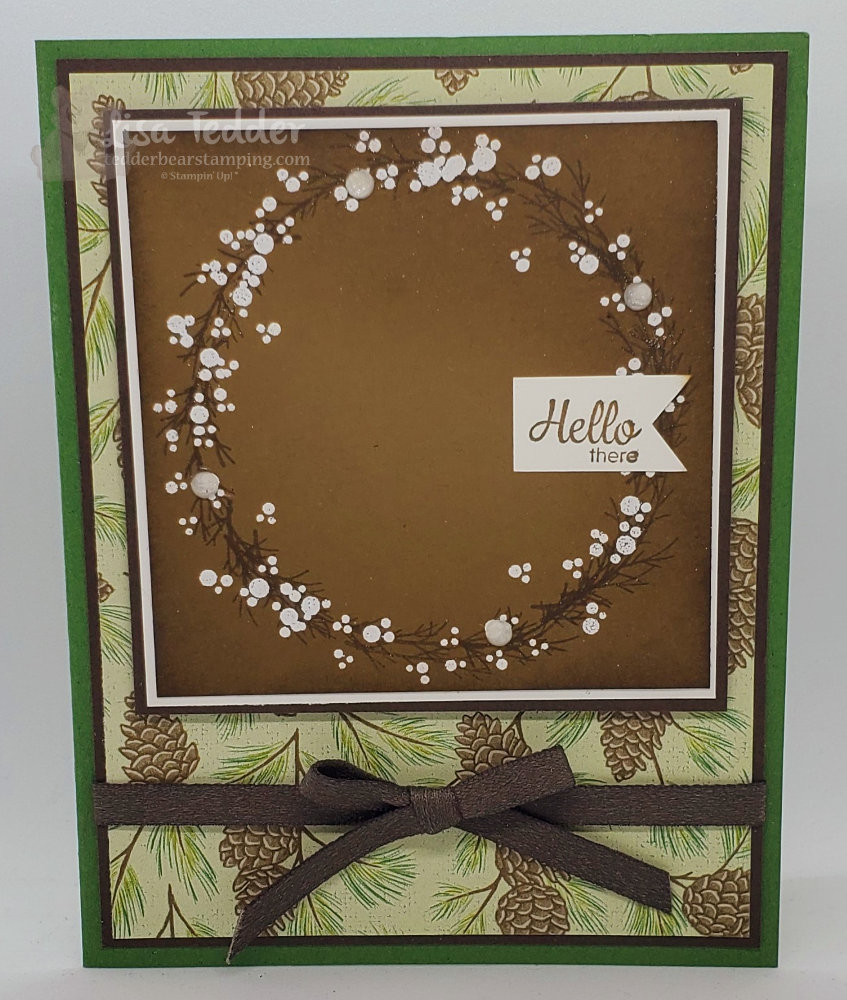
The card I am showing you today is so much fun to make! Have you ever said: How much fun can one card be!? This stamp set (Ornamental Envelopes) has SO MANY ways to use it! Versatile is just ONE way to describe it! This set has ornaments, corner pieces, dies that let you decorate your envelope, and so much more! For today I am showing off the wreath I made. You can watch my video here to see how I did it.

One card = Too much fun!

By the way, I also shared on my video how to use the Stamparatus to get your stamps straight! Don’t you hate it when you finish a card and go to stamp the sentiment and it is crooked! Then you have to get creative to cover it up or start over! Well, I show you how to never deal with that again!

As always here is the list of things I used to make this card:

  • Stamps
  • Ornamental Envelopes
  • For Unto Us (inside greeting)
  • Here’s a card (front sentiment)
  • Inks
  • Soft Suede
  • Versamark
  • Paper
  • Garden Green 8 1/2″ x 5 1/2″ scored at 4 1/4″
  • Early Espresso 5 1/4″ x 4″ (x2), 3 1/2″ sq.
  • Poinsettia Place Designer Series Paper (DSP) 5 1/8″ x 3 7/8″
  • Whisper White 5 1/8″ x 3 7/8″ (inside), 3 3/8″ sq. (for under wreath), scrap
  • Soft Suede 3 1/4″ sq.
  • Misc.
  • 1/4″ Faux Suede Trim – Early Espresso
  • Dimensionals
  • Elegant Faceted Gems
  • Stamping sponges
  • White Embossing powder
  • Heat tool
  • Stampin’ Seal +

As you saw (hopefully) last week, I love using Make-up brushes to blend in my colors, check out the blog post if you missed it.

Below you will see the same supplies listed above in picture form, if you click on any of them you will be taken to my OnLine Store! Did you know, that I have started doing YouTube Lives?! AND if you purchase $35 from me using this Hostess Code (RTCTACK) between now and Tuesday the 6th of October you will get my Mini Class packet supplies! I will mail out the packets on Thursday the 7th! Check out my Live, but be prepared it was my FIRST and I can only do better, Thank the Lord!! LOL PLUS a pillow gift!! Now, I feel like a tv announcer……BUT that’s not all!! You will also get a pdf of SIXTEEN projects with step by step instructions! Here is a sneak peek:

Sneak peek!!

Thank you for stopping by!! I really appreciate it! Please leave a comment, subscribe to my Newsletter/blog/YouTube channel!! Or all of them! LOL

Come back next week when I have my next video/blog post!

Lisa Tedder
A California girl living in North Carolina

Product List
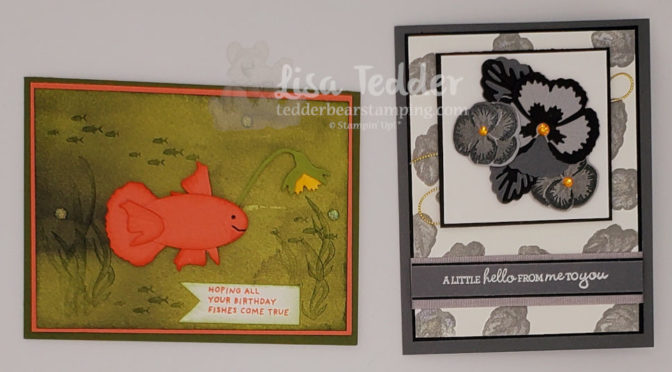
 

I made my own Fall Ink Pad, you can too!

Hey Guys!

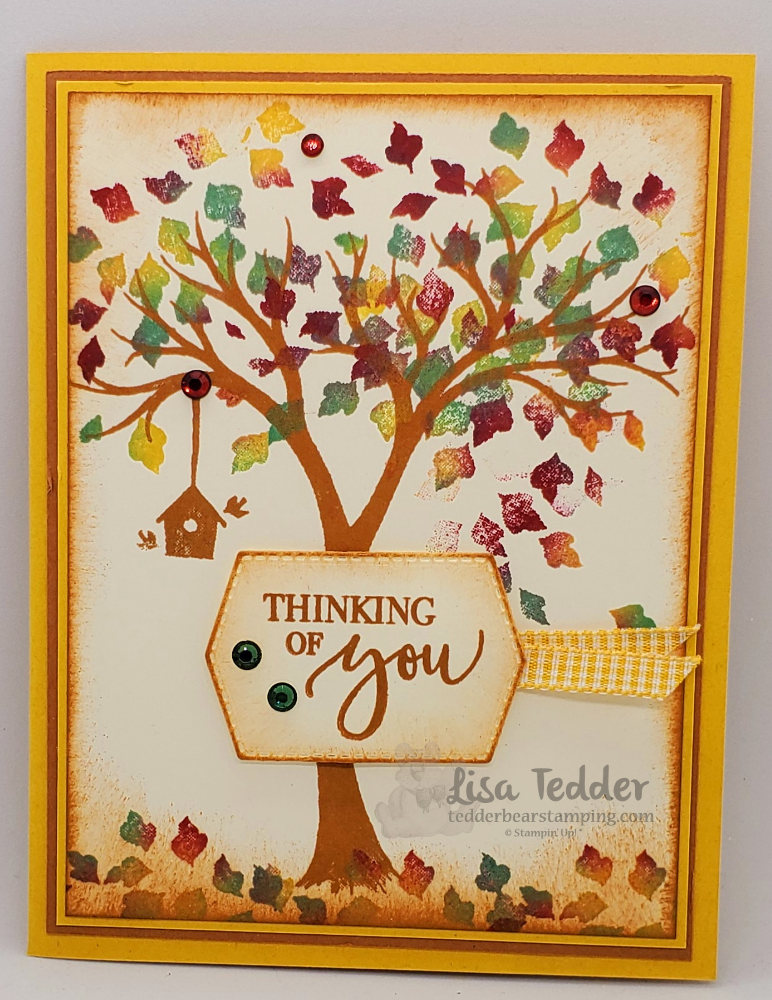
Today I am going to show you how I made my own Fall ink pad so that leaves on my tree look natural, when I am done you’ll be able to also!! Of course, I made a video you can go here if you would like to SEE how I made it! Naturally, I tend to look at pictures and if I have questions a video helps me out a lot. As an example, here is a picture of my card:

See how the leaves are THREE different colors! That’s my own Fall ink pad!
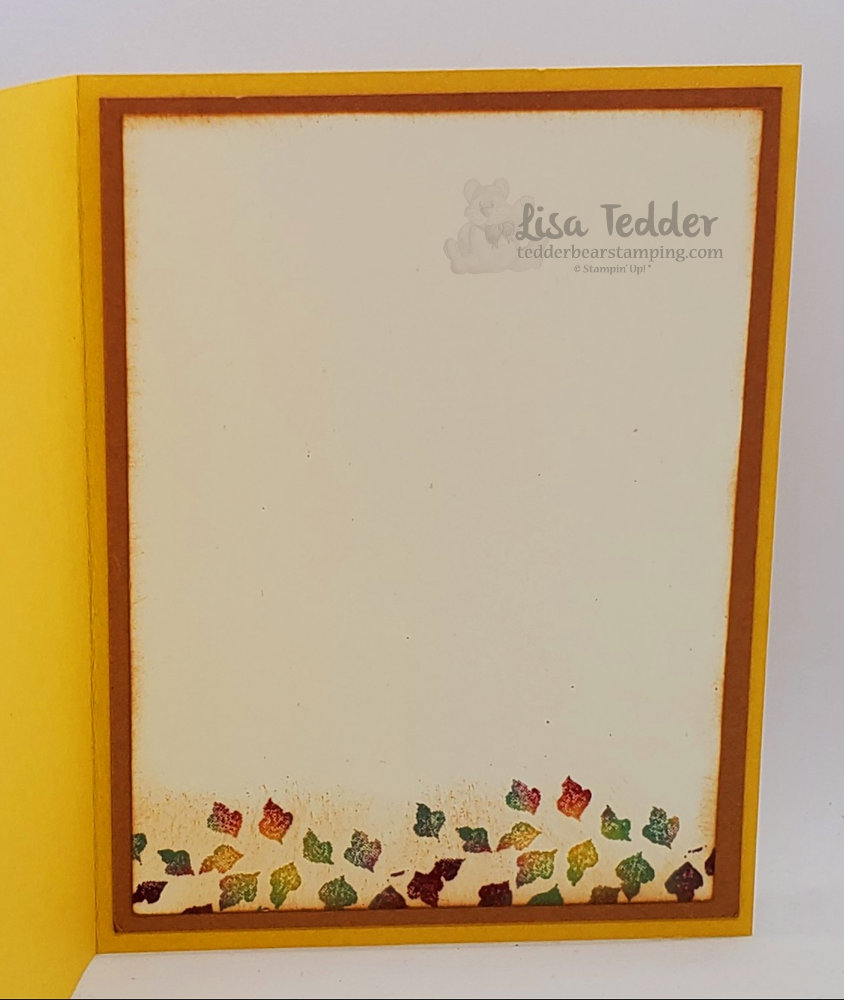
My own Fall ink pad was used for the inside too!

So, how did I make my fall ink pad? To begin with I had a dirty, yucky Versamark pad that I never used and thought of chucking it in the trash……but no, I could make my own Fall ink pad so my tree will look gorgeous AND match the colors I was using for this card!

My own Fall ink pad made from an OLD Versamark pad!

Since I wanted the colors to match my card I used Bumble Bee, Cherry Cobbler and for the green I went with Just Jade. Already I knew that I wanted to use the Holiday Rhinestones and those used Cherry Cobbler for the red, and a yellow that looked a lot like Bumble Bee but the green was Shaded Spruce so I went with a lighter shade of color and used Just Jade instead. It’s funny how I go about figuring out which colors I use in my crafting, this time it was all about the Rhinestones……gotta have that BLING!

For a different fall project that I made a few years ago, click here!

As always here are the specifics for this card:
Stamps:
Life is Beautiful
Inks:
Bumble Bee
Cinnamon Cider
Cherry Cobbler re-inker
Just Jade re-inker
Bumble Bee re-inker
OLD Versamark pad (you can use new!)
Paper:
Bumble Bee 8 1/2″ x 5 1/2″ (scored at 4 1/4″), 3 7/8″ x 5 1/8″
Cinnamon Cider 5 1/4″ x 4″ (x2)
Very Vanilla 5″ x 3 3/4″ (x2), scrap for sentiment
Misc:
Holiday Rhinestones
Stamping Sponges
Dimensionals
Tasteful Labels Dies
Bumble Bee Gingham ribbon

As you know, all the supplies will be listed below in picture form. Consequently if you click on any of them you will be taken to my OnLine Store, for every purchase at or above $35 you will get from me 16 projects in a pdf with pictures and step by step instructions!

Sneak Peek for projects you will get in your pdf!

To summarize, I am a ‘give the facts and be done’ kind of girl, so I will let you go for now, check back in next week for a new card/video! If you want to know when I post, subscribe and you can also receive a Newsletter from me by subscribing to that too! Thanks for stopping by and supporting me!

Lisa Tedder
A California girl living in North Carolina

Product List

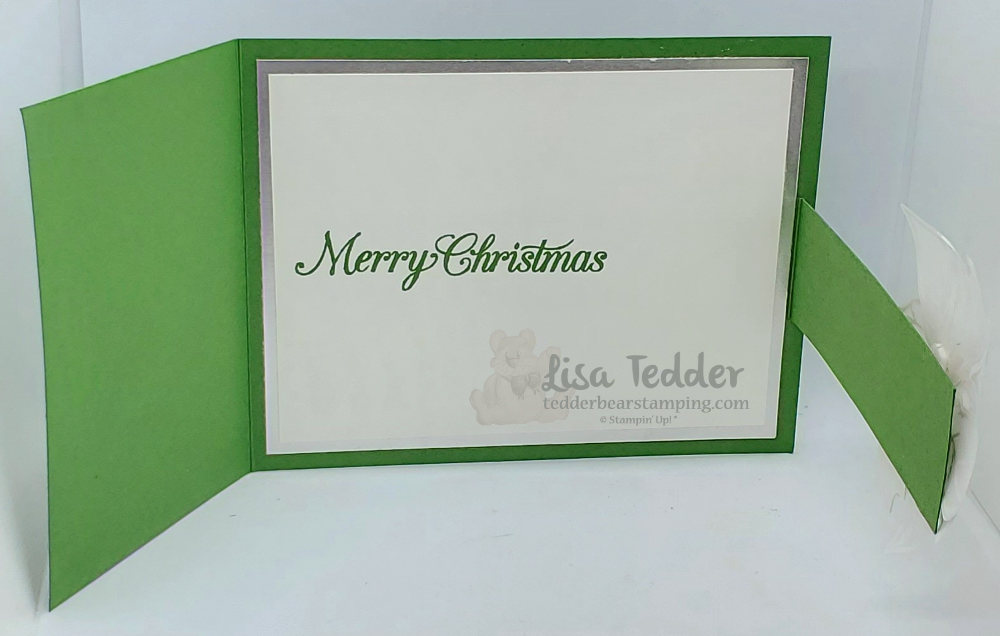
Elegant Christmas Card with Magnetic Closure!

Hey Guys!

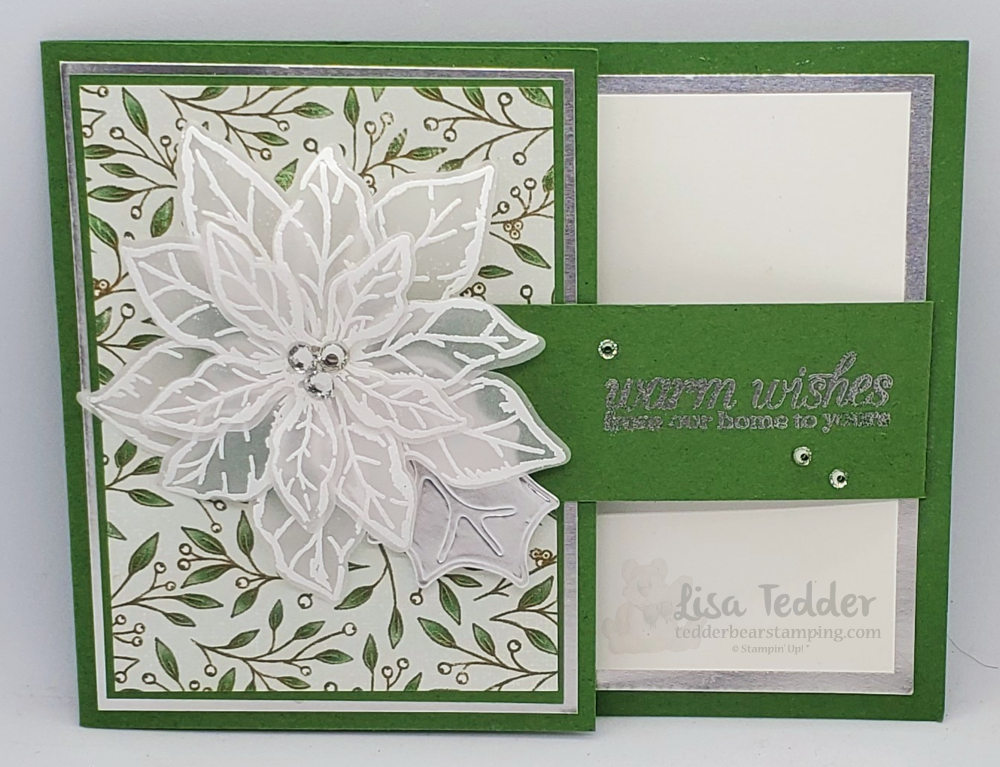
To begin with, I am showing you a really elegant and pretty Christmas card, that has a magnetic closure, you can see it on YouTube here!

First, have you seen projects using the Poinsettia Petals bundle on Pinterest?! As usual, I get my inspiration from there, but then I branch out on my own.
Second, I LOVE stamping on Vellum using White embossing powder, it makes any project look elegant! Such as my card (at least I think so!):

Christmas card with a magnetic closure, it’s behind the flower
Christmas card with a magnetic closure, the magnet is hidden!
  • As always here are the specifics for this card:
  • Stamps:
  • Poinsettia Petals Bundle
  • Inks:
  • Garden Green
  • Versamark
  • Paper:
  • Garden Green 8 3/4″ x 4 1/4″, 1 1/4″ x 5″ (scored @ 1/2″), 2 7/8″ x 3 7/8″
  • Silver Foil 5 1/8″ x 3 7/8″, 3″ x 4″, scrap for leaf
  • Poinsettia Place Designer Series Paper 2 3/4″ x 3 3/4″
  • Whisper White 4 7/8″ x 3 5/8″
  • Vellum enough to stamp the three layers of flower
  • Misc:
  • Stampin’ Cut & Emboss Machine
  • Magnetic Plate
  • White Embossing Powder
  • Silver Embossing Powder
  • Heat tool
  • Rhinestones
  • Dimensions
  • Stampin’ Seal +
  • Magnets (click to see which ones)

Similarly, as above you will see all the supplies in picture form below, click on any of them to be taken to my OnLine Store!

Therefore, if you purchase $35 or more you will be sent a PDF that has 16 tutorials with pictures and step by step instructions! Subsequently, this is my gift for you! In particular, I appreciate you being here and supporting me! Thus, here is a sneak peek of what you will get:

Sneak peek for purchases $35

Incidentally, last week, like this year…..was a bad one for me! Namely, I had to deal with Migraines and reactions to some new medicine, I didn’t get ANYTHING done.
So, I am off and running this week! Yes, I know it is Friday, but I have been VERY busy all week!

To Summarize, thank you for stopping by! Come back next week I have a great project planned! In addition to this card, if you would like to see another Fancy Fold Christmas Card, click here.

In conclusion, be sure and subscribe to my blog AND sign up for my Newsletter (I send out other project ideas!) one click and you will be added!

Lisa Tedder
A California girl living in North Carolina

Product List

You Can Emboss with that?!

Hey Guys!

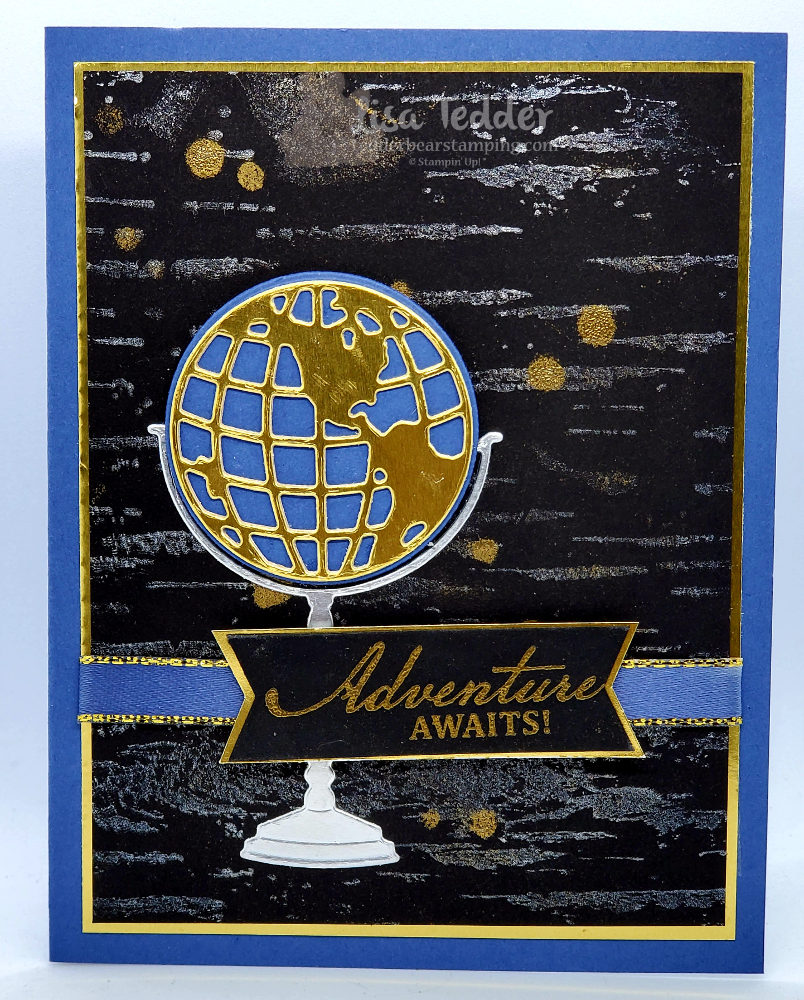
Did you know that you can emboss with water?! What!? I didn’t think it was possible, but I accidentally dripped water on a project I was Gold embossing, as I poured the powder, the water took it too and it embossed along with the Versamark!

So, of course I HAD to try it with JUST water, and you guessed it……it embossed! You can see the video of this card here. Here is a picture of my project:

The Gold spots are where I embossed with WATER!
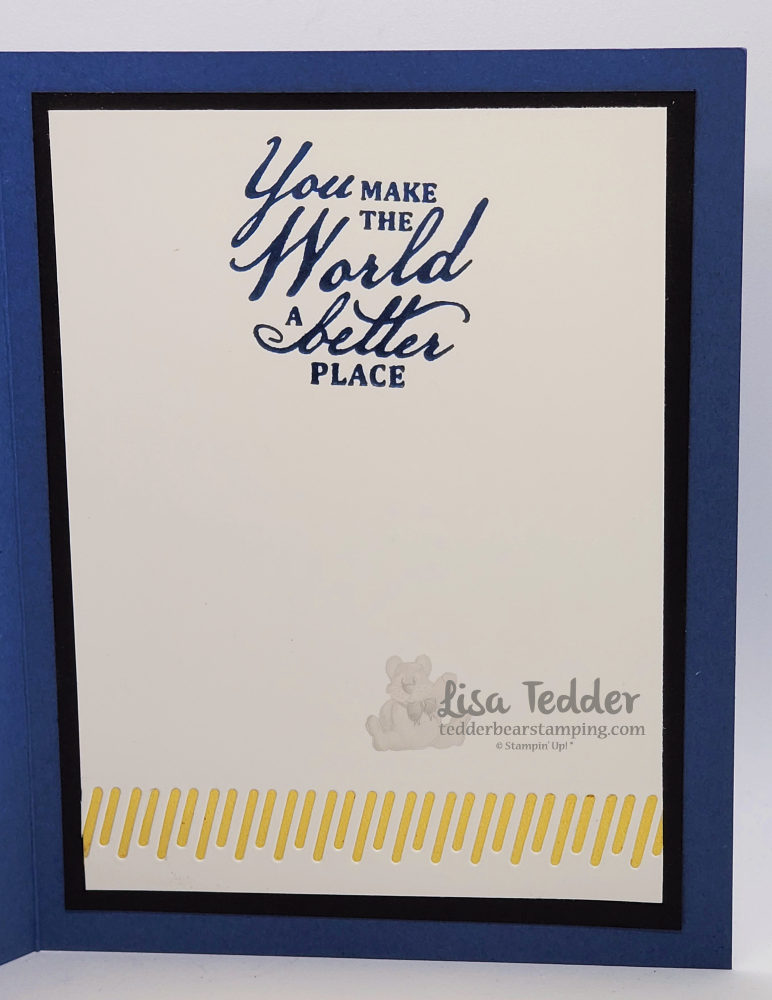
The inside of my Water embossed card!

To get the ‘silver’ look on the background, I used a Sponge Brayer and the Frost White Shimmer Paint and applied it to the Birch Background stamp from Stampin’ Up! On black the ‘white’ looks more silver, therefore this card has both Silver & Gold! Every time I say that, I want to break into song singing “Silver & Gold, Silver & Gold”! I ‘think’ it’s from Rudolph the cartoon, do you know?

I also embossed the tag with Gold and used the Banners Pick a Punch to get the tag perfect! For the Stamp set, I used the Beautiful World Bundle. LOVE this set!

If you would like to see another embossing technique you can check it out here!

As always, here are the specifics for this card:

Stamps:
Beautiful World Bundle
Birch

Inks:
Versamark
Misty Moonlight
Blends: Misty Moonlight (light)

Paper:
Misty Moonlight 8 1/2″ x 5 1/2″, scrap for behind the map
Gold Foil 5 1/8″ x 3 7/8″
Silver Foil
Basic Black 5″ x 3 3/4″ (x2), scrap for map, 2 strips for behind sentiment & behind cut out on the inside
Whisper White 4 3/4″ x 3 1/2″

Misc:
Frost White Shimmer Paint
Dimensionals
Banners Pick a Punch
Sponge Brayer
Gold Embossing Powder
3/8″ Metallic Edge Ribbon (Gold)
Heat Tool

You can click on any of the supplies in picture form below and you will be taken to my OnLine Store! If you decide to purchase from me, any time you spend $35 or more you will receive from me a pdf of 16 projects with pictures and step by step instructions! Here is a sample of what you will get in July:

Any purchase from my Store for $35 you get a PDF with these projects!

Finally, what do you think? Did you know that you can emboss with WATER? I sure didn’t! I hope you liked learning something new. Please be sure and come back (subscribe to my blog & Newsletter) so you can see my next project! Thank you for supporting me by visiting! I appreciate you!

Lisa Tedder
A California girl living in North Carolina

Product List

NEW SU! product you can get now!

Hey Guys!

So, Stampin’ Up! has NEW product we can buy now from the upcoming catalog! Of course, I HAD to buy it, I mean twist my arm a little harder. 🙂 Here is a video you can watch to see the full Suite.

I have made three cards, today I am sharing with you one of them.

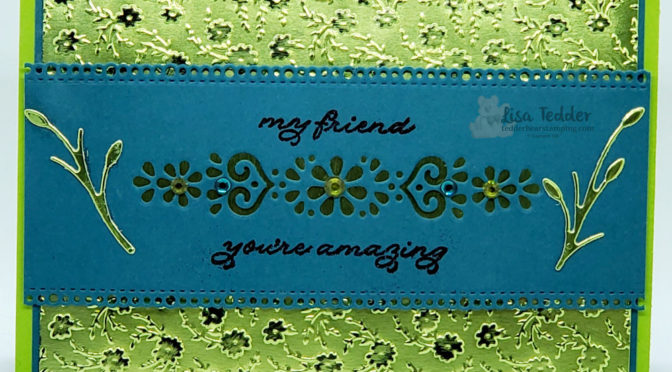
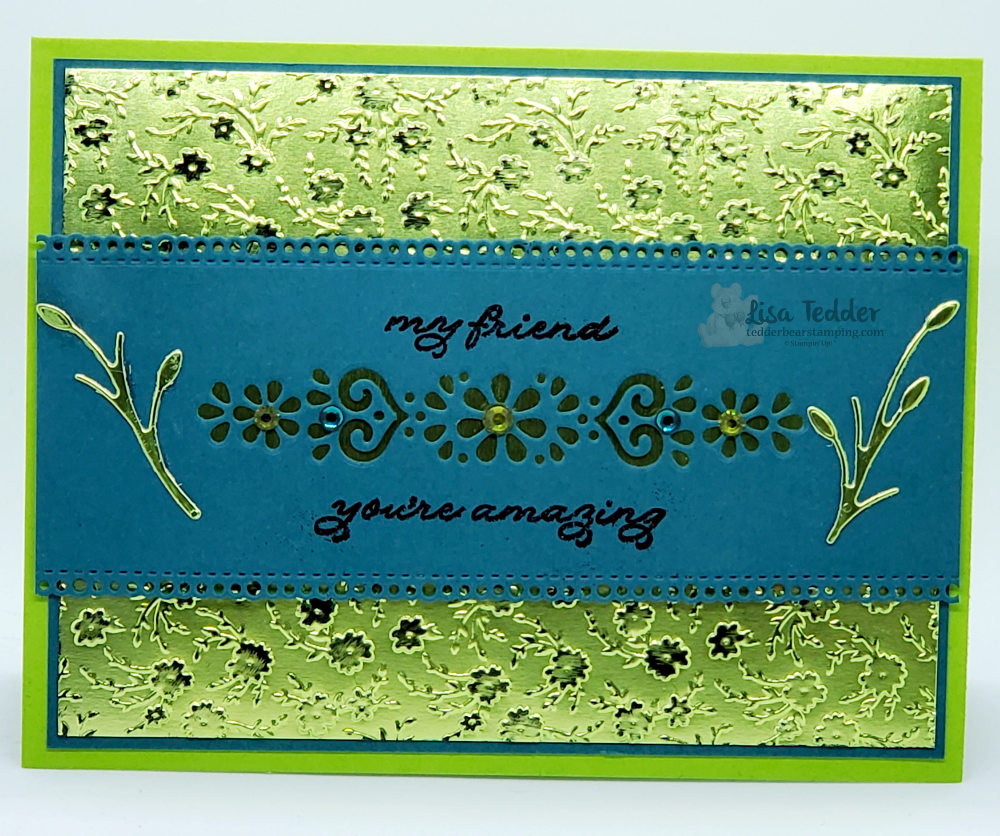
It is funny how you start out with one idea in your head, and it morphs into something else. The first thing I did was do the scallop edges on the top of a piece of Pretty Peacock, I didn’t realize at first that it was a border die…once I figured that out (duh) I ran it through again to make a strip so both edges are scalloped.

Then, I thought I would use one of the small dies to put in the middle. Well, that turned out very pretty!

Now what to do with it? There was a strip of the Noble peacock Foil sitting next to me, Put it behind the image and that was great! Then I thought that the embossing folder would be so pretty using that same foil paper, and it was! But I needed it to pop, so I got my StazOn black and rubbed it over the flowers in places to get it to shine! Well? What do you think?

As always, here are the particulars for this card:

Stamps:
Ornate Thanks

Inks:
StazOn Black (the Memento won’t stick to the foil)
Versamark

Paper:
Granny Apple Green 8 1/2″ x 5 1/2″
Pretty Peacock 5 1/4″ x 4″, 2 1/8″ x 5 3/8″
Noble Peacock Foil 4″ x 1″, 5 1/8″ x 3 7/8″, scrap for leaves I got from die

Misc:
Ornate Floral 3D Embossing Folder
Noble Peacock Rhinestones
Glitter Black Embossing Powder
Ornate Borders Dies
Ornate Layers Dies
Liquid Glue

I’ve lagged behind on my blog posts, so sorry! Who says that if they had ‘enough time’ they would get a ton done!? Well, WE all have time now, what have you been doing with that time? I AM stamping, tried out Zoom (great tool for keeping in touch and getting to SEE everyone!), been watching a ton of tv……How about you?

Hope everyone is staying safe and healthy. We are lucky, my husband and I can work from home, but our Son’s job wants him to come in and it is NOT a crucial job. He feels like he HAS to go since he needs to pay his bills. 🙁

Please come back and visit!

Lisa Tedder
A California Girl living in North Carolina

Product List

Humming Along Glitter

Hey Guys!

Here is another card that I saw on Pinterest that I decided to CASE.

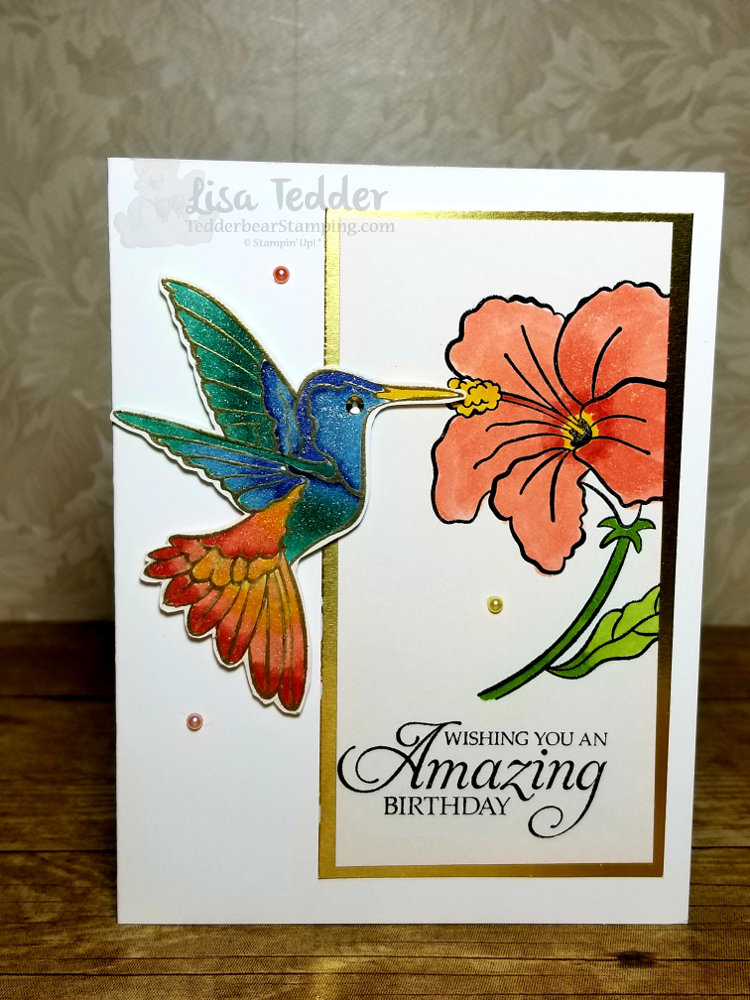
This was done by Mikaela Titheredge, absolutely stunning but I wanted mine to be a standard size.  Here is what I came up with:

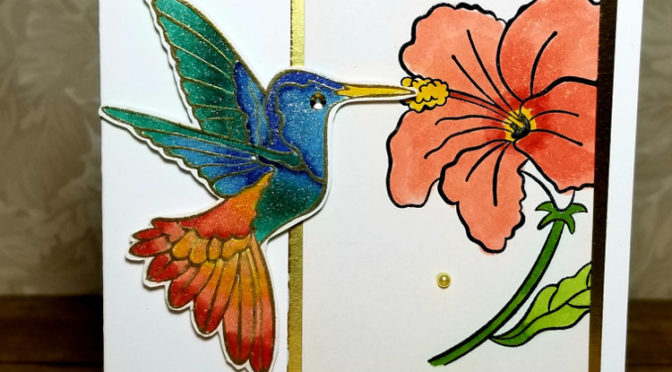
If you look close, you can see all the glimmer on the bird.  I did this with blends and then went over with the Wink of Stella.  I LOVE the colors used on this gorgeous hummingbird!

Here are the specifics for this card:

PROJECT 1: Humming Bird
Stamp Sets Pg #
Humming Along  Occasions Bundle
Itty Bitty Birthdays Occasions
Paper
Thick White 8 1/2″ x 5 1/2
White 3 3/4″ x 5″
Shimmer White 2 3/8″ x 4 5/8″, 3″ x 4″
Calypso Coral 5 1/4″ x 4″
Gold Foil 2 5/8″ x 4 7/8″
Inks
Momento Black
Blends: Granny Apple Green, Calypso Coral,
Night of Navy, Bermuda Bay, Dk Daffodil Delight
Accessories
Wink of Stella
Share What you Love Artisan pearls
Dimensionals
Big Shot

I LOVE when I can find a card that other than size I don’t have to change anything!

Below are the supplies in picture form.  Click on any of the pictures to be taken to my OnLine Store.  If you choose me as your SU! Demo I will send you a small gift as a thank you!

Lisa Tedder
A California Girl living in North Carolina
Product List


HedgeHog Cutie

Hey Guys!

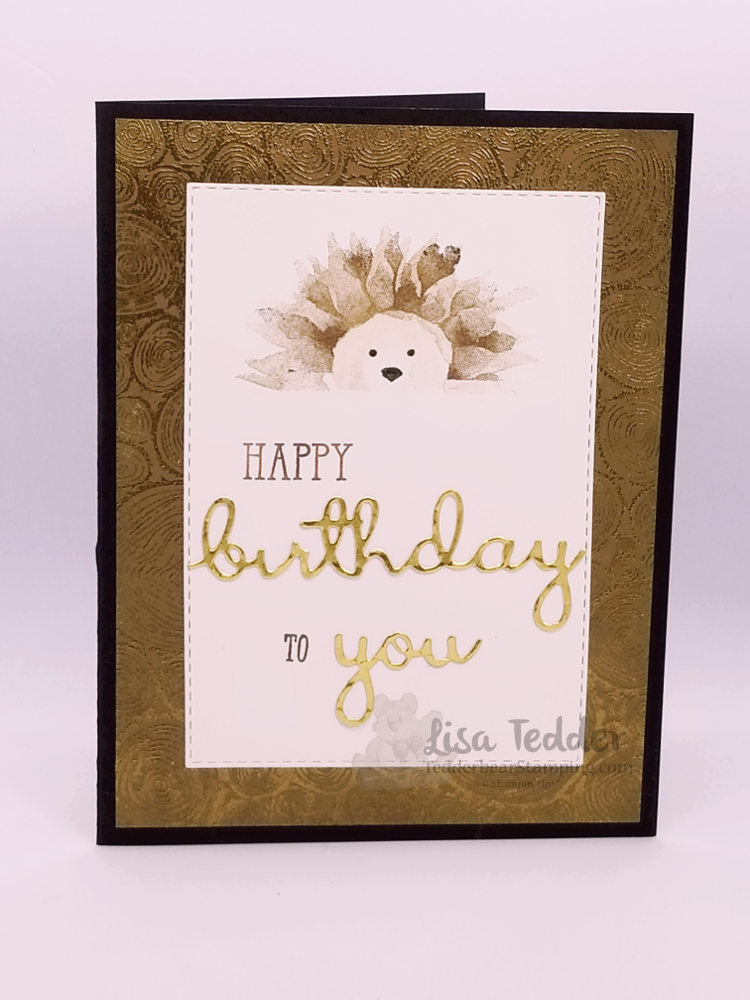
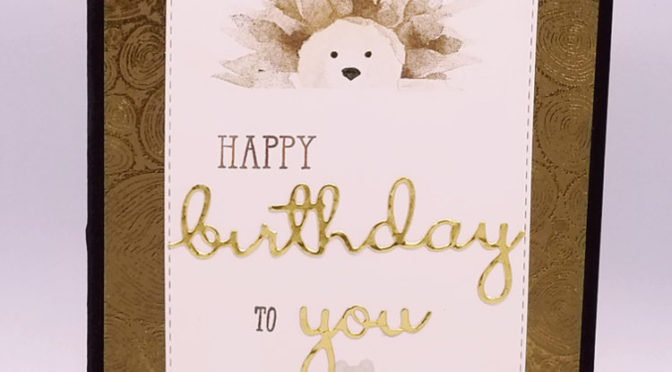
I made a Hedgehog with a flower stamp!  I’ve seen this done over a year ago, and FINALLY decided to make one.  These are so cute it was always on my list to make one.  So happy with how it came out! Here is my card:

I thought that embossing the Tree Rings on Soft Suede using Gold Embossing Powder would be really pretty. This is so stunning in person!  This is a card we’ll be doing in my kid card class. This, in my opinion, would be great for a teen girl.  I would love getting this, wouldn’t you!?

Here are the specifics for this card:

PROJECT 3: Hetty the Hedgehog
Stamp Sets Pg #
Painted Harvest
Well Said Bundle
Rooted in Nature
Tree Rings
Paper
Basic Black 8 1/2″ x 4 1/4″
Soft Suede 5 1/4″ x 4″
White 5″ x 3 3/4″, 3 1/4″ x 4 1/2″
Inks
Versamark
Soft Suede
Crumb Cake
Early Espresso marker
Gold Foil 1 3/4″ x 3 1/4″
Accessories
Embossing Buddy/Gold EP/Heat tool
Rectangle Framelits
Big Shot
Post-It’s
Fine Tip Glue Pen

Below are pictures of the supplies for this card click on any picture and you will be taken directly to my OnLine Store.  If you purchase from me, I will send you a small gift to thank you!

Please stop back and see me!

Lisa Tedder
A California girl living in North Carolina
Product List

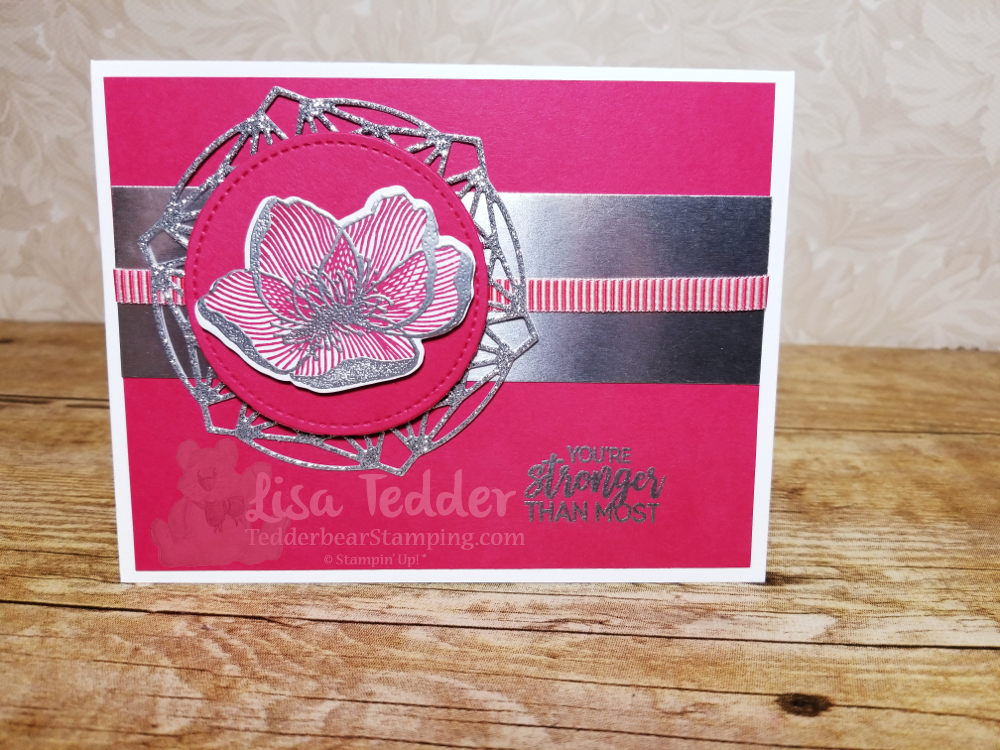
Beautiful Promenade with Silver

Hey Guys!

Happy New Year!  Hope you had a great Christmas and New Year.  I’m excited to see what the New Year Brings, are you?

Here is another card that I saw on Pinterest that I HAD to copy! The idea came from Robyn Cardon, I added the ribbon/changed the color, but the rest of the idea came from her!

This is my first time using the New Lovely Lipstick in the In Colors. I really like it!  The picture makes it look more like Melon Mambo, but it has more red than pink to it.

I used Silver Embossing powder to make it pop, and added the ribbon.

Here are the particulars for this card:

Stamp Sets
Beautiful Promenade Bundle
Paper
Whisper White Thick 8 1/2″ x 5 1/2″
Lovely Lipstick 5 1/4″ x 4″ (x2), 3″ sq
Silver Glimmer 3 1/2″ sq
Silver Foil 1 1/2″ x 5 1/4″
Whisper White 5″ x 3 3/4″, scrap flower
Inks
Versamark
Lovely Lipstick
Accessories
Silver EP/ Embossing Buddy/ Heat tool
Big Shot
Poppy Parade Mini Striped Ribbon
Dimensionals

All of the pictures below show the supplies used, click on any of them and you will be taken to my OnLine Store!  All Online purchases receive a gift from me!

If you are considering joining the SU! Family, I would love to be your Team Leader!

Hope you enjoyed my share for today!  Hope to see you back soon!

Lisa Tedder
A California Girl living in North Carolina

Product List

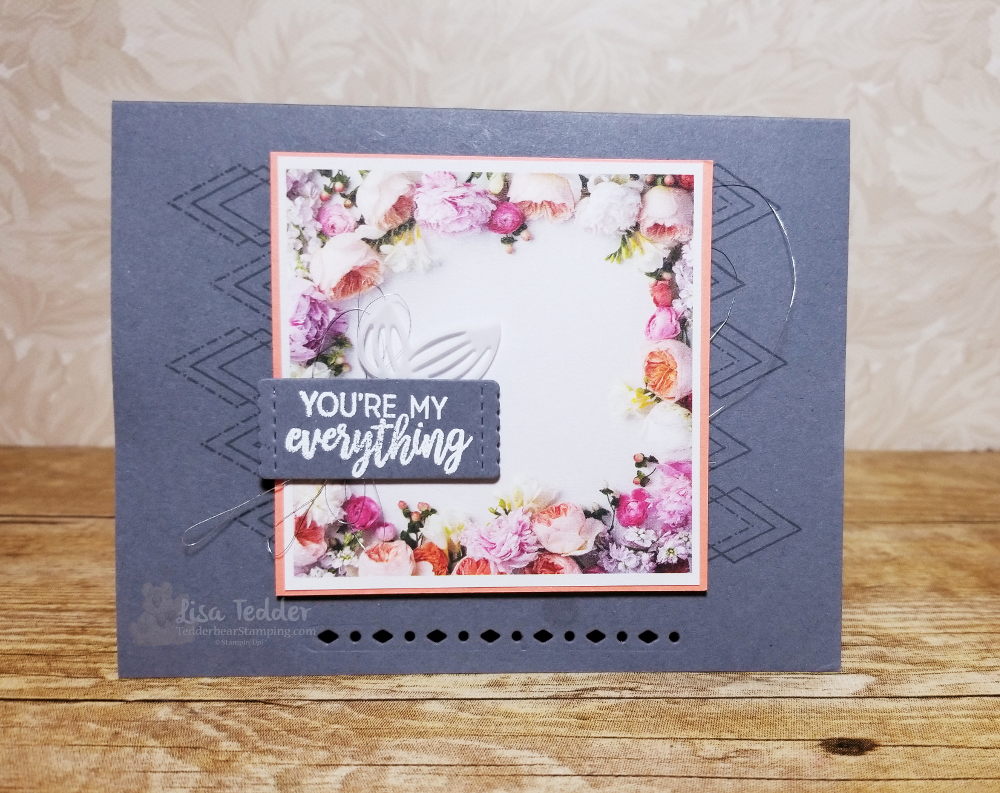
Vellum, Roses and Silver Oh My!

Hey Guys!

Here is another beautiful yet simple card!

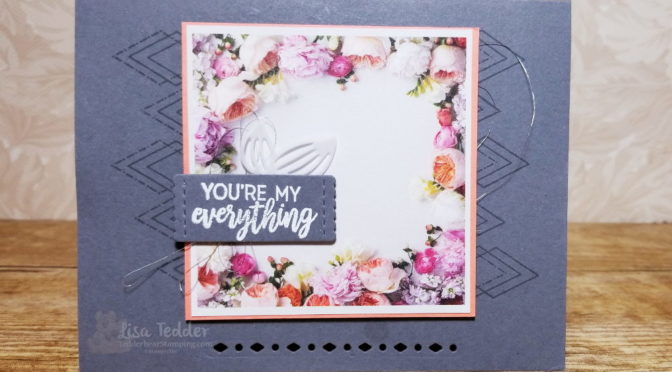
This card is inspired by one I saw on Pinterest by Kristine McNickle.  I LOVE Basic Gray and Grapefruit Grove  together!  It is a great pairing, don’t you think?  See that cut out at the bottom? When the card is closed you can see the Grapefruit Grove peeking through.  It is a pretty design element.  The square floral paper is Designer Series Paper!  Such a pretty and easy way to bring elegance to a card.  I stamped the sentiment with Versamark and embossed with White Embossing powder.

The Beautiful Promenade stamp set, has a thinlit that goes with it called Beautiful Layers.  This is where I got the feature at the base of the card.  You can get 10% off the Bundle when you purchase both the stamp set and the thinlits.  My next post will have another thinlit from this set, so check back in!!

Here are the particulars for this card:

Stamp Sets
Beautiful Promenade Bundle
Paper
Basic Gray 8 1/2″ x 5 1/2″, 2 5/8″ x 3 5/8″, scrap
Grapefruit Grove 3 1/4″ sq, 5 1/4″ x 4″
Whisper White 3 1/2″ x 2 1/2″
Petal Promenade DSP 3 1/8″ sq
Vellum scrap
Inks
Basic Gray
Versamark
Accessories
White EP/ Embossing Buddy/ Heat tool
Stitched Labels Framelits
Silver Thread
Dimensionals
Big Shot

Below are the supplies used in picture form, click on any of them and you will be taken to my OnLine Store.  Any Online order will receive a gift from me!

If you are in search of a Demonstrator, I would be honored for you to pick me!  Also, it would be to my utter delight to have you join my Team if you are considering joining SU!

Thank you for stopping by, hope you enjoyed your stay and that you will stop by again!

Lisa Tedder
A California Girl living in North Carolina

Product List

Beautiful Promenade Photopolymer Bundle

Stitched Labels Framelits Dies

Basic Gray 8-1/2" X 11" Card Stock

Grapefruit Grove 8-1/2" X 11" Cardstock
Petal Promenade Designer Series Paper

Vellum 8-1/2" X 11" Card Stock

Versamark Pad

Basic Gray Classic Stampin' Pad

White Stampin' Emboss Powder

Embossing Buddy

Heat Tool
Silver Metallic Thread

Stampin' Dimensionals

Big Shot