Tag Archives: Glimmer Paper

Catalog Launch Prize Give-away using Colorful Seasons, now to make one for me!

Last Friday, I had my Catalog Launch Party and I had two Prizes that those who attended could win!

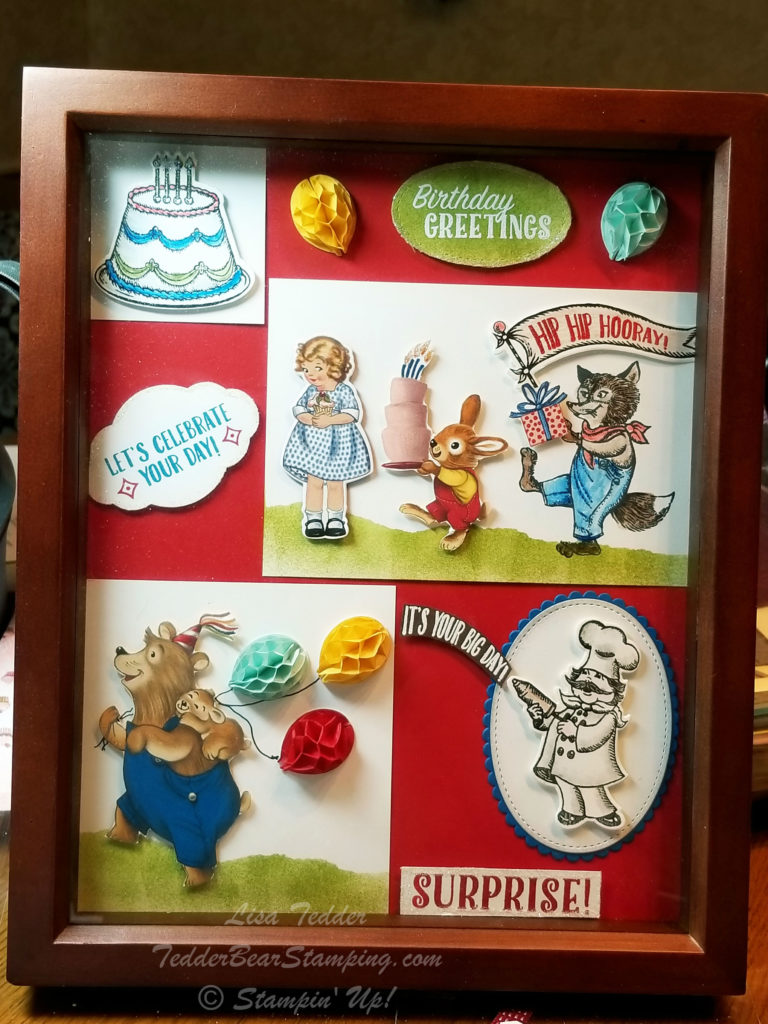
The first one uses the Birthday Delivery bundle!  LOVE this bundle, it is so much fun to play with!  Did you know that the thinlits not only fit the STAMPED images, but also fits the images on the Designer Series Paper (aka DSP)?!  It’s so versatile and you KNOW I love to get more from my stamping dollars!

I LOVE how the Chef has his can that will spray out the words “It’s your big day!”   Isn’t that so cute!  The balloons are fun to add, I had to ‘fussy cut’ the bear but it was super simple.  I’m sorry to say that I gave this away BEFORE I measured it!  I ‘think’ it was 8″ x 10″.   I made it on Thursday and I had a winner for it on Friday!  For the grass I sponged using Old Olive with a mask giving it that great wavy look!

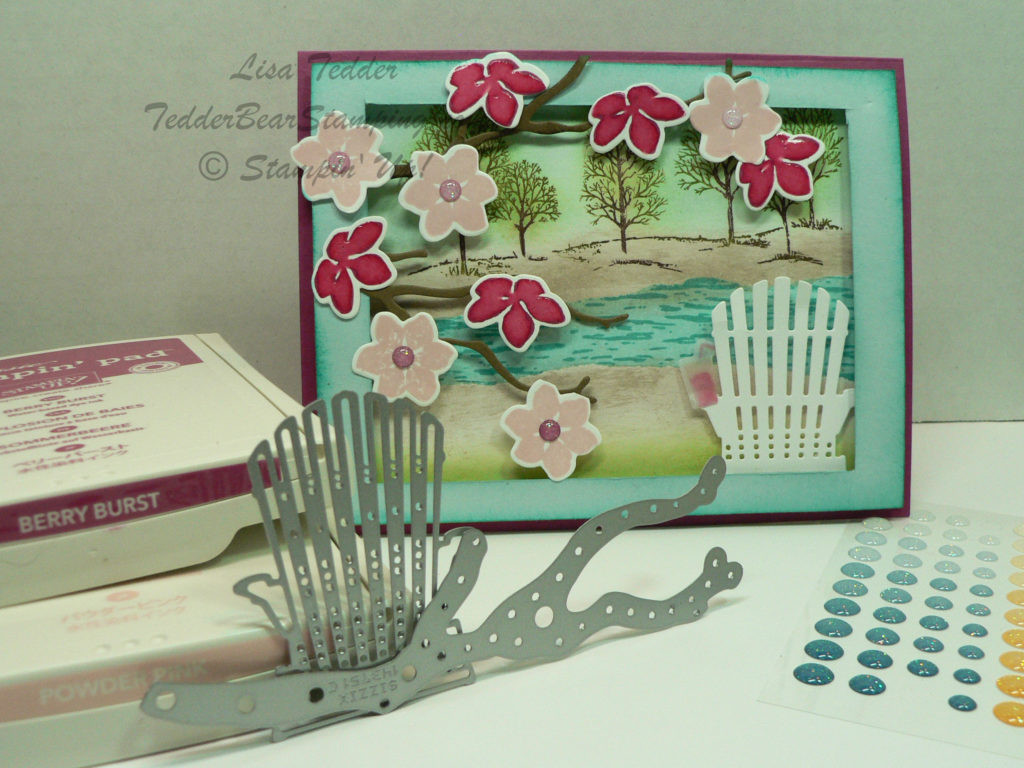
For my other Prize I did a take on a card I made in another post:

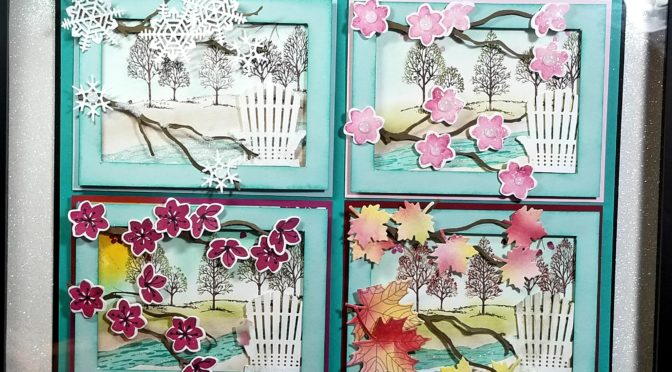
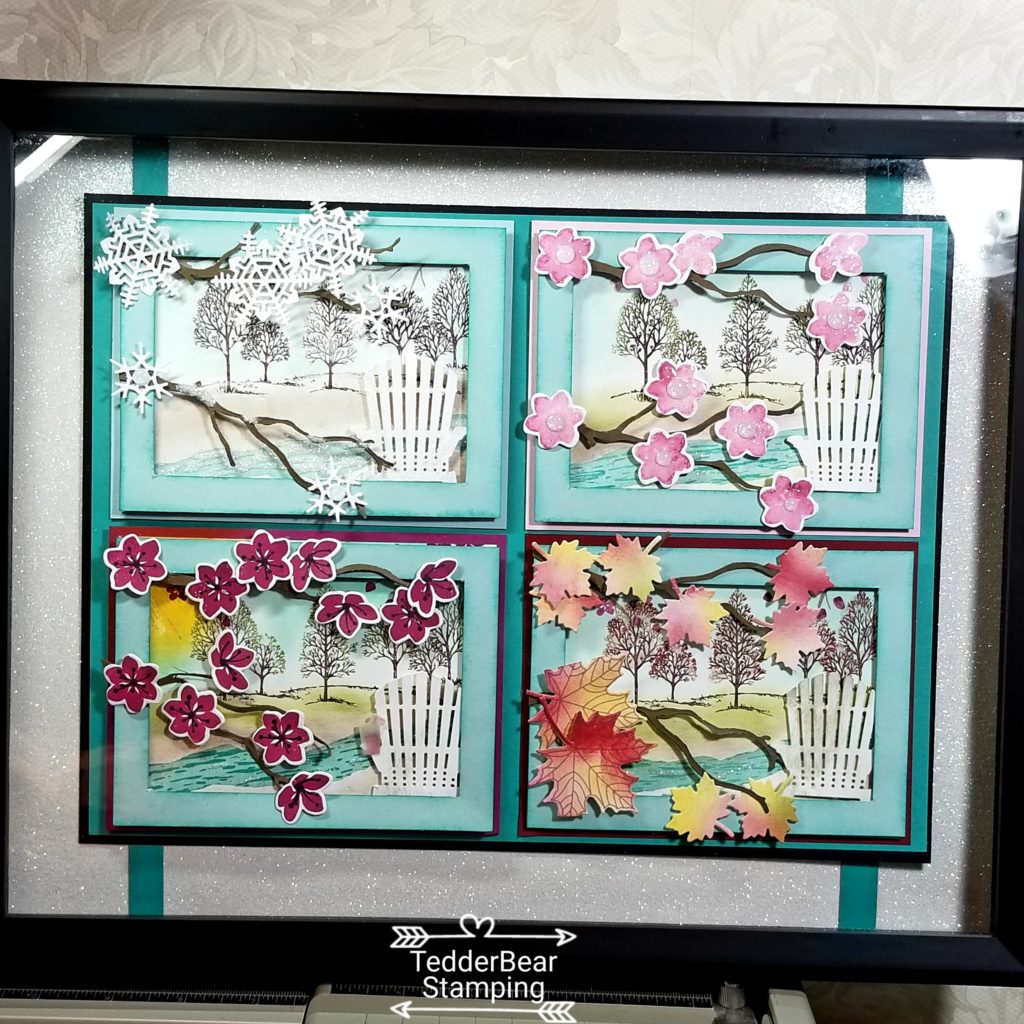
I loved how this came out, and decided to see how it would look framed with all the seasons!  I have to admit I was soooooo excited when I was done, and a little disappointed that I had to GIVE IT AWAY!  LOL  I used Dazzling Diamonds to make the water sparkle, especially on the winter one to make the water look icy!  Here is a closer look at each Season:

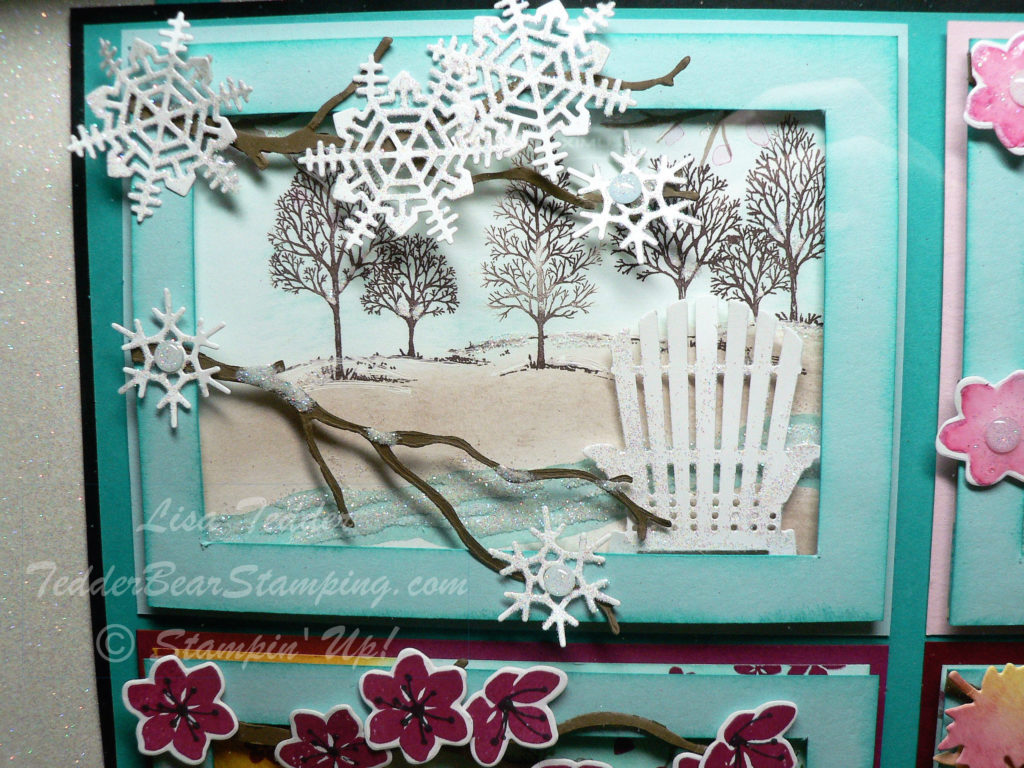
The water is icy and the chair is sparkly with Dazzling Diamonds!

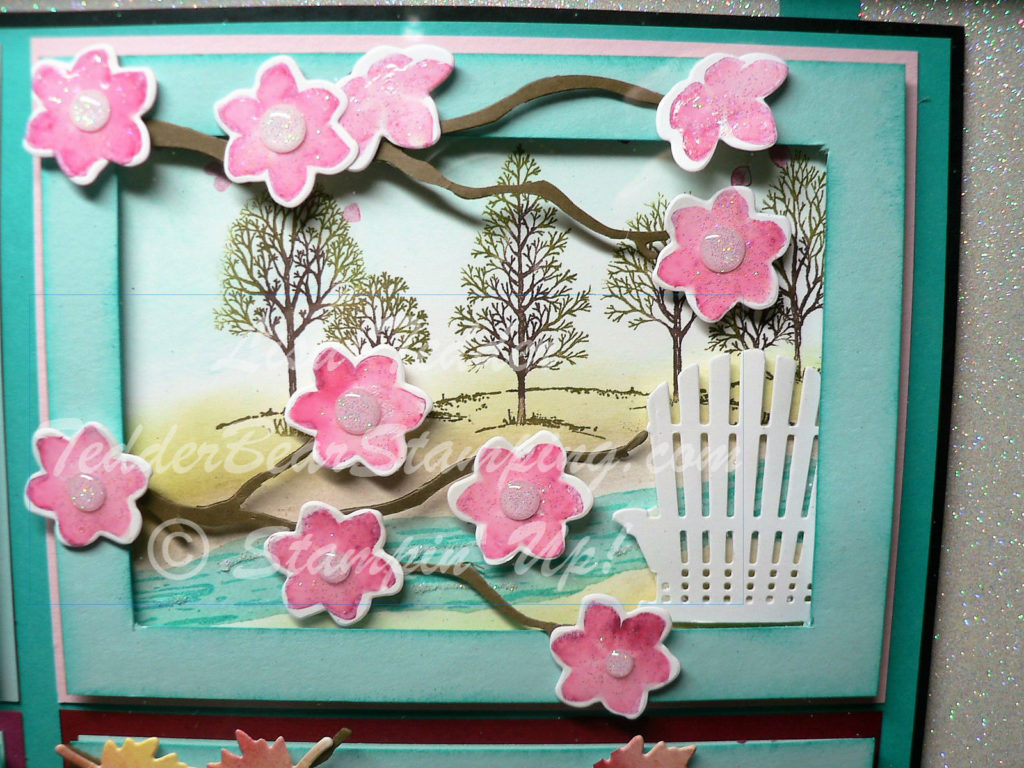
The trees are just budding with leaves and the Chair is in Pristine condition!

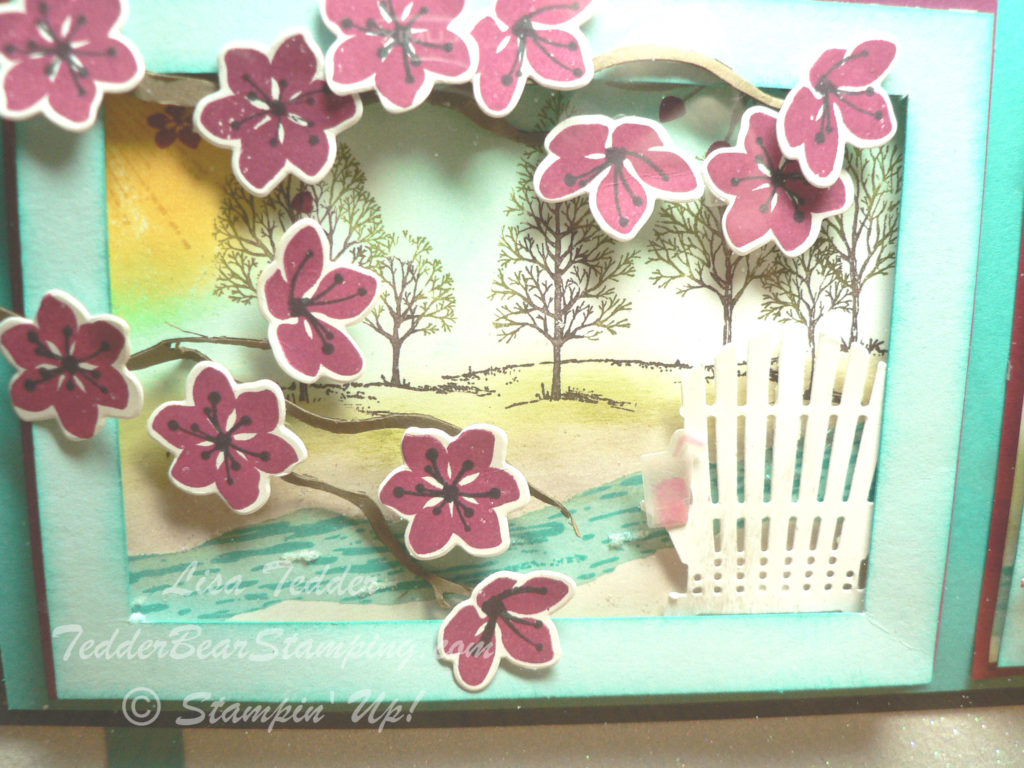
Summer time!  The sun is shining! The blooms are out!  The chair is a ‘little’ dirty, but we have that iced drink so we don’t care!!

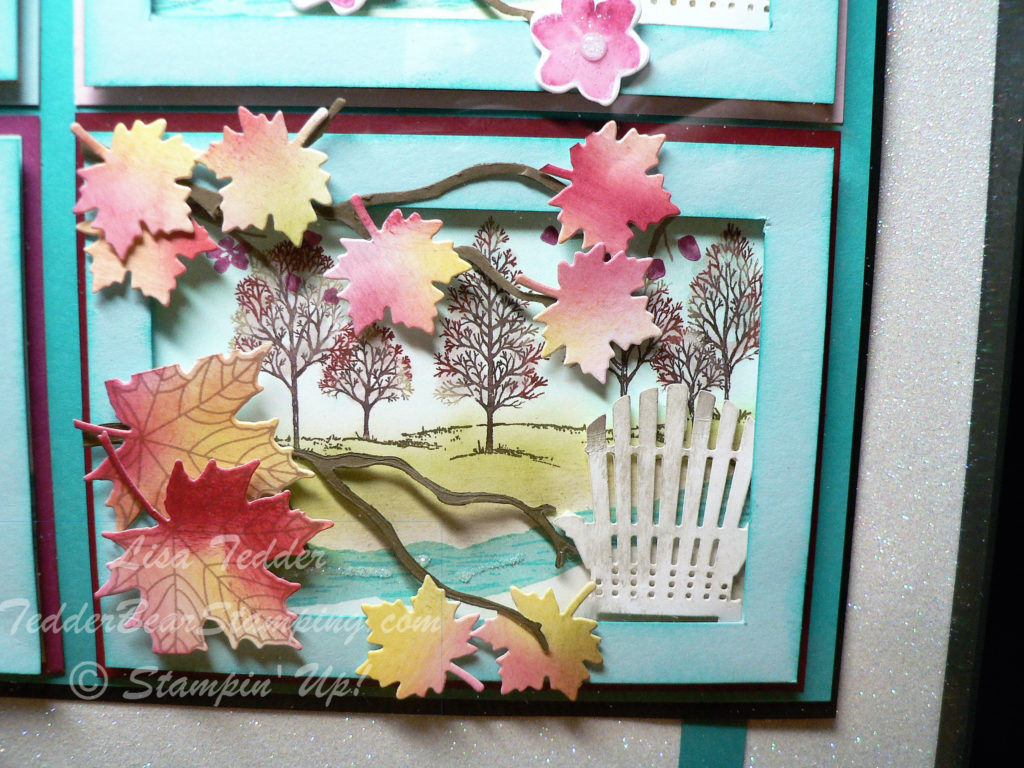
Fall is here!  The leaves are changing!  The chair is almost ready to be cleaned for the end of the season!

Here is the full view!  Notice the Dazzling Diamonds background paper?  The measurements for this beauty is 11″ x 14″………..which is why I had to add the strips of Bermuda Bay.  Can’t have a place that has a seam!  There’s only ONE seam, but for symmetry I put two strips in!

For this Colorful Seasons framed art, I took off with the given name of the set……..Colorful SEASONS!  I chose to make four scenes but having the scene stay the same but change it up to see the Seasons!  I had a blast making this!  I used Lovely as a Tree to be my backdrop, and the best thing is that you can make this stamp set look different just by using markers!

Dimensions:

Dazzling Diamonds Glimmer Paper #135315, 12″ x 11″ and 12″ x 2″
Bermuda Bay ( Brights Cardstock pack) #145409, 1/2″ x 11″ x’s 2
Basic Black #124267, 12″ x 9″
Bermuda Bay (see # above), 11 3/4″ x 8 3/4″
Seasons:
Pool Party (Winter) 4 1/4″ x 5 1/2″
Pink Pirouette (Spring) 4 1/4″ x 5 1/2″
Berry Burst (Summer) 4 1/4″ x 5 1/2″
Cherry Cobbler (Fall) 4 1/4″ x 5 1/2″

All Seasons are on Whisper White cardstock 4″ x 5 1/4″, ‘frame’ is Pool Party 5 1/4″ x 4″ with a 1/2″ cut out on inside all around.

Water is Soft Sky and Bermuda Bay for all seasons except winter which is Soft Sky and Whisper White.

Trees are colored with markers:  Tree trunk is all Early Espresso, Leaves are Old Olive (spring and summer), Fall is Cajun Craze and Crushed Curry.

For the water I used the Fine Tip Glue Pen to make the water sparkle with Dazzling Diamonds on top.

For the winter tree branch thinlit I used the White Gel pen (retired) to make snow on the top, with Dazzling Diamonds over it to make the branches be snowy!

That’s it for the Dimensions!

I hope you like this post!  This took me a couple days to create but only because I had to think it up!  Once started, it took a couple of hours.

I will be making one for myself as soon as I am able!  I will probably take this to the winner on Monday so will have to make one before then, just in case I need a life size reference!!

I have my Blog Candy to give away TOMORROW!!  Wow, that went fast!  You can get in on the drawing by posting comments here on this blog (any post! or multiple posts!) or on my Facebook page and I will put your name down each and every time you comment!

Here is a reminder of what you can win:
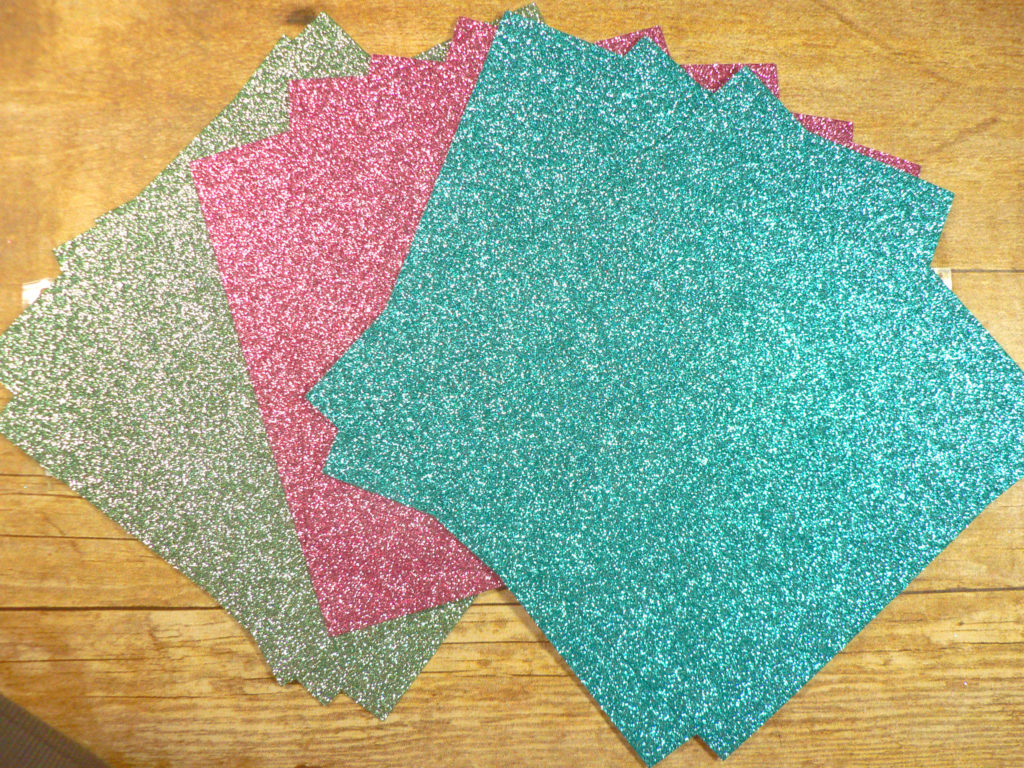

These are soooooo pretty!!  Good luck!

I’m off to make some cards for my upcoming classes!  I’m sure I will be sharing them with you as time allows!

Below my name is pictures of what I used to make this project…..you can click on any picture and you will be taken to my online store!  If you place an order with me, I will send you a handmade card and a small token of my appreciation! Please use this Hostess Code for you order:  C62FFAR3

Lisa Tedder
TedderBearStamping
A California girl living in North Carolina!
Product List

NC Demo Blog Hop – Progressing Christmas Page

If you just came from Pam’s page, welcome to my page! If you started at mine, click on the names below to see what others have done for the Holidays!  Enjoy!

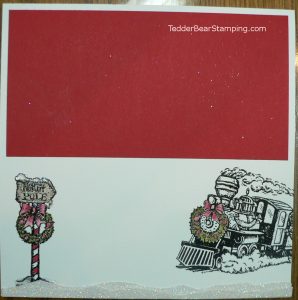
Today I am showing you how I go about doing a Scrapbook Page by showing that you can make ANY size page depending what you like.  I started off making a 6 X 6 page:

6x6page

The red block is for putting your picture in.  I LOVE handmade scrapbook pages!  And the Stamp set from Stampin’ Up! called Christmas Magic is one of my FAVES!  It’s so pretty and versatile!  I made tags too with the sets I used for this page, check it out at the end of this post!

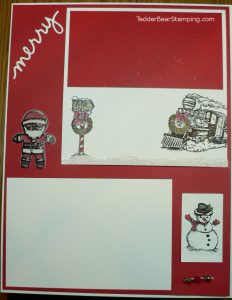
For the next part of the page I made an 8 1/2″ x 11″ page and placed the 6 x 6 on that one.

middlepage

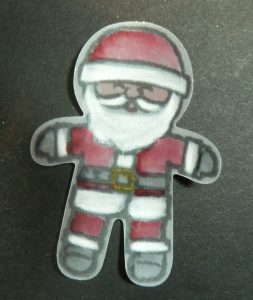
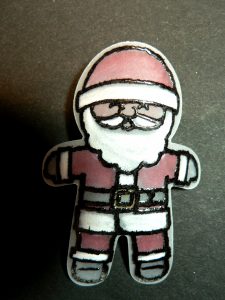
The White under the Santa and next to the snowman is where You put the picture on this part!  I used the Santa from the Stamp set Cookie Cutter Christmas.  This was so much fun to do! I stamped it on Vellum using Black ink and embossed it with clear.  I then turned it over and colored the back, making sure I shadowed it.  I put it on my Stampin’ Pierce Mat and with my embossing tool from the Simply Scored Scoring Tool upside down (embossed side down) and rubbed the embossing tool over all the white pieces.  This raises the vellum and makes it white.  REALLY WHITE!  It is so much fun to do this technique and looks great on sails and other stamped images that need to be white and fluffy.

santainside

This is what it looks like before you turn it over.

santafinal

Once you turn it over you can really see the white is white!  I did NOT use ANY ink on the white parts, that is all because the vellum changes to white when you press on it with the embossing tool.

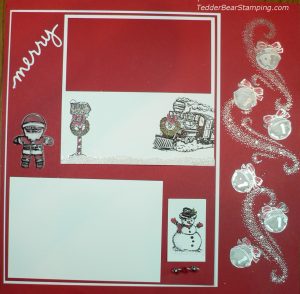
Now, here is the finished page on 12 x 12 :

beckypagedone

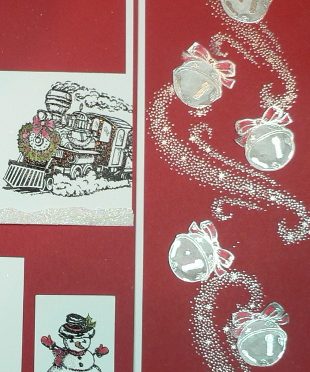
I die cut the ‘Merry’ from the Christmas Greetings Thinlits.  I also stamped the bells from the Christmas Magic stamp set and embossed it with Silver Embossing Powder, then using my blender pen colored in Smoky Slate to ‘look like’ silver.  But first I stamped the Swirl from Star of Light and ‘hung’ my bells from that.

If you notice under the snowman, I have three bells on white bakers twine, this is so they won’t fall off (my daughter is going to frame this with her Christmas pictures on the wall), and I wanted to make sure that no matter what they wouldn’t fall off.  I made the white twine go through the paper and I tied a  knot in the back.

This page, in person, is so pretty!!  Have you ever made something and are impressed with how much better it came out than you thought it would when you started?!!   That’s how I feel, I hope you like it too!!

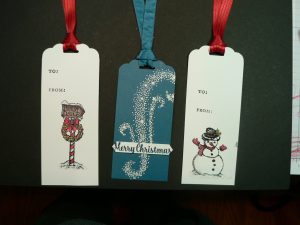
Now, here are the tags that I made to go along with this gift:

p1120035

I love the simple yet elegant feel of these!  Which is perfect for something that you will want to make a lot of!  I used the Scallop Tag Topper for all of these, the middle one is just a little bit shorter than the other two.

Here is the details that you might want to know!

Stamp sets:
Christmas Magic #142119
Star of Light # 142110
Merriest Wishes # 142066

Inks:
Versamark
Real Red
Basic Black
Old Olive

Cardstock:
Whisper White 8 1/2″ x 11″, 4″ x 6″, 6″ x 6″, 1 1/2″ x 2 1/2, scrap for ‘merry’  and the bells and 2″ x 5″ for tags
Real Red 12″ x 12″, 3″ x 5 3/4″, 8 1/4″ x 10 3/4
Dapper Denim 2″ x 4 1/4″ for tag

Accessories:
White embossing powder #109132
Silver Embossing powder #109131
Scalloped Tag Topper Punch #133324
Classic Label punch #141491
Mini Jingle Bells #142002
Simply Scored Scoring Tool #122334
3/8″ Ruched Ribbon – Dapper Denim #141424
3/8″ Stitched Satin Ribbon – Real Red #141693
Dazzling Diamonds #133751
Blender Pens #102845
Dazzling Diamonds Glimmer Paper #135315
Christmas Greetings Thinlits #139659

So?  That is what I am presenting  for you on this blog hop!  I hope you love them as much as I do!  I would love to hear from you!!

Jo Anne Hewins
Michelle Irinyi

Tracie Evans Langley

Laurie Meier
Sue Root
Pam Staples
Lisa Tedder
Frances Wagner

Lisa Tedder

TedderBearStamping

12642618_10208338697962909_6250260198526436679_n


Ultimate Pink Blog Hop

ultimatepinkheader


Welcome to the first ever Ultimate Pink Blog Hop – a collection of ideas from Stampin’ UP! demonstrators all over the globe featuring shades of pink in honor Breast Cancer Awareness Month

I am participating in this Blog Hop because I have quite a few people in my life who has been touched with Breast Cancer.

My sister and my very good friend are the most recent to be hit by this disease.  My hope is that we can bring more awareness and that more people will participate in helping this cause.

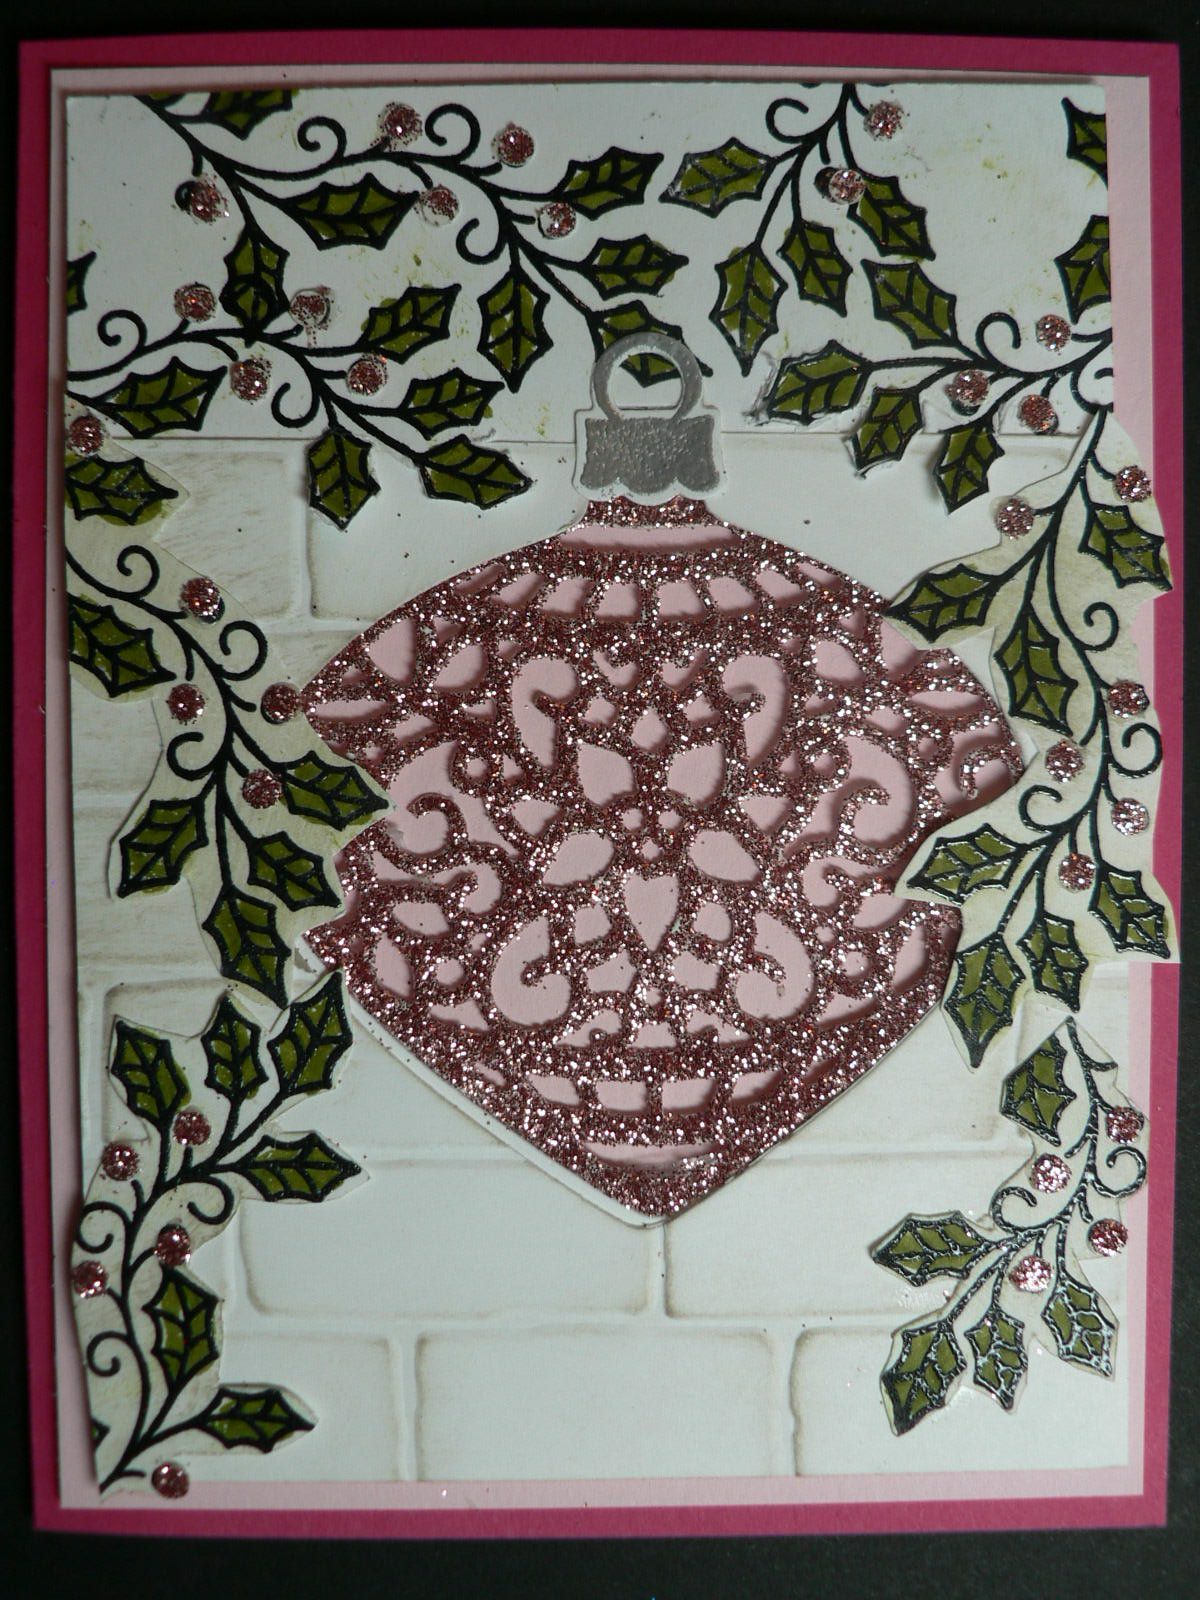
My design today is a handmade Christmas card, seems I have Christmas on my mind! The Stampin’ Up! set is called Embellished Ornaments, and I also used the Thinlits Delicate Ornaments. I’m having two separate classes making Christmas cards and they are so pretty!

I used for the colors Melon Mambo, Pink Pirouette, Whisper White and for the ornament I used the Glimmer paper Blushing Bride!  I wish this was a real ornament so I could hang it on my tree this year!

p1120017

I am in the process of doing more on my blog, I’m changing the name to:

TedderBearStamping.com

Check back for more pictures!

I live in Kernersville NC

Lisa Tedder

Click on box below to see blog hop list