Tag Archives: Banners Pick A Punch

Christmas in July Blog Hop!

Hey Guys!,

It’s July! You know what that means! I usually do Christmas in July. This year is no different. Today I am participating in a blog hop! I don’t usually do this, so you’ll have to let me know if you enjoy it!

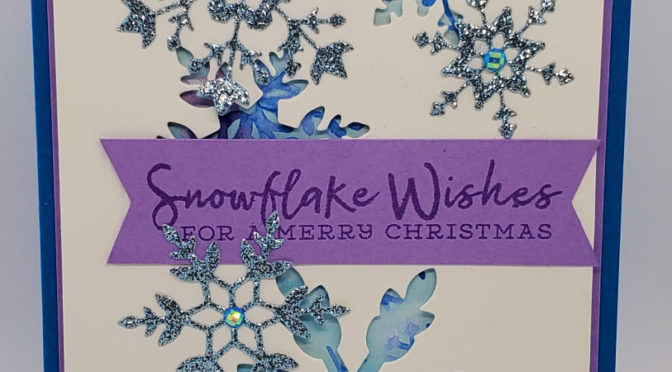
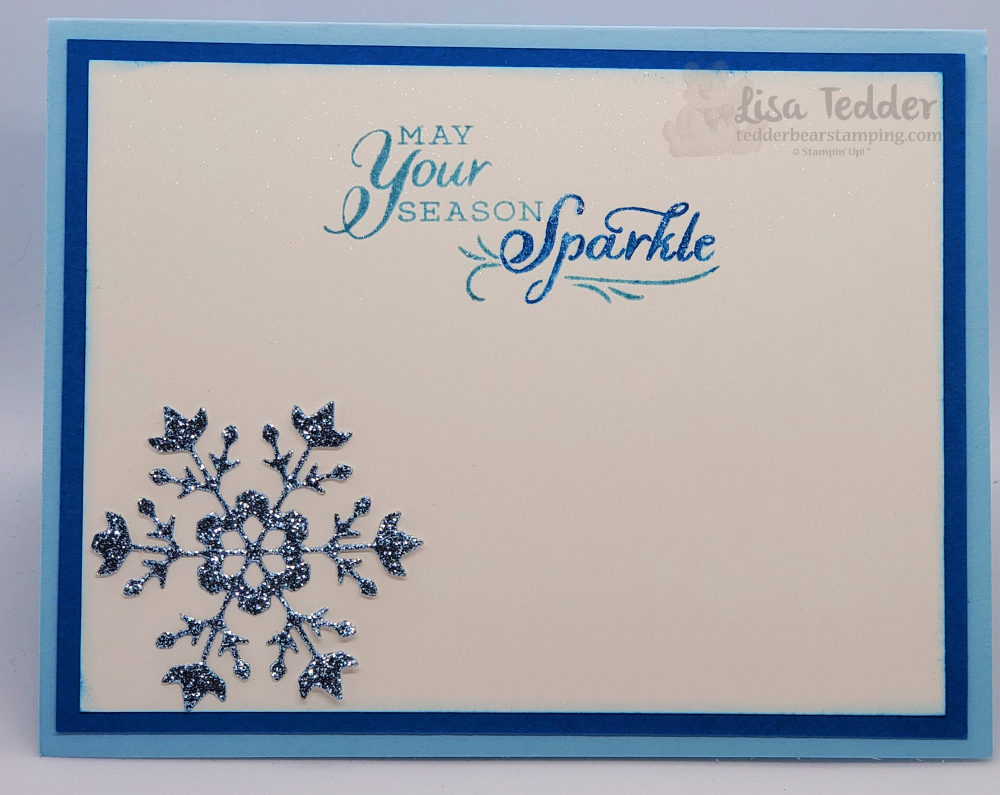
Today I am sharing with you a card I did using Stampin’ Up!’s Bundle Snowflake Wishes! I LOVE this Suite to be honest! I bought the whole thing! The Glimmer Balmy Blue paper is sooooo pretty! There are only two things in the Suite I didn’t use on this and that is the Snowflake Splendor 1/4″ ribbon and the Winter Snow embossing folder. I’m adding it to the pictures below so if YOU want to use it for this card you can!

Here is my card:

Snowflake Wishes Christmas in July
Snowflake Wishes Suite Christmas in July

Doesn’t the Highland Heather just make this pop! I love all the sparkle this card has in person! It’s too bad you can’t see it, oh!, wait! you can! I made a video showing this card! You can see the video here!

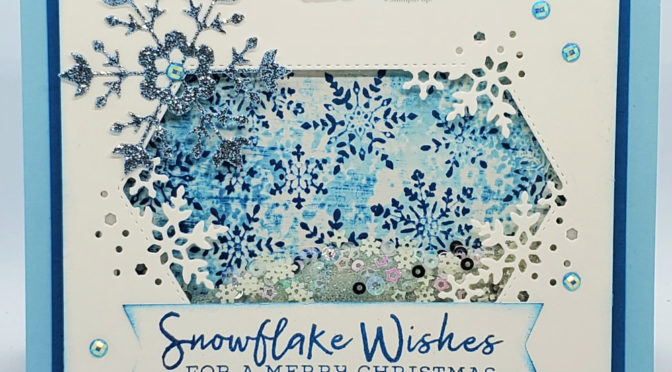
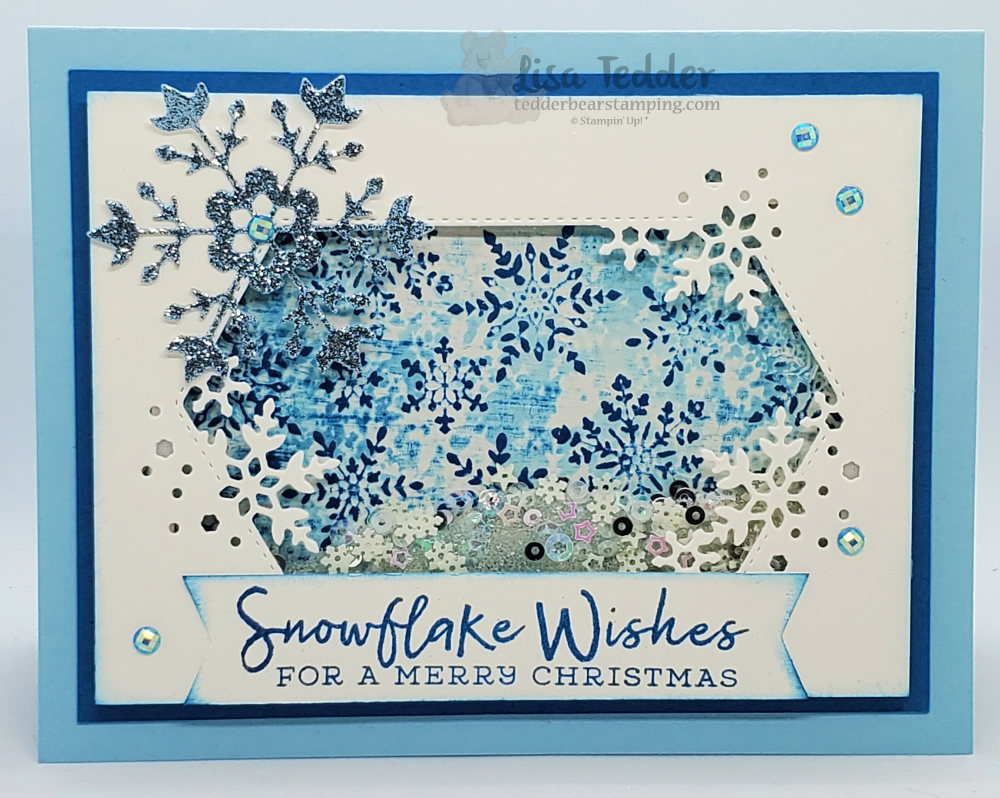
For another Christmas card in July using this same Suite you can see it here. I also made a video doing that card which you can catch here.

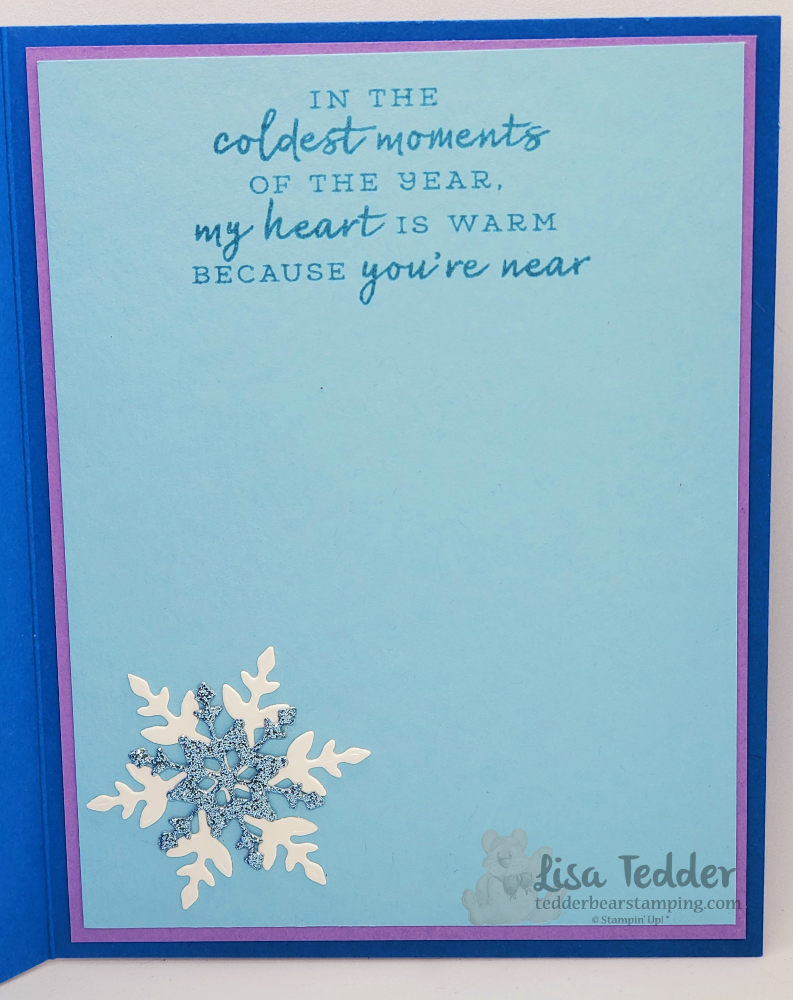
Here is the inside to my card:

Christmas in July Blog hop inside

As usual, here are the specifics for this card.

Stamps:
Snowflake Wishes Bundle

Inks:
Highland Heather

Paper:
Pacific Point 8 1/2″ x 5 1/2″
Highland Heather 5 1/4″ x 4″ (x2), scrap 7/8″ x 3 3/4″, 1 3/4″ x 2 3/4″ (for inside)
Snowflake Splendor DSP 5 1/8″ x 3 7/8″
Whisper White 5 1/8″ x 3 7/8″, scraps for the snowflakes
Balmy Blue 5 1/8″ x 3 7/8″
Balmy Blue Glimmer Paper scraps for snowflakes

Misc:
Dimensionals
Simply Scored
Blue Adhesive-backed Gems
Wink of Stella
Everyday Label Punch
Banners pick a punch

You will also see the supplies in picture form below, click on any of them to be taken to my OnLine Store. If you purchase $35 or more from me you will receive a pdf that has 16 projects with pictures and step by step instructions!

For the scores on the sides of the white cardstock (can’t see in the picture, but it really makes this card) I started at 3/8″ and then did three lines in a row, turned the cardstock and did the same on the opposite side. It really adds some interest, don’t you think? I also popped up this layer since it makes the DSP underneath really shine! Of course I had to add the Blue Adhesive backed Gems!

I hope you have enjoyed this post! Please stop back in, I will be posting regularly now! Don’t forget to sign up for my Newsletter! I send out good ideas!

Lisa Tedder
A California girl living in North Carolina

Powered by Linky Tools

Click here to enter your link and view this Linky Tools list…

Product List

Who wants to Jiggle with me?

Hey Guys!

Today I will be sharing with you a Snowflake Shaker Card I made using Snowflake Wishes from the NEW Stampin’ Up! Holiday Catalog!
The NEW Holiday Catalog is out for us Demonstrators with Stampin’ Up! and I made a beautiful card using the stamp set Snowflake Wishes and it’s a Shaker! Amazingly, it is very easy to make, we will be walking through the making of it, but if you want to see it done, I have made a video you can watch! Who wants to jiggle with me?!

Snowflake Wishes Shaker

First, you will make your background for the shaker.
Go to my video Spot On! to see how that was done & see a version of the background. This time we will be using the Foam Brayer to put the color onto the Folder Winter Snow, then spritz with the Alcohol/Champagne Mist. Second, you will die cut out the window & Snowflakes using the dies that comes from the Snowflake Wishes Bundle. Thirdly, you will stamp your sentiment. And Last you will put them all together to make this awesome shaker card!

Here is a picture of the inside:

Snowflake Wishes Shaker, inside

As always here are the specifics for this card:
Stamps:
Snowflake Wishes Bundle
Inks:
Balmy Blue
Pacific Point
Paper:
Balmy Blue 8 1/2″ x 5 1/2″
Pacific Point 5″ x 3 3/4″, 5 1/4″ x 4″ (inside)
Shimmer White 4 3/4″ x 3 1/2″ (x2), 5″ x 3 3/4″ (for inside), scrap for sentiment
Balmy Blue Glimmer paper
Window Sheets
Misc:
Champagne Mist Shimmer Paint
Blue Adhesive Backed Gems
Foam Adhesive Strips
Alcohol
Spritzer
Snowflake Sequins & seed beads
Stampin’ Seal +
Winter Snow Embossing Folder
Stamping Sponges
Banners Pick a punch
Sponge Brayer

Below you will see in picture form all the supplies that I used. Click on any of them to be taken to my Online Store. So, any purchase you make with me for $35 or more, you will then be sent a pdf that has 16 projects with step by step instructions and pictures! Therefore, I would love to be your Stampin’ Up! demonstrator if you live in the United States!

Most people can’t resist a shaker card!
Did you enjoy seeing my Snowflake Wishes Shaker? I absolutely love shakers! Here is another Shaker card for you to see if you missed it! Most sit there and have to pick them up and shake them! I know that anyone you send this handmade card to will love it as much as I do! If you would like to get your catalogs/stampin’ supplies early like I do, you should join my team! I called it LETs Stamp! (Lisa Easterday Tedders Stamp group!) You will love it!

Thank you for stopping by! Be sure and Subscribe to my blog/Newsletter so you don’t miss out on anything!

Lisa Tedder
A California girl living in North Carolina

Product List