Tag Archives: Foam adhesive strips

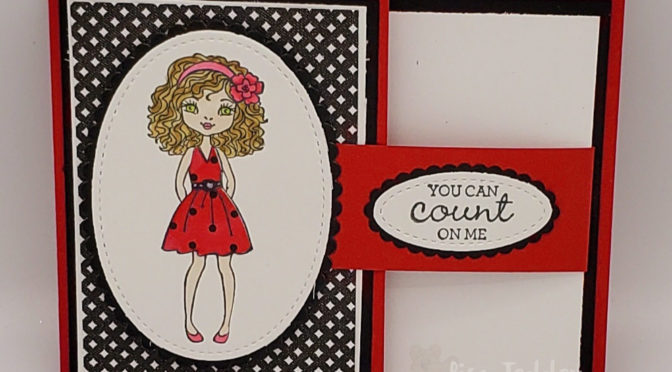
Two Techniques in one Class

Hey Guys!

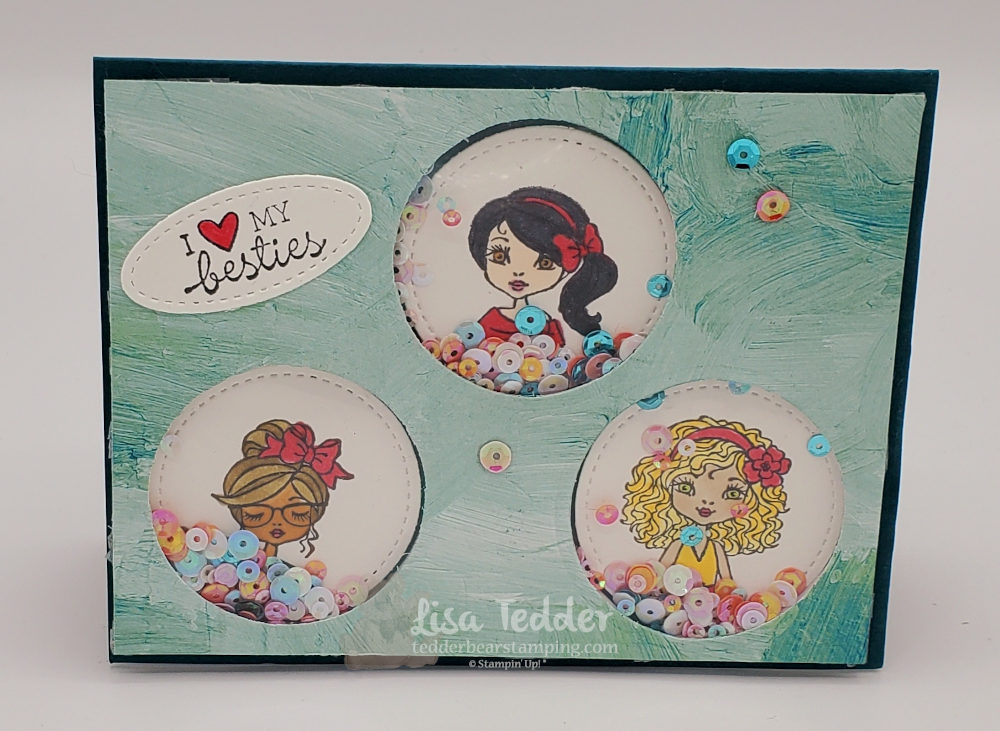
For today’s post I am sharing with you a mini class that I am doing on YouTube that has two techniques! One of the techniques I’m doing for the first time! I really hope you joined me on my Live, but if not you can always catch it here.
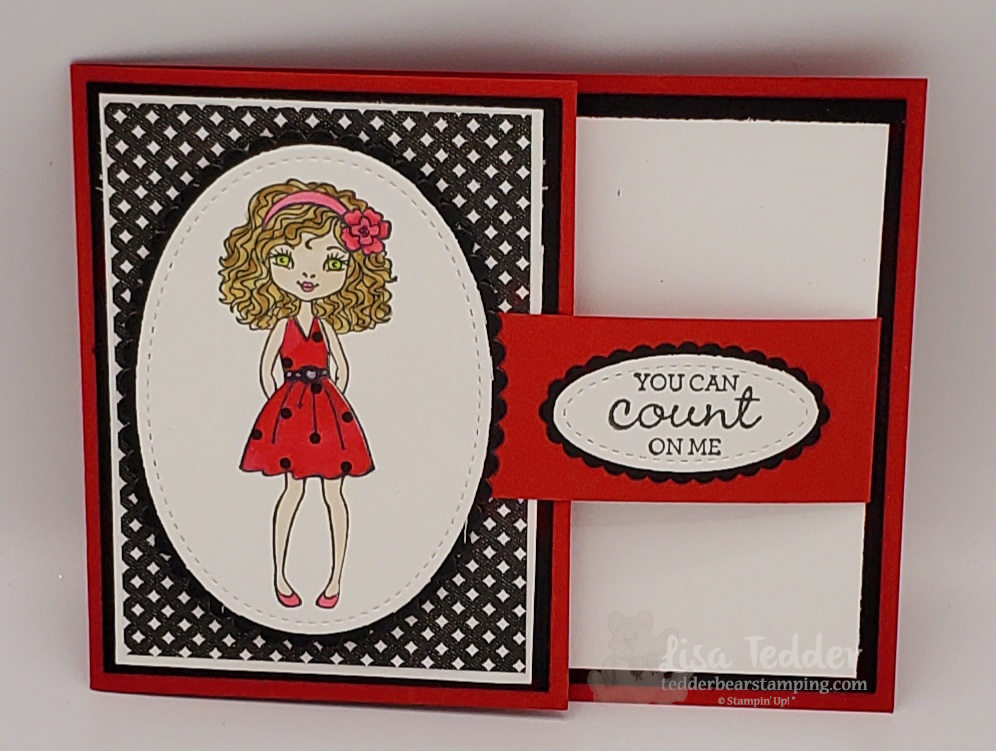
One of Two Techniques
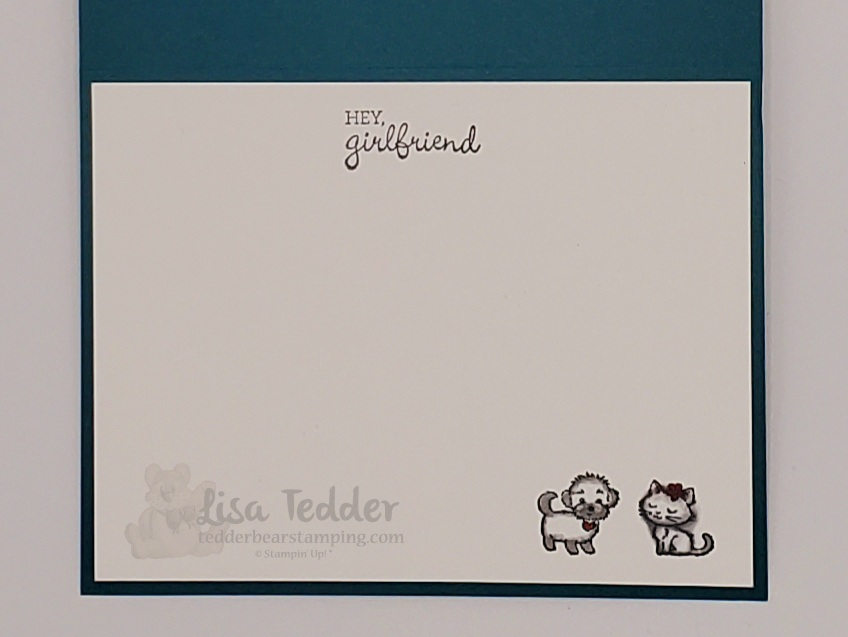
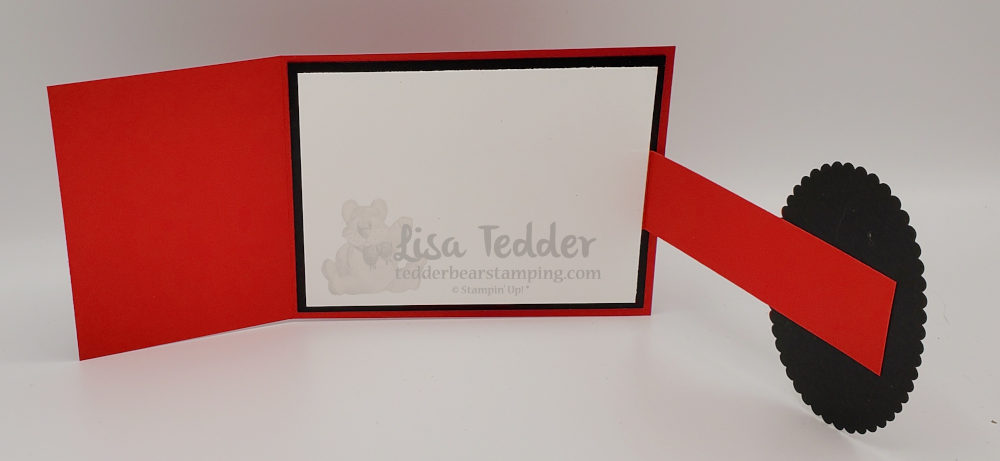
Inside
Technique two, one mini class
Inside card 2

As always, here are the supplies for both of these cards:

  • Stamps:
  • Hey, Girlfriend
  • Inks:
  • Memento Black
  • Blends:
  • Real Red
  • Basic Black
  • Mango Melody
  • Cinnamon Cider
  • Ivory
  • Petal Pink
  • Soft Suede
  • Granny Apple Green
  • Smoky Slate
  • Paper:
  • Pretty Peacock 8 1/2″ x 11″ card 2
  • Fine Art Floral Designer Series Paper 5 1/4″ x 4″ card 2
  • True Love Designer Series Paper 3 3/4″ x 2 3/4″, scrap for dress. card 1
  • Real Red 8 3/4″ x 4 1/4″ scored @ 3 1/4″, 5″ x 1 1/4″ scored @ 1/2″. card 1
  • Basic Black 5 1/4″ x 4″, 4″ x 3″, 3 3/4″ x 2 3/4″ (for scalloped piece behind girl), 2 1/4″ x 1 1/4″ (for scalloped piece behind sentiment) card 1
  • Basic White 5″ x 3 3/4″, 3 7/8″ x 2 7/8″ (front flap card 1), 3 1/2″ x 2 1/2″ (for stitched shape of girl) , 2″ x 1″ for sentiment, 5 1/4″ x 4″ for card 2, scraps for circles for card 2
  • Misc:
  • Layering Ovals dies
  • Stitched shapes dies
  • Foam Adhesive Strips
  • Woven Threads Sequin Assortment
  • White Chalk Marker
  • Magnet
  • Stampin’ Cut & Emboss Machine
  • Stampin’ Seal +

As a rule, I have the same supplies listed in picture form below, click on any of them to be taken to my OnLine Store! Likewise, for every $35 purchase you will receive from me the class packet from this class (excluding stamps/inks) and a PDF of 16 projects with step by step instructions. Sneak Peek:
Subsequently, I hope you enjoyed my Two Techniques in one Mini Class, if you missed my class from last week, you can go here. Likewise, if you missed my last blog post about that video you can see it here. That class was one of my very favorites, I hope you like it as much as I do!

Again, I want to share with you my Stampin’ Bestie Club! You can find all the info about it here, and you can join at any time! Though, you DID miss our inaugural class you can always be there next time! For those who join, Hetty, Carol and I would love to let you in on one of our favorite traditions: getting a charm for a bracelet every time we get together! We supply the bracelet too! Hence you will LOVE being apart of our club, we will have so much fun and each month you will receive between $19 – $22 of fun product!

In Conclusion, thank you so much for joining me today! I appreciate you supporting my small business and hope to see you on one of my Live videos so I can say hi!

Lisa Tedder
A former California girl living in North Carolina

Product List

Over the Top Christmas Card

Hey Guys!,

Today I am sharing with you a YouTube Live project that featured an Over the Top Christmas card. Of course, since this is part of a Mini Class, I am also showing you another Christmas card! One more thing, if you purchase $35 or more at my Online Store you will receive a Pillow Gift that you will really love!! Here is a link for you to use.

So, are you ready to see the Over the Top card?! I got this idea from Sara Levin, but used my own design!

Over the Top Christmas card!
Closed Over the Top Christmas card

As always, here are the specifics for this card:

  • Stamps:
  • Christmas Gleaming
  • Inks:
  • Pretty Peacock
  • Old Olive
  • Mossy Meadow
  • Real Red Marker
  • Mossy Meadow Marker
  • Blends:
  • Real Red Dk
  • Cinnamon Cider Dk
  • Mossy Meadow Lt
  • Paper:
  • Mossy Meadow 5 1/2″ x 8, 5 1/2″ x 8 1/2″ Score at 1/2″ on the 8 1/2″ piece landscape, watch video to see how to put together, then score @ 4″ & 12″
  • Very Vanilla 8 1/2″ x 3 1/4″, 9″ x 3 1/4″ Score @ 1/2″ on the 9″ piece landscape, watch video to see how to put together, then score @ 2 3/4″, 5 1/2″, 11 1/2″, 14 1/4″
  • Very Vanilla 5 1/4″ x 3 3/4″ (for back side), 2 7/8″ x 2 3/8″ (x2), scraps for stamping
  • Pretty Peacock 3″ x 2 1/2″ (x6)
  • Brightly Gleaming Specialty Designer Paper 2 1/8″ x 2 3/8″ (x4), 5″ x 3 1/2″
  • Copper Foil 5 1/4″ x 3 3/4″ (x5)
  • Misc:
  • Rectangle Stitched Dies sizes: #4 & #5 from biggest
  • Detailed Bands Dies
  • Wonderful Gems
  • All the Trimmings ribbon 27″ of either red or green
  • Dimensionals
  • Foam Adhesive Strips
  • Stampin’ Cut & Emboss Machine
  • Tear & Tape
  • Stampin’ Seal+
  • Gleaming Ornaments Punch Pack

Now, for the 2nd project! This one also uses Christmas Gleaming stamp set from Stampin’ Up!, because I want you to have as many choices for your stamp sets so you can get more for your money!

This one isn’t Over the Top but it’s so pretty!
Inside

Again, here are the specifics for THIS card:

  • Stamps:
  • Christmas Gleaming
  • Wrapped in Christmas
  • Inks:
  • Night of Navy
  • Balmy Blue
  • Old Olive
  • Soft Sea Foam
  • Pretty Peacock
  • Pool Party
  • Mossy Meadow Marker
  • Real Red Marker
  • Paper:
  • Night of Navy 5 1/2″ x 4 1/4″, 5″ x 3 3/4″
  • Very Vanilla 8″ x 5 1/4″ scored at 4″, 4 3/4″ x 3 1/2″, scraps for ornaments
  • Brightly Gleaming Specialty Designer Series Paper 5 1/4″ x 3/4″
  • Misc:
  • Gleaming Ornaments Punch Pack
  • Forever Greenery Trim Combo Pack
  • Dimensionals
  • Glue Dots

NOW onto the Very Pretty Pillow Gift that I featured on my video!

Pillow Gift for all Qualified Orders
Pillow Gift inside

Incidentally, to get the Pillow Gift and All the supplies (sans stamps) to make both cards, you only need to purchase a *Qualifying order to get it all, while supplies last! Of course there is a time limit for this, you must purchase by next Tuesday (December 8th) so I can mail it out on Wednesday!

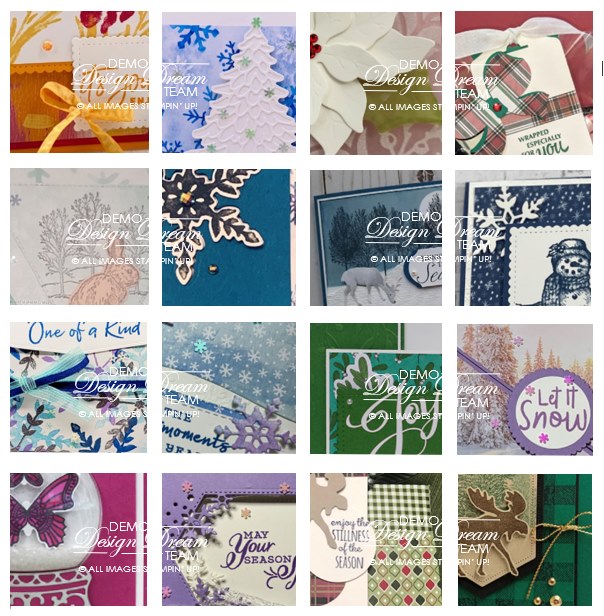
But wait, there’s more! heehee LOVE saying that! If you purchase the *Qualifying order amount you also get 16 project ideas with step by step instructions plus pictures! Here is a sneak peek to the projects:

If you tuned into my Over the Top Live today you will get to see my project for this!

Finally, all supplies are listed below in picture form, click on any of the pictures and you will be taken to my OnLine Store, remember to get all of the above you will need to purchase a *Qualifying order of $35 or more!

Thank you so much for stopping by! Consequently, when I go Live next time, every Thursday at 4:00 eastern, I hope you can join me! I really love talking to you during my Live.

Lisa Tedder
A North Carolina girl who still loves California

*Qualifying purchase is $35 or more

Product List

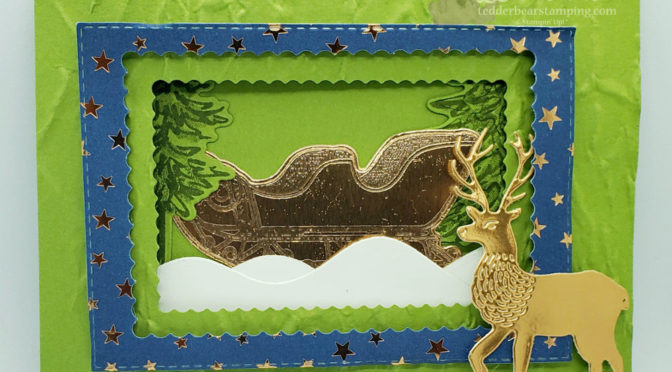
Three Panel Christmas Card your friends & Family will cherish

Hey Guys!

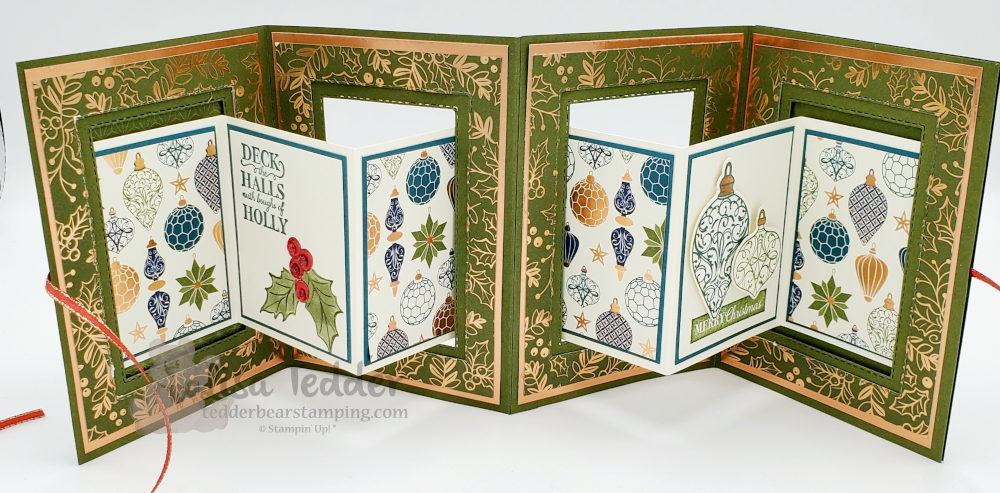
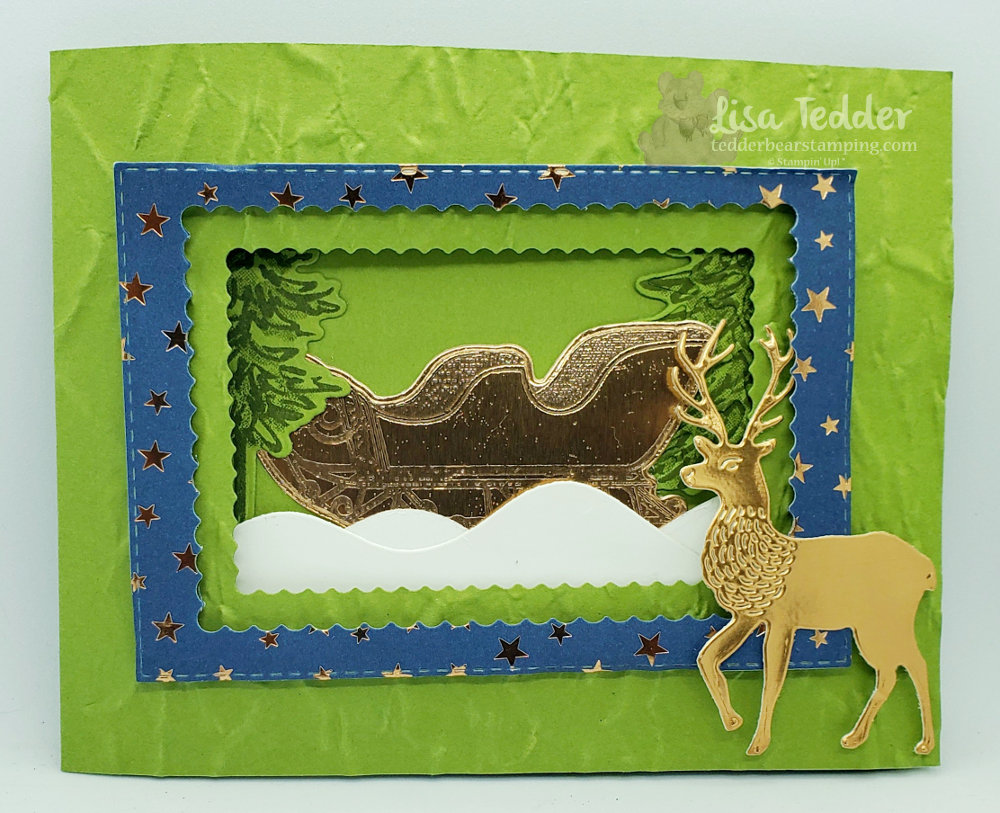
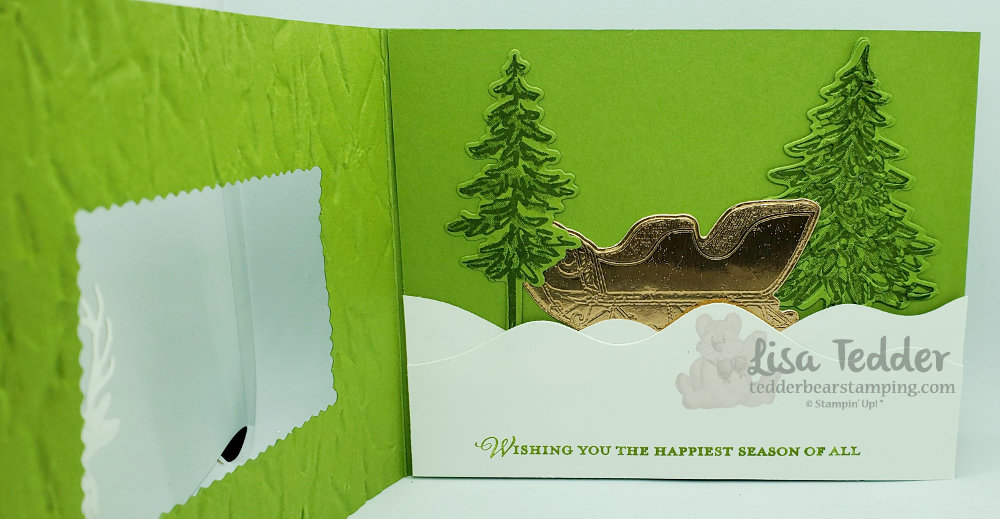
Today I am sharing with you a Christmas in July Card that has three pages! Make a Christmas card this year that your family and friends will cherish forever!

I LOVE cards that make you want to pick them up and check them out! Since there aren’t very many ideas on Pinterest yet for the New Holiday Catalog from Stampin’ Up!, I had to come up with something on my own. I always say that I like CASE’ing (Copy and Share Everything) because then I don’t have to be intimidated by starting from zero. BUT when I do come up with something, I’m usually happy that it’s my own design. You can catch my Youtube video and see how I made this card!

Here is the front of my card:

Doesn’t this make you want to pick it up and turn to the next page?! Your friends and family will cherish getting this card for Christmas!

Middle page:

Middle page of my 3 page Christmas card

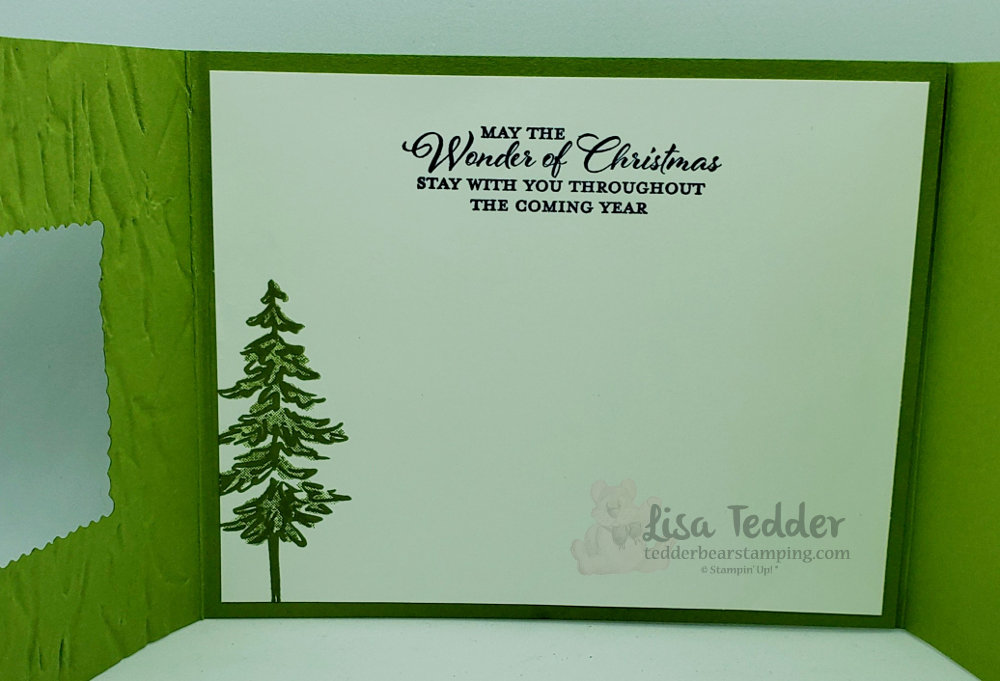
And now for the inside:

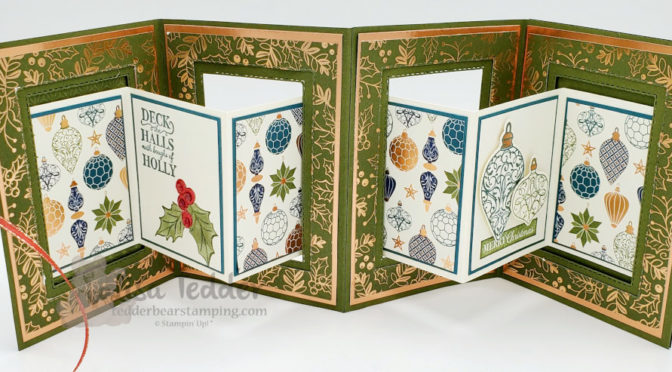
Inside of my 3 page Christmas card!

I would love to get a card like this in the mail! Wouldn’t you?!

Here are the specifics for this card:

Stamps:
In the Pines Bundle
Wishes & Wonder Bundle

Inks:
Versamark
Night of Navy
Old Olive

Paper:
Old Olive 4 1/4″ x 11″, 6″ x 4 1/4″ (scored @ 5 1/2″), 5 1/2″ x 3 5/8″ (for trees)
Whisper White 5 1/4″ x 4″ (inside), 3″ x 5 1/2″ (for snow)
Copper scraps for deer and sleigh
Brightly Gleaming Designer Series Paper (DSP) 4 1/2″ x 3 1/4″

Misc:
Foam Adhesive Strips
Stitched so Sweetly Die
Stitched Rectangles Dies
Old World Paper 3D folder
Clear embossing powder
Heat tool

As always, below you will see these supplies in picture form. Click on any of them and you will be taken to my OnLine Store. ****NOTE: My OnLine Store is changing as of the 1st of August, the links on my blog before that date will not take you to the exact item after (for the posts I’ve made before then). So, any time after August 3rd if you click on a link (from an earlier post) it will take you to my store, just not to the exact item.

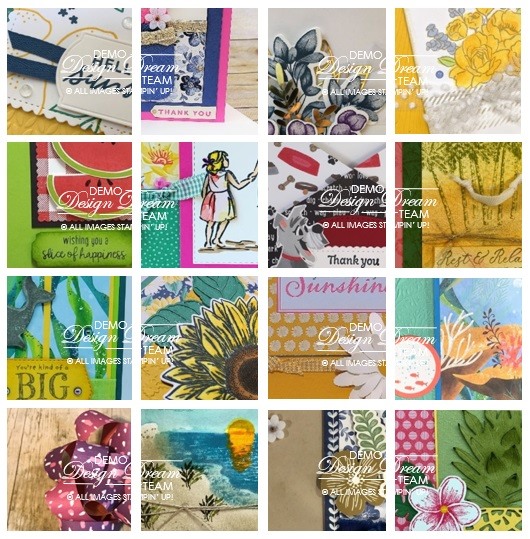
If you decide to shop with me, you will receive a pdf with 16 project ideas with pictures and step by step instructions (you just need to spend $35). Here is a sneak peek of what you will get in the month of August!

Sneak Peek for any purchase of $35 or more.

If you missed my last post doing a Christmas in July card, click here and you can go see what else I made for my class! It’s a Blog Hop so you won’t want to miss out! Like I said your friends and family will cherish getting a handmade Christmas card forever!

Thank you for stopping by! I love it that you take time to check out what I’m doing! Don’t forget to go check out my YouTube Channel to catch up on all my designs!

Lisa Tedder
A California girl living in North Carolina

Product List
Who wants to Jiggle with me?

Hey Guys!

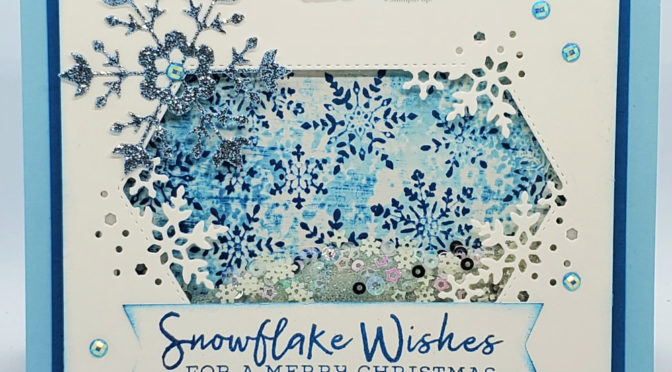
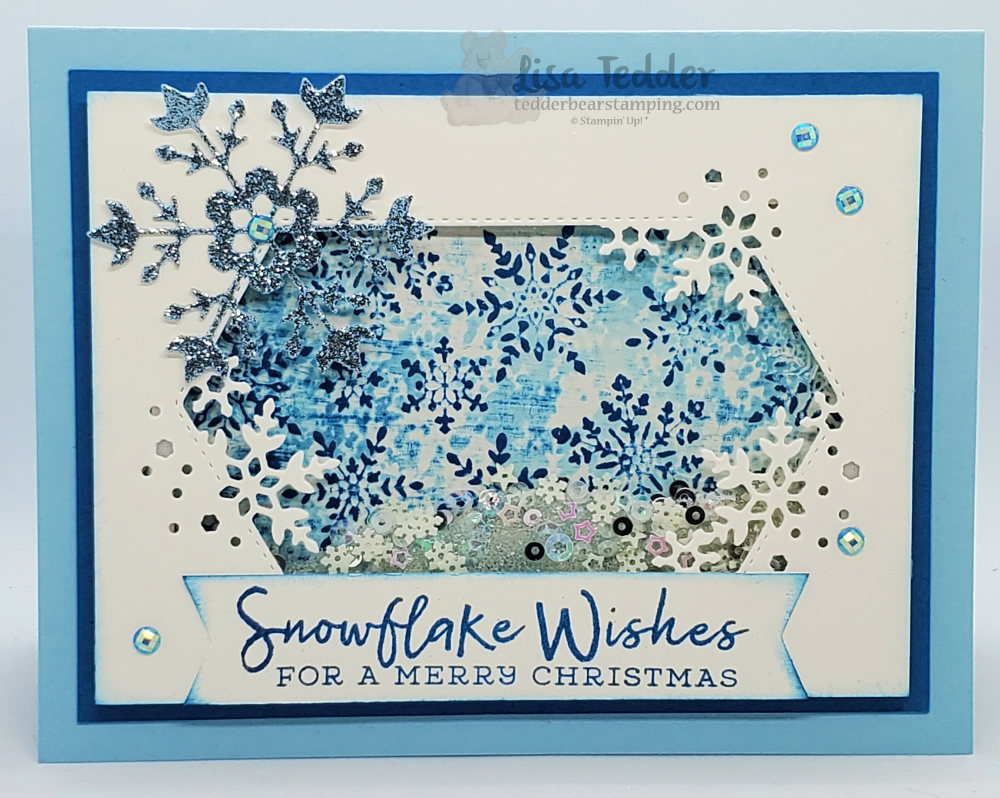
Today I will be sharing with you a Snowflake Shaker Card I made using Snowflake Wishes from the NEW Stampin’ Up! Holiday Catalog!
The NEW Holiday Catalog is out for us Demonstrators with Stampin’ Up! and I made a beautiful card using the stamp set Snowflake Wishes and it’s a Shaker! Amazingly, it is very easy to make, we will be walking through the making of it, but if you want to see it done, I have made a video you can watch! Who wants to jiggle with me?!

Snowflake Wishes Shaker

First, you will make your background for the shaker.
Go to my video Spot On! to see how that was done & see a version of the background. This time we will be using the Foam Brayer to put the color onto the Folder Winter Snow, then spritz with the Alcohol/Champagne Mist. Second, you will die cut out the window & Snowflakes using the dies that comes from the Snowflake Wishes Bundle. Thirdly, you will stamp your sentiment. And Last you will put them all together to make this awesome shaker card!

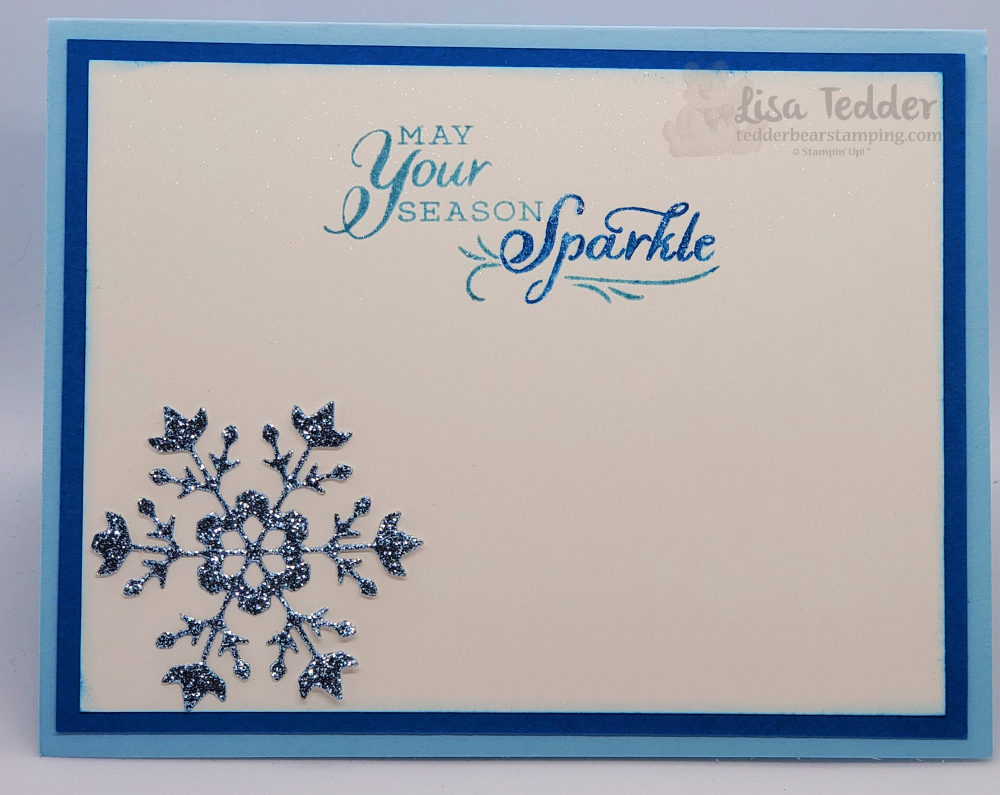
Here is a picture of the inside:

Snowflake Wishes Shaker, inside

As always here are the specifics for this card:
Stamps:
Snowflake Wishes Bundle
Inks:
Balmy Blue
Pacific Point
Paper:
Balmy Blue 8 1/2″ x 5 1/2″
Pacific Point 5″ x 3 3/4″, 5 1/4″ x 4″ (inside)
Shimmer White 4 3/4″ x 3 1/2″ (x2), 5″ x 3 3/4″ (for inside), scrap for sentiment
Balmy Blue Glimmer paper
Window Sheets
Misc:
Champagne Mist Shimmer Paint
Blue Adhesive Backed Gems
Foam Adhesive Strips
Alcohol
Spritzer
Snowflake Sequins & seed beads
Stampin’ Seal +
Winter Snow Embossing Folder
Stamping Sponges
Banners Pick a punch
Sponge Brayer

Below you will see in picture form all the supplies that I used. Click on any of them to be taken to my Online Store. So, any purchase you make with me for $35 or more, you will then be sent a pdf that has 16 projects with step by step instructions and pictures! Therefore, I would love to be your Stampin’ Up! demonstrator if you live in the United States!

Most people can’t resist a shaker card!
Did you enjoy seeing my Snowflake Wishes Shaker? I absolutely love shakers! Here is another Shaker card for you to see if you missed it! Most sit there and have to pick them up and shake them! I know that anyone you send this handmade card to will love it as much as I do! If you would like to get your catalogs/stampin’ supplies early like I do, you should join my team! I called it LETs Stamp! (Lisa Easterday Tedders Stamp group!) You will love it!

Thank you for stopping by! Be sure and Subscribe to my blog/Newsletter so you don’t miss out on anything!

Lisa Tedder
A California girl living in North Carolina

Product List

Eiffel Tower all lit up!

Hey Guys!

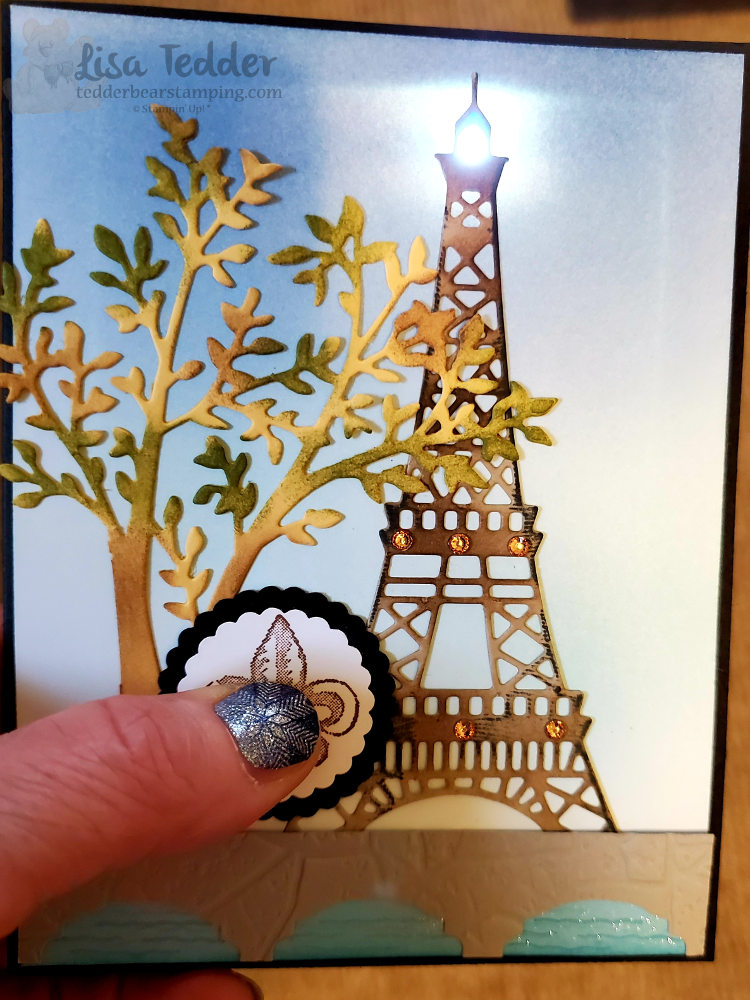
Today I am sharing with you a light up card! I love these! They are so much fun! Next year, I am planning on going to see the Eiffel Tower (thank God it’s not THIS year!). I saw this card where someone made a bridge with water under it, and the Tower is in the background. I am not sure that they used Stampin’ Up! stamps, so decided to make one using Parisian Beauty. Here is my card lit up:

Not only did I use the Parisian Beauty stamp set, but I used the punch Label Me Fancy! This is what I used to make the bridge. I tried so hard to make them evenly spaced, this is as close as I could get. Also, I used Wink of Stella to highlight the water to give it that bit of sparkle!! If you lay the Smoky Slate piece of cardstock onto a grid sheet or against a ruler, make marks at these spots: 5/8″, 2″ and 3 5/16, then put the punch into these spots and only go part way up (look at picture to see how far) making the marks in the middle of the punch. This way it will make your waterway!

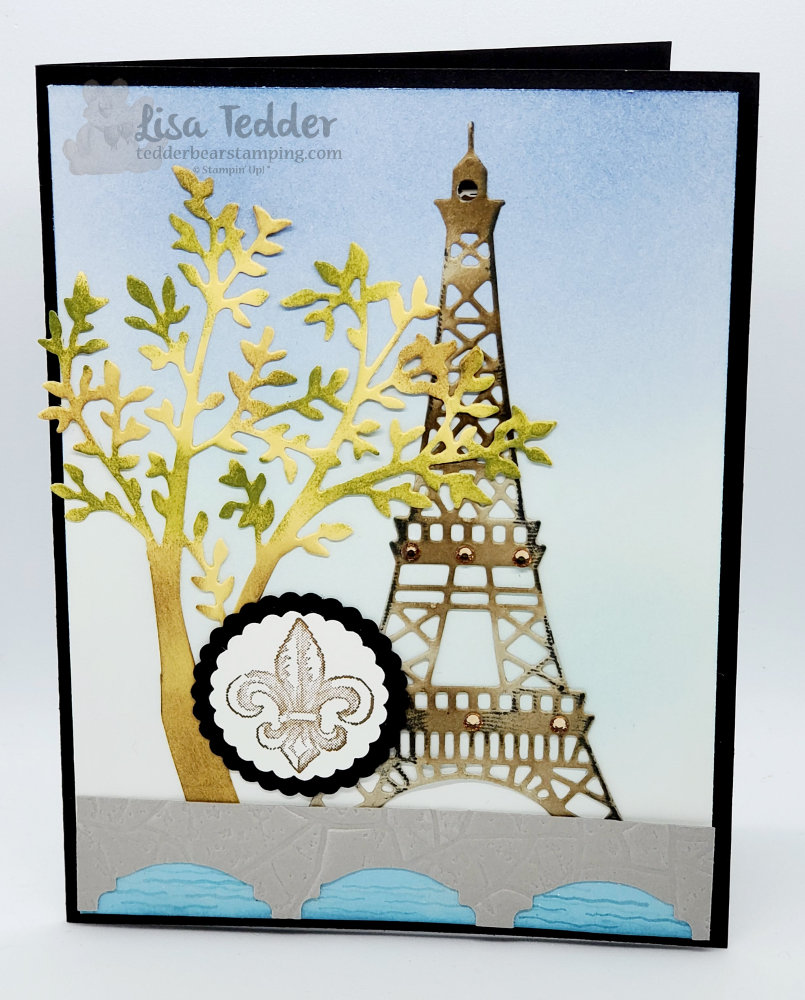
In the light of sharing with you the lit up version, I HAD to show you the card (a little more professional pic) when it’s NOT lit up:

Of course, I used a lot of bling by using Champagne Rhinestones, because you are not always going to have it turned on! The tree came from the die Sweet Silhouettes. Sponging the So Saffron cardstock after it was die-cut with Soft Suede and Garden Green, really makes this ‘tree’ look like the sun is hitting it in spots! Make sure you leave some yellow to give it that sun kissed look!

Furthermore, I also sponged the Eiffel Tower with Soft Suede and then ran the Memento Black pad itself over parts of the sides. This was to make it look like it was antiqued. What do you think? Did I hit it, or is it a miss? For those of you who love light up cards, we are going to be making this card next week! Let me know if you want to attend!

As always, here are the specifics for this card:

Stamps:
Parisian Beauty

Inks:
Soft Suede
Garden Green
Balmy Blue
Memento Black

Paper:
Basic Black 8 1/2″ x 5 1/2″, scraps
Whisper White 5 1/4″ x 4″, scraps
Whisper White Thick 5 1/4″ x 4″
So Saffron scraps (to fit tree)
Crumb Cake to fit Tower
Balmy Blue 4 ” x 1/2″ (for water)
Smoky Slate 5/8″ x 4″

Misc:
1 1/8″ & 1 3/8″ circle punches
Sweet Silhouettes Dies
Champagne Rhinestones
Stone 3d Folder
Foam Adhesive Strips
Tombo Liquid Glue
Batteries/Lights
Label Me Fancy punch

Furthermore, below you will see all the supplies in picture form. Click on any picture and you will be taken to my OnLine Store! If you purchase $35 or more from me, you will receive a handmade thank you card AND two sets of files with 16 tutorials in one and the other has over 40 tutorials! Every month you will get different tutorials with each purchase, I hope you take me up on it!

Thank you for stopping by, please come again!

Lisa Tedder
A California Girl living in North Carolina

Product List

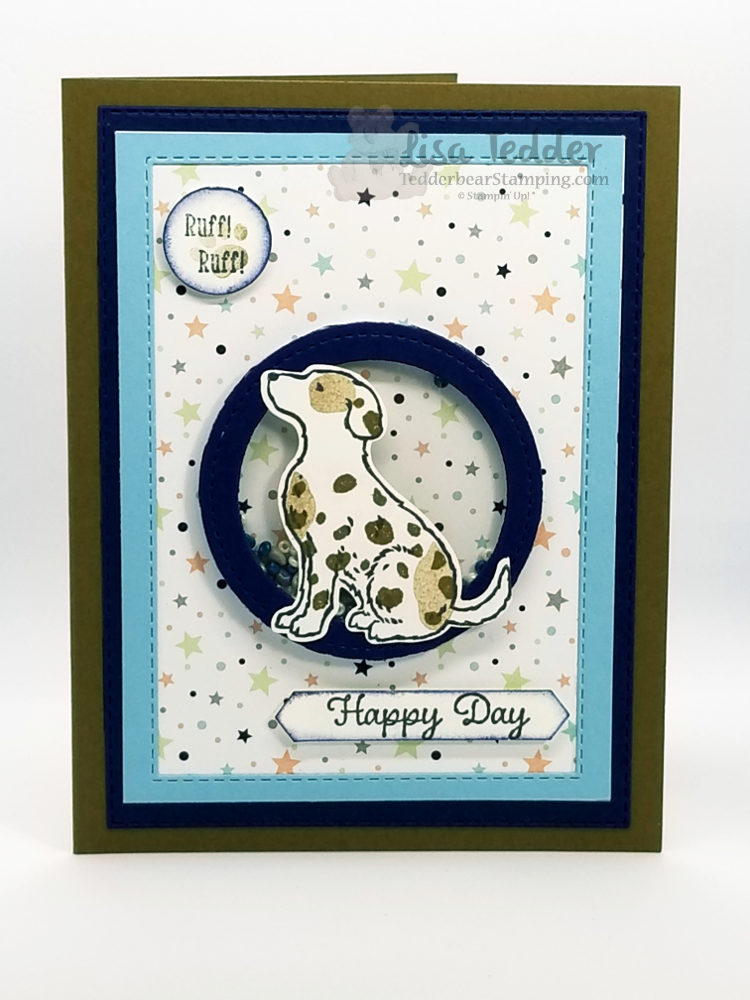
Cutest Dog Shaker Card

Hey Guys!

I was wanting to make a shaker card, and I wanted to make a Dog card using the new Stamp set from Stampin’ Up! called Happy Tails, so I put them together!

This dog is stinkin’ cute!  Holding a shaker card is so much fun you HAVE to see how it works! The dog fits perfectly in the open area of the shaker that I made using the Stitched Shapes framelits.

Here are the specifics for this card:

PROJECT 1: Dog Shaker
Stamp Sets Pg #
Happy Tails Bundle
Itty bitty birthdays
Paper
Soft Suede 8 1/2″ x 5 1/2″
Night of Navy 4″ x 5 1/2″, 5 1/4″ x 4″, 2 5/8″ sq
Balmy Blue 3 3/4″ x 5″ (x2)
Twinkle Twinkle DSP 3 3/4″ x 5″
Whisper white scraps
Inks
Memento black
Crumb Cake
Soft Suede
Night of Navy
Accessories
Stitched Shapes framelits/Rectangle framelits
1/2″ circle punch
Classic Label punch
Tranquil Textures Sprinkles
Foam Adhesive Strips
Window Sheets

Below are the supplies used for this card, click on any picture and you will be taken to my OnLine Store.  If you purchase from me, I will send you a small gift to thank you!

Thanks for stopping by!

Lisa Tedder
A California girl living in North Carolina
Product List

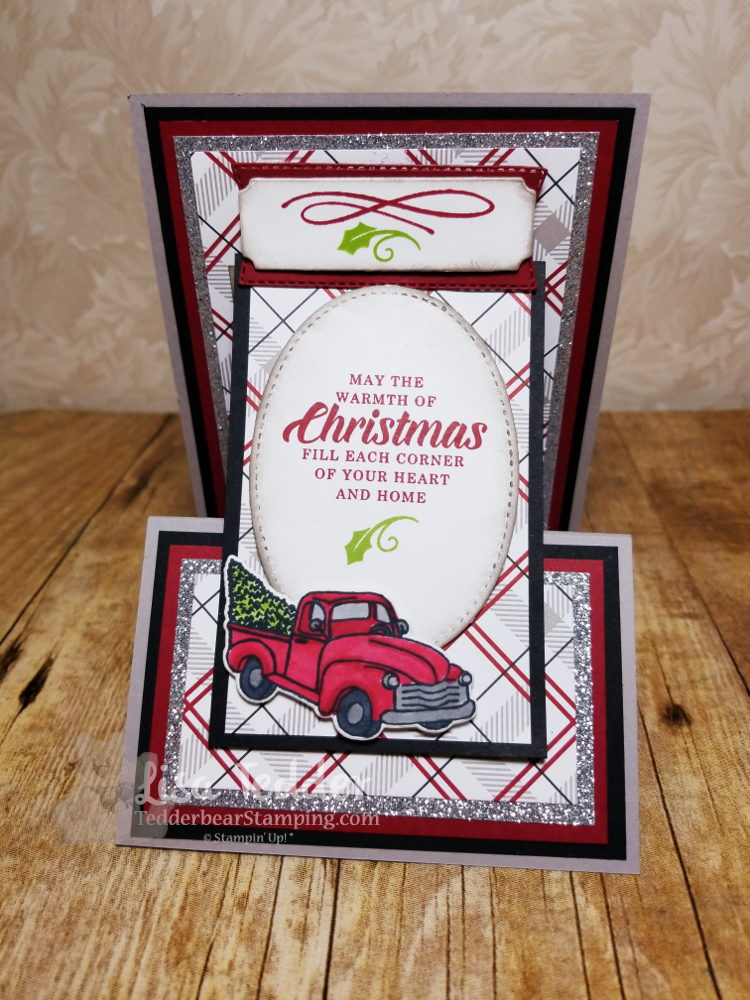
Christmas Card #14 Upright Z fold with Farmhouse Christmas

Hey Guys!

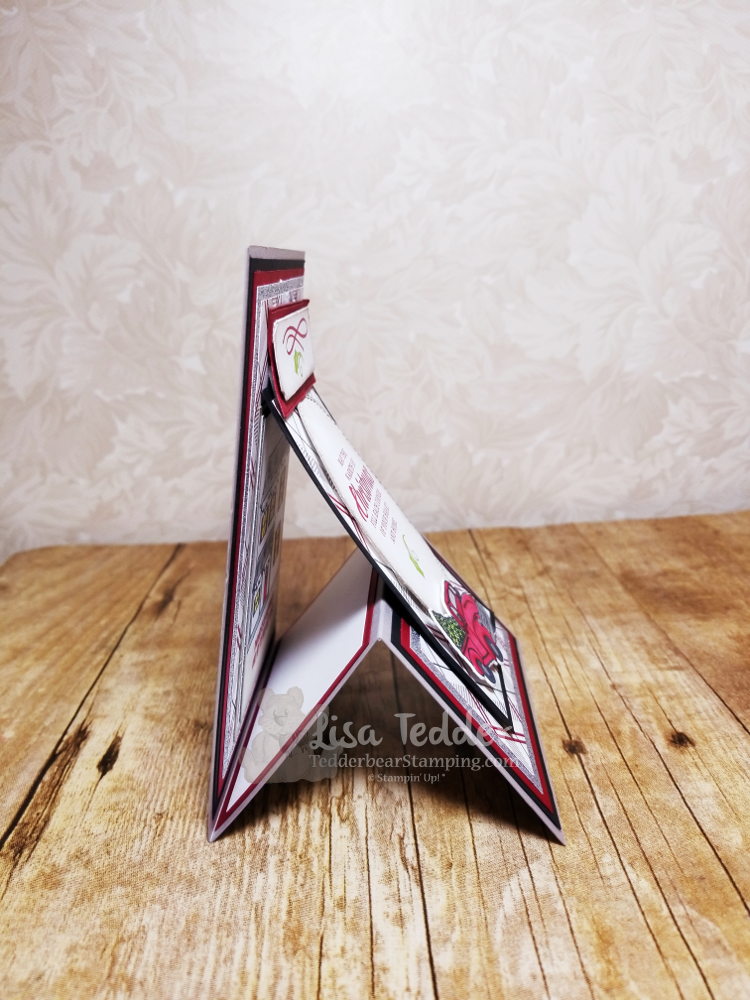
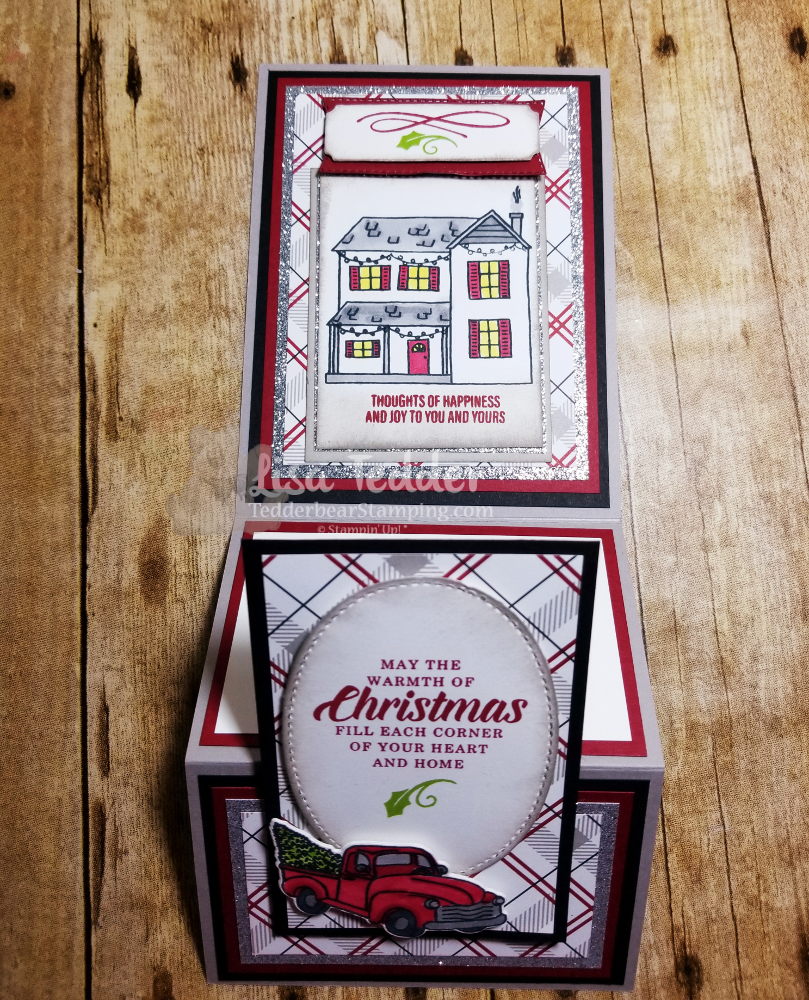
#14 is one I did a video on, you can find my YouTube video here.  This was a fun card, and I love how it can stand up on it’s own!

Side look:

And showing the inside:

All the supplies are:

Stamp Sets: Farmhouse Christmas Bundle, Timeless Tidings, Merry Christmas to All
Cardstock: Gray Granite 4 ¼” x 11” scored at 2 ¾” & 5 ½”, 2 ¾” x 3 ½”, Basic Black 5 ¼” x 4”, 2 ½” x 4”, 4 ¼” x 2 ¾”, Cherry Cobbler 5” x 3 ¾”, 2 ½” x 4”, 3 ¾” x 2 3/8”, scrap 1” x 3”, Silver Glimmer 5” x 3 ½”, 2 3/8” x 3 3/8”, 2 1/8” x 3 ½”
DSP Festive Farmhouse 3 ¼” x 1 ¾”, 2 ½” x 4”, 4 ½” x 3 ¼”, Whisper White 3 ¼” x 2 ½”, 1 ¼” x 3”, 2 ¼” x 3 ¾”, 2 ¾’ X 3 ¾”, 2 ¾” X 1 ½” (For car)
Inks: Momento Black, Cherry Cobbler, Granny Apple Green, Gray Granite
Blends: Cherry Cobbler combo, Granny Apple Green Dk, Black lt, Smoky Slate combo, Mango Melody Lt
Misc: Rhinestones, Dimensionals, Foam Adhesive Strips, sponges, Glue Dots, Big Shot, Stitched Framelits

All of the supplies are listed below in picture form.  Click on any picture to be taken to my OnLine Store.  I would love to be your Stampin’ Up! Demonstrator if you live in the US.

Thank you for stopping by! Check back in to see what I’m up to!

Lisa Tedder
A California Girl living in North Carolina
Product List

Christmas Card #13 Still Night

Hey Guys!

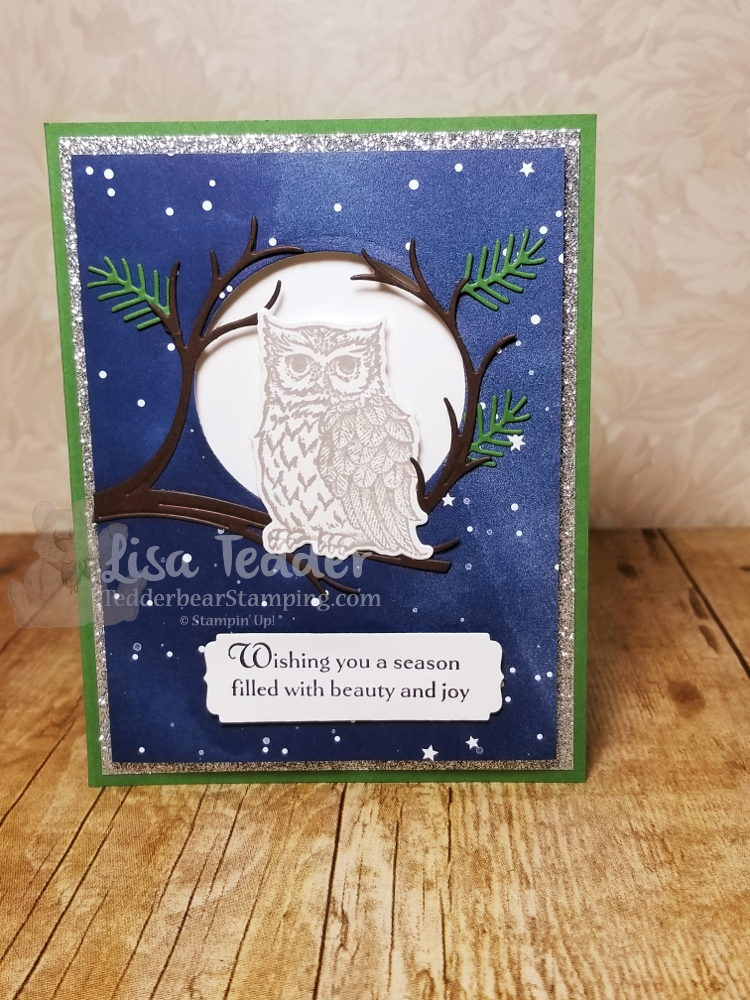
The owl in Still Night is one of my favorites.  I love the dies in the bundle because not only does it cut out the owl & branch but it also cuts out pine boughs to make the branch look great!  The set has 4 dies to cut out the boughs so you don’t spend all your time cutting one at a time!

I changed up very little from this idea off Pinterest from Nicole

The specifics for my card:

Supplies

Stamp sets: Still Night Bundle, Merry Christmas to All
Cardstock: Garden Green 8 ½” x 5 ½”, scrap, Silver Glimmer 5 ¼” x 4”, Twinkle Twinkle DSP 5” x 3 ¾”, white 5 ¼” x 4”, 2 ¾” sq, 1 ¼” x 3” (sentiment), 1 ¾” x 2 ½” (owl) Early Espresso 3 ½”sq
Inks: Night of Navy, Gray Granite
Misc: Big Shot, Clear EP, Embossing buddy, heat tool, dimensionals, 2” circle punch, glue dots, fine tip glue pen

I would love to be your demonstrator if you live in the US!  And you are MORE than welcome to join my team: LETs Stamp!

Below are all the supplies in picture form, click on any picture to be taken to my OnLine Store!

Thanks for stopping by, come again to see my next project!

Lisa Tedder
A California Girl living in North Carolina
Product List


Elegant any occasion card

Hey Guys!

Today I bring you a handmade card that I just LOVE!  It uses the Stamp set from Stampin’ Up! called  Painted Harvest.

This elegant card has sparkle and dimension.  When I show this to people in person, they just say WOW!  Love when that happens.

Here is the inside:

A simple card with Maximum effect.  I used the Metallic Edge Ribbon to pleat around the sentiment to add to the effect.

Dimensions:

Blushing Bride 5 1/2″ x 8 1/2″
Silver Slimmer paper 5 1/4″ x 4″
Flirty Flamingo 5 1/4″ x 4″ (inside), 5″ x 3 3/4″ (front)
Very Vanilla 4 3/4″ x 3 1/2″ (front), 5″ x 3 3/4″ (inside)

I rounded the corners on the two smallest layers on the front to add dimension.

I would appreciate it so much if you would choose me as your demonstrator if you live in the US!  Click on any picture below to be taken to my OnLine Store!

Lisa Tedder
A California girl living in North Carolina
Product List


Pandas and Bamboo!

Hey Guys!

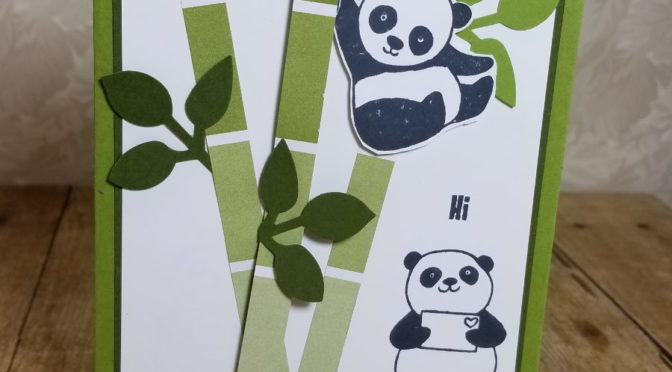
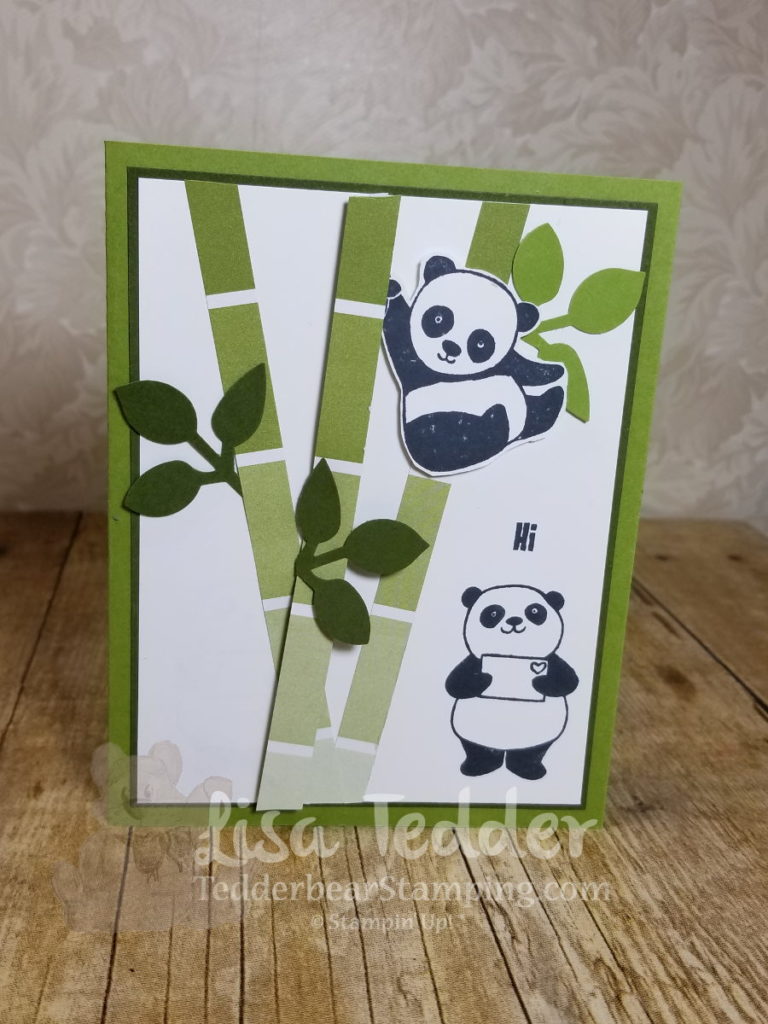
Today I have for you the CUTEST card!  I got this idea from Jo Anne Hewins, I saw it and had to make it!  Don’t wait to buy it!  March is the last month to be able to get this stamp for FREE!  Just purchase $50.00 worth of product from ANY current catalog and you can get this stamp set!  It’s too cute to pass up!

Here is the card:

I almost CASEd (Copy, And Share Everything) this card exactly as I saw it, I changed the word on the front of the card, so does that make it MY design now?!  Nah!  I just have a problem copying exactly what I see!  LOL

The Dimensions for this card:

Old Olive: 8 1/2″ x 5 1/2″, scrap for punch
Always Artichoke: 5 1/8″ x 3 7/8″ (x2) the inside has the same
Whisper White:  5″ x 3 3/4″ (x2), scraps for panda to cut out
Color Theory DSP: 3/8″ x  5 1/4″ (trimmed to meet top/bottom)

Below are the supplies I used for this card.  Click on any picture to be taken to my OnLine Store!  If you purchase from me, I will send you one of my handmade cards!

Thank you for stopping by!  Please go visit my YouTube Channel and see the other projects that I make.  Be sure and subscribe so you don’t miss out on the next one!

Lisa Tedder
A California Girl living in North Carolina
Product List

Old Olive 8-1/2" X 11" Card Stock

Always Artichoke 8-1/2" X 11" Card Stock

Whisper White 8-1/2" X 11" Card Stock

Party Pandas Clear-Mount Stamp Set

Leaf Punch

Foam Adhesive Strips

Stampin' Dimensionals

Paper Snips Scissors

Tuxedo Black Memento Ink Pad