Tag Archives: Soft Suede Classic Stampin’ Pad

How much fun can one card be!?

Hey Guys!

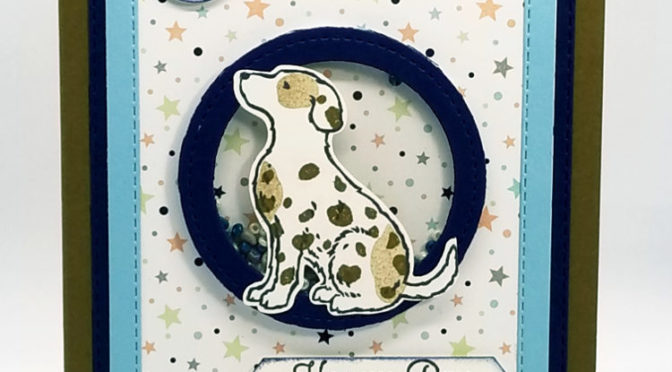
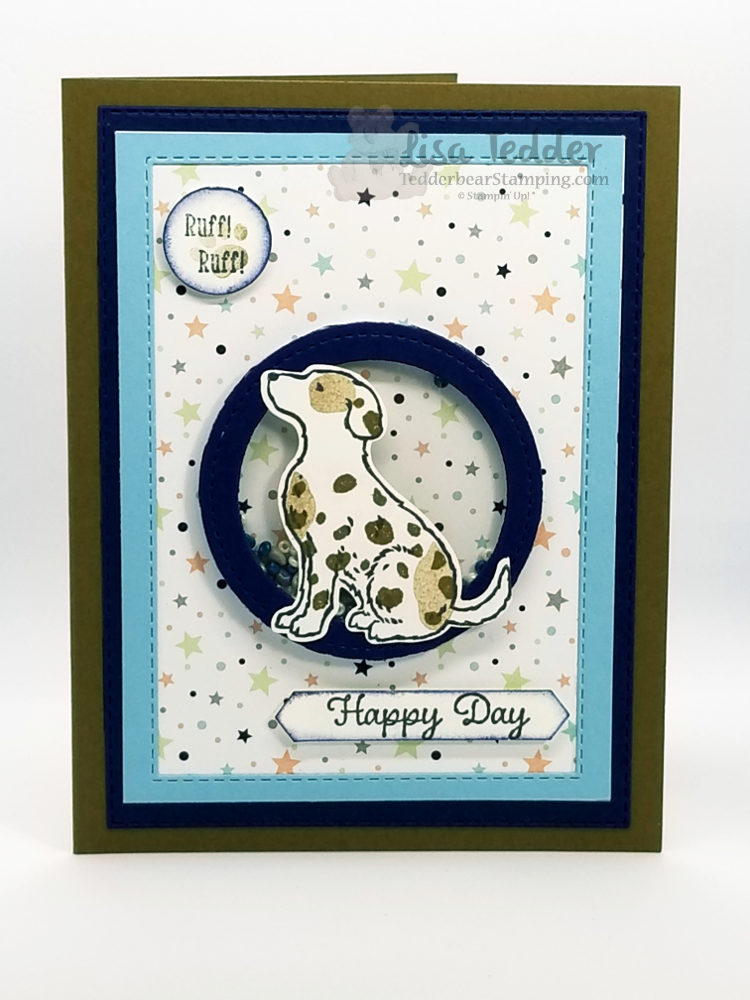
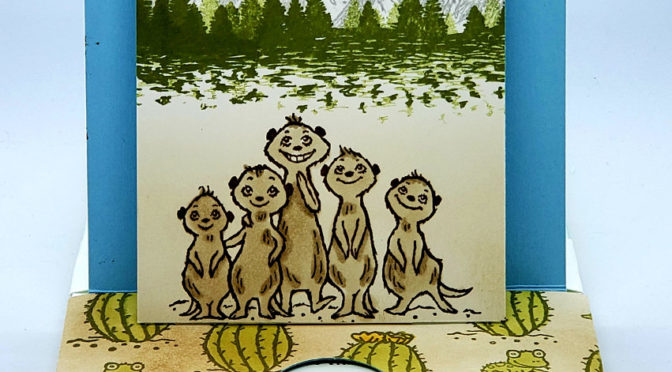
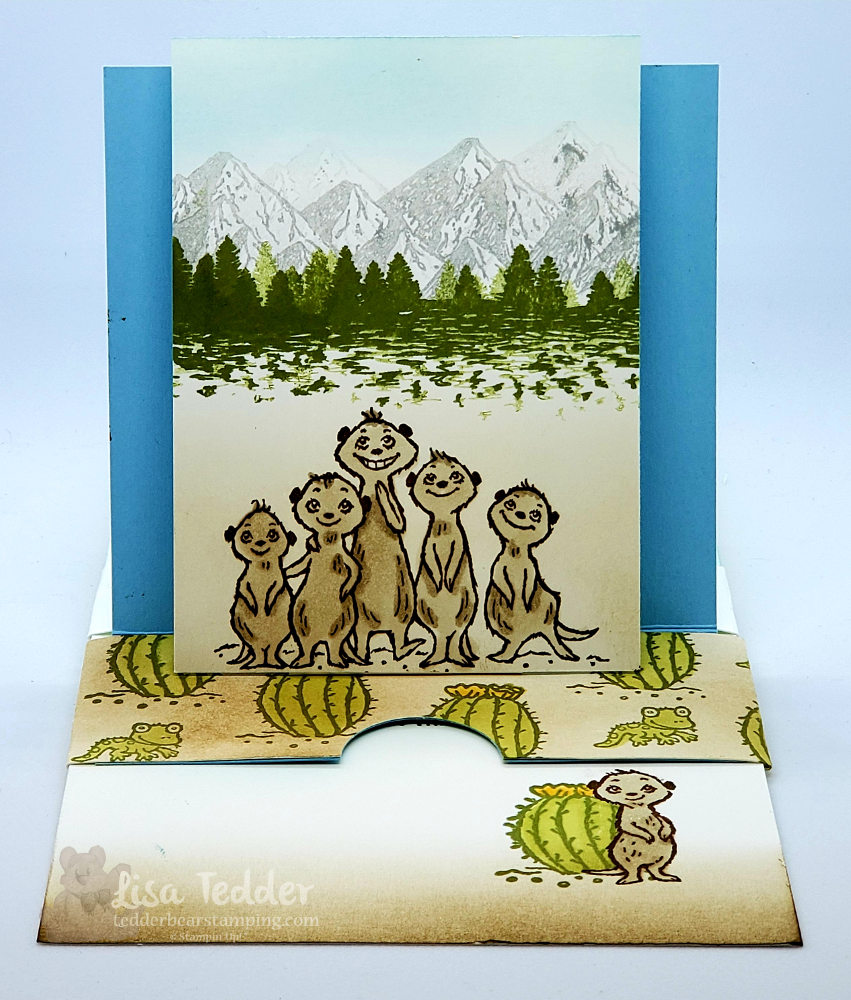
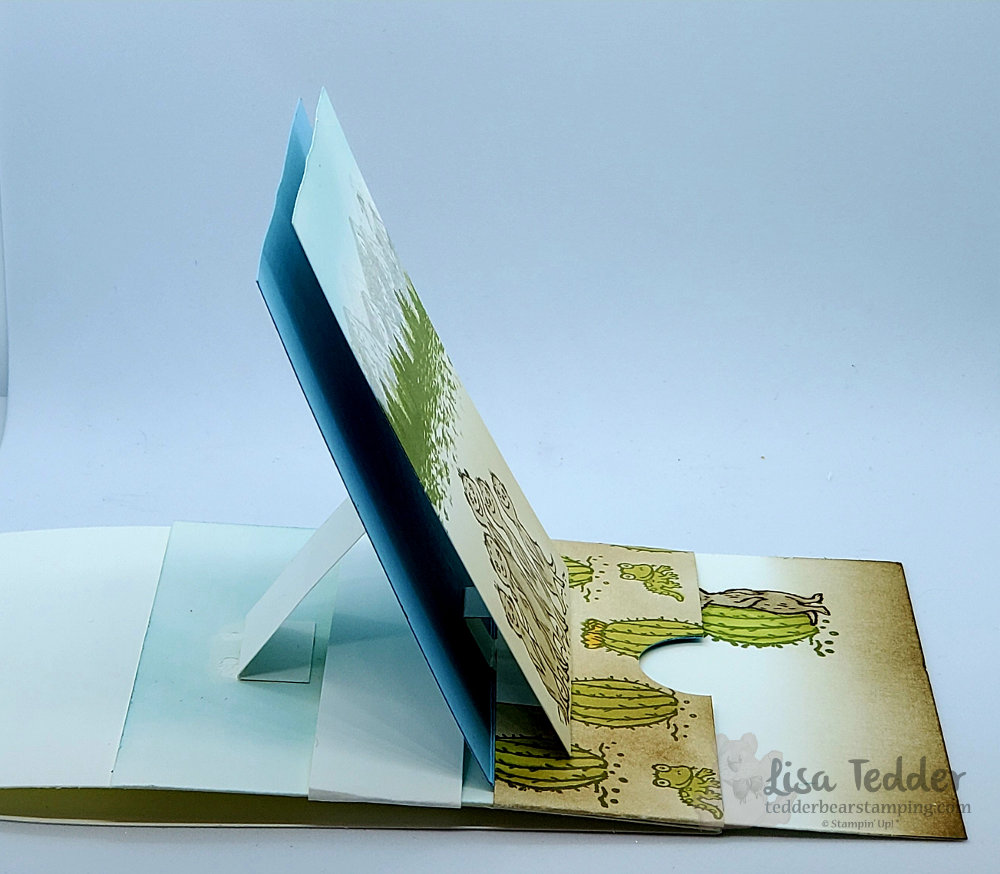
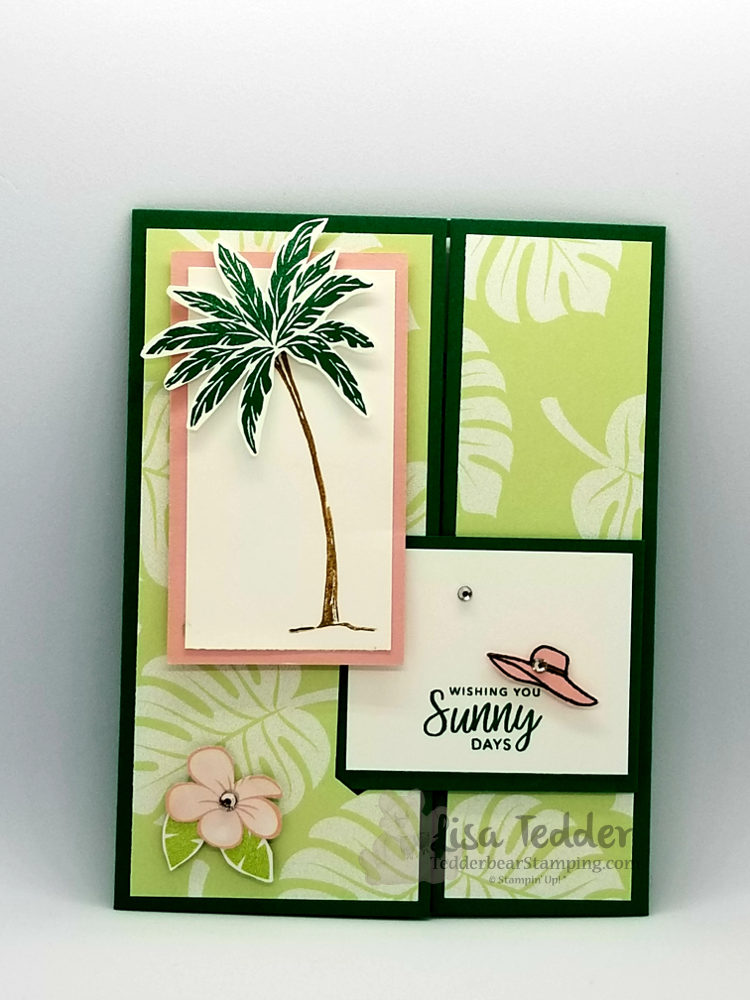
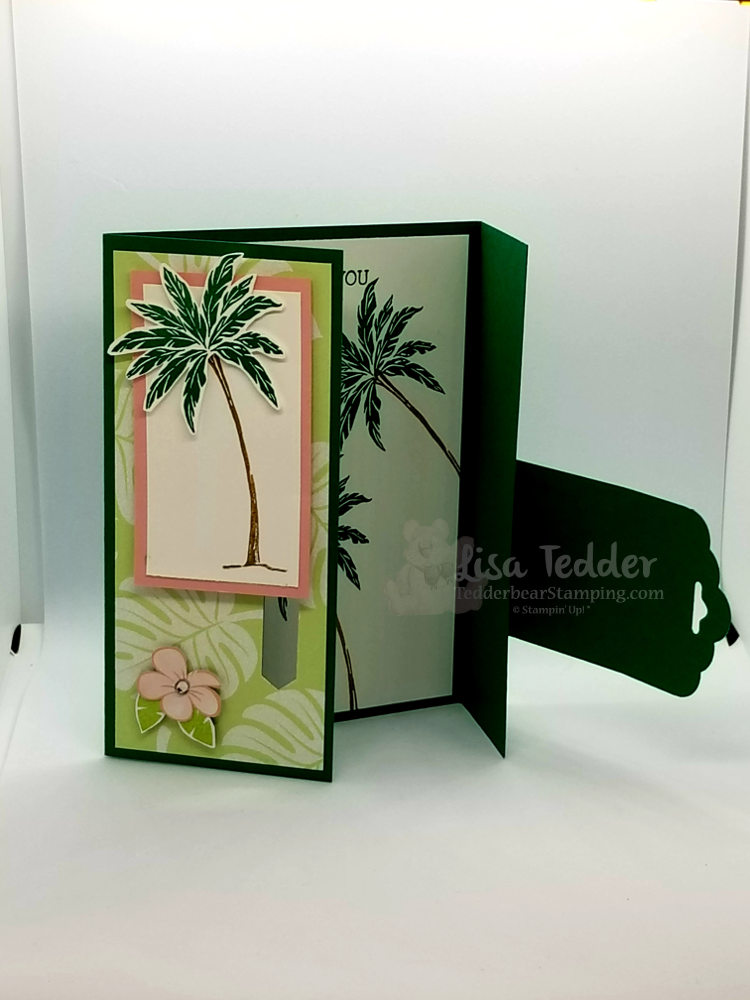
The card I am showing you today is so much fun to make! Have you ever said: How much fun can one card be!? This stamp set (Ornamental Envelopes) has SO MANY ways to use it! Versatile is just ONE way to describe it! This set has ornaments, corner pieces, dies that let you decorate your envelope, and so much more! For today I am showing off the wreath I made. You can watch my video here to see how I did it.

One card = Too much fun!

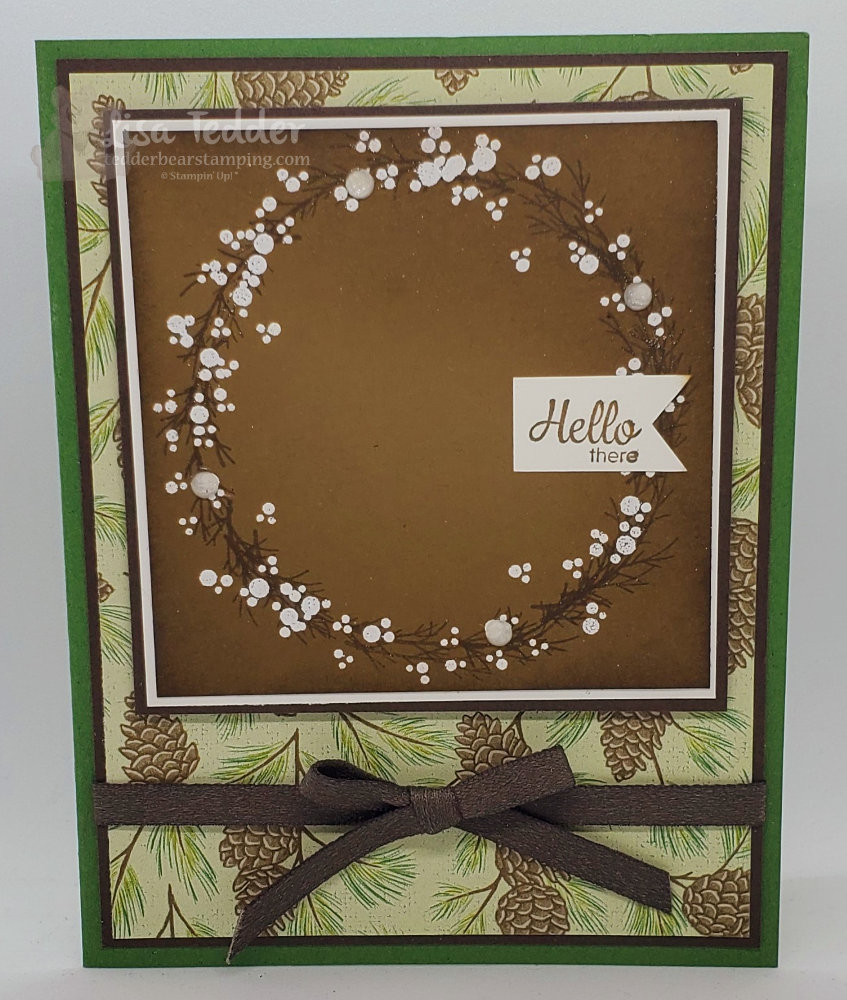
By the way, I also shared on my video how to use the Stamparatus to get your stamps straight! Don’t you hate it when you finish a card and go to stamp the sentiment and it is crooked! Then you have to get creative to cover it up or start over! Well, I show you how to never deal with that again!

As always here is the list of things I used to make this card:

  • Stamps
  • Ornamental Envelopes
  • For Unto Us (inside greeting)
  • Here’s a card (front sentiment)
  • Inks
  • Soft Suede
  • Versamark
  • Paper
  • Garden Green 8 1/2″ x 5 1/2″ scored at 4 1/4″
  • Early Espresso 5 1/4″ x 4″ (x2), 3 1/2″ sq.
  • Poinsettia Place Designer Series Paper (DSP) 5 1/8″ x 3 7/8″
  • Whisper White 5 1/8″ x 3 7/8″ (inside), 3 3/8″ sq. (for under wreath), scrap
  • Soft Suede 3 1/4″ sq.
  • Misc.
  • 1/4″ Faux Suede Trim – Early Espresso
  • Dimensionals
  • Elegant Faceted Gems
  • Stamping sponges
  • White Embossing powder
  • Heat tool
  • Stampin’ Seal +

As you saw (hopefully) last week, I love using Make-up brushes to blend in my colors, check out the blog post if you missed it.

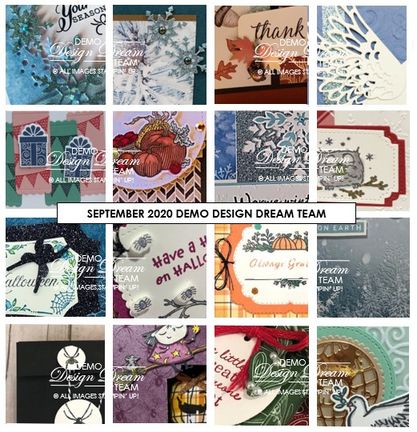
Below you will see the same supplies listed above in picture form, if you click on any of them you will be taken to my OnLine Store! Did you know, that I have started doing YouTube Lives?! AND if you purchase $35 from me using this Hostess Code (RTCTACK) between now and Tuesday the 6th of October you will get my Mini Class packet supplies! I will mail out the packets on Thursday the 7th! Check out my Live, but be prepared it was my FIRST and I can only do better, Thank the Lord!! LOL PLUS a pillow gift!! Now, I feel like a tv announcer……BUT that’s not all!! You will also get a pdf of SIXTEEN projects with step by step instructions! Here is a sneak peek:

Sneak peek!!

Thank you for stopping by!! I really appreciate it! Please leave a comment, subscribe to my Newsletter/blog/YouTube channel!! Or all of them! LOL

Come back next week when I have my next video/blog post!

Lisa Tedder
A California girl living in North Carolina

Product List


Gang’s All Meer Double Slider Easel Card

Hey Guys,

I’m sure that you have seen around the Double Slider Easel Cards, I saw them too, and tried my hand at it! Using The Gang’s All Meer Stamp set from Stampin’ Up! was a no brainer for me. They are so stinkin’ cute! Plus, the sentiment says “Happy Birthday to a STAND-UP friend”, thought it would be perfect to have a stand up card! LOL

Also I used the SU! set Mountain Air, because I thought they would make a great backdrop for those adorable MeerKats! The Belly band is stamped with the cactus and colored with Blends. I tried so hard to find a fitting Designer Series Paper (DSP) that would fit with these cuties, but alas I couldn’t! So, what is a crafter to do? Make their own DSP! 🙂

Here is my card, you’ll see a few pics since I want to show you all the angles:

This can open fuller, the sentiment is on the pull out. Can you see that this is open on it’s own?
sideways view
Inside

Cute right? I like it, depending on what everyone says at my classes is whether or not we make this in a class. It’s a little over the top, meaning it takes some time to get all the pieces together and put in the right place. BUT, it was super fun once I got the gist of it! Thanks go to Frenchie for her video! I may make a video if you would like to see it, just let me know!

As usual, here are the specifics for this card:

Stamps:
The Gang’s All Meer
Mountain Air

Inks:
Smoky Slate (mountains)
Old Olive (trees and cactus/lizard)
Early Espresso (meerkats)
Soft Suede (behind Meerkats and cactus on belly band)
Balmy Blue (sky)
Blends: Crumb Cake combo, Old Olive light, Mango Melody combo

Paper:
Whisper White thick 4 1/4″ x 11″
Whisper White 5 1/2″ x 4 1/4″, 3″ x 4″, 1 1/2″ x 9 1/2″ for banner & for Extra banner if you make a full card: 1″ x 9 1/2″
[2 3/4″ x 1″ (scored @ 1/2″ each end), 2 1/2″ x 1 1/2″ scored @ 1/2″, 1 1/2″ x 1/2″ scored @ 1/2″ & 1″…..for mechanisms]
Balmy Blue 4″ x 5 1/4″

Misc:
1″ circle punch
sponges
Simply scored

So, what do you think? Is this something you want to make for yourself!? I hope you give it a try!

Below you will see in picture form all the supplies needed for this card. Just click on any of them and you will be taken to my Online Store! Anytime you purchase from me, you will receive from me a file FULL of tutorials for you to use! There are usually 40 or more, but I like to promise 35…….don’t want to disappoint anyone! I will also send you a handmade card as a thank you! Every time you order you will get these as my thanks to you! If you live in the US and would like to use me as your Demonstrator, use away! LOL

Thanks for stopping by, hope you enjoyed your visit!

Lisa Tedder
A California girl living in North Carolina

Product List

NEW Floral Essence Shabby Chic

Hey Guys!,

Today I am sharing with you a BRAND NEW stamp set from Stampin’ Up! called Floral Essence.  I wanted to come up with something on my own, since there weren’t many samples out yet.

I haven’t done Shabby Chic in SOOOOO long I am hoping I got it right.

Here is my card:

The Tin Tile Folder on Copper really makes this look aged.

Here are the specifics for this card:

PROJECT 2: Shabby Chic
Stamp Sets Pg #
Floral Essence 108
Paper
Cherry Cobbler 8 1/2″ x 5 1/2″
Copper Foil 5 1/4″ x 4″
Early Espresso 3 3/8″ x 3 1/4″
Watercolor paper 3″ x 3 1/2″
Very Vanilla 5 1/4″ x 4″, 2 1/2″ x 2″
Inks
Cherry Cobbler
Mango Melody
Soft Suede
Accessories
Rhinestones 178
Bronze blend 179
Shimmer Paint Champagne Mist w/alcohol 180
Tin Tile Folder 199
5/8″ Flax Ribbon 174
Smooth Sailing Die for sentiment 195

After I was done I spritzed the entire card with Champagne Mist (4 drops in Alcohol), to give it a shimmery sparkly look.

All the supplies are listed below in picture form, click on any of them to be taken to my OnLine Store.  If you buy from me, I will send you a free gift as a token of my gratitude for you choosing me to be your Stampin’ Up! Demonstrator.

Thank you for stopping by!

Lisa Tedder
A California girl living in North Carolina
Product List

Brand NEW Stamp set Sailing Home

Hey Guys!,

I LOVE when the new CAtalog comes out by Stampin’ Up!!  I was drawn to the set Sailing Home as soon as I saw it!  If I had my way, I would go visit every Lighthouse!  Since I can’t do that I will stick to making cards using them!

Here is a card I did NOT CASE, I came up with it!  Hope you like it!  Here it is:

I did a video showing how I made this card, you can find it here.   I made my own cloud template and am offering it to those who order from me!  This uses a LOT of new goodies!  Sailing Home comes in a Bundle (which if you buy you will get 10% off!!).  The rope knot is a die, the die the Thanks is stamped on is included, plus the sailboat is cut out with a die.  There IS a die for the Lighthouse but I stamped and masked it.  Go check out the video to see how I got the texture on the sand.

Here are the specifics for this card:

PROJECT 1: Lighthouse
Stamp Sets Pg #
Sailing home Bundle
Paper
Seaside Spray 8 1/2″ x 5 1/2″
Pretty Peacock 5 1/4″ x 4″
White 5″ x 3 3/4″, scrap for sailboat and sentiment
Inks
Crumb Cake
Soft Suede
Pretty Peacock
Balmy Blue
Memento
Accessories
Big Shot
Wink of Stella
Dimensionals
window sheets for clouds

I hope you like my card!  I always get so excited when I make something without CASE’ing it.  I know the reason I don’t do it more often is that I am swamped with classes and don’t have the time.  The nice thing is that YOU don’t have to come up with anything either.  There are so many ways to get ideas that we don’t NEED to try and do it alone.

Below are the supplies used for this card in picture form, click on any of them to be taken to my OnLine Store!  If you purchase from me OnLine, you can get the cloud template that I used for this card for a thank you!  Or you can pick a card you like, I will add a little something from my favorites to send you also!  It’s like a Grab Bag!!  🙂

Thank you for stopping by!

Lisa Tedder
A California girl living in North Carolina
Product List

Rooted in Nature beach scene

Hey Guys!

I love my Job!  I get to make beautiful handmade cards AND show others how to do it! After my classes everyone is so happy with what they have made!

I got this idea from Cindy Elam, I found it on Pinterest and changed up a little, here is her card:

I LOVE layers, I wanted to add to this beautiful card.  Here is what I came up with:

Here are the specifics for this card:

PROJECT 3: Watercolor trees
Stamp Sets Pg #
Rooted in Nature
Waterfront
Paper
Soft Suede 8 1/2″ x 5 1/2″
Early Espresso 3 1/8″ x 4 1/8″
Watercolor paper 3″ x 4″
Very Vanilla 5 1/4″ x 4″, 2″ x 4 3/4″
Inks
Crushed Curry
Soft Suede
Early Espresso
Mossy Meadow
Pool Party
Accessories
Spritzer
Braided Linen Trim
Layered Leaves folder
Sponges
Big Shot

I spritzed the stamp after inking it then stamped it on Watercolor paper. It really has a great effect.  I love how the trees look different each and every time!  I also love to use the Aqua Painter to make a background.  I taped off a straight line then using the Aqua Painter to make the water.

Below are all the supplies used to make this card.  Click on any picture and you will be taken to my OnLine Store.  I would love if you would choose me as your Stampin’ Up! Demonstrator!

Thanks for stopping by!

Lisa Tedder
A California girl living in North Carolina
Product List

Special Fold Card using the Retiring set Beach Happy

Hey Guys!

Today I am sharing with you a card that has a special Fold.  I used the Stamp set from Stampin’ Up! called Beach Happy.  This is retiring at the end of the month, so if you want to get it, don’t dilly dally!!

I really love this set…….I don’t usually hang onto my retiring stamps but this one I am not letting go!  🙂

Here is my card:

The white Sentiment is really a tab that sticks into the other side of the card and it holds the card closed.

Here you can see how it looks partially open.

Isn’t this is so pretty!!? I got this idea from Debbie Naylor, you can see her card here.  Debbie’s is a little different, she adhered her flap to the back, I wanted mine to open up fully.

I LOVE palms, seeing them makes me happy! Probably because I took them for granted while growing up in SoCal I never appreciated them until I don’t have them everywhere!  My hubby has some in our yard to bring me joy!

Here are the specifics for this card:

Stamp Sets
Beach Happy
Needle & Thread
Paper
Shaded Spruce 8 1/2″ x 5 1/2″ scored @ 2 1/2″ & 6 3/4″
Tropical Escape DSP 2 1/4″ x 5 1/4″, 1 1/2″ x 5 1/4″
Whisper White 5 1/4″ x 4″, 1 5/8″ x 3″, 1 3/4″ x 2 1/4″
Blushing Bride 1 7/8″ x 3 1/4″
Inks
Shaded Spruce
Soft Suede
Memento black
Accessories
Classic Label punch
Tag Topper punch
Dimensionals
Rhinestones
paper snips

Below are the supplies in picture form, click on any picture and you will be taken to my OnLine store!  I would love if you would choose me to be your Stampin’ Up! Demo if you live in the U.S.

For every OnLine purchase I give the person a gift to thank them for ordering !  If you see a card you would like from my blog, send me a note and I will see what I can do!

Thanks for stopping by!

Lisa Tedder
A California girl living in North Carolina
Product List

Cutest Dog Shaker Card

Hey Guys!

I was wanting to make a shaker card, and I wanted to make a Dog card using the new Stamp set from Stampin’ Up! called Happy Tails, so I put them together!

This dog is stinkin’ cute!  Holding a shaker card is so much fun you HAVE to see how it works! The dog fits perfectly in the open area of the shaker that I made using the Stitched Shapes framelits.

Here are the specifics for this card:

PROJECT 1: Dog Shaker
Stamp Sets Pg #
Happy Tails Bundle
Itty bitty birthdays
Paper
Soft Suede 8 1/2″ x 5 1/2″
Night of Navy 4″ x 5 1/2″, 5 1/4″ x 4″, 2 5/8″ sq
Balmy Blue 3 3/4″ x 5″ (x2)
Twinkle Twinkle DSP 3 3/4″ x 5″
Whisper white scraps
Inks
Memento black
Crumb Cake
Soft Suede
Night of Navy
Accessories
Stitched Shapes framelits/Rectangle framelits
1/2″ circle punch
Classic Label punch
Tranquil Textures Sprinkles
Foam Adhesive Strips
Window Sheets

Below are the supplies used for this card, click on any picture and you will be taken to my OnLine Store.  If you purchase from me, I will send you a small gift to thank you!

Thanks for stopping by!

Lisa Tedder
A California girl living in North Carolina
Product List

HedgeHog Cutie

Hey Guys!

I made a Hedgehog with a flower stamp!  I’ve seen this done over a year ago, and FINALLY decided to make one.  These are so cute it was always on my list to make one.  So happy with how it came out! Here is my card:

I thought that embossing the Tree Rings on Soft Suede using Gold Embossing Powder would be really pretty. This is so stunning in person!  This is a card we’ll be doing in my kid card class. This, in my opinion, would be great for a teen girl.  I would love getting this, wouldn’t you!?

Here are the specifics for this card:

PROJECT 3: Hetty the Hedgehog
Stamp Sets Pg #
Painted Harvest
Well Said Bundle
Rooted in Nature
Tree Rings
Paper
Basic Black 8 1/2″ x 4 1/4″
Soft Suede 5 1/4″ x 4″
White 5″ x 3 3/4″, 3 1/4″ x 4 1/2″
Inks
Versamark
Soft Suede
Crumb Cake
Early Espresso marker
Gold Foil 1 3/4″ x 3 1/4″
Accessories
Embossing Buddy/Gold EP/Heat tool
Rectangle Framelits
Big Shot
Post-It’s
Fine Tip Glue Pen

Below are pictures of the supplies for this card click on any picture and you will be taken directly to my OnLine Store.  If you purchase from me, I will send you a small gift to thank you!

Please stop back and see me!

Lisa Tedder
A California girl living in North Carolina
Product List

Home to Roost

Hey Guys!

I saw this picture on Pinterest by Stesha Bloodhart using the Home to Roost stamp set by Stampin’ Up! and had to Case it for a class I was having!

Here is my card:

When coloring with the Stampin’ Blends I used the Color Lifter to give it a watercolor look.  This Rooster is so stinkin’ cute!  I think I will use him for a framed piece for my kitchen!  Did you know that you can Earn this stamp set for FREE!?  Spend $50 on goodies from SU! and you can get this for free.  But, don’t wait!  These are only as supplies last and only until Sale a Bration is over at the end of March, whichever comes first.

Here are the specifics for this card:

Stamp Sets Pg #
Home to Roost SAB FREE
Paper
Pacific Point 5 1/2″ x 8 1/2″
Very Vanilla 5″ x 3 3/4″ (x2)
Grapefruit Grove foil 5 1/4″ x 4″
Black 5 1/4″ x 4″
Inks
Memento Black
Blends: Night of Navy cmb, Cajun Craze cmb,
Blends: Soft Suede cmb, Balmy Blue cmb, Real Red Dk
Color Lifter
Mossy Meadow, Pacific Point and Soft Suede ink pads
Accessories
Braided Linen Trim
Red Rhinestones
Rectangle Framelits
Layering Ovals
Dimensionals & Glue Dots


The supplies are in picture form below, click on any of them and you will be taken to my OnLine Store.  I would love if you choose me as your Stampin’ Up! Demo! When you purchase from me I will send you a small token of my appreciation.

Thanks for stopping by!

Lisa Tedder
A California girl living in North Carolina

Product List

Happy Tails masculine card

Hey Guys!

Today I am sharing with you a card that I will be doing in an upcoming Masculine card class.  It uses the Stamp set from Stampin’ Up! called Happy Tails!  This is such a super cute set!  You can buy the Bundle and get the punch with the stamp!

This card was a CASE by Carol Arneson.  I was going to change it up, but once I got started, it was perfect the way it was!  LOVE this card!

Here are the specifics for this card:

PROJECT 1: Dog
Stamp Sets Pg #
Happy Tails Bundle 33
Paper
Soft Suede 8 1/2″ x 5 1/2″
Very Vanilla 5 1/4″ x 4″, 2 1/4″ x 5 1/4″
Crumb Cake 1 3/4″ x 5 1/4″
Black scrap
Merry Merlot scrap
Inks
Memento black
crumb cake
soft suede
Accessories
Glue Dots

This is one you would call Simple Stamping.  Very straightforward, easy to do but still is gorgeous!

If you are in need of a Stampin’ Up! Demonstrator, I would love it if you would choose me!  I have a YouTube Channel where I do free weekly (most of the time) videos.  If you like what you see, just let me know if there is anything I can help you with!

Below are pictures of the supplies I used to make this card.  Click on any of them and you will taken to my OnLine Store!  If you order from me, I will send you a small gift!

Hope you enjoyed your visit, please visit with me again!

Lisa Tedder
A California girl living in North Carolina
Product List