Tag Archives: FREE

Use your DSP!

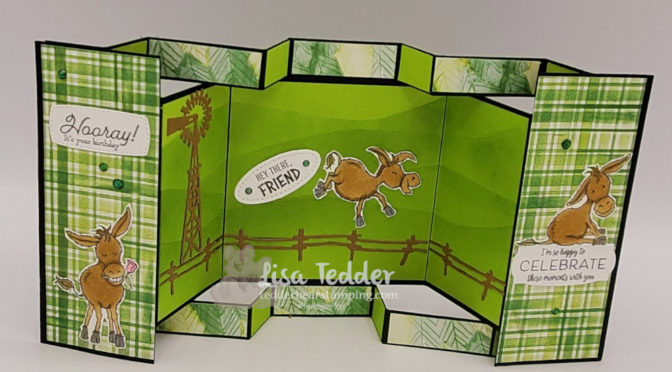
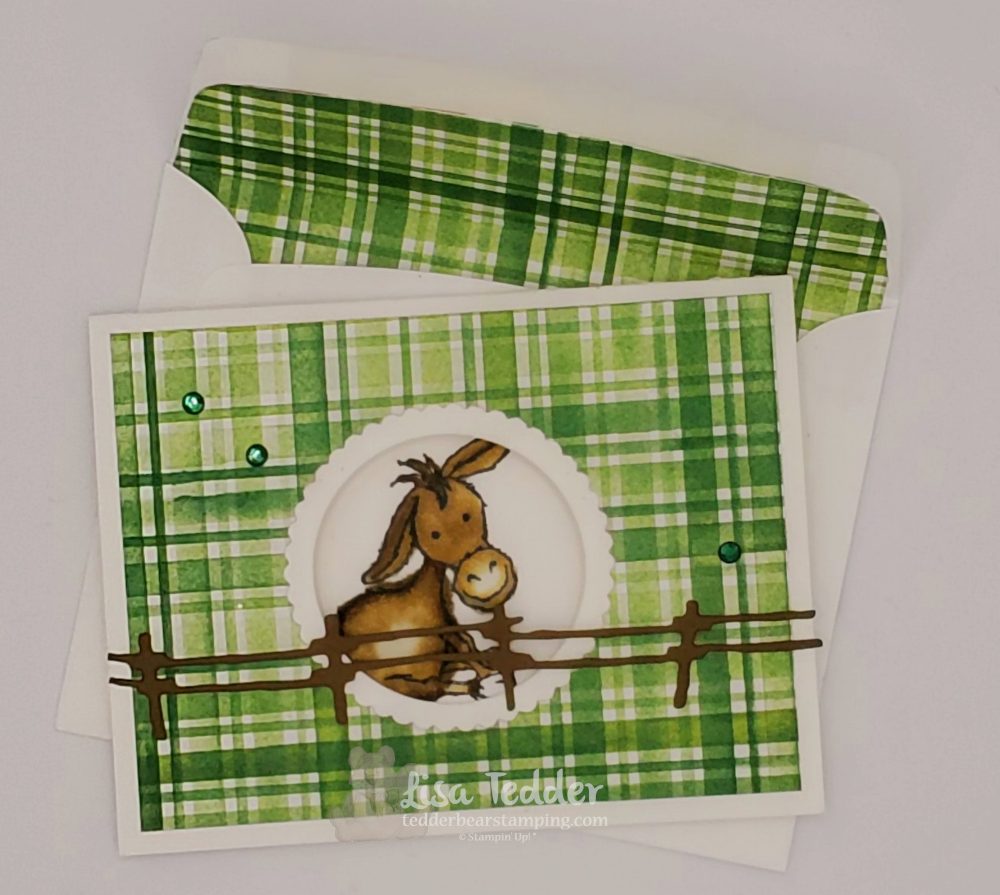
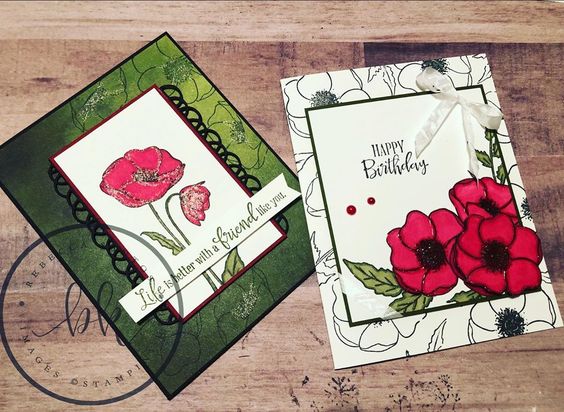
Hey Guys! Use your DSP! Don’t hoard it like I used to. Basically I hung onto it and was afraid to use it because it was so pretty! Conversely I got tired of buying it but not using it, so I promised myself I would use it! Of course it’s been years and I’ve stuck with that premise! Besides, today I am showing you two ways to use up your DSP! Furthermore, you can catch the video I am doing today here. Nevertheless, every Thursday I do a video sharing what I love. Equally important is that if you watch Live and comment (so we know you are there), you will be put in a drawing to get one of the cards I made that day!

Use your DSP!

Use your DSP!
Use your DSP!
Use your DSP!
Use your DSP!

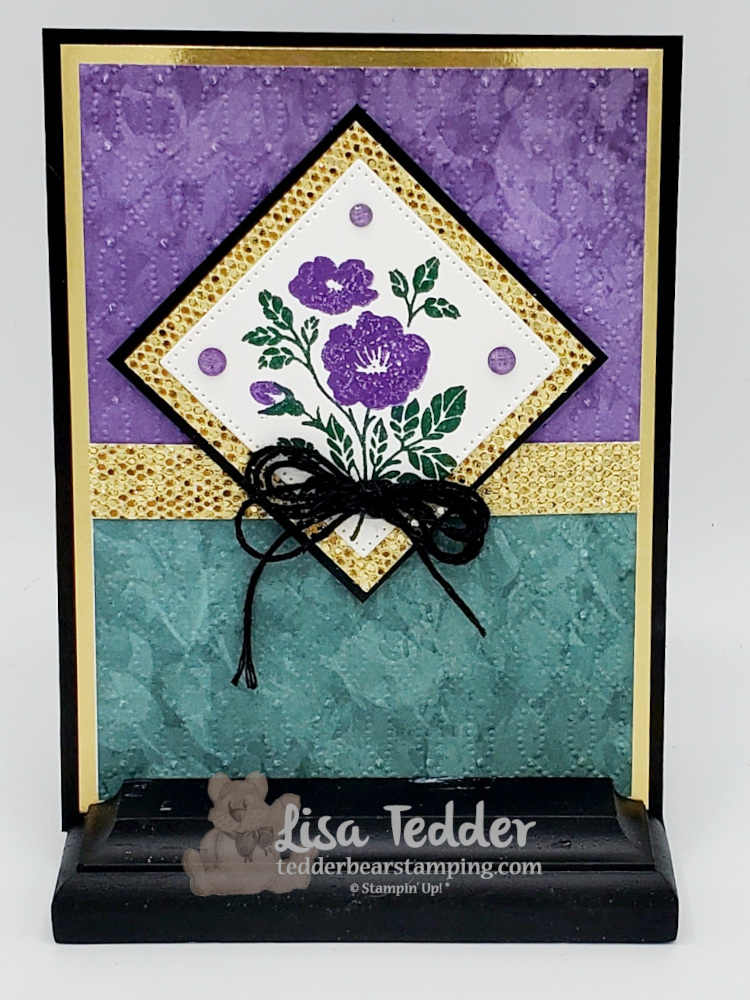
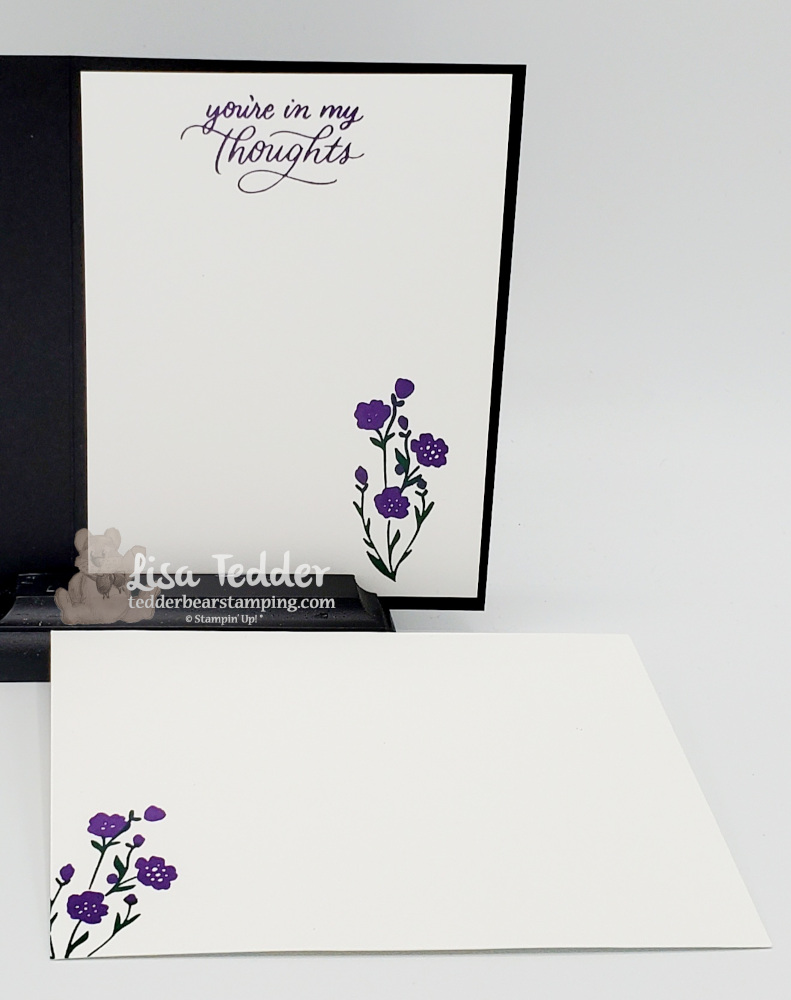
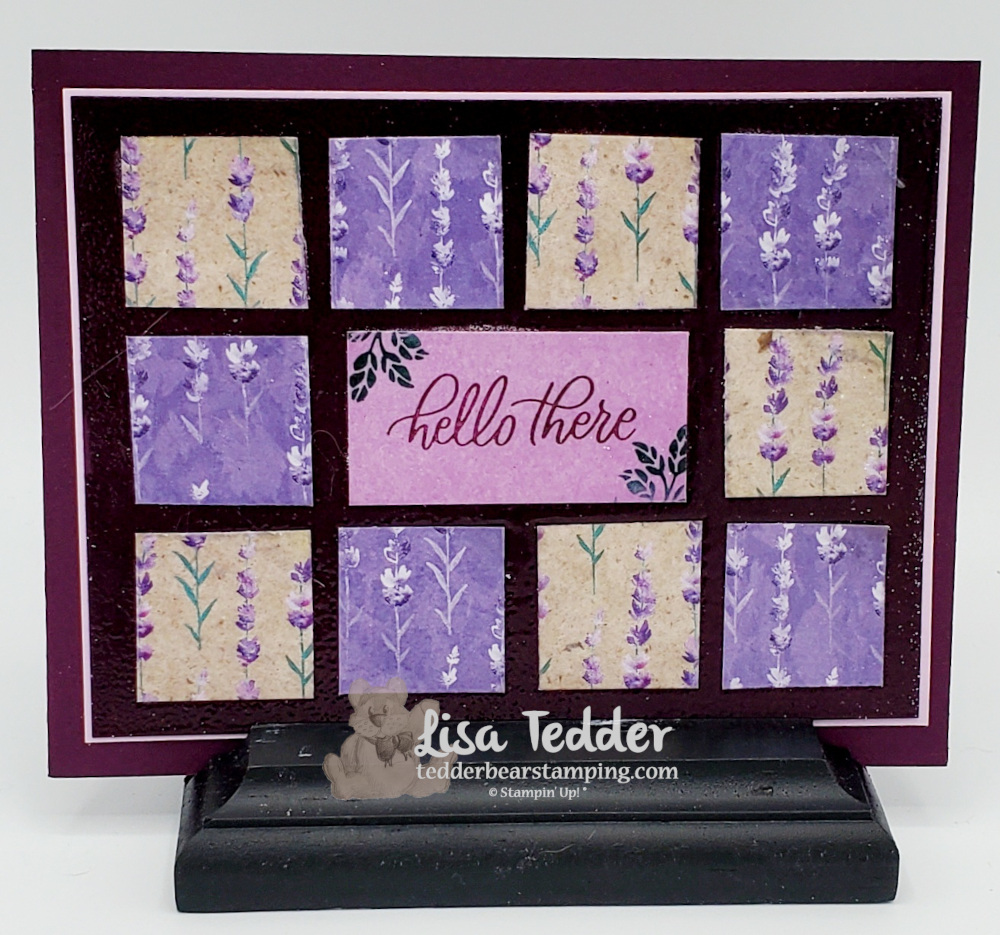
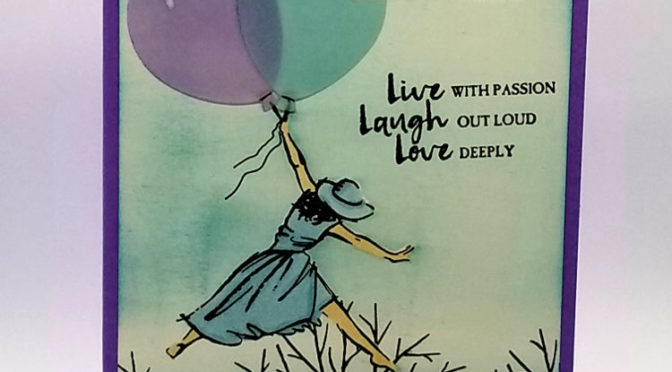
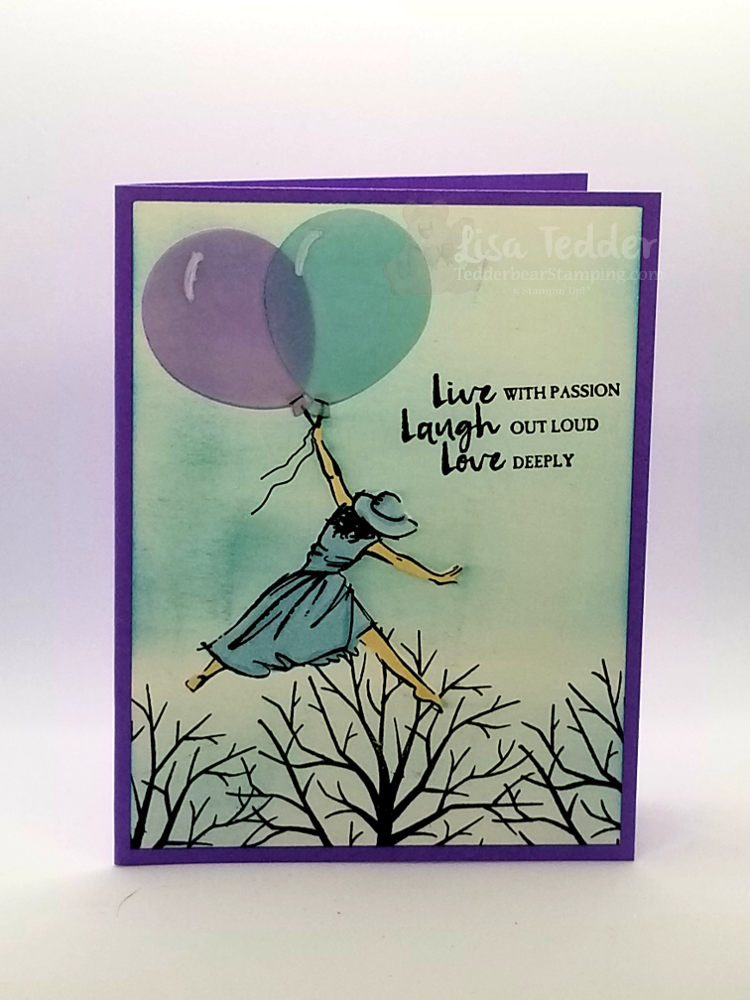
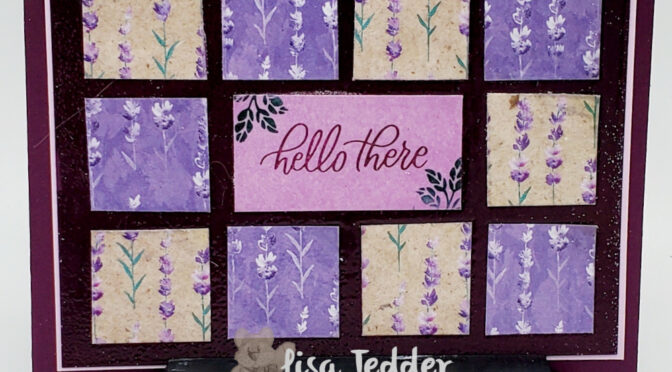
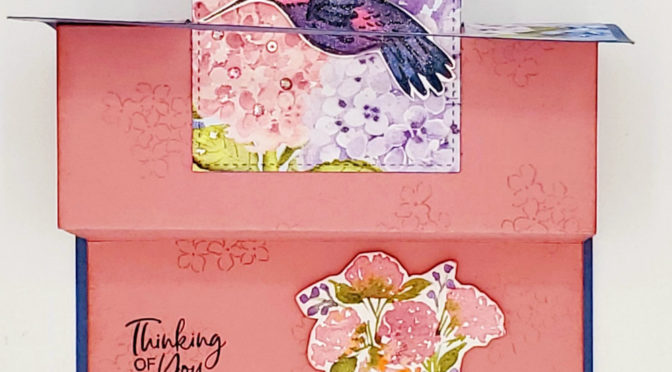
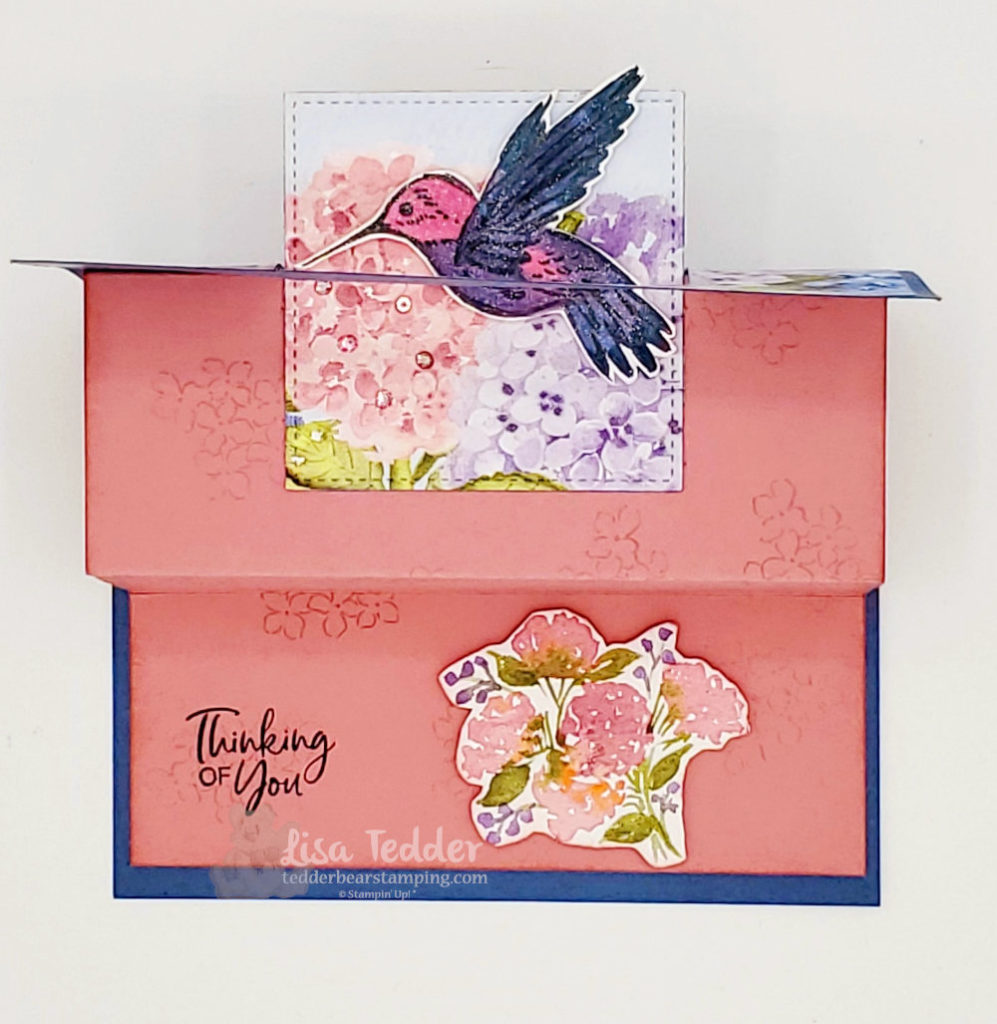
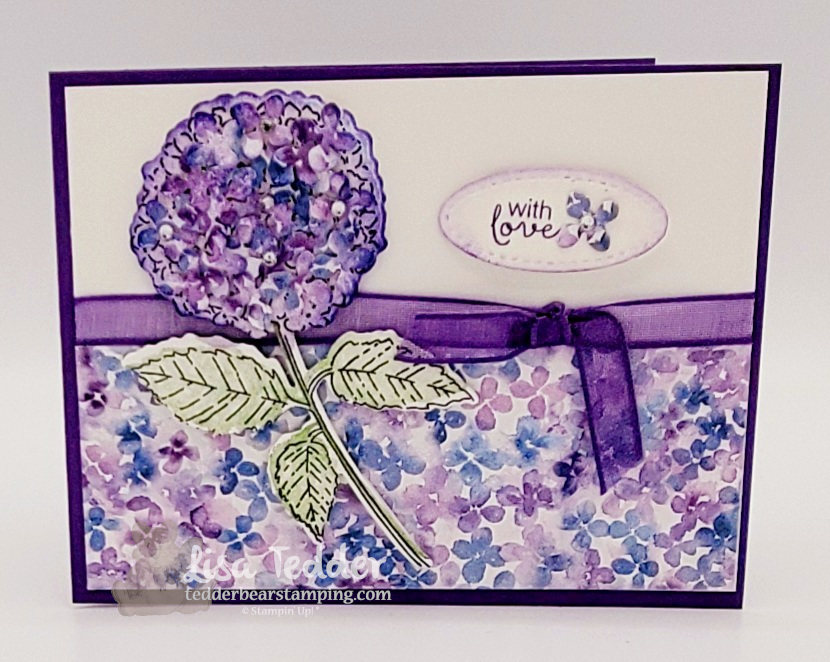
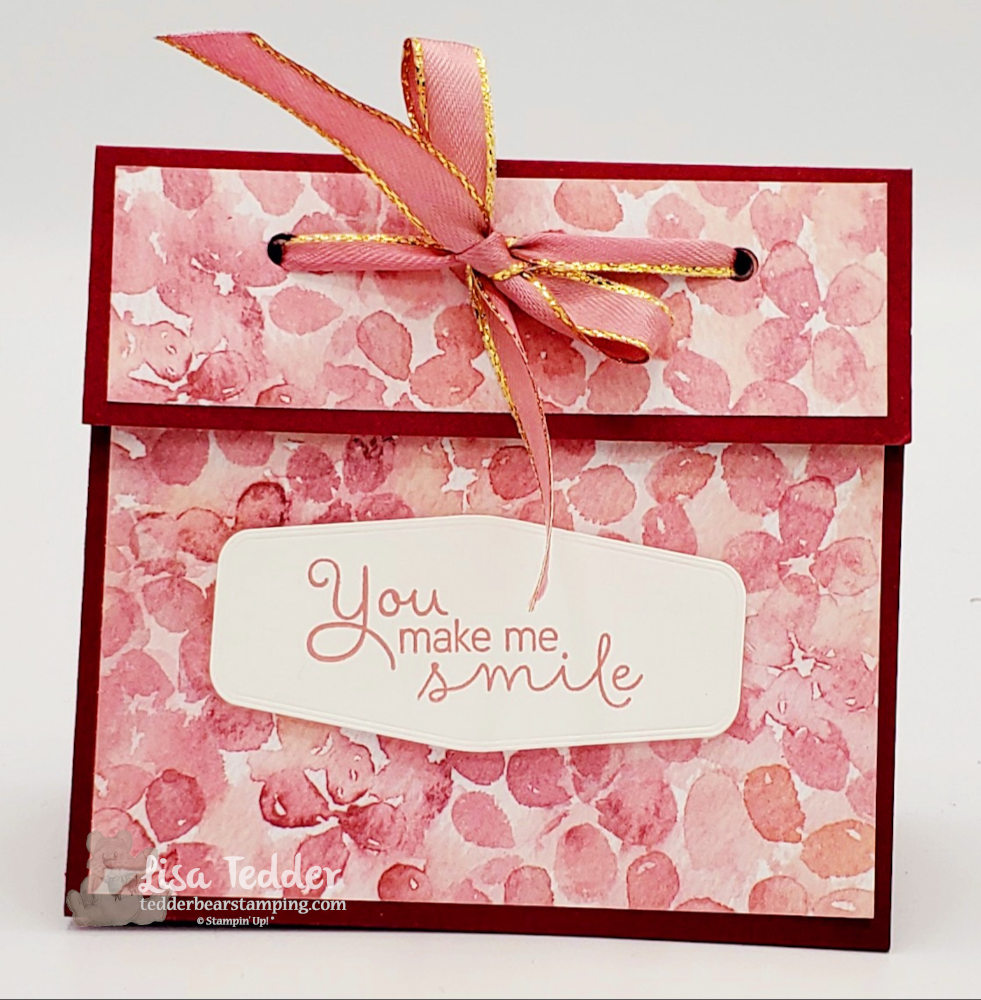
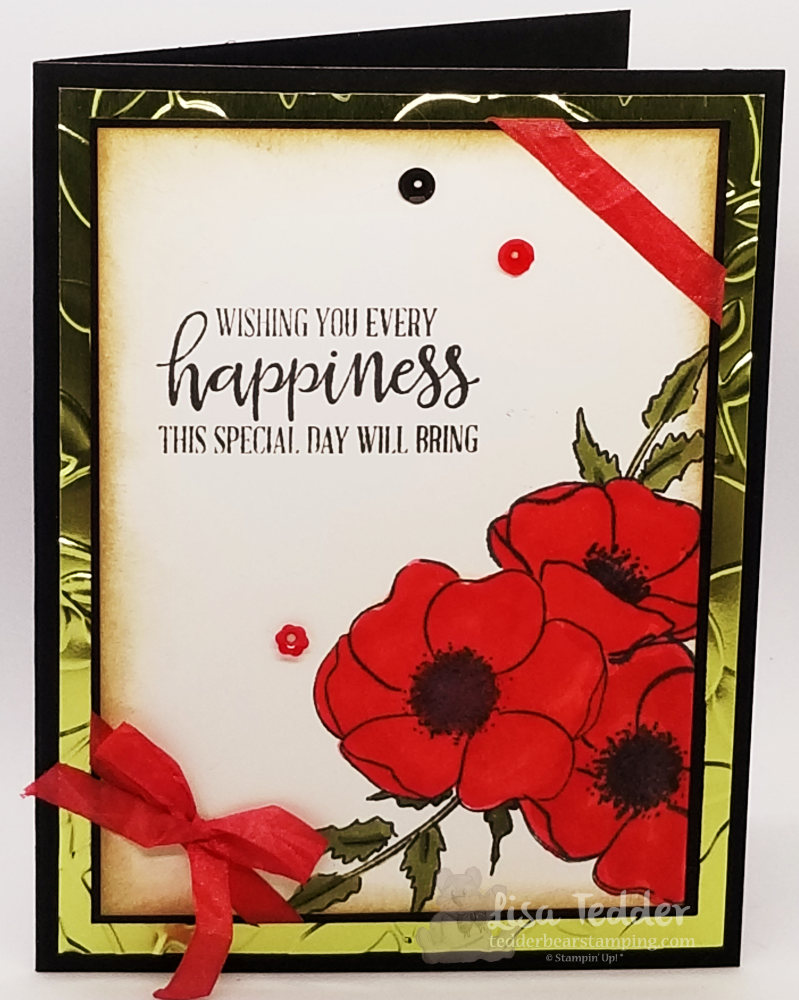
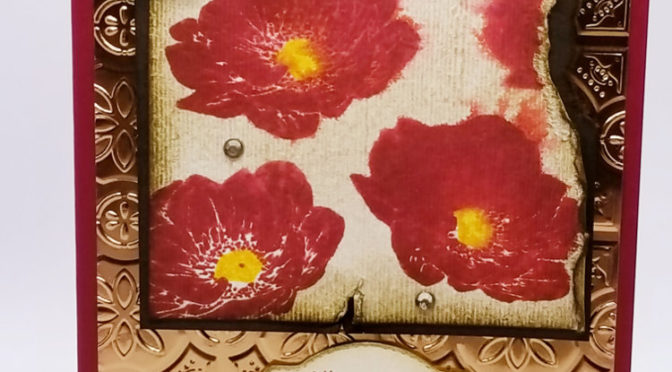
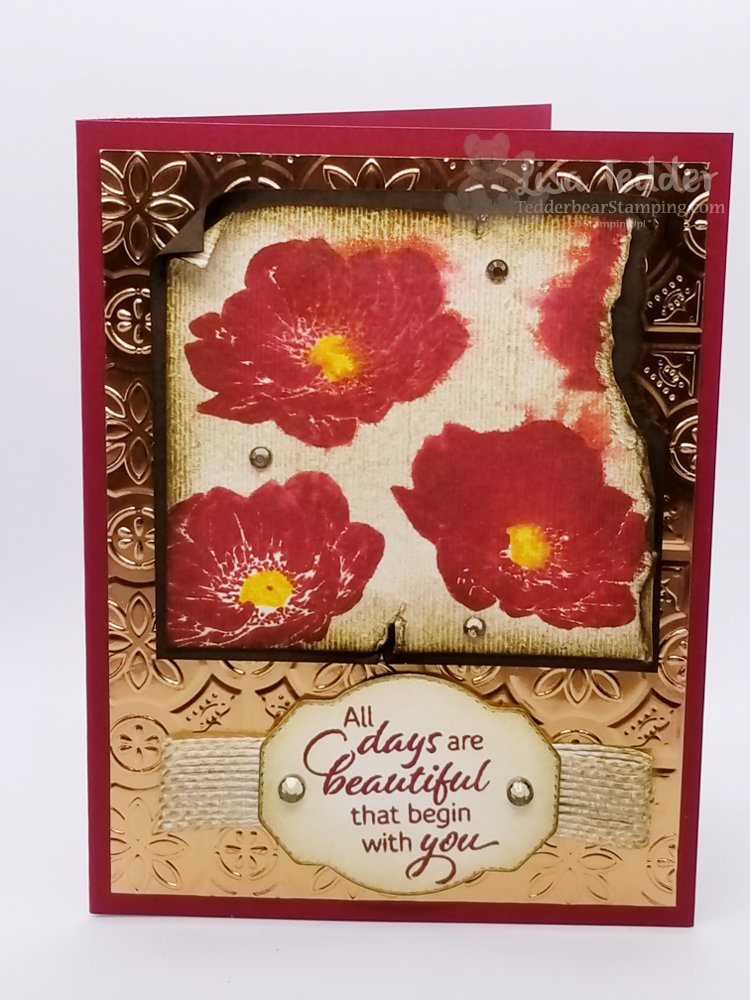
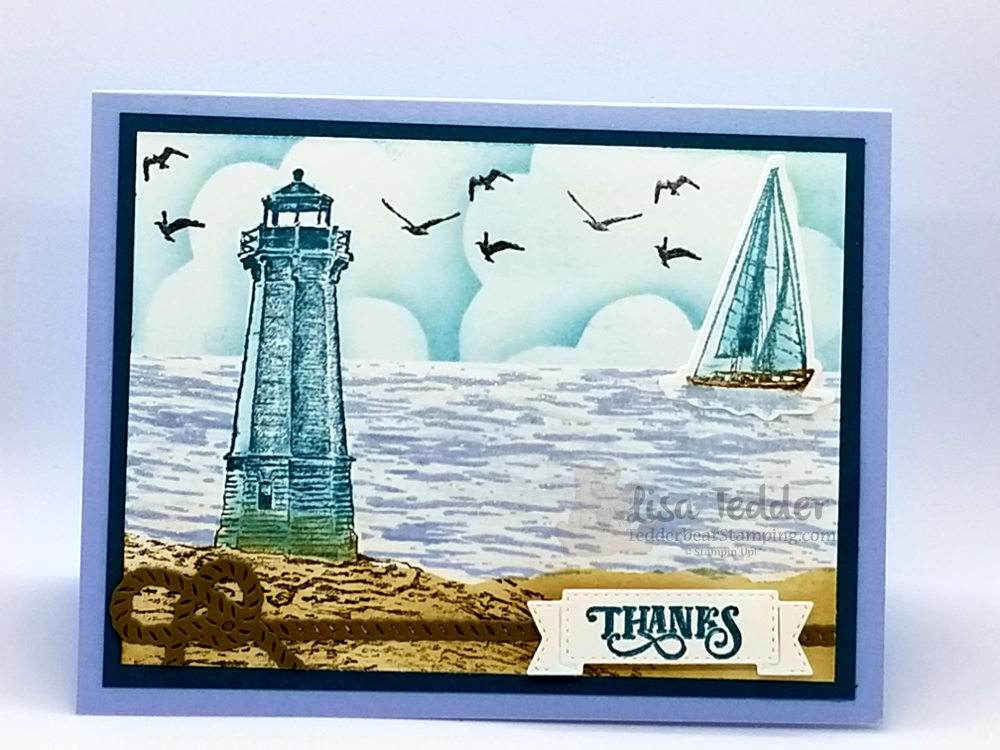
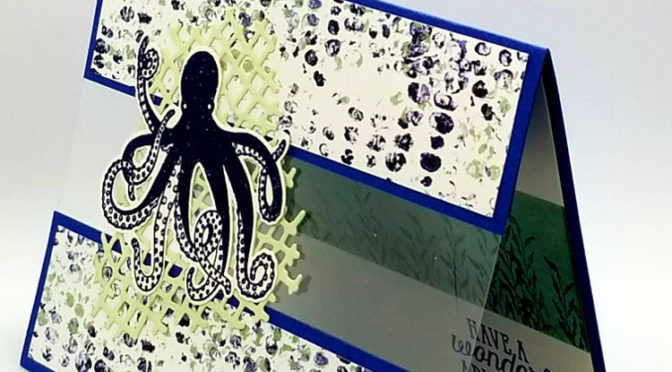
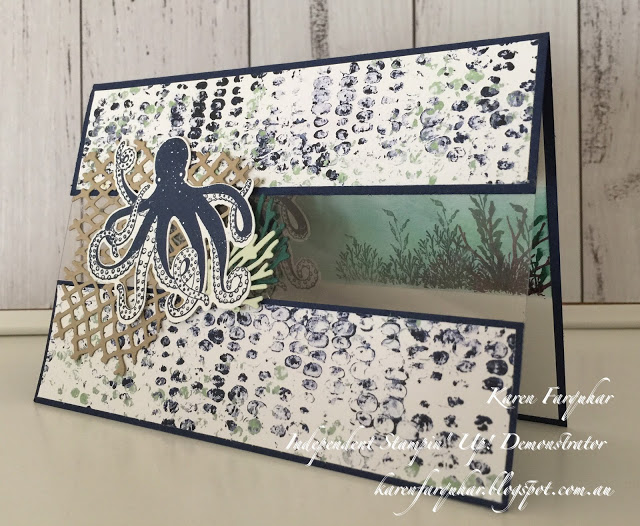
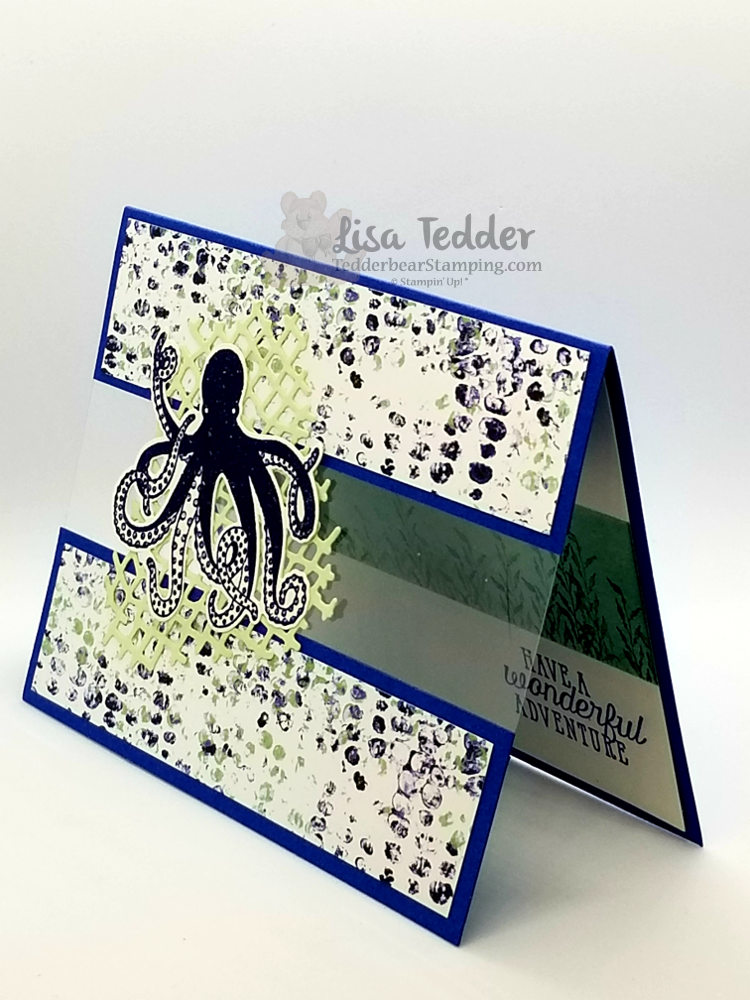
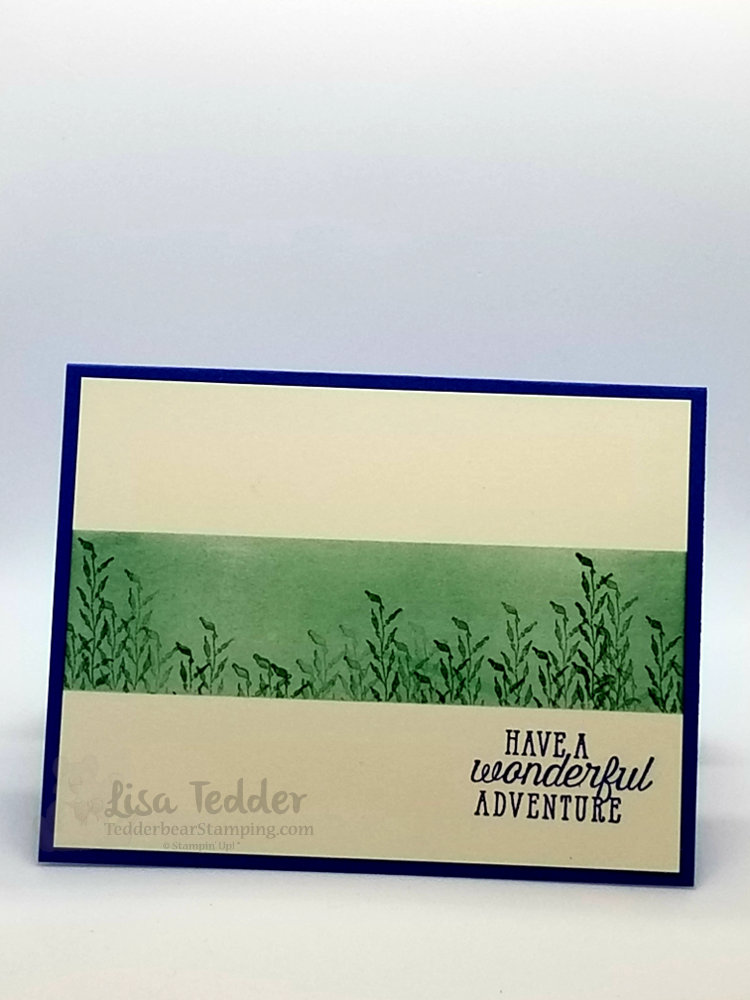
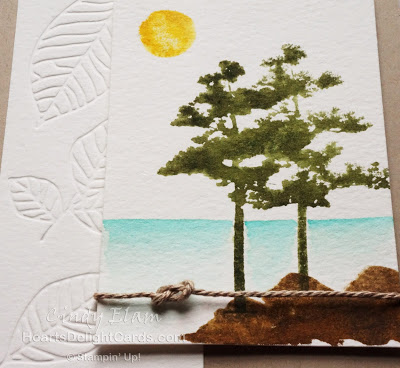
Undoubtedly, you can see on the first card I embossed the Designer Paper using the Softly Sophisticated folder from Sale-a-Bration! Instead of embossing the 2nd card, I decided to emboss it with Versamark and Clear Embossing Powder! Decidedly these are my favorite I’ve done in a while, one uses 1″ squares of 2 DSP’s and the other is more traditional. Of course I would love to hear from you on what you think!

You can STILL get FREE product!

As you know, Sale-a-Bration is when Stampin’ Up! has it’s yearly special! However you have to decide which of the amazing products to buy and then choose what to get for free! Because the Softly Sophisticated Bundle is 2 products, you will need to purchase $100 to get both! But, as I say, I was going to buy it anyway, this way I get something Free too!

But did you know….?

Another great thing that comes with SAB is that SU! always offers a joining bonus! This time you can choose extra $$ or you can get the awesome and amazing product:

You get a tray that grips and a glass mat!

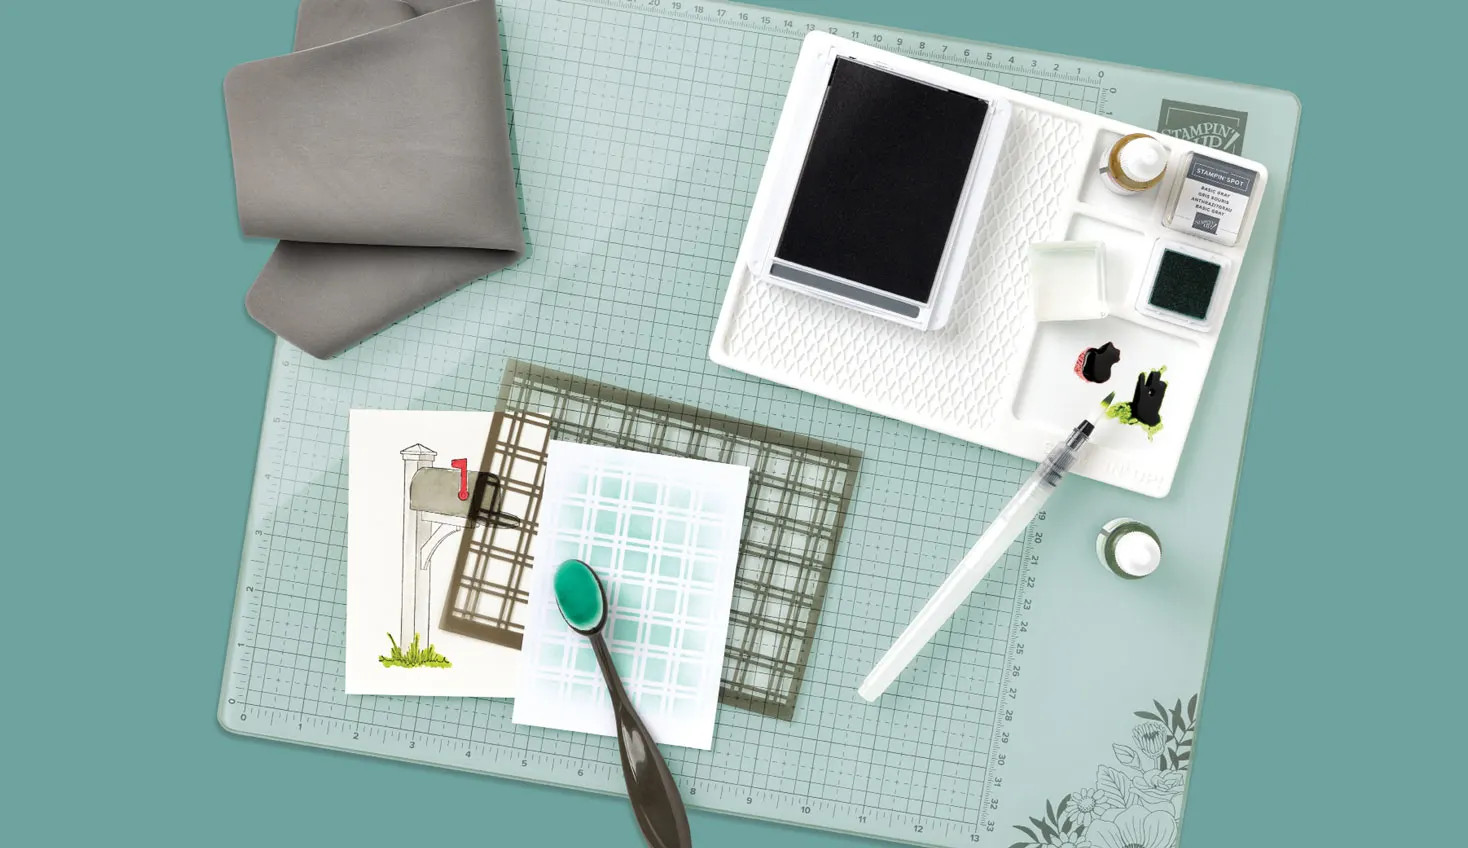
Of course, the Stampin’ Glass Mat Studio is a paper crafter’s dream! The heavy-duty glass mat comes printed with a ruler and grid lines for easy measuring, while the large surface space gives ample room for spreading out while paper crafting. Because, the safety-tempered glass has a heat and scratch resistant surface that wipes clean with the included cloth and water—no chemicals needed. Moreover, the reusable cloth also cleans ink off your stamps! Not withstanding the nonslip, heat resistant, waterproof silicone mat features four palette squares for mixing custom ink colors or for holding small ink spots in place while crafting. Also, each component can be used separately or you can use all three items together for a multipurpose paper crafting studio that’s both functional and elegant.

The Stampin’ Glass Mat Studio includes:

GLASS MAT
* 5 mm thick
* 17″ x 14″ (43.2 x 35.6 cm)
* Safety-tempered
* Heat and scratch resistant
* Wipes clean with water or alcohol

SILICONE MAT
* 8-3/8″ x 6″ (21.3 x 15.2 cm)
* Multiuse, nonslip
* Waterproof, heat resistant
* 4 palette squares for custom-color mixing or holding Stampin’ Spots
* Product color: white

CLEANING CLOTH
* 8-1/4″ x 8-1/4″ (21 x 21 cm)
* Durable, reusable
* Lint free
* Cleans stamps and other surfaces with only water
* Product color: dark gray

Moreover, if you want to join Stampin’ Up! during Sale-A-Bration but are interested in a different join option you can instead get $125 USD worth of product PLUS an additional $30 USD worth of product of their choice when you join for $99 USD . Of course, that’s a $155 USD value!  Basically to join my team you get a choice, click here to join The Tedder Bears!!

Thank you so much!

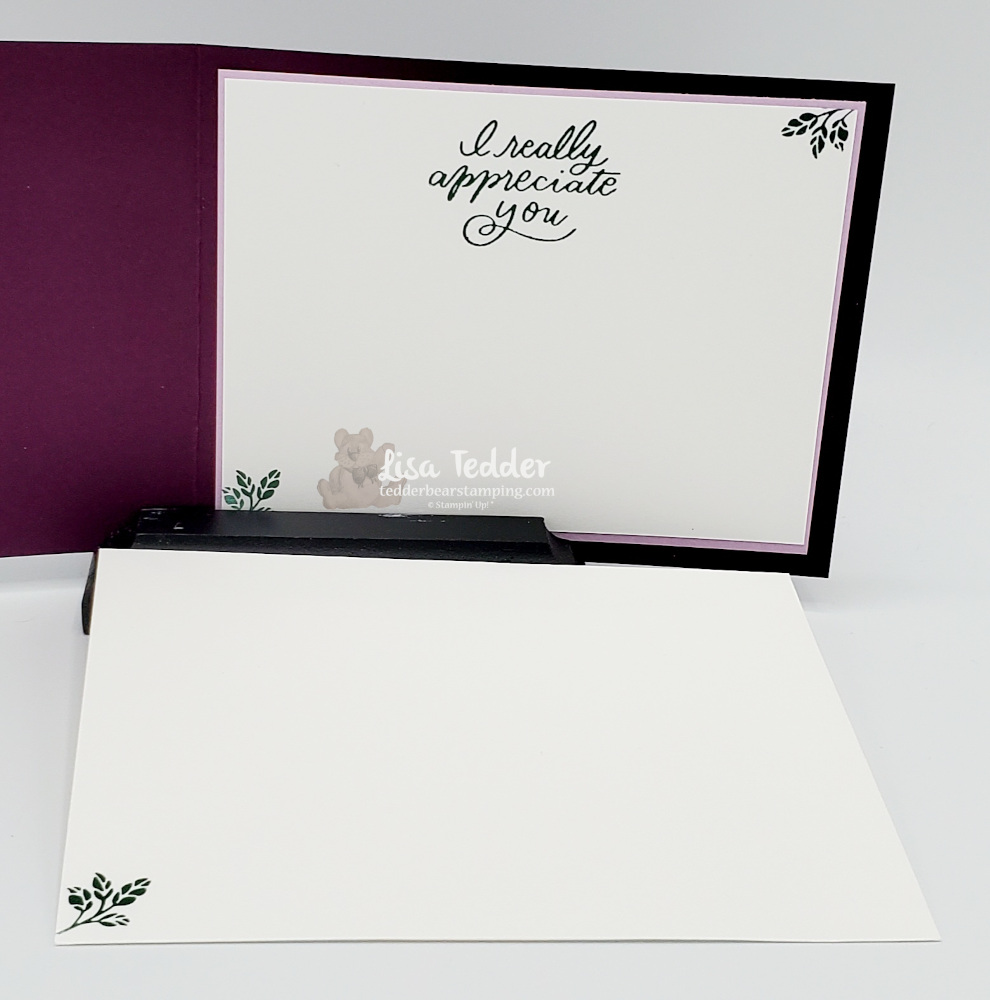
After all, I appreciate you and want you to know! However, following all that above I don’t want you to think I don’t value you! Basically if you weren’t here I wouldn’t be doing what I do! Of course, I LOVE stamping, but I want to share with others my passion! Especially when you come here and read this and when you join my YouTube Live’s! Of course it allows me to see that you like what you are seeing! Thank you for allowing me to show you how to Use Your DSP!

Lisa Tedder
A former California girl living in North Carolina
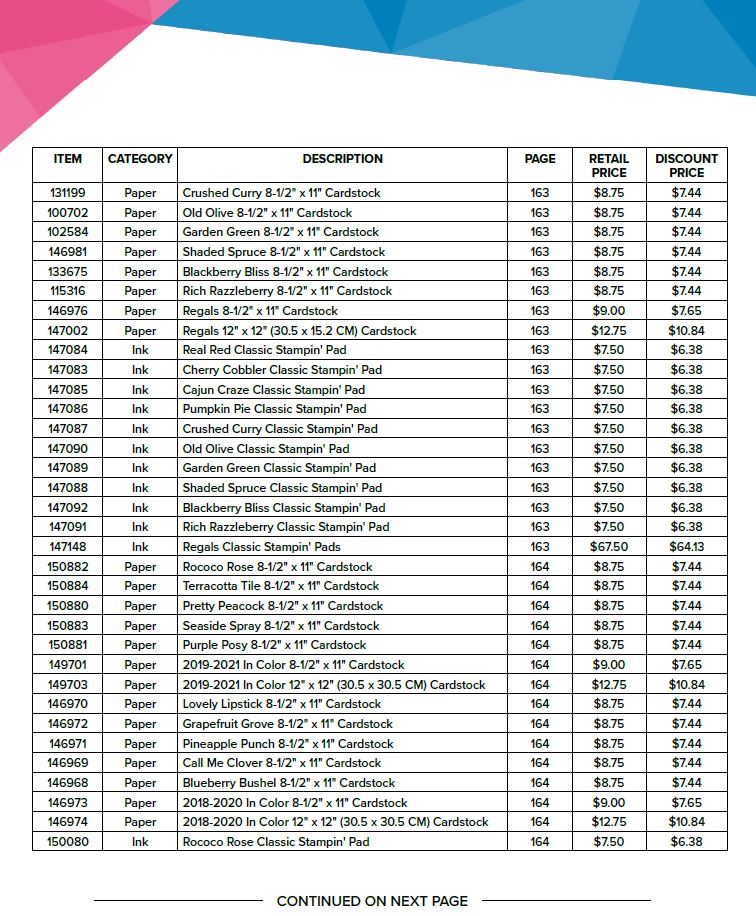
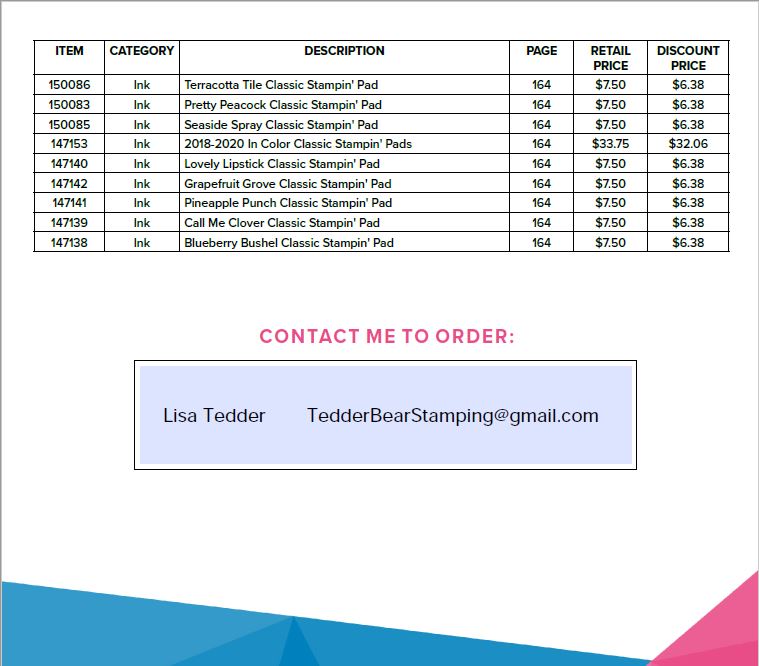
Product List

Fancy Fold WOW handmade card

Hey Guys!

Today I am showing you a Fancy Fold WOW card! We will be using two stamp sets from Stampin’ Up! called Hydrangea Haven and A Touch of Ink (this set you can get if you spend $100 on an order for FREE!). This set from Sale-a-Bration is a 2 step stamp, though today we colored it with blends. If you missed my Post from last weeks Fancy Fold you can catch it here.

First card I made on my video:

Fancy Fold WOW, handmade card top view
Fancy Fold WOW handmade card side view

Second card I made on my Live was really fun for me!! I debated getting this set, but liked what I saw online, so decided to get it, boy I’m so glad I did!! Here is my 2nd card:

Hydrangea Haven card

As always, here are the ingredients for both my cards:

  • Stamp sets:
  • Hydrangea Haven Bundle
  • A Touch of Ink
  • Inks:
  • Memento black
  • Gorgeous Grape
  • Rococo Rose
  • Highland Heather
  • Granny Apple Green
  • Blends:
  • Rococo Rose
  • Misty Moonlight
  • Paper:
  • Misty Moonlight 8 1/2″ x 5 1/2″
  • Rococo Rose 8″ x 5 1/4″, score landscape @ 2″, 4″ & 6″ fold as shown on video
  • Hydrangea Hill Designer Series Paper (DSP) 5 1/4″ x 4″ for 1st card, 5 1/4″ x 2″ for 2nd card, and cut out image for 1st card inside
  • Gorgeous Grape 11″ x 4 1/4″
  • Basic White 5 1/4″ x 4″ (x2), scraps for stamping all images on both cards
  • Misc:
  • Stitched Shapes Dies
  • Tasteful Labels Dies
  • Dimensionals
  • Paper snips
  • Rhinestones
  • Stampin’ Cut & Emboss machine
  • Gorgeous Grape 3/8″ Sheer Ribbon
  • Wink of Stella

Aren’t those so pretty!!? I keep looking at them and LOVE them! Below you will see pictures with the same product I listed above, click on any of them to be taken to my OnLine store! For $35 or more (if you buy over $150 do NOT use the Host code I will provide) you will receive the class packet for doing these cards, which includes all the cardstock, die cut images (square cut out of front of card, flowers die cut that are on top of flower, and colored rhinestones), you will NOT get the stamps unless you order them. Also, for your order you will get this pillow gift!!

This has Chocolate inside!!

Also, with your Qualifying order you will get a PDF of SIXTEEN projects! Each project has step by step instructions and pictures! Every month I have a brand new PDF for you! On last weeks video I shared my project that is in the PDF for purchases in the month of January along with other ideas using other product from the SAB catalog!

I hope you have enjoyed my post today! If you missed any of my videos you can go to my YouTube Channel and get all kinds of ideas!!

Thank you so much for supporting me and my small business! I hope you enjoy my blog AND videos!

Lisa Tedder
A former CA girl living in North Carolina

Product List

Donkey Fancy Fold

Hey Guys!

Yesterday I posted a Live YouTube video doing a Fancy Fold using the Darling Donkey stamp set! You can get this set FREE with a $50 purchase! Love, Love, Love this set!! I have been using it a lot ’cause I love it so much! If you missed my last Live you can catch it here! Also, I did a Blog post and that can be found here!

Free Donkey set Fancy Fold!

Of course I did a SECOND card for my Mini Class! And I also used the Free Donkey set!

Free Donkey stamp set on Memories & More gift card

First off, I wanted to tell you that I also used, along with the Donkey, the dies from the Bundle Ride the Range. I will be using this bundle for my next YouTube Live on Thursday January 14th! I hope you can join me. Also, I used some Free Designer Series Paper that comes in the Sale-a-Bration catalog as a bundle itself called Berry Blessings Stamp set + Berry Delightful Stamp set.

Secondly, as usual I am providing all the details needed to make BOTH projects:

  • Stamp sets:
  • Darling Donkeys
  • Many Messages
  • Inks:
  • Memento Black
  • Garden Green
  • Granny Apple Green
  • Blends:
  • Soft Suede
  • Smoky Slate
  • Color Lifter
  • Paper:
  • Basic Black: 12″ x 5 1/2″ (base), 5 1/2″ x 2 18″ (for panels) For Base you will lay it on your cutter/trimmer portrait and place the edge along the 3/4″ line and cut from the 1″ to 5″, pick up cutter and cut from 7″ to 11″, repeat for other side. Then place on trimmer Landscape and you will SCORE only on the outside edge (between the cut and edge), score on 1″, 5″, 7″ & 11″. Keep in Landscape and score ALL THE WAY across on 2″, 4″ 8″ & 10″. You will fold them on the outside edges mountain, valley, mountain valley (this is the same on both sides working towards the middle) Do both top and bottom. Inside flap gets folded mountain, valley, valley, mountain.
  • Granny Apple Green: 3 7/8″ sq. (back panel), 8″ x 3 7/8″ for middle scene, 5/8″ x 7/8″ (x8) for bottom and top small edges, 4 1/8″ x 3 1/8″ (for gift card)
  • Berry Delightful Designer Series Paper: cut 4″ x 5 3/8″ (turn and cut @ 2″ in half so they will line up), 4″ x 5 3/8″ for front panels when card is closed. 5/8″ x 1 7/8″ for adding to the tip and bottom small panels. And 4 1/4″ x 2″ for envelope flap
  • Memories & More Cards & Envelopes: I used a gift card/Envelope for small Donkey card.
  • White: 4″ x 3″ inside the Gift card
  • Misc:
  • Open Range Dies
  • Many Messages Dies
  • Layering Circle Dies
  • Stitched Shapes Dies (for sentiment donkey is kicking)
  • Holiday Rhinestones
  • Liquid Glue
  • Paper Trimmer

As you already know if you follow me and my blog, all the supplies will be listed below, click on any of the pictures and you will be taken to my OnLine Store! For any purchase of $35 or more you will receive from me the class packet for the class I am detailing today, which will include all the cardstock, die cuts (not the sentiments since that is not allowed per SU!) but I can send you the one die cut for the sentiment that the donkey is kicking since that is stamped with the stamp set and not the Many Messages. Also, you will get the Rhinestones and I will pre cut/score for the main card and die cut the circle for the gift card! The one thing I can not do is stamp anything.

BUT the great thing is it’s Sale-a-Bration now and you can get MORE than you would normally! Spend $50 and you can pick out that CUTE Darling Donkey set for FREE! This is while supplies last, so don’t wait! Furthermore, you will get the 16 project ideas in a PDF that has step by step instructions and pictures….hint, my Home decor item is what I made!! So you will have the measurements for that too!

Thank you for all your support! I so appreciate you joining me on my Live classes and for those who can’t watch live I appreciate you watching it later!

If you are in need of a catalog, let me know and I will get one right out to you!

Love ya!

Lisa Tedder
Formerly a CA girl now living in North Carolina

Product List

FOURTH Free Card if you purchase Painted Poppies Bundle

Hey Guys!

Here I am once again, I am on a roll with my postings! WooHoo for me! Today I am going to share with you a card I made using the Painted Poppies stamp set from Stampin’ Up! This is one of 5 cards that you can do if you purchase the Painted Poppies bundle from me. 3 of the cards are if you purchase the stamp set but you get all FIVE if you get the bundle! I am in the process of showing all 5, later this week you will see the last one, so make sure and come back!

The inspiration for this card was Becca Santos, I changed up a lot so I’m not even sure you would recognize that I was inspired by her card, but I want to give credit where it’s due! Here is her card:

I just realized putting this on, that the other card is where I got the idea for one of my other cards! Sorry Becca that I didn’t give you credit for that one!

Here is my card for today:

I used the Crinkled Seam Binding for the bow, but I colored it first with a Poppy Parade Blend! Isn’t it pretty?! You can’t see it on this picture, but I used Wink of Stella on the flowers and WOW, that makes it really pop in person!

When I am looking at other’s blogs, I always want to know the measurements and everything that is included to make that card. So, in honor of me, here are the specifics to this card:

Stamps:
Painted Poppies
Peaceful Moments

Inks:
Memento Black
Blends: Poppy Parade Dark, Mossy Meadow combo, Crumb Cake light
Crumb Cake (for sponging)

Paper:
Basic Black 8 1/2″ x 5 1/2″, 3 5/8″ x 4 7/8″
Noble Peacock Foil 5 1/4″ x 4″
Whisper White 3 1/2″ x 4 3/4″

Misc:
Peaceful Poppies Sequins
Whisper White Crinkled Seam Binding
Layered Leaves 3D Folder
MultiPurpose Liquid Glue
Wink of Stella

Below you will see all these supplies in picture form, if you click on any of the pictures you will be taken to my OnLine Store. And if you purchase anything from me you will receive from me 40 +/- tutorials that change every month. So, each and every month you buy from me you will get new Tutorials! Also, if you buy the Painted Poppies stamp set you will get a pdf of the 3 free cards, and if you buy the bundle you’ll get a pdf of all five!

Don’t forget to come back later this week so see the final card!

Lisa Tedder
A California girl living in North Carolina

Product List

Who loves a Discount?! Online Extravaganza starting tomorrow!

Stampin’ Up! is having an Online Extravaganza where you can get 15% off the listed price of certain items!

I LOVE a good sale and most of these items are a MUST HAVE for me! Check them out!!

Can you believe it?!
Page 1
Page 2
Page 3
Page 4

Click on Shop Now to go to my Online Store! Once there go to Shop Now.

Because you like Discounts, I have more to give you…..that’s even better! If you spend $40 or more on this Hostess Code BWUHA96R you will receive from me an Embellishment in the mail, AND you will get 30+ Christmas Tutorials to download!

Isn’t that what you hear from a TV host that says…..’Wait! There’s More!” LOL

If you are in need of a Demonstrator, I would love to be yours if you live in the US!

Thanks,

Lisa Tedder

A California Girl living in North Carolina

NEW Floral Essence Shabby Chic

Hey Guys!,

Today I am sharing with you a BRAND NEW stamp set from Stampin’ Up! called Floral Essence.  I wanted to come up with something on my own, since there weren’t many samples out yet.

I haven’t done Shabby Chic in SOOOOO long I am hoping I got it right.

Here is my card:

The Tin Tile Folder on Copper really makes this look aged.

Here are the specifics for this card:

PROJECT 2: Shabby Chic
Stamp Sets Pg #
Floral Essence 108
Paper
Cherry Cobbler 8 1/2″ x 5 1/2″
Copper Foil 5 1/4″ x 4″
Early Espresso 3 3/8″ x 3 1/4″
Watercolor paper 3″ x 3 1/2″
Very Vanilla 5 1/4″ x 4″, 2 1/2″ x 2″
Inks
Cherry Cobbler
Mango Melody
Soft Suede
Accessories
Rhinestones 178
Bronze blend 179
Shimmer Paint Champagne Mist w/alcohol 180
Tin Tile Folder 199
5/8″ Flax Ribbon 174
Smooth Sailing Die for sentiment 195

After I was done I spritzed the entire card with Champagne Mist (4 drops in Alcohol), to give it a shimmery sparkly look.

All the supplies are listed below in picture form, click on any of them to be taken to my OnLine Store.  If you buy from me, I will send you a free gift as a token of my gratitude for you choosing me to be your Stampin’ Up! Demonstrator.

Thank you for stopping by!

Lisa Tedder
A California girl living in North Carolina
Product List

Brand NEW Stamp set Sailing Home

Hey Guys!,

I LOVE when the new CAtalog comes out by Stampin’ Up!!  I was drawn to the set Sailing Home as soon as I saw it!  If I had my way, I would go visit every Lighthouse!  Since I can’t do that I will stick to making cards using them!

Here is a card I did NOT CASE, I came up with it!  Hope you like it!  Here it is:

I did a video showing how I made this card, you can find it here.   I made my own cloud template and am offering it to those who order from me!  This uses a LOT of new goodies!  Sailing Home comes in a Bundle (which if you buy you will get 10% off!!).  The rope knot is a die, the die the Thanks is stamped on is included, plus the sailboat is cut out with a die.  There IS a die for the Lighthouse but I stamped and masked it.  Go check out the video to see how I got the texture on the sand.

Here are the specifics for this card:

PROJECT 1: Lighthouse
Stamp Sets Pg #
Sailing home Bundle
Paper
Seaside Spray 8 1/2″ x 5 1/2″
Pretty Peacock 5 1/4″ x 4″
White 5″ x 3 3/4″, scrap for sailboat and sentiment
Inks
Crumb Cake
Soft Suede
Pretty Peacock
Balmy Blue
Memento
Accessories
Big Shot
Wink of Stella
Dimensionals
window sheets for clouds

I hope you like my card!  I always get so excited when I make something without CASE’ing it.  I know the reason I don’t do it more often is that I am swamped with classes and don’t have the time.  The nice thing is that YOU don’t have to come up with anything either.  There are so many ways to get ideas that we don’t NEED to try and do it alone.

Below are the supplies used for this card in picture form, click on any of them to be taken to my OnLine Store!  If you purchase from me OnLine, you can get the cloud template that I used for this card for a thank you!  Or you can pick a card you like, I will add a little something from my favorites to send you also!  It’s like a Grab Bag!!  🙂

Thank you for stopping by!

Lisa Tedder
A California girl living in North Carolina
Product List

Sea of Texture see through card

Hey Guys!,

The card I am sharing with you today is another CASE’d card from Pinterest by Karen Farquhar.  Here is her card:

I made my inside a bit different, and didn’t add the coral die cut to the front.  When doing a class, I need to cut down on what I use since it will make the class too long otherwise.

Here is my card:

Side view:

Inside:

Here are the specifics for this card:

PROJECT 1: Octopus
Stamp Sets Pg #
Sea of Texture Bundle
Paper
Blueberry Bushel 5 1/2″ x 5 3/4″ scored @ 4 1/4″
blueberry Bushel 1 1/2″ x 5 1/2″ (x 3)
Whisper white 5 1/4″ x 4″, 3″ x 2 3/4″
DSP Tranquil Textures 1 1/4″ x 5 1/4″ (x2)
Soft Sea Foam 3 1/4″ x 3″/ Window Sheet 2″ x 5 1/2″
Inks
Blueberry Bushel
Tranquil Tide
Accessories
Clear EP/embossing buddy/heat tool
Big Shot
sponges

Below are the supplies in picture form, click on any of them to be taken to my OnLine Store.  If you need a demonstrator and you live in the U.S. I would love to be her!  If you purchase from me OnLine, I will send you a small gift……I know you will love it!

Thank you for stopping by!

Lisa Tedder
A California Girl living in North Carolina
Product List

Rooted in Nature beach scene

Hey Guys!

I love my Job!  I get to make beautiful handmade cards AND show others how to do it! After my classes everyone is so happy with what they have made!

I got this idea from Cindy Elam, I found it on Pinterest and changed up a little, here is her card:

I LOVE layers, I wanted to add to this beautiful card.  Here is what I came up with:

Here are the specifics for this card:

PROJECT 3: Watercolor trees
Stamp Sets Pg #
Rooted in Nature
Waterfront
Paper
Soft Suede 8 1/2″ x 5 1/2″
Early Espresso 3 1/8″ x 4 1/8″
Watercolor paper 3″ x 4″
Very Vanilla 5 1/4″ x 4″, 2″ x 4 3/4″
Inks
Crushed Curry
Soft Suede
Early Espresso
Mossy Meadow
Pool Party
Accessories
Spritzer
Braided Linen Trim
Layered Leaves folder
Sponges
Big Shot

I spritzed the stamp after inking it then stamped it on Watercolor paper. It really has a great effect.  I love how the trees look different each and every time!  I also love to use the Aqua Painter to make a background.  I taped off a straight line then using the Aqua Painter to make the water.

Below are all the supplies used to make this card.  Click on any picture and you will be taken to my OnLine Store.  I would love if you would choose me as your Stampin’ Up! Demonstrator!

Thanks for stopping by!

Lisa Tedder
A California girl living in North Carolina
Product List

Beautiful You is Flying High

Hey Guys,

Today I am sharing with you a card I found on Pinterest and I CASE’d it.  I can’t find it to show you, if you have seen it and know where I got this idea I would love if you would let me know.

Here is my card:

I masked the Lady after stamping her, then sponged the sky and stamped the trees.  I then colored her, this makes it look like she is in front of the trees.  The balloons were punched out with the balloon punch using Vellum which I then sponged with the color I wanted.  I put the white line in the balloon with the Chalk Marker, I placed a glue dot behind this chalk line to attach.  You can’t see it!  Of course I put another glue dot behind the black line for the ‘string’.  It’s a challenge to find spots to put your adhesive with Vellum because you don’t want it to be seen.

This was a really fun card, and my class loved it!

Here are the specifics for this card:

Stamp Sets
Beautiful You
Sheltering Tree
Colorful Seasons
Paper
Highland Heather 8 1/2″ x 5 1/2″
Whisper White 5 1/4″ x 4″ (x2)
Vellum
Inks
Highland heather
Memento
Balmy Blue
Blends: Balmy Blue, Ivory
Black marker
Accessories
Glue dots
Chalk marker
Balloon Bouquet punch

Below are pictures showing these supplies, click on any of them to be taken to my OnLine Store.  If you don’t have a Stampin’ Up! Demonstrator, I would love if you would choose me to help you with your creative needs!

I send those who order OnLine a small gift to say thank you.  If you’ve been following my blog you know that I offer a LOT of different goodies!

Thank you for stopping by!

Lisa Tedder
A California girl living in North Carolina
Product List