Tag Archives: Tedderbearstamping

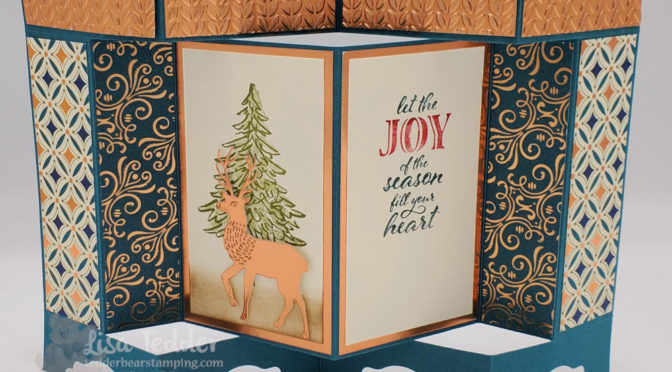
TWO Fancy Fold Christmas Cards

Hey Guys!

On my YouTube live video from today the 10th of December, I showed you two Christmas Cards that have a Fancy Fold! I LOVE cards that have something added to them that makes them more interesting and different folds definitely make them interesting!

First, I am going to show you the one that I am absolutely over the moon happy with!!
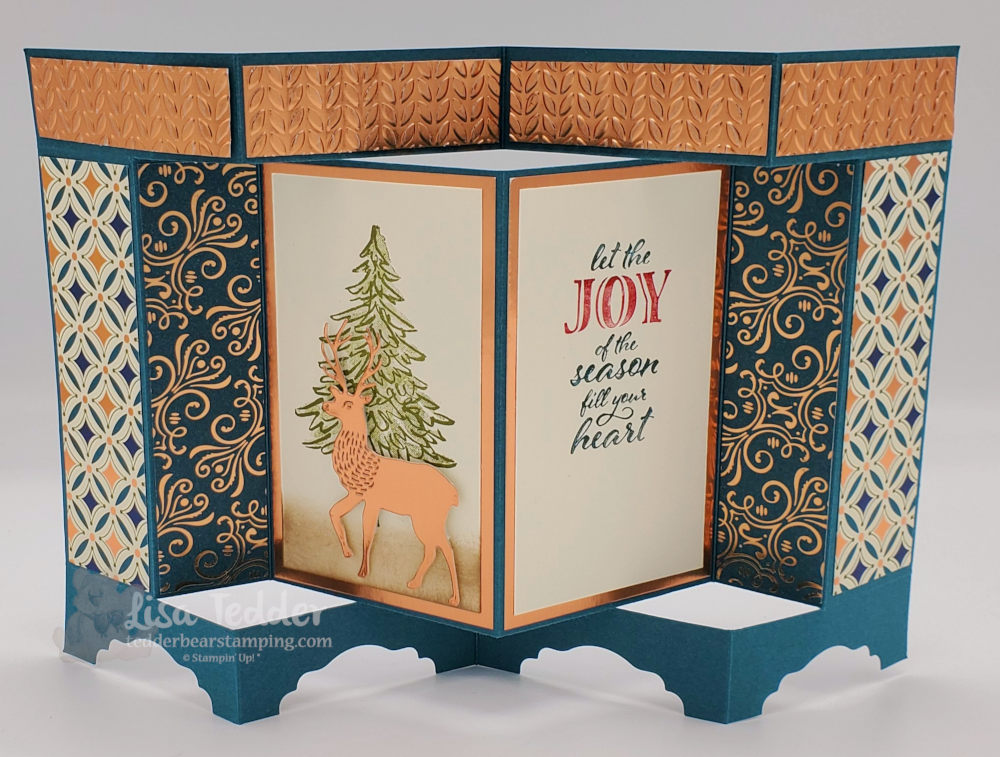
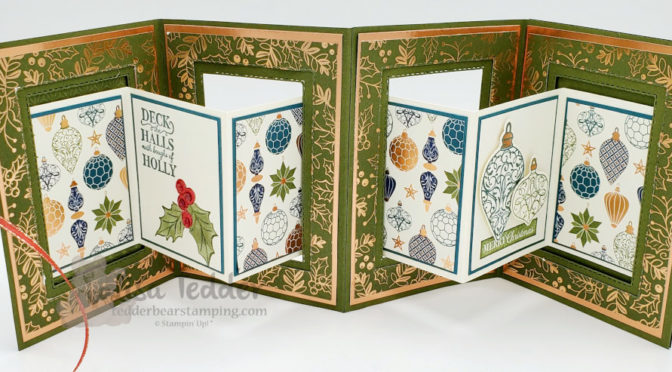
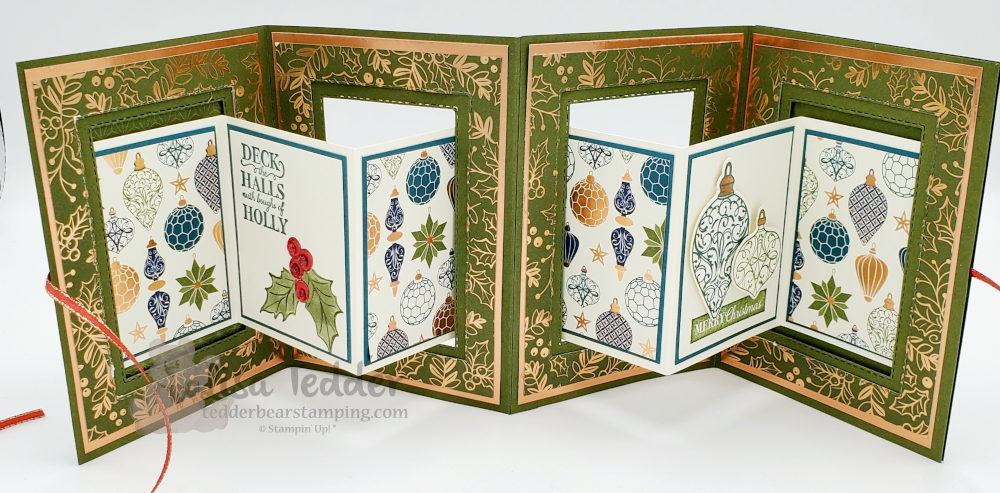
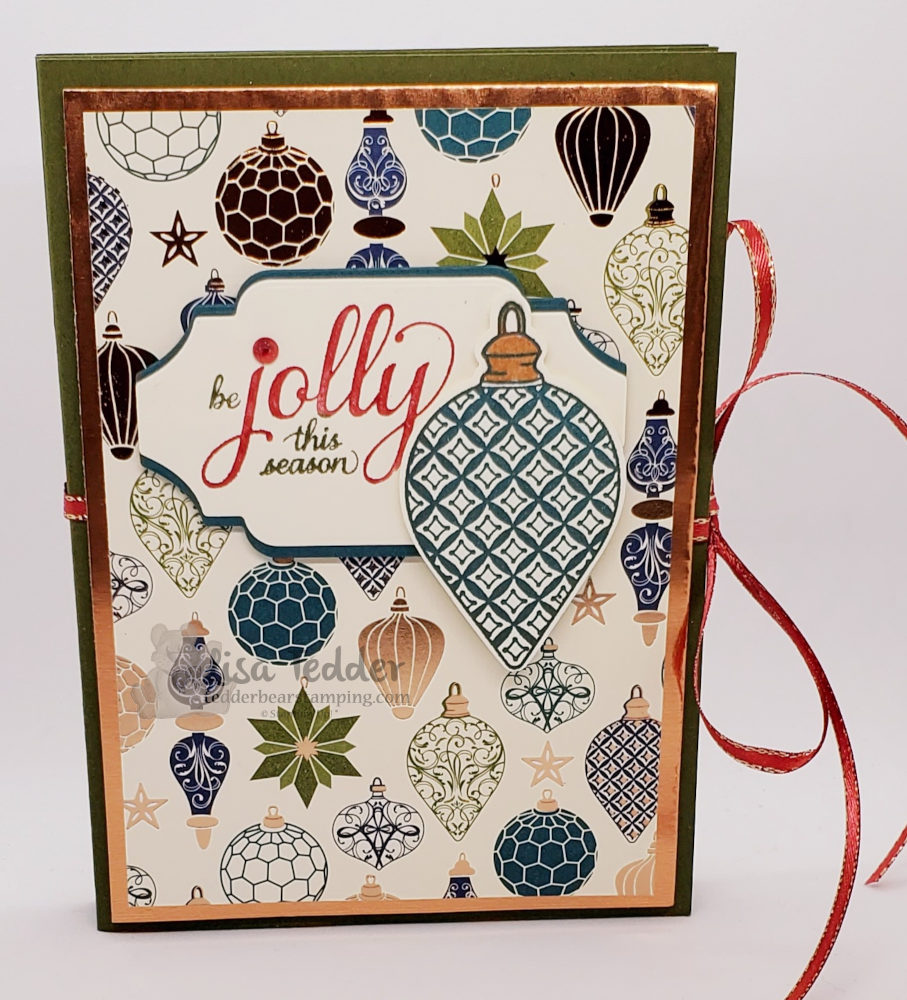
One of my Two Christmas cards with a Fancy Fold

Did you notice that other than the fold, this card isn’t all that detailed? Furthermore you only have to stamp Two images! Even though it doesn’t take a lot of stamps, it is STUNNING! Sitting here in my stamp room, I love to look at this card! Subsequently this will have to go to someone special who will really appreciate it!

As always here are the ingredients to make this card:

  • Stamps:
  • In The Pines
  • Wrapped in Christmas
  • Inks:
  • Old Olive
  • Crumb Cake
  • Markers: Pretty Peacock & Real Red
  • Paper:
  • Pretty Peacock: 11″ x 6 1/2″, scored @ 2 3/4″, 5 1/2″ & 8 1/4″ (Landscape), Turn to portrait: Score @ 1″ on BOTH sides. Cut while in portrait Place on 1″ mark then cut from 1 1/2″ to 9 1/2″, do this cut on BOTH sides!! Place back in so it is Landscape place cardstock to 1 1/2″ and score BETWEEN the cuts, flip and do the same on other side.
  • Copper: 2 1/2″ x 7/8″ (x4), 4 3/8″ x 2 5/8″ (x2), scrap for Deer
  • Brightly Gleaming Specialty DSP: 4 3/8″ x 1 3/8″ (x4….2 designs)
  • Very Vanilla 4 1/8″ x 2 3/8″ (x2)
  • Misc:
  • North Pole Wonder Dies
  • Dimensionals
  • Greenery folder
  • Paper Trimmer
  • Label Me Lovely punch

Now onto the Second card in my Live YouTube video! Incidentally this one is a peek-a-boo card. As with the first card this one also uses minimal stamps. Furthermore, this card is very striking even though it doesn’t have the folds the first card has.
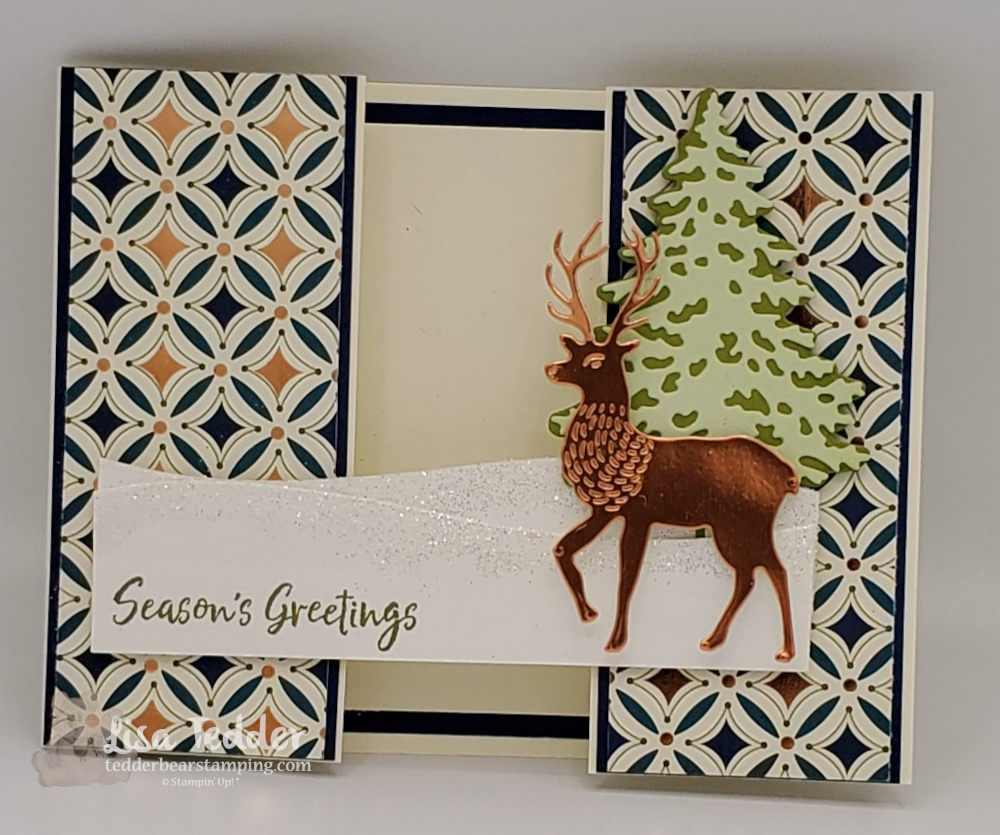
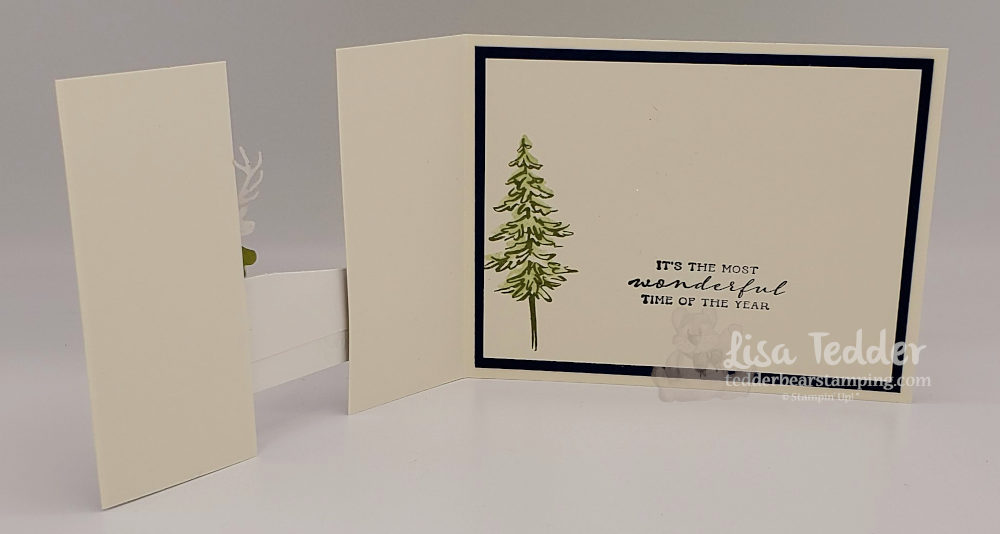
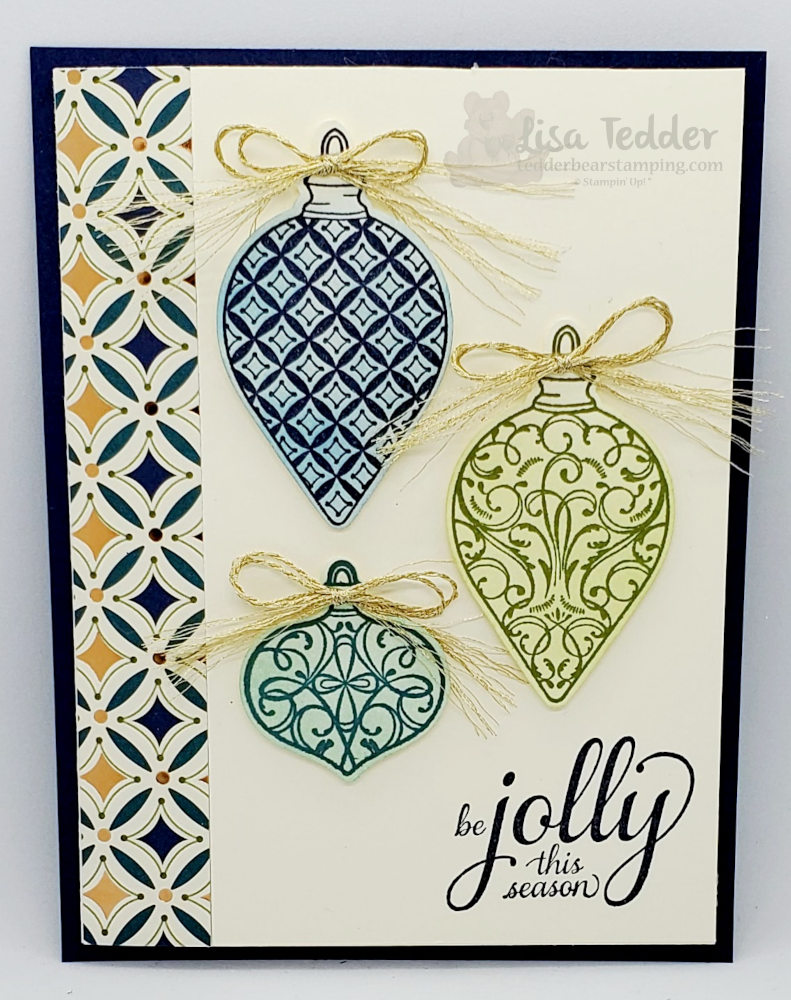
2nd of my Two Fancy Fold cards

Who doesn’t love a good Die?! This card uses 2 of them and they really make this card Pop! Obviously you can tell that I LOVE the Designer Series Paper Brightly Gleaming, for the last two weeks for my Live’s I have used this awesome paper! It is selling out so be sure to get it before it’s gone! All of the stamp sets are retiring this year and if you go to my OnLine Store you can get them before they are gone & they may be at a discount!!

Here are the particulars for this card:

  • Stamps:
  • In The Pines
  • Wrapped in Christmas
  • Inks:
  • Old Olive
  • Night of Navy
  • Soft Sea Foam
  • Paper:
  • Very Vanilla Thick: 7 1/2″ x 4 1/4″, scored @ 5 1/2″, 4 1/4″ x 2 (x3), 5″ x 3 3/4″
  • Night of Navy: 4 1/4″ x 1 7/8″ (x2), 5 1/4″ x 4″ (inside)
  • Brightly Gleaming Designer Series Paper (DSP): 4 1/4″ x 1 3/4″ (x2)
  • Copper Foil: scrap for Deer
  • Soft Seam Foam: scrap for tree
  • Old Olive: scrap for tree
  • Window Sheet: 5 1/2″ x 4 1/4″
  • Whisper White 4 1/2″ x 2″ (for snow)
  • Misc:
  • North Pole Wonder Dies
  • Pine Woods Dies (or you can get the Bundle and save 10%)
  • Multipurpose Liquid Glue
  • Dazzling Diamonds (or any type of glitter)
  • Sponge & Silicone Craft sheet
  • Dimensionals

Besides showing you the two cards I am making, I also have a Pillow Gift to share with anyone who buys from my OnLine Store $35 or more! Want to see it?! AND if you place that order you also get the cardstock (cut and scored!) and anything I used (Sans Stamps) along with that Pillow Gift in the mail to your house! All orders must be in by Dec 15th, I mail them out to you on the 16th!
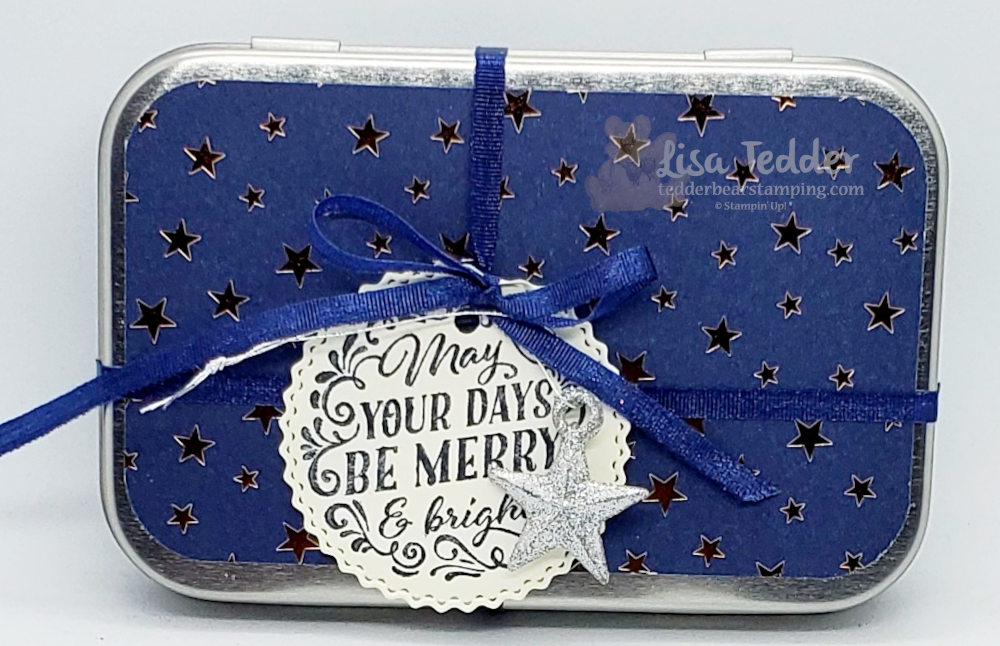
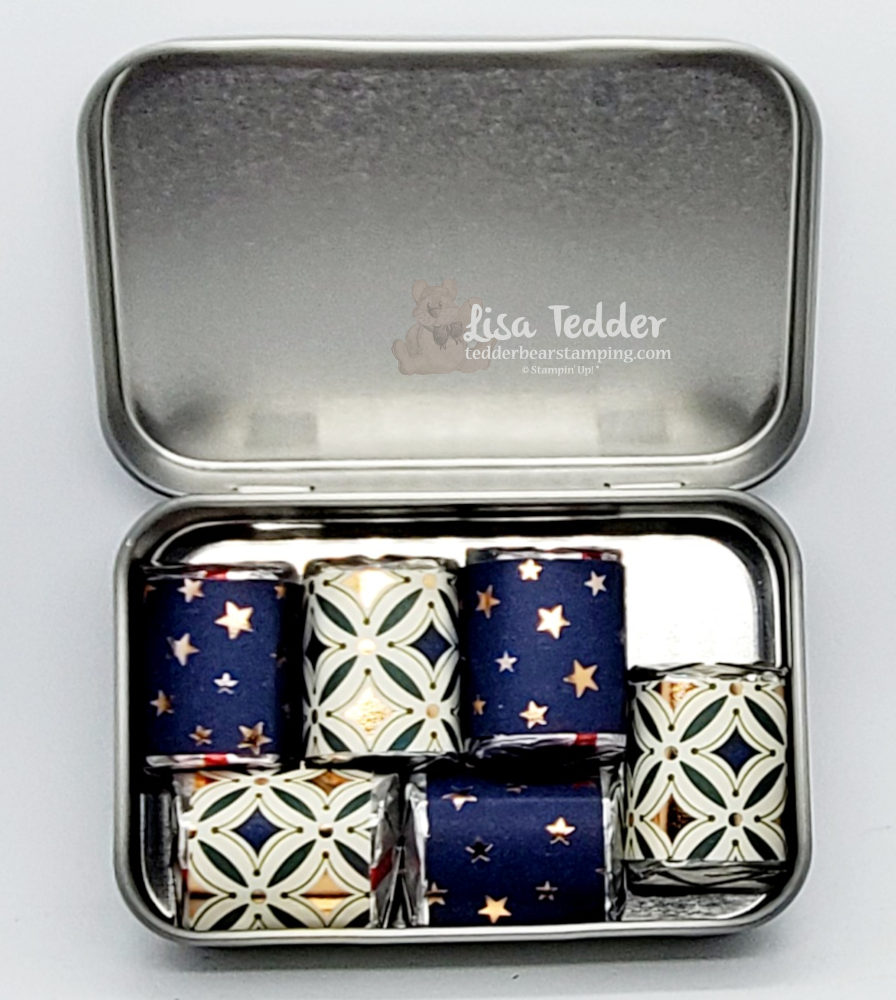
Isn’t it cute!?
Yummy Chocolate just for you!

For those of you who want to watch my Live video you can see it here: https://youtu.be/yAJ9eM_xTlU

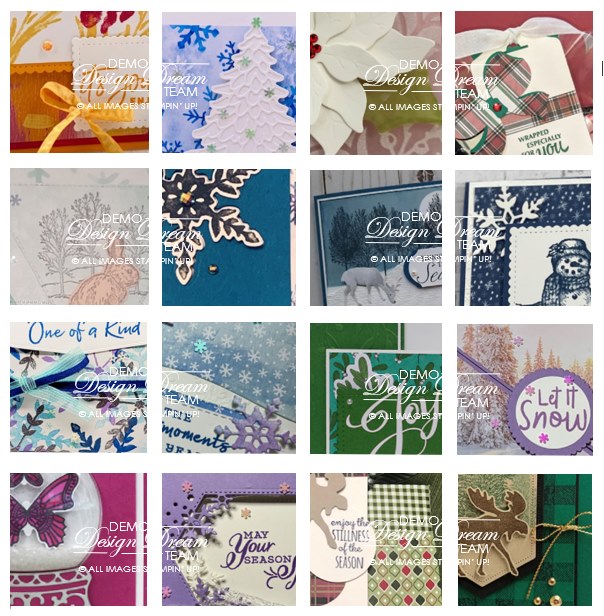
Lastly, I also offer a PDF of 16 projects if you place a minimum order of $35 and that has Instructions for each project plus pictures! Here is a sneak Peek of the 16 projects:
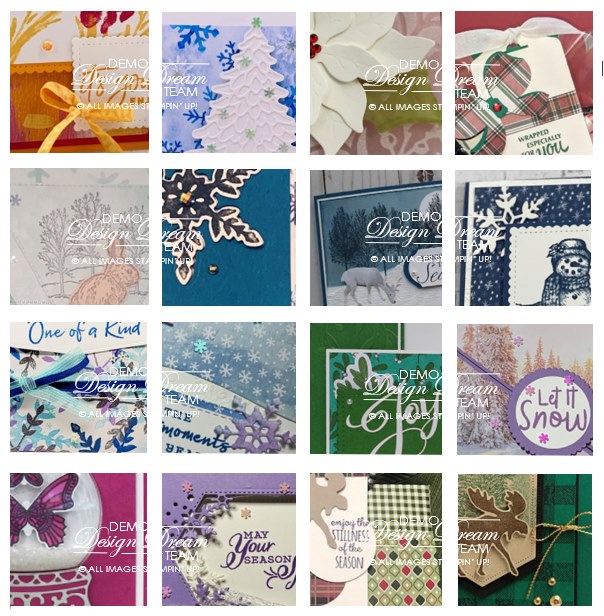
16 projects with step by step instructions PLUS pictures! With minimum order.

I hope you have enjoyed your time on my Blog today! If you missed my Live last week, you can see it here. And you can see my post about last weeks video!

All the products listed above are in picture form below, just click on any image and you will be taken to my OnLine Store!

Please come back next week, I will be showcasing some NEW products from the Upcoming Catalog! If you would like one, or really two since I would send you the Mini plus the Sale-a-Bration catalog, just let me know!

Lisa Tedder
A former CA girl now living in North Carolina

Product List

Over the Top Christmas Card

Hey Guys!,

Today I am sharing with you a YouTube Live project that featured an Over the Top Christmas card. Of course, since this is part of a Mini Class, I am also showing you another Christmas card! One more thing, if you purchase $35 or more at my Online Store you will receive a Pillow Gift that you will really love!! Here is a link for you to use.

So, are you ready to see the Over the Top card?! I got this idea from Sara Levin, but used my own design!

Over the Top Christmas card!
Closed Over the Top Christmas card

As always, here are the specifics for this card:

  • Stamps:
  • Christmas Gleaming
  • Inks:
  • Pretty Peacock
  • Old Olive
  • Mossy Meadow
  • Real Red Marker
  • Mossy Meadow Marker
  • Blends:
  • Real Red Dk
  • Cinnamon Cider Dk
  • Mossy Meadow Lt
  • Paper:
  • Mossy Meadow 5 1/2″ x 8, 5 1/2″ x 8 1/2″ Score at 1/2″ on the 8 1/2″ piece landscape, watch video to see how to put together, then score @ 4″ & 12″
  • Very Vanilla 8 1/2″ x 3 1/4″, 9″ x 3 1/4″ Score @ 1/2″ on the 9″ piece landscape, watch video to see how to put together, then score @ 2 3/4″, 5 1/2″, 11 1/2″, 14 1/4″
  • Very Vanilla 5 1/4″ x 3 3/4″ (for back side), 2 7/8″ x 2 3/8″ (x2), scraps for stamping
  • Pretty Peacock 3″ x 2 1/2″ (x6)
  • Brightly Gleaming Specialty Designer Paper 2 1/8″ x 2 3/8″ (x4), 5″ x 3 1/2″
  • Copper Foil 5 1/4″ x 3 3/4″ (x5)
  • Misc:
  • Rectangle Stitched Dies sizes: #4 & #5 from biggest
  • Detailed Bands Dies
  • Wonderful Gems
  • All the Trimmings ribbon 27″ of either red or green
  • Dimensionals
  • Foam Adhesive Strips
  • Stampin’ Cut & Emboss Machine
  • Tear & Tape
  • Stampin’ Seal+
  • Gleaming Ornaments Punch Pack

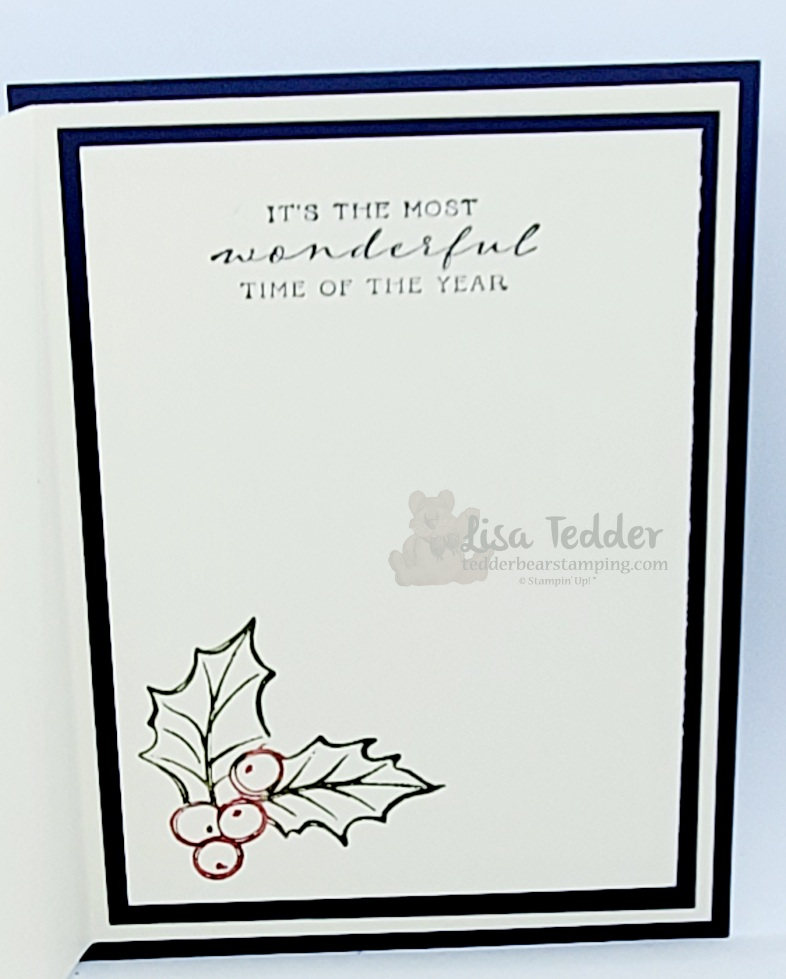
Now, for the 2nd project! This one also uses Christmas Gleaming stamp set from Stampin’ Up!, because I want you to have as many choices for your stamp sets so you can get more for your money!

This one isn’t Over the Top but it’s so pretty!
Inside

Again, here are the specifics for THIS card:

  • Stamps:
  • Christmas Gleaming
  • Wrapped in Christmas
  • Inks:
  • Night of Navy
  • Balmy Blue
  • Old Olive
  • Soft Sea Foam
  • Pretty Peacock
  • Pool Party
  • Mossy Meadow Marker
  • Real Red Marker
  • Paper:
  • Night of Navy 5 1/2″ x 4 1/4″, 5″ x 3 3/4″
  • Very Vanilla 8″ x 5 1/4″ scored at 4″, 4 3/4″ x 3 1/2″, scraps for ornaments
  • Brightly Gleaming Specialty Designer Series Paper 5 1/4″ x 3/4″
  • Misc:
  • Gleaming Ornaments Punch Pack
  • Forever Greenery Trim Combo Pack
  • Dimensionals
  • Glue Dots

NOW onto the Very Pretty Pillow Gift that I featured on my video!

Pillow Gift for all Qualified Orders
Pillow Gift inside

Incidentally, to get the Pillow Gift and All the supplies (sans stamps) to make both cards, you only need to purchase a *Qualifying order to get it all, while supplies last! Of course there is a time limit for this, you must purchase by next Tuesday (December 8th) so I can mail it out on Wednesday!

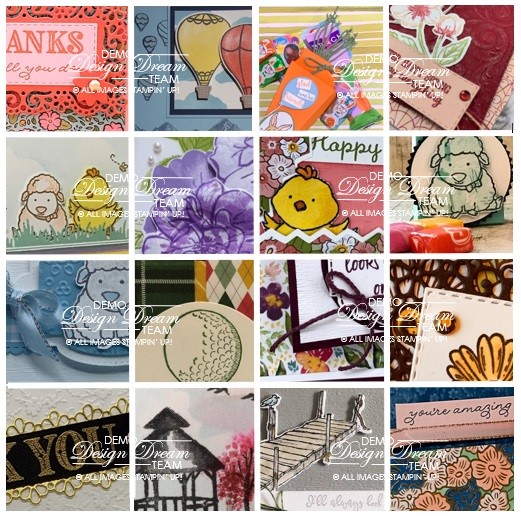
But wait, there’s more! heehee LOVE saying that! If you purchase the *Qualifying order amount you also get 16 project ideas with step by step instructions plus pictures! Here is a sneak peek to the projects:

If you tuned into my Over the Top Live today you will get to see my project for this!

Finally, all supplies are listed below in picture form, click on any of the pictures and you will be taken to my OnLine Store, remember to get all of the above you will need to purchase a *Qualifying order of $35 or more!

Thank you so much for stopping by! Consequently, when I go Live next time, every Thursday at 4:00 eastern, I hope you can join me! I really love talking to you during my Live.

Lisa Tedder
A North Carolina girl who still loves California

*Qualifying purchase is $35 or more

Product List

Check out my FIRST Slim Line Card!

Hey Guys,

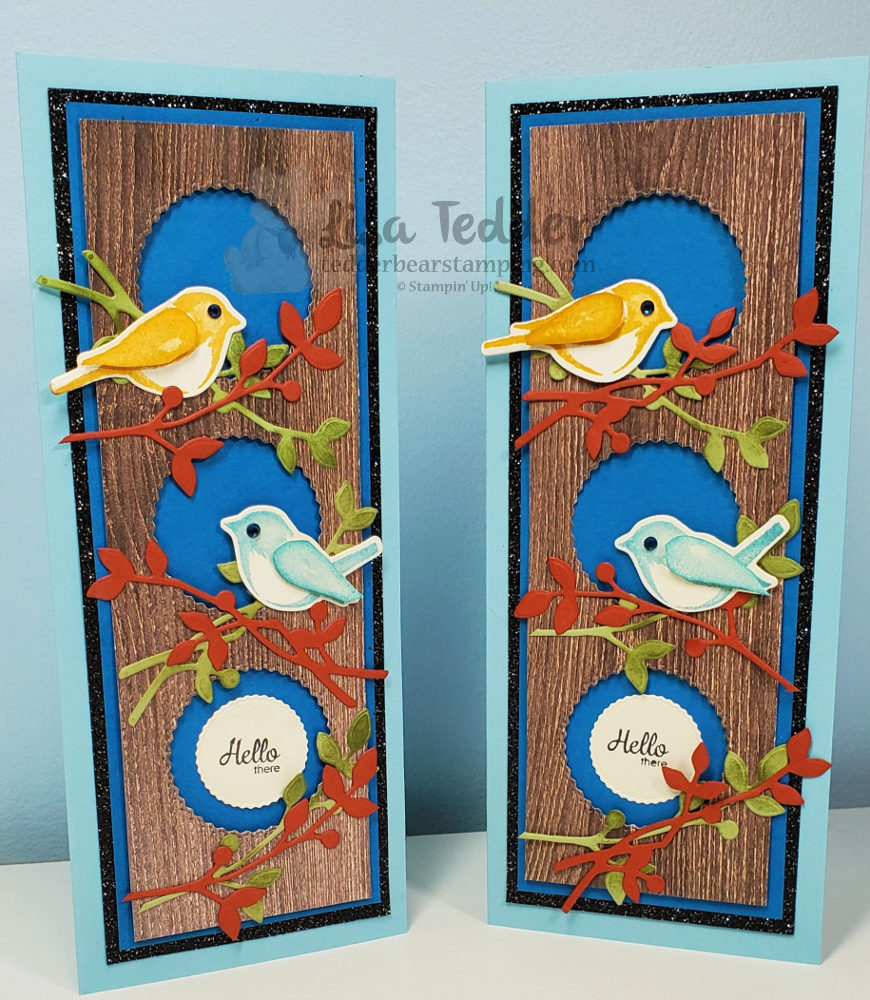
Today, I am sharing with you a Slim Line card I made using the Birds & Branches bundle! Oh my goodness, why haven’t I done one of these before!? First off, go see my video, I’m super proud of how this card came out!

Before we go further, let’s take a look:

My first slim line card!

Of course, I had to make if look like Fall so the leaves have both green and Cajun Craze. In addition, I used the Black Glitter paper from the Holiday mini, and wow that sure adds to the beauty of this slim line card! So, how did I do with my FIRST Slim Line Card using the Birds & Branches bundle?!

As always here are the specifics for this card:

  • Stamps:
  • Birds & Branches Bundle
  • Here’s a Card
  • Inks:
  • Bumble Bee
  • Balmy Blue
  • Memento black
  • Garden Green
  • Cajun Craze
  • Paper:
  • Balmy Blue 8 1/2″ x 7″ scored @ 3 1/2″
  • Basic Black 8″ x 3″
  • Black Glitter paper 8″ x 3″
  • Pacific Point 7 3/4″ x 2 3/4″ (x2)
  • Very Vanilla 7 1/2″ x 2 1/2″, scraps for birds and sentiment
  • In Good Taste DSP 7 1/2″ x 2 1/2″
  • Cajun Craze scrap for stem
  • Pear Pizzazz scrap for stem
  • Misc:
  • Dimensionals
  • Stampin’ Seal +
  • MultiPurpose Liquid Glue
  • Tasteful Labels Dies
  • Stampin’ Cut & Emboss Machine
  • Magnetic Plate

In addition to telling you about all the supplies, I also want to share with you that I am doing YouTube Lives every Thursday at 4:00 pm Eastern time! Of course, I want you to come and support me! Consequently, for every order that is $35 or above you will receive from me the ‘fixin’s’ for that weeks Live! PLUS, you’ll get the PDF of 16 other projects with pictures and step by step instructions……ALL for your ONE $35 purchase! Here is a sneak peek of what you’ll get in the PDF:

Sneak Peek for any order of $35

In conclusion, I want to thank you so much for supporting me by coming here! I appreciate you! Please come back next week and see what I have for you! Also, be sure to catch my YouTube Live tomorrow at 4:00 eastern!

Lisa Tedder
A California girl living in North Carolina

Product List
A 1 1/2″ x 3/4″ stamp made this background?!

Hey Guys!

Who doesn’t love a Technique!?

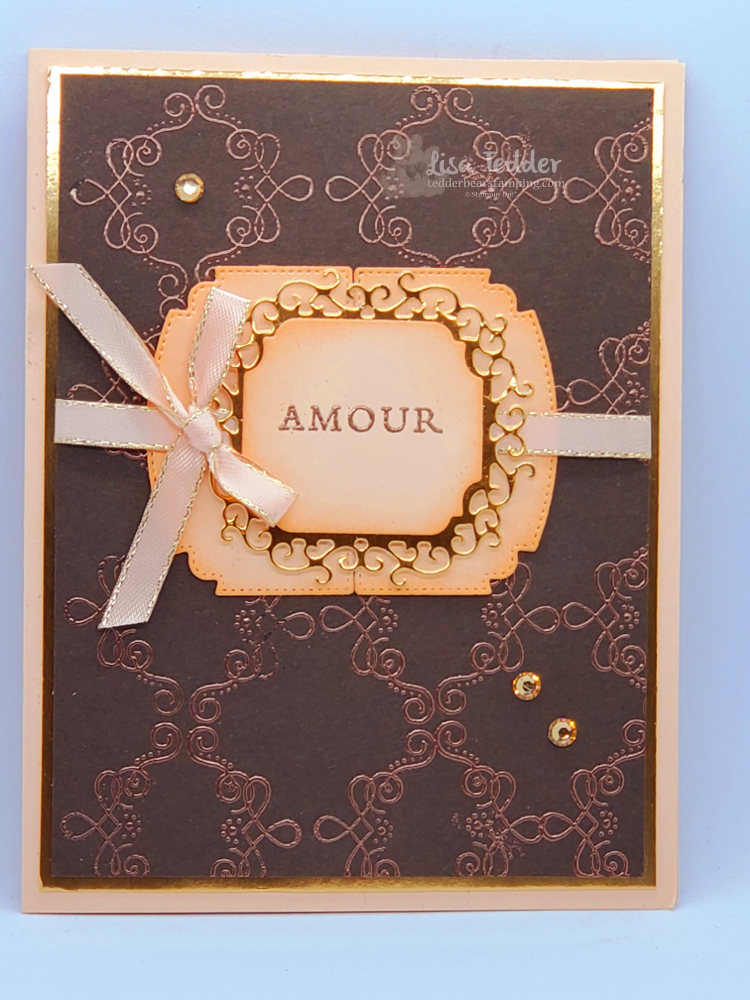
Today I am sharing with you a card I made that uses a teeny tiny stamp to make a background that is really amazing! Moreover, it is embossed with Copper to make it REALLY stand out! I love this technique, I hope you like it as much as I do!

You’ll have to watch video to see how, it’s too hard to describe otherwise!

Didn’t it come together well? As I said, techniques have always inspired me and helped to make my stamping even more fun! Look through your stamps and see if any image has this basic shape and see what you come up with! If you didn’t catch this technique, go check it out!

As usual, here are the specifics for this card:

Stamps:
Parisian Beauty
Ornate Style

Inks:
Versamark
Petal Pink

Paper:
Petal Pink 8 1/2″ x 5 1/2, 5″ x 3 3/4″ (inside), scraps for dies
Early Espresso 5 1/8″ x 3 7/8″ (x2)
Copper Foil 5 1/4″ x 4″ (x2) cut inside out for dies
White scrap for underneath dies (see video)

Misc:
Champagne Rhinestones
Petal Pink 1/4″ metallic edged ribbon
Copper embossing powder
Embossing buddy
Stamping sponges
Heat tool
Dimensionals
Ornate Frames dies

Also, you will find the supplies listed below in picture form. Click on any picture and you will be taken to my OnLine Store. If you purchase $35 or more you will receive two sets of tutorials containing 50 +/- with step by step instructions! Here is a sneak peek of one:

Step by Step tutorial for these projects + 35 more for a purchase of $35!

I hope you are staying safe during this trying time in our world! I am stamping and creating away to bring happiness to my little world and hopefully yours!!

Stay tuned and please visit again!

Lisa Tedder
A California Girl living in North Carolina

Product List

Want some Peace?!

Hey Guys!

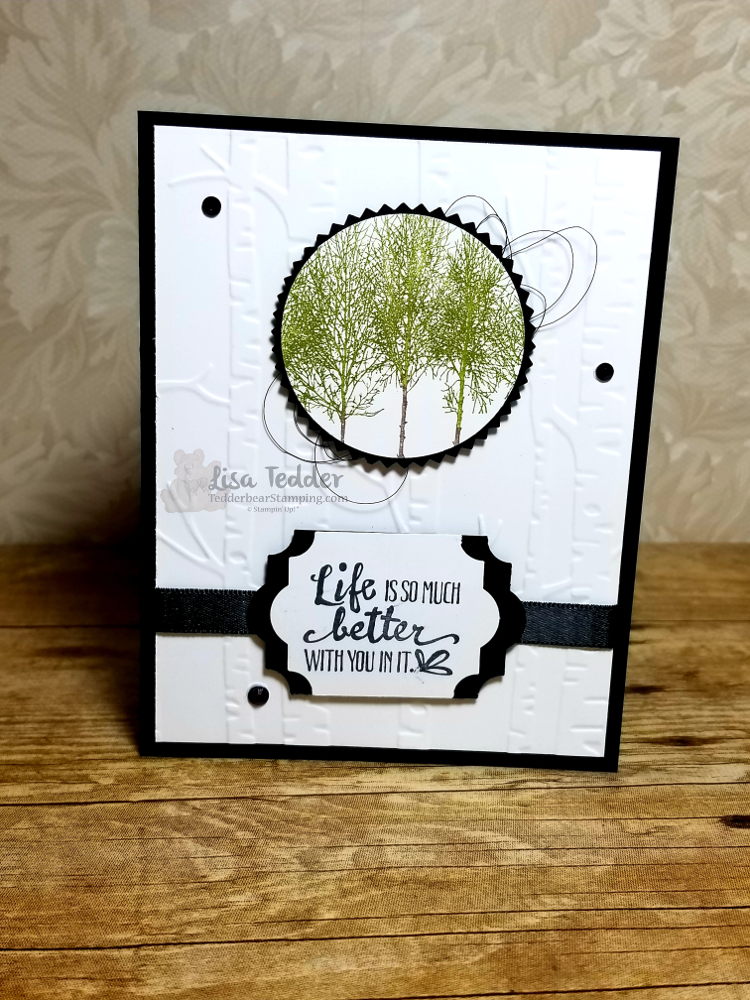
Do you want some peace?  This card makes me peaceful just by looking at it!  I hope you agree!

I used the Winter Woods stamp set from the Holiday Catalog from Stampin’ Up!  Guess what!?  It is one of the stamps that is NOT retiring!  I am so happy!  This stamp set is sooooo pretty and I just love it, bet you couldn’t tell, right?

I used the Woodland Folder to get the background.  This is about as ‘simple’ as  I can get…….you would think that making cards with more details would be harder, but NO, I have problems making cards that have less stamps, less layers, less embellishments……ok I have problems with LESS!  LOL  I try really hard to make quick and simple one layer cards and I just can’t do it!  Who’s with me!?

Here are all the particulars for this card:

PROJECT 2:  Trees
Stamp Sets
Petal Palette
Winter Woods
Paper
Basic Black 8 1/2″ x 5 1/2″, scraps
Whisper White 5 1/4″ x 4″ (x2), scraps
Inks
Momento
Old Olive Marker
Soft Suede Marker
Dk. Black Blend
Accessories
Rhinestones
Everyday Label Punch/Starburst Punch
2″ Circle Punch
Dimensionals/ Woodland Embossing Folder
Black Shimmer Ribbon/Black Metallic Thread

Below are pictures of all the products used to make this card.  Click on any of them and you will be taken to my OnLine Store!  I would love it if you would choose me to be your Demo!  Any online order receives a  gift from me!

If you are thinking of joining the SU! Family I would also love for you to choose my Team – LETS Stamp! (the LETS stands for my name: Lisa Easterday Tedder, You would make a great addition to my SU! family!

Thanks for stopping by!

Lisa Tedder
A California Girl living in North Carolina

Product List

A NON Christmas Card using Farmhouse Christmas

Hey Guys!

I am so excited that as a demonstrator for Stampin’ Up!, that I get to purchase NEW items a month before they are available to the public!  I wanted to use them right away BUT didn’t necessarily want to do Christmas.  So, my dilemma……….how do I use these obvious Christmas sets and NOT have it be Christmas.

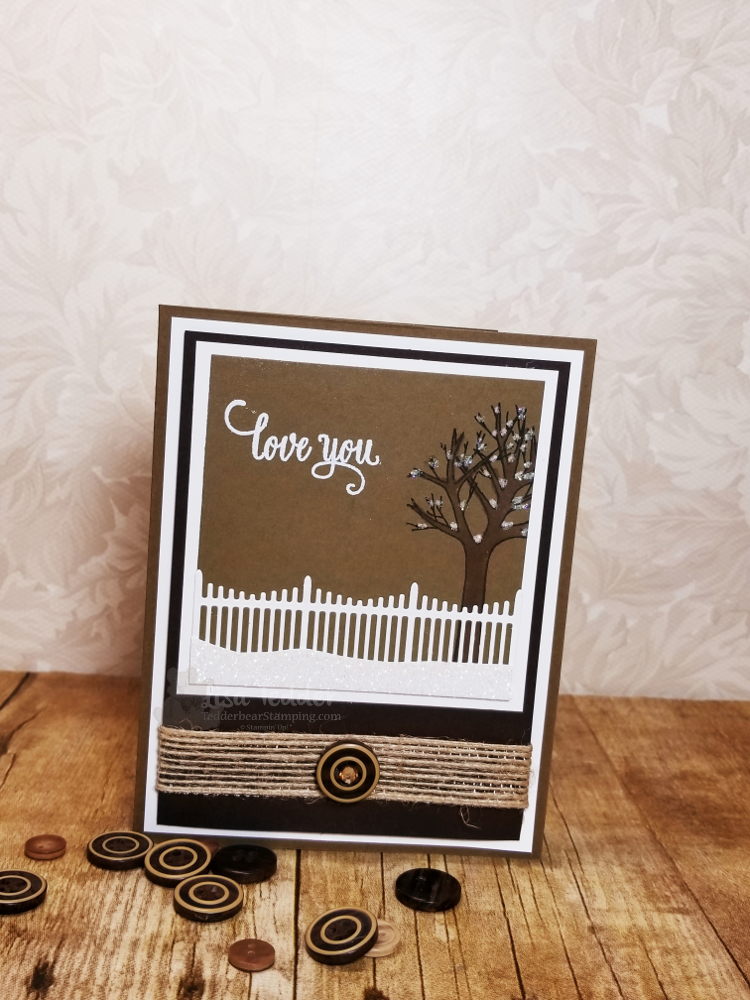
I got out the Farmhouse Christmas stamp set, decided to use the tree  AND the incredible fence!!  Did you see the fence!!??  I stamped the tree on Soft Suede using Early Espresso ink. This stamp set better stick around because I can use that fence for a lot of things!  Follow this link to see my video.

Isn’t it the cutest!!??  Not sure if you can see the Glitter snow in front of the fence, but in person it is very shiny and sparkly!  The tree has snow in all its crannies.  I used the Fine-Tip Glue pen to go over the white (used the chalk marker) and then sprinkled Dazzling Diamonds over the wet glue.  I forgot how much I LOVE Dazzling Diamonds!  I will be getting that out a lot more.

I stamped the ‘Love You’ from the Enjoy Life stamp set using Versamark and white embossing powder.

I layered these onto a piece of Early Espresso, but before I layered these onto white I wrapped some Burlap Ribbon around and adhered a True Gentleman button in the middle.  If you look closely you can see a Rhinestone that I colored with the Bronze Blend to go into the middle of the button (I HATE threading linen thread through those tiny holes!).  The final layer is Soft Suede to tie in all the colors.

I’m planning on doing this card in a class this month.  Hope they like it as much as I do!

Below are all the supplies I used for this card.  Click on any picture to be taken to my OnLine Store!

Thanks for stopping by!  Check back in!  I’m adding all my cards that I do for my classes to this blog!

Lisa Tedder
A California girl living in North Carolina
Product List


NEW Blog Candy!! Want to win?

Before I get to the Blog Candy, I want to let everyone know that they should check back in tonight at 6:00 (eastern) USA.  I am going to be in Kylie’s International Blog Hop and I NEED/WANT your votes!  The blog hop theme is Masculine, I worked very hard to make something that I feel is worthy of your vote!!  Please come back  to see my entry!  Subscribe to my blog to be reminded and so you won’t miss out on any of my posts!

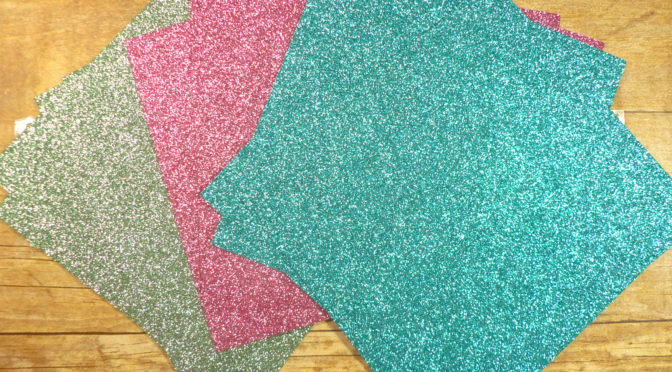
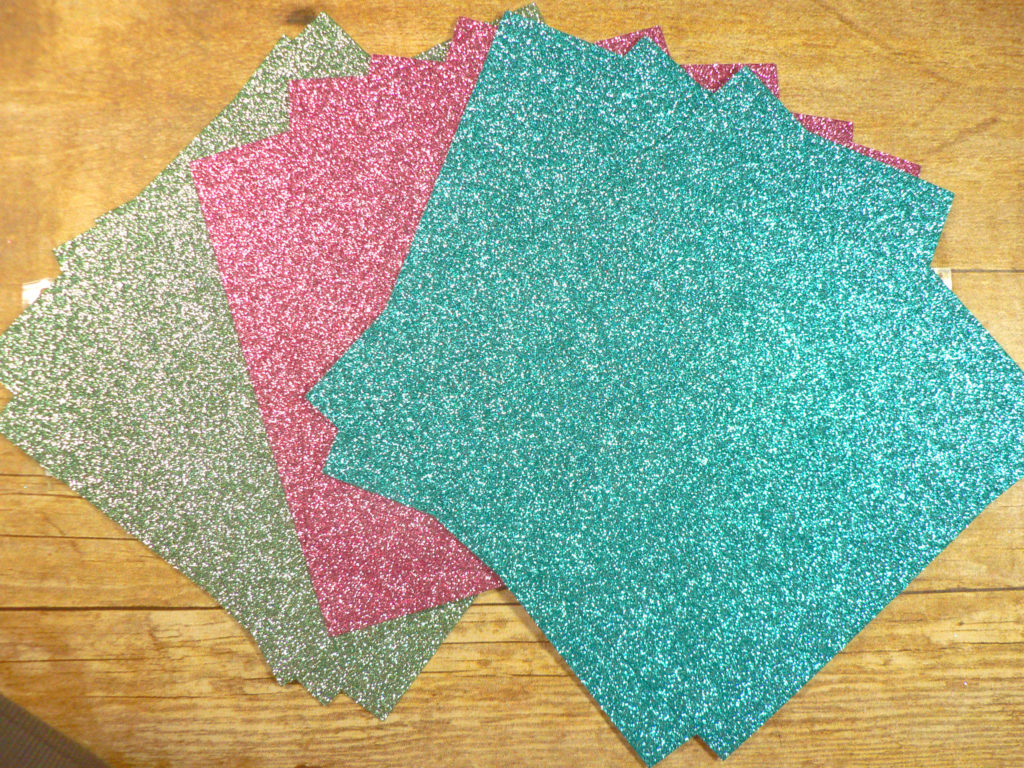
The camera does NOT do this justice!!  Who doesn’t like Glitter Paper!!??   I am doing another Blog Candy give-away!  Here is what you can win:

Not only will you get an ENTIRE package of this wonderful  6 x 6 Glitter Paper, BUT I have some leftover from another package!  I will give BOTH to the winner!  I have a lot left!  I will also put in some really cool cards that I made using these sparkly papers!

It’s super easy to win:  Just comment here or on my Facebook page between now and June 6th and you will be put into a drawing to win! Glitter Paper, Absolutely FREE!!

You can comment on any and all posts, past or future!  Get your numbers up!  Each and every time you comment here or on my FB page, you will be put into the drawing!

You have 3 weeks!!  Ready, set, go!!  🙂

Lisa Tedder
TedderBearStamping
A California girl living in North Carolina

Sneak Peek of NEW Stampin’ Up! stamp sets Eastern Beauty, Eastern Madallions and Colorful Seasons

Today I TRIED to do a Facebook Live, and it came out ok, but I REALLY need to practice more!  hahahaha

I wanted to share with you today TWO/Three NEW sets from SU! that is coming out in June!  The reason I say Two/Three is because I am showcasing a set that has a Thinlit that works with it.  Not sure you would say they are separate sets, but they could be used apart.

The one I am sooooo excited about it Eastern Beauty and Eastern Medallions!  This set is so Versatile!  You can use the stamp set to make ALL kinds of great designs!  I have to still work on seeing what it does, so for now I will be sharing the card I made using the Eastern Medallion thinlits and a few of the stamps!!

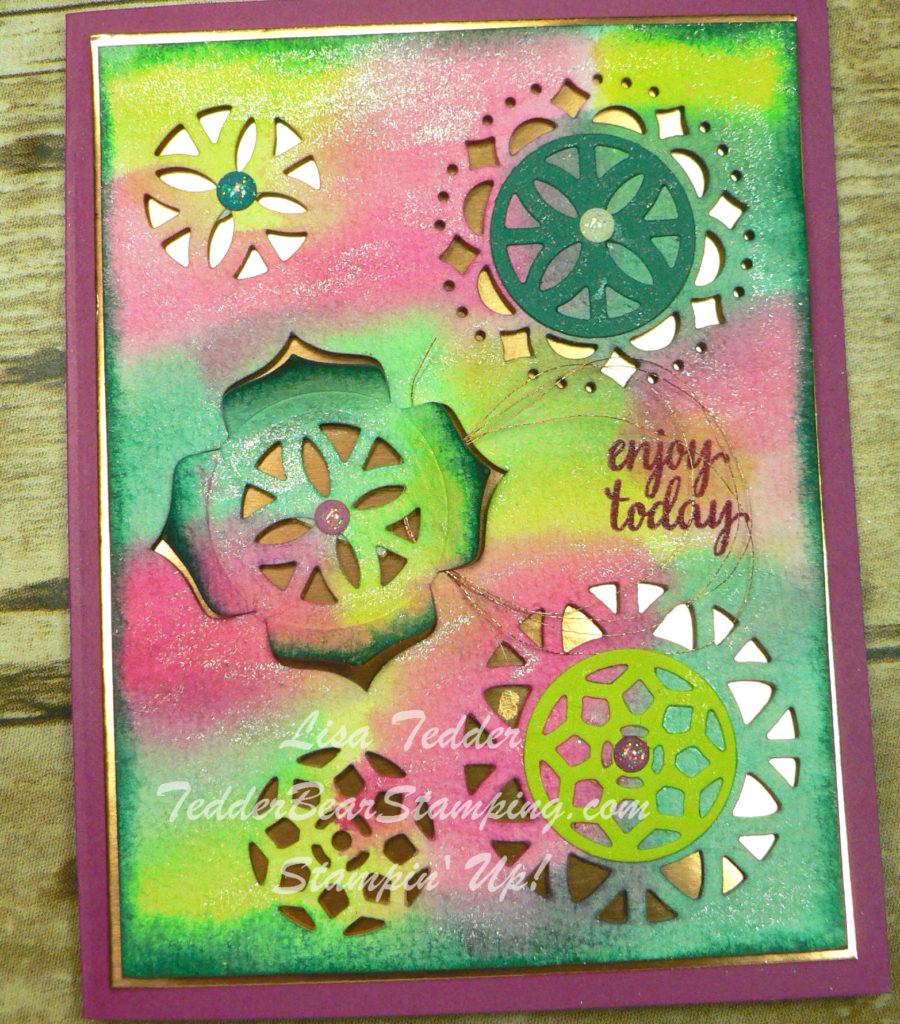
Here is the card:

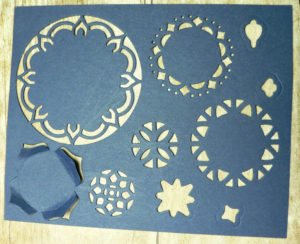
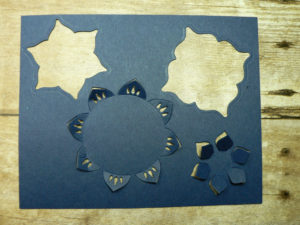
VERY pretty colors, right?  This is made with a lot of the framelits.  The cool thing is that you can mix and match them!  The one on the card that has the popped up part, is usually solid in the middle.  I used one of the other thinlits and placed it in the middle and made it so you can see through it!  Here is a sheet showing the one still attached to the cardstock and the other framelits in the set:


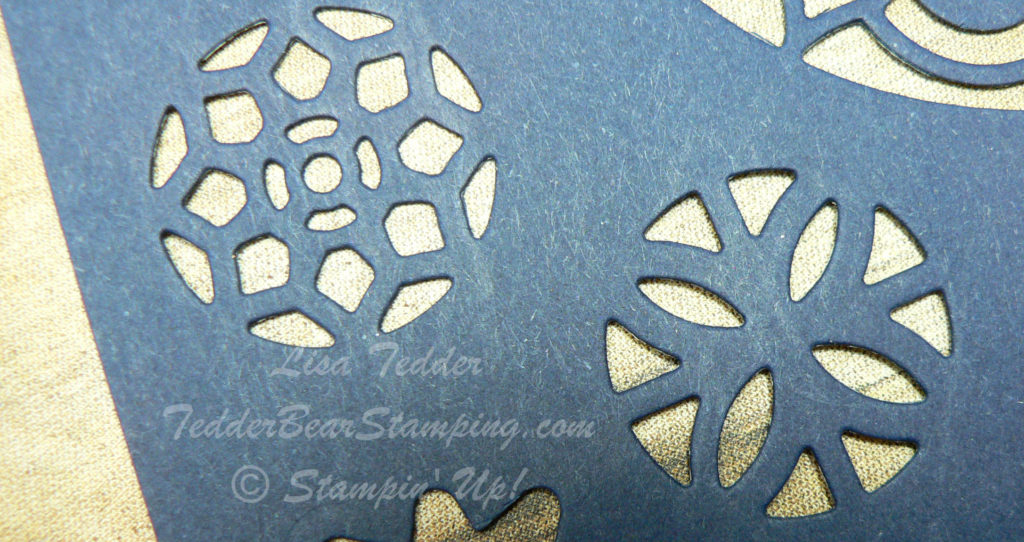
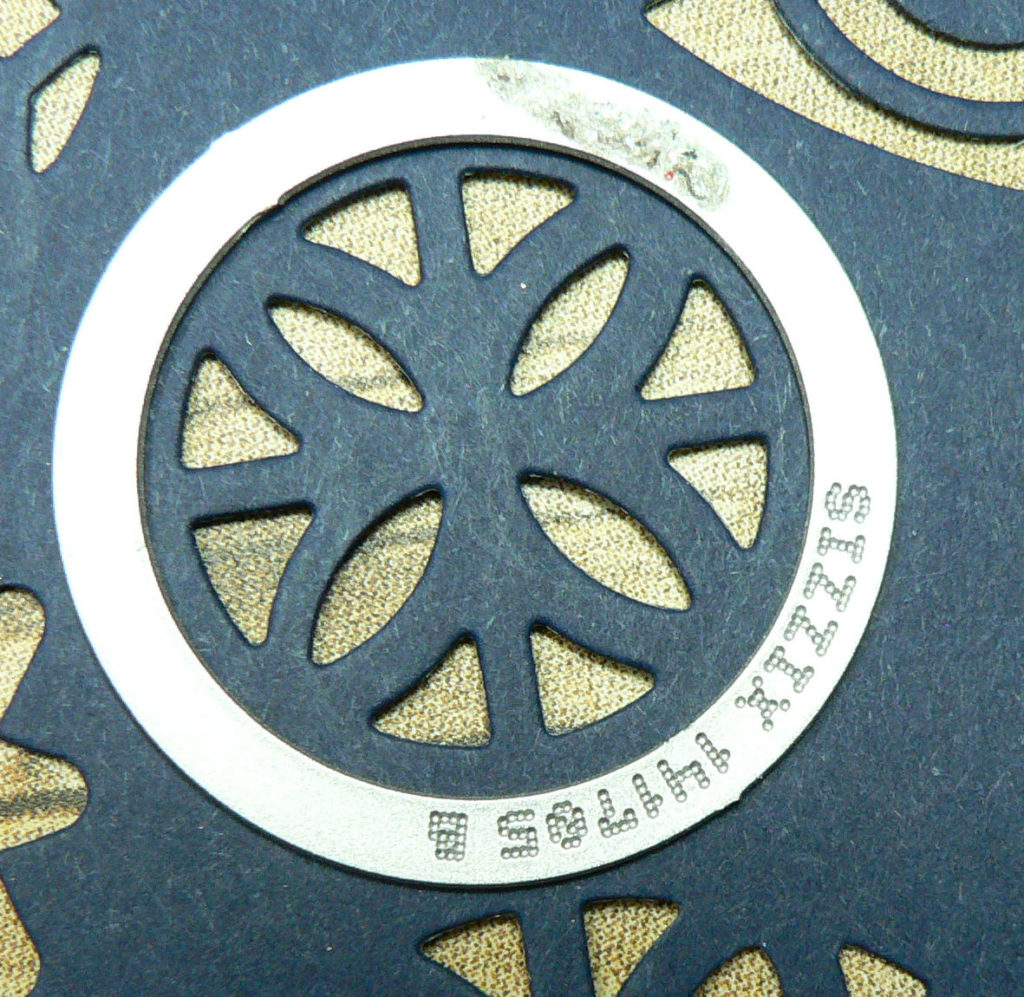
If you want to cut out an image to either put in the center. or cut out a center, you can see this piece leaves just the cutouts that you see:

OR if you want to cut out the image, use the smallest circle from the Layering Circles #141705 and t cuts it out perfectly!

Doesn’t Stampin’ Up! think of everything!  🙂

I started with a 3 3/4″ x 5″ piece of Watercolor Paper and placed a lot of the Thinlits on the Watercolor paper, then added to them, to get the look I wanted.   I then got my Aqua Painter and colored some of the new pretty In Colors on the top of the Water Color Paper, making it as bright and pretty as I could!

I used Wink of Stella to make the paper sparkle and then popped up the piece in the center left by making the edges pull up (the piece doesn’t pop out all the way, just the petal edges).  I placed Dimensionals on the bottom of the entire Piece of Paper and then placed it on  5 1/8″ x 3 7/8″ piece of Copper Foil.  It looks so pretty in person, with the copper peeking out!

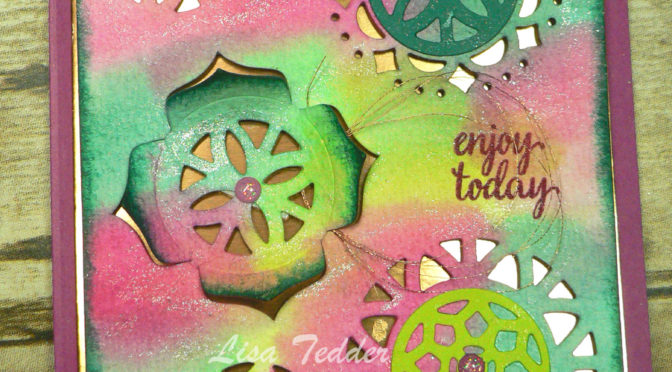
I stamped the saying from Eastern Beauty “enjoy today” on the right center and then used clear Embossing powder on it to make it more textural (I LOVE that our inks are wet enough to do this!!)

I used the brand new Glitter Enamel Dots that I got from attending OnStage in Savannah GA!!  If you are a demonstrator one of the MANY perks is that you get to see product before anyone else!  AND if you attend OnStage (which is all over the world!) you can pre-buy certain product before other demos that didn’t attend!  Of course I HAVE to go, so I can see/touch and order new goodies……as I’ve said MULTIPLE times, I am NOT  a patient person!  LOL

For the added touch before putting it onto the Berry Burst Cardstock I wrapped some Copper Thread so it peeks out of the side of the lifted petal and goes around the sentiment!

Here is the inside of the card!

Again, I used the stamps from the Eastern Beauty to adorn the inside!  Well?  Do you like it?

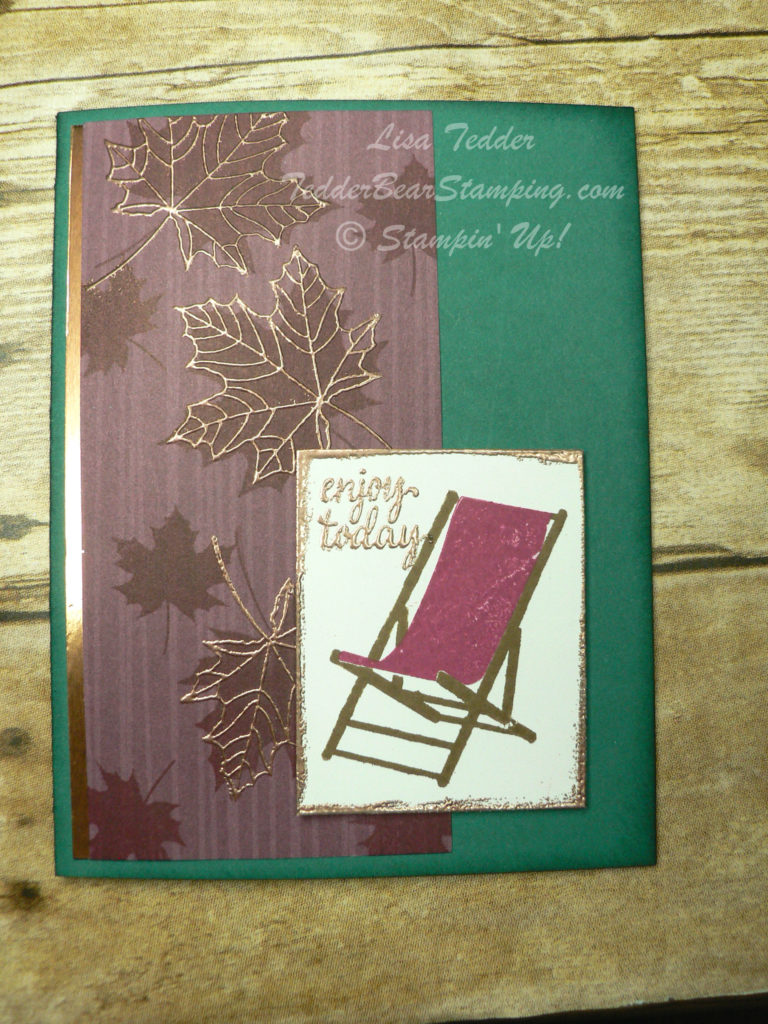
On my Facebook Live Video  New Sneak Peek Stamp sets I also showed another card.  I showed how this one was made, so I will show you the picture and if you want to see it made, go see the video…..just ignore how silly I look/sound/act……..this is what happens when you are not super experienced at it!  HAHAHAHA

I won’t show you the one I tried to make better on the video, because in the long run, I liked this one better!

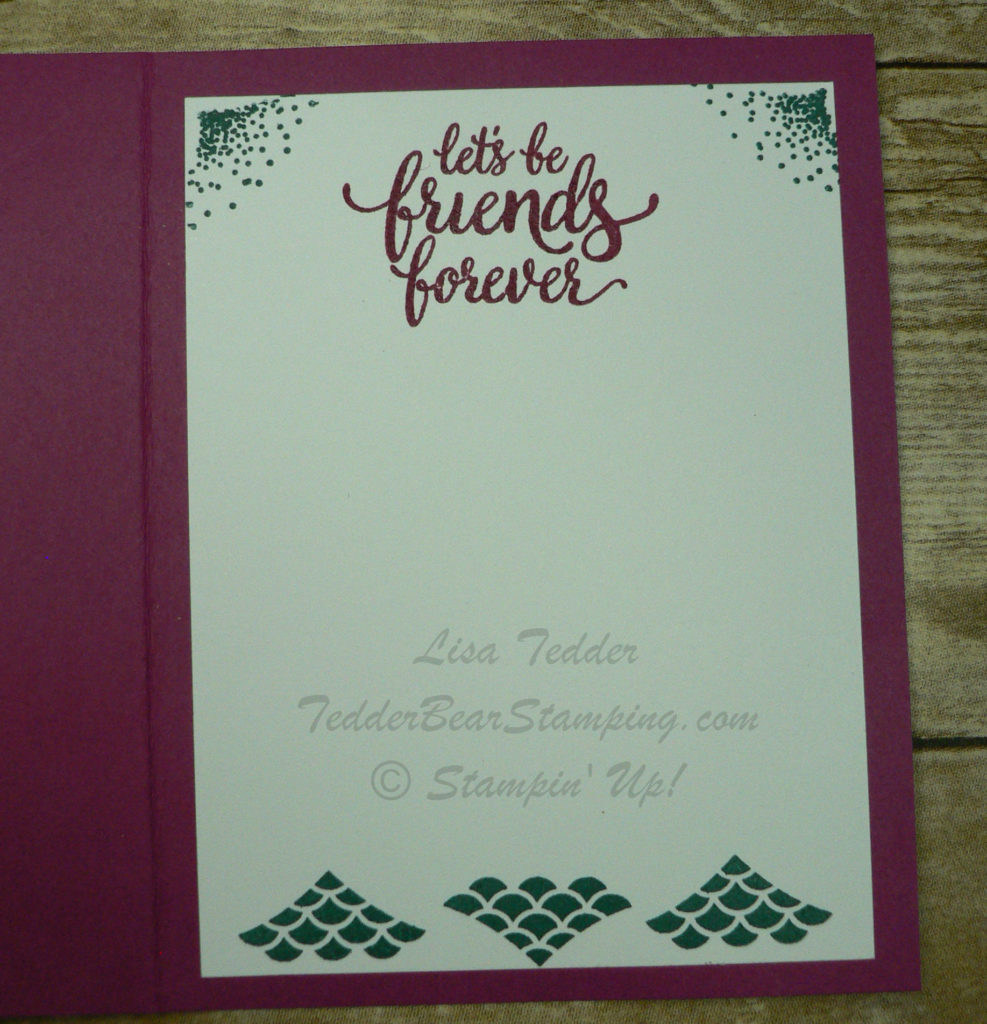
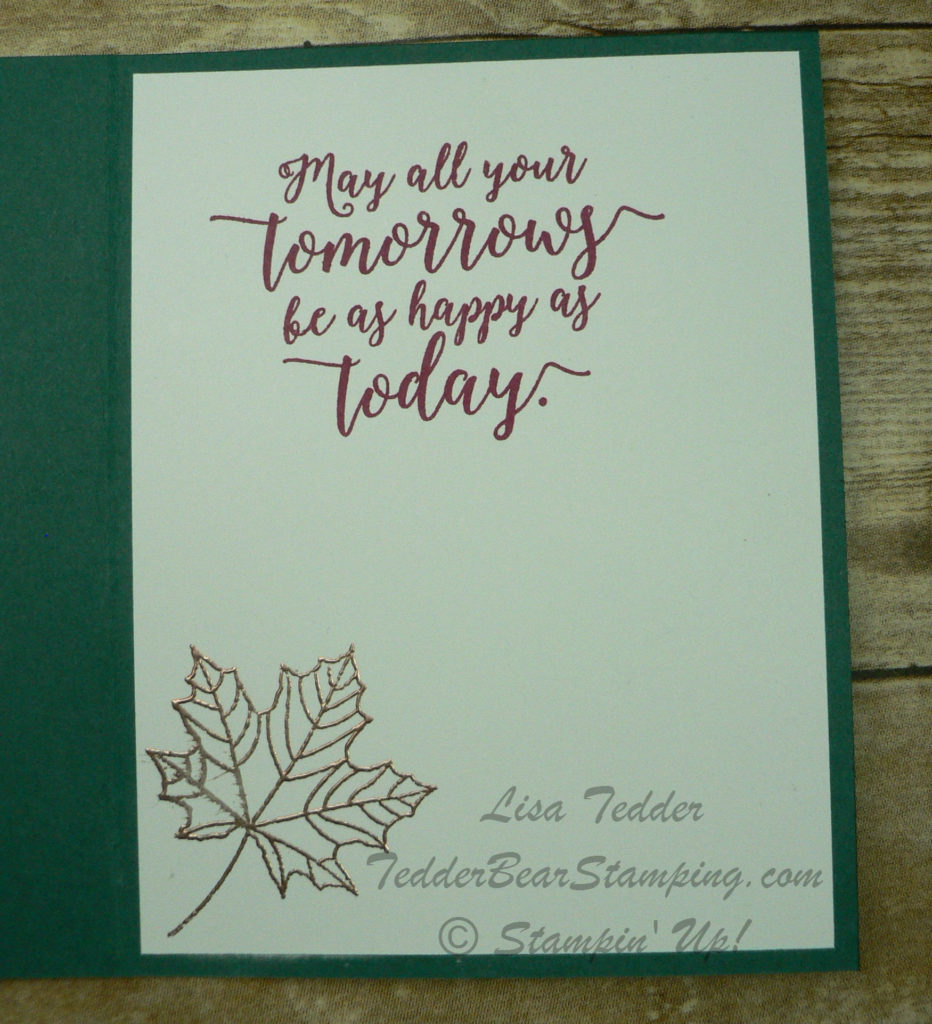
Here is the inside:

I really love the Copper on the Designer Series Paper (DSP), don’t you?!  And the leaf in Copper looks so pretty on the inside!

If you live in the USA, I would LOVE to have you be a part of my Team!  You can sign up under me, get a discount, get to attend SU! functions, order product early and get to meet the BEST people!  What can be better than getting paid to do what you love to do!?

Check back in with me, I’ll be posting more retiring ideas AND new product!  Subscribe both to my blog and to my Newsletter and you won’t miss anything!

Lisa Tedder
TedderBearStamping
A California Girl living in North Carolina