Tag Archives: TedderBear

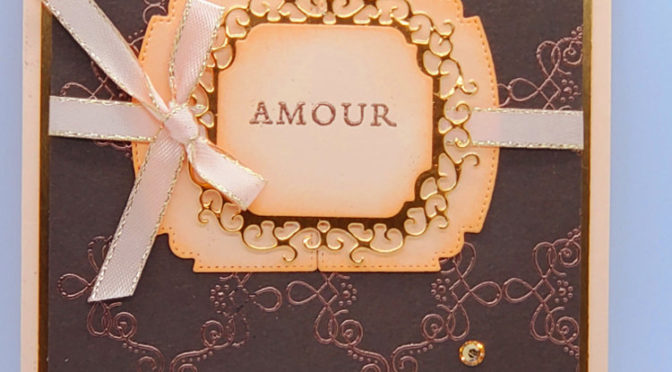
A 1 1/2″ x 3/4″ stamp made this background?!

Hey Guys!

Who doesn’t love a Technique!?

Today I am sharing with you a card I made that uses a teeny tiny stamp to make a background that is really amazing! Moreover, it is embossed with Copper to make it REALLY stand out! I love this technique, I hope you like it as much as I do!
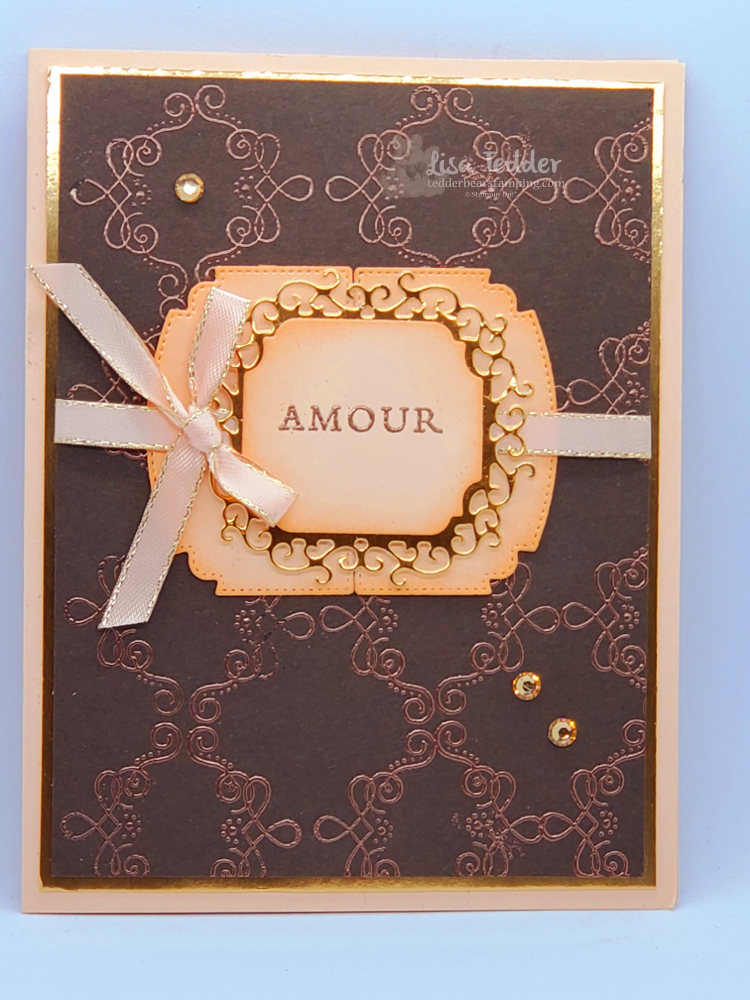
You’ll have to watch video to see how, it’s too hard to describe otherwise!

Didn’t it come together well? As I said, techniques have always inspired me and helped to make my stamping even more fun! Look through your stamps and see if any image has this basic shape and see what you come up with! If you didn’t catch this technique, go check it out!

As usual, here are the specifics for this card:

Stamps:
Parisian Beauty
Ornate Style

Inks:
Versamark
Petal Pink

Paper:
Petal Pink 8 1/2″ x 5 1/2, 5″ x 3 3/4″ (inside), scraps for dies
Early Espresso 5 1/8″ x 3 7/8″ (x2)
Copper Foil 5 1/4″ x 4″ (x2) cut inside out for dies
White scrap for underneath dies (see video)

Misc:
Champagne Rhinestones
Petal Pink 1/4″ metallic edged ribbon
Copper embossing powder
Embossing buddy
Stamping sponges
Heat tool
Dimensionals
Ornate Frames dies

Also, you will find the supplies listed below in picture form. Click on any picture and you will be taken to my OnLine Store. If you purchase $35 or more you will receive two sets of tutorials containing 50 +/- with step by step instructions! Here is a sneak peek of one:
Step by Step tutorial for these projects + 35 more for a purchase of $35!

I hope you are staying safe during this trying time in our world! I am stamping and creating away to bring happiness to my little world and hopefully yours!!

Stay tuned and please visit again!

Lisa Tedder
A California Girl living in North Carolina

Product List

Simple any occasion no stamp card

Hey Guys!

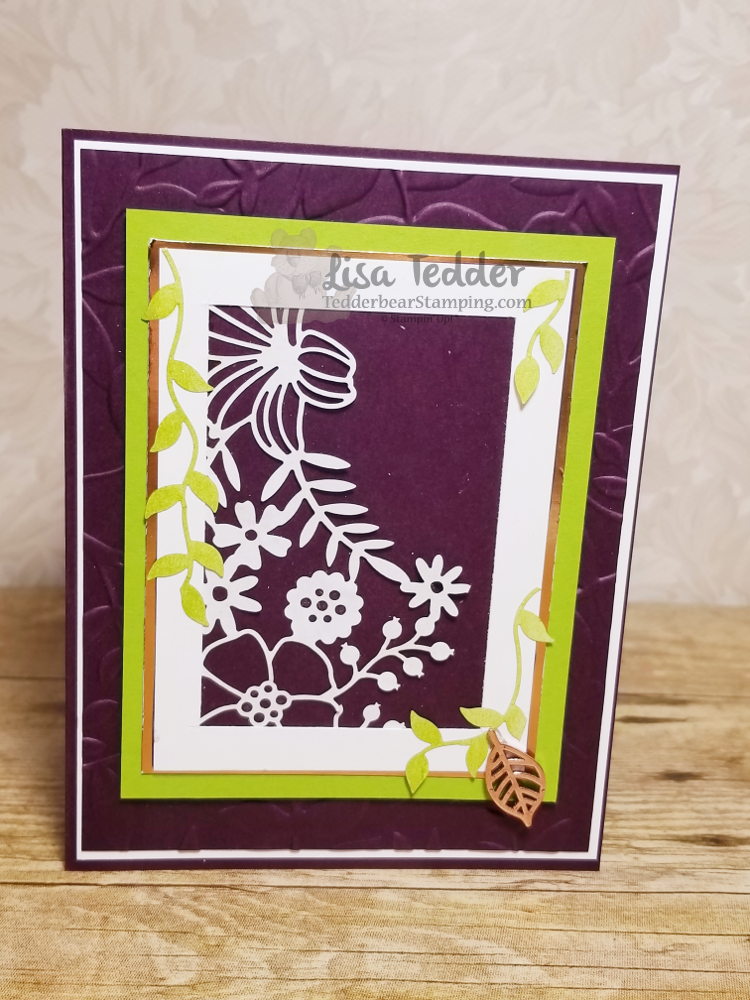
Today I thought I would share with you a card that is elegant and no stamping was used.  What?!  I know, what in the world am I doing NOT having stamps?  It just happened that way and I didn’t really notice until I was done.

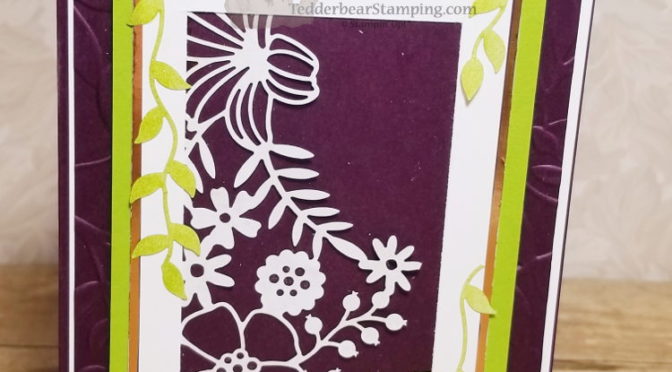
I used the Delightfully Detailed Laser Cut Paper.  I really didn’t have any ideas on how to use it, but fell in love with it!  Here is my card:

The Leaf pattern going down the side is normally white, but I sponged it Granny Apple Green so it would pop on the card and show up on the White frame.

Here are the specifics for this card:

Paper
Blackberry Bliss 8 1/2″ x 5 1/2″, 5 1/8″ x 3 7/8″
3 7/8″ x 2 7/8″
Whisper White 4 1/8″ x 5 3/8″, 3 7/8″ x 2 7/8″, 5 1/4″ x 4
Granny Apple Green 4 3/8″ x 3 3/8″
Copper Foil 3″ x 4″
Inks
Versamark
Granny Apple Green
Accessories
Delightfully Detailed cut outs
Leaves Trinkets
Wink of Stella
Layered Leaves Folder
sponge Brayer/Dimensionals/Glue dots

You can’t see it on the card, but I went over the Laser cut outs with Wink of Stella, it adds to the elegance of the card.

All the supplies are listed below, click on any picture to be taken to my OnLine Store!  All OnLine orders receive a gift from me!

If you are in need of a Stampin’ Up! Demonstrator, I would love it if you would choose me!  Or if you are thinking of joining SU!, please consider joining my Team!

Thank you for stopping by!  Hope you stop by again soon!

Lisa Tedder
A California girl living in North Carolina

Product List
Want some Peace?!

Hey Guys!

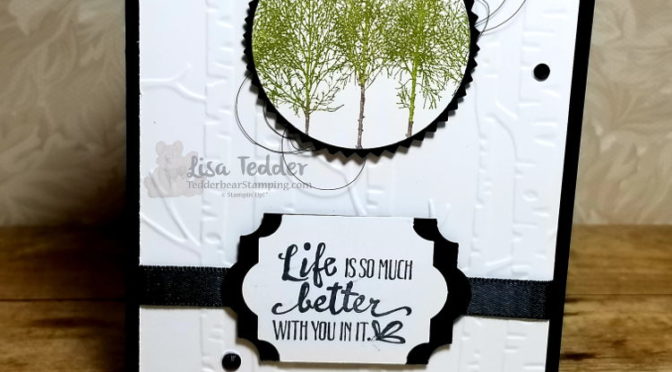
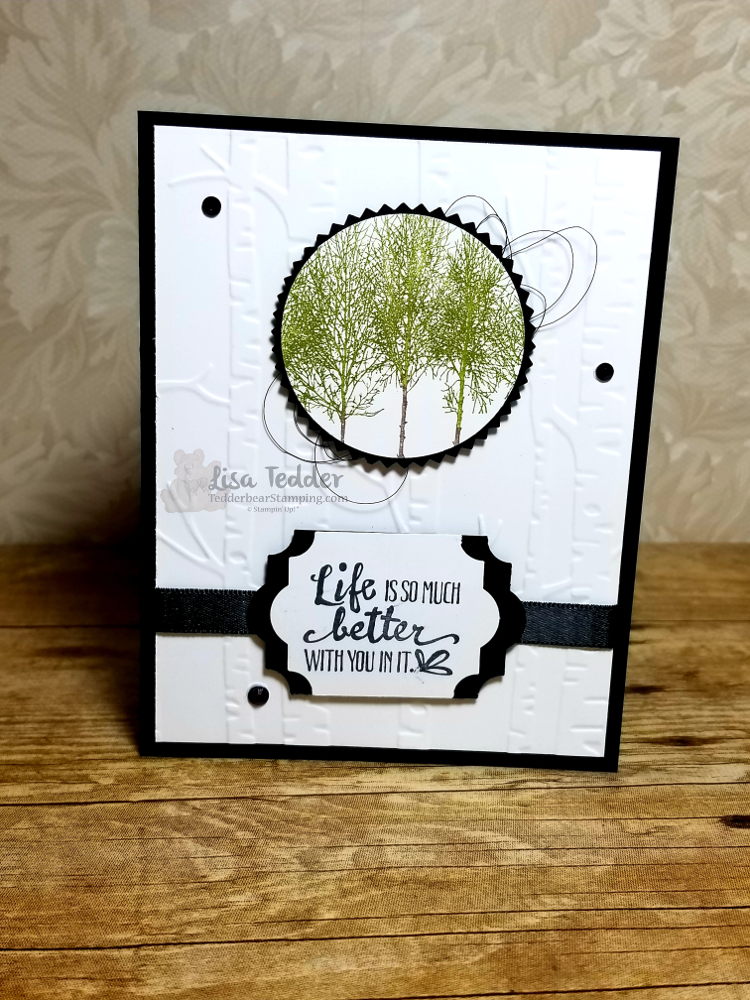
Do you want some peace?  This card makes me peaceful just by looking at it!  I hope you agree!

I used the Winter Woods stamp set from the Holiday Catalog from Stampin’ Up!  Guess what!?  It is one of the stamps that is NOT retiring!  I am so happy!  This stamp set is sooooo pretty and I just love it, bet you couldn’t tell, right?

I used the Woodland Folder to get the background.  This is about as ‘simple’ as  I can get…….you would think that making cards with more details would be harder, but NO, I have problems making cards that have less stamps, less layers, less embellishments……ok I have problems with LESS!  LOL  I try really hard to make quick and simple one layer cards and I just can’t do it!  Who’s with me!?

Here are all the particulars for this card:

PROJECT 2:  Trees
Stamp Sets
Petal Palette
Winter Woods
Paper
Basic Black 8 1/2″ x 5 1/2″, scraps
Whisper White 5 1/4″ x 4″ (x2), scraps
Inks
Momento
Old Olive Marker
Soft Suede Marker
Dk. Black Blend
Accessories
Rhinestones
Everyday Label Punch/Starburst Punch
2″ Circle Punch
Dimensionals/ Woodland Embossing Folder
Black Shimmer Ribbon/Black Metallic Thread

Below are pictures of all the products used to make this card.  Click on any of them and you will be taken to my OnLine Store!  I would love it if you would choose me to be your Demo!  Any online order receives a  gift from me!

If you are thinking of joining the SU! Family I would also love for you to choose my Team – LETS Stamp! (the LETS stands for my name: Lisa Easterday Tedder, You would make a great addition to my SU! family!

Thanks for stopping by!

Lisa Tedder
A California Girl living in North Carolina

Product List

A NON Christmas Card using Farmhouse Christmas

Hey Guys!

I am so excited that as a demonstrator for Stampin’ Up!, that I get to purchase NEW items a month before they are available to the public!  I wanted to use them right away BUT didn’t necessarily want to do Christmas.  So, my dilemma……….how do I use these obvious Christmas sets and NOT have it be Christmas.

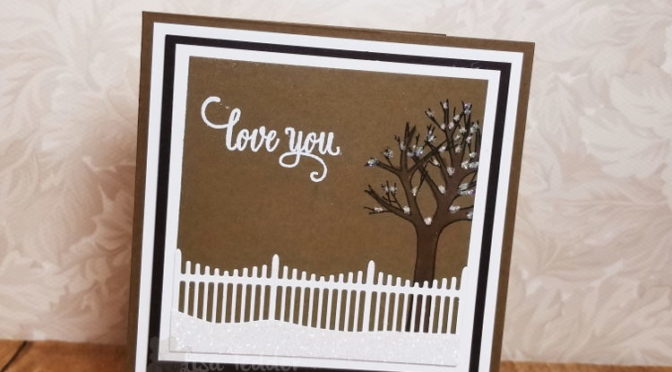
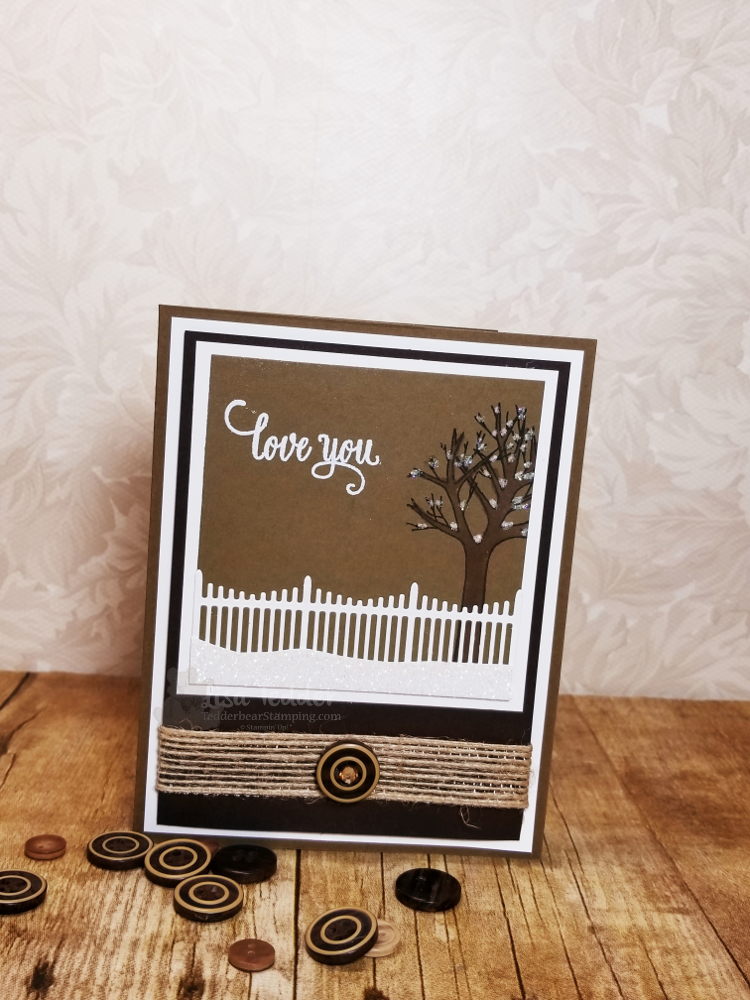
I got out the Farmhouse Christmas stamp set, decided to use the tree  AND the incredible fence!!  Did you see the fence!!??  I stamped the tree on Soft Suede using Early Espresso ink. This stamp set better stick around because I can use that fence for a lot of things!  Follow this link to see my video.

Isn’t it the cutest!!??  Not sure if you can see the Glitter snow in front of the fence, but in person it is very shiny and sparkly!  The tree has snow in all its crannies.  I used the Fine-Tip Glue pen to go over the white (used the chalk marker) and then sprinkled Dazzling Diamonds over the wet glue.  I forgot how much I LOVE Dazzling Diamonds!  I will be getting that out a lot more.

I stamped the ‘Love You’ from the Enjoy Life stamp set using Versamark and white embossing powder.

I layered these onto a piece of Early Espresso, but before I layered these onto white I wrapped some Burlap Ribbon around and adhered a True Gentleman button in the middle.  If you look closely you can see a Rhinestone that I colored with the Bronze Blend to go into the middle of the button (I HATE threading linen thread through those tiny holes!).  The final layer is Soft Suede to tie in all the colors.

I’m planning on doing this card in a class this month.  Hope they like it as much as I do!

Below are all the supplies I used for this card.  Click on any picture to be taken to my OnLine Store!

Thanks for stopping by!  Check back in!  I’m adding all my cards that I do for my classes to this blog!

Lisa Tedder
A California girl living in North Carolina
Product List


Stair Step Card with Blog Candy!

Today I am showing you a really fun and surprisingly simple card!  I’m calling it a Stair Step Card, if you know of the ‘correct’ name,  would love to hear what it is!

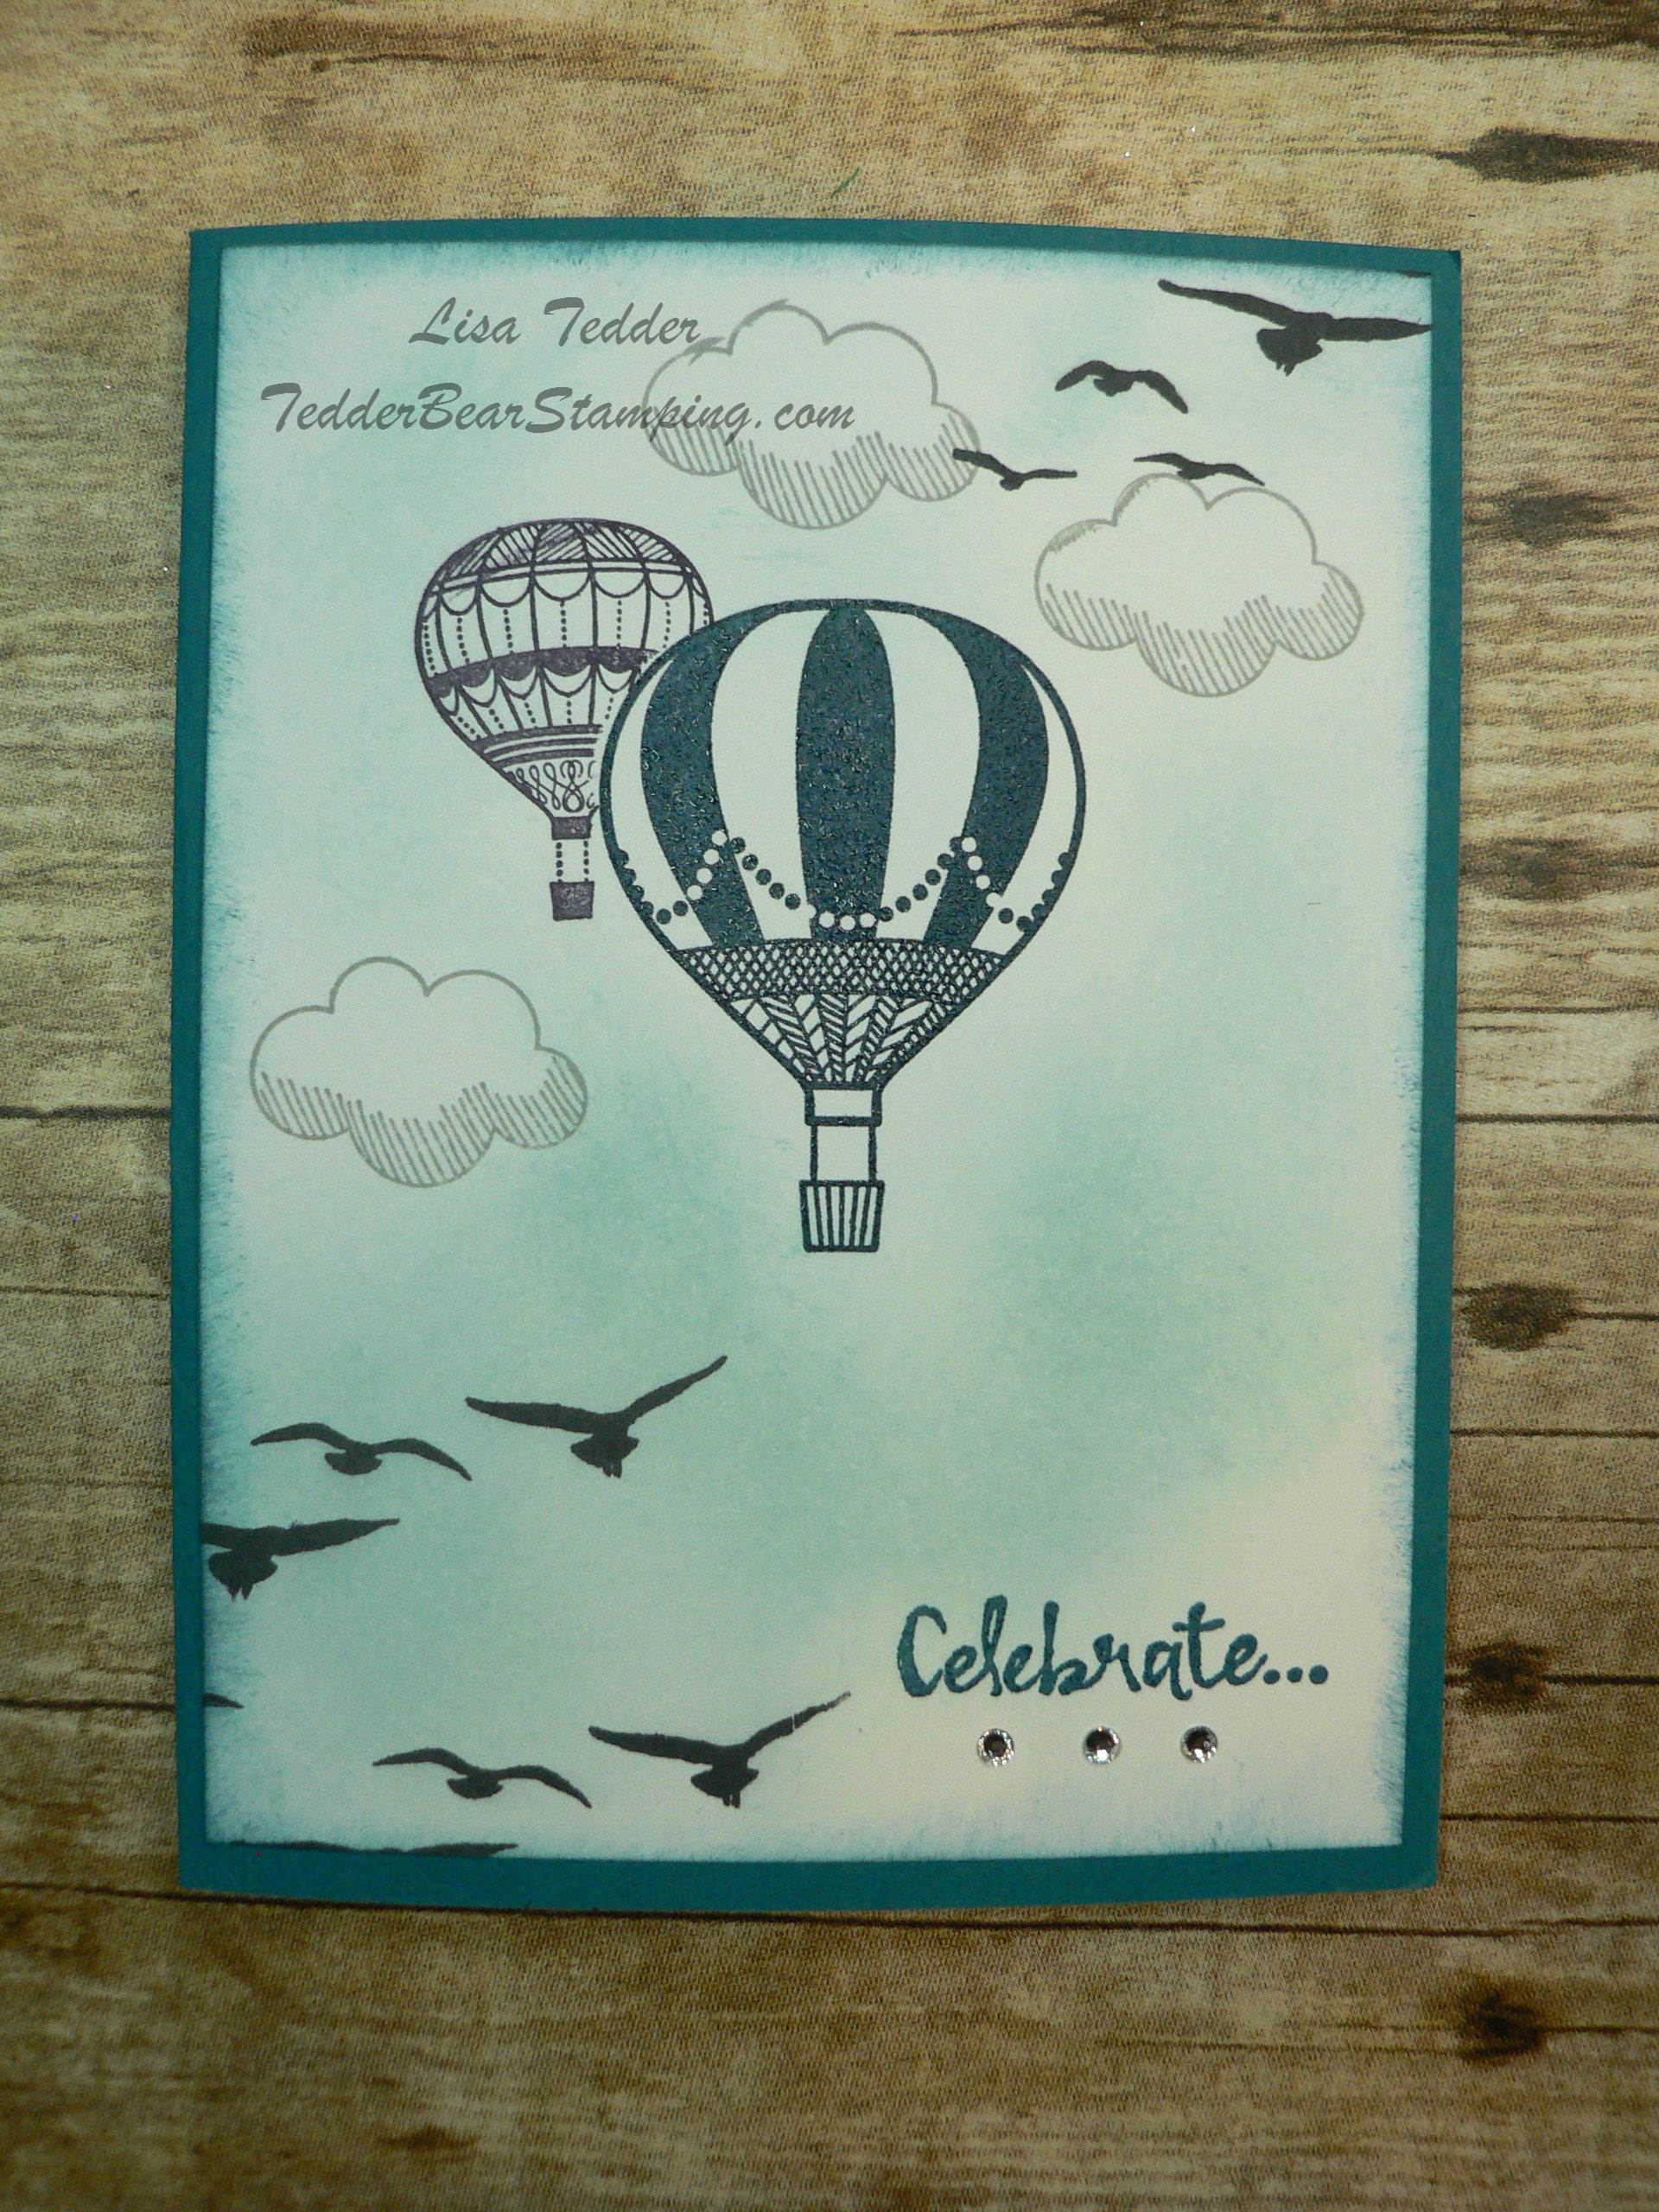
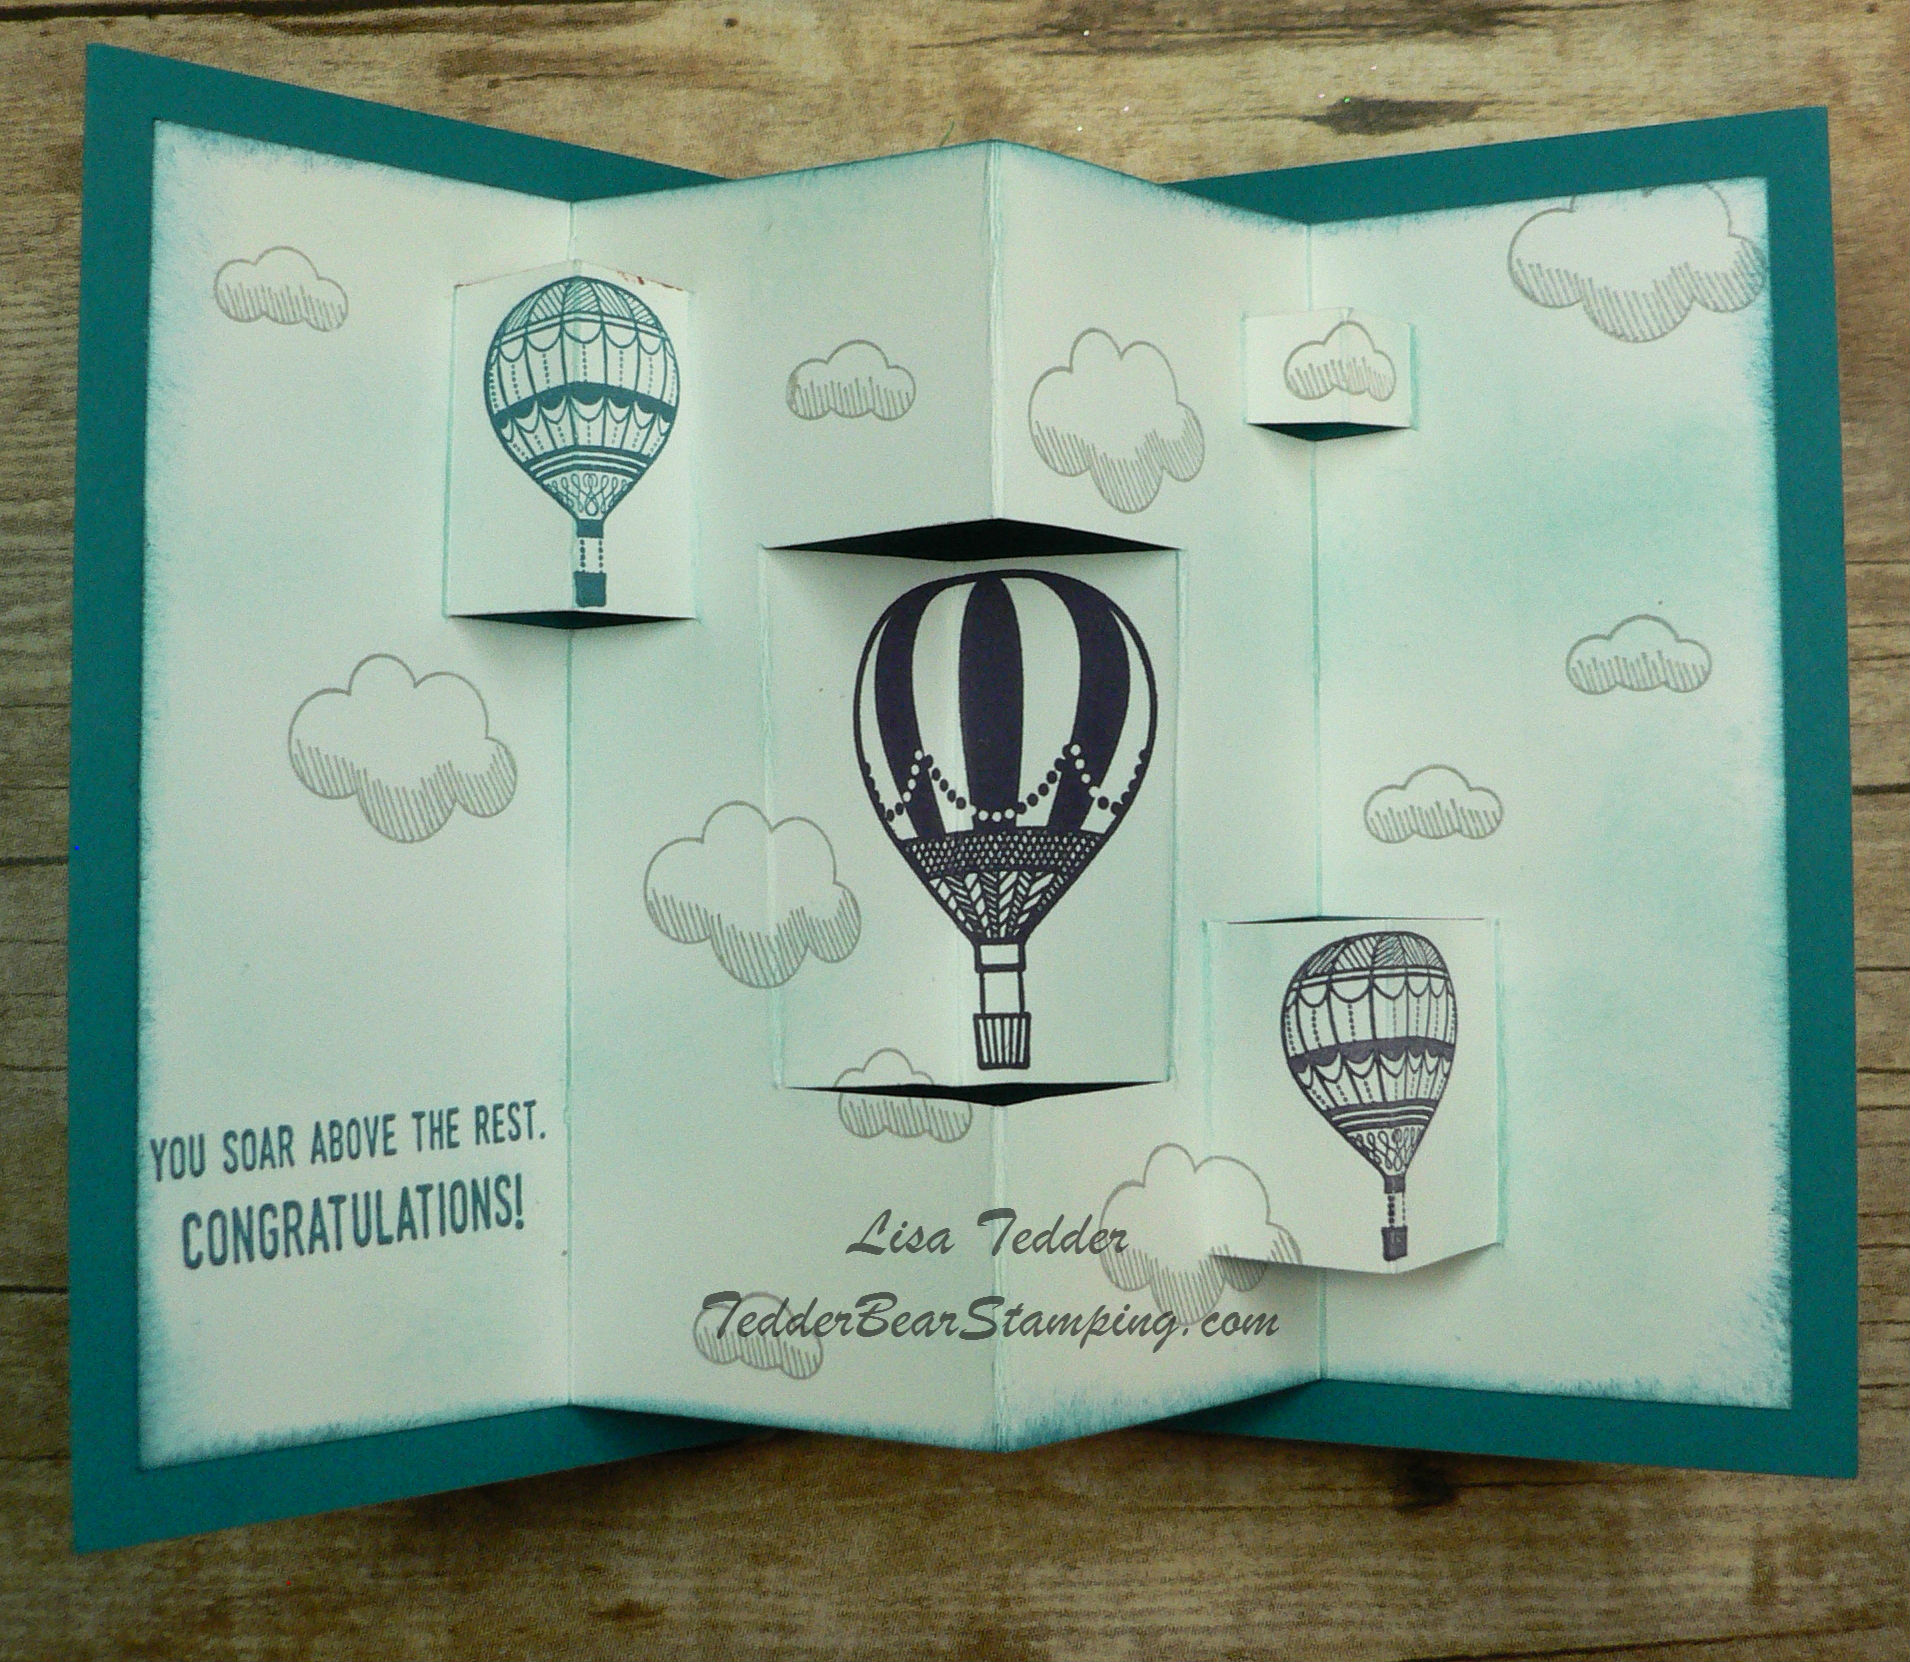
I’m using the stamp sets from Stampin’ Up! called Lift Me Up and Beautiful You for the sentiment!  I have a video showing how to do this card, and you can see it HERE!  Please subscribe to my video’s I am having a ton of fun and like to show things that are a Step Up from ‘regular’ cards!

Paper Art is one of my favorite things to do!  Subscribe to my Newsletter that will come each month!

The measurements for the
Whisper White is:  5 1/4″ X 4″ (front), 5″ X 8″ (inside) Score at 2″, 4″ and 6″, or fold back as shown on video.
Island Indigo is: 5 1/2″ X 4 1/4″

Here is a picture of my card:


This is what the front looks like.  Pretty right?  Just vision yourself getting this card, it’s such a pretty card, and you go to open it AND…….


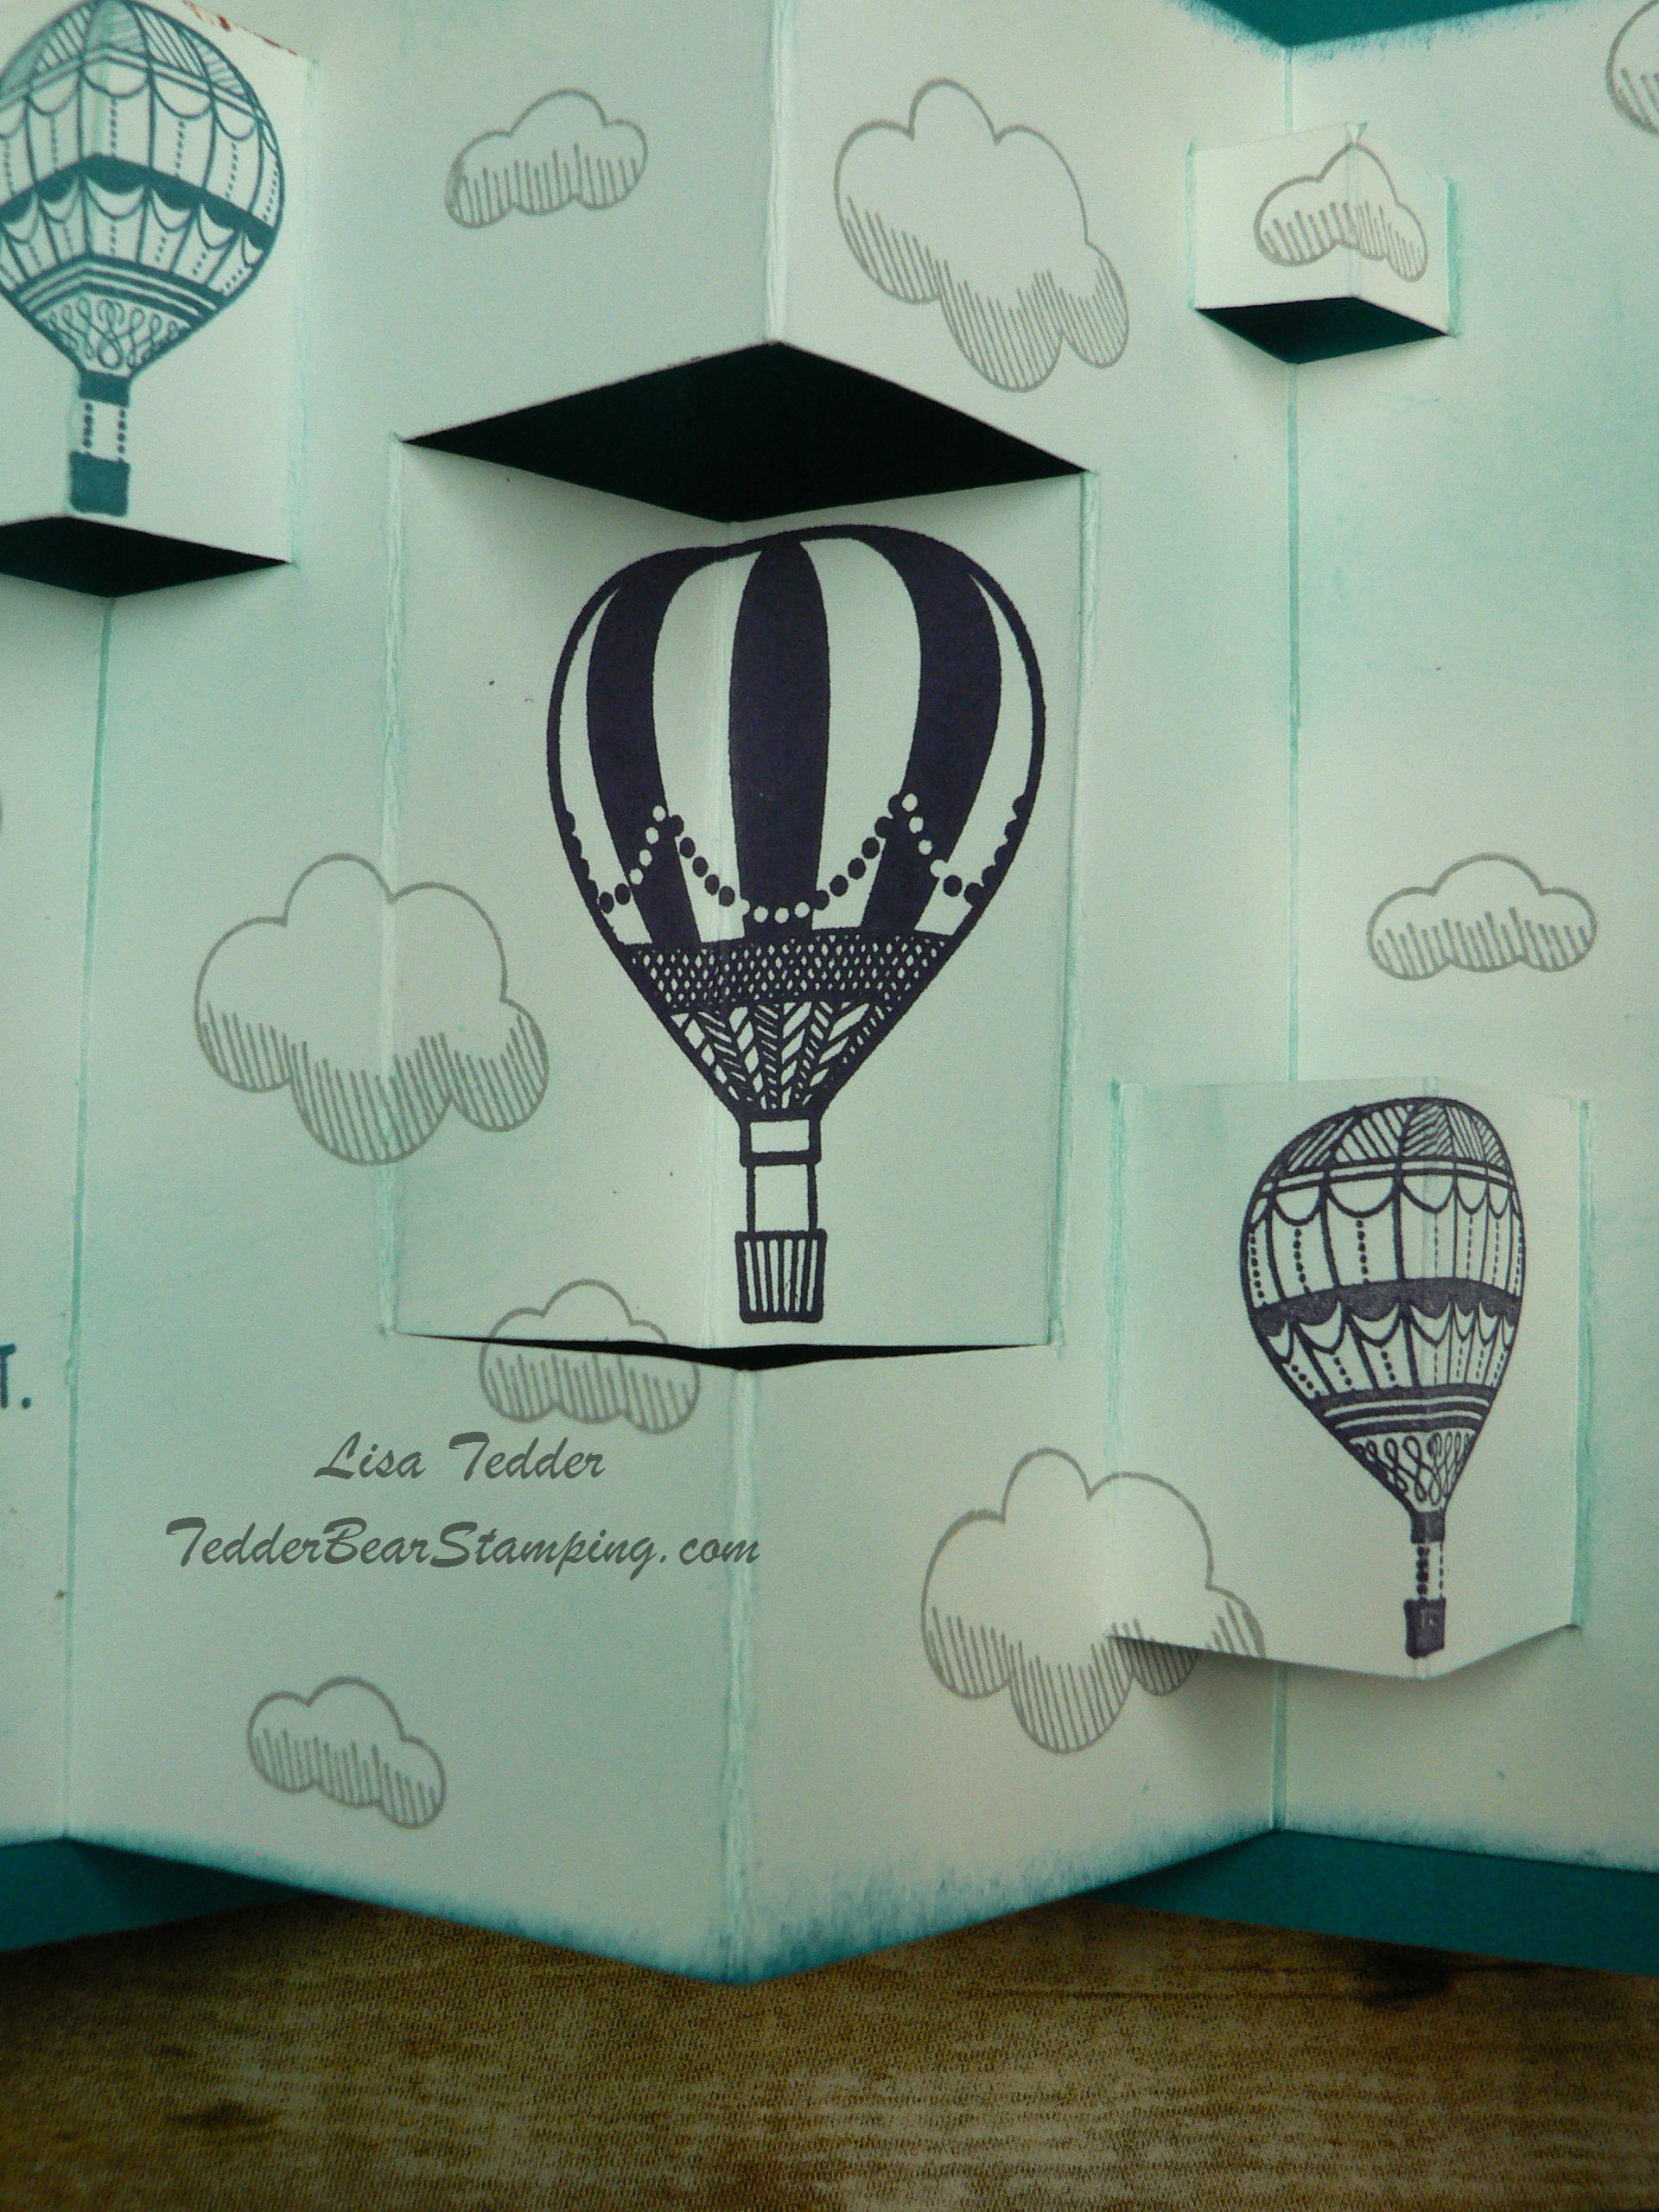
Wow!  It is Really fun and interactive inside!  The Balloons look like they are flying!  This card is super easy to make!  It doesn’t look like it does it?!   It took me all of 15 minutes to make!  That’s with cutting the cardstock too!  If you watch my Video, you can see how much fun it is!  You’ll want to get out any and all stamp sets that you can use this technique with!

Here is another view, close up!

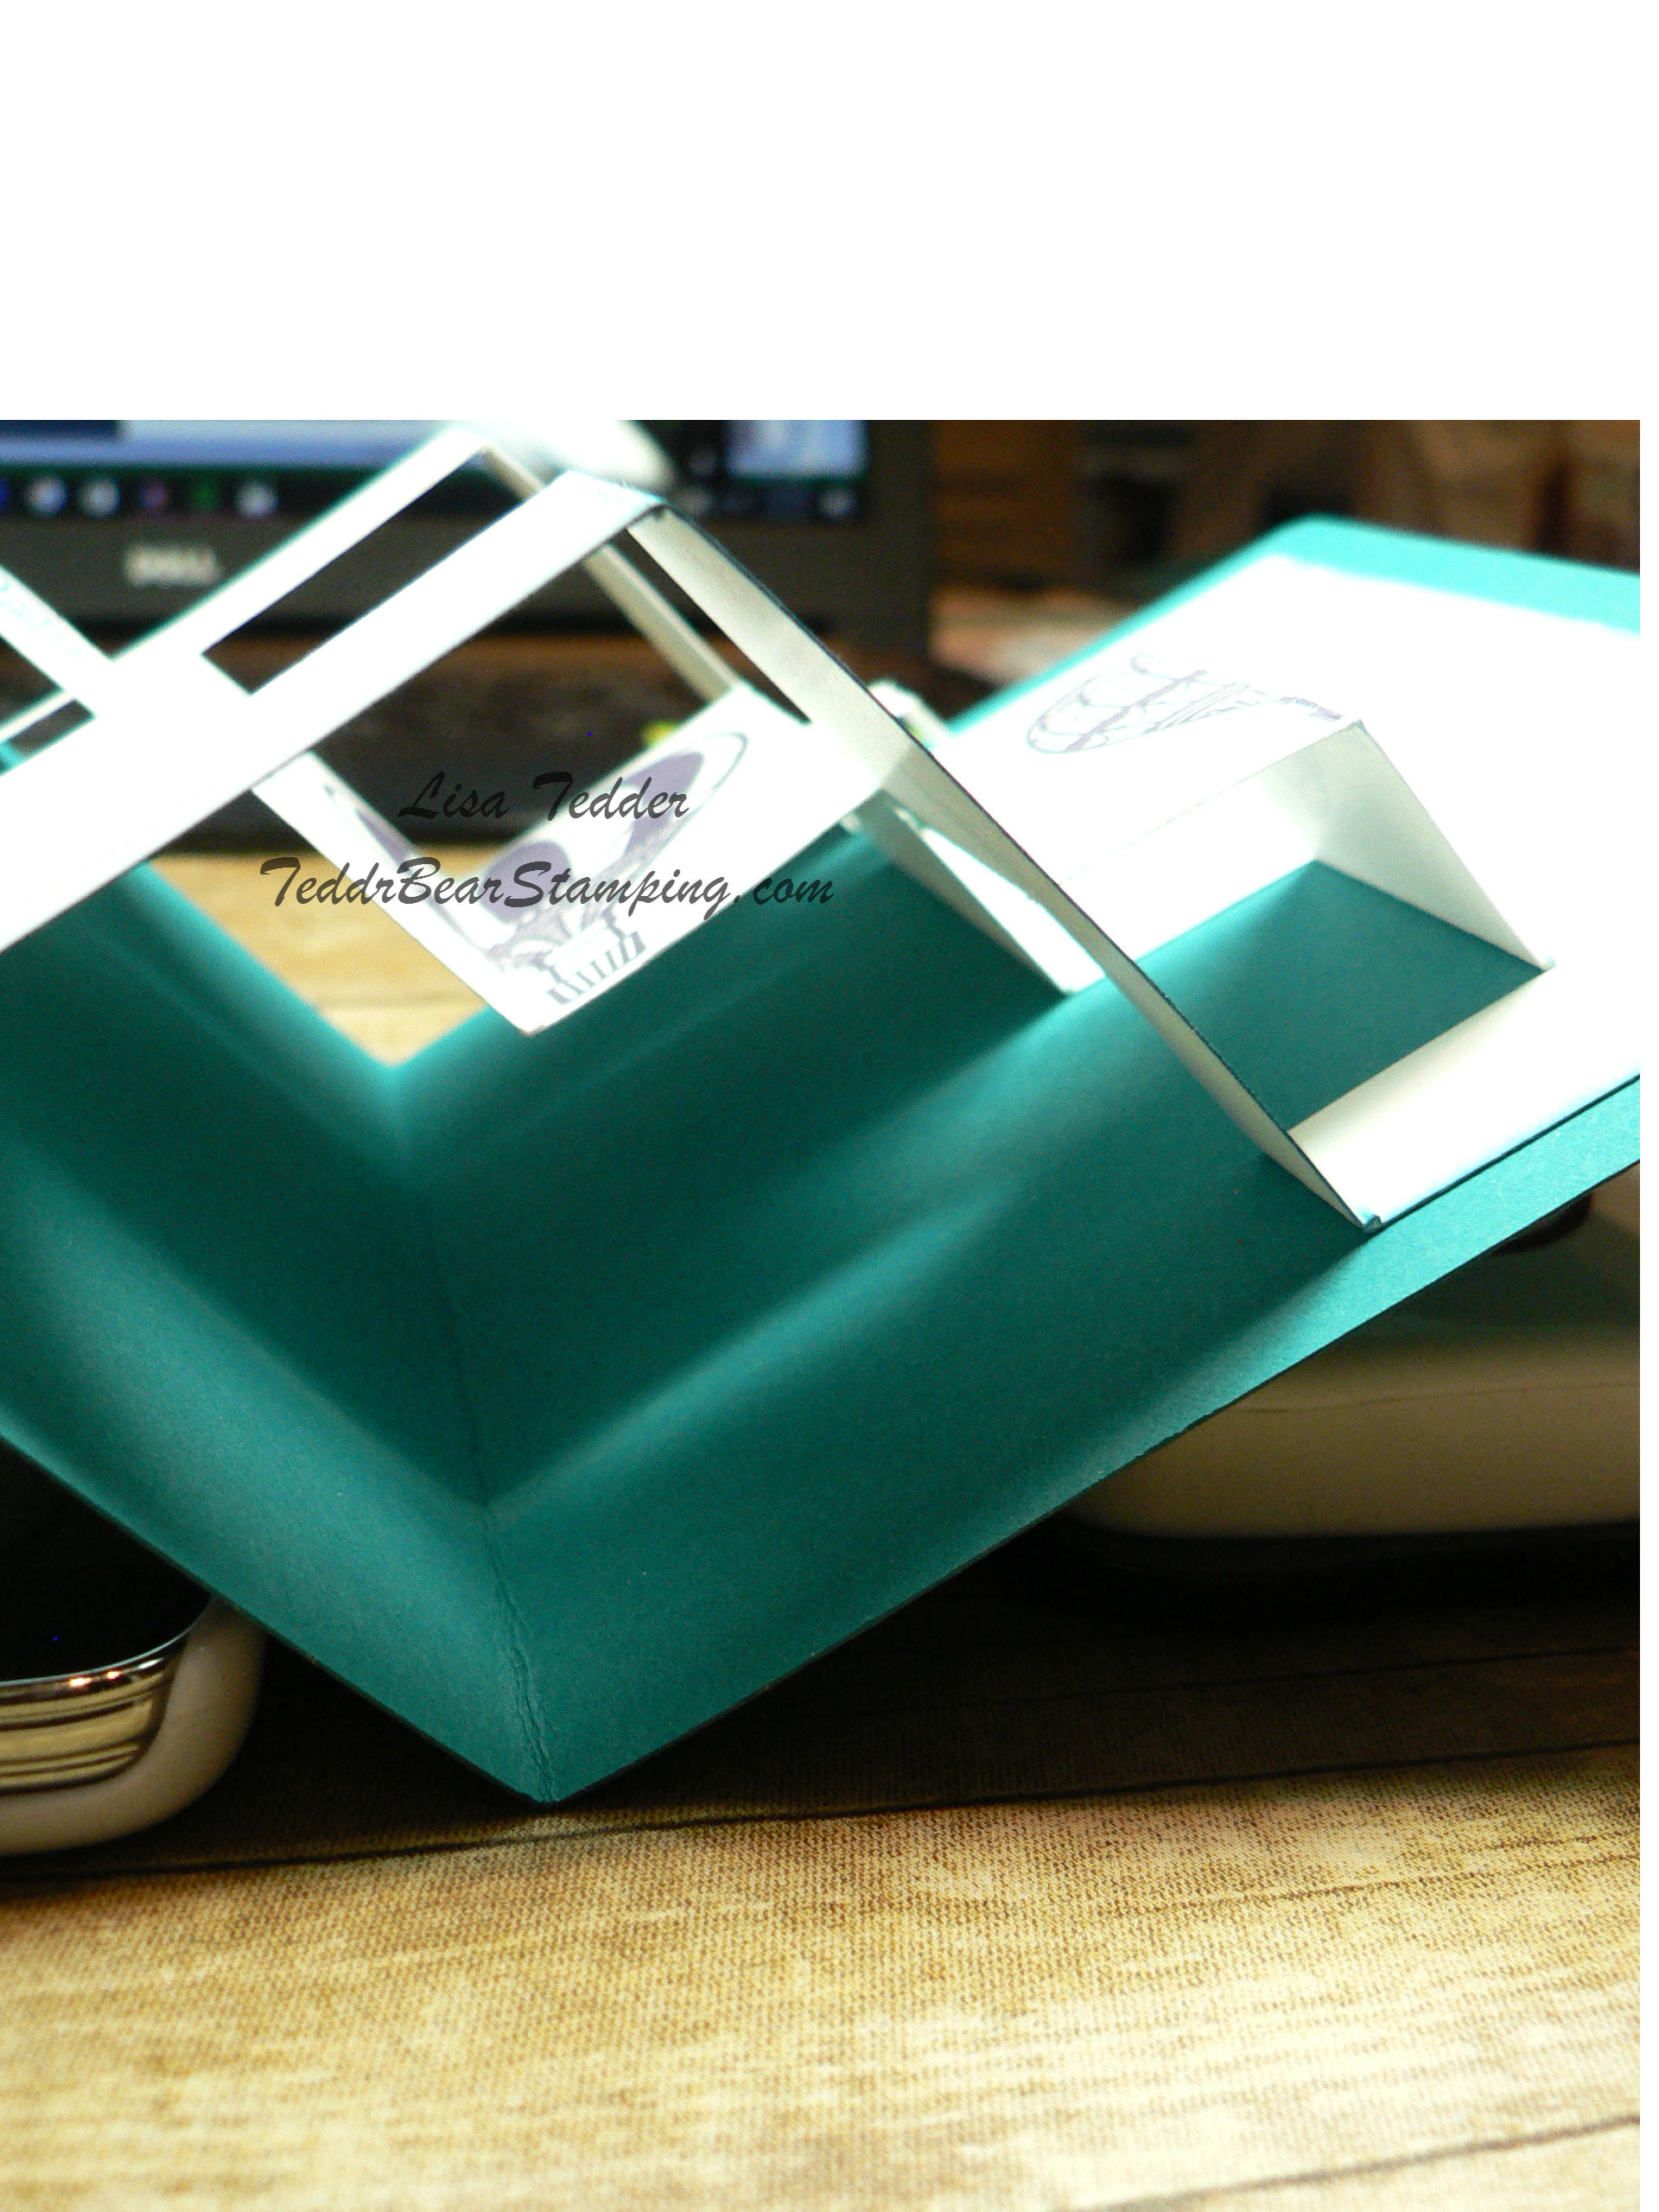
And one more!!
This shows the side view.  Pretty cool right?  What will you be making using this technique!?  I would love it if you could add your links in my comments!  Or just send me a picture!  My email is:
TedderBearStamping@gmail.com

NOW, on to my Blog Candy!!  If you leave me a comment you will get your name put onto a list where I will do a random computer generator to pick who gets it!  I will be doing the drawing April 4th! You can comment as many times as you want!  AND, if you visit my FaceBook Page and make a comment there I will put your name on the list again!

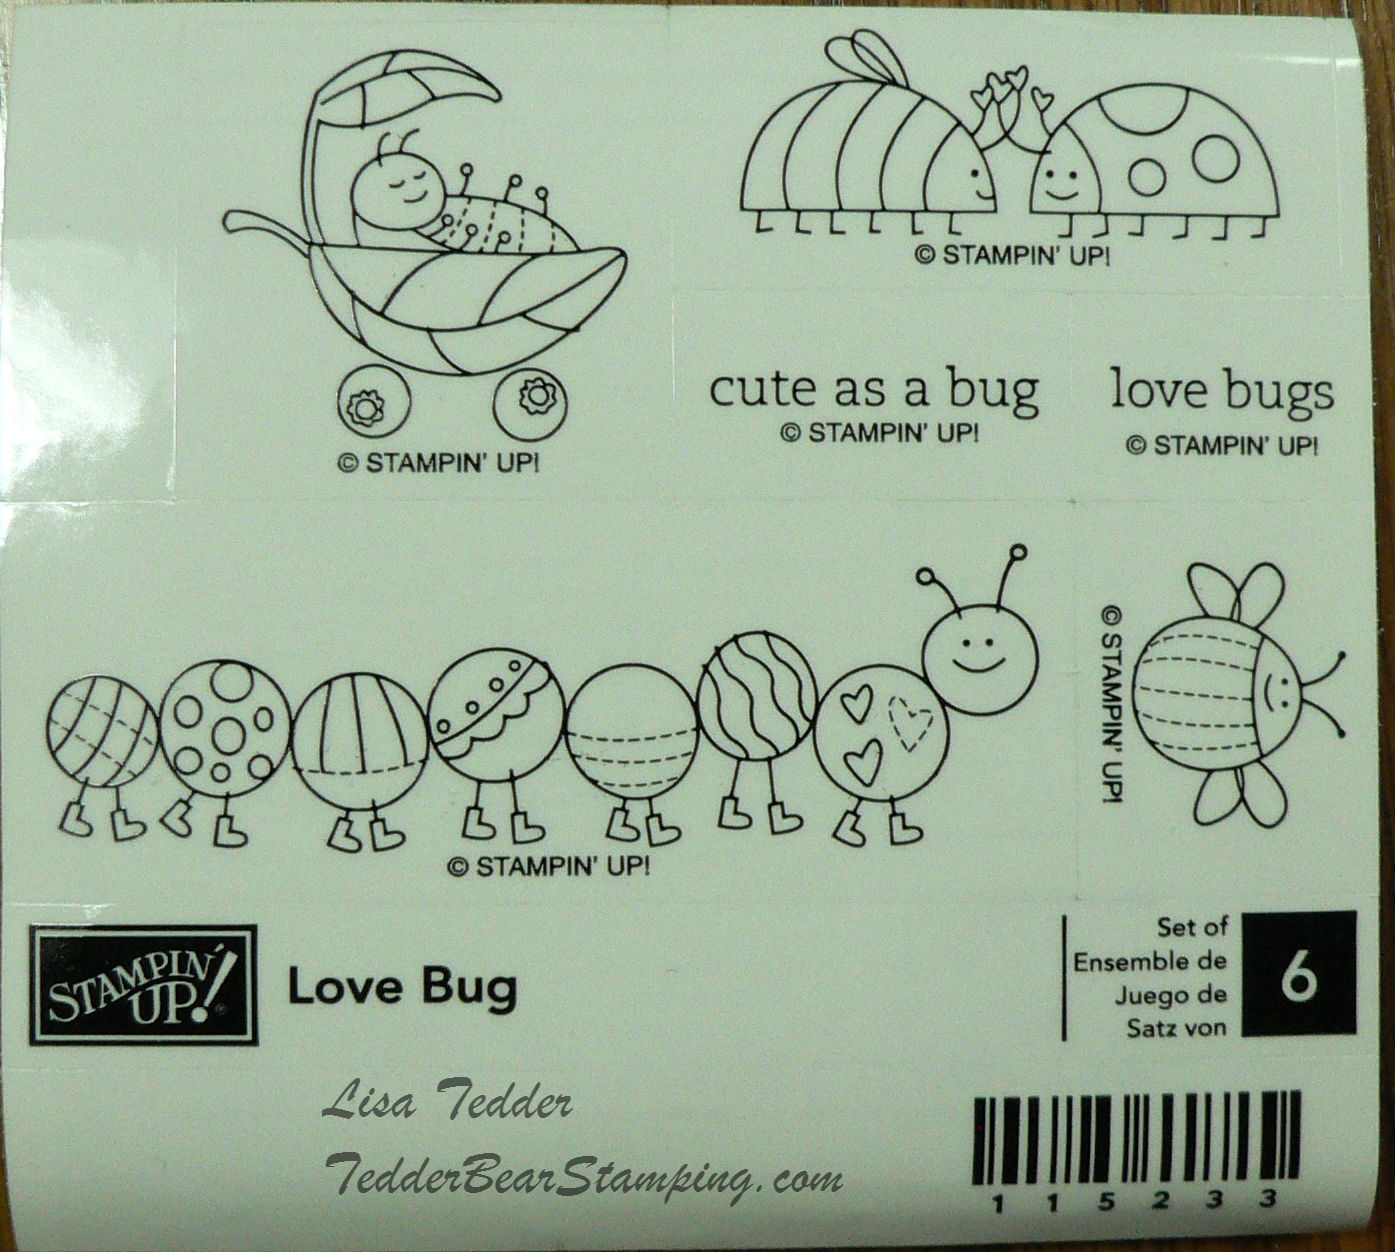
This is a Wood set from quite a while ago, so if you are new to stamping and Stampin’ Up! you will want this set!  It’s so stinkin’ cute!!  Those little bugs can be colored for Easter, a new baby or pretty much any occasion you will want to tell someone you love and care for them!  AND it’s FREE!!  Can’t beat that!

Click on any product below my signature and you will be sent to my online store!
If you purchase from me, I will send you a handmade card or two!

Thank you for stopping by!!  Again, you can watch the video on how to make this card by clicking HERE!   The video isn’t long, I sped it up, but it’s so easy, you can easily pause it to keep up!

Product list below!

Lisa Tedder
A California girl living in North Carolina!

Product List