Tag Archives: Early Espresso 8-1/2" X 11" Cardstock

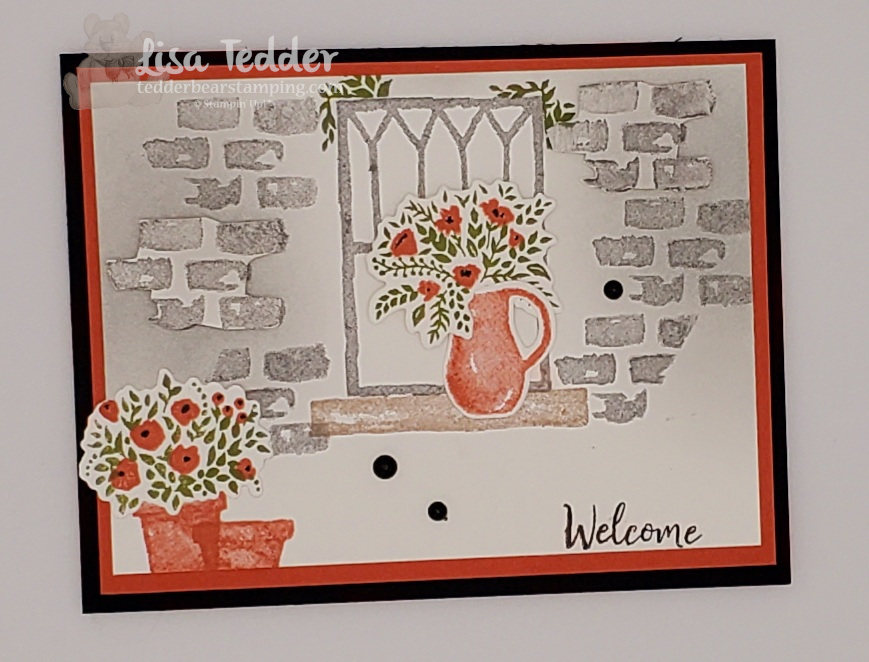
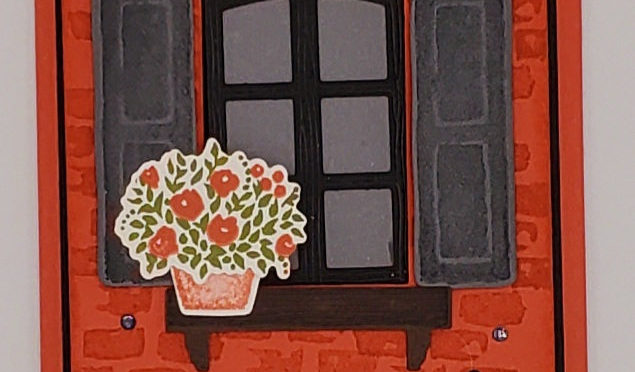
Stunning Welcoming Windows

Hey Guys!,

For today’s class I am using the stunning Welcoming Windows stamp set from Stampin’ Up! Every Thursday at 4:00 p.m. (eastern) I have a mini stamp class that I do on YouTube Live! If you missed my blog post sharing last weeks class, you can click here. Of course, if you missed it you can always watch me live the next time, I really love being able to talk to someone OTHER than my husband!! LOL
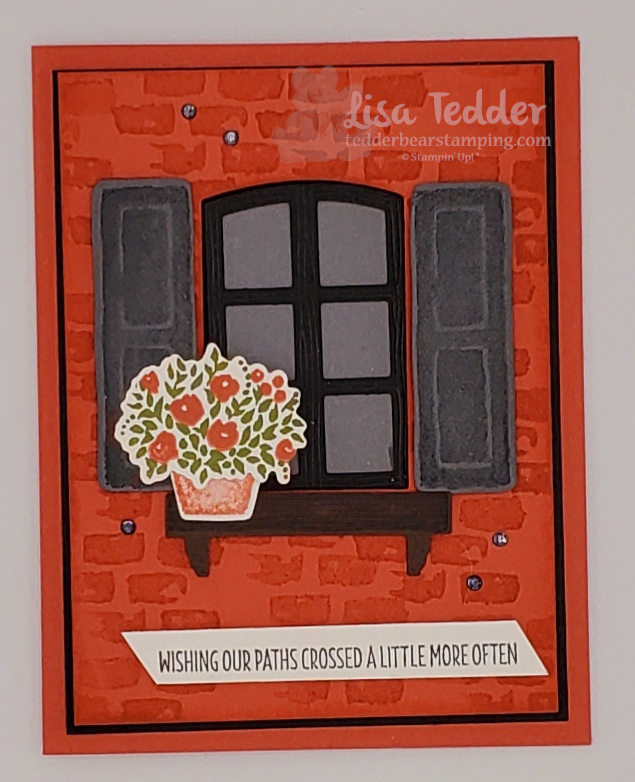
Stunning Welcoming Window
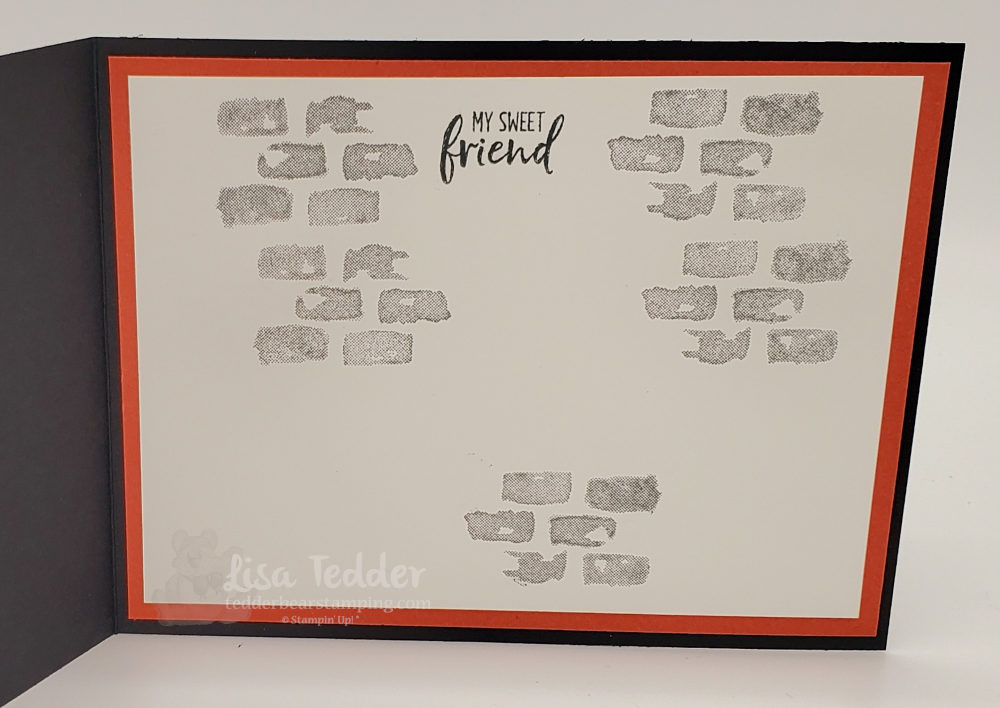
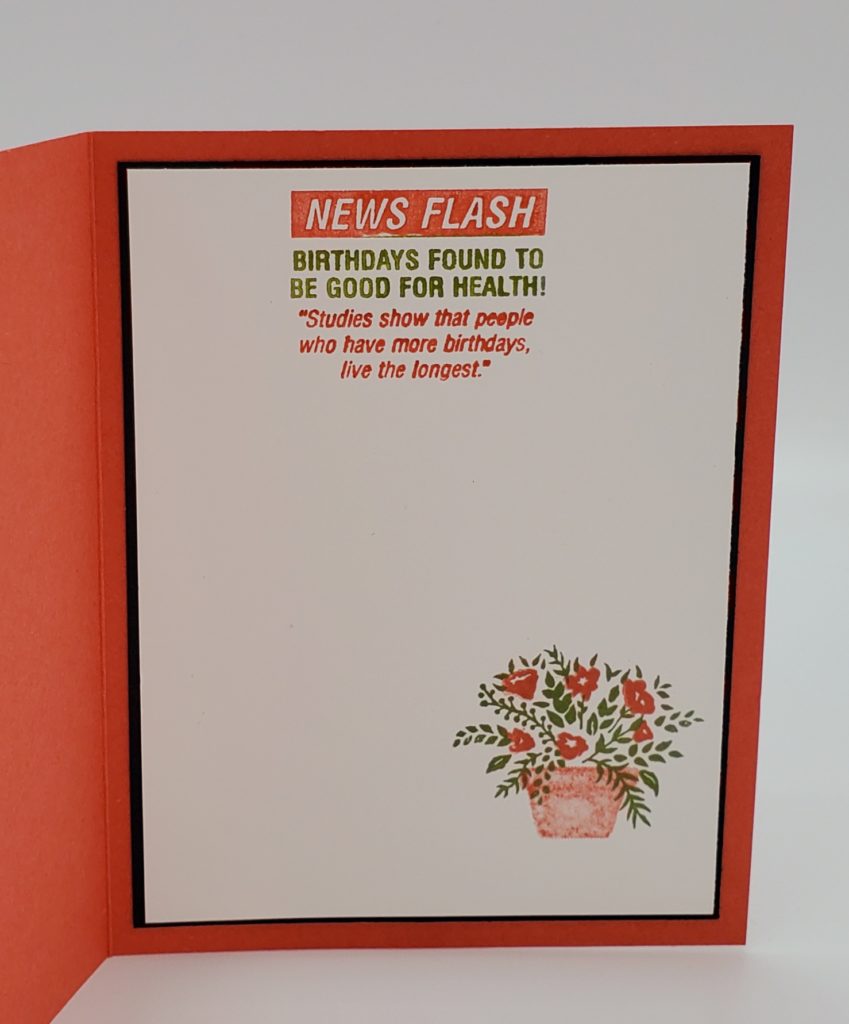
Stunning Welcoming Windows – card inside
Stunning Welcoming Windows – card 2
Welcoming Windows card 2 inside

Aren’t those so pretty!! Hence the reason I titled this Stunning Welcoming Windows! I LOVE the bricks and the window! Don’t you!?

As usual, here are the specifics for these cards:

  • Stamps:
  • Welcoming Window Bundle
  • Approaching Perfection
  • Inks:
  • Terracotta Tile
  • Old Olive
  • Basic Gray
  • Memento black
  • Markers:
  • Terracotta Tile
  • Old Olive
  • Stampin’ Write black marker
  • Paper:
  • Terracotta Tile: 8 1/2″ x 5 1/2″, 5″ x 3 3/4″ (x2) (card 1), 5 1/4″ x 4″ (x2) card 2
  • Basic Black 5 1/8″ x 3 7/8″ (x2), scrap for window card 1, 11″ x 5 1/2″ (card 2)
  • Basic Gray scrap for card 1
  • Basic White scraps for BOTH cards, 5″ x 3 3/4″ (x2 card 2), 5″ x 3 3/4″ (inside card 1)
  • Early Espresso scrap card 1
  • Vellum 2 3/8″ x 1 5/8″ (behind the window on card 1)
  • Misc:
  • Basic Rhinestones
  • Matte Black Dots
  • Dimensionals
  • MultiPurpose Liquid Glue

Again, all the product is listed above, but you can also see them in picture form below! Click on any of them to be taken to My OnLine Store! For purchases that qualify ($35 or more) you will get the class packet of the week (you will have a class packet for the 6 days following that video), so if you see something you want to remake on your own, place a Qualifying order and you will get that packet PLUS a PDF of 16 projects with pictures and step by step instruction! Here is a sneak peek of the PDF:
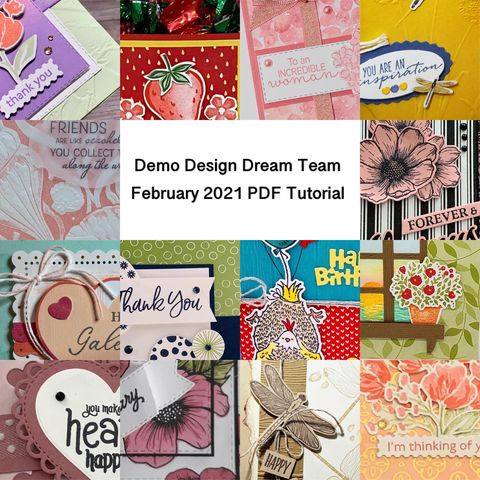
NEXT month you will get a different pdf!

Of course I always have a Pillow Gift to give you on top of the PDF and class packet! What am I giving away this week? Here ya go!
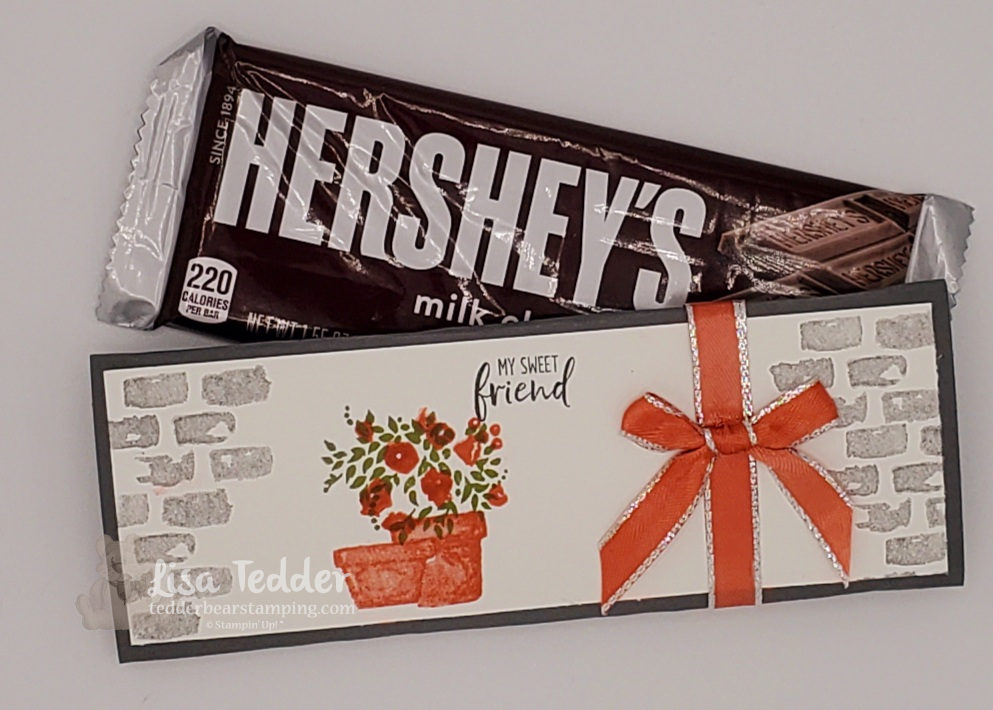
Your Pillow Gift for the next 6 days! YUM!!

Don’t you LOVE this Bundle?! The stunning Welcoming window set is so much fun to play with! I keep looking at card 1 and am so tickled that it is so pretty! And card 2 is a little out of my comfort zone, it has less layers, but I love it too! LOL I am challenged when it comes to doing things simply.

If you missed my announcement about my Stampin’ Bestie Club, be sure and check it out, you will LOVE it!!

Thank you for stopping by! I hope to ‘see’ you while doing my live videos! See you next week!

Lisa Tedder
A former California girl living in North Carolina

Product List

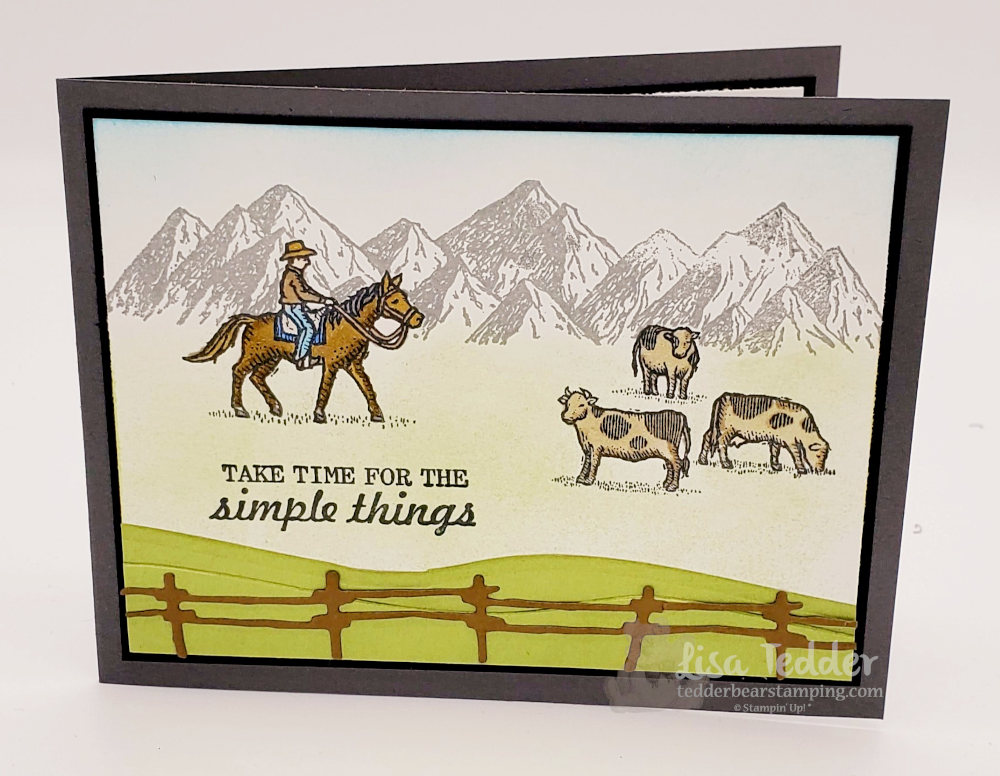
Ride the Range

Hey Guys!

Guess what today is…..it’s my YouTube Live day! For my stamps today I am going to use Stampin’ Up!’s Ride the Range and Mountain Air. I am always looking for something for a guy or a non girly girl. If you enjoy my cards I would love it if you would join me for one of my LIVE videos! Every time I do a Live if you are there with me, all you need to do is comment and you will be put in a drawing to win one of the cards I make! Of course, you can access all of my videos at my YouTube channel!

Lately, I make sure that not only do I make a video for my classes, but I also do a post giving all the measurements and links to what I used. If you missed my post from last week, you can catch it here!

Here is my first card:

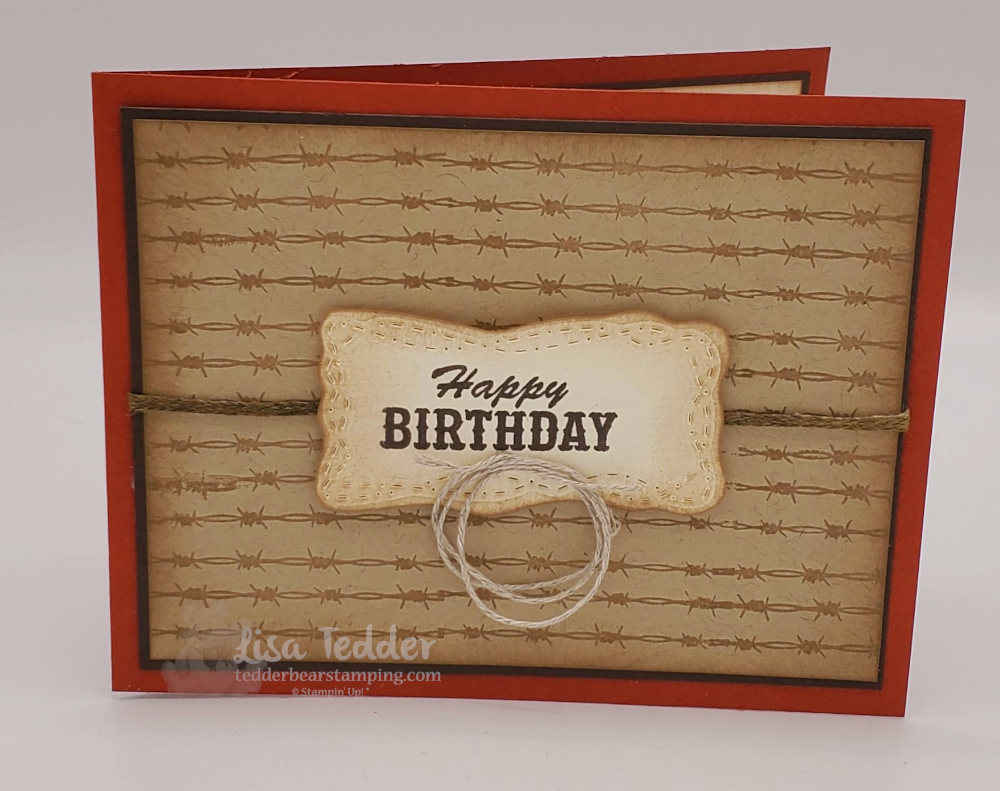
Ride the Range
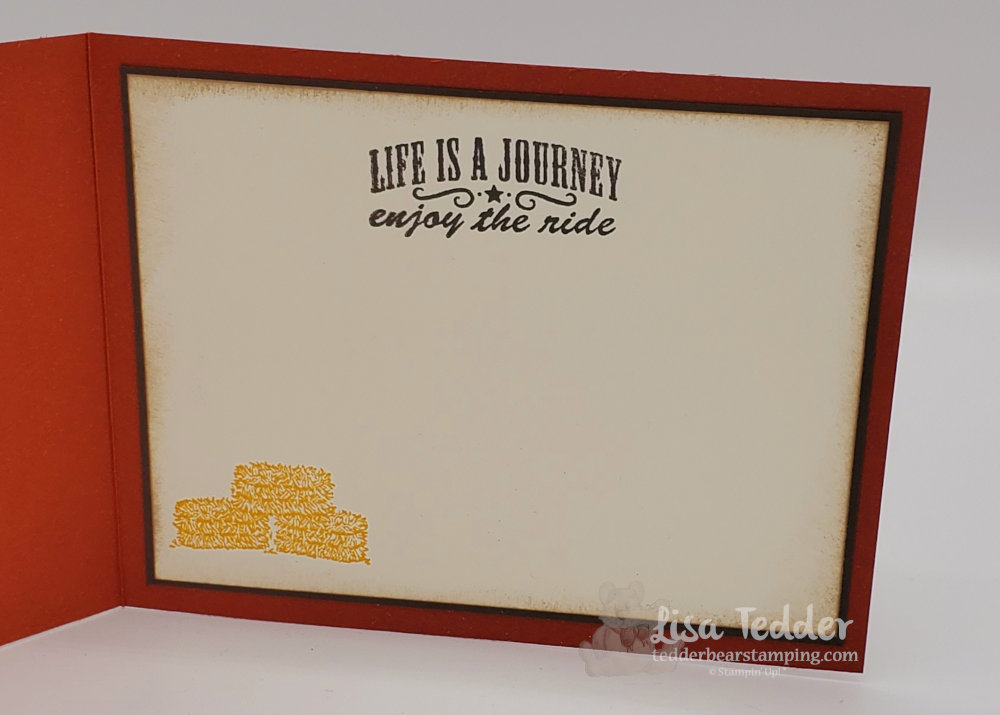
Ride the Range inside
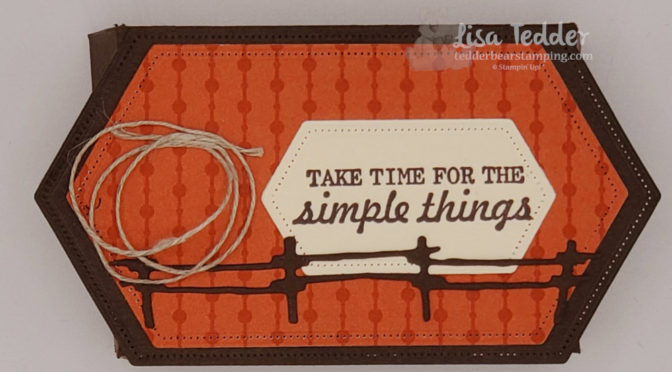
Ride the Range 2nd card
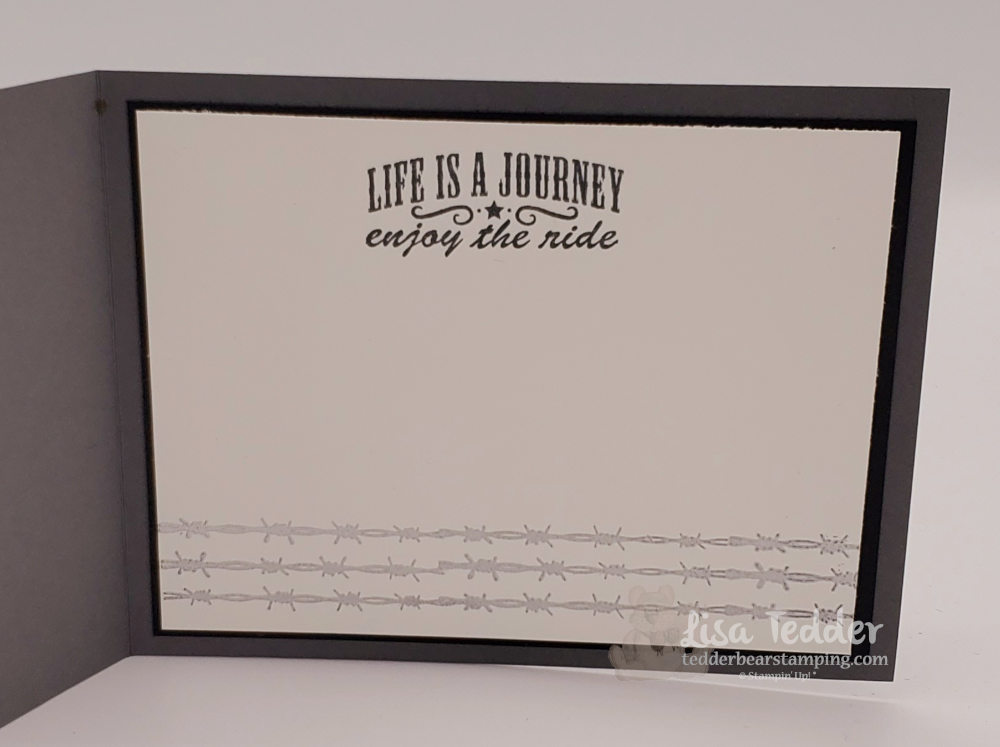
Ride the Range card 2 inside

As always, here are the specifics for these cards:

  • Stamps:
  • Ride the Range
  • Mountain Air
  • Inks:
  • Early Espresso
  • Memento Black
  • Crumb Cake
  • Crushed Curry
  • Balmy Blue
  • Smoky Slate
  • Pear Pizzazz for sponging
  • Versamark
  • Blends:
  • Soft Suede
  • Balmy Blue
  • Crumb Cake
  • Smoky Slate
  • Cinnamon Cider
  • Paper:
  • Cajun Craze 11″ x 4 1/4″, scored @ 5 1/2″
  • Early Espresso 5 1/8″ x 3 7/8″ (x2)
  • Crumb Cake 5″ x 3 3/4″
  • Very Vanilla 5″ x 3 3/4″, scrap for sentiment
  • Basic Gray 11″ x 4 1/4″ scored @ 5 1/2″
  • Basic Black 5 1/8″ x 3 7/8″ (x2)
  • Basic White 5″ x 3 3/4″ (x2)
  • Soft Suede scrap for fence
  • Pear Pizzazz scrap for grass
  • Misc:
  • Linen Thread
  • Braided Linen Thread
  • Stamping Sponges
  • Dimensionals
  • Stitched with Whimsy
  • Paper snips
  • Liquid Glue

Again, I will let you know that everything listed above will be in picture form below, click on any of them to be taken to my OnLine Store. I would love to have you choose my small business to buy your stamping supplies. For every $35 or more you will earn a PDF that has 16 projects with pictures! Below you can get a sneak peek of the projects. But, that isn’t all you get for supporting me, I will send you the ‘fixin’s’ for these cards if you order before Wed of the following week, you will need to spend $35 or more for that too, but you will get BOTH for the $35!

EVERY Thursday I am Live on YouTube showing you another class for certain stamp sets, that you can earn that week’s card class fixin’s. If you would like to see a stamp set used, send me an email or post your comment here and I will try and do that for you!!

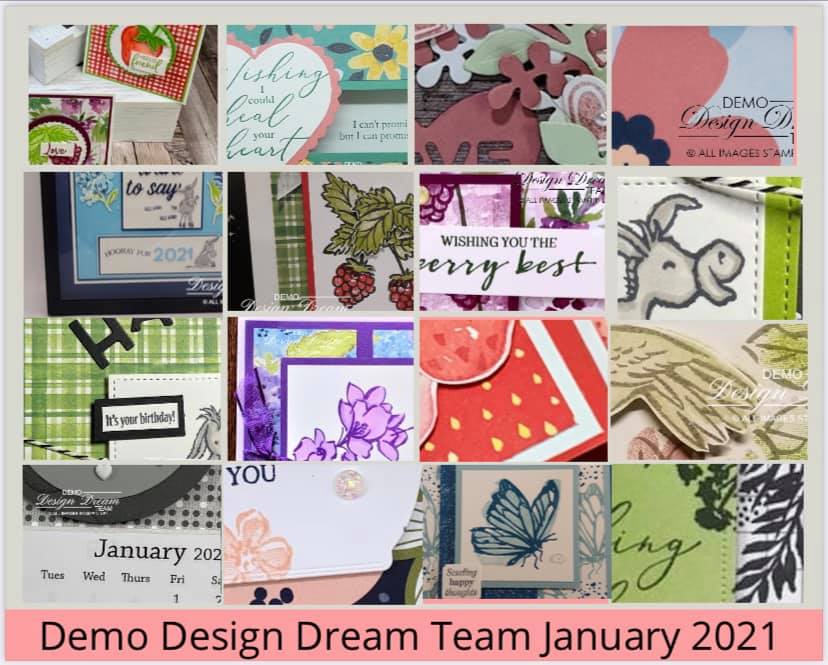
Sneak Peek of the PDF projects
Your Pillow Gift for placing a Qualifying order!
Num!! Chocolate!

If you need to see how I made the cards, be sure and check out my video!!

Thank you so much for stopping by!! Please come back!

Lisa Tedder
A former California girl living in North Carolina

Product List
How much fun can one card be!?

Hey Guys!

The card I am showing you today is so much fun to make! Have you ever said: How much fun can one card be!? This stamp set (Ornamental Envelopes) has SO MANY ways to use it! Versatile is just ONE way to describe it! This set has ornaments, corner pieces, dies that let you decorate your envelope, and so much more! For today I am showing off the wreath I made. You can watch my video here to see how I did it.

One card = Too much fun!

By the way, I also shared on my video how to use the Stamparatus to get your stamps straight! Don’t you hate it when you finish a card and go to stamp the sentiment and it is crooked! Then you have to get creative to cover it up or start over! Well, I show you how to never deal with that again!

As always here is the list of things I used to make this card:

  • Stamps
  • Ornamental Envelopes
  • For Unto Us (inside greeting)
  • Here’s a card (front sentiment)
  • Inks
  • Soft Suede
  • Versamark
  • Paper
  • Garden Green 8 1/2″ x 5 1/2″ scored at 4 1/4″
  • Early Espresso 5 1/4″ x 4″ (x2), 3 1/2″ sq.
  • Poinsettia Place Designer Series Paper (DSP) 5 1/8″ x 3 7/8″
  • Whisper White 5 1/8″ x 3 7/8″ (inside), 3 3/8″ sq. (for under wreath), scrap
  • Soft Suede 3 1/4″ sq.
  • Misc.
  • 1/4″ Faux Suede Trim – Early Espresso
  • Dimensionals
  • Elegant Faceted Gems
  • Stamping sponges
  • White Embossing powder
  • Heat tool
  • Stampin’ Seal +

As you saw (hopefully) last week, I love using Make-up brushes to blend in my colors, check out the blog post if you missed it.

Below you will see the same supplies listed above in picture form, if you click on any of them you will be taken to my OnLine Store! Did you know, that I have started doing YouTube Lives?! AND if you purchase $35 from me using this Hostess Code (RTCTACK) between now and Tuesday the 6th of October you will get my Mini Class packet supplies! I will mail out the packets on Thursday the 7th! Check out my Live, but be prepared it was my FIRST and I can only do better, Thank the Lord!! LOL PLUS a pillow gift!! Now, I feel like a tv announcer……BUT that’s not all!! You will also get a pdf of SIXTEEN projects with step by step instructions! Here is a sneak peek:

Sneak peek!!

Thank you for stopping by!! I really appreciate it! Please leave a comment, subscribe to my Newsletter/blog/YouTube channel!! Or all of them! LOL

Come back next week when I have my next video/blog post!

Lisa Tedder
A California girl living in North Carolina

Product List


Olde Tyme Christmas

Hey Guys!

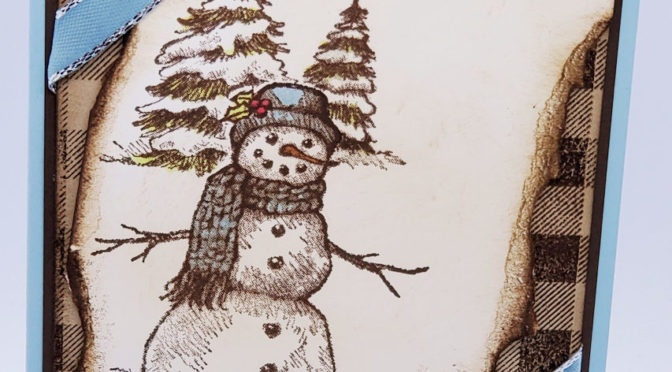
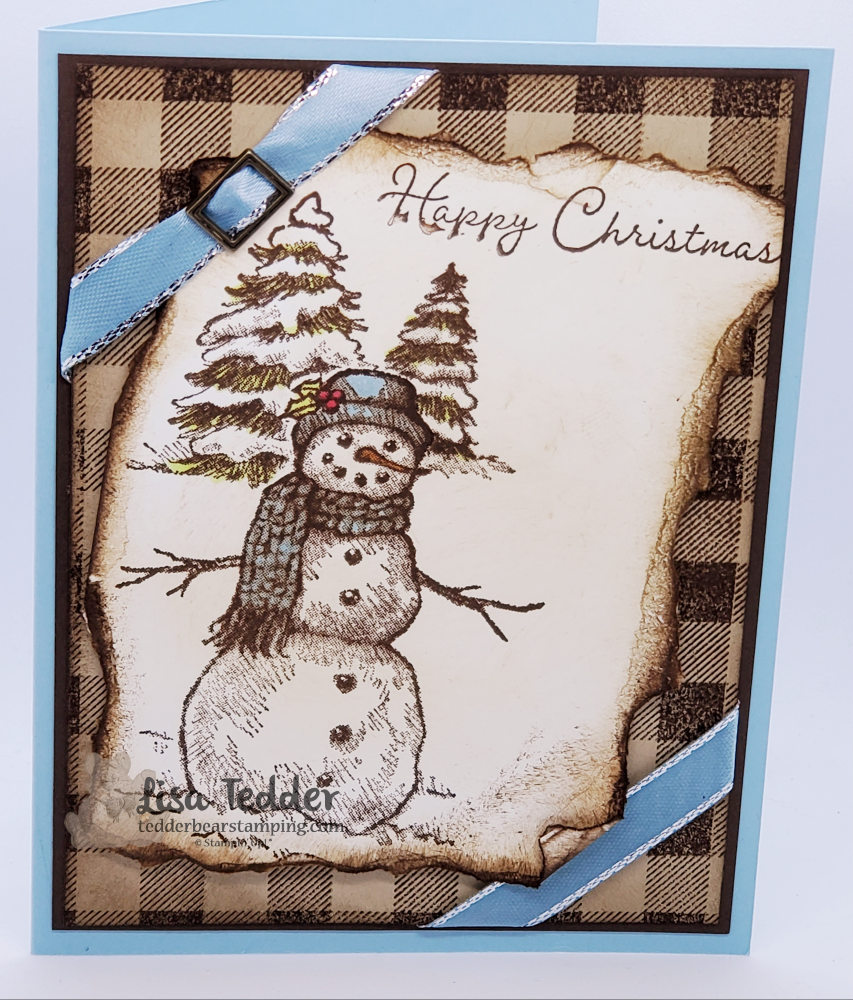
Easy and Fun Olde Tyme Christmas Card to wow your friends and family! Stamping, tearing & sponging is all it takes to make this beautiful card!

Today I am sharing with you an Olde Tyme Christmas Card! This handmade card uses the NEW stamp set from Stampin’ Up! called Snow Wonder. This will wow your friends and family! First, when stamped the image has a lot of hash marks and that, to me, looks like it is an Old Fashioned drawing. Second I tried to emboss it with white and see what it looked like…..not so great! The hash marks made it all bunch up and it had no definition.

As a result, I then tried it in Early Espresso and WOW that looked so good! Colored the carrot, hat and scarf with my Stampin’ Blends, using light colors. As long as I used light colors it didn’t take away from the Olde Tyme Christmas look. Since I was making it look older I tore the paper (after stamping everything else) and sponged Early Espresso on the edges!

EAsy and Fun Olde Tyme Christmas Card
Easy and fun Olde Tyme Christmas Card

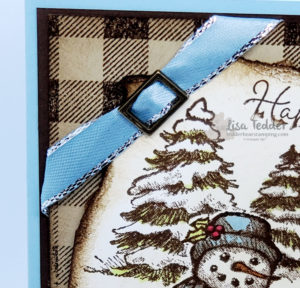
Since I colored the scarf with Bashful Blue, I thought pulling in that color would be pretty on the ribbon in the corners. So, I colored the ribbon with a Bashful Blue Dark Blend, popped up the image on a piece I stamped with Buffalo Check and wrapped it on the corners. In the same vein, did you notice that I used an antique slide on the ribbon at the top?! I think that added a more Olde Tyme feel to it! To sum up, for the base I used more of the Bashful Blue to pull it all together! What do you think?

For those that REALLY love That Olde Tyme Christmas look here is another one that I had done in the past, click here to see it. Likewise, here is another one that is on YouTube! Love this card check it out!

Here are the specifics for this card:

Stamps:
Snow Wonder
Buffalo Check
Ink:
Early Espresso
Crumb Cake
Blends: Granny Apple Green (on the leaves on the hat & on trees), Real Red Dk for the berries in the hat & Balmy Blue on the hat/scarf, Pumpkin Pie dk for nose
Paper:
Balmy Blue 8 1/2″ x 5 1/2″
Early Espresso 5 1/4″ x 4″
Crumb Cake 3 7/8″ x 5 1/8″
Whisper White 4″ x 5 1/4″ then tear around image
Misc:
Antiqued corners & slides elements
3/8″ Metallic edged Ribbon (colored with Balmy Blue Blend)
Dimensionals

As always, the items listed above will be in picture form below. Click on any of them and you will be taken to my OnLine Store so you can purchase what you need to replicate this card! First, If you purchase from me you will receive from me a pdf with 16 projects that includes pictures and step by step instructions! Second, this is my Thank You for working with me in my business! Here is a sneak peek:

pdf tutorials for $35 purchase in my Online Store

I hope you enjoyed this Olde Tyme Christmas! Please leave a comment below to let me know what you think! Also, subscribe to my blog and my Newsletter so you won’t miss any updates from me!

Lisa Tedder
A California girl living in North Carolina

Product List

Keep opening until Reveal!

Hey Guys!

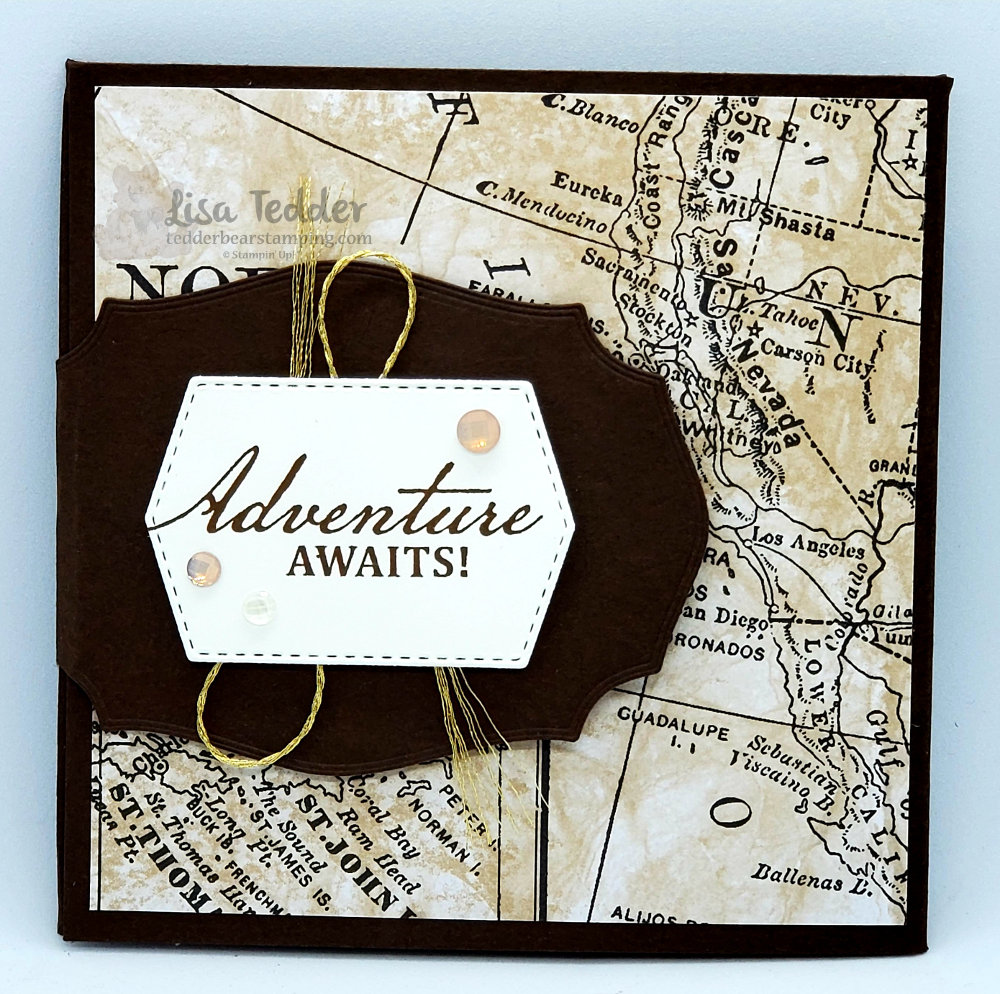
We do the best we can. How are you holding up? I am working on it, I am doing videos every week, and there is one for this card! You can go to YouTube and check it out! Having ups and downs are normal right? Being a normally happy person, I try very hard to not let the World get me down. Making this card made my very happy! I even had my friend over and we made it together! This card is fun because it has a lot to see, you open it and keep on opening for the final reveal!

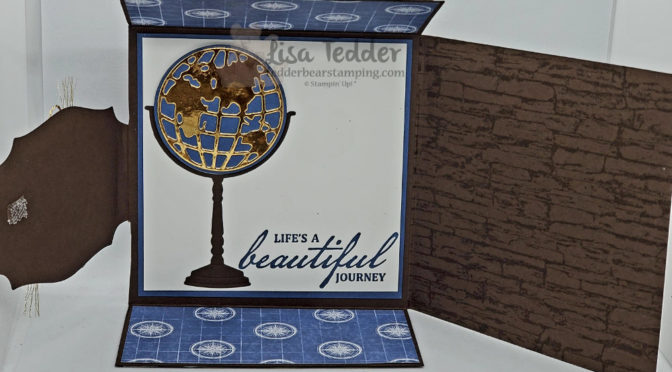
Triple Fold card closed
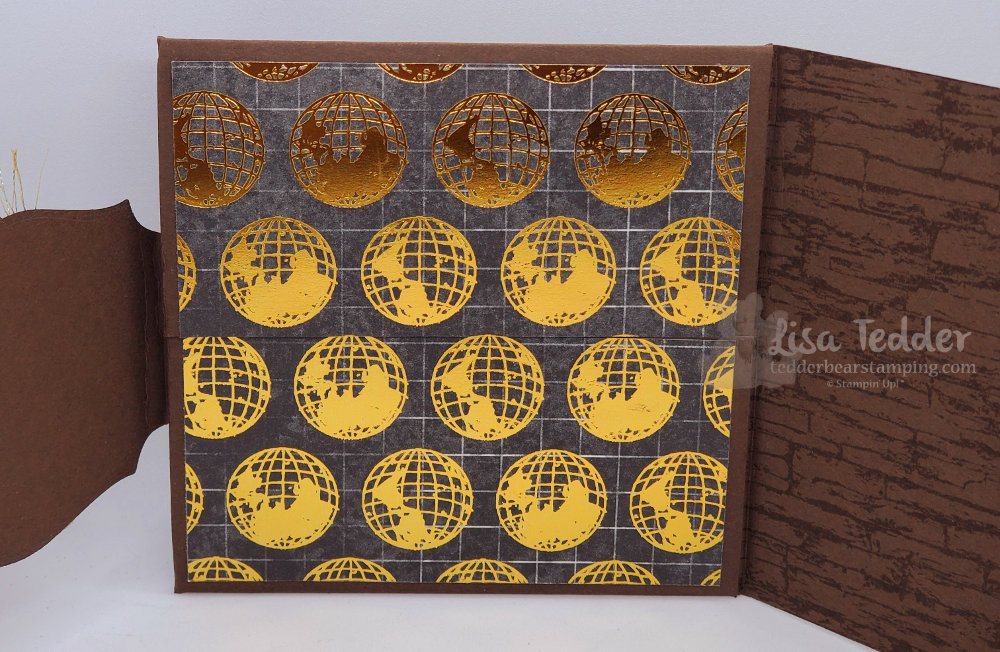
One flap back, see how I had these two pieces of DSP meet in the middle?
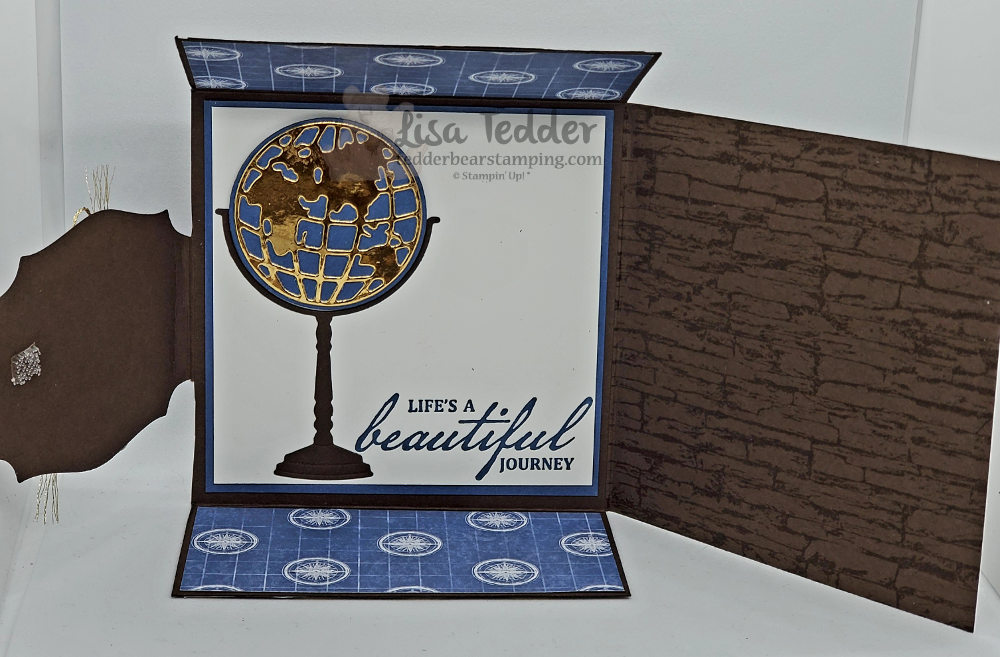
Triple Fold all the way open!

The Dies for this Suite are really fun! The World Globe can be wherever you live! And cutting it out of Brass Foil is the best! The Brass Foil is so pretty, it seems like it is brighter and deeper in color than the Gold Foil. Don’t get me wrong I still love the Gold Foil but this one is a keeper for sure!

Here are the specifics for this card:

Stamps:
Beautiful World Bundle
Stacked Stones

Inks:
Early Espresso
Misty Moonlight

Paper:
Early Espresso 12″ x 12″, scraps for globe stand….scored @ 2″, 4″, 8″ & 10…..then turn score @ 4″ & 8″ cut away four corners and one from each side flap (see video)
Misty Moonlight 3 3/4″ sq., scrap for behind globe
Whisper White 3 5/8″ sq, scrap for sentiment
World of Good Specialty DSP 3 3/4″ x 1 7/8″ (x2) for inside & outside flaps,
3 3/4″ sq for outside flap.
Brass Foil

Misc:
Die Cutting Machine
Forever Greenery Trim Combo Pack
Dimensionals
Tasteful Touches Dies
Elegant Faceted Gems
Dual Lock from 3M

Below you will see these same supplies listed in picture form. Click on anyone of them to be taken to my OnLine Store! For any purchase over $35.00 you will receive from me a Tutorial for 16 cards! This tutorial has step by step instructions + pictures! Here is a sneak peek:

PDF included with all orders above $35!

For the July I will be sending you 3D tutorials you can make! You won’t want to miss it! If you live in the USA and are needing a Demonstrator with Stampin’ Up!, let me know what I can do to help you! I love helping people be creative!

Thanks for stopping by! Please leave a comment and let me know what you think! See you again soon!

Lisa Tedder
A California girl living in North Carolina

Product List

A 1 1/2″ x 3/4″ stamp made this background?!

Hey Guys!

Who doesn’t love a Technique!?

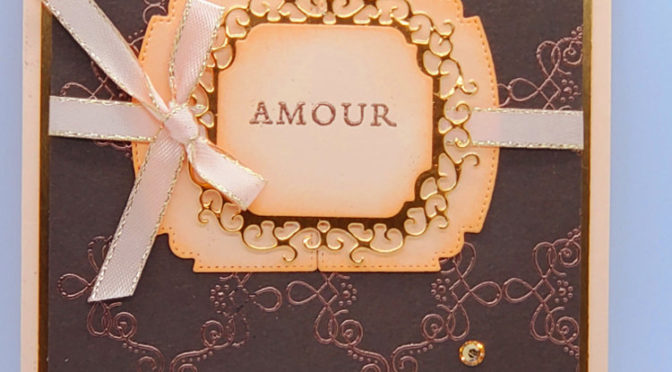
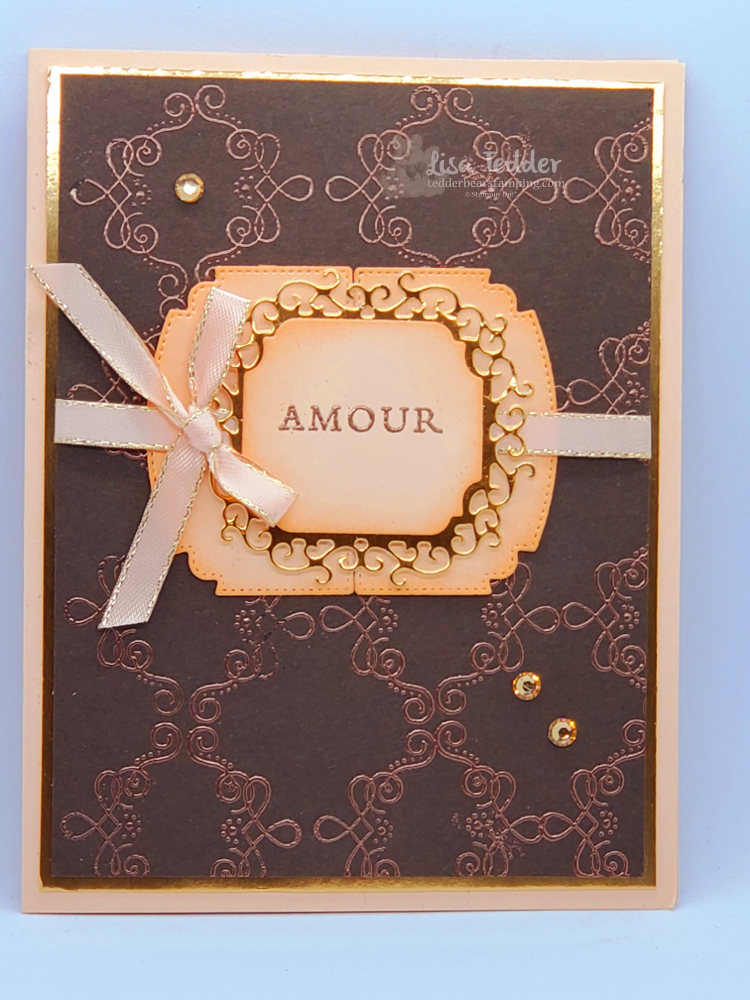
Today I am sharing with you a card I made that uses a teeny tiny stamp to make a background that is really amazing! Moreover, it is embossed with Copper to make it REALLY stand out! I love this technique, I hope you like it as much as I do!

You’ll have to watch video to see how, it’s too hard to describe otherwise!

Didn’t it come together well? As I said, techniques have always inspired me and helped to make my stamping even more fun! Look through your stamps and see if any image has this basic shape and see what you come up with! If you didn’t catch this technique, go check it out!

As usual, here are the specifics for this card:

Stamps:
Parisian Beauty
Ornate Style

Inks:
Versamark
Petal Pink

Paper:
Petal Pink 8 1/2″ x 5 1/2, 5″ x 3 3/4″ (inside), scraps for dies
Early Espresso 5 1/8″ x 3 7/8″ (x2)
Copper Foil 5 1/4″ x 4″ (x2) cut inside out for dies
White scrap for underneath dies (see video)

Misc:
Champagne Rhinestones
Petal Pink 1/4″ metallic edged ribbon
Copper embossing powder
Embossing buddy
Stamping sponges
Heat tool
Dimensionals
Ornate Frames dies

Also, you will find the supplies listed below in picture form. Click on any picture and you will be taken to my OnLine Store. If you purchase $35 or more you will receive two sets of tutorials containing 50 +/- with step by step instructions! Here is a sneak peek of one:

Step by Step tutorial for these projects + 35 more for a purchase of $35!

I hope you are staying safe during this trying time in our world! I am stamping and creating away to bring happiness to my little world and hopefully yours!!

Stay tuned and please visit again!

Lisa Tedder
A California Girl living in North Carolina

Product List

Who doesn’t love a Palm Tree!?

Hey Guys,

First off, I want to thank you for sticking with me. I haven’t always been consistent with my blogging, but I HAVE been consistent with my classes. If you would like to do any of my classes let me know, I love to make cards and decorations and would love to have you join me!

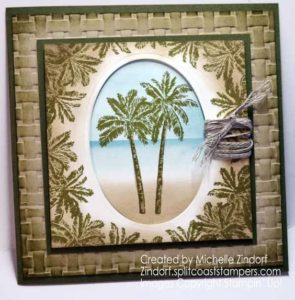
Second, the card I am going to show you today is one that I somewhat cased (which means that I saw a card, loved it but changed it up just a little), this one was inspired by Michele Zindorf. She is very awesome but not everyone can do what she does, so I try to bring it down to what I would hope with some guidance anyone can do! Here is her card:

My card is one that fits in a regular envelope, that was my main objective……make this card, but have it fit into an envelope I have.

What I love about her card is that you really get to see the basket weave background, since I had to make mine smaller you get a hint of that!

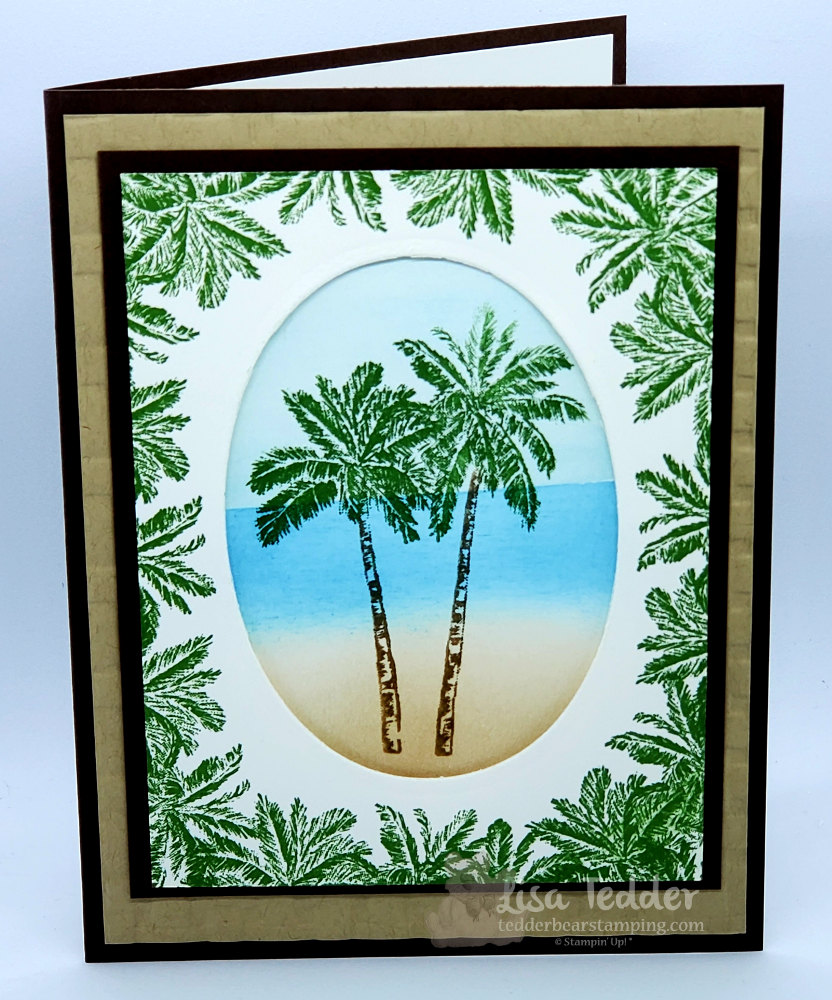
Here is my card:

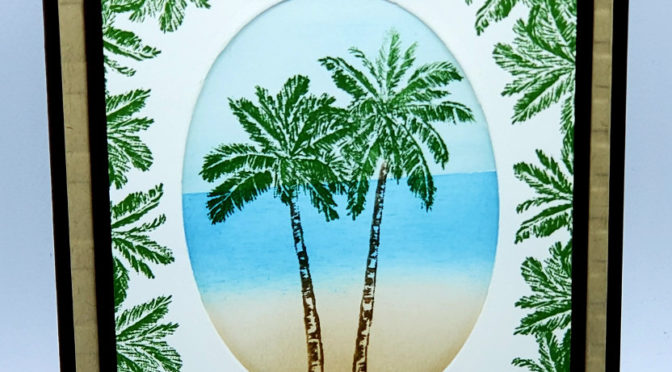
Not sure if I have told you this in the past, but my husband has a virtual tropical paradise in our yards, here in North Carolina! I grew up in SoCal, we and go to Disney World all the time and we both love how tropical it is. So, of course I naturally gravitate towards tropical stamps…..this one REALLY called to me! I hope you love how this came out as much as I do!

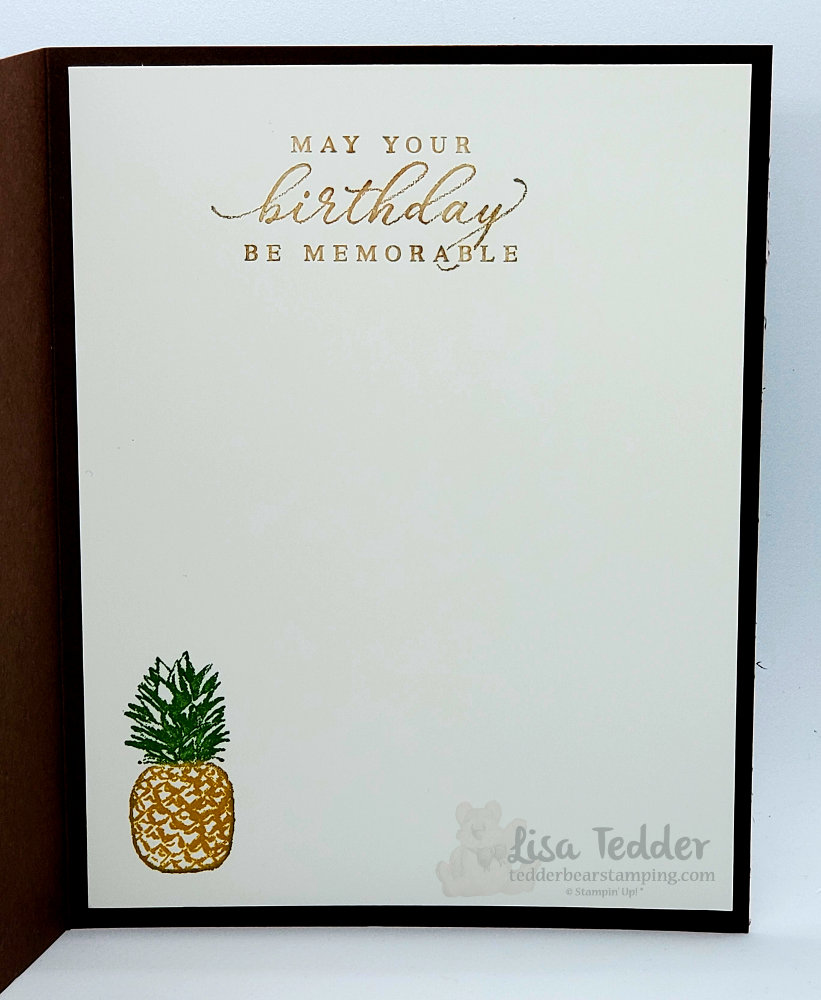
Here is the inside of this card:

Now, here is the specifics for this card:

Stamps:
Timeless Tropical

Inks:
Garden Green (marker and pad)
Balmy Blue
Soft Suede (marker and ink pad)
Pacific Point
Crushed Curry (marker)

Paper:
Early Espresso 8 1/2″ x 5 1/2″, 3 5/8″ x 4 3/4″
Crumb Cake 5 1/4″ x 4″
Whisper White 3 1/2″ x 4 1/2″ (x2), 5 1/4″ x 4″ (for inside card)

Misc:
Layering Ovals (3 1/4″)
sponges
Dimensionals
Basket Weave 3D folder

Below you will see pictures of all the supplies that I used, click on any of them to be taken to my Online Store. I am a Demonstrator with Stampin’ Up! in the US, if you are in need of a demo, I would love to be yours! If you purchase from me, I will send you a handmade card PLUS I will send you a file FULL of tutorials (at the least there will be 35! more than likely more!)

I hope you enjoyed your visit today! Please come back to see me!

Lisa Tedder
A California girl living in North Carolina

Product List