
Hey Guys!
Who doesn’t love a Technique!?
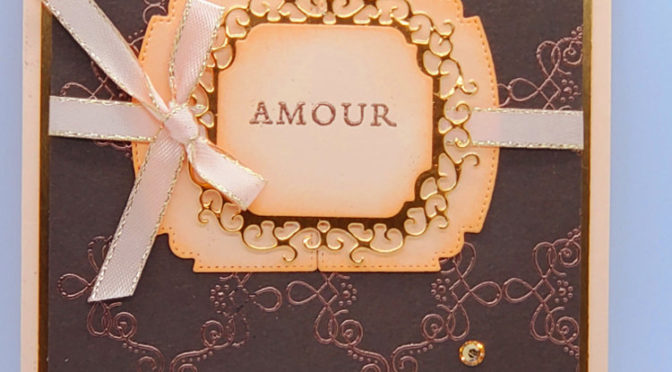
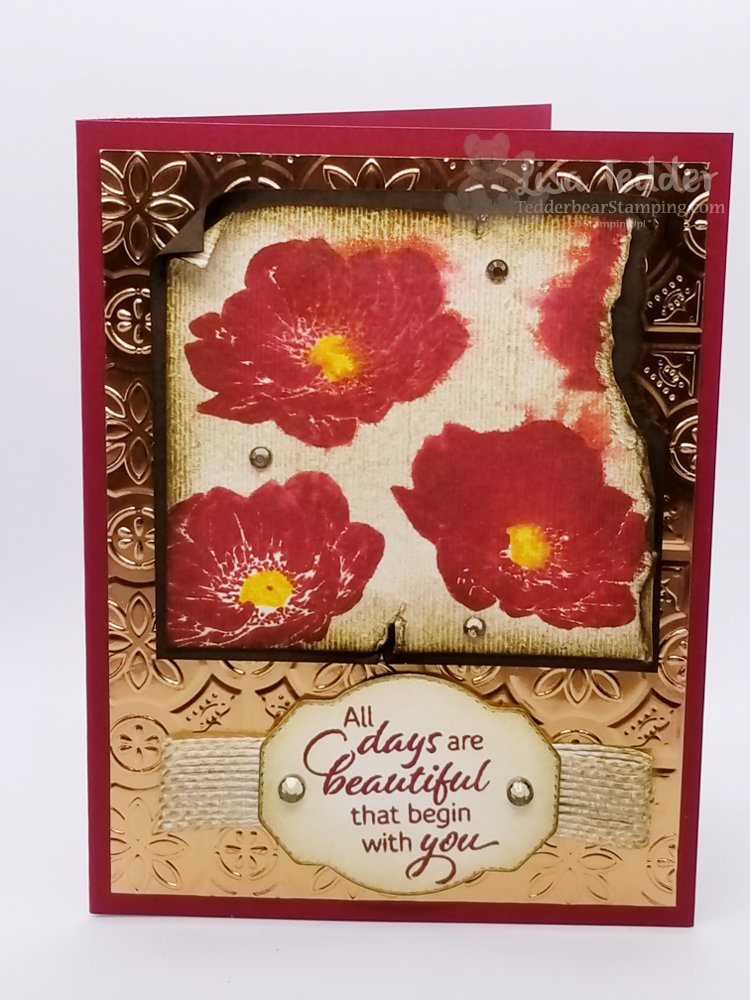
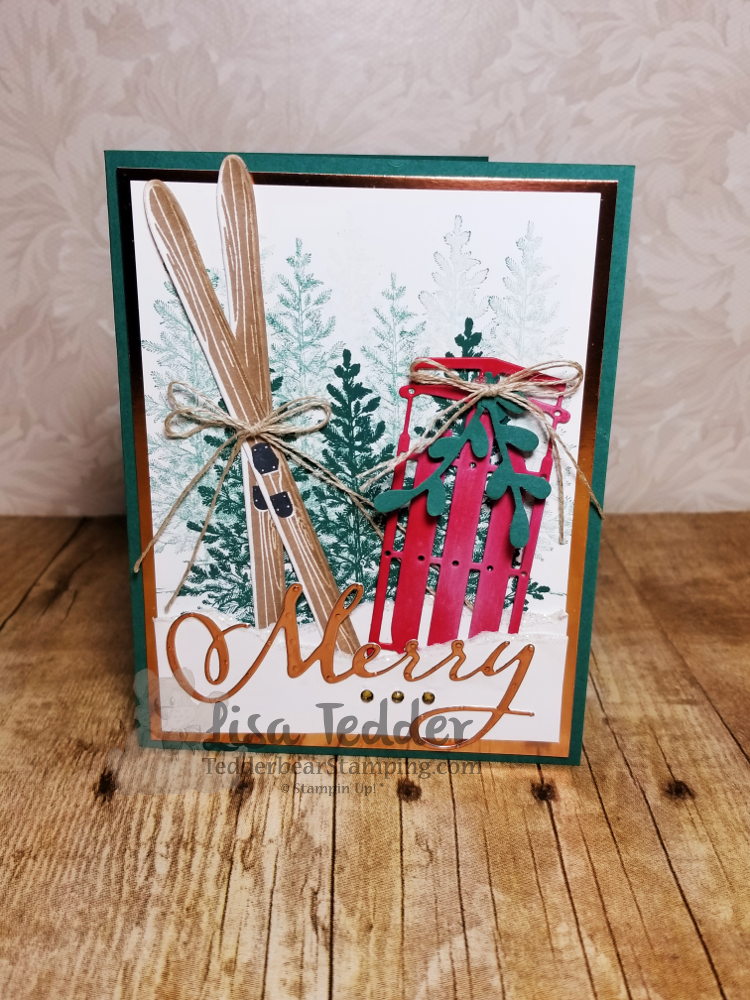
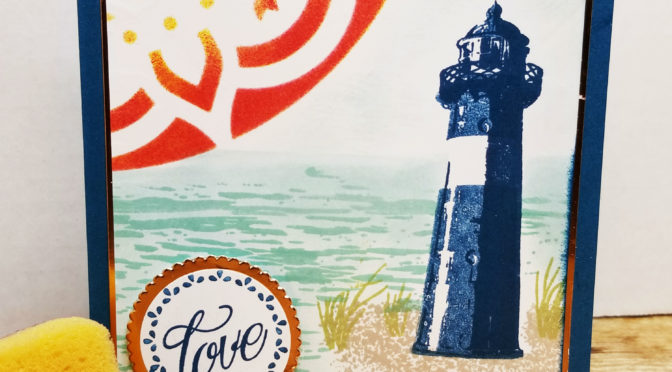
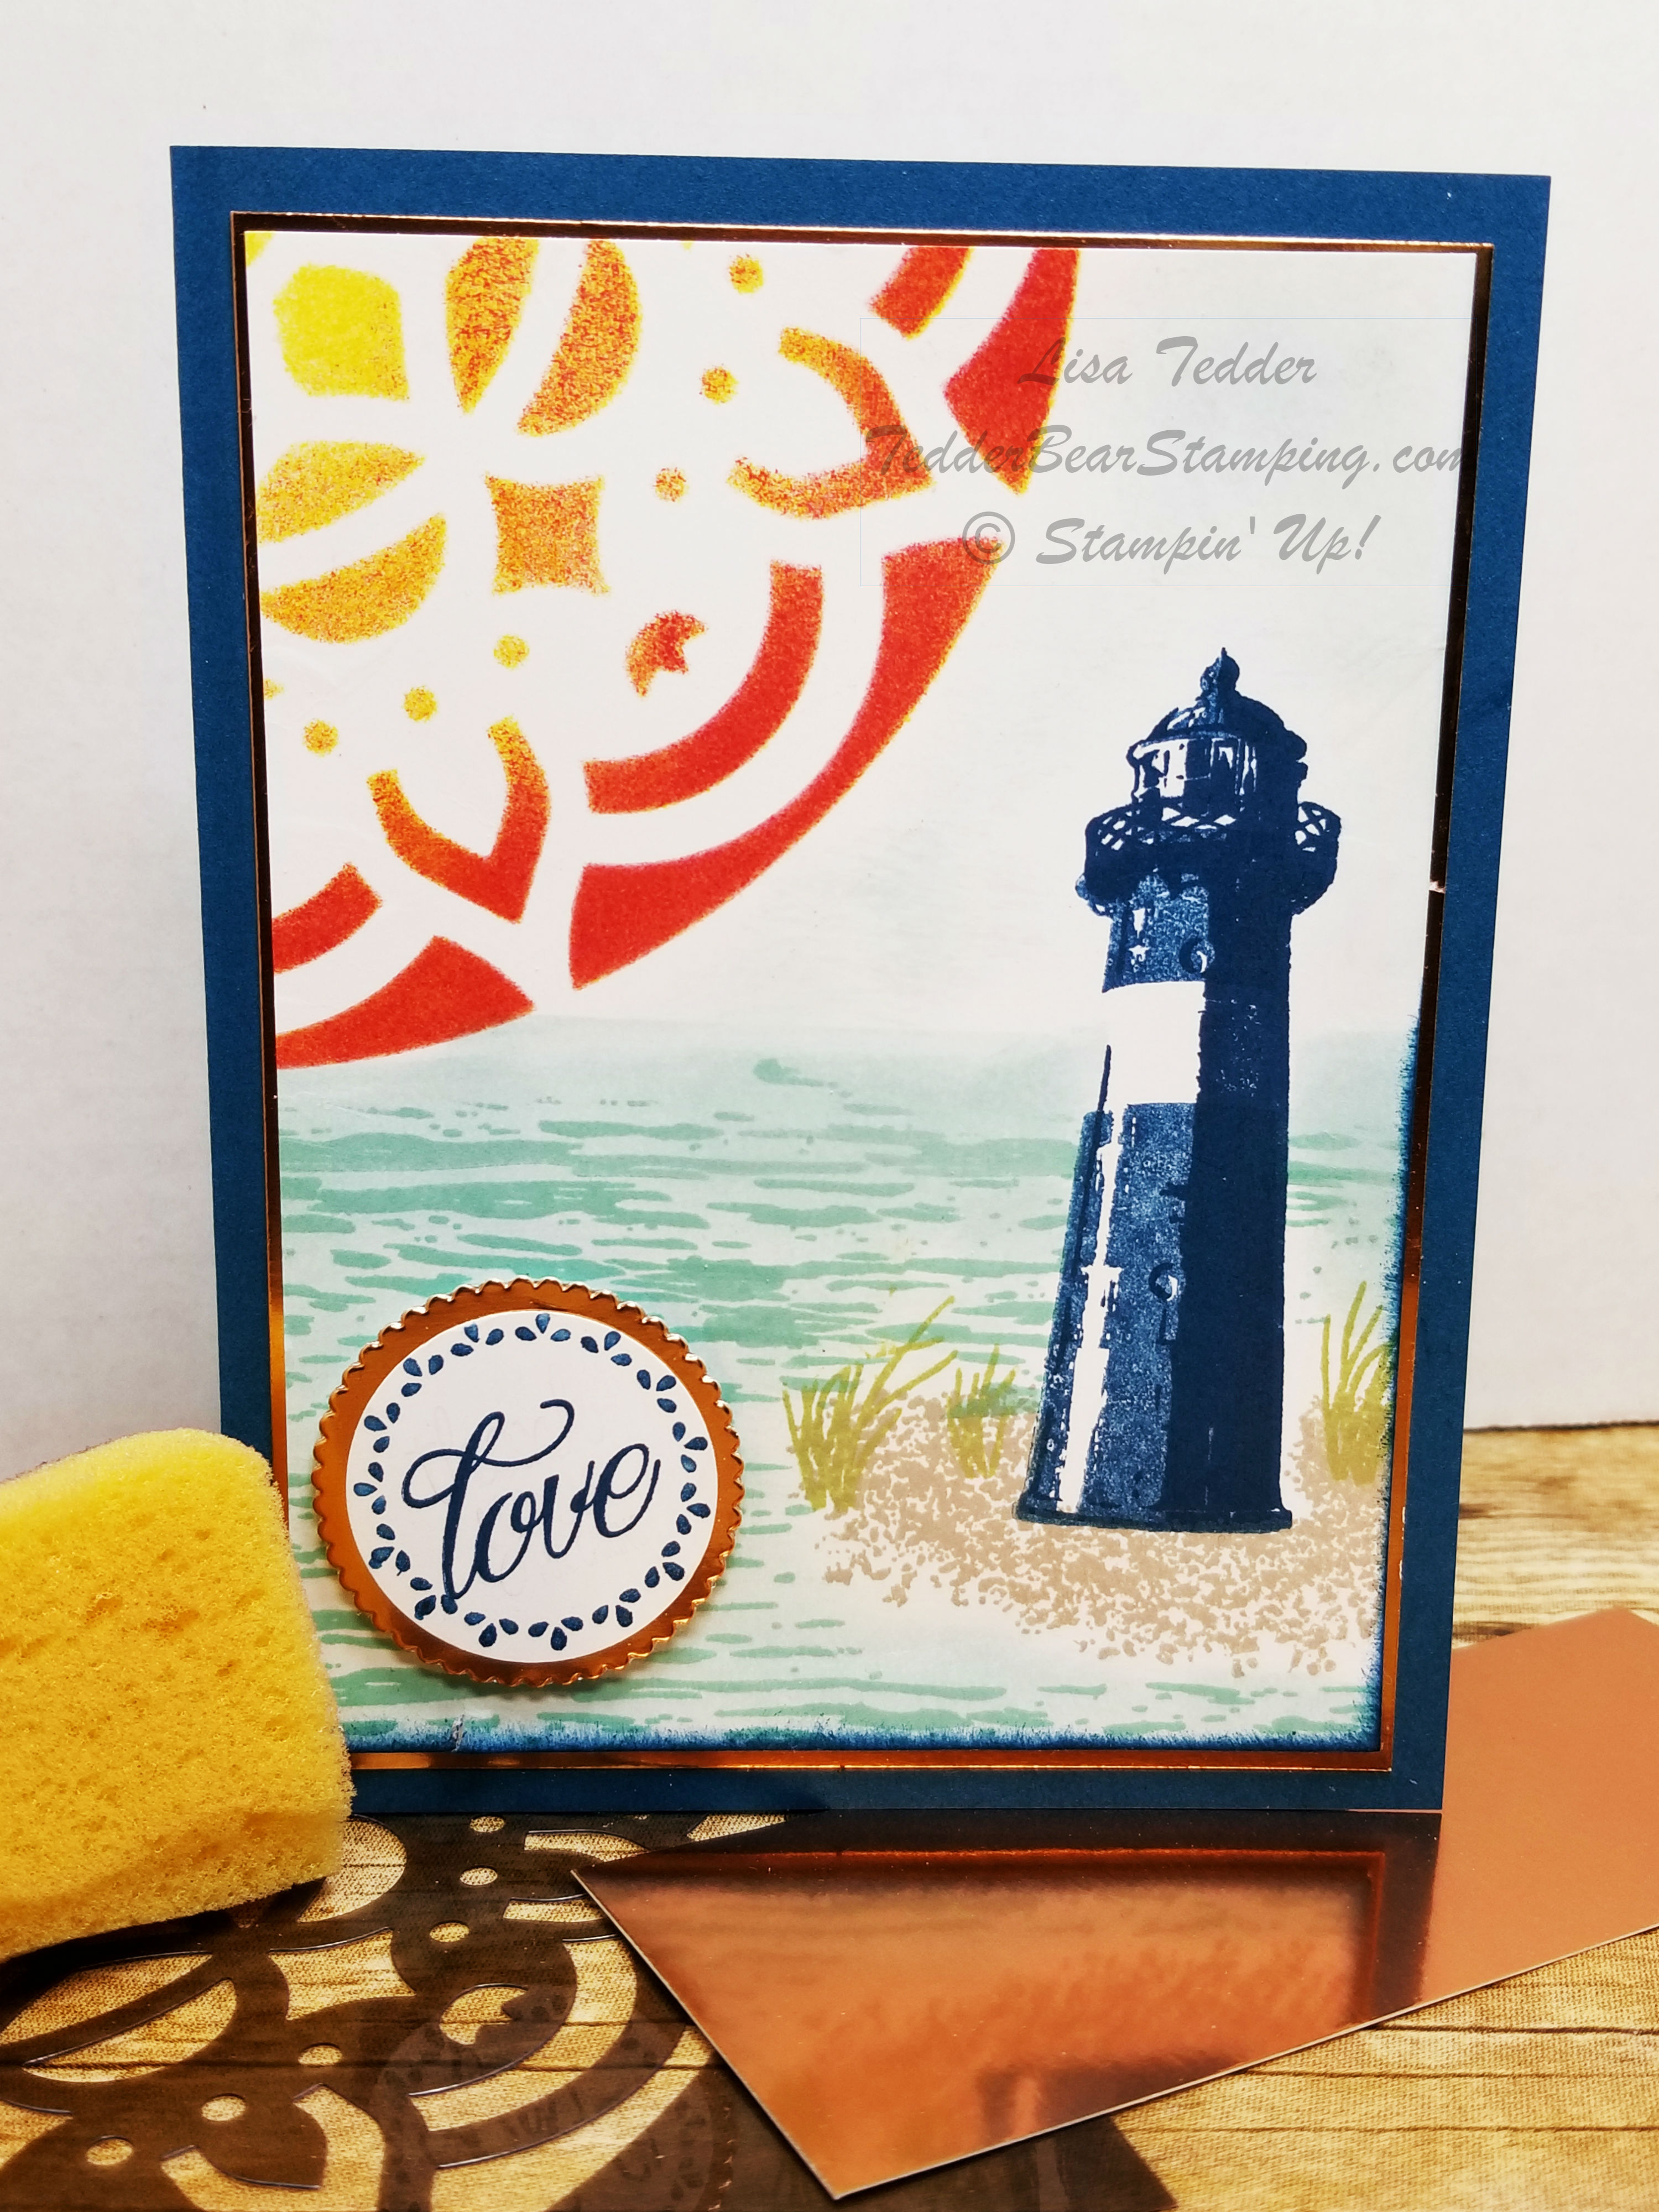
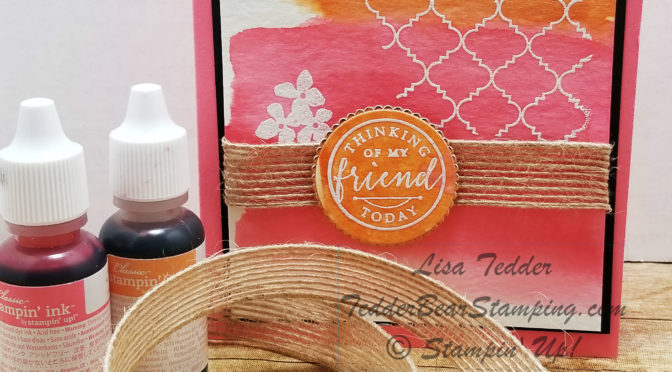
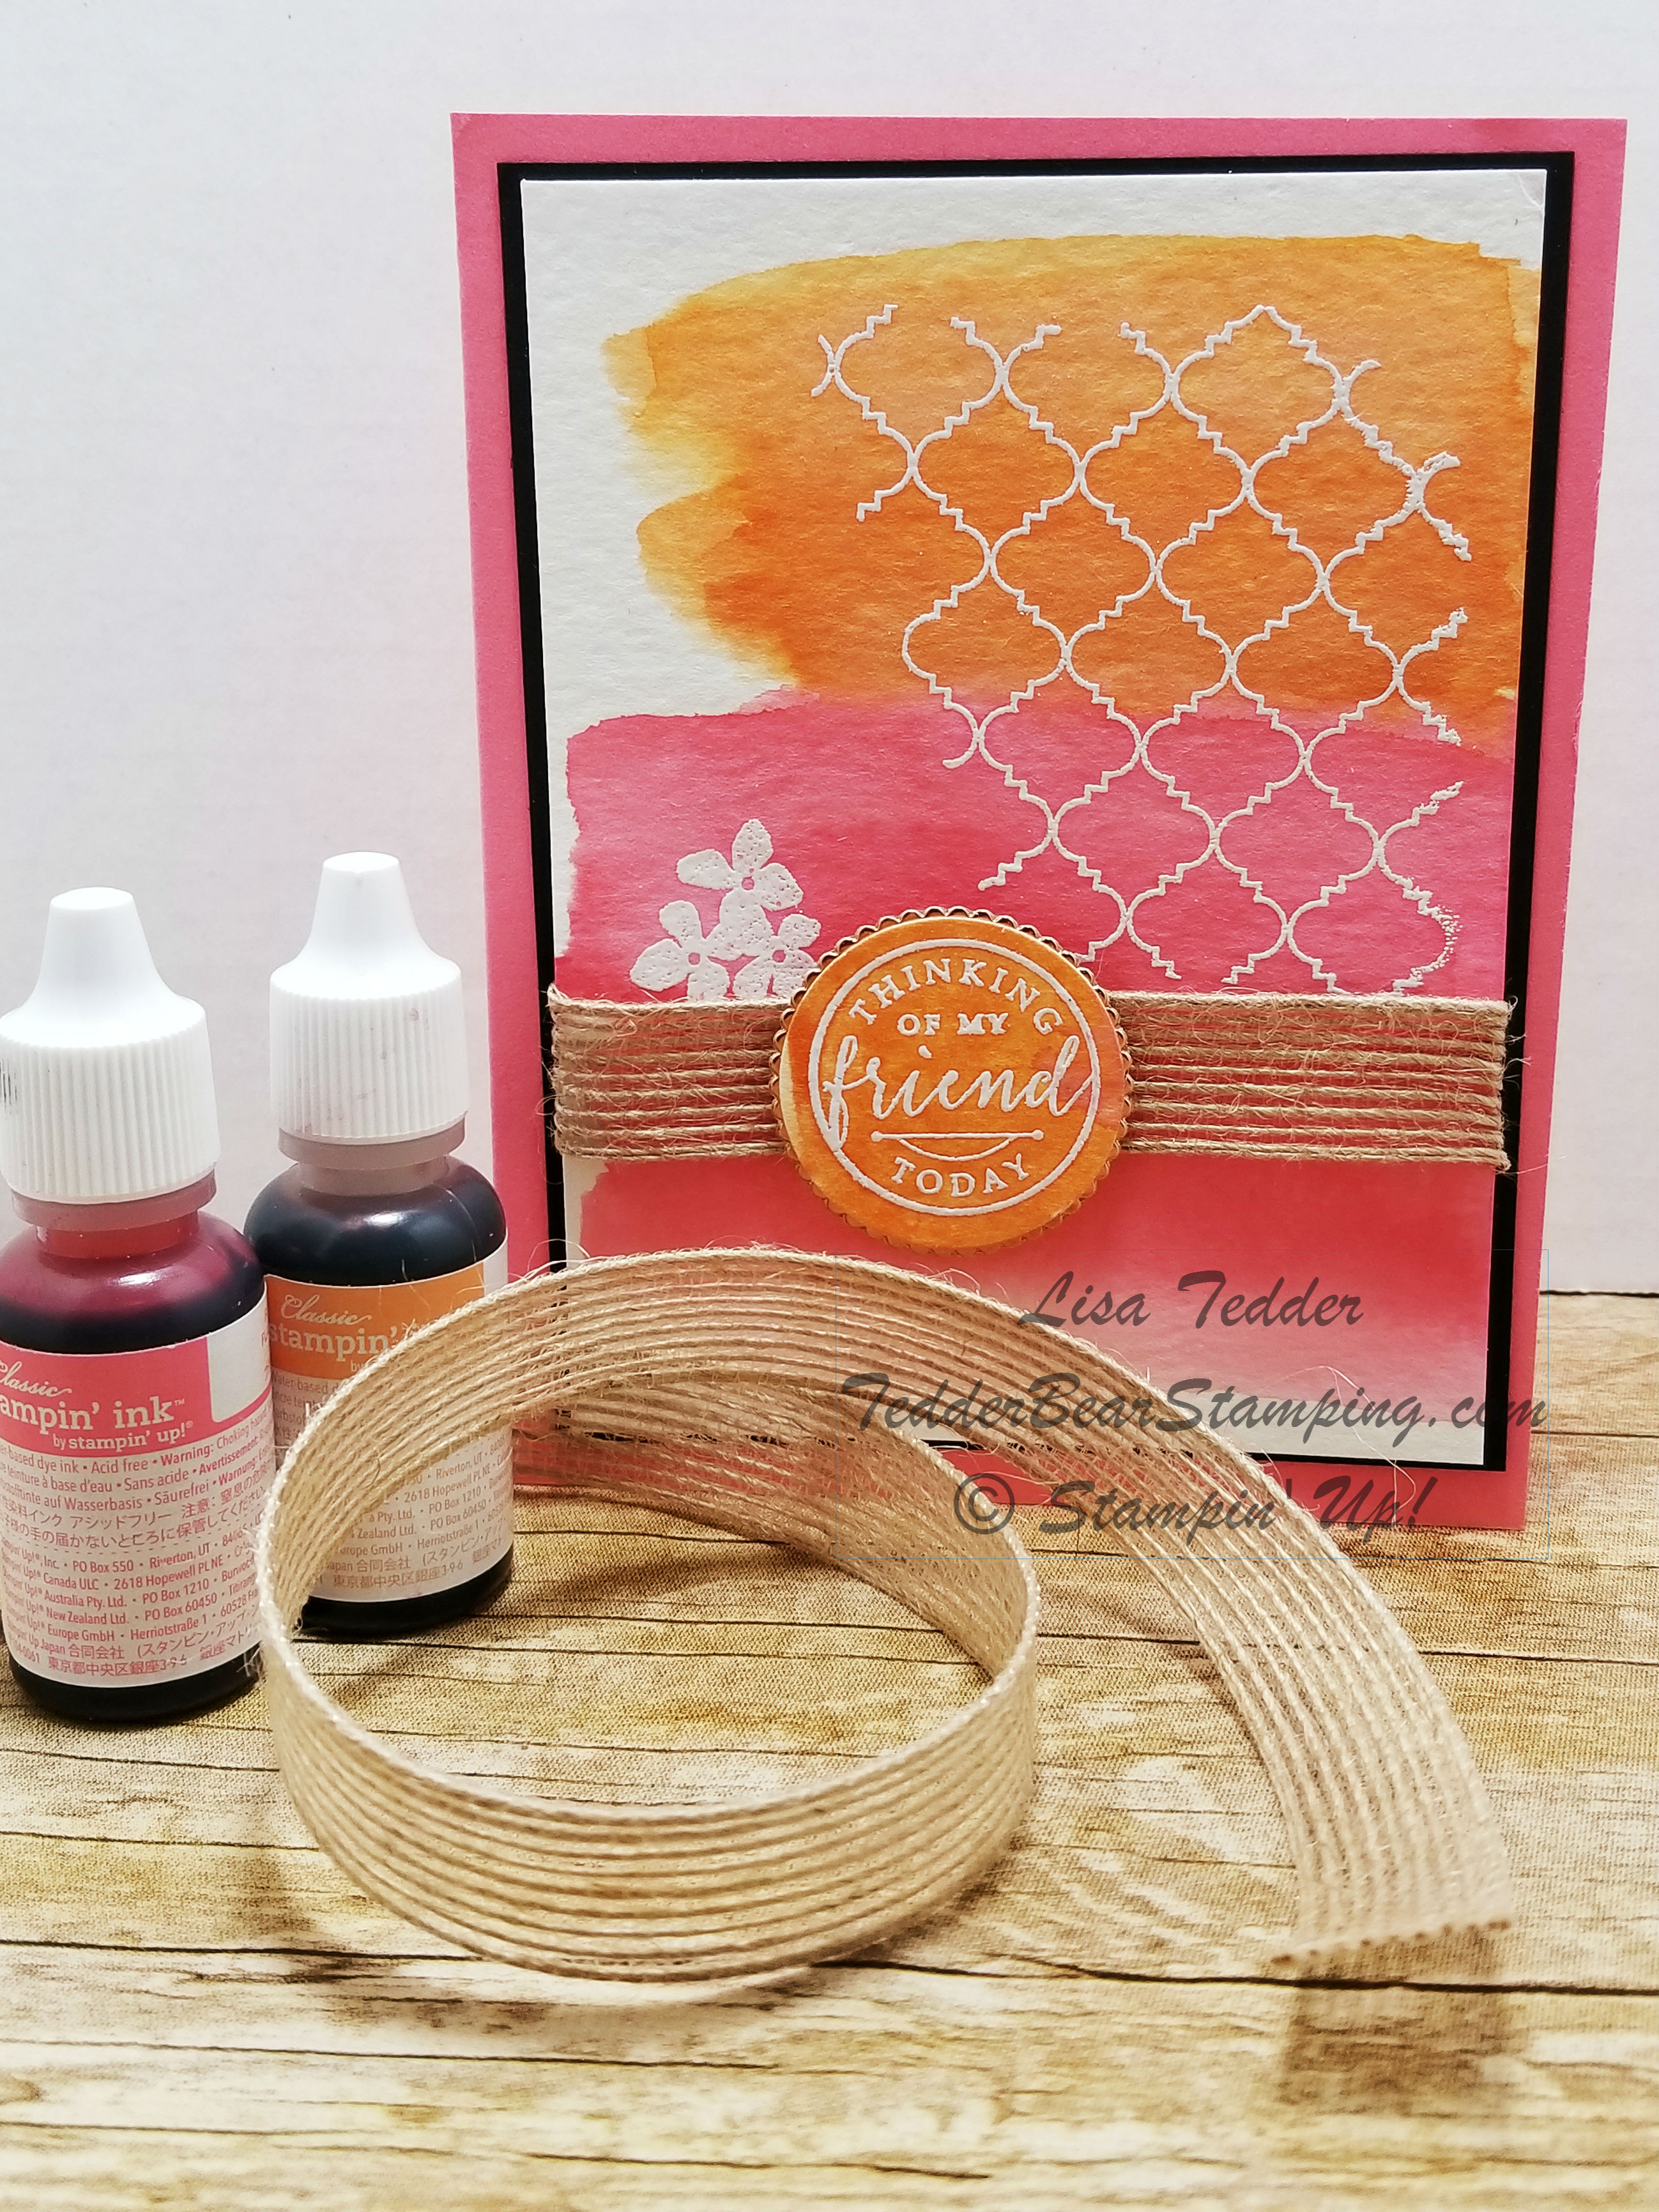
Today I am sharing with you a card I made that uses a teeny tiny stamp to make a background that is really amazing! Moreover, it is embossed with Copper to make it REALLY stand out! I love this technique, I hope you like it as much as I do!
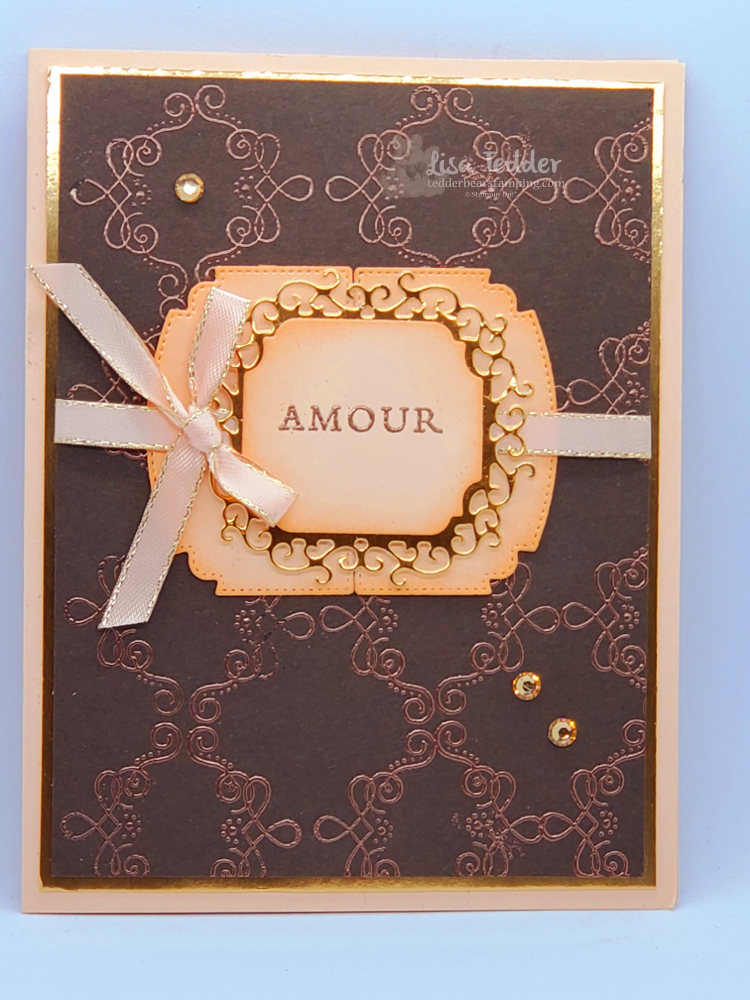
Didn’t it come together well? As I said, techniques have always inspired me and helped to make my stamping even more fun! Look through your stamps and see if any image has this basic shape and see what you come up with! If you didn’t catch this technique, go check it out!
As usual, here are the specifics for this card:
Stamps:
Parisian Beauty
Ornate Style
Inks:
Versamark
Petal Pink
Paper:
Petal Pink 8 1/2″ x 5 1/2, 5″ x 3 3/4″ (inside), scraps for dies
Early Espresso 5 1/8″ x 3 7/8″ (x2)
Copper Foil 5 1/4″ x 4″ (x2) cut inside out for dies
White scrap for underneath dies (see video)
Misc:
Champagne Rhinestones
Petal Pink 1/4″ metallic edged ribbon
Copper embossing powder
Embossing buddy
Stamping sponges
Heat tool
Dimensionals
Ornate Frames dies
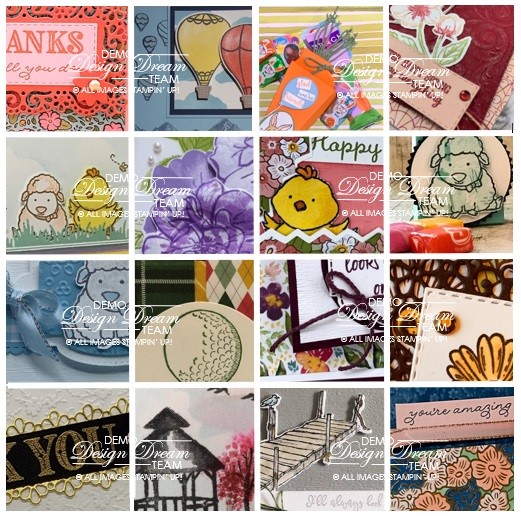
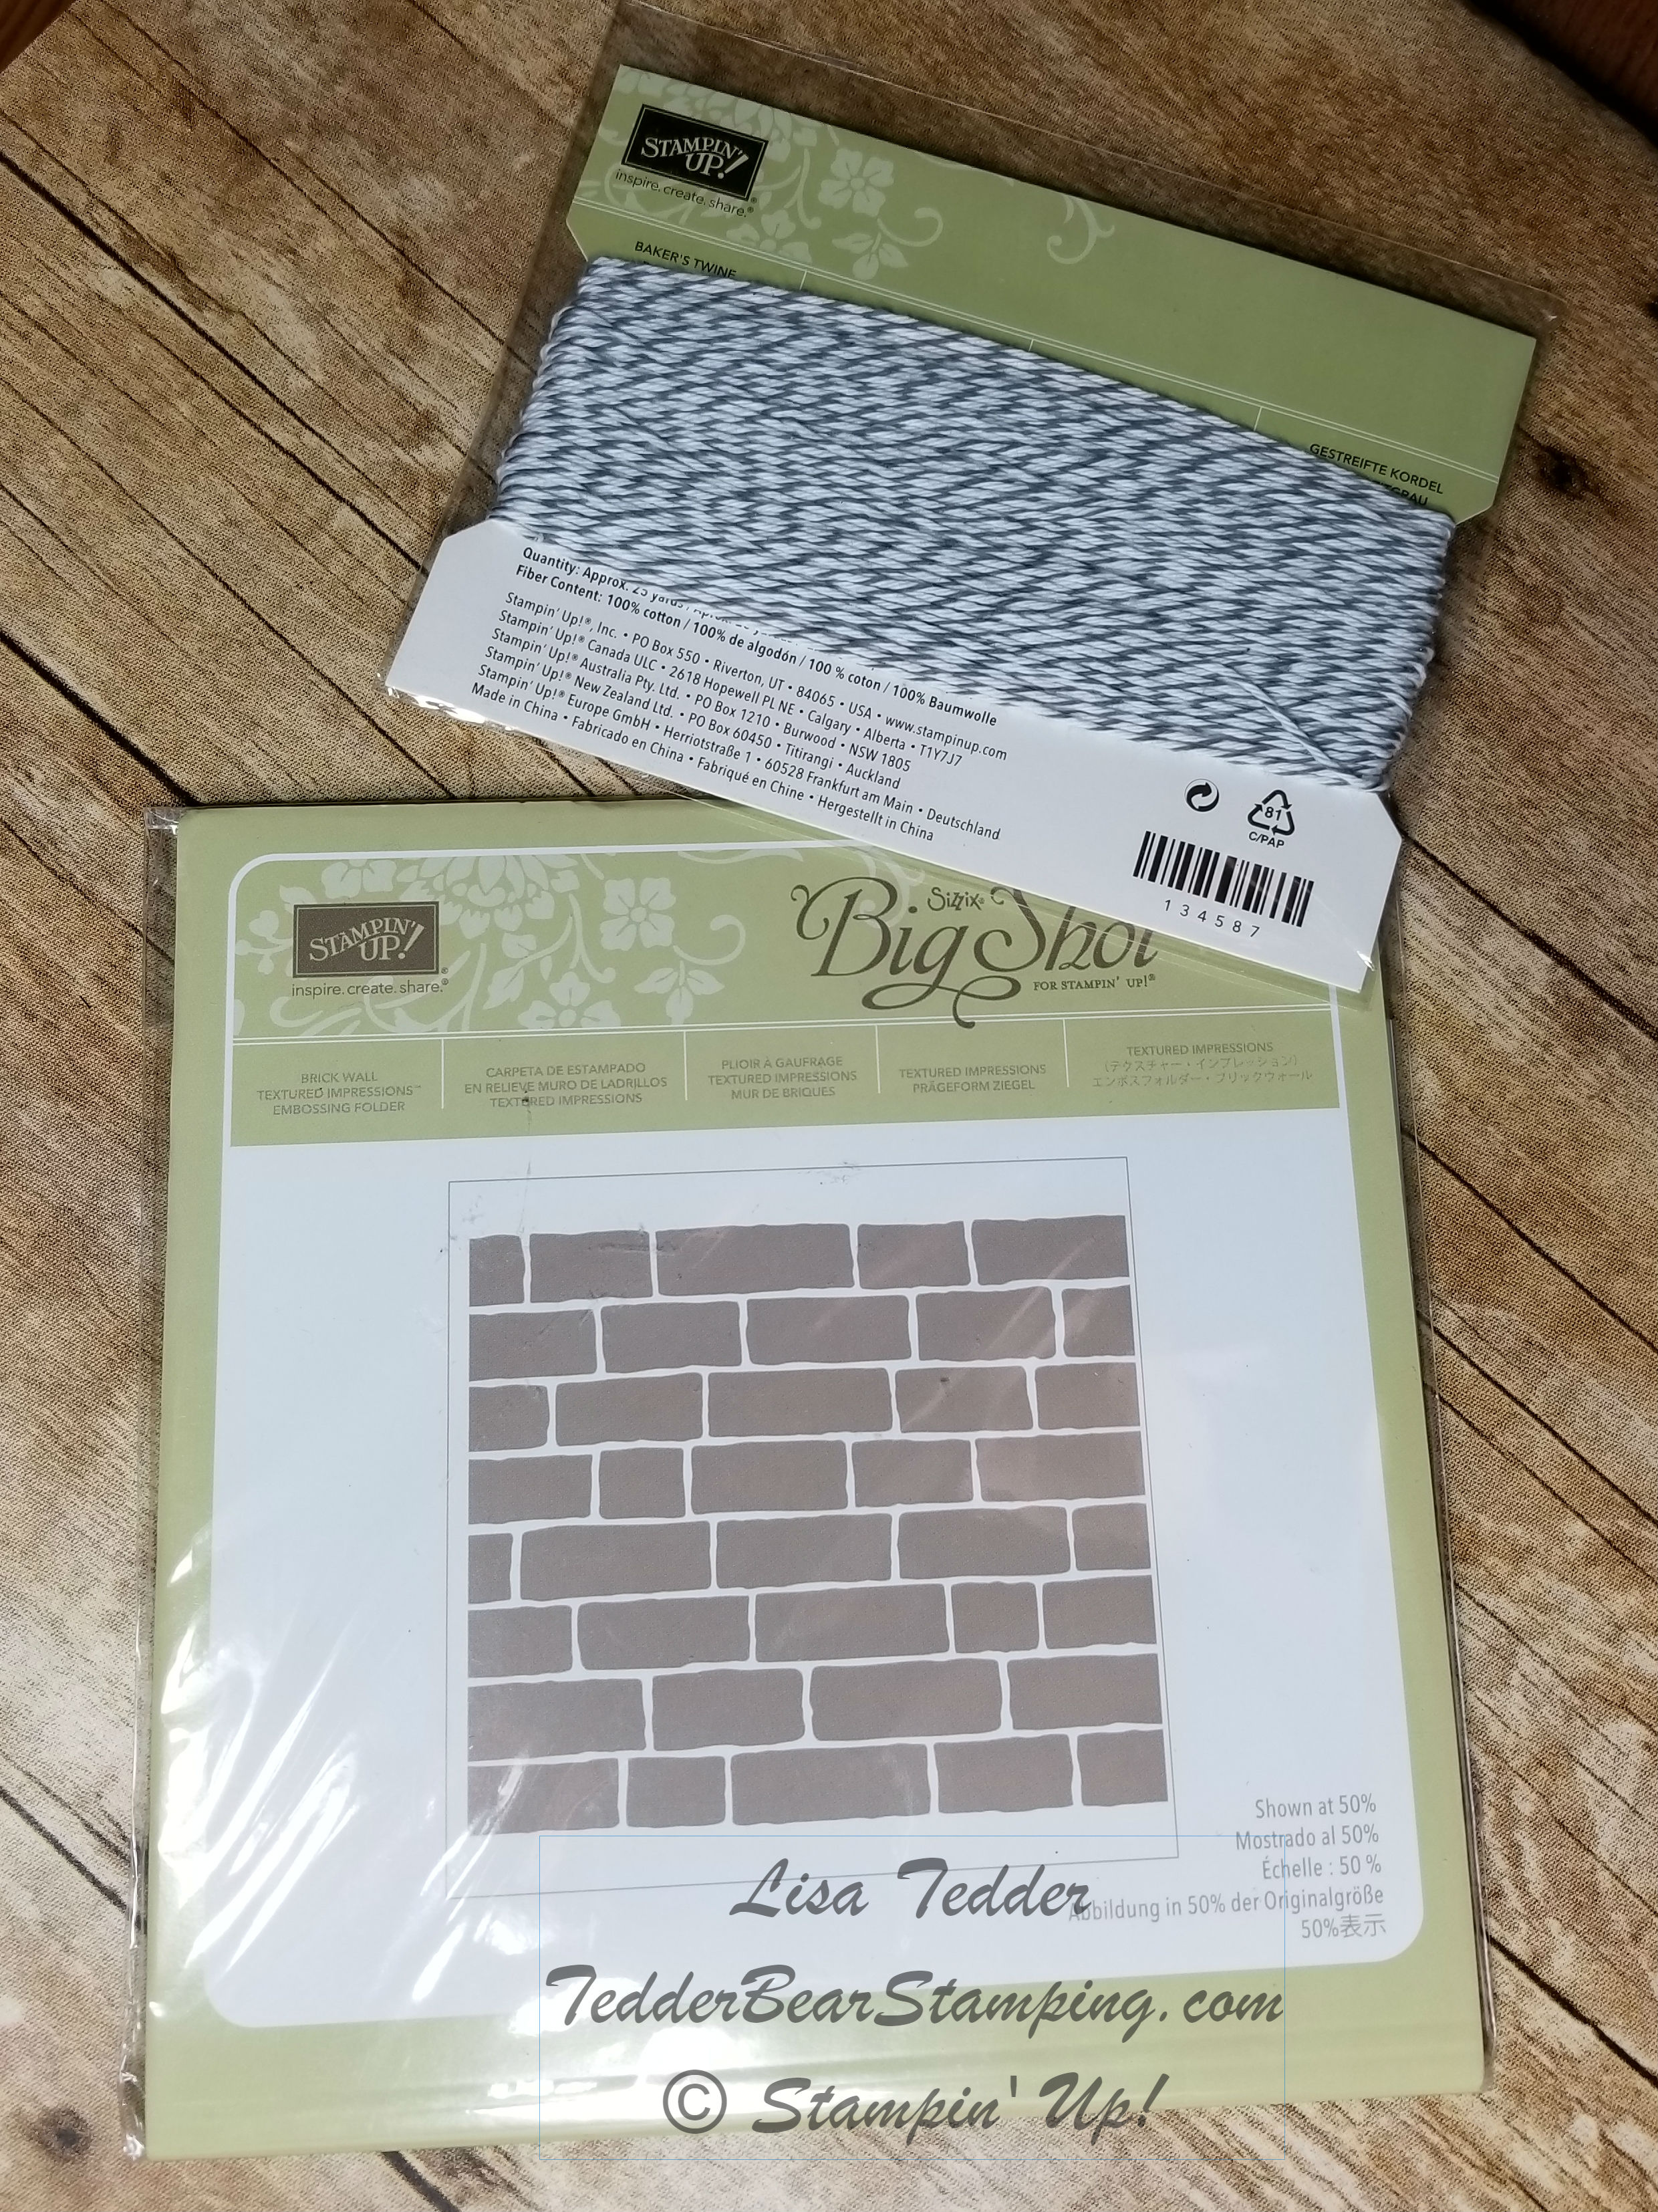
Also, you will find the supplies listed below in picture form. Click on any picture and you will be taken to my OnLine Store. If you purchase $35 or more you will receive two sets of tutorials containing 50 +/- with step by step instructions! Here is a sneak peek of one:
I hope you are staying safe during this trying time in our world! I am stamping and creating away to bring happiness to my little world and hopefully yours!!
Stay tuned and please visit again!
Lisa Tedder
A California Girl living in North Carolina
Product List

")


 Metallic-Edge Ribbon")


")


 Flax Ribbon")


 Specialty Designer Series Paper")

 Reversible Ribbon")


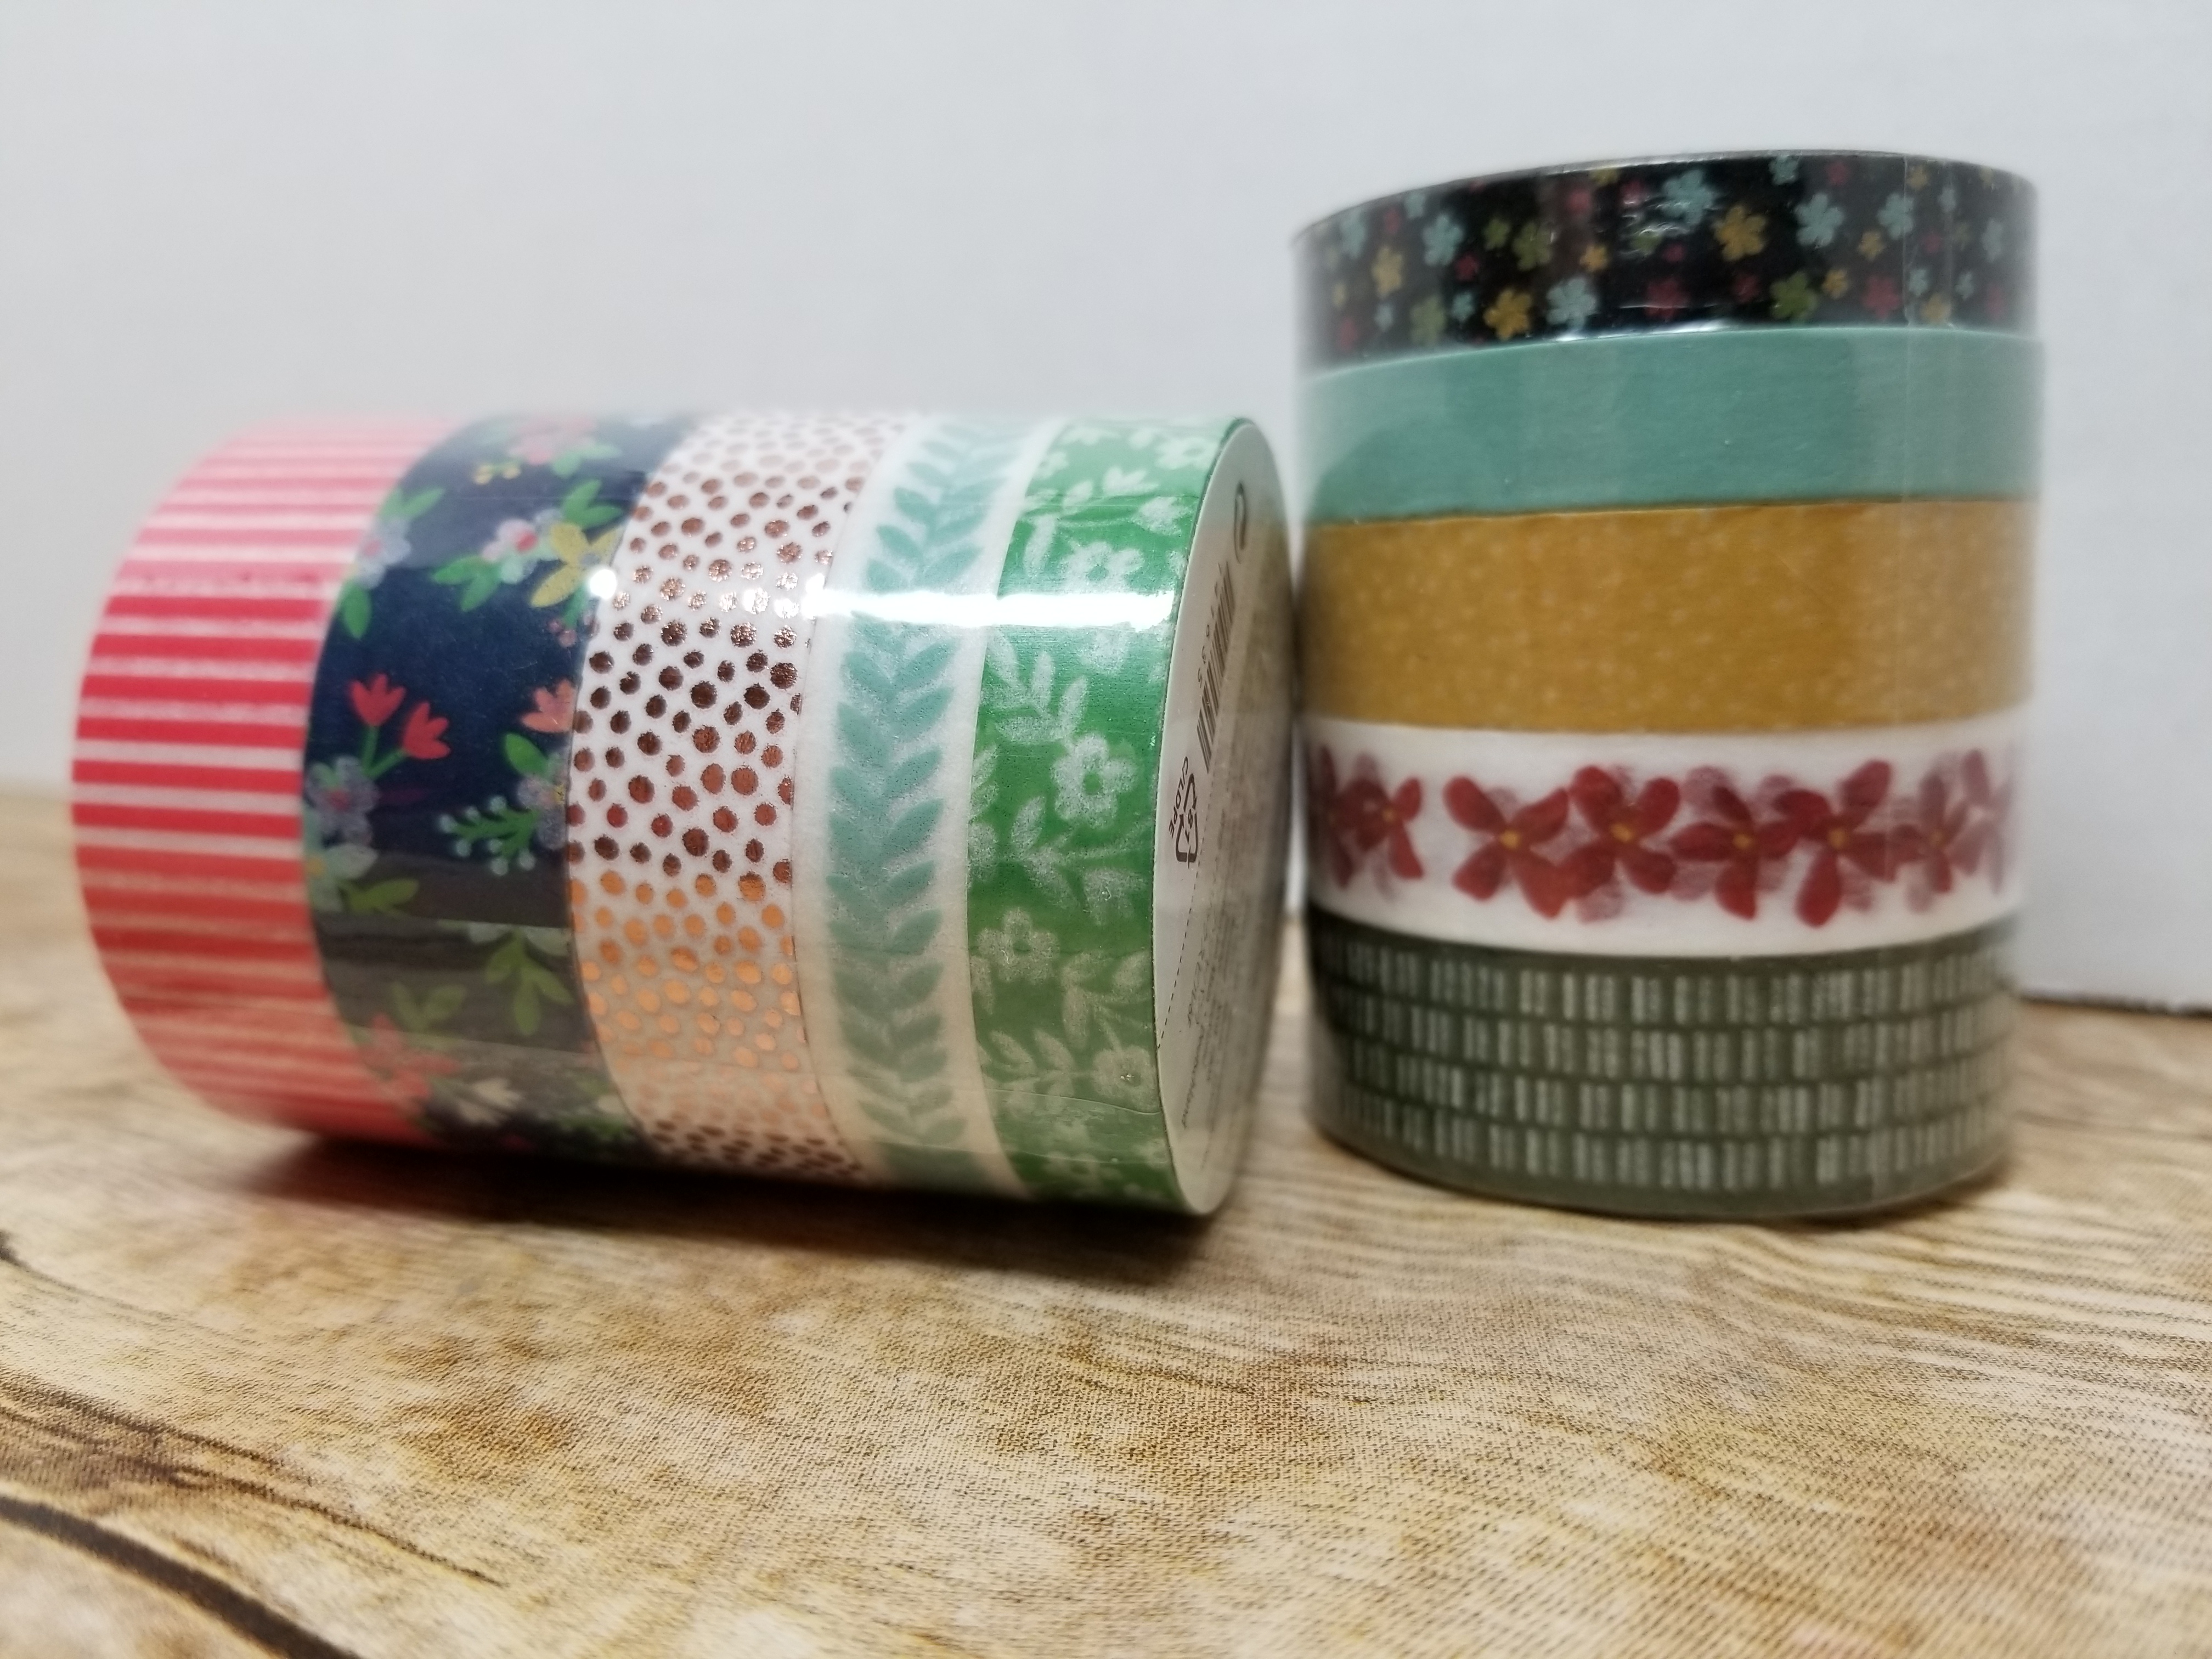


 Burlap Ribbon")