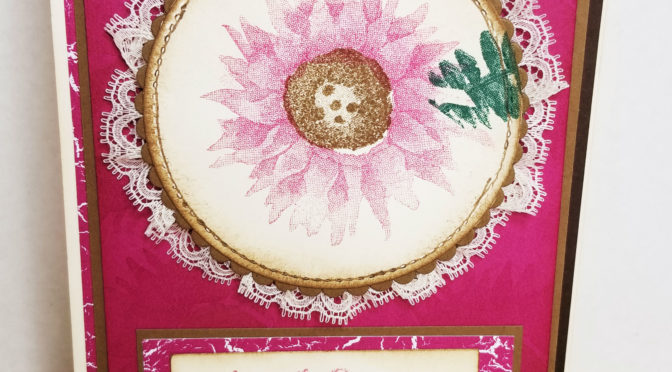
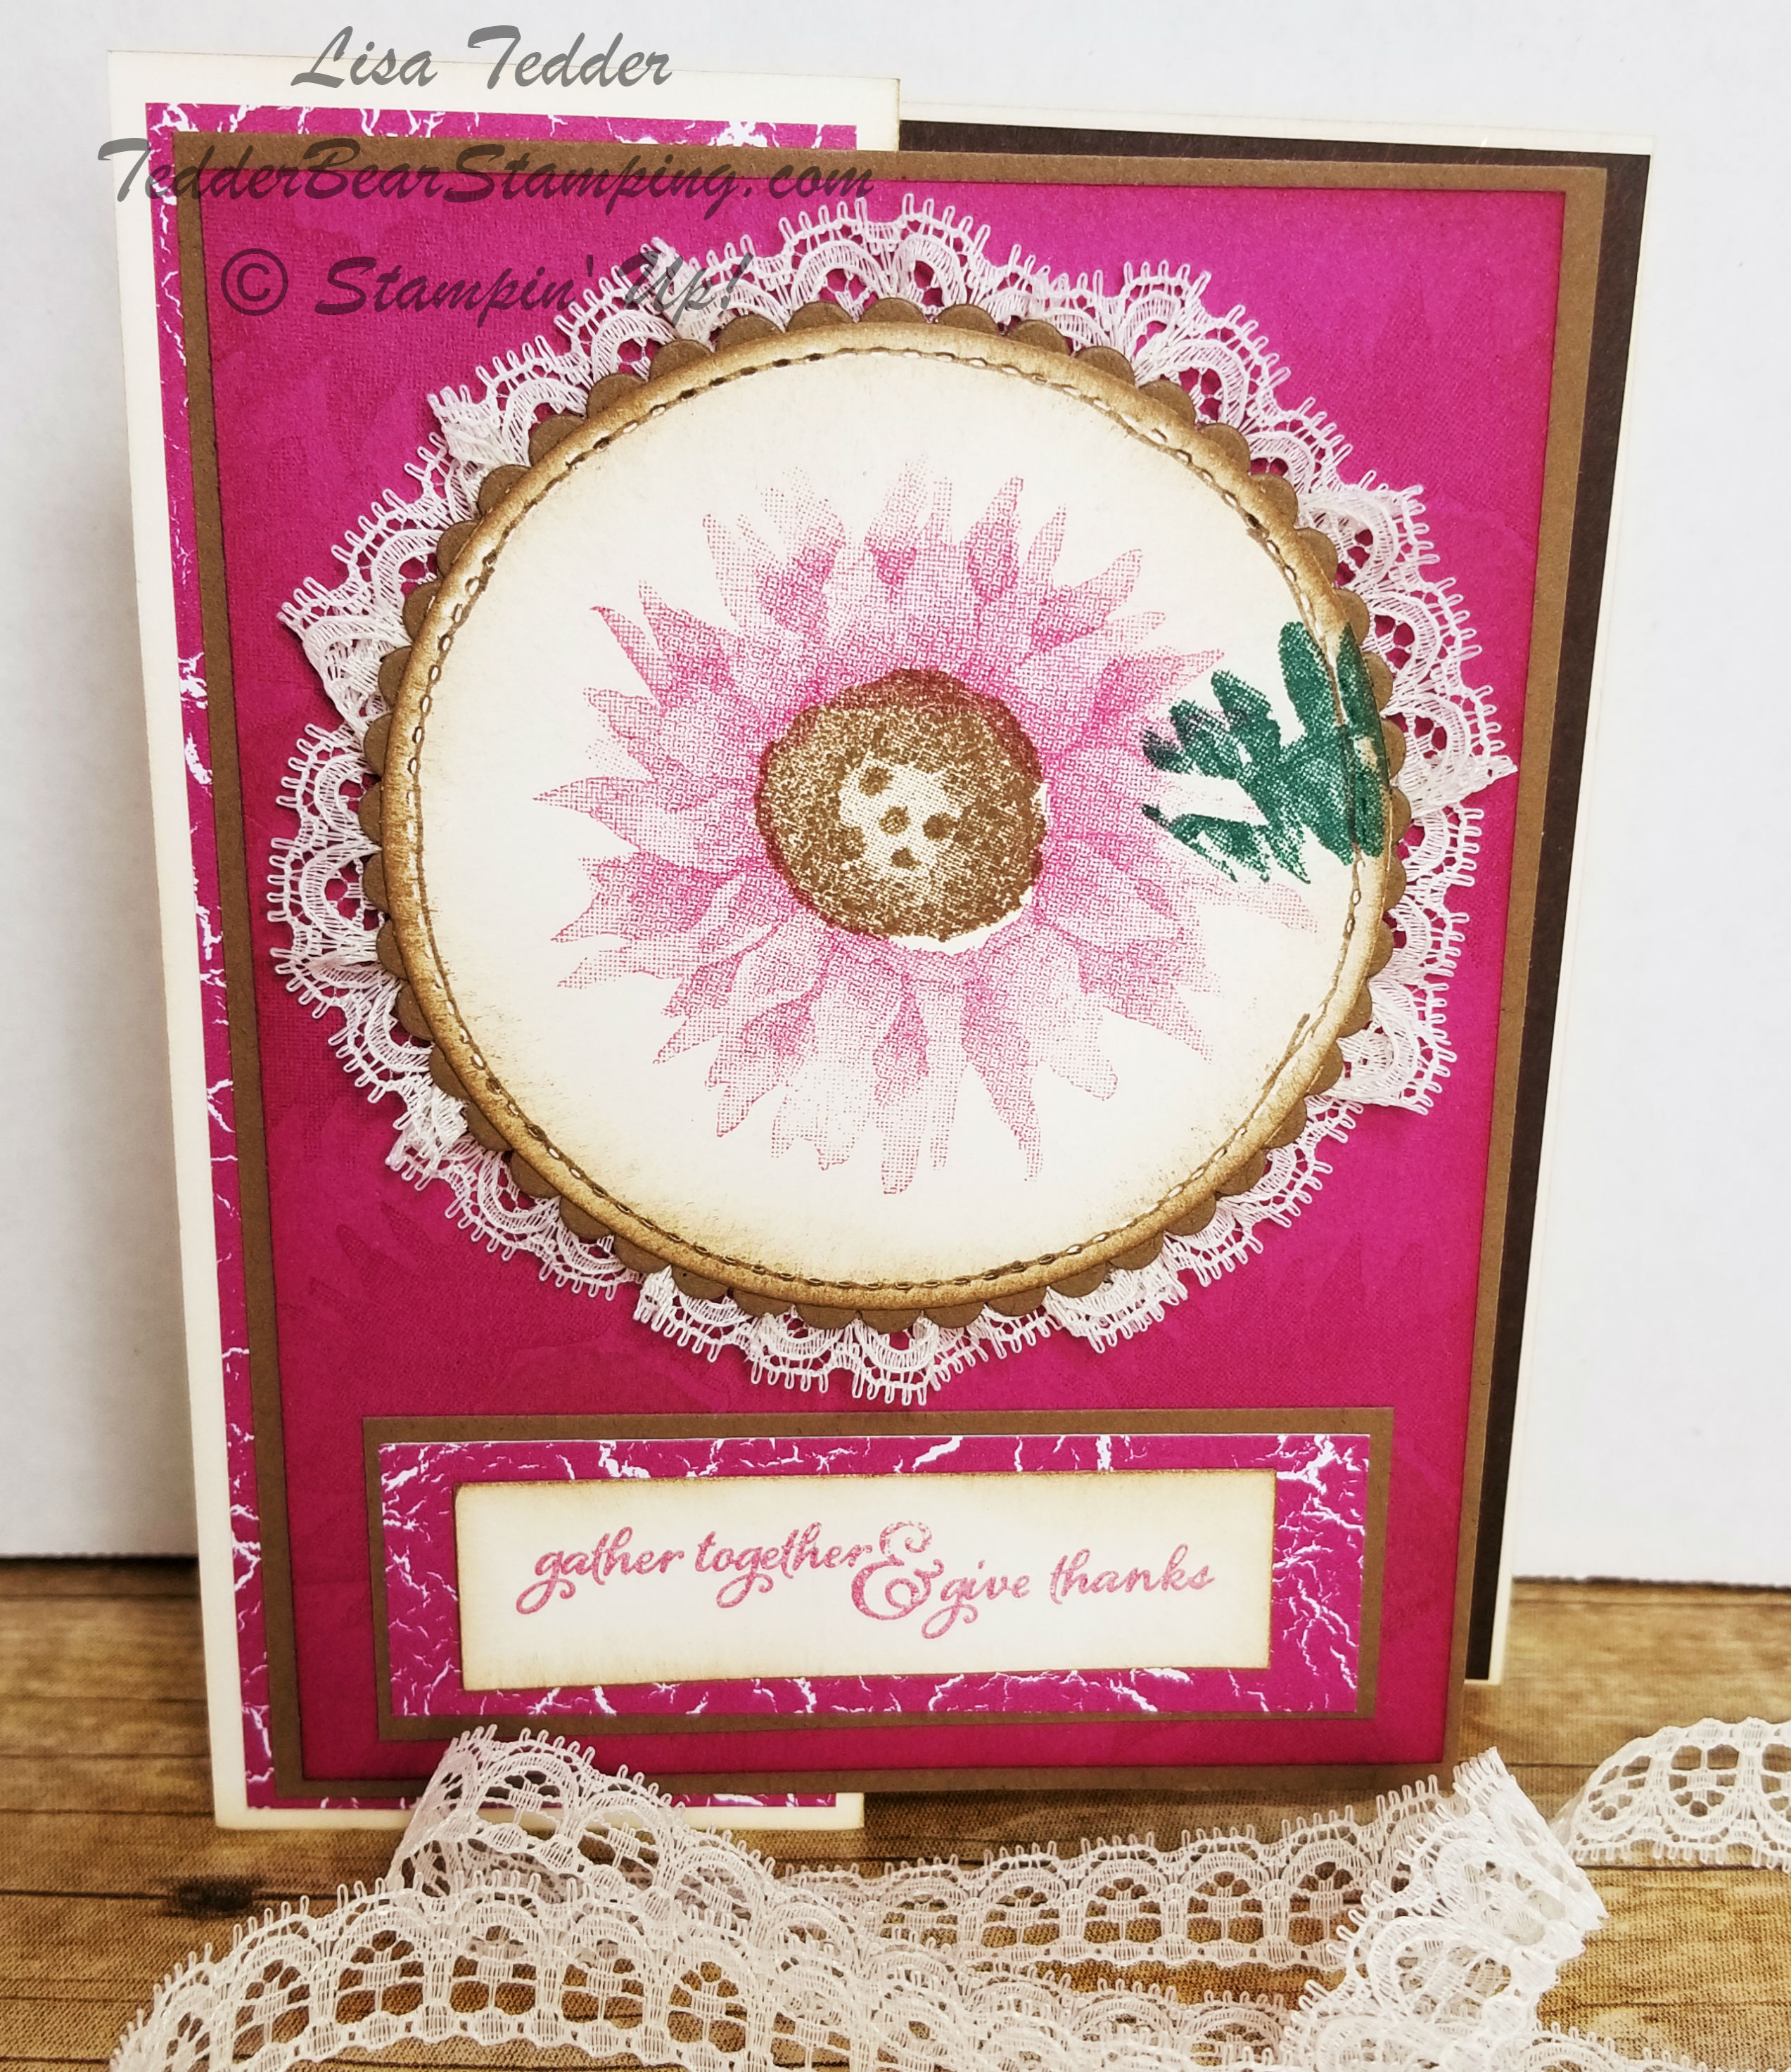
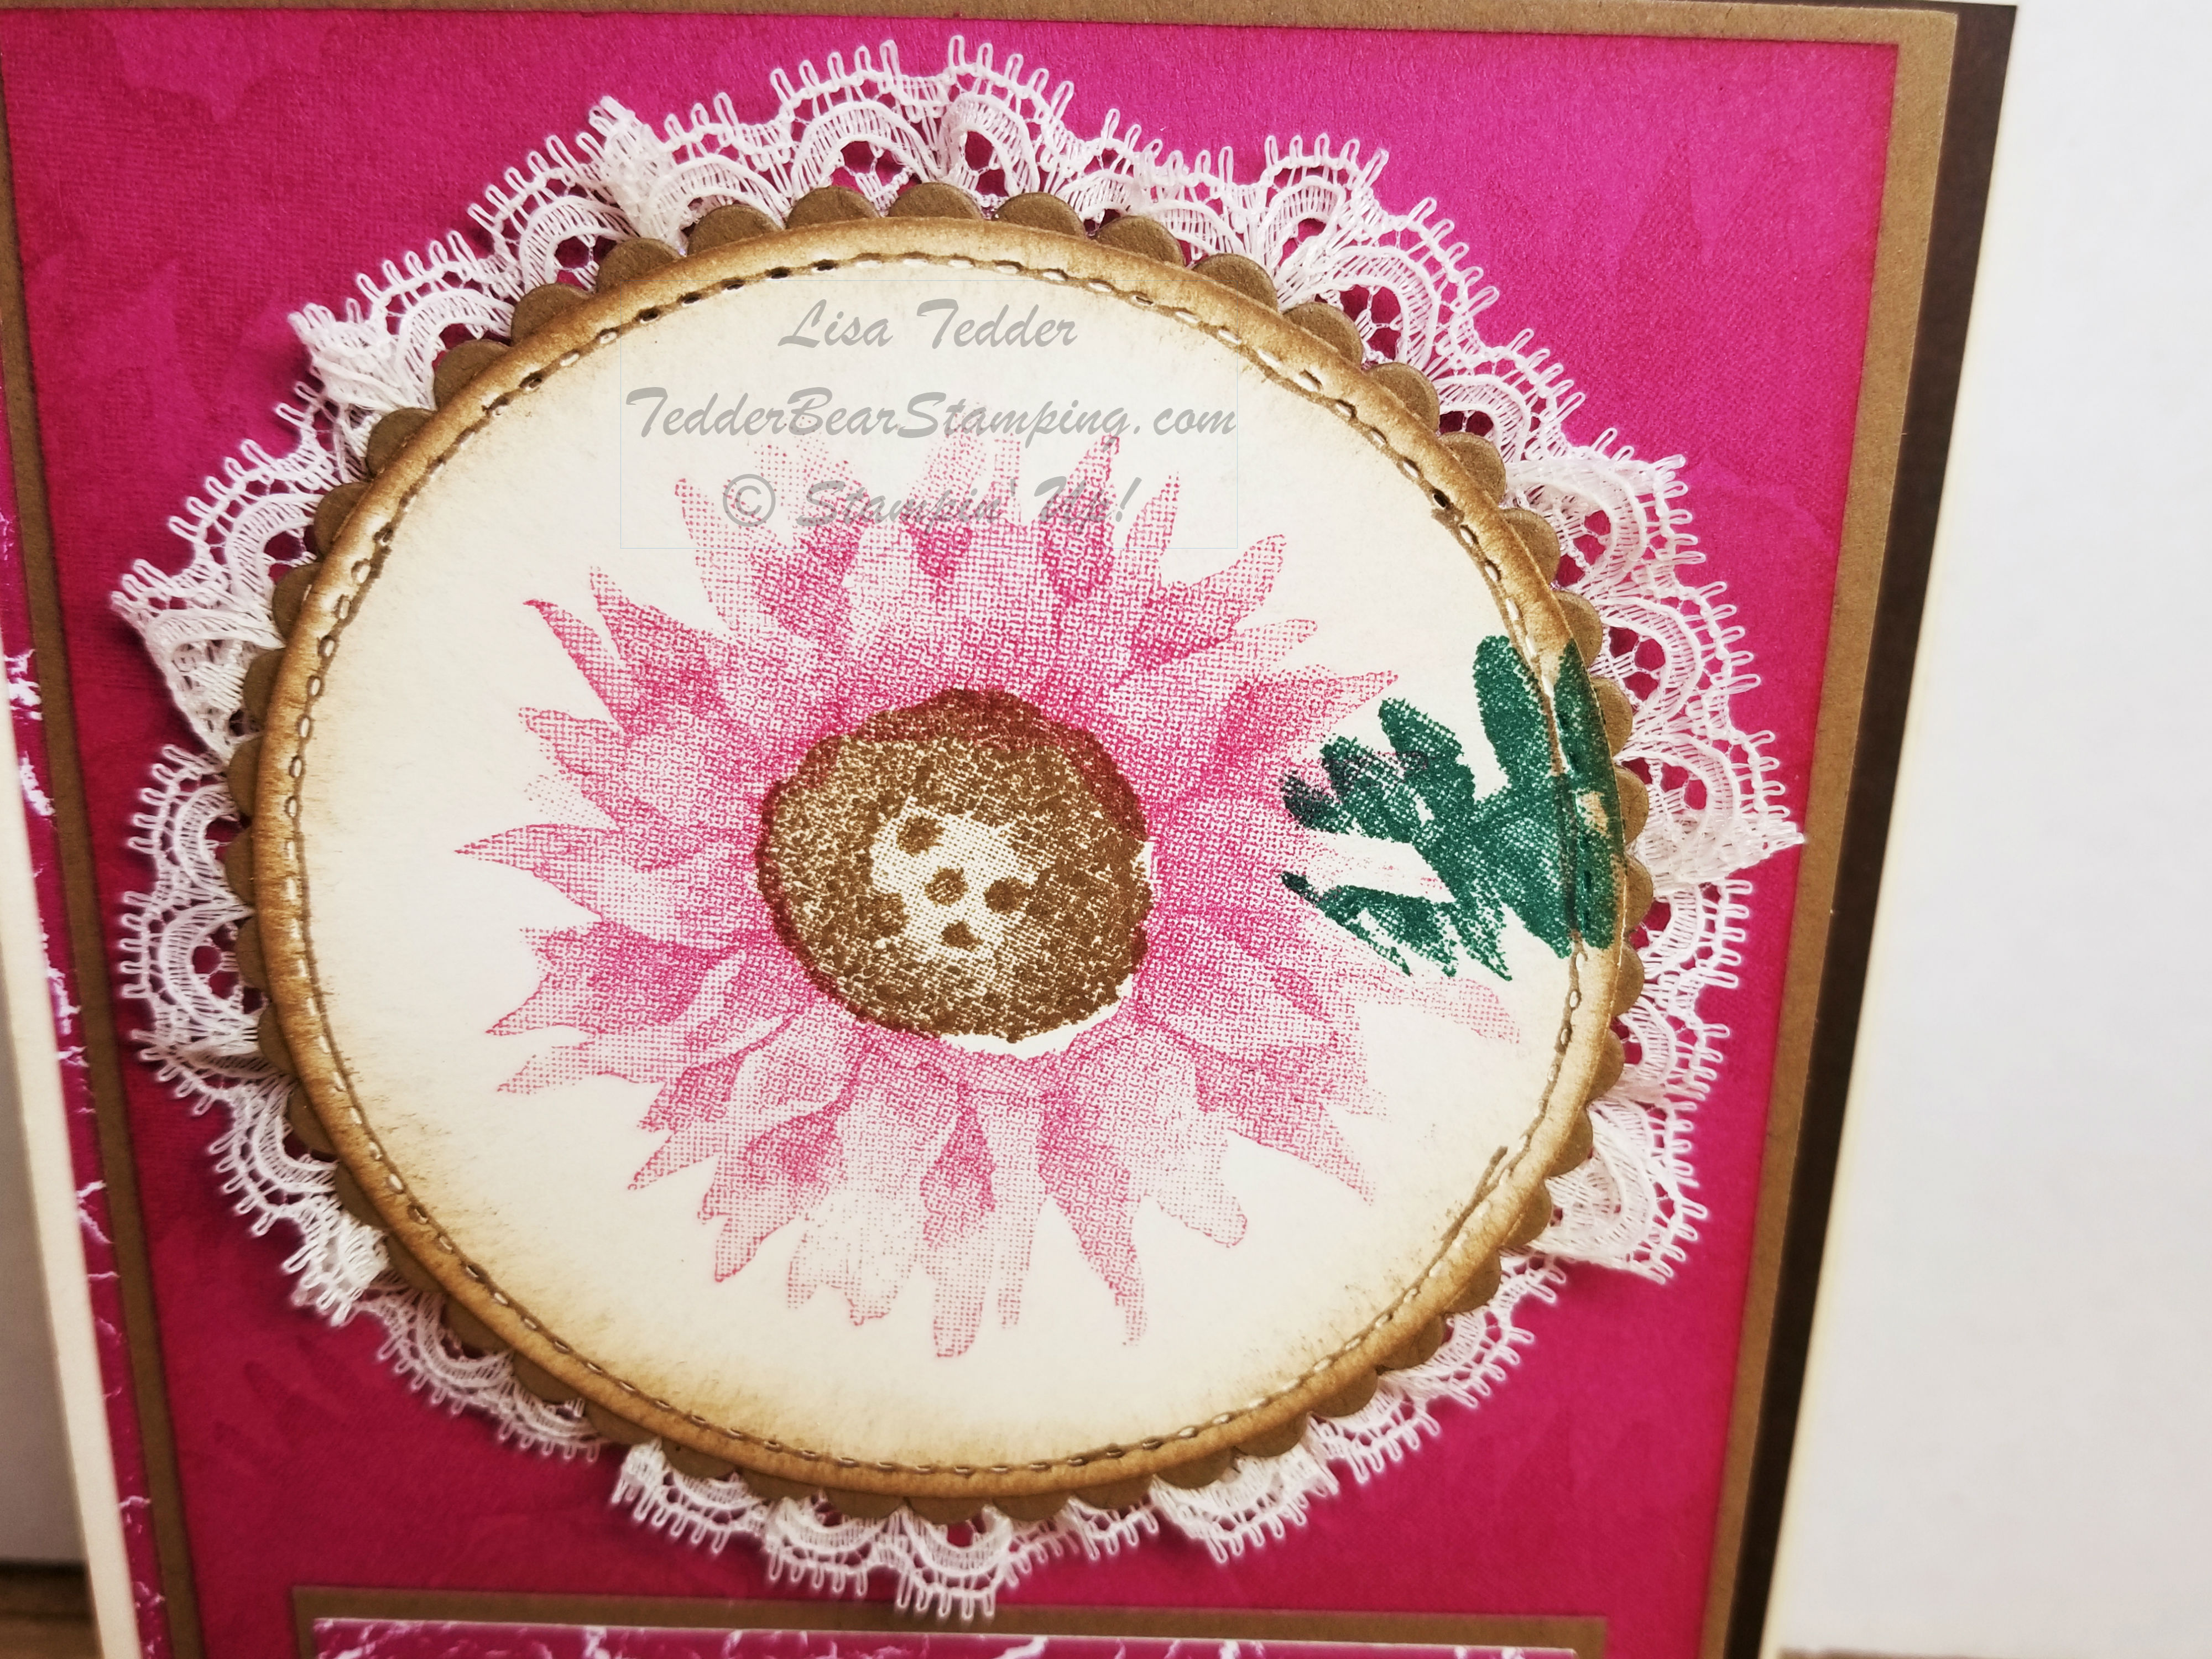
Today I am sharing with you a BRAND NEW stamp set from Stampin’ Up! called Floral Essence. I wanted to come up with something on my own, since there weren’t many samples out yet.
I haven’t done Shabby Chic in SOOOOO long I am hoping I got it right.
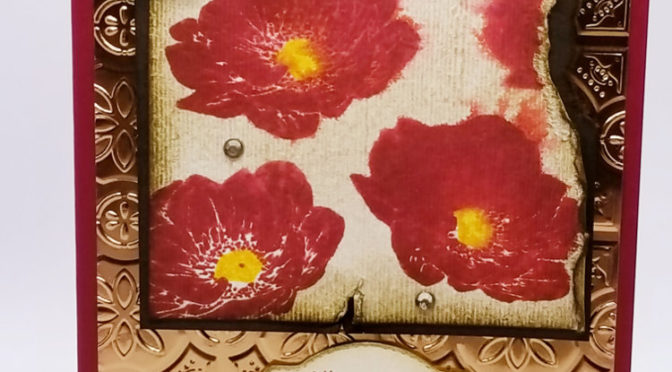
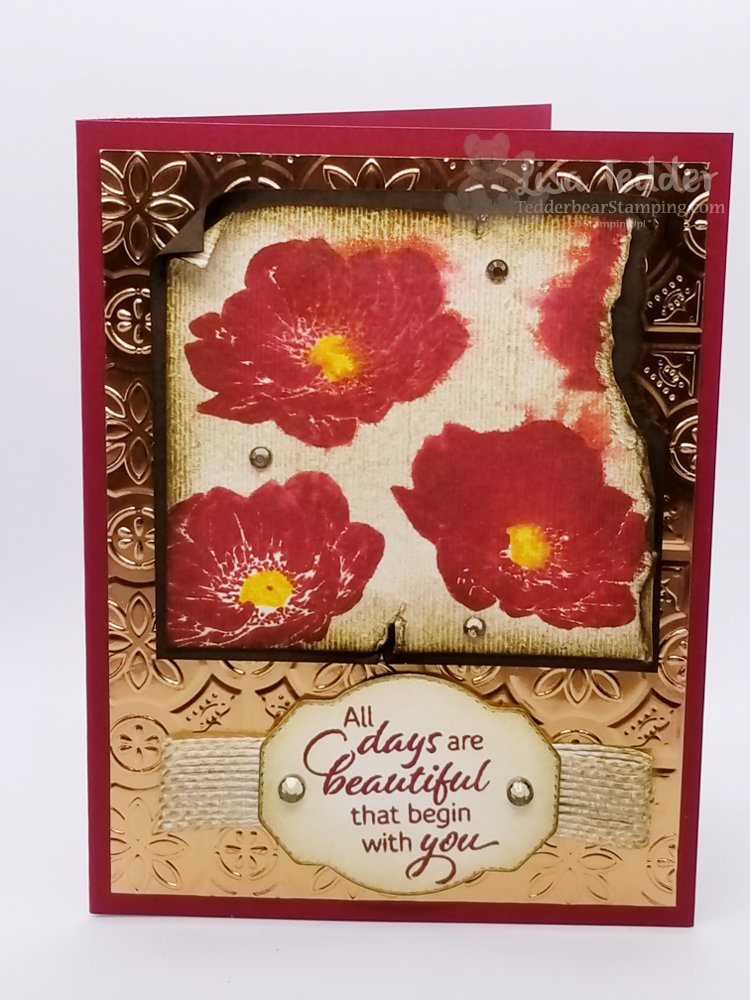
Here is my card:
The Tin Tile Folder on Copper really makes this look aged.
Here are the specifics for this card:
PROJECT 2: Shabby Chic
Stamp Sets
Pg #
Floral Essence
108
Paper
Cherry Cobbler 8 1/2″ x 5 1/2″
Copper Foil 5 1/4″ x 4″
Early Espresso 3 3/8″ x 3 1/4″
Watercolor paper 3″ x 3 1/2″
Very Vanilla 5 1/4″ x 4″, 2 1/2″ x 2″
Inks
Cherry Cobbler
Mango Melody
Soft Suede
Accessories
Rhinestones
178
Bronze blend
179
Shimmer Paint Champagne Mist w/alcohol
180
Tin Tile Folder
199
5/8″ Flax Ribbon
174
Smooth Sailing Die for sentiment
195
After I was done I spritzed the entire card with Champagne Mist (4 drops in Alcohol), to give it a shimmery sparkly look.
All the supplies are listed below in picture form, click on any of them to be taken to my OnLine Store. If you buy from me, I will send you a free gift as a token of my gratitude for you choosing me to be your Stampin’ Up! Demonstrator.
Thank you for stopping by!
Lisa Tedder
A California girl living in North Carolina Product List
I love my Job! I get to make beautiful handmade cards AND show others how to do it! After my classes everyone is so happy with what they have made!
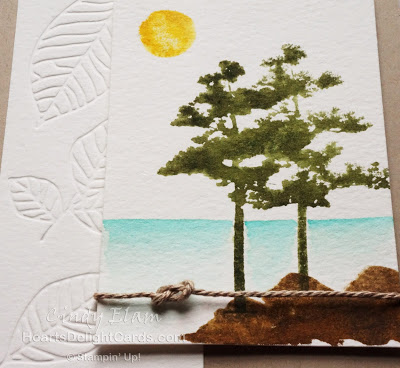
I got this idea from Cindy Elam, I found it on Pinterest and changed up a little, here is her card:
I LOVE layers, I wanted to add to this beautiful card. Here is what I came up with:
Here are the specifics for this card:
PROJECT 3: Watercolor trees
Stamp Sets
Pg #
Rooted in Nature
Waterfront
Paper
Soft Suede 8 1/2″ x 5 1/2″
Early Espresso 3 1/8″ x 4 1/8″
Watercolor paper 3″ x 4″
Very Vanilla 5 1/4″ x 4″, 2″ x 4 3/4″
Inks
Crushed Curry
Soft Suede
Early Espresso
Mossy Meadow
Pool Party
Accessories
Spritzer
Braided Linen Trim
Layered Leaves folder
Sponges
Big Shot
I spritzed the stamp after inking it then stamped it on Watercolor paper. It really has a great effect. I love how the trees look different each and every time! I also love to use the Aqua Painter to make a background. I taped off a straight line then using the Aqua Painter to make the water.
Below are all the supplies used to make this card. Click on any picture and you will be taken to my OnLine Store. I would love if you would choose me as your Stampin’ Up! Demonstrator!
Thanks for stopping by!
Lisa Tedder
A California girl living in North Carolina Product List
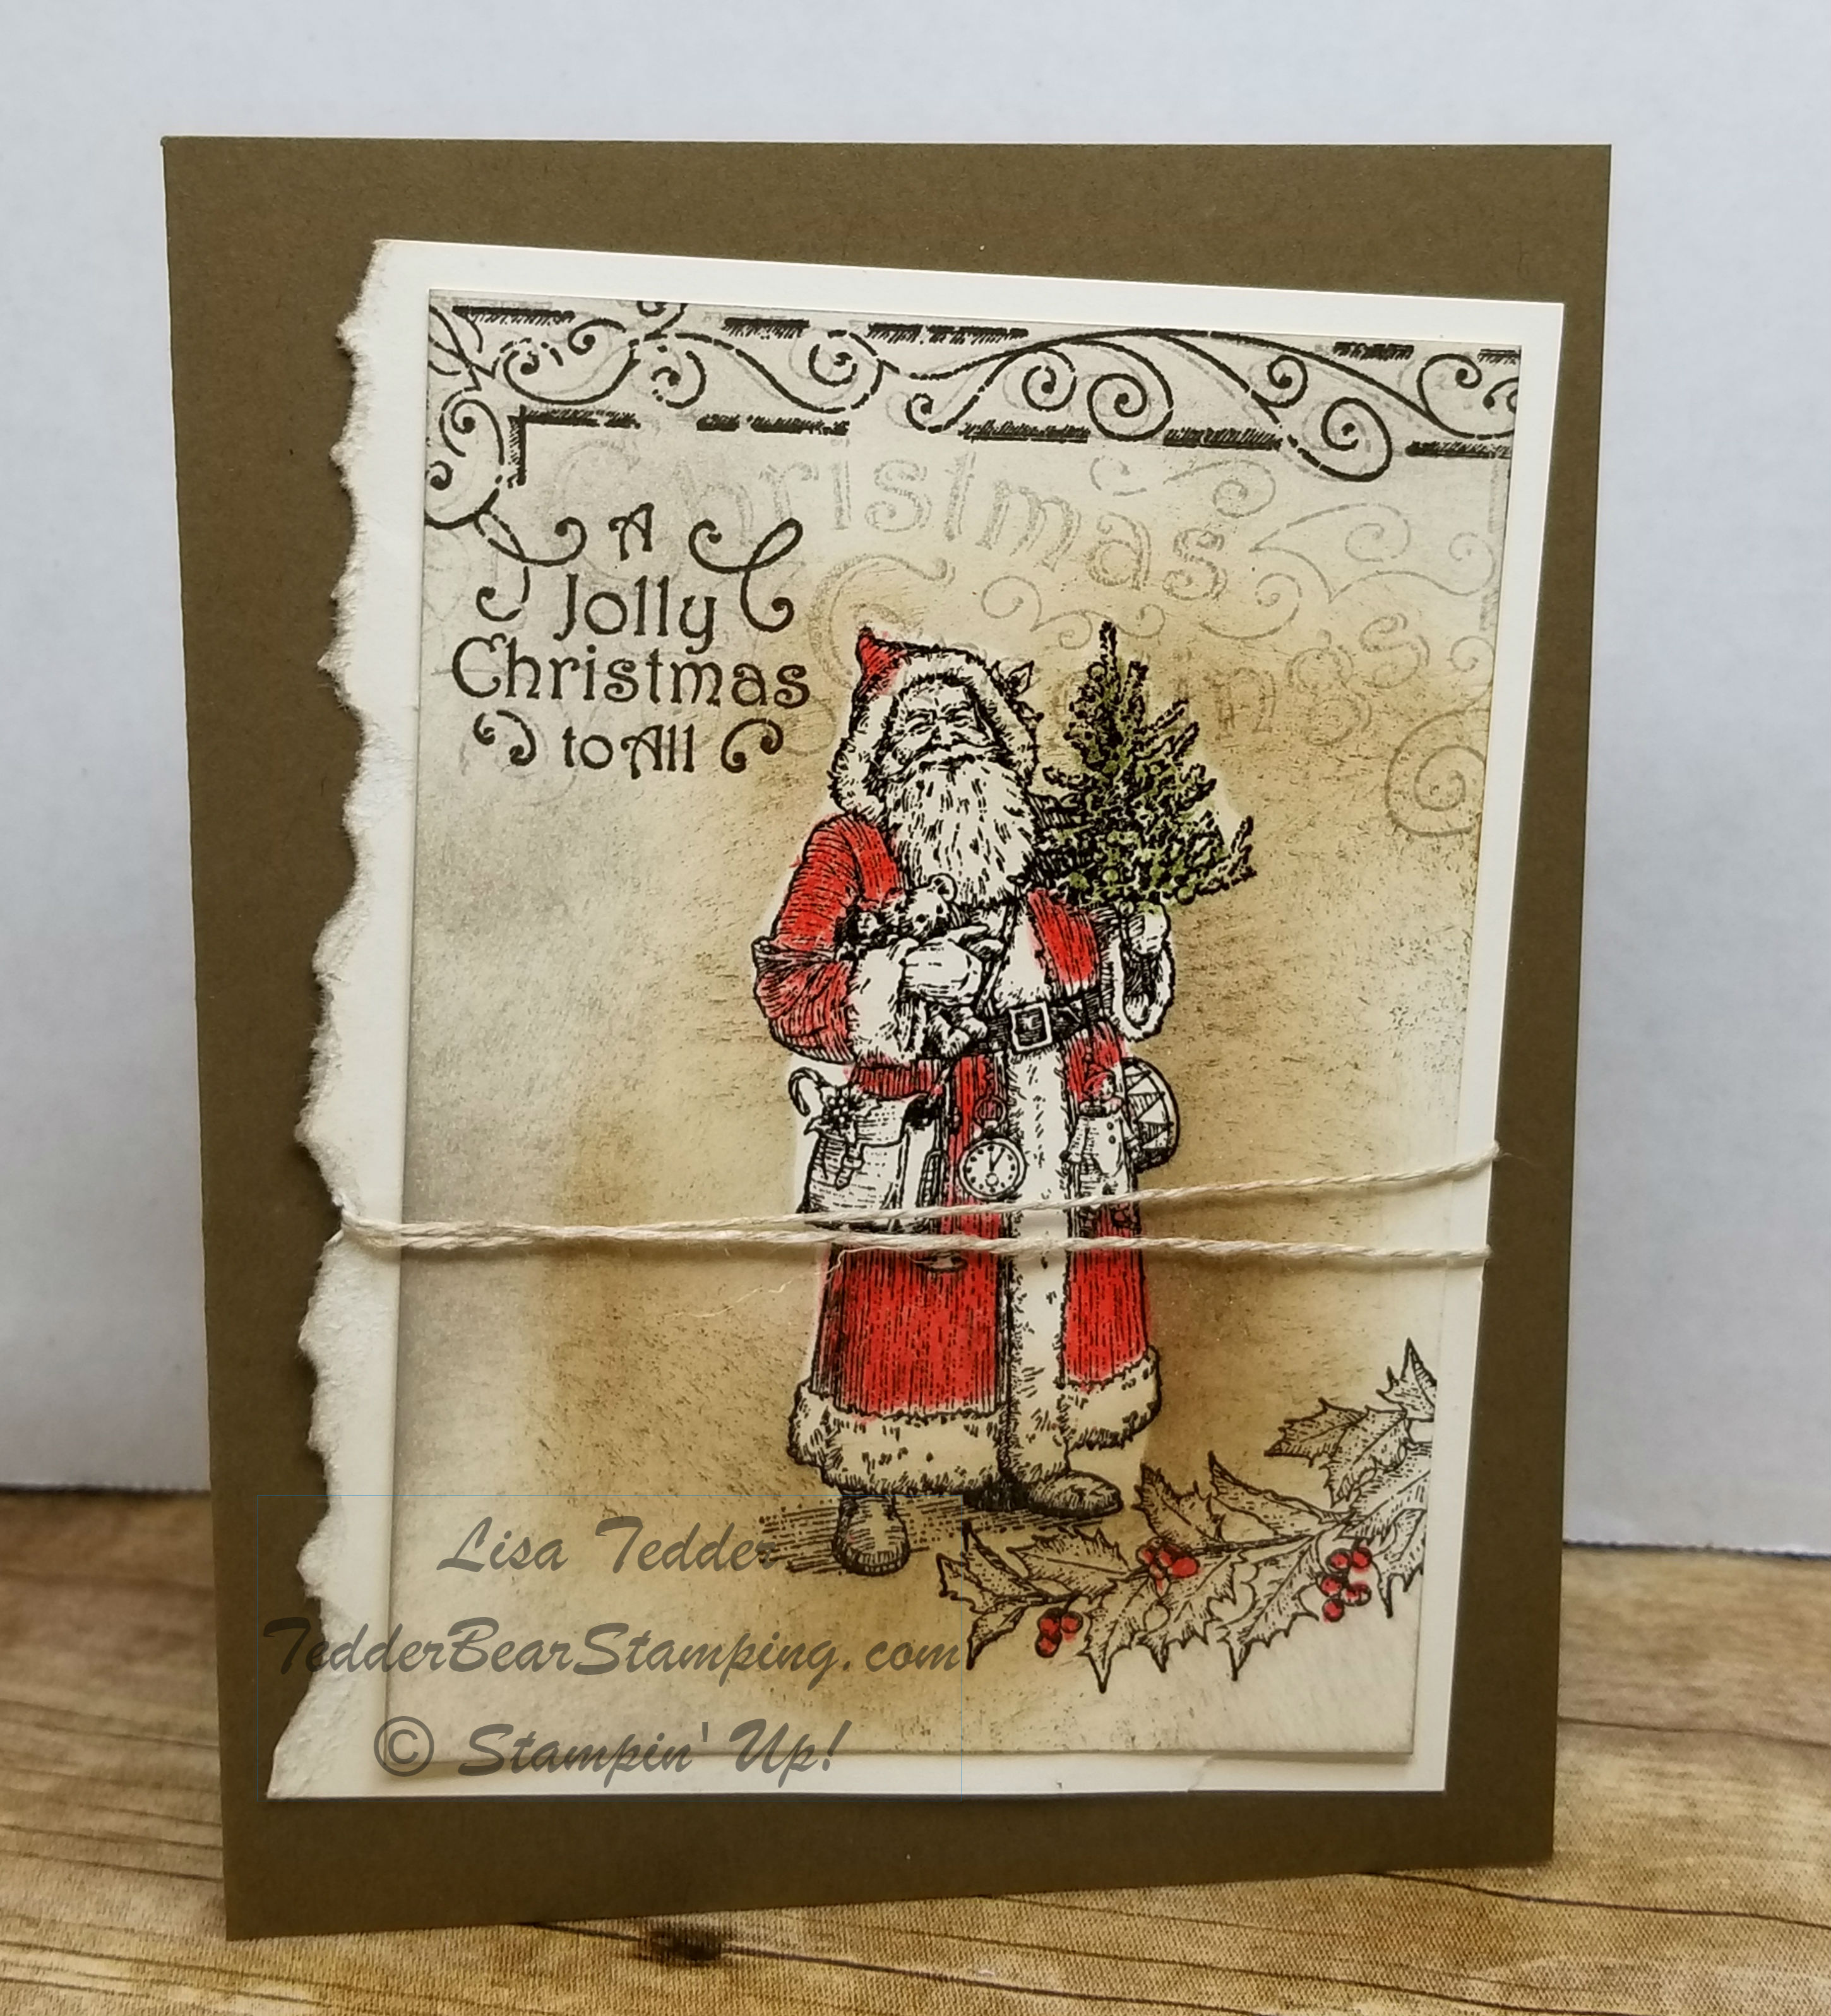
I am so excited that as a demonstrator for Stampin’ Up!, that I get to purchase NEW items a month before they are available to the public! I wanted to use them right away BUT didn’t necessarily want to do Christmas. So, my dilemma……….how do I use these obvious Christmas sets and NOT have it be Christmas.
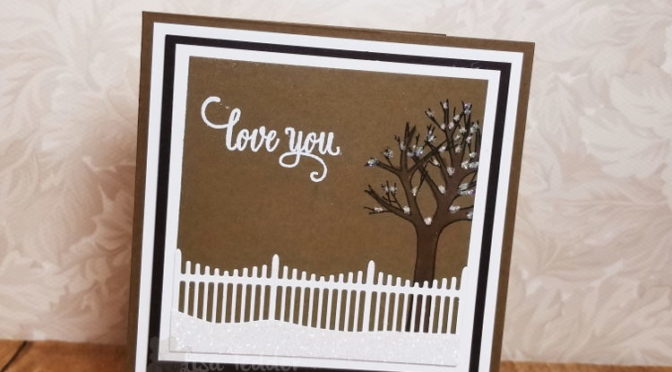
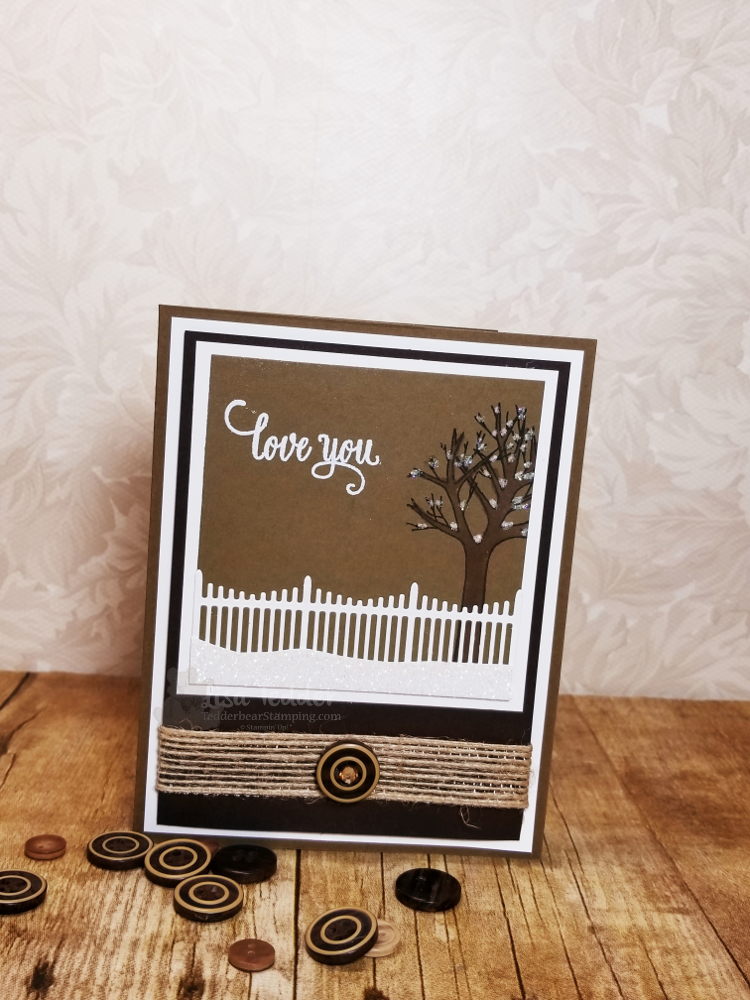
I got out the Farmhouse Christmas stamp set, decided to use the tree AND the incredible fence!! Did you see the fence!!?? I stamped the tree on Soft Suede using Early Espresso ink. This stamp set better stick around because I can use that fence for a lot of things! Follow this link to see my video.
Isn’t it the cutest!!?? Not sure if you can see the Glitter snow in front of the fence, but in person it is very shiny and sparkly! The tree has snow in all its crannies. I used the Fine-Tip Glue pen to go over the white (used the chalk marker) and then sprinkled Dazzling Diamonds over the wet glue. I forgot how much I LOVE Dazzling Diamonds! I will be getting that out a lot more.
I stamped the ‘Love You’ from the Enjoy Life stamp set using Versamark and white embossing powder.
I layered these onto a piece of Early Espresso, but before I layered these onto white I wrapped some Burlap Ribbon around and adhered a True Gentleman button in the middle. If you look closely you can see a Rhinestone that I colored with the Bronze Blend to go into the middle of the button (I HATE threading linen thread through those tiny holes!). The final layer is Soft Suede to tie in all the colors.
I’m planning on doing this card in a class this month. Hope they like it as much as I do!
Below are all the supplies I used for this card. Click on any picture to be taken to my OnLine Store!
Thanks for stopping by! Check back in! I’m adding all my cards that I do for my classes to this blog!
Lisa Tedder
A California girl living in North Carolina Product List
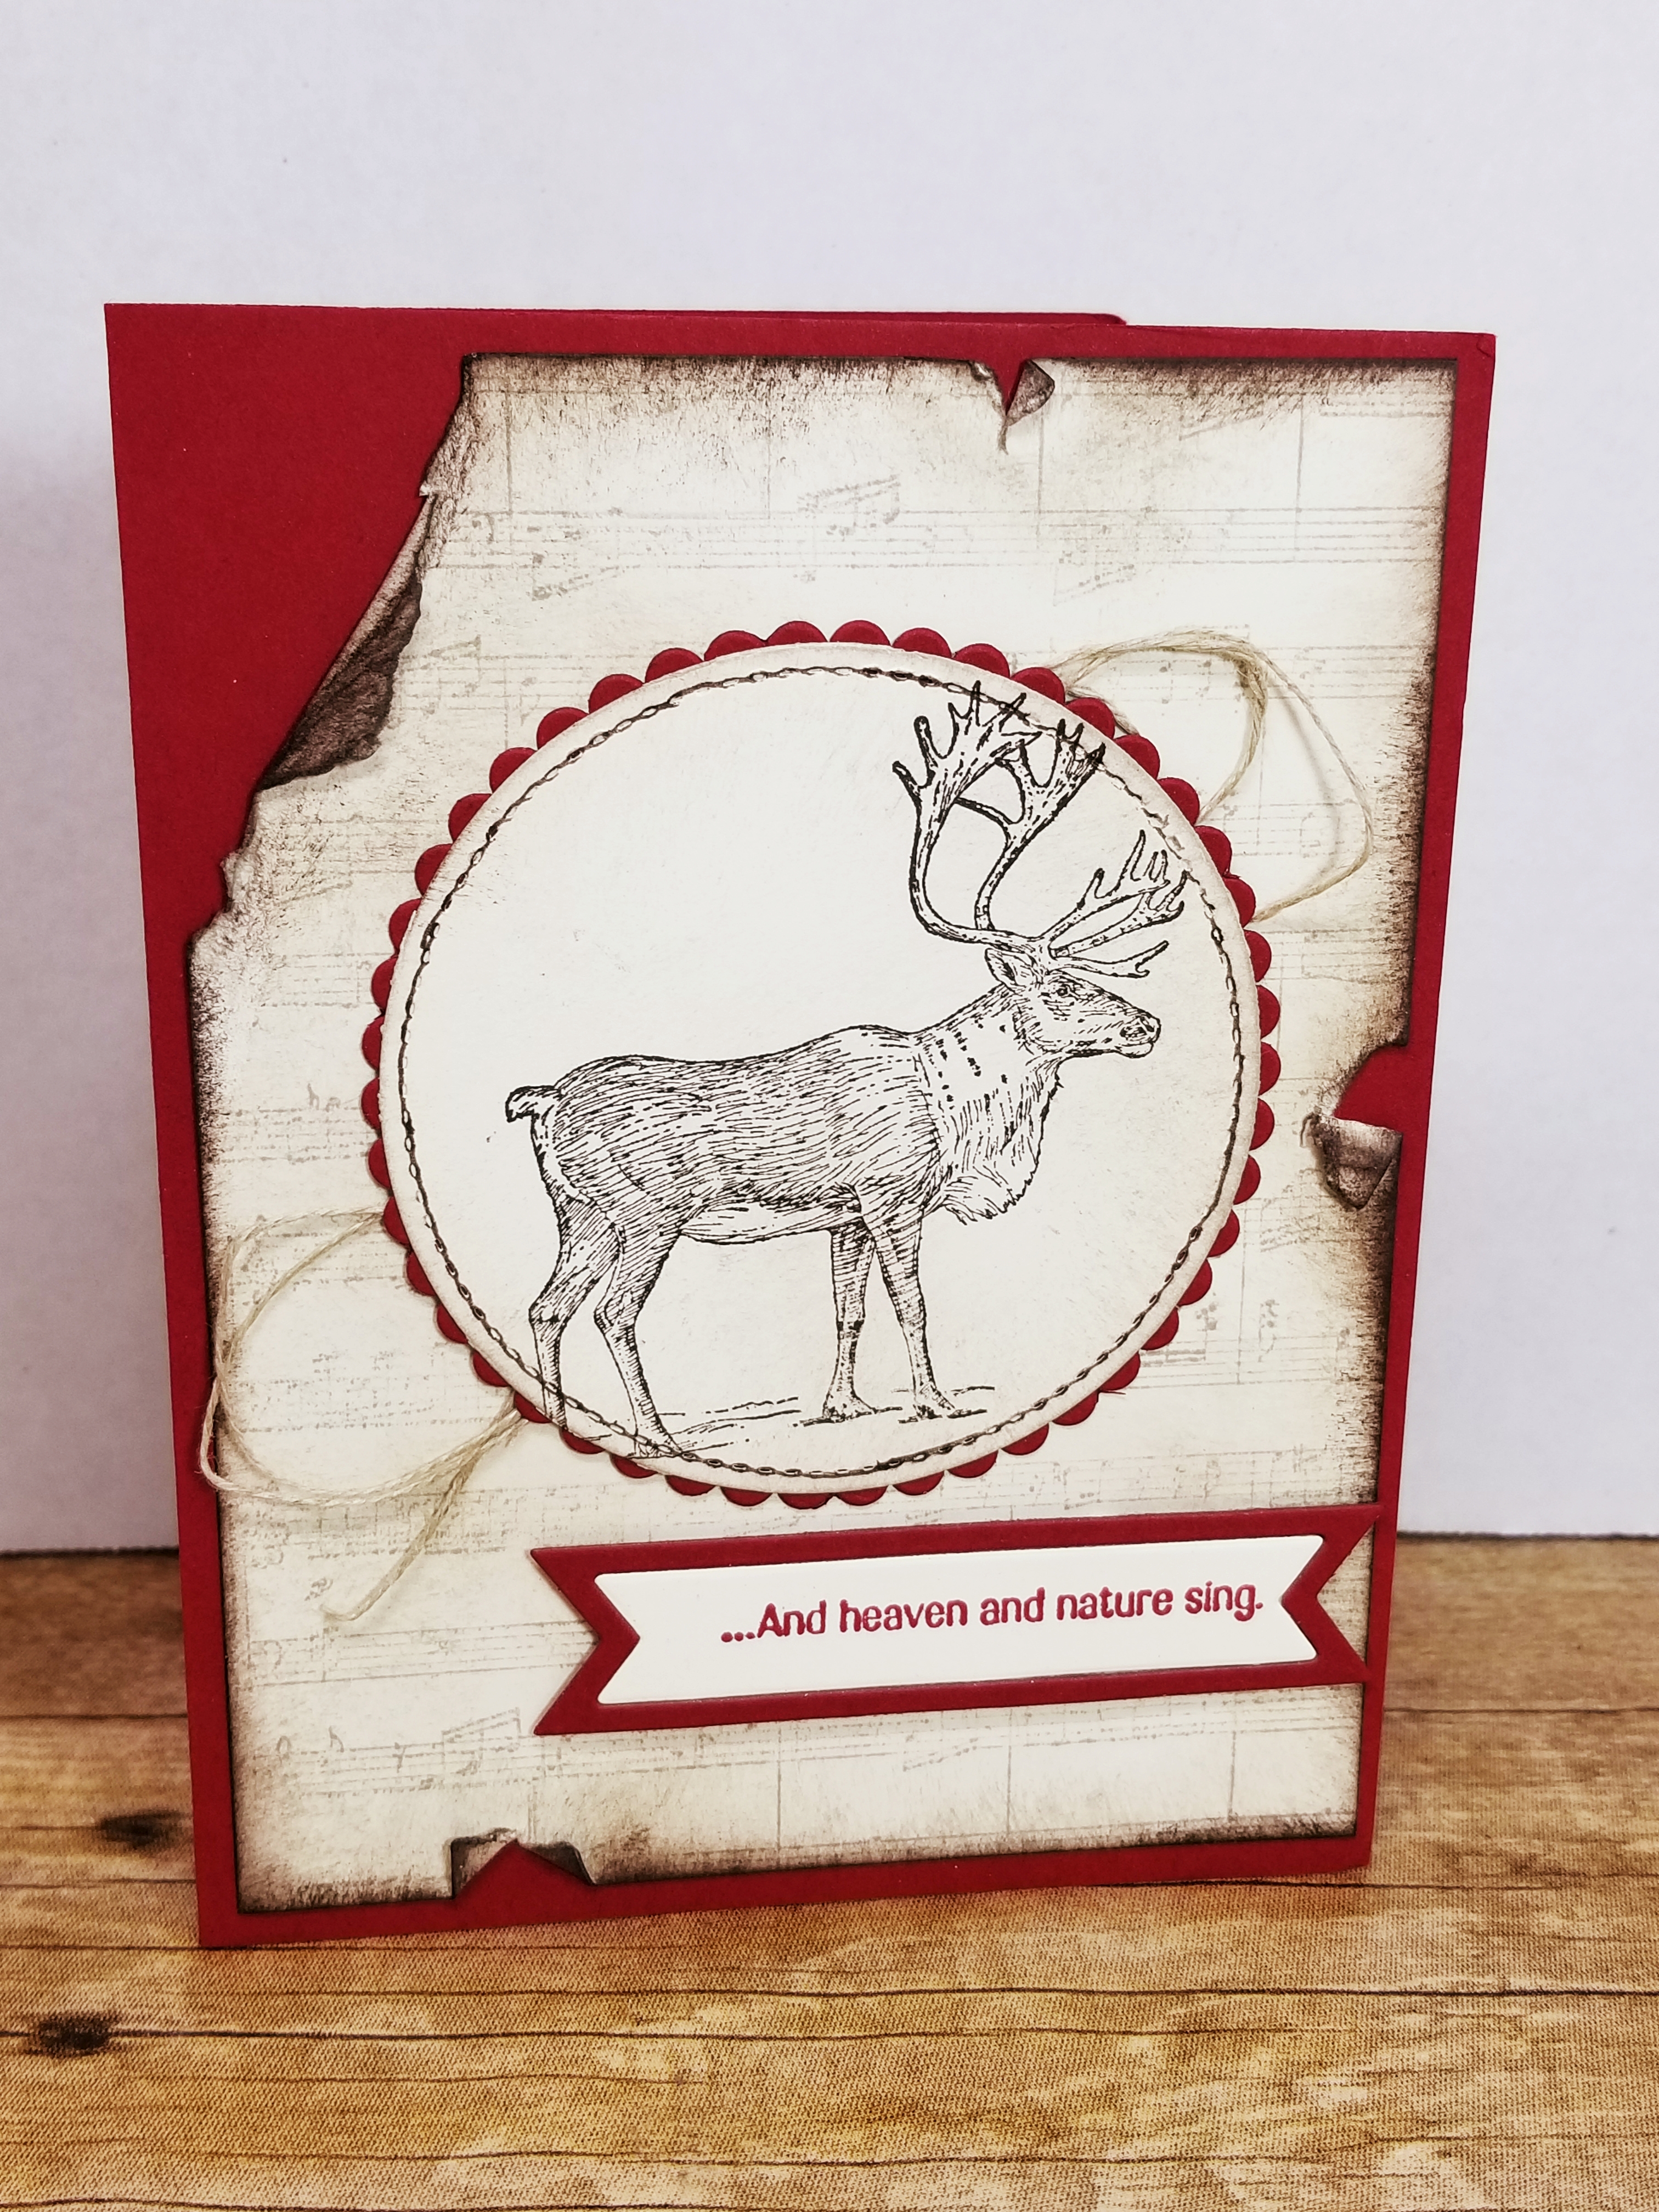
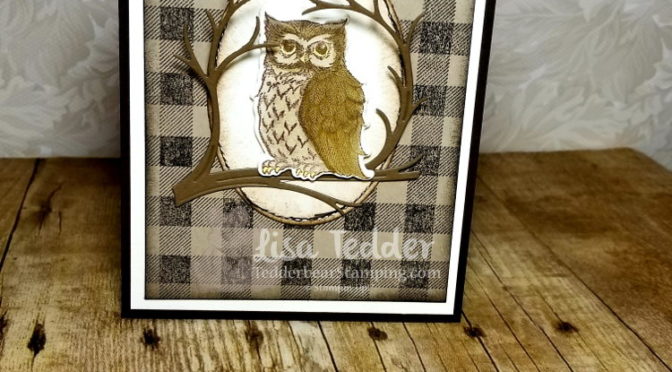
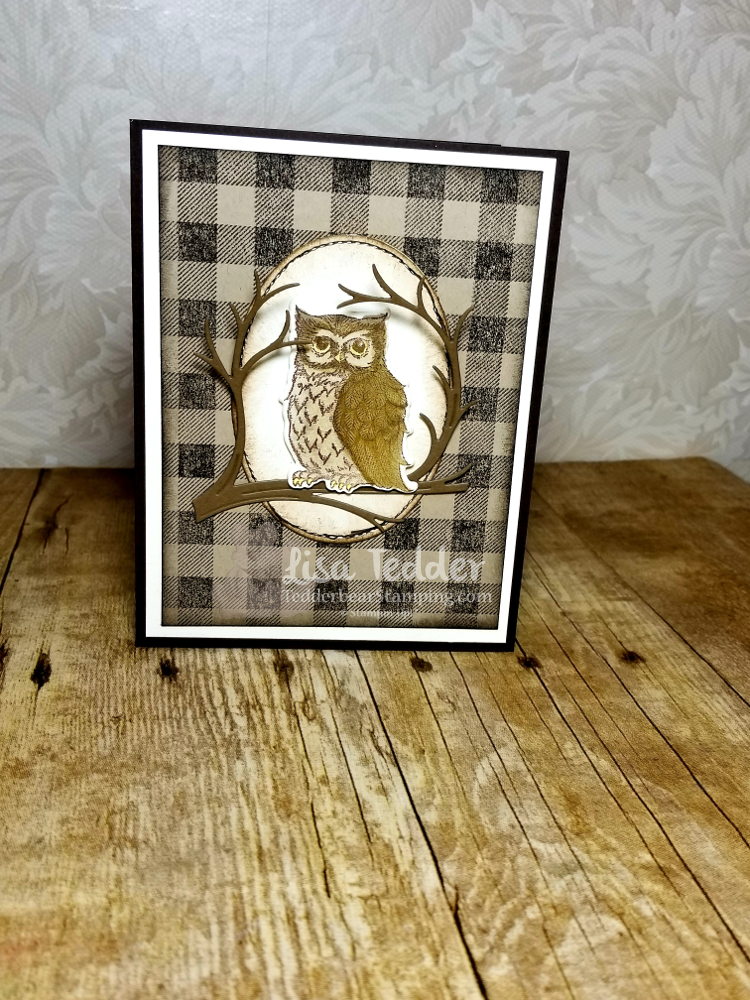
Today I am sharing with you an easy card that you can make if you are in a hurry. This can be for a man or woman! Those type of cards are hard to come by! I love the new Owl in the stamp set from Stampin’ Up! called Still Night. The branch can be used different ways and the owl can look different depending on how you color it.
I stamped the Buffalo Check stamp (also from SU!) onto Crumb cake using Early Espresso ink. Sponged the edges to make it look even more ‘old’. I stamped the owl on a scrap of Vanilla and colored it using the Soft Suede/Crumb Cake Blends. This stamp is EASY to color! I used the Die that matches the owl, put Dimensionals on the back and he is ready to put on my card! I die cut the branch from Soft Suede cardstock laid it over a Very Vanilla oval die cut with Stitched Framelits. I sponged the edges of the oval with Soft Suede and used the Early Espresso marker to add the stitched look.
I hope you like my easy card! I would love to hear what you think.
All the supplies are listed below, click on any picture to be taken to my OnLine Store!
Thank you for stopping by!
Lisa Tedder
A California Girl living in North Carolina Product List
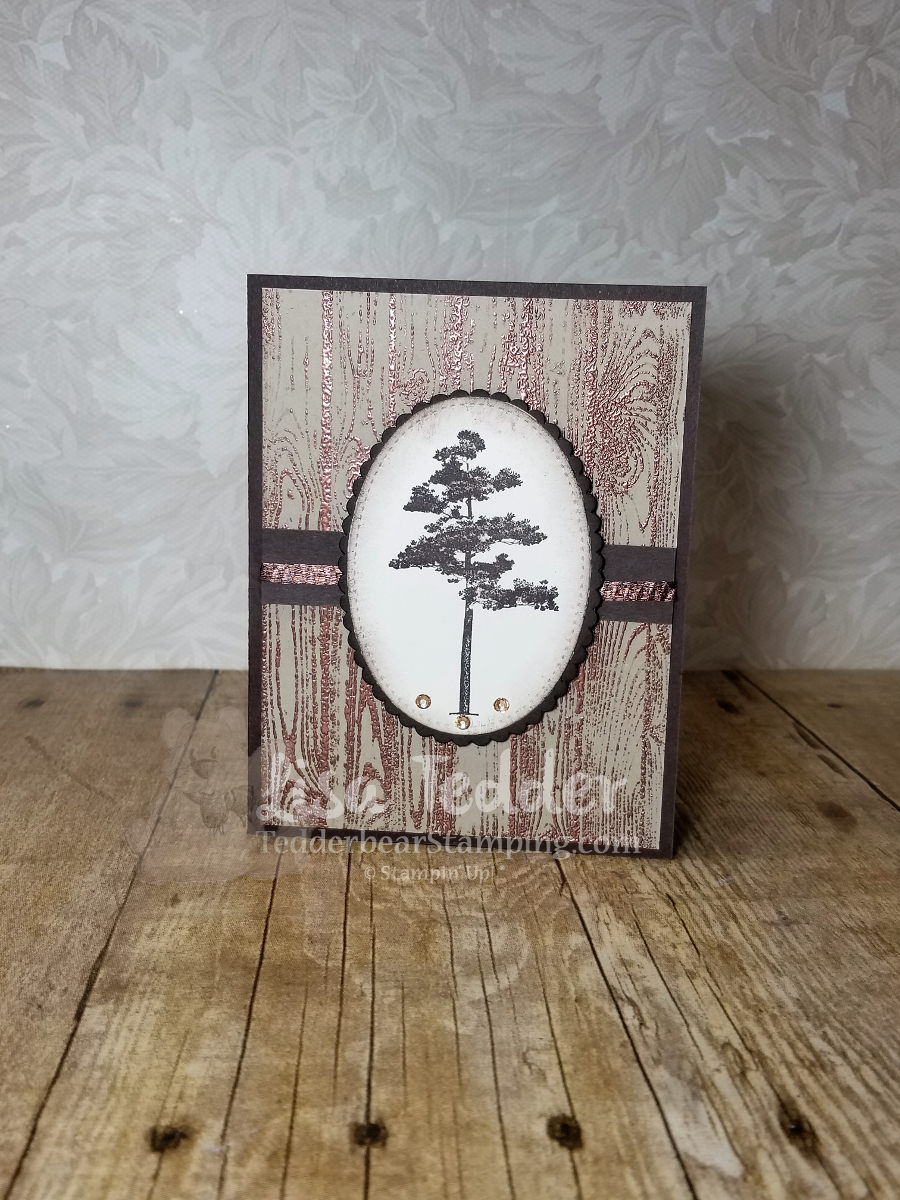
While at OnStage, an event that demonstrators attend to learn and get product early, I saw a card that made me make this card. I don’t know about you, but if I get an idea in my head it is very hard to wait to try and make it! I have a class that is at the Senior Center here in Kernersville that I bring elegant cards for the participants to make, this is one of the cards that we will be making soon.
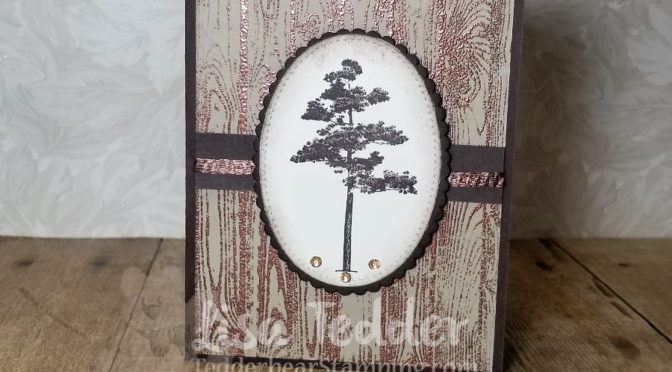
I used the background stamp set Hardwood from SU! I stamped it with Versamark and then poured copper Embossing powder on it and heat set to make this dynamic background! Very easy (and still fun to do even after 17 years…….I LOVE to watch the magic of embossing!) yet this is a Stunner! The tree is from the NEW catalog from Stampin’ Up! called Rooted in Nature, that will be coming out in June 2018.
I got this set FOR FREE while at On Stage along with 4 other stamp sets! If you want a job where you get freebies, get to play every day and meet FANTASTIC people, join my team and become a Demonstrator!
I colored the Rhinestones using the Bronze Blends so it would all coordinate! THAT is the reason I decided to join SU!, I don’t have to guess which colors coordinate! Plus, I got the discount! hahahaha
Thanks for stopping by, if you like what you see and want to buy from me, just click on any pic below and you will be taken to my OnLine Store!
Lisa Tedder
A California girl living in North Carolina Product List
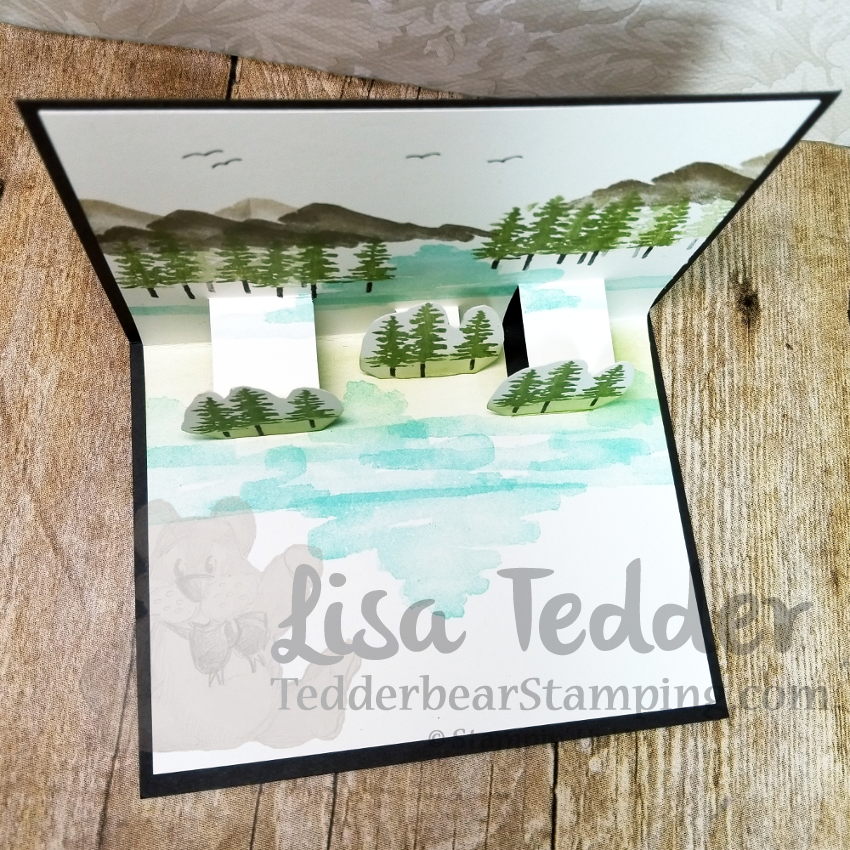
I am not much of a Measurer and if it takes me too long to ‘figure it out’ I tend to not want to do it! That doesn’t mean that I WON’T do it, just that I put it off until I have plenty of time! I keep seeing these Pop-Up Cards and I wanted to figure out an easy way to make one, that I could teach and show on a video…….
I figured out a quick and easy way to make a Pop-Up card that takes minimal measuring and hardly ANY stress! Check out my video!
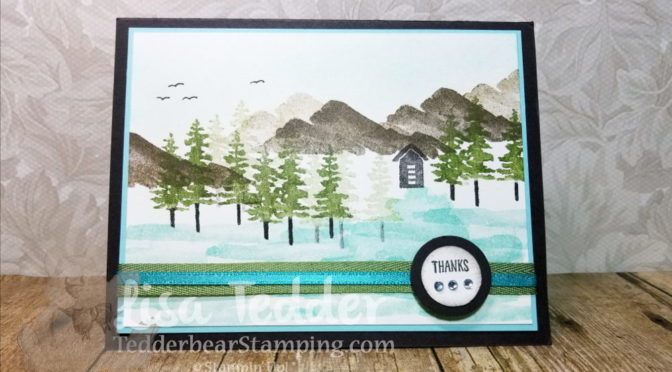
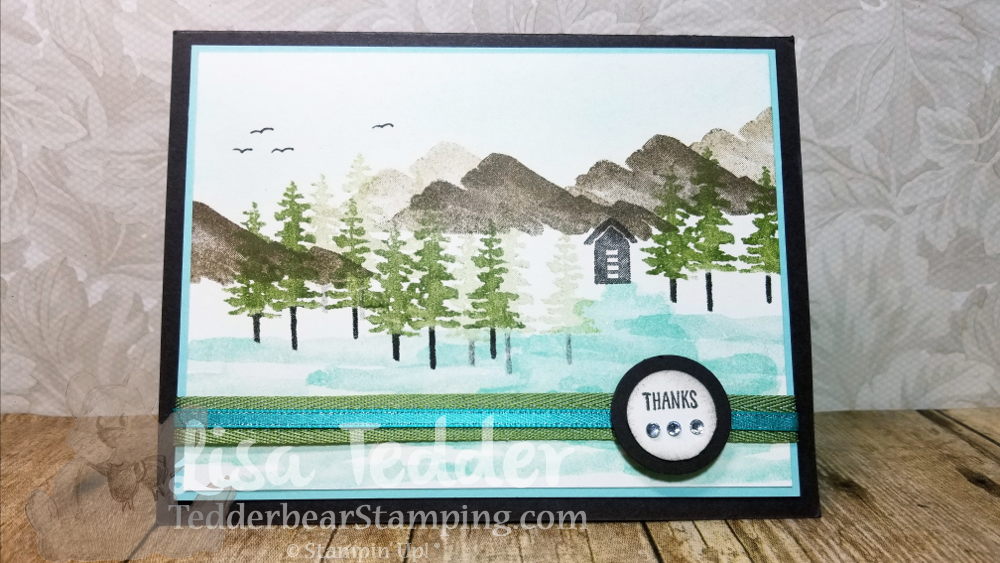
Here is the front of the card:
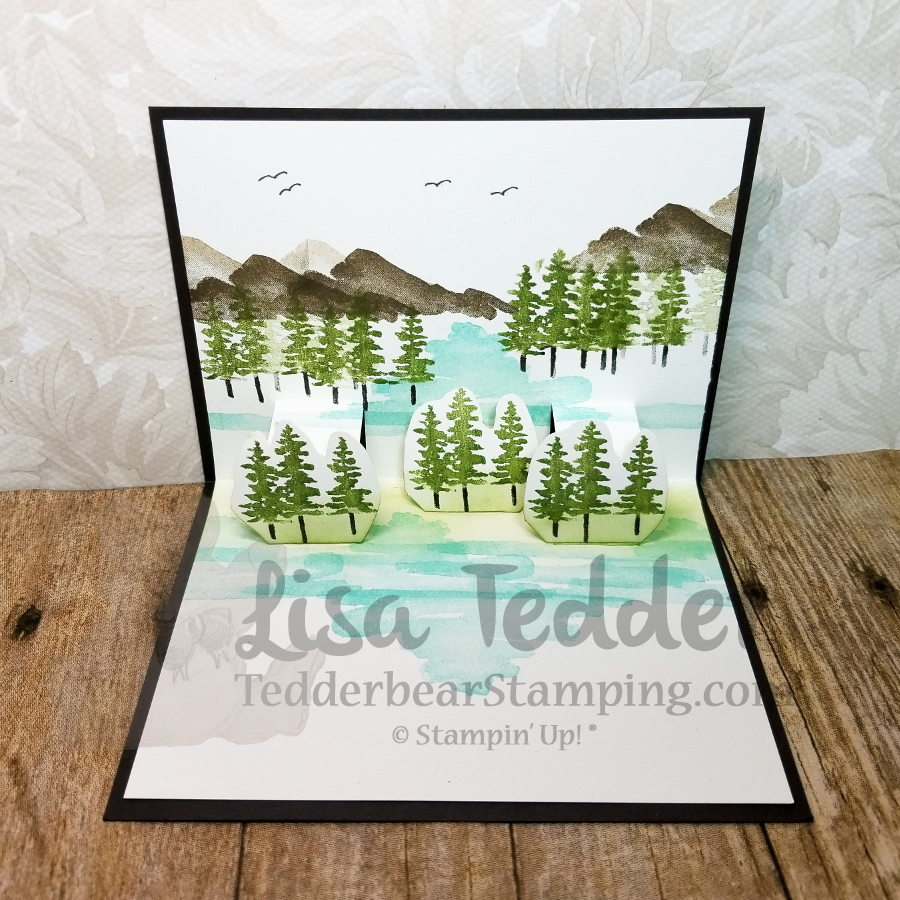
I absolutely LOVE this Stampin’ Up! set: Waterfront! It really makes you feel like an artist, and you can make the scenery any way you can imagine!! I changed the scenery inside, popped up some trees and I am thrilled with the result!
The trees fold down when the card is closed and Stand up when open! On my video you can see just how easy this card is!
Here is the view from above:
I hope you like this card as much as I do! The supplies are listed below, just click on any picture to be taken to my OnLine Store!
Until next time!
Lisa Tedder
A California Girl living in North Carolina
Beautiful card! Thank you Sandi for the great idea!
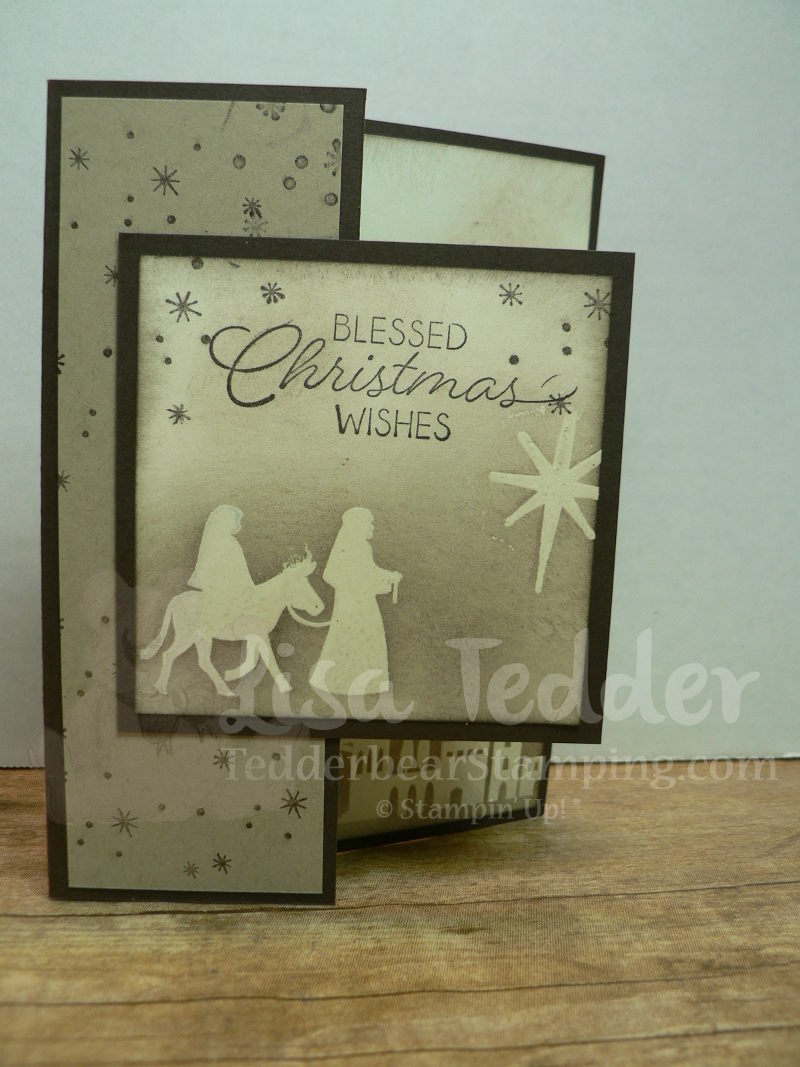
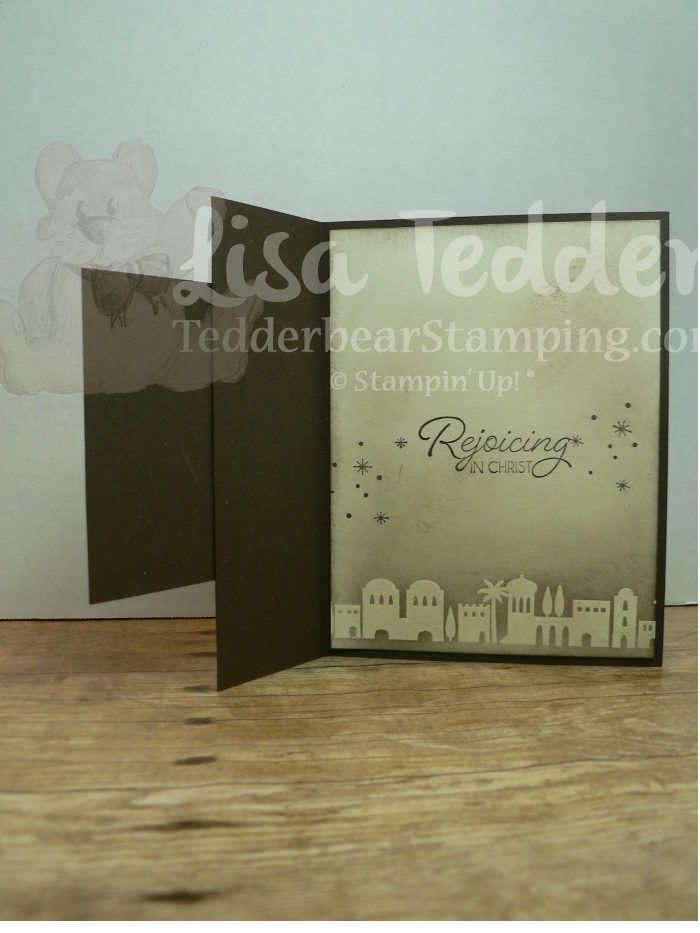
If you are interested in my 7 page tutorial for all 6 of my Christmas Cards (get instructions, dimensions and color photos) you can get it just by purchasing $50 from my OnLine Store! Please use hostess code CGCDT6ZJ
All supplies are listed below, just click on any picture to be taken to my Store!
Gotta Run!
Lisa Tedder
A California Girl living in North Carolina Product List
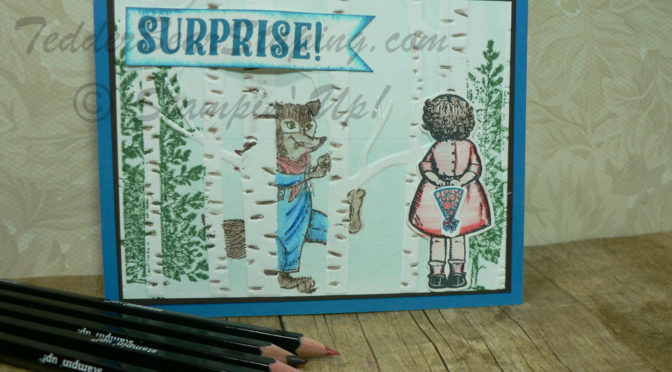
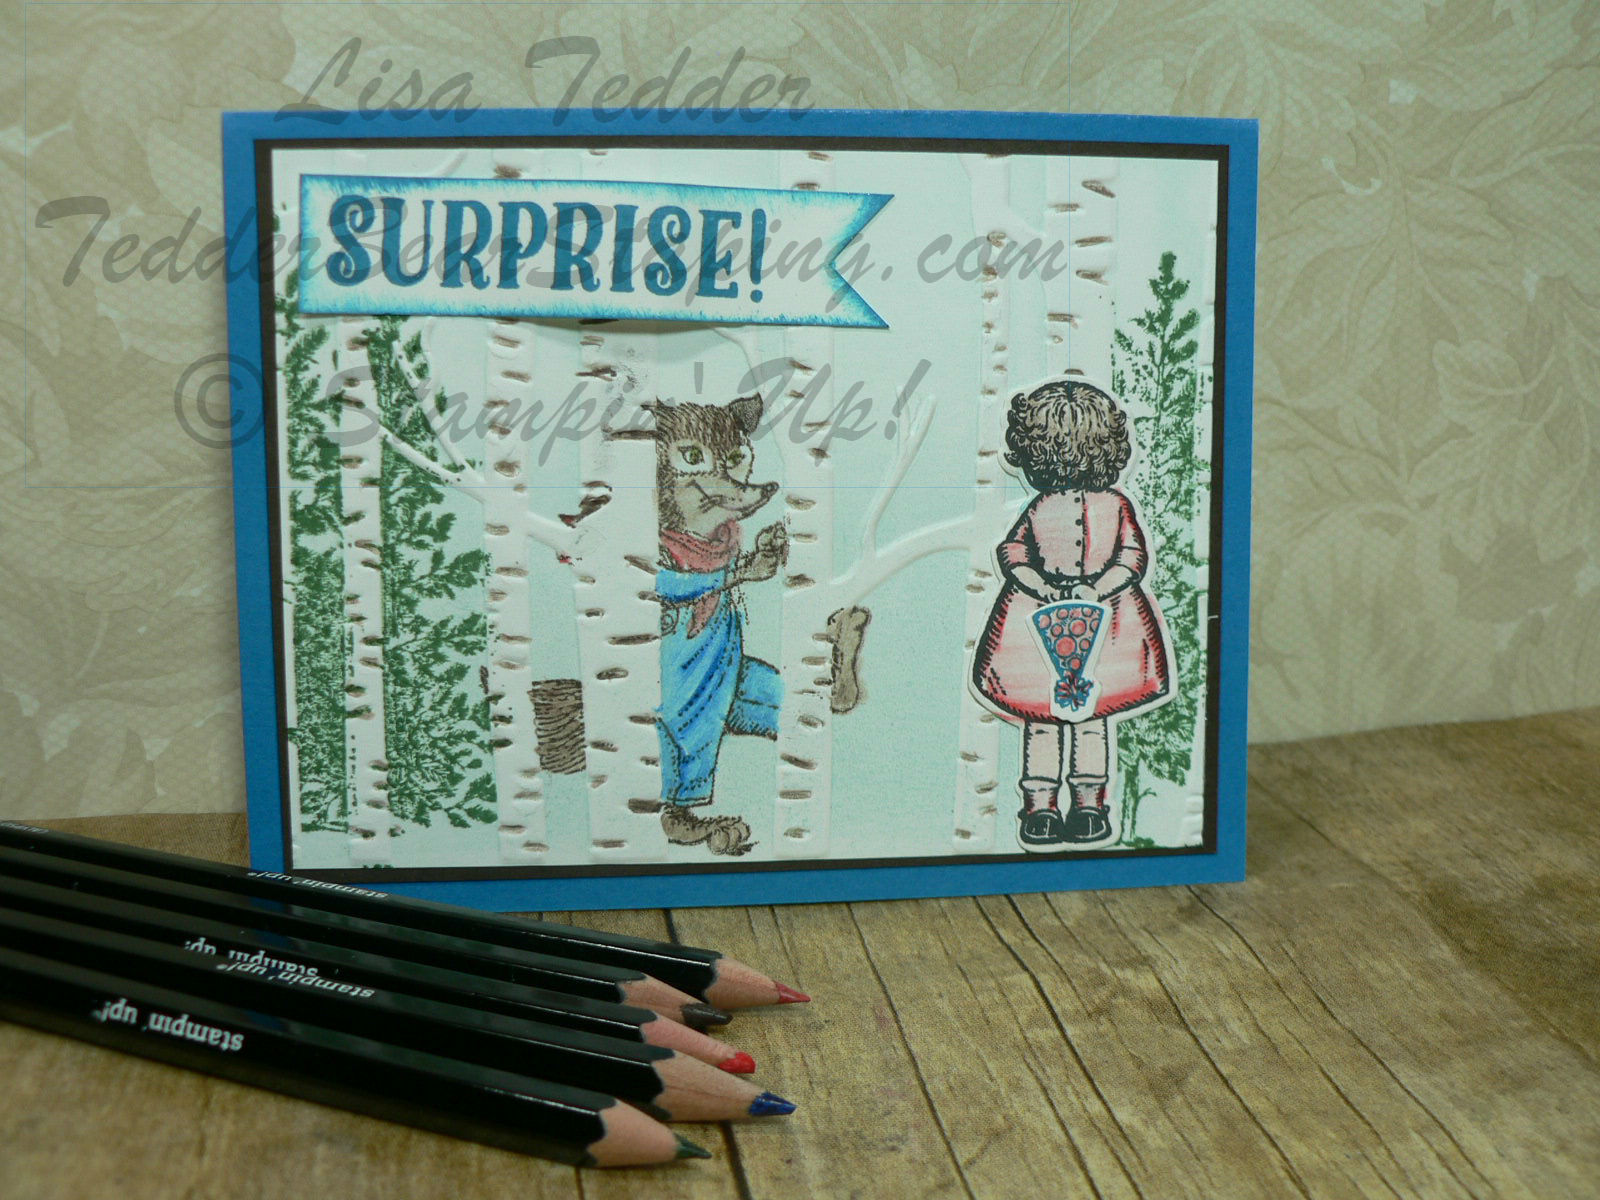
I love Tuesday’s! Techniques are my favorite thing about stamping. I get to use my Stamps in a totally different way!! The Technique I am using today had me thinking of what I could put BEHIND trees, but still show what I needed it to show.
Here is today’s card:
I made a YouTube video showing this stamping technique. I love Birch Trees, I also love the Birthday Delivery Stamp set by Stampin’ Up! I got super excited about being able to use BOTH! When you go watch the video it will show you exactly how easy this technique is to do!
Stamping directly onto an Embossing Folder isn’t something you think of normally. Tips: 1. Stamp on the side that has the negative (dipping down) the part you want as your focal in the folder this will be the part that is raised on your card. 2. Pick images to stamp on that you will see in the lines available that are the flat parts of the folder. 3. Use colors that will enhance what you are stamping. 4. Use a brayer to lay down a color that will be behind the images (sky), anything you stamp over the brayered color will be at the top of the cardstock. 5. Make sure that you don’t move the folder once you put all the stamping in (I did NOT follow this rule on my video, but I fixed my mistake!) 6. Remember that it’s ONLY PAPER, and play with it!
I won’t be able to show you here how to do this technique, it would be too confusing, so please go check out my video and see how fun and easy it is. You will notice that you will look at stamps in a totally new way!
As always, I will have the supplies listed below, just click on any image to be taken to my OnLine Store!
Thanks for stopping by! Until next time!
Lisa Tedder
TedderBearStamping
A California Girl living in North Carolina
Want to receive this card? Check out below how you can be in a drawing to get this beautiful card mailed to you!
Today I am sharing with you a new Technique that I kind of stumbled on!! I’m using the NEW stamp set: Painted Harvest #144783 which will be in the Holiday Catalog coming out in September! You can see the video on YouTube, I have some great tips and it’s a VERY simple Z fold card!
Here is a picture of the front of the card:
Isn’t it GORGEOUS!? I was just playing around and was astounded at how great this came out! This is one of those times when I am sitting at my stamp table (by myself) and I start to talk and say how beautiful it is! LOL No-One is there, mind you……..even after 16 years of stamping I STILL get excited that I can make something this pretty!
Here it is open:
Doesn’t Berry Burst work great with this card? And here is a close-up of the front flower that looks like embroidery:
I popped up this whole piece using the Foam Adhesive Strips since they pop up more than Dimensionals. The video I made shows a different leaf than the one shown here, and I like it better. I show you how to mask the flower and put the leaves behind it. I also show you how to do the ribbon behind this image. If you go see it, leave me a message and let me know what you think.
IF you leave me a message I will have a drawing in 2 weeks on the 28th for one of you to win this card! Leave a message either here on my blog or on the video on Youtube.
ALL the dimensions are on the video, so if you want to recreate this go check it out!
All the supplies are listed below, click on any picture to be sent to my On-Line Store! If you purchase from me I will be sending you a handmade card as a Thank You!
This is a SNEAK PEEK so hope you enjoyed this card as much as I do! Keep an eye out for MORE Technique Tuesday videos! Techniques are my favorite. Anything that will let me use my stamp supplies more are a win win in my book!
Until next time!
Lisa Tedder
TedderBearStamping
A California girl living in North Carolina
Are you ready for my Christmas in July card #5? This one was CASE’d (Copy, Share/Stamp *I don’t know the original ‘S’*, Everything) from StampinMak.
I didn’t change a thing because this was perfect! I really try to make cards I see my own, but when I see something that really touches me, I go with it!
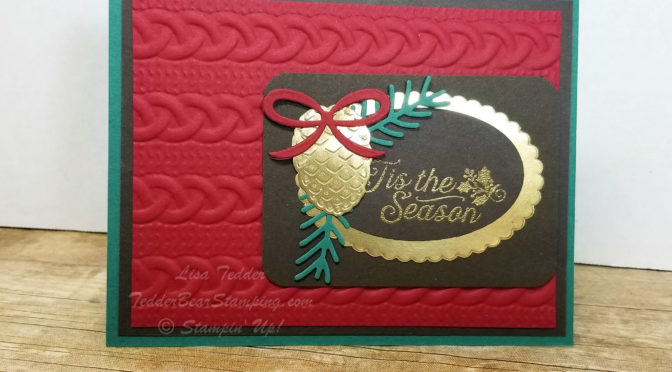
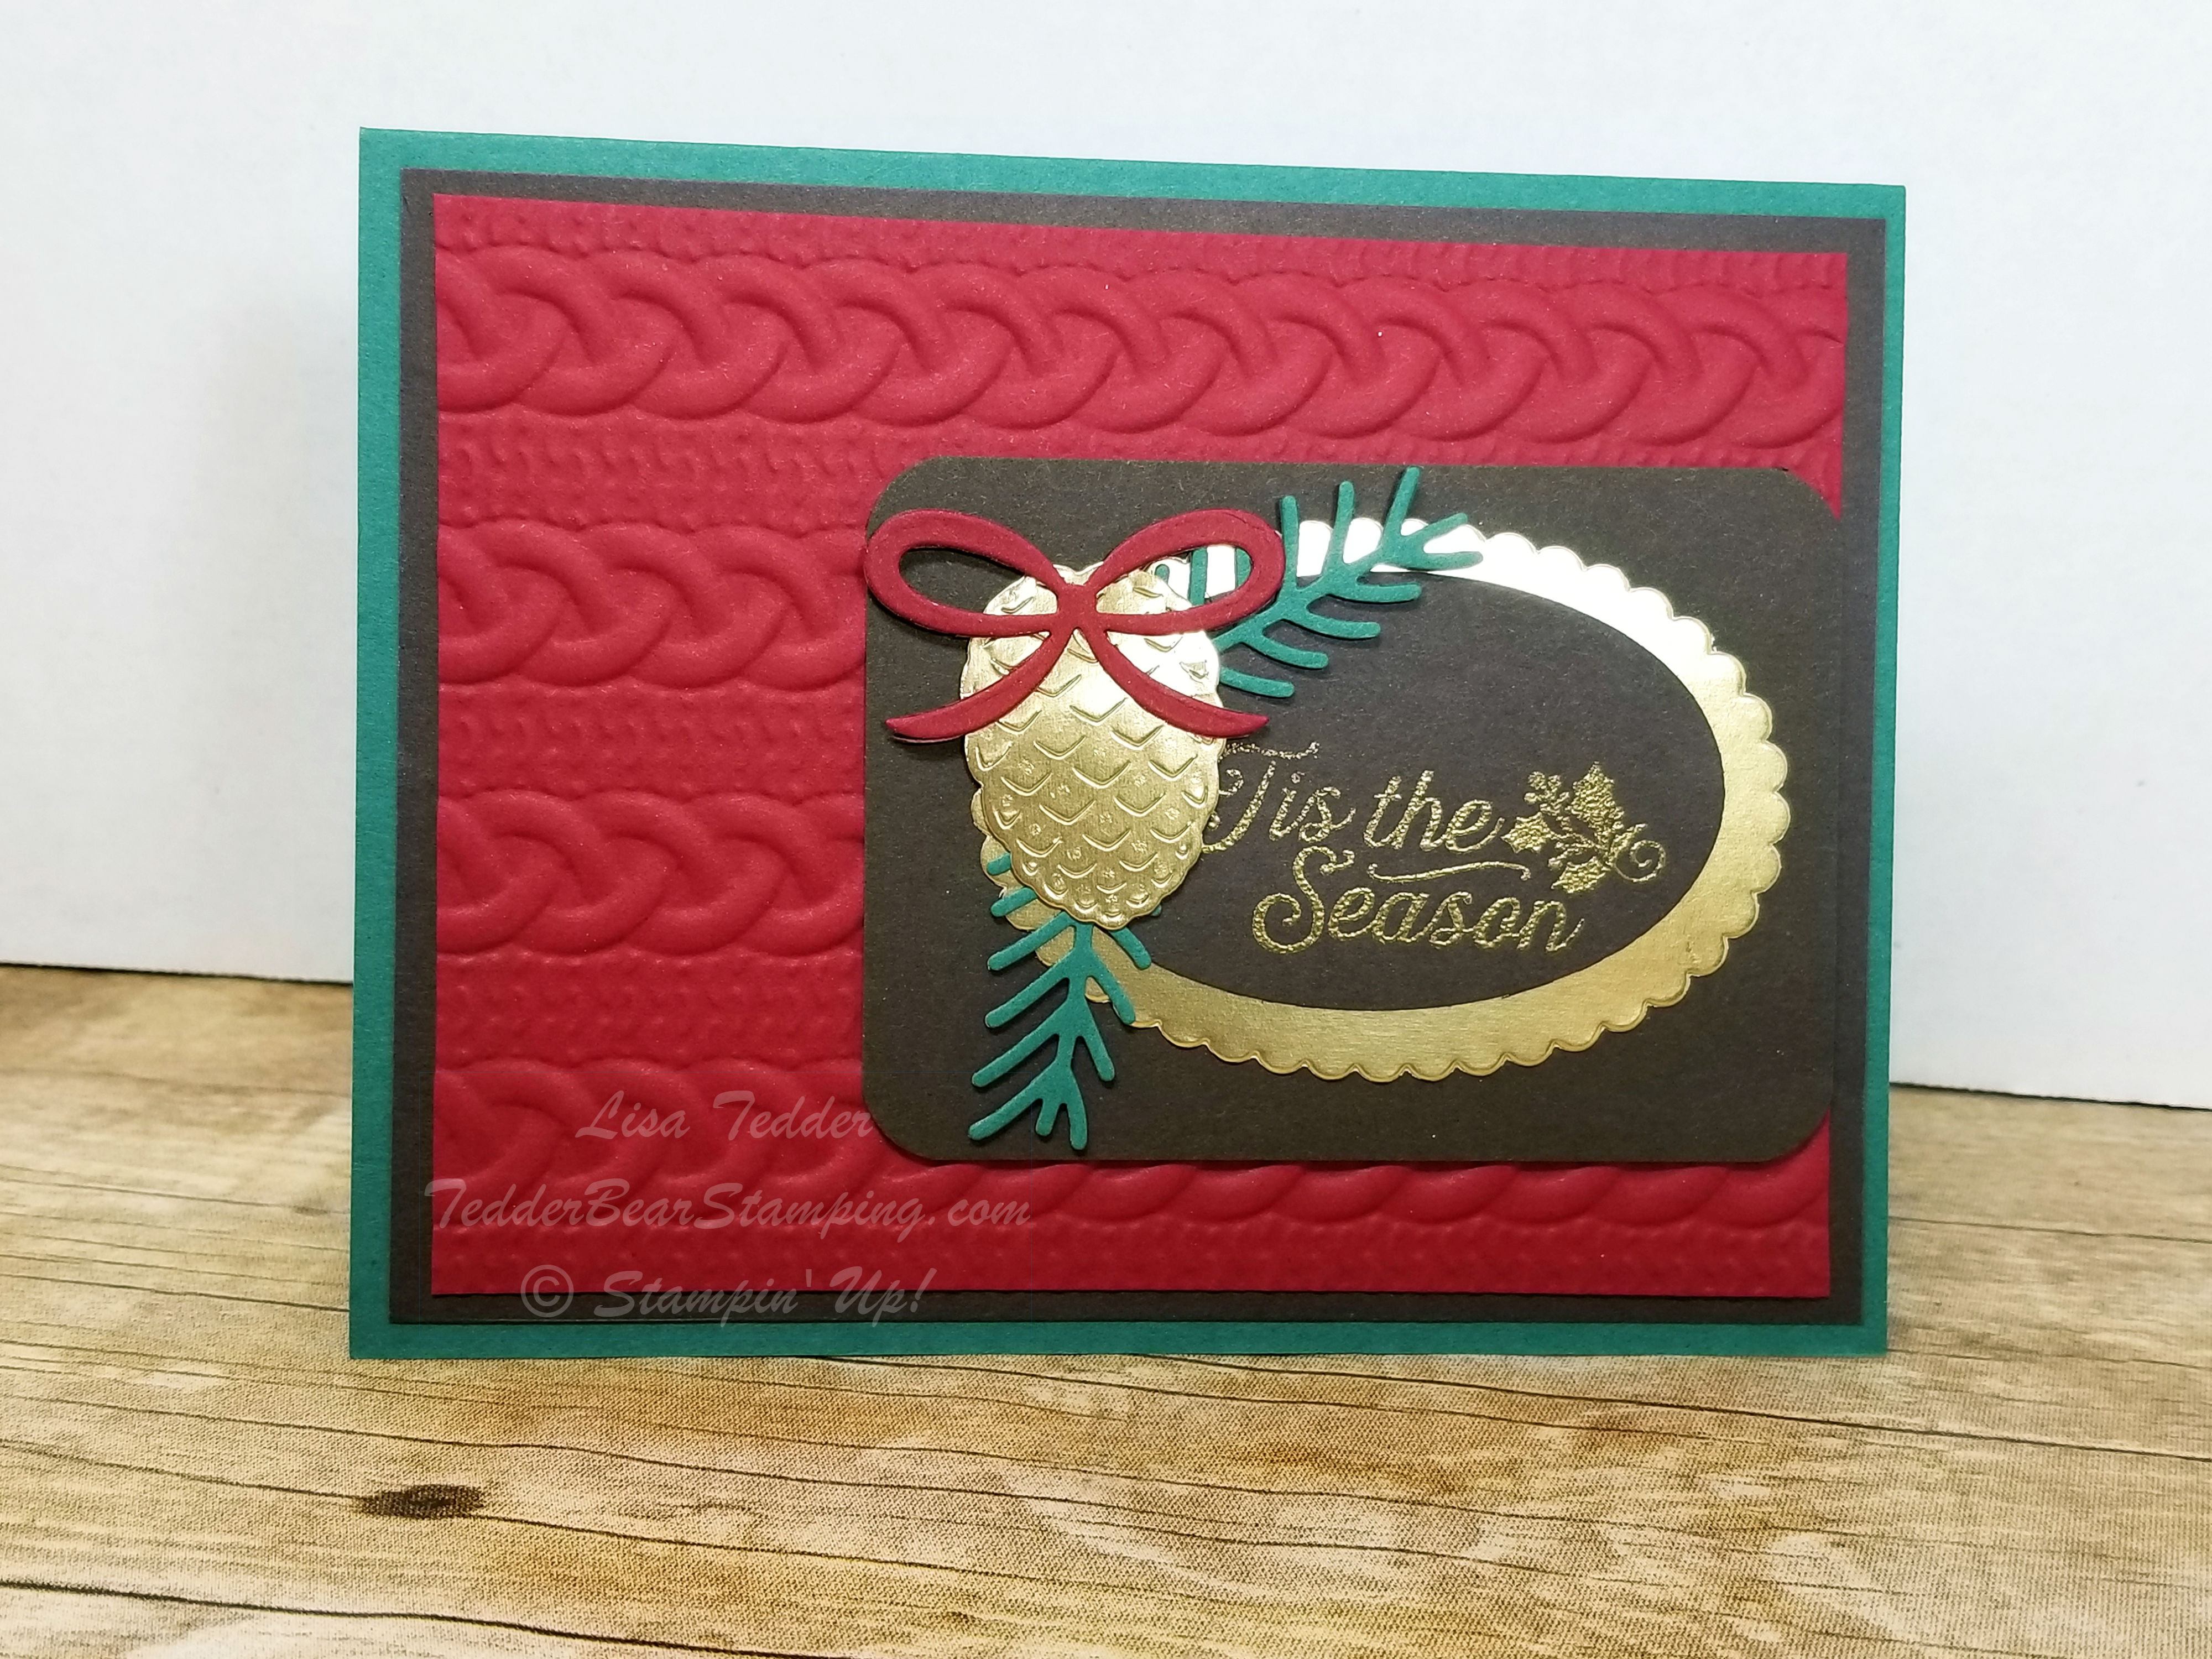
Here is my 5th card:
I LOVE the Gold Foil on the Cherry Cobbler and Early Espresso! The Cable Knit Embossing Folder ties the whole card together!! What do you think? Need anything?
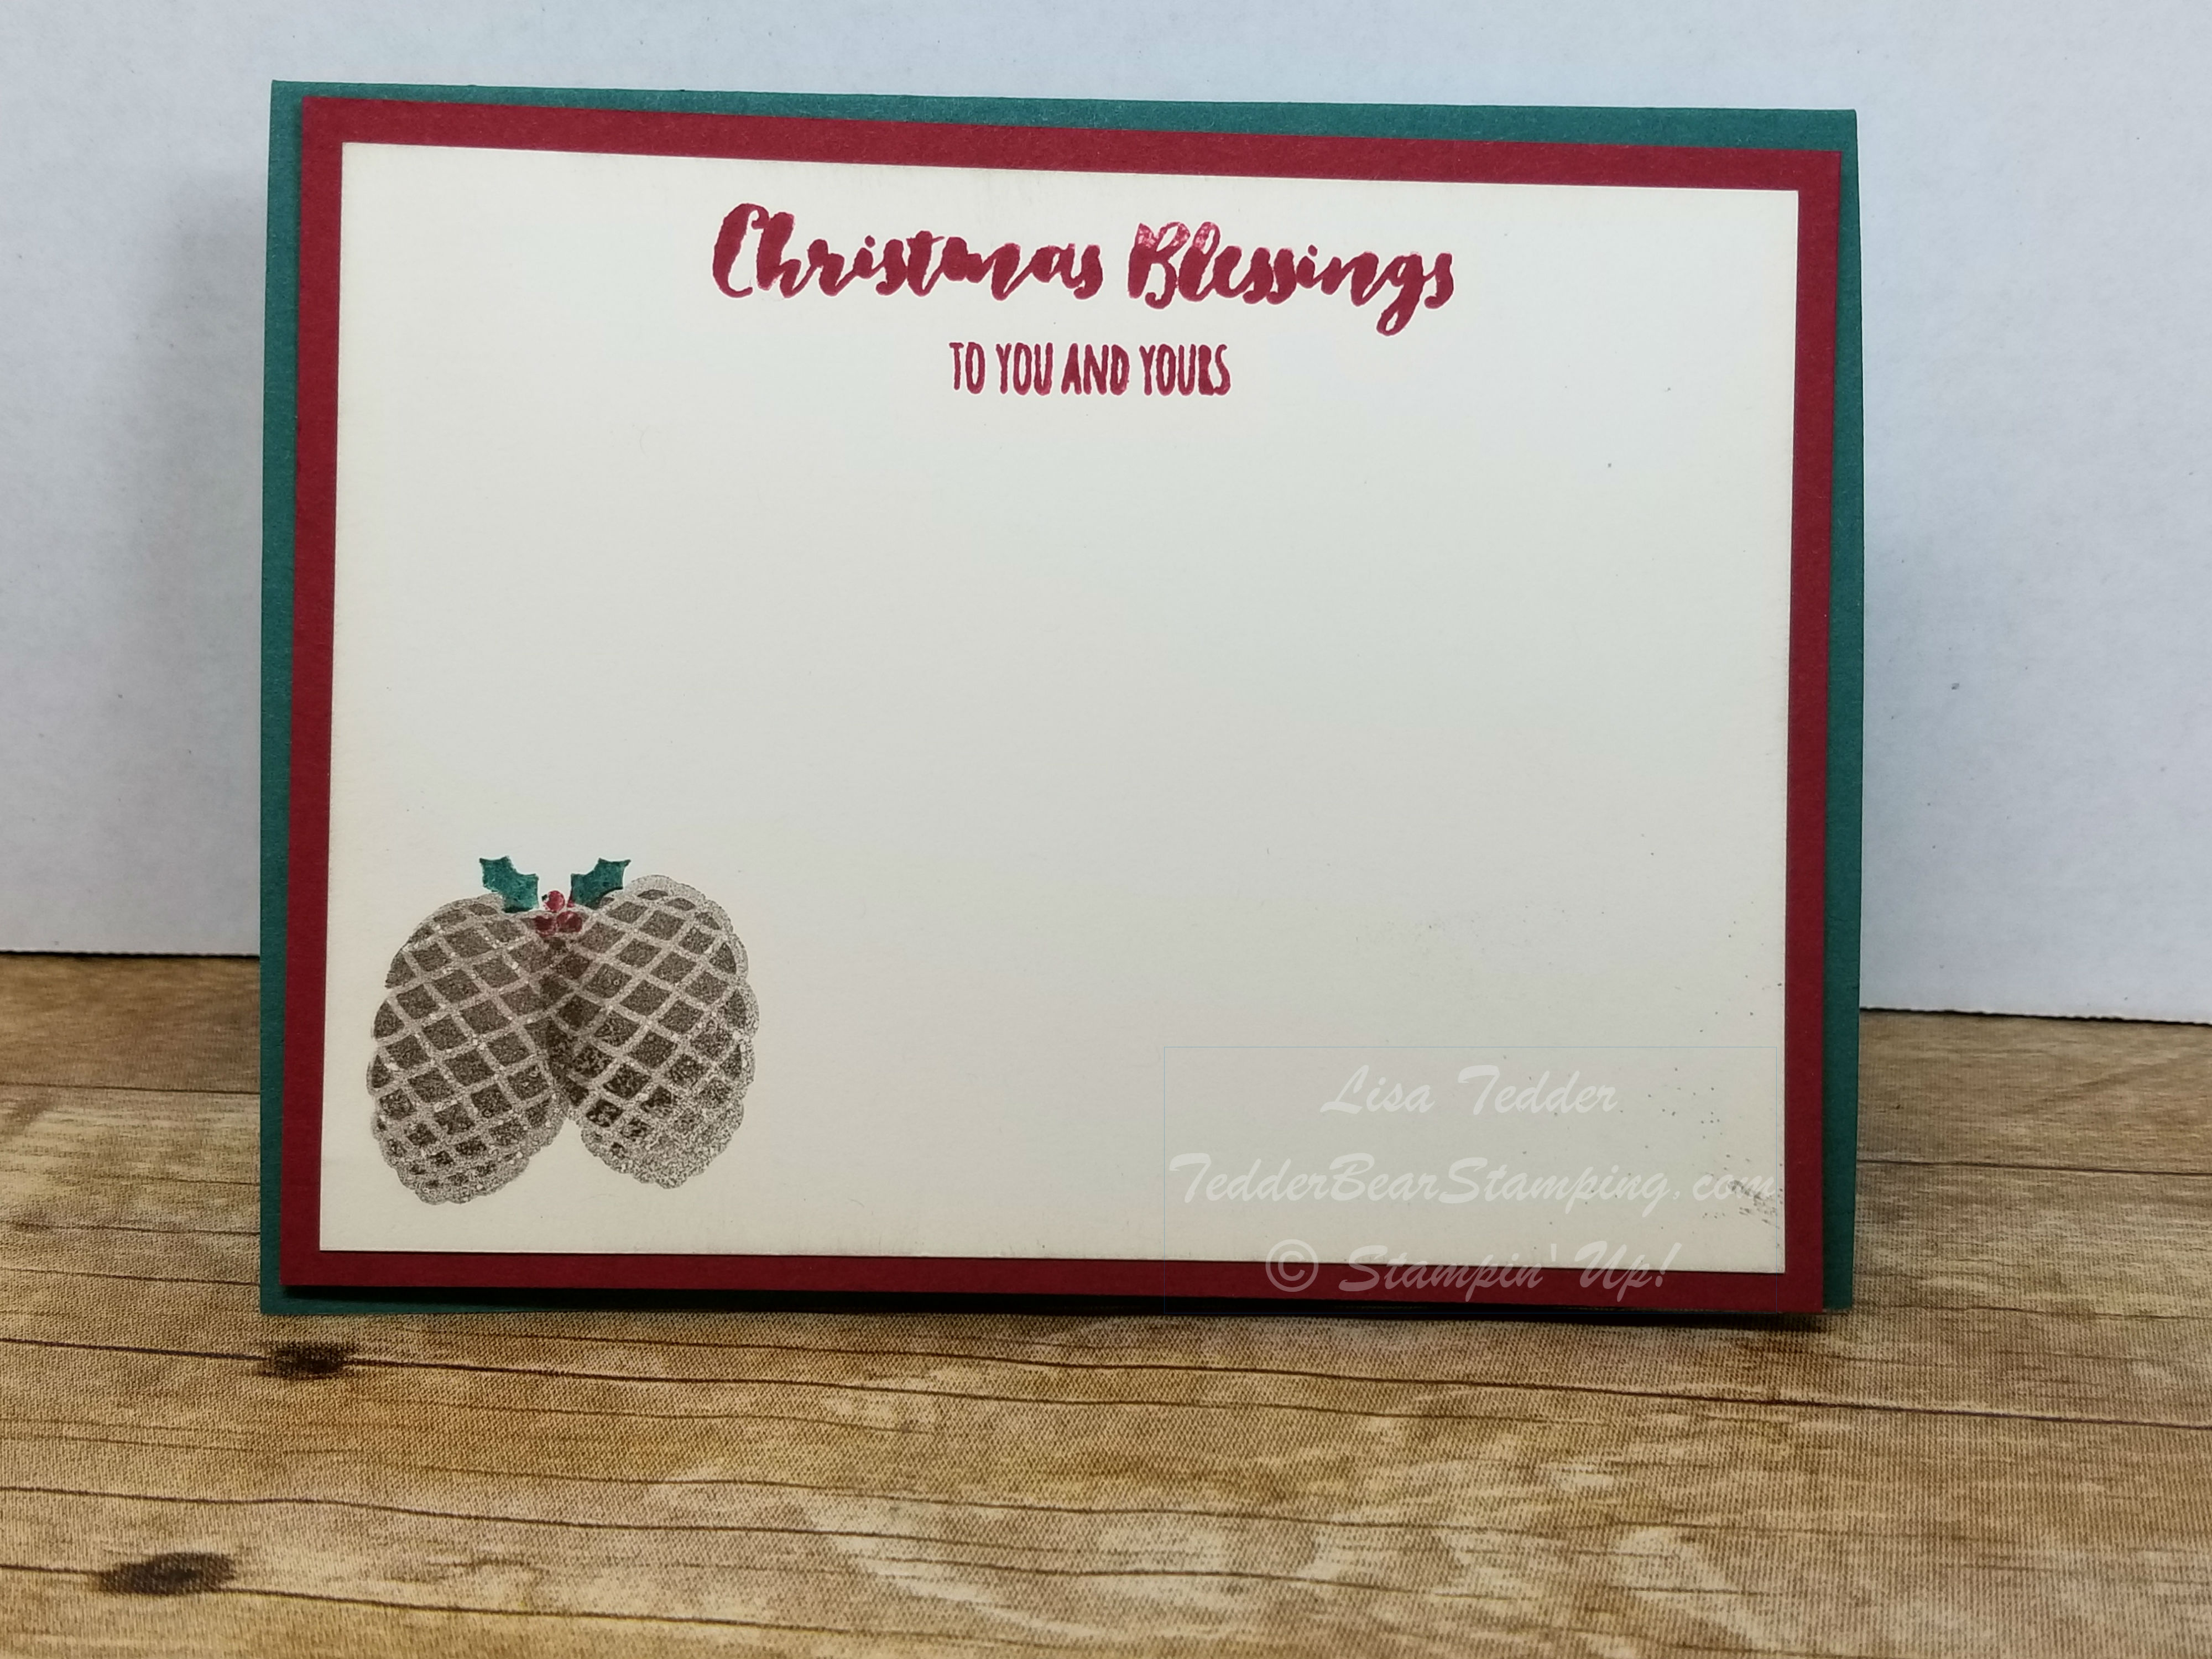
Inside:
Fun!! Now who is ‘card worthy’ to receive this wonderful card?! When you put your heart into making a card, you have to make sure that the recipient will appreciate your efforts! I really send them to all my family and friends, I just hope they know how much hard work and love goes into each and every handmade card!
Measurements for this card:
****** Cardstock:
Tranquil Tide – 8 1/2″ X 5 1/2″
Early Espresso – 5 1/4″ x 4″ , 3 1/2″ x 2 1/2″ (for front), scrap for oval
Cherry Cobbler 5″ X 3 3/4″ (front), 5 1/4″ x 4 (inside)
Very Vanilla 5″ x 3 3/4″ for inside
Gold Foil 3 1/4″ X 2 1/4″, plus scrap for pinecone
TIP: Use Envelope maker to corner round the small Early Espresso
******
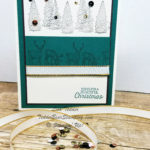
To remind you, here are the other cards that have come before:
Click on picture to see postClick on picture to see postClick on picture to see postClick on picture to see post.
Does this make you want to attend my class? There is ONE more Christmas Card to go!! The one I post next is the one my attendees get if they pre-pay for the class! Stay tuned. Subscribe to my blog so you don’t miss the next post.
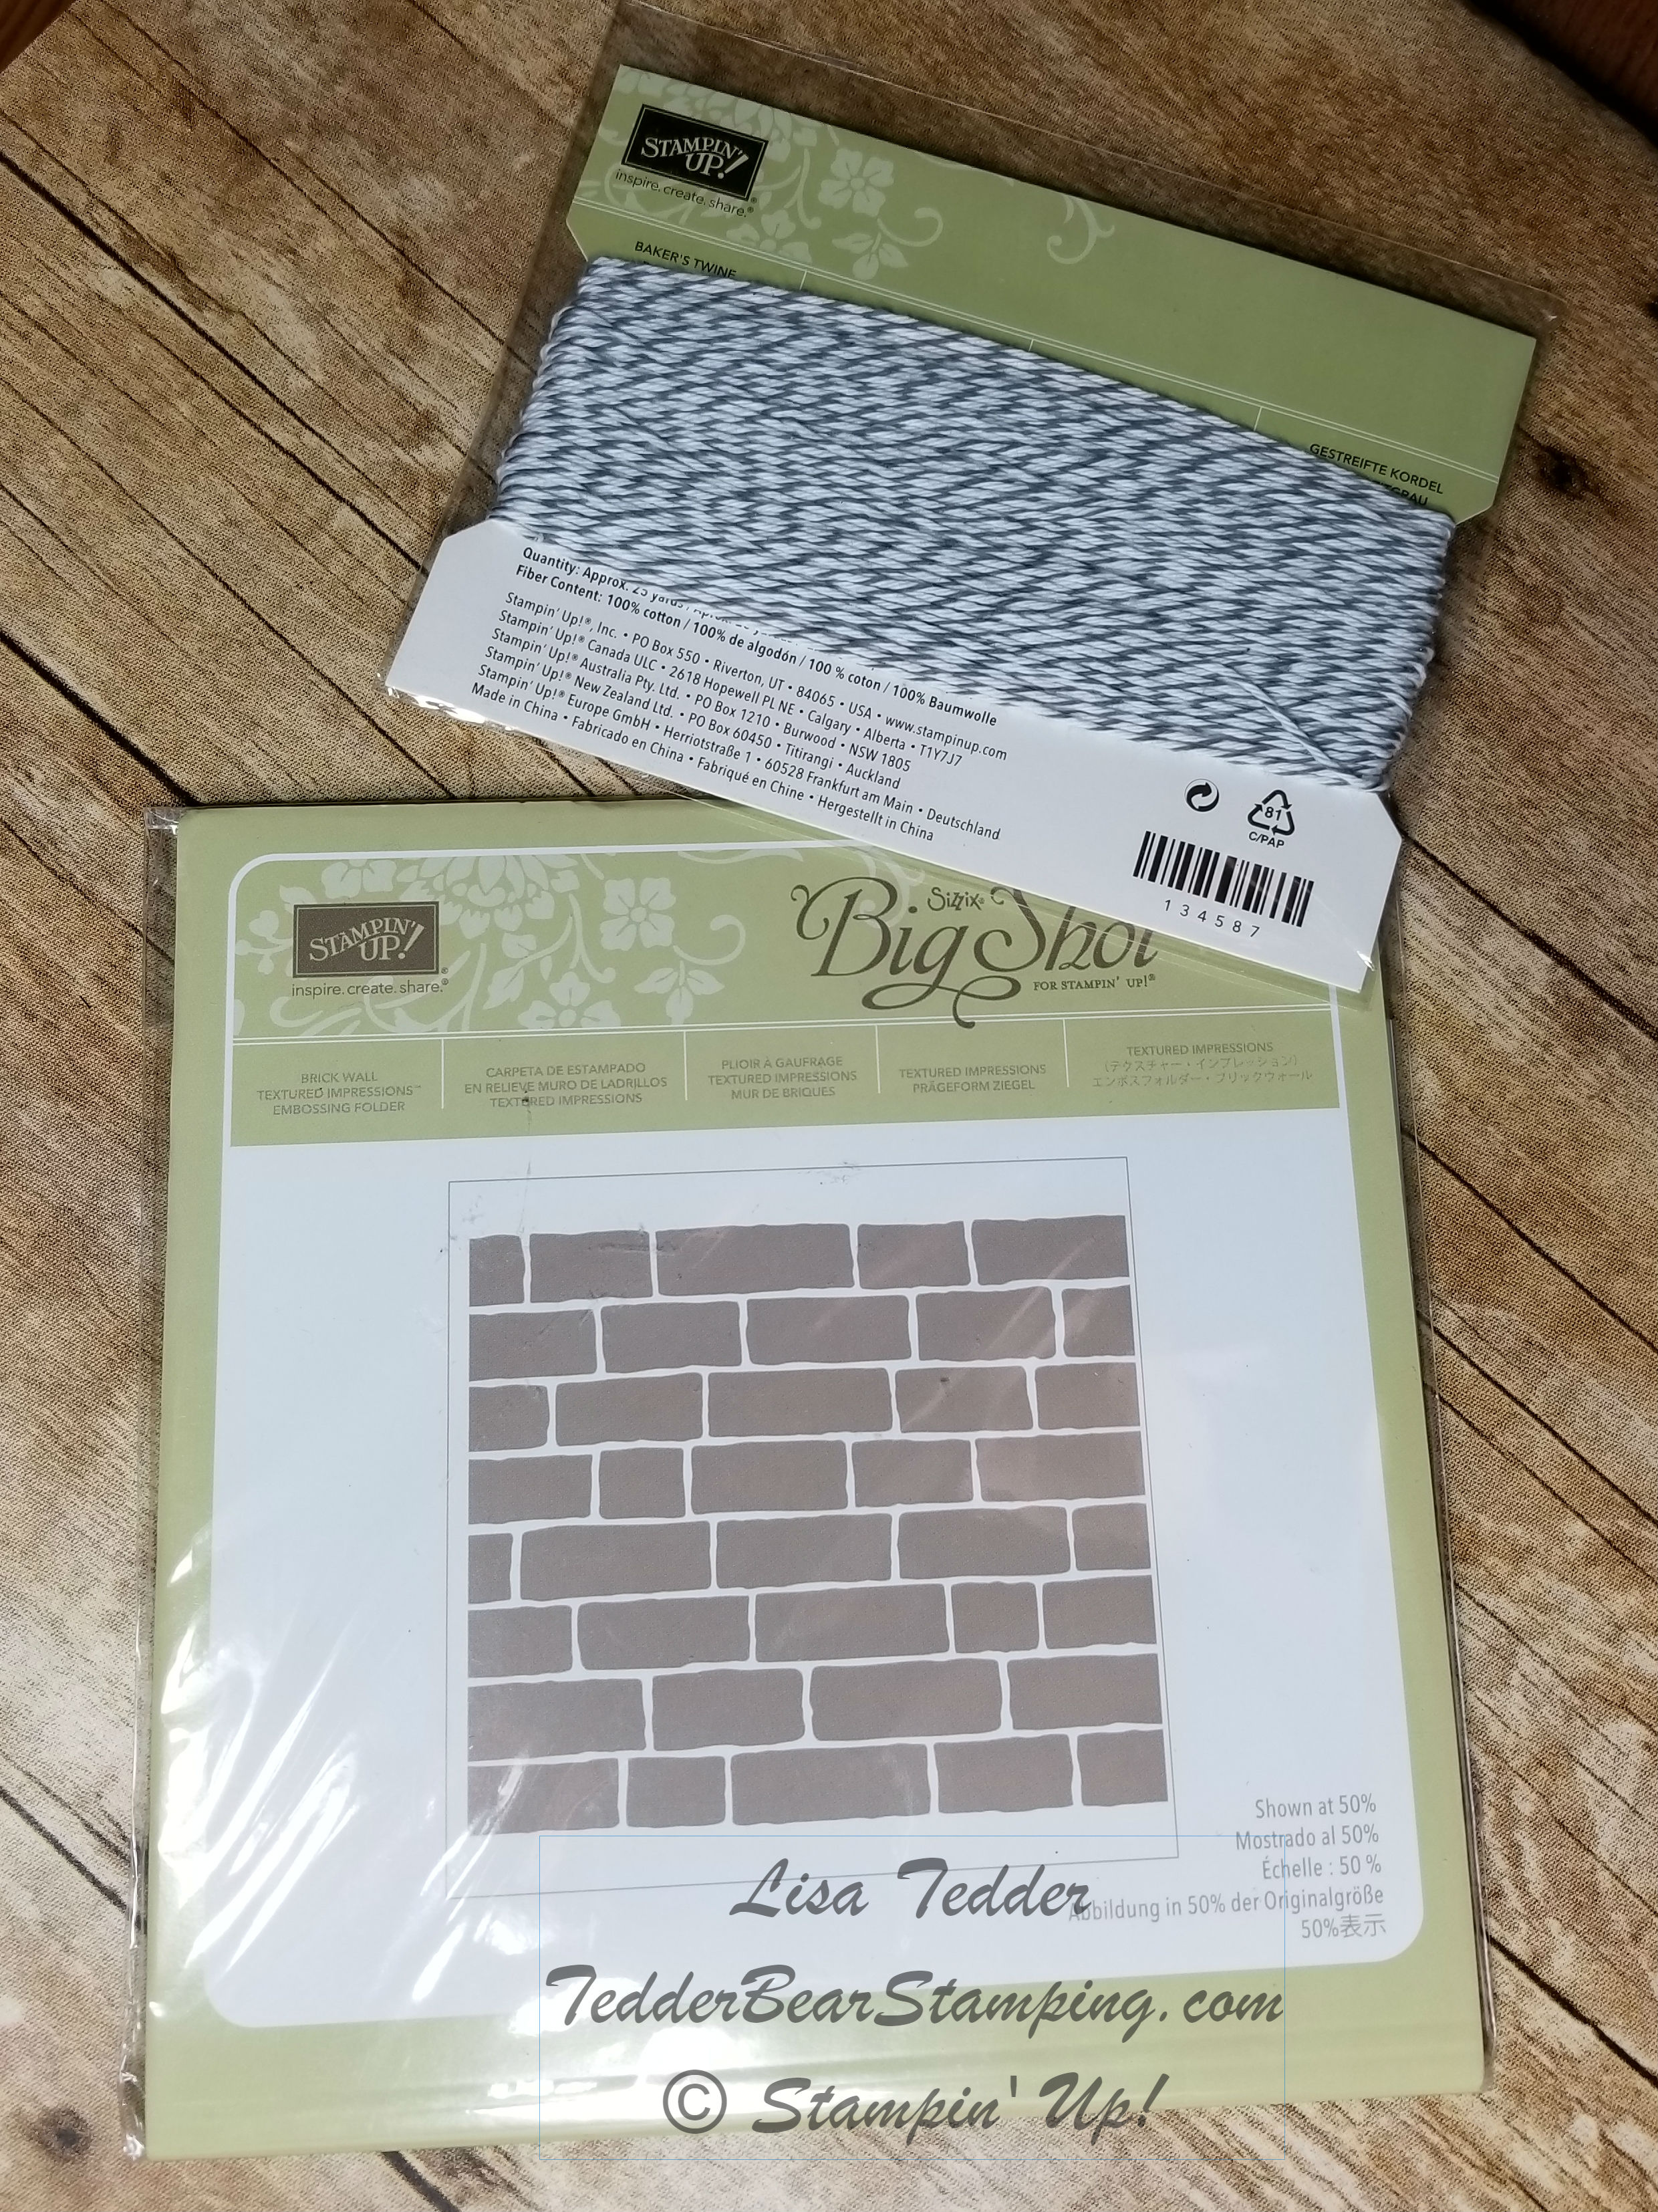
AND now the Blog Candy!
You can be put in the drawing to win the Brick Wall Embossing Folder AND Basic Gray Bakers Twine, just by commenting on any of my Social Media Outlets! Click on the names of my Social Media in this sentence to be taken to those venues………. Facebook, Twitter, Pinterest, and Instagram . Easy way to get something for free……the only thing I hope is that you find something NICE to say about what you see! 🙂 Any and ALL comments count, even if you comment on things that aren’t current, and you can comment on multiple posts! The drawing is on July 29th, so stay tuned and Good Luck!
All product for this card will be listed below, just click on any of the pics to be taken to my OnLine Store! If you purchase anything from me, you will receive a handmade card in the mail, so be sure and send e your address!!
I’m off to play in my Stamp Room! I’ll be back soon!!
Lisa Tedder
TedderBearStamping
A California Girl living in North Carolina Product List


 Flax Ribbon")


 Braided Linen Trim")


 Burlap Ribbon")


 Shimmer Ribbon Pack")


 Lace Trim")