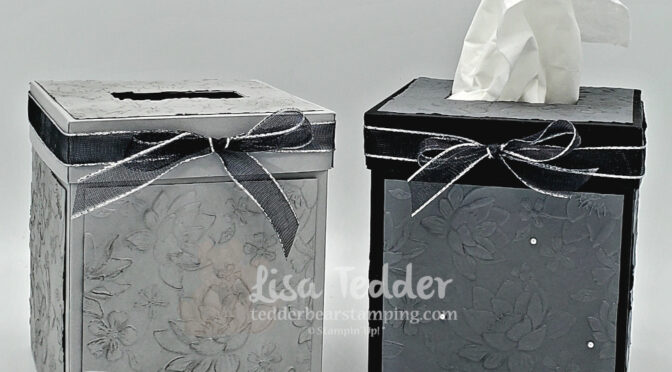
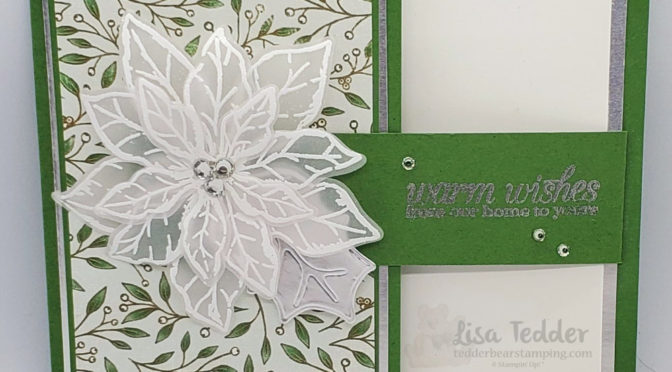
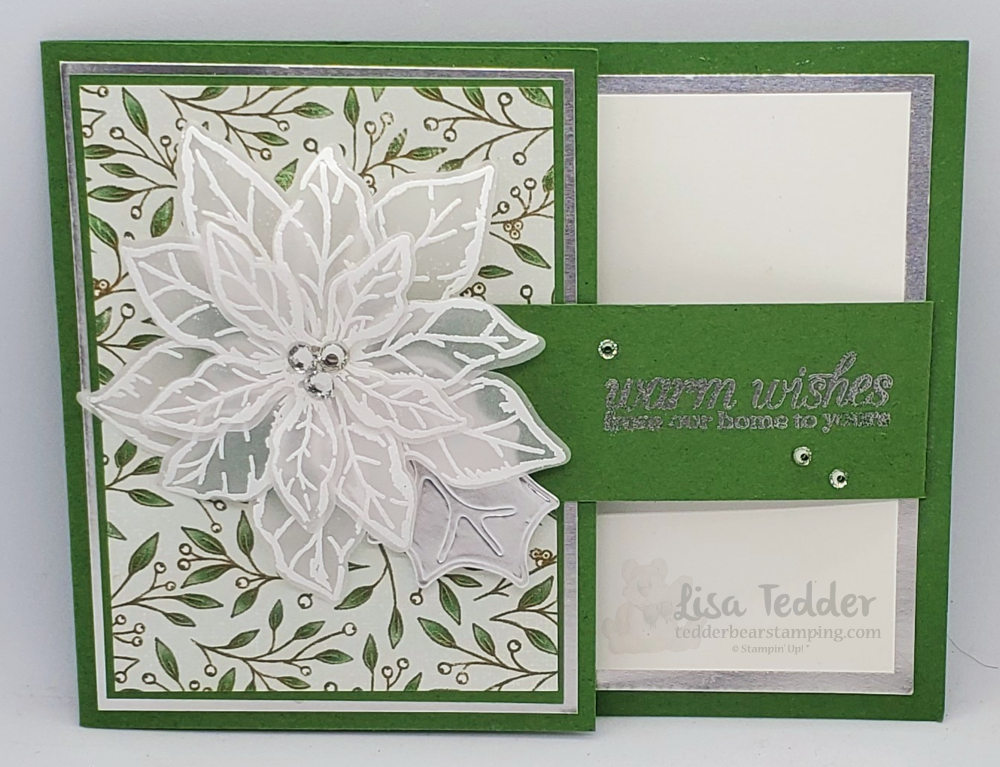
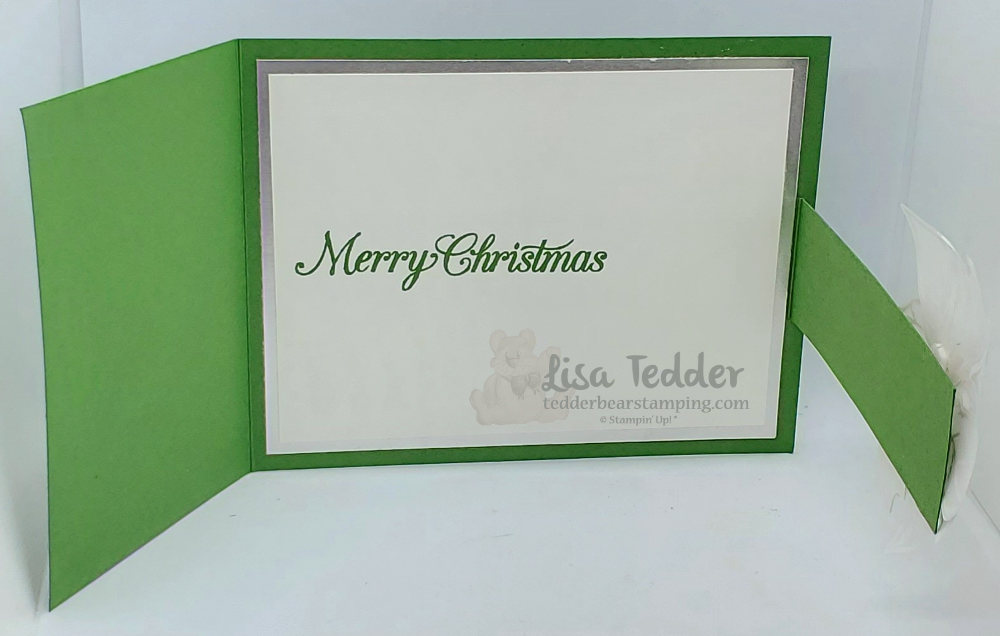
Hey Guys, Beautiful AND Useful! Make a Tissue Holder to match your Decor! As most of you know if you have been tuning in, I LOVE Gray! To be sure, Gray and Silver are stunning together. And, have you seen the New Embossing Folder?! This folder is called Layered Florals 3D and it is Gorgeous! Today is Thursday, I am doing a pre-recorded video which you can catch here. Of course, I would love it if you would watch, comment and Share! Also, if you could subscribe to my YouTube Channel I would be FOREVER grateful! For 3 years now I’ve been trying to get my subscribers past the 2000 point. With your help I know it can happen soon!
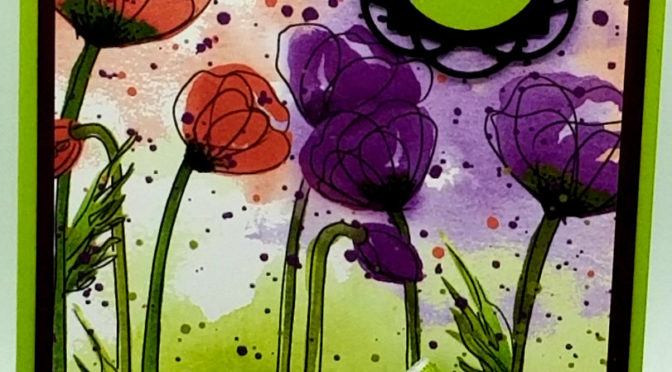
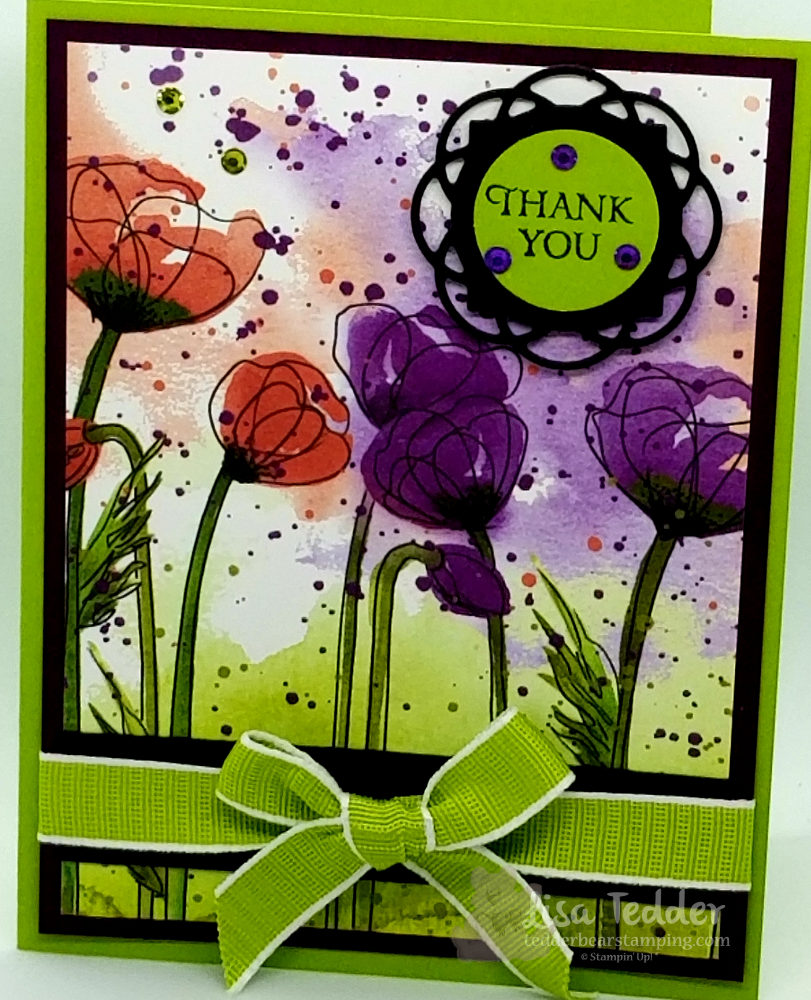
Beautiful AND Useful!
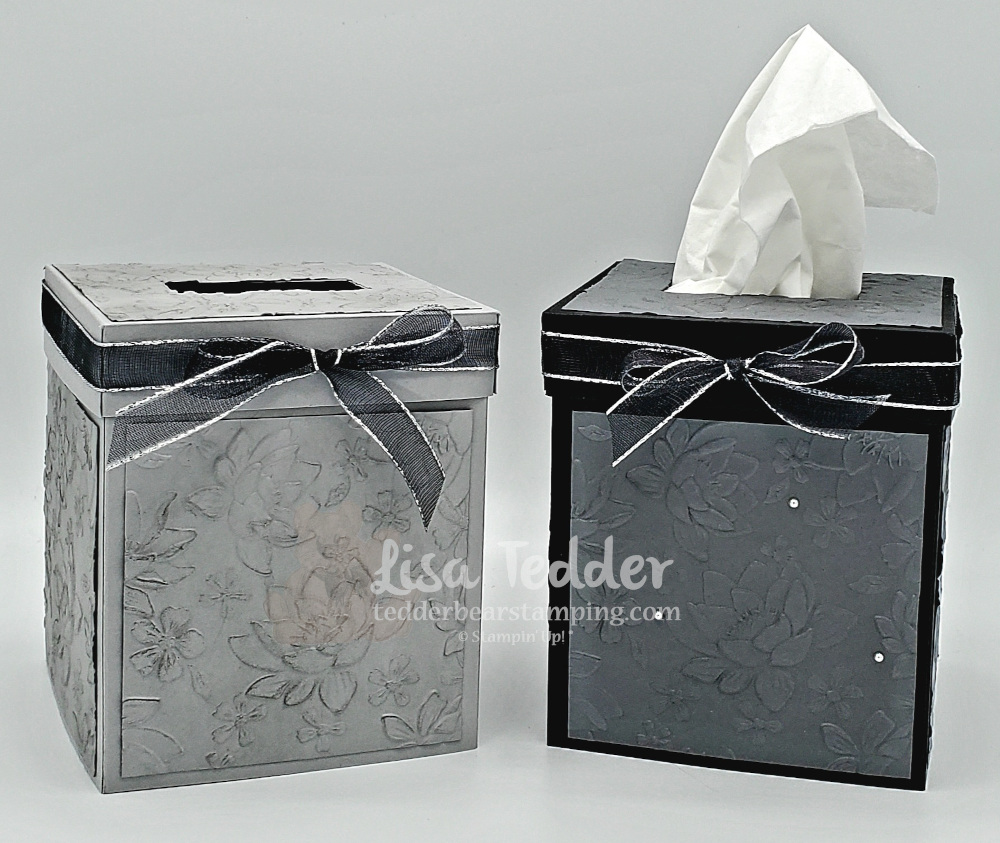
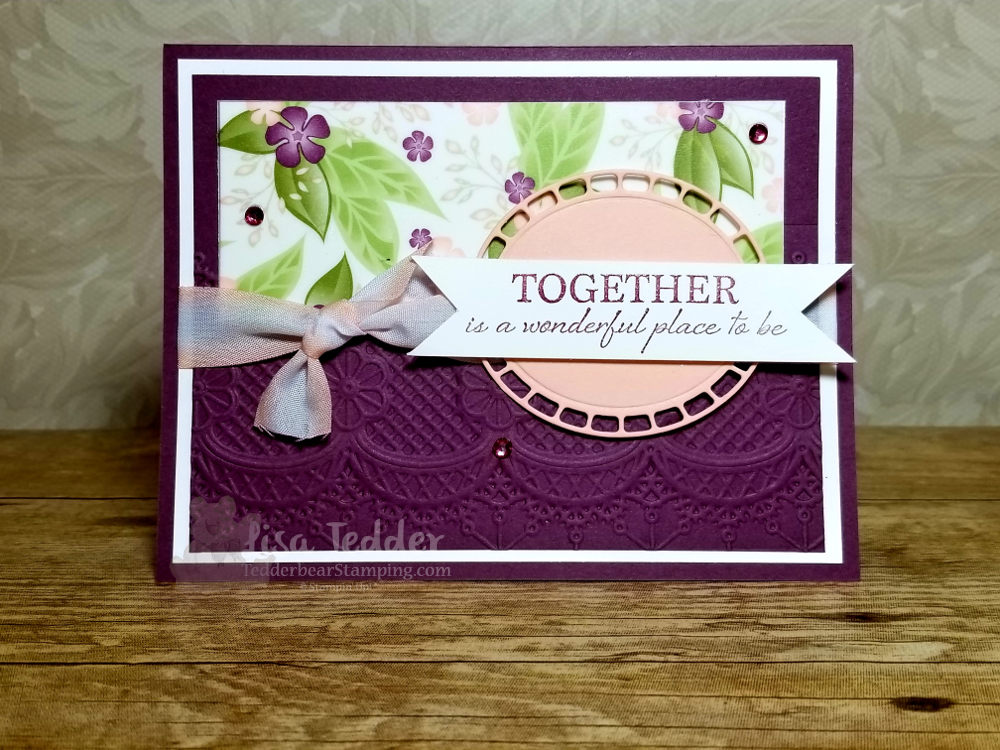
One thing that would make this even prettier is to emboss the flowers with Silver Embossing Powder. I didn’t do that, but I DO think it would add to the extreme beauty! Don’t you think this will make a great gift to someone!? Conversely, I now have 3 but I have 4 bathrooms! Indeed, I will need to make one more!
Did you know you can get FREE Pdf’s?
That’s right! For everyone who signs up for my Newsletter (here on my blog) you will forever more (well until I retire) get the project PDF’s that I make on YouTube! Whenever I get about 4 projects done, that’s when I send it out! Who can say Happy Mail!!
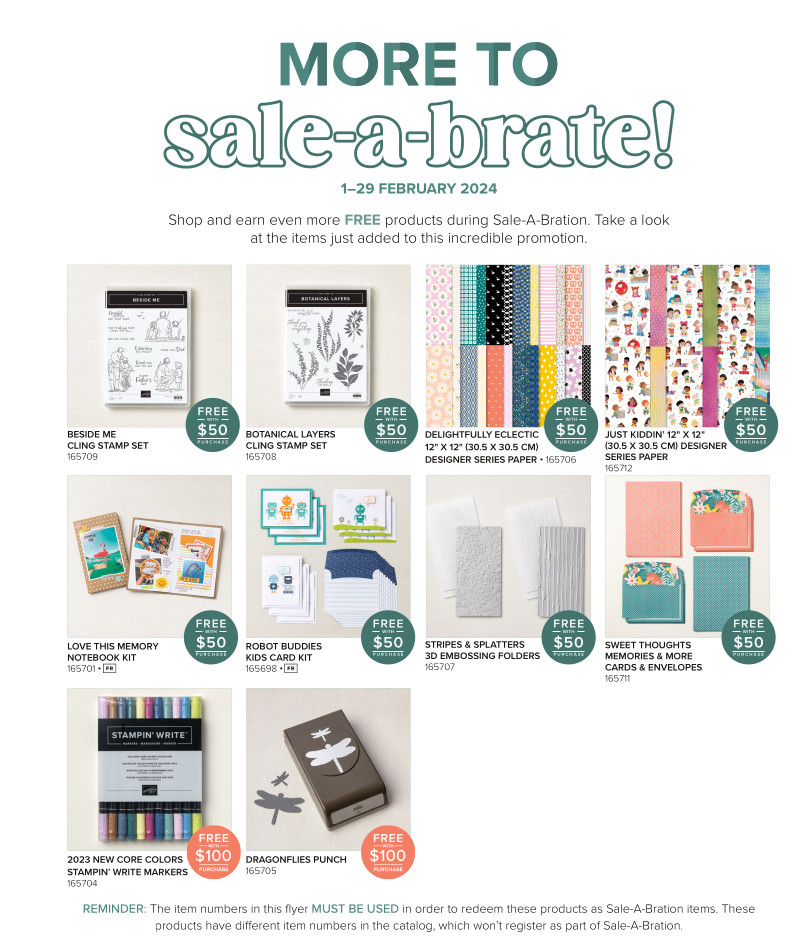
Now that we have talked about Beautiful AND Useful, we can move on to it being Sale-a-Bration time!! After all, who doesn’t love free things!? And now you can choose from these!
But wait there’s more!! As I have noted before you can join & get a discount with a great deal. I wouldn’t be doing my job if I didn’t tell you how to maximize your investment, click here and scroll down.
See you next week!
Thank you so much for coming by to visit! My hope is that you learned something and will tell your friends! As always I appreciate you, see you next week!
Lisa Tedder
A former California girl living in North Carolina
Product List


 Sheer Ribbon")


")


 Specialty Designer Series Paper")

 Metallic Specialty Paper")


 Open Weave Ribbon")


")


")
 Chevron Weave Ribbon")
 Open Weave Ribbon")
")


")


")


 Textured Weave Ribbon")


 Variegated Ribbon")


 Specialty Designer Series Paper")