Tag Archives: christmas in july

Three Panel Christmas Card your friends & Family will cherish

Hey Guys!

Today I am sharing with you a Christmas in July Card that has three pages! Make a Christmas card this year that your family and friends will cherish forever!

I LOVE cards that make you want to pick them up and check them out! Since there aren’t very many ideas on Pinterest yet for the New Holiday Catalog from Stampin’ Up!, I had to come up with something on my own. I always say that I like CASE’ing (Copy and Share Everything) because then I don’t have to be intimidated by starting from zero. BUT when I do come up with something, I’m usually happy that it’s my own design. You can catch my Youtube video and see how I made this card!

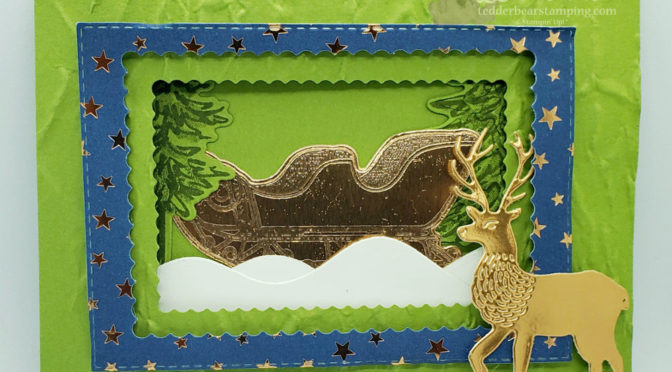
Here is the front of my card:
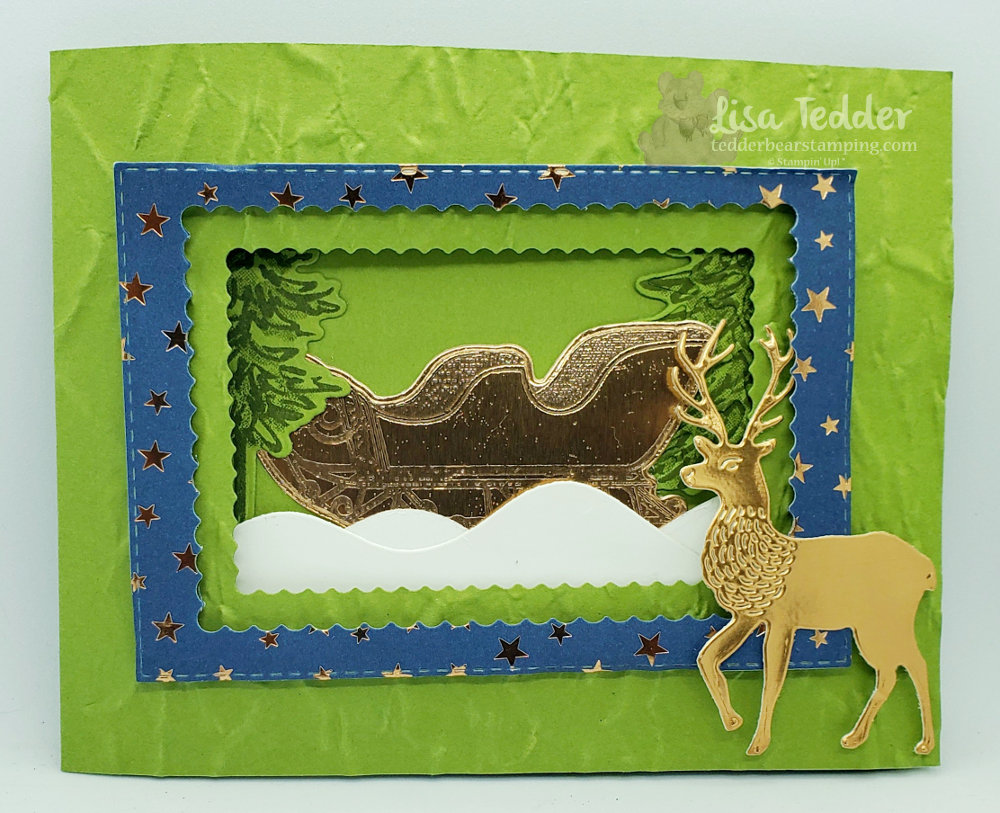
Doesn’t this make you want to pick it up and turn to the next page?! Your friends and family will cherish getting this card for Christmas!

Middle page:

Middle page of my 3 page Christmas card

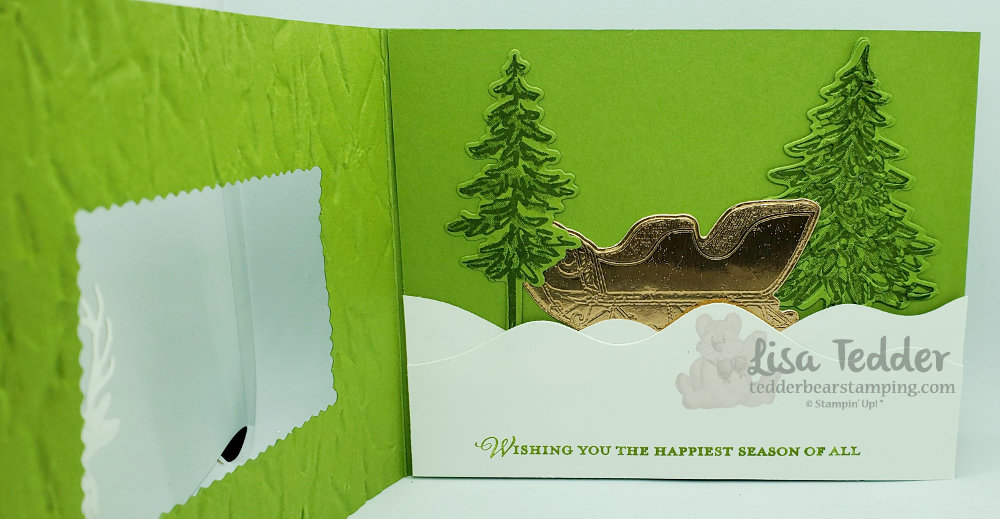
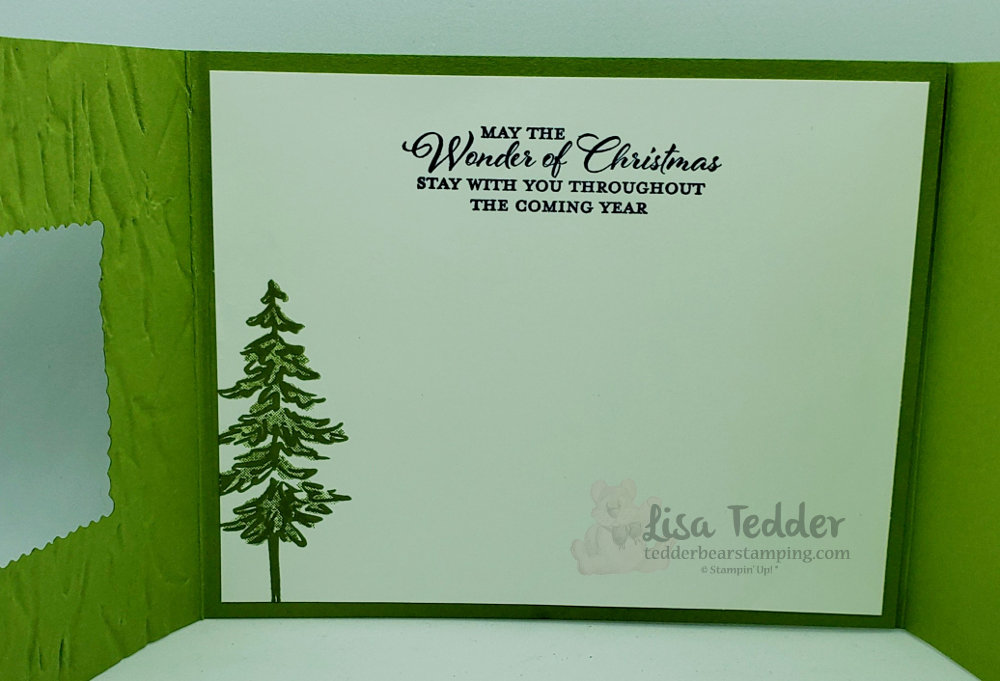
And now for the inside:

Inside of my 3 page Christmas card!

I would love to get a card like this in the mail! Wouldn’t you?!

Here are the specifics for this card:

Stamps:
In the Pines Bundle
Wishes & Wonder Bundle

Inks:
Versamark
Night of Navy
Old Olive

Paper:
Old Olive 4 1/4″ x 11″, 6″ x 4 1/4″ (scored @ 5 1/2″), 5 1/2″ x 3 5/8″ (for trees)
Whisper White 5 1/4″ x 4″ (inside), 3″ x 5 1/2″ (for snow)
Copper scraps for deer and sleigh
Brightly Gleaming Designer Series Paper (DSP) 4 1/2″ x 3 1/4″

Misc:
Foam Adhesive Strips
Stitched so Sweetly Die
Stitched Rectangles Dies
Old World Paper 3D folder
Clear embossing powder
Heat tool

As always, below you will see these supplies in picture form. Click on any of them and you will be taken to my OnLine Store. ****NOTE: My OnLine Store is changing as of the 1st of August, the links on my blog before that date will not take you to the exact item after (for the posts I’ve made before then). So, any time after August 3rd if you click on a link (from an earlier post) it will take you to my store, just not to the exact item.

If you decide to shop with me, you will receive a pdf with 16 project ideas with pictures and step by step instructions (you just need to spend $35). Here is a sneak peek of what you will get in the month of August!
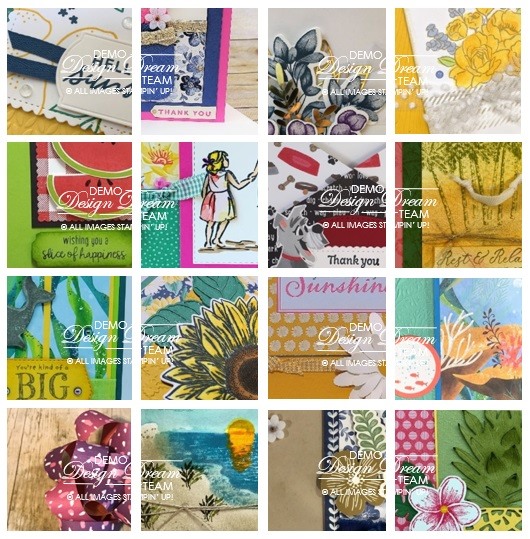
Sneak Peek for any purchase of $35 or more.

If you missed my last post doing a Christmas in July card, click here and you can go see what else I made for my class! It’s a Blog Hop so you won’t want to miss out! Like I said your friends and family will cherish getting a handmade Christmas card forever!

Thank you for stopping by! I love it that you take time to check out what I’m doing! Don’t forget to go check out my YouTube Channel to catch up on all my designs!

Lisa Tedder
A California girl living in North Carolina

Product List

Christmas in July Blog Hop!

Hey Guys!,

It’s July! You know what that means! I usually do Christmas in July. This year is no different. Today I am participating in a blog hop! I don’t usually do this, so you’ll have to let me know if you enjoy it!

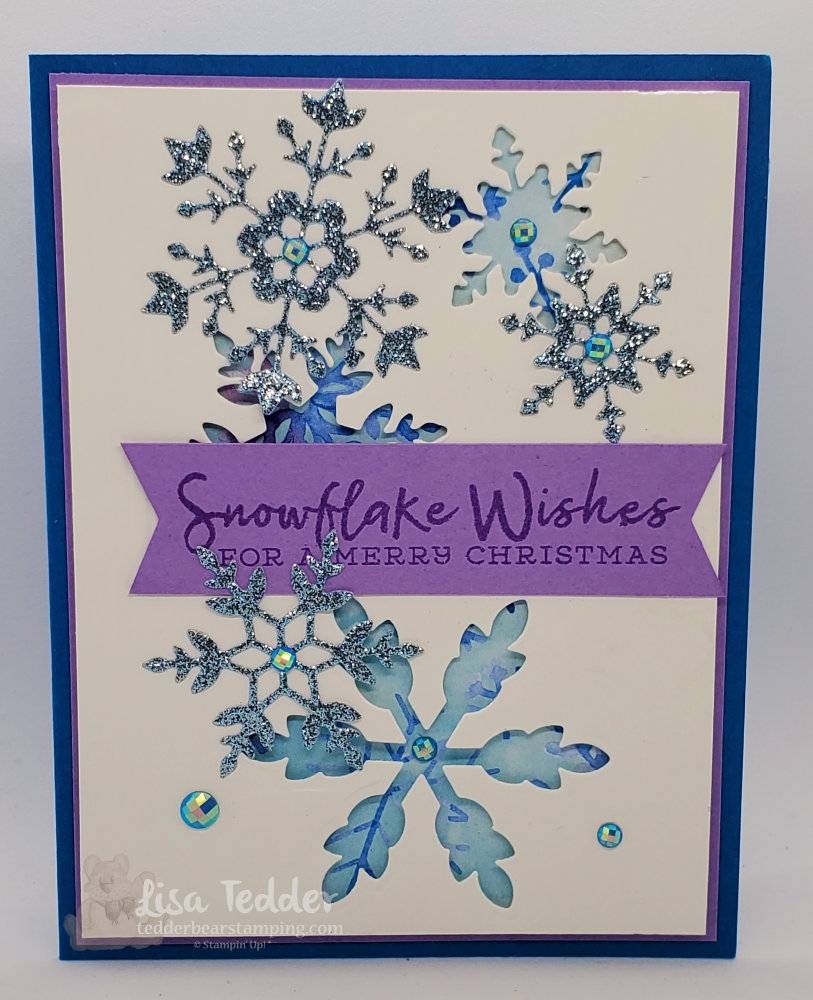
Today I am sharing with you a card I did using Stampin’ Up!’s Bundle Snowflake Wishes! I LOVE this Suite to be honest! I bought the whole thing! The Glimmer Balmy Blue paper is sooooo pretty! There are only two things in the Suite I didn’t use on this and that is the Snowflake Splendor 1/4″ ribbon and the Winter Snow embossing folder. I’m adding it to the pictures below so if YOU want to use it for this card you can!

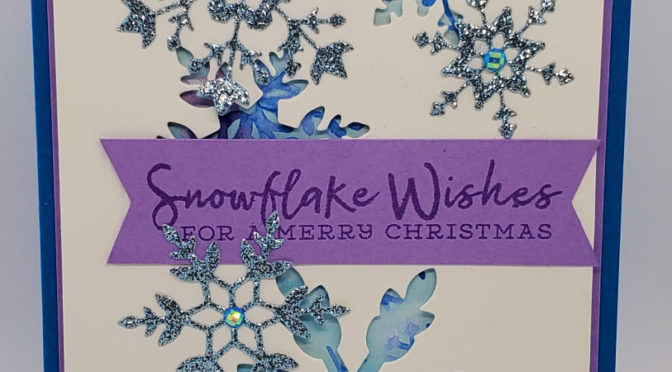
Here is my card:

Snowflake Wishes Christmas in July
Snowflake Wishes Suite Christmas in July

Doesn’t the Highland Heather just make this pop! I love all the sparkle this card has in person! It’s too bad you can’t see it, oh!, wait! you can! I made a video showing this card! You can see the video here!

For another Christmas card in July using this same Suite you can see it here. I also made a video doing that card which you can catch here.

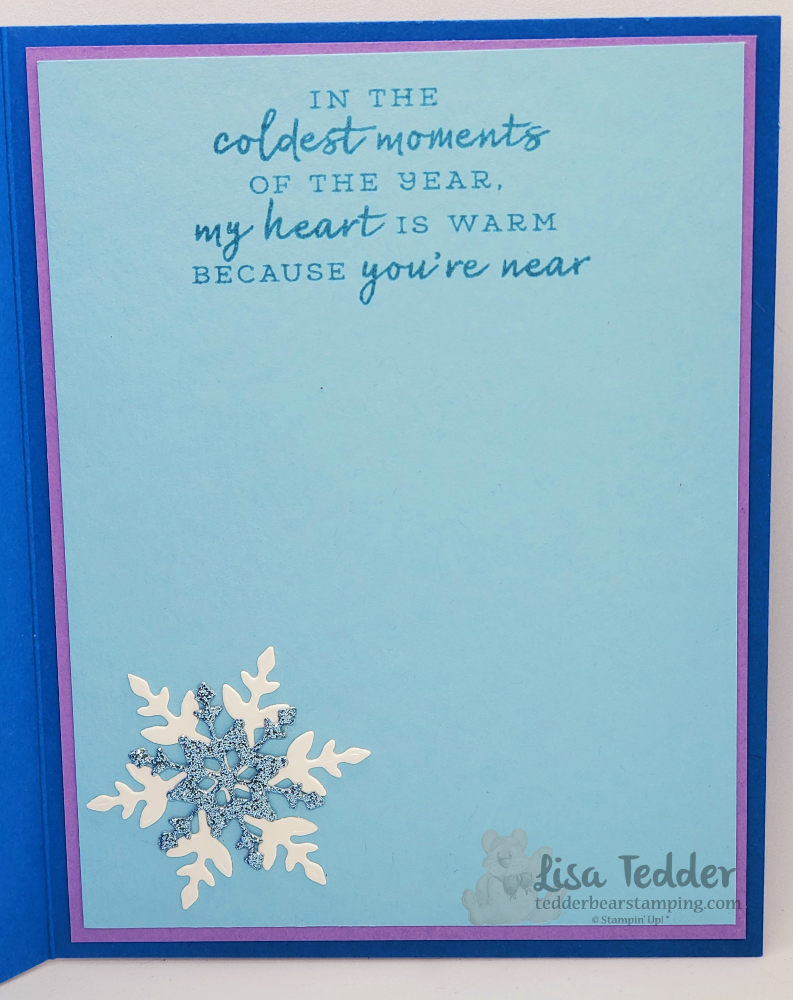
Here is the inside to my card:

Christmas in July Blog hop inside

As usual, here are the specifics for this card.

Stamps:
Snowflake Wishes Bundle

Inks:
Highland Heather

Paper:
Pacific Point 8 1/2″ x 5 1/2″
Highland Heather 5 1/4″ x 4″ (x2), scrap 7/8″ x 3 3/4″, 1 3/4″ x 2 3/4″ (for inside)
Snowflake Splendor DSP 5 1/8″ x 3 7/8″
Whisper White 5 1/8″ x 3 7/8″, scraps for the snowflakes
Balmy Blue 5 1/8″ x 3 7/8″
Balmy Blue Glimmer Paper scraps for snowflakes

Misc:
Dimensionals
Simply Scored
Blue Adhesive-backed Gems
Wink of Stella
Everyday Label Punch
Banners pick a punch

You will also see the supplies in picture form below, click on any of them to be taken to my OnLine Store. If you purchase $35 or more from me you will receive a pdf that has 16 projects with pictures and step by step instructions!

For the scores on the sides of the white cardstock (can’t see in the picture, but it really makes this card) I started at 3/8″ and then did three lines in a row, turned the cardstock and did the same on the opposite side. It really adds some interest, don’t you think? I also popped up this layer since it makes the DSP underneath really shine! Of course I had to add the Blue Adhesive backed Gems!

I hope you have enjoyed this post! Please stop back in, I will be posting regularly now! Don’t forget to sign up for my Newsletter! I send out good ideas!

Lisa Tedder
A California girl living in North Carolina

Powered by Linky Tools

Click here to enter your link and view this Linky Tools list…

Product List