Tag Archives: Clear Stampin’ Emboss Powder

Three Panel Christmas Card your friends & Family will cherish

Hey Guys!

Today I am sharing with you a Christmas in July Card that has three pages! Make a Christmas card this year that your family and friends will cherish forever!

I LOVE cards that make you want to pick them up and check them out! Since there aren’t very many ideas on Pinterest yet for the New Holiday Catalog from Stampin’ Up!, I had to come up with something on my own. I always say that I like CASE’ing (Copy and Share Everything) because then I don’t have to be intimidated by starting from zero. BUT when I do come up with something, I’m usually happy that it’s my own design. You can catch my Youtube video and see how I made this card!

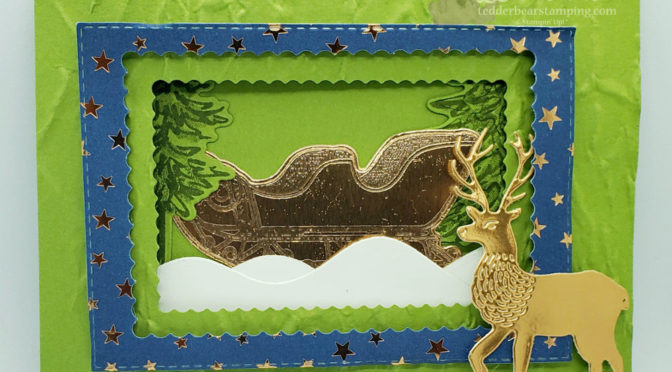
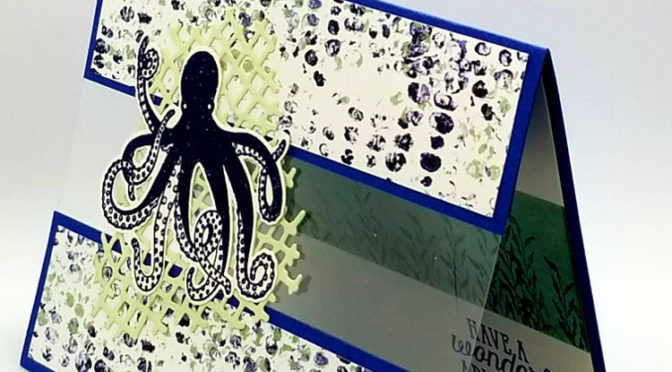
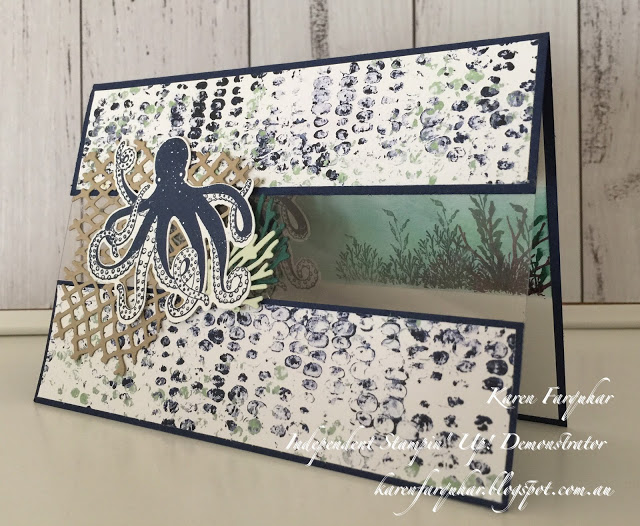
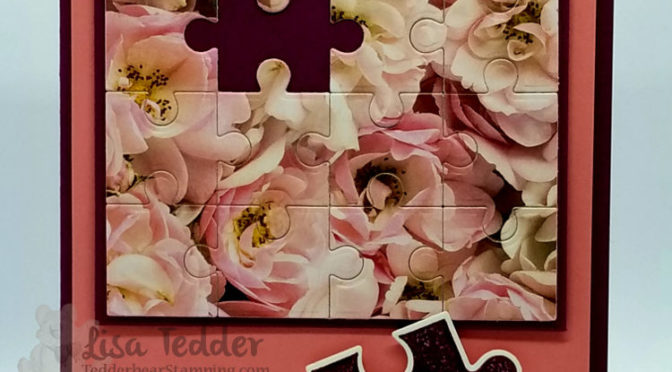
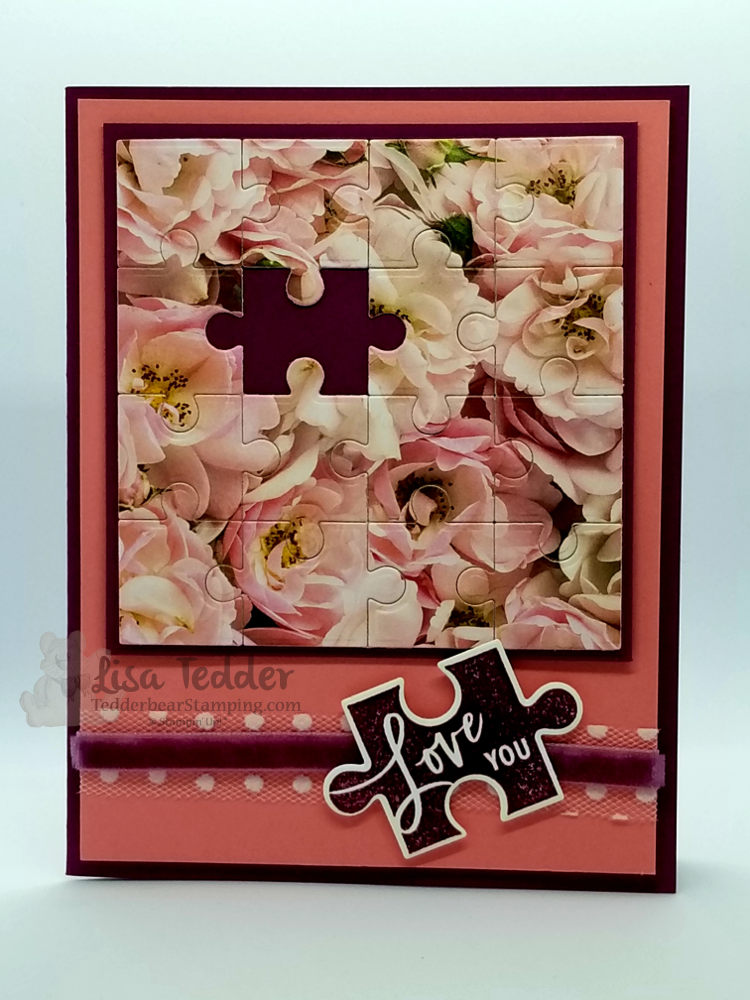
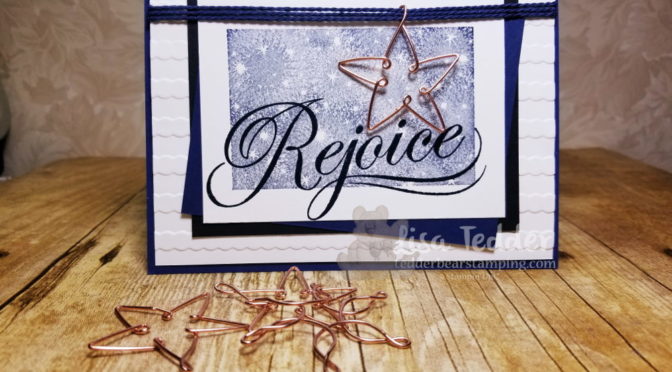
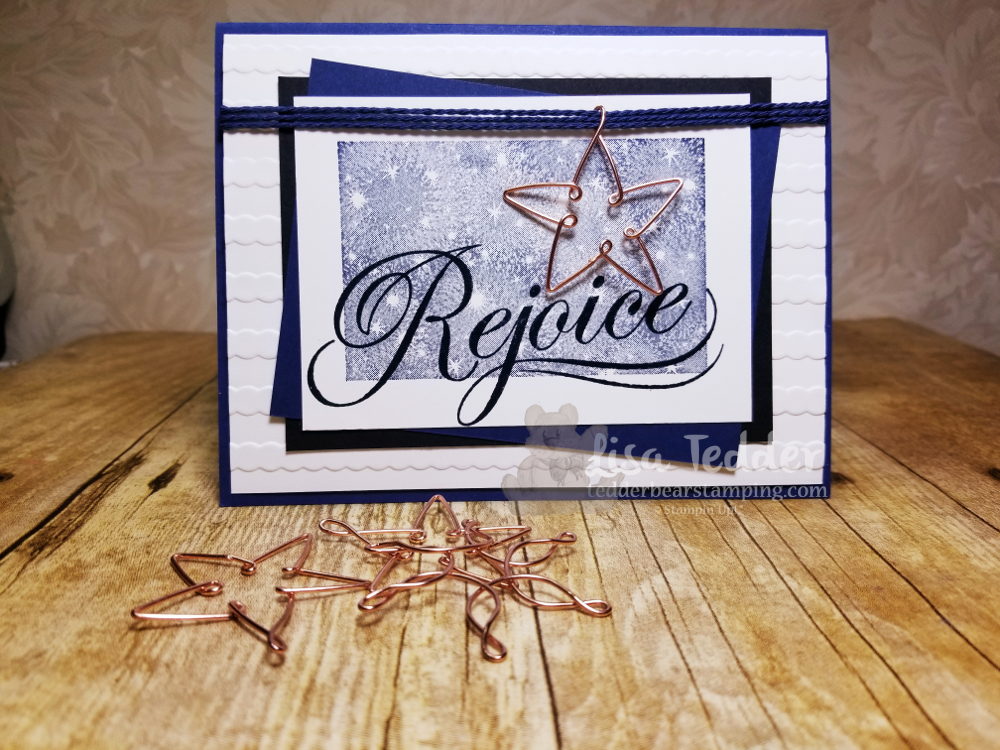
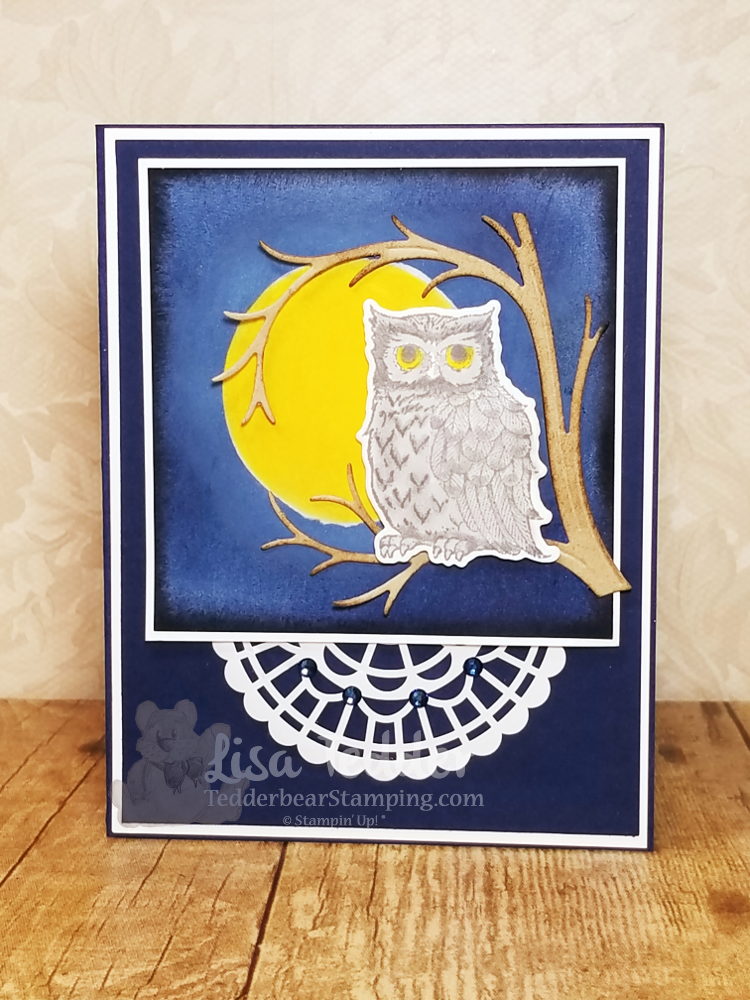
Here is the front of my card:
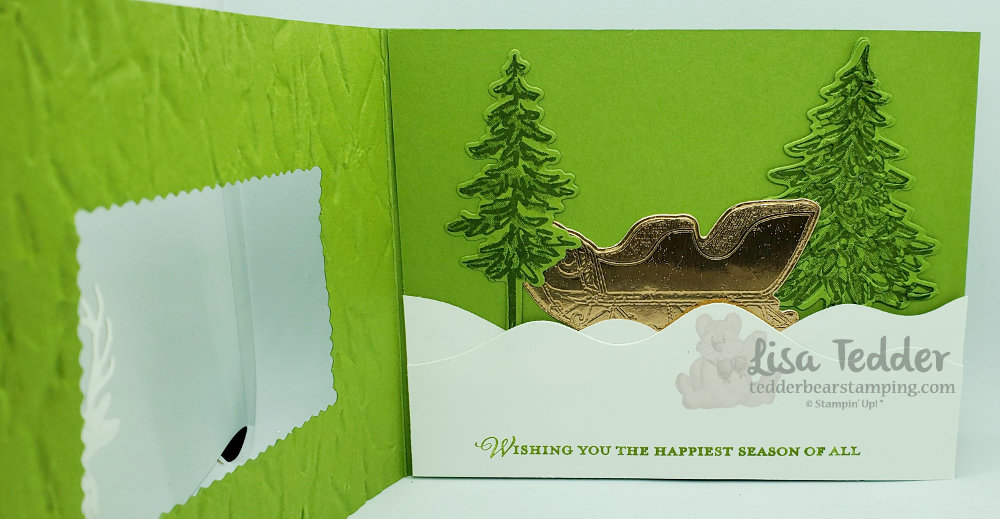
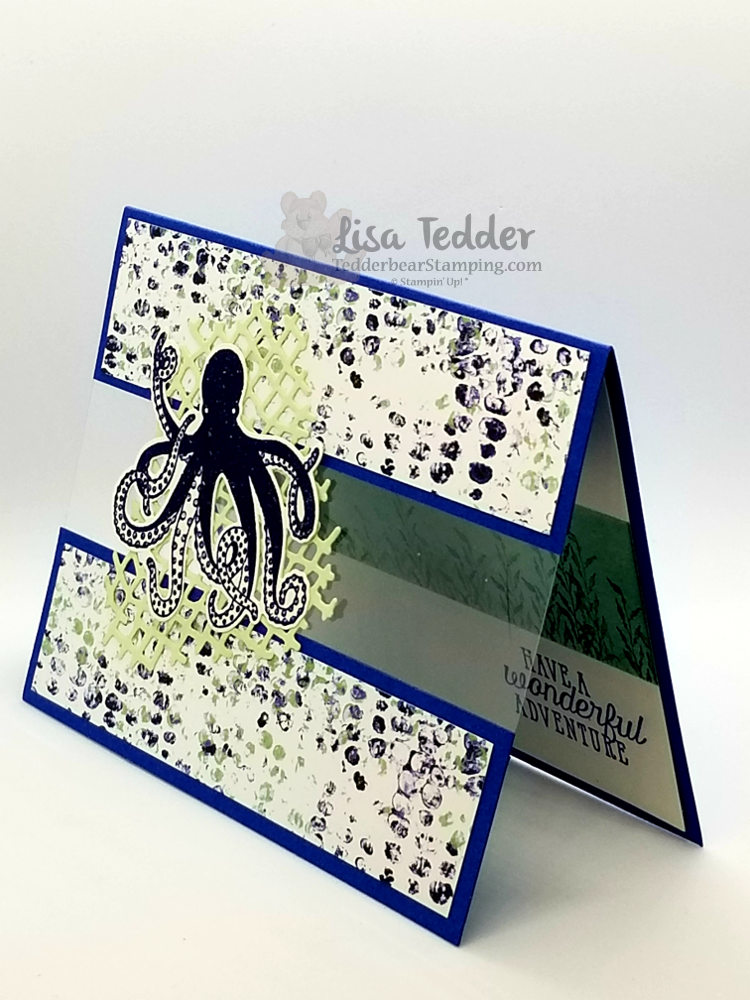
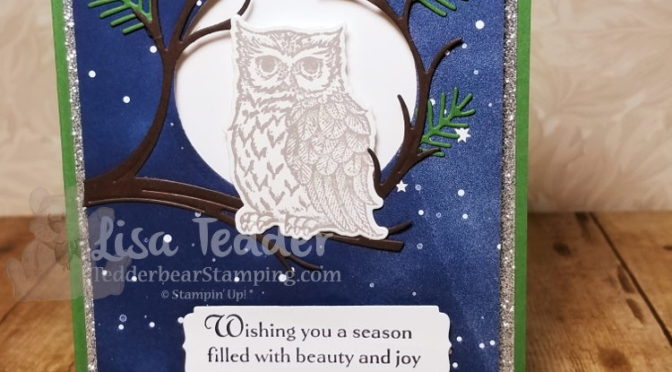
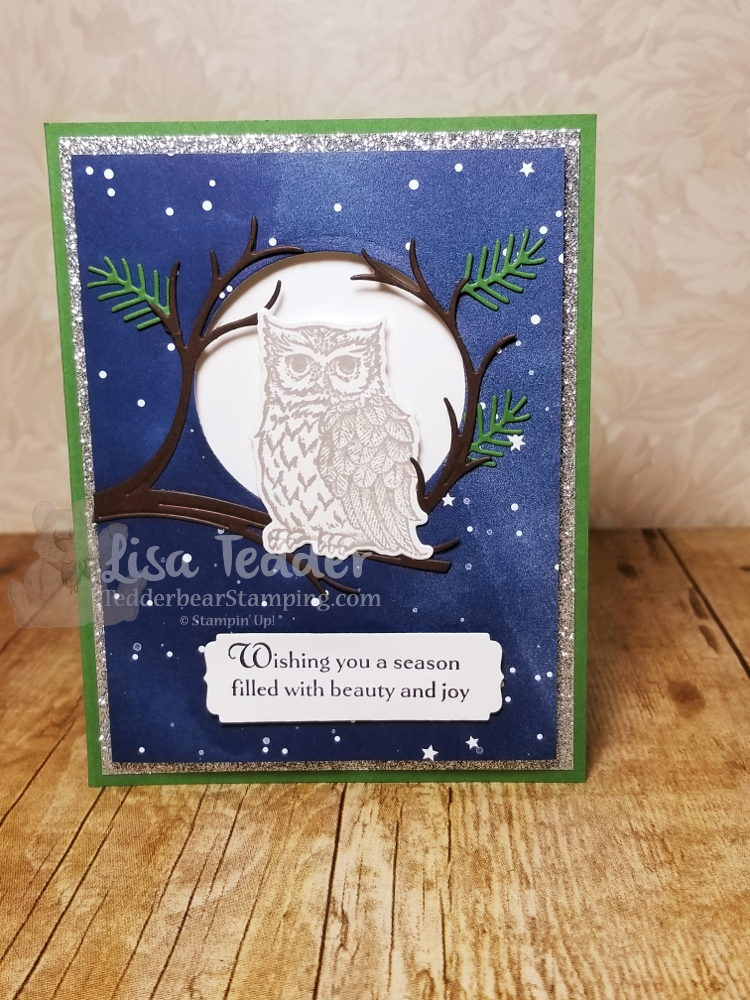
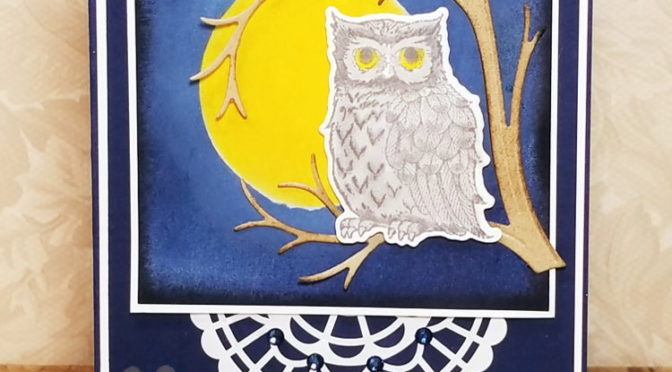
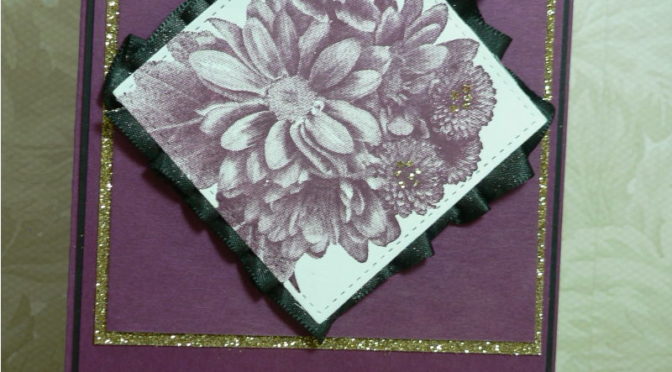
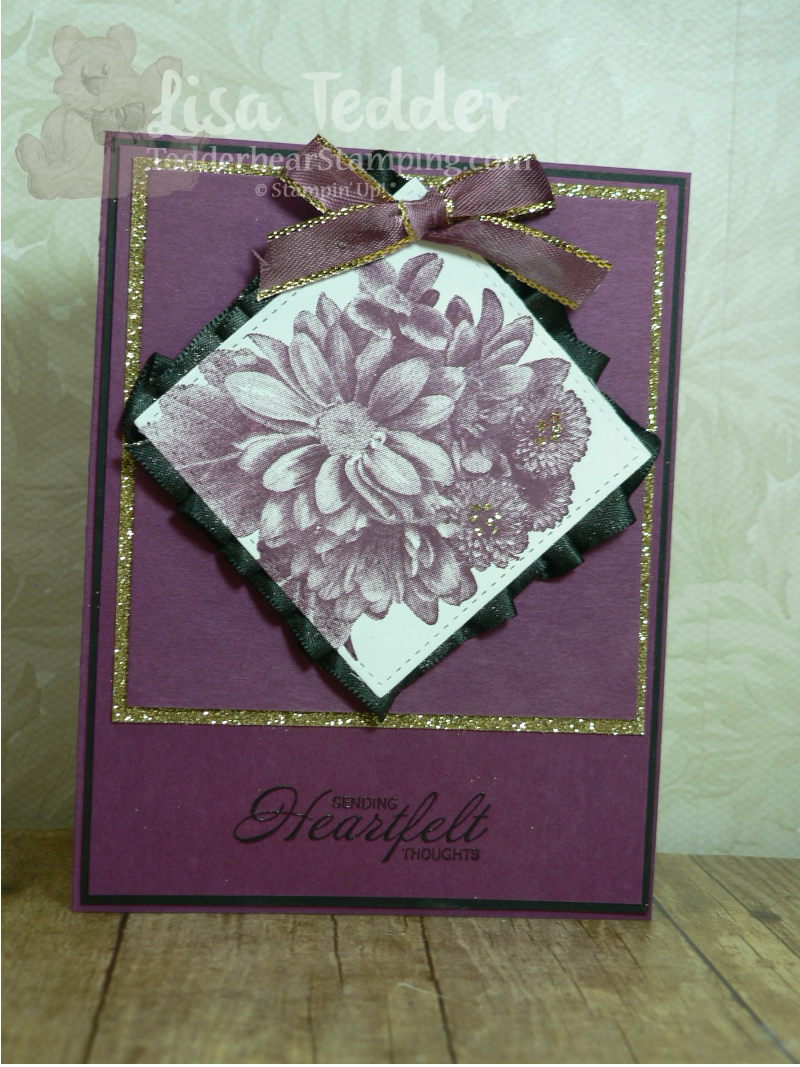
Doesn’t this make you want to pick it up and turn to the next page?! Your friends and family will cherish getting this card for Christmas!

Middle page:

Middle page of my 3 page Christmas card

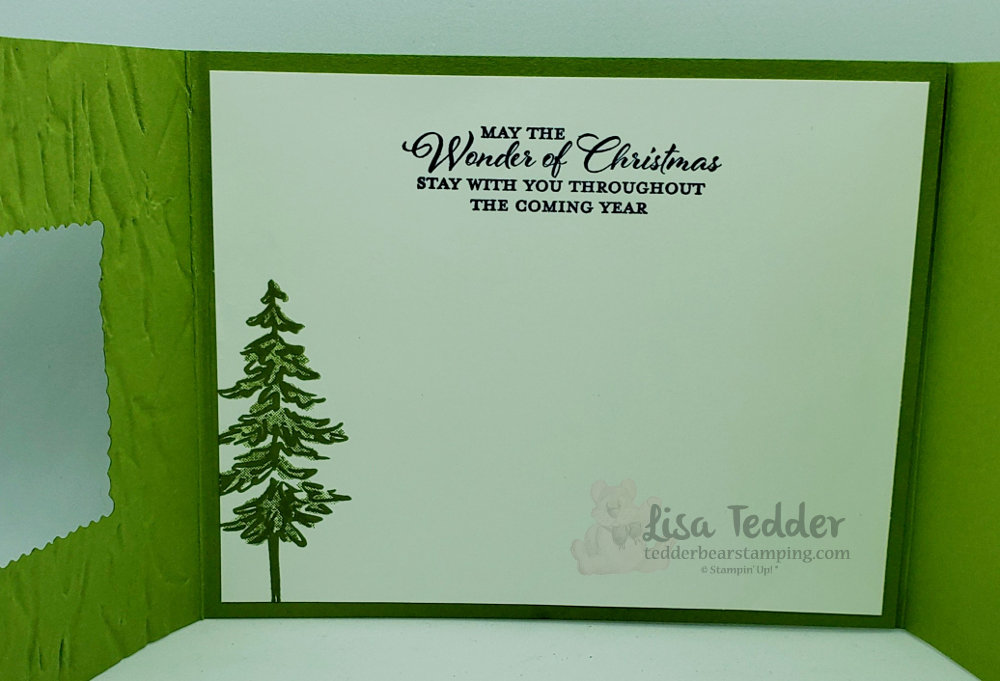
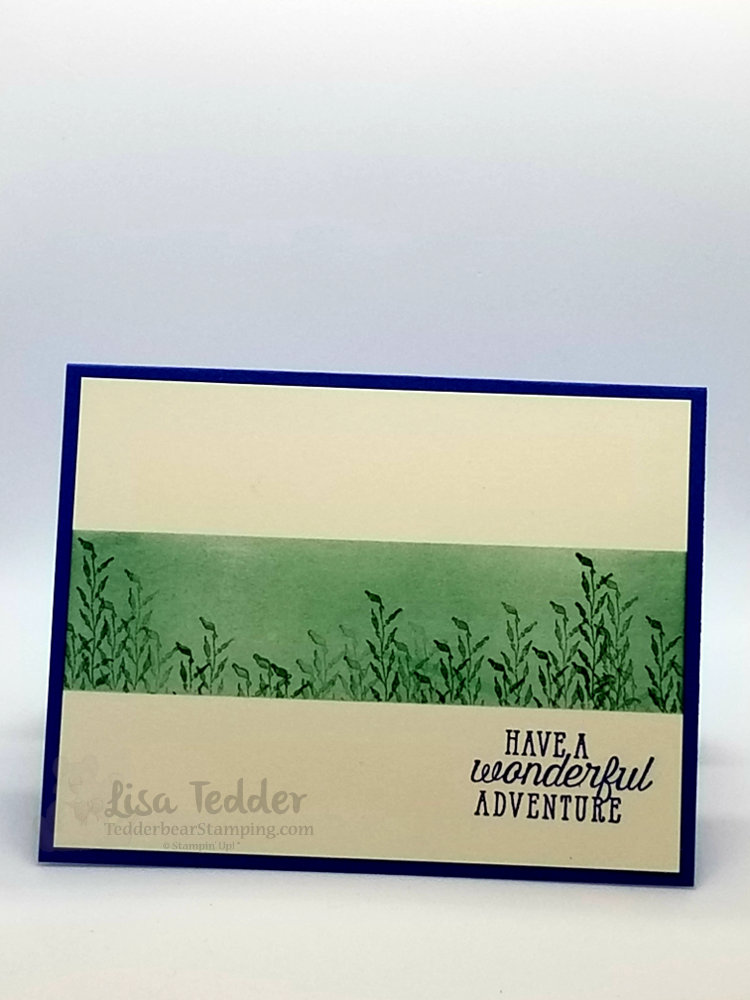
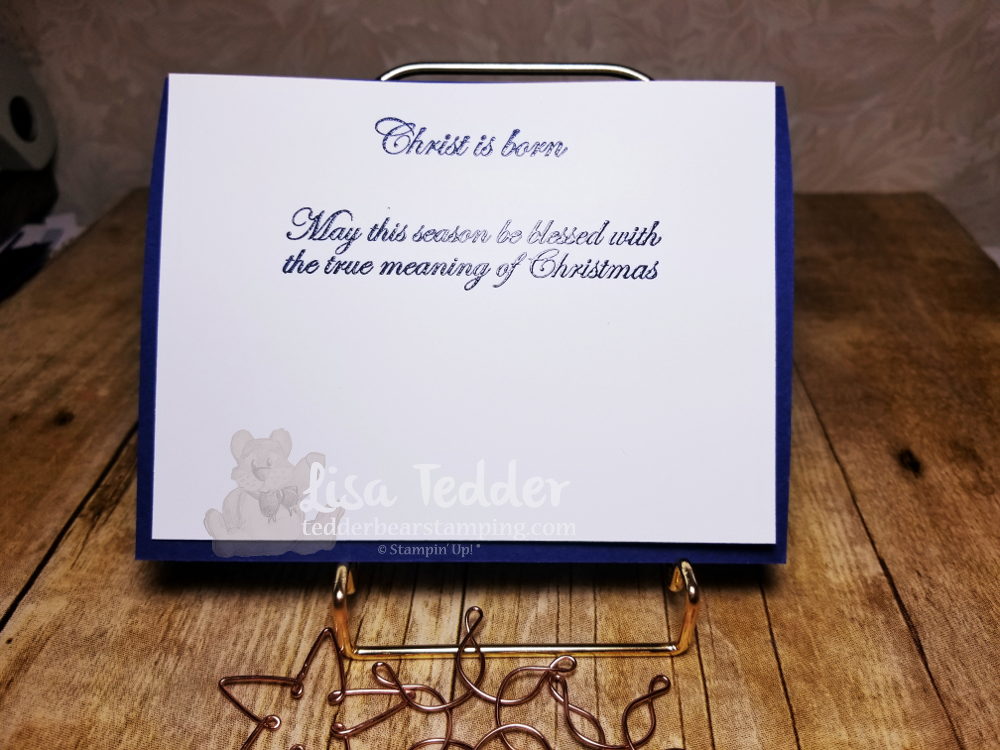
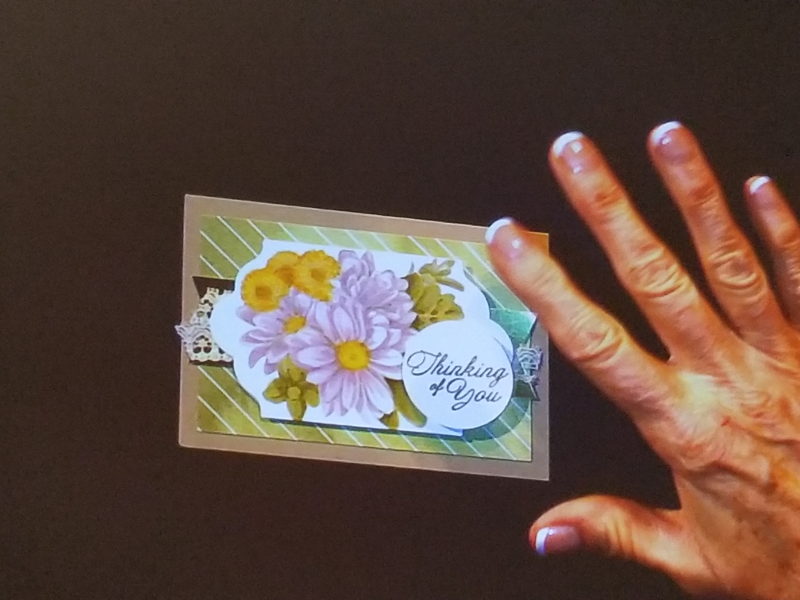
And now for the inside:

Inside of my 3 page Christmas card!

I would love to get a card like this in the mail! Wouldn’t you?!

Here are the specifics for this card:

Stamps:
In the Pines Bundle
Wishes & Wonder Bundle

Inks:
Versamark
Night of Navy
Old Olive

Paper:
Old Olive 4 1/4″ x 11″, 6″ x 4 1/4″ (scored @ 5 1/2″), 5 1/2″ x 3 5/8″ (for trees)
Whisper White 5 1/4″ x 4″ (inside), 3″ x 5 1/2″ (for snow)
Copper scraps for deer and sleigh
Brightly Gleaming Designer Series Paper (DSP) 4 1/2″ x 3 1/4″

Misc:
Foam Adhesive Strips
Stitched so Sweetly Die
Stitched Rectangles Dies
Old World Paper 3D folder
Clear embossing powder
Heat tool

As always, below you will see these supplies in picture form. Click on any of them and you will be taken to my OnLine Store. ****NOTE: My OnLine Store is changing as of the 1st of August, the links on my blog before that date will not take you to the exact item after (for the posts I’ve made before then). So, any time after August 3rd if you click on a link (from an earlier post) it will take you to my store, just not to the exact item.

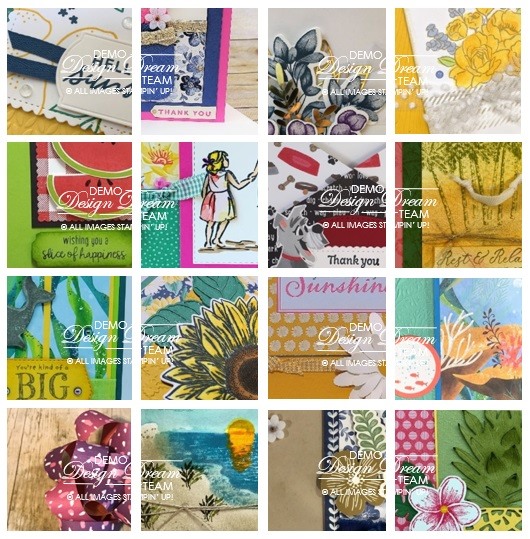
If you decide to shop with me, you will receive a pdf with 16 project ideas with pictures and step by step instructions (you just need to spend $35). Here is a sneak peek of what you will get in the month of August!

Sneak Peek for any purchase of $35 or more.

If you missed my last post doing a Christmas in July card, click here and you can go see what else I made for my class! It’s a Blog Hop so you won’t want to miss out! Like I said your friends and family will cherish getting a handmade Christmas card forever!

Thank you for stopping by! I love it that you take time to check out what I’m doing! Don’t forget to go check out my YouTube Channel to catch up on all my designs!

Lisa Tedder
A California girl living in North Carolina

Product List

Sea of Texture see through card

Hey Guys!,

The card I am sharing with you today is another CASE’d card from Pinterest by Karen Farquhar.  Here is her card:

I made my inside a bit different, and didn’t add the coral die cut to the front.  When doing a class, I need to cut down on what I use since it will make the class too long otherwise.

Here is my card:

Side view:

Inside:

Here are the specifics for this card:

PROJECT 1: Octopus
Stamp Sets Pg #
Sea of Texture Bundle
Paper
Blueberry Bushel 5 1/2″ x 5 3/4″ scored @ 4 1/4″
blueberry Bushel 1 1/2″ x 5 1/2″ (x 3)
Whisper white 5 1/4″ x 4″, 3″ x 2 3/4″
DSP Tranquil Textures 1 1/4″ x 5 1/4″ (x2)
Soft Sea Foam 3 1/4″ x 3″/ Window Sheet 2″ x 5 1/2″
Inks
Blueberry Bushel
Tranquil Tide
Accessories
Clear EP/embossing buddy/heat tool
Big Shot
sponges

Below are the supplies in picture form, click on any of them to be taken to my OnLine Store.  If you need a demonstrator and you live in the U.S. I would love to be her!  If you purchase from me OnLine, I will send you a small gift……I know you will love it!

Thank you for stopping by!

Lisa Tedder
A California Girl living in North Carolina
Product List

Puzzle Card

Hey Guys!

I was on the fence a long time before I decided to get the Love You To Pieces stamp set from Stampin’ Up!  I really love it, the sentiments are too cute!

Here is my card:

I used Designer Series paper for the main picture, you can’t beat the Petal Promenade Paper!

Here are the specifics  for this card:

PROJECT 1: Puzzle
Stamp Sets Pg #
Love you to pieces Bundle
Well Said
Paper
Rich Razzleberry 8 1/2″ x 5 1/2″, 3 1/2″ sq, 3 5/8″ sq
White 3 1/2″ sq, scraps 2 1/2″ x 4 1/4″
Petal Promenade 3 1/2″ sq
Flirty Flamingo 5 1/4″ x 4″ (x2)
Inks
Rich Razzleberry
Accessories
 Big Shot, Clear EP, Heat Tool
Tear n Tape
Polka Dot Tulle ribbon
Rich Razzleberry Velvet ribbon
Tombo Multi Purpose glue
Dimensionals

I recommend putting the DSP onto a piece that’s the same size of thick Whisper White.  This helps it not be so fragile when you run it through the Big Shot with the Puzzle Die.  Then turn it over, put Tear N Tape on the back to help hold it together, but skip the one piece you want to be missing.

Below are the supplies that I used to make this card, click on any picture and you will be taken to my OnLine Store!  I would LOVE to be your SU! Demo if you live in the U.S.!  For every OnLine order I send you a small gift as a token of my appreciation! You can pick this card if you would like it!  If I still have it in my possession I will send it to you!  Just let me know which card you want.

Thanks for stopping by!

Lisa Tedder
A California Girl living in North Carolina
Product List

<!——– TAMS End —-

Christmas Card #13 Still Night

Hey Guys!

The owl in Still Night is one of my favorites.  I love the dies in the bundle because not only does it cut out the owl & branch but it also cuts out pine boughs to make the branch look great!  The set has 4 dies to cut out the boughs so you don’t spend all your time cutting one at a time!

I changed up very little from this idea off Pinterest from Nicole

The specifics for my card:

Supplies

Stamp sets: Still Night Bundle, Merry Christmas to All
Cardstock: Garden Green 8 ½” x 5 ½”, scrap, Silver Glimmer 5 ¼” x 4”, Twinkle Twinkle DSP 5” x 3 ¾”, white 5 ¼” x 4”, 2 ¾” sq, 1 ¼” x 3” (sentiment), 1 ¾” x 2 ½” (owl) Early Espresso 3 ½”sq
Inks: Night of Navy, Gray Granite
Misc: Big Shot, Clear EP, Embossing buddy, heat tool, dimensionals, 2” circle punch, glue dots, fine tip glue pen

I would love to be your demonstrator if you live in the US!  And you are MORE than welcome to join my team: LETs Stamp!

Below are all the supplies in picture form, click on any picture to be taken to my OnLine Store!

Thanks for stopping by, come again to see my next project!

Lisa Tedder
A California Girl living in North Carolina
Product List


It’s Christmas Card Time! Card #1

Hey Guys!

I’ve been getting ready for my Christmas card class that’s next month!  I plan on doing 3 Classes with 6 cards each class.  That is A LOT of planning! Each person will make 3 of each of the 5 cards and 1 special card!  That’s 16 cards that everyone makes at each class!

The New Holiday Catalog is here from Stampin’ Up! and I’ve been having fun using all my new goodies!  Are you ready to start seeing the 1st of my 6 cards?!

Here is card #1:

This was VERY fun to make! I used the New stamp set His Light on top of the Bokeh Stamp set, but this isn’t the bokeh it is the star one in the same stamp set.   I stamped the Bokeh ‘star’ stamp in Night of Navy, then stamped ‘Rejoice’ in Memento Black.  This is SUCH a pretty card in person!  Here is the inside:

I love that I can make a card that really tells the true meaning of Christmas!

Here are the Particulars:

Stamp sets: His Light, Bokeh Dots
Card stock:
Night of Navy 5 ½” x 8 ½”,3 1/8” x 4 1/8”, Black 4 ¼” x 3 ¼”, White 5 ¼” x 4 (x2), 4” x 2 7/8”.
Ink: Night of Navy, Memento Black

Below are pictures of all the items used for this project, click on any picture and you will be taken to my OnLine Store!

Thanks for stopping by!

Lisa Tedder
A California girl living in North Carolina

Product List

Moonlit Owl using NEW Occasions catalog!

Hey Guys!

Today I am showing you a card using the new stamp set Still Night.  It’s from the Occasions Catalog from Stampin’ Up!  I love owls, and this one called to me!  I was in bed last night and this design came to me.

This was so much fun to make!  And very easy too.  I did a video walking you through making this card, you can catch it here.

I love sponging and using the brayer.  It adds that extra oooomph!  LOL  Couldn’t think of another word that fit better!

The supplies used for this card are listed below.  Click on any pic and you will taken to OnLine Store!

I hope you like this card as much as I do!

Lisa Tedder
A California Girl living in North Carolina


Stunning card made with FREE stamp set-Heartfelt Blooms

Hey Guys!

The card today is one I came up with all by myself!  That happens rarely and I get so tickled when I make something that I didn’t get any help from Pinterest or any other places!  It popped into my head and it came out even better than I thought it would!!

Not only is this stamp set Gorgeous, but did you know that Stampin’ Up! has a patent pending on HOW they made it?!!  When you look at the actual stamp before inking it up, it looks absolutely FLAT!  How in the World did they get a completely flat stamp to have so much dimension!?  NOT sure what/how they did it but I love it!

I’ve seen pictures of people who have stamped it and used different colors to differentiate the flowers,  here is one I took while at On Stage Live in Salt Lake City:

Isn’t that So pretty!!!?  The hint they gave to us was to stamp it with a light color so you could follow it.  If you give it a try I would love to see it!  I tried, but it didn’t come out.  That is why mine is one color!  Hahahaha   I’m still trying to figure out how to work the blends and have perfect shading………

So for my card above, I used Rich Razzleberry Cardstock, black and Gold Glimmer paper!  I added ribbon to the back by putting Tear & Tape around the edges (after I stamped it and cut it with the Stitched Framelits) and then I pleated the Black 3/8″ Shimmer Ribbon over the tape.  I then used the Foam Adhesive Strips to make it stand up higher.

I added some Fine Tip Glue to put some Gold Glitter on the smaller flowers.  I also used the Gold Metallic Edge Ribbon and colored it with the Razzleberry Blend so it would go with the card!  Love that!

I stamped the sentiment in the Basic Black and then immediately clear Embossed it so it would give texture and it just makes the Sentiment look so elegant, don’t you think?

Here are the Dimensions of the paper:

Rich Razzleberry: 8 1/2″ x 5 1/2″, 4″ x 5 1/4″ (x2) one for the inside,
3 5/8″ x 3 3/4″
Basic Black 4 1/8″ x 5 3/8″ (x2) one for the inside
Gold Glimmer paper 3 7/8″ x 4″
Whisper White 2 3/4″ sq (to fit the square stitched framelit)

I hope this helps!!

As always, the supplies are listed below, just click on any picture to be taken to my OnLine Store!  I would love to have you purchase your goodies from me!

Lisa Tedder
A California Girl living in North Carolina

Product List