Tag Archives: masculine

Masculine Card wanted!

Masculine card done!

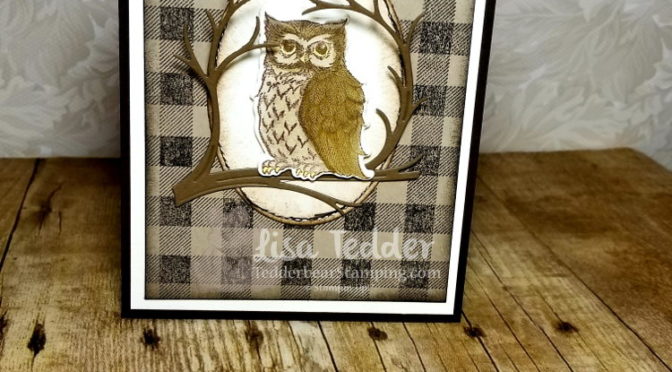
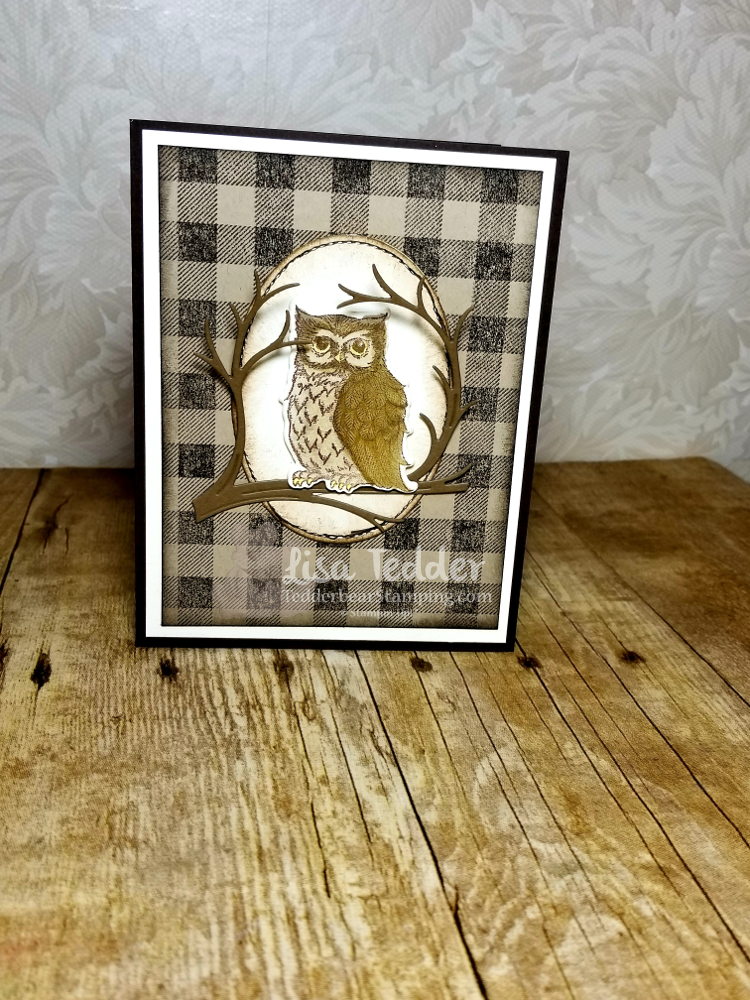
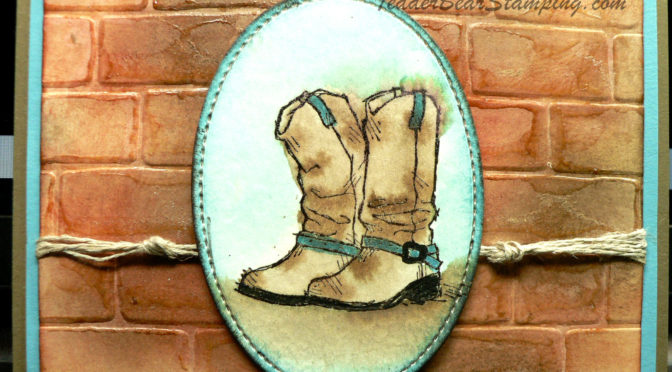
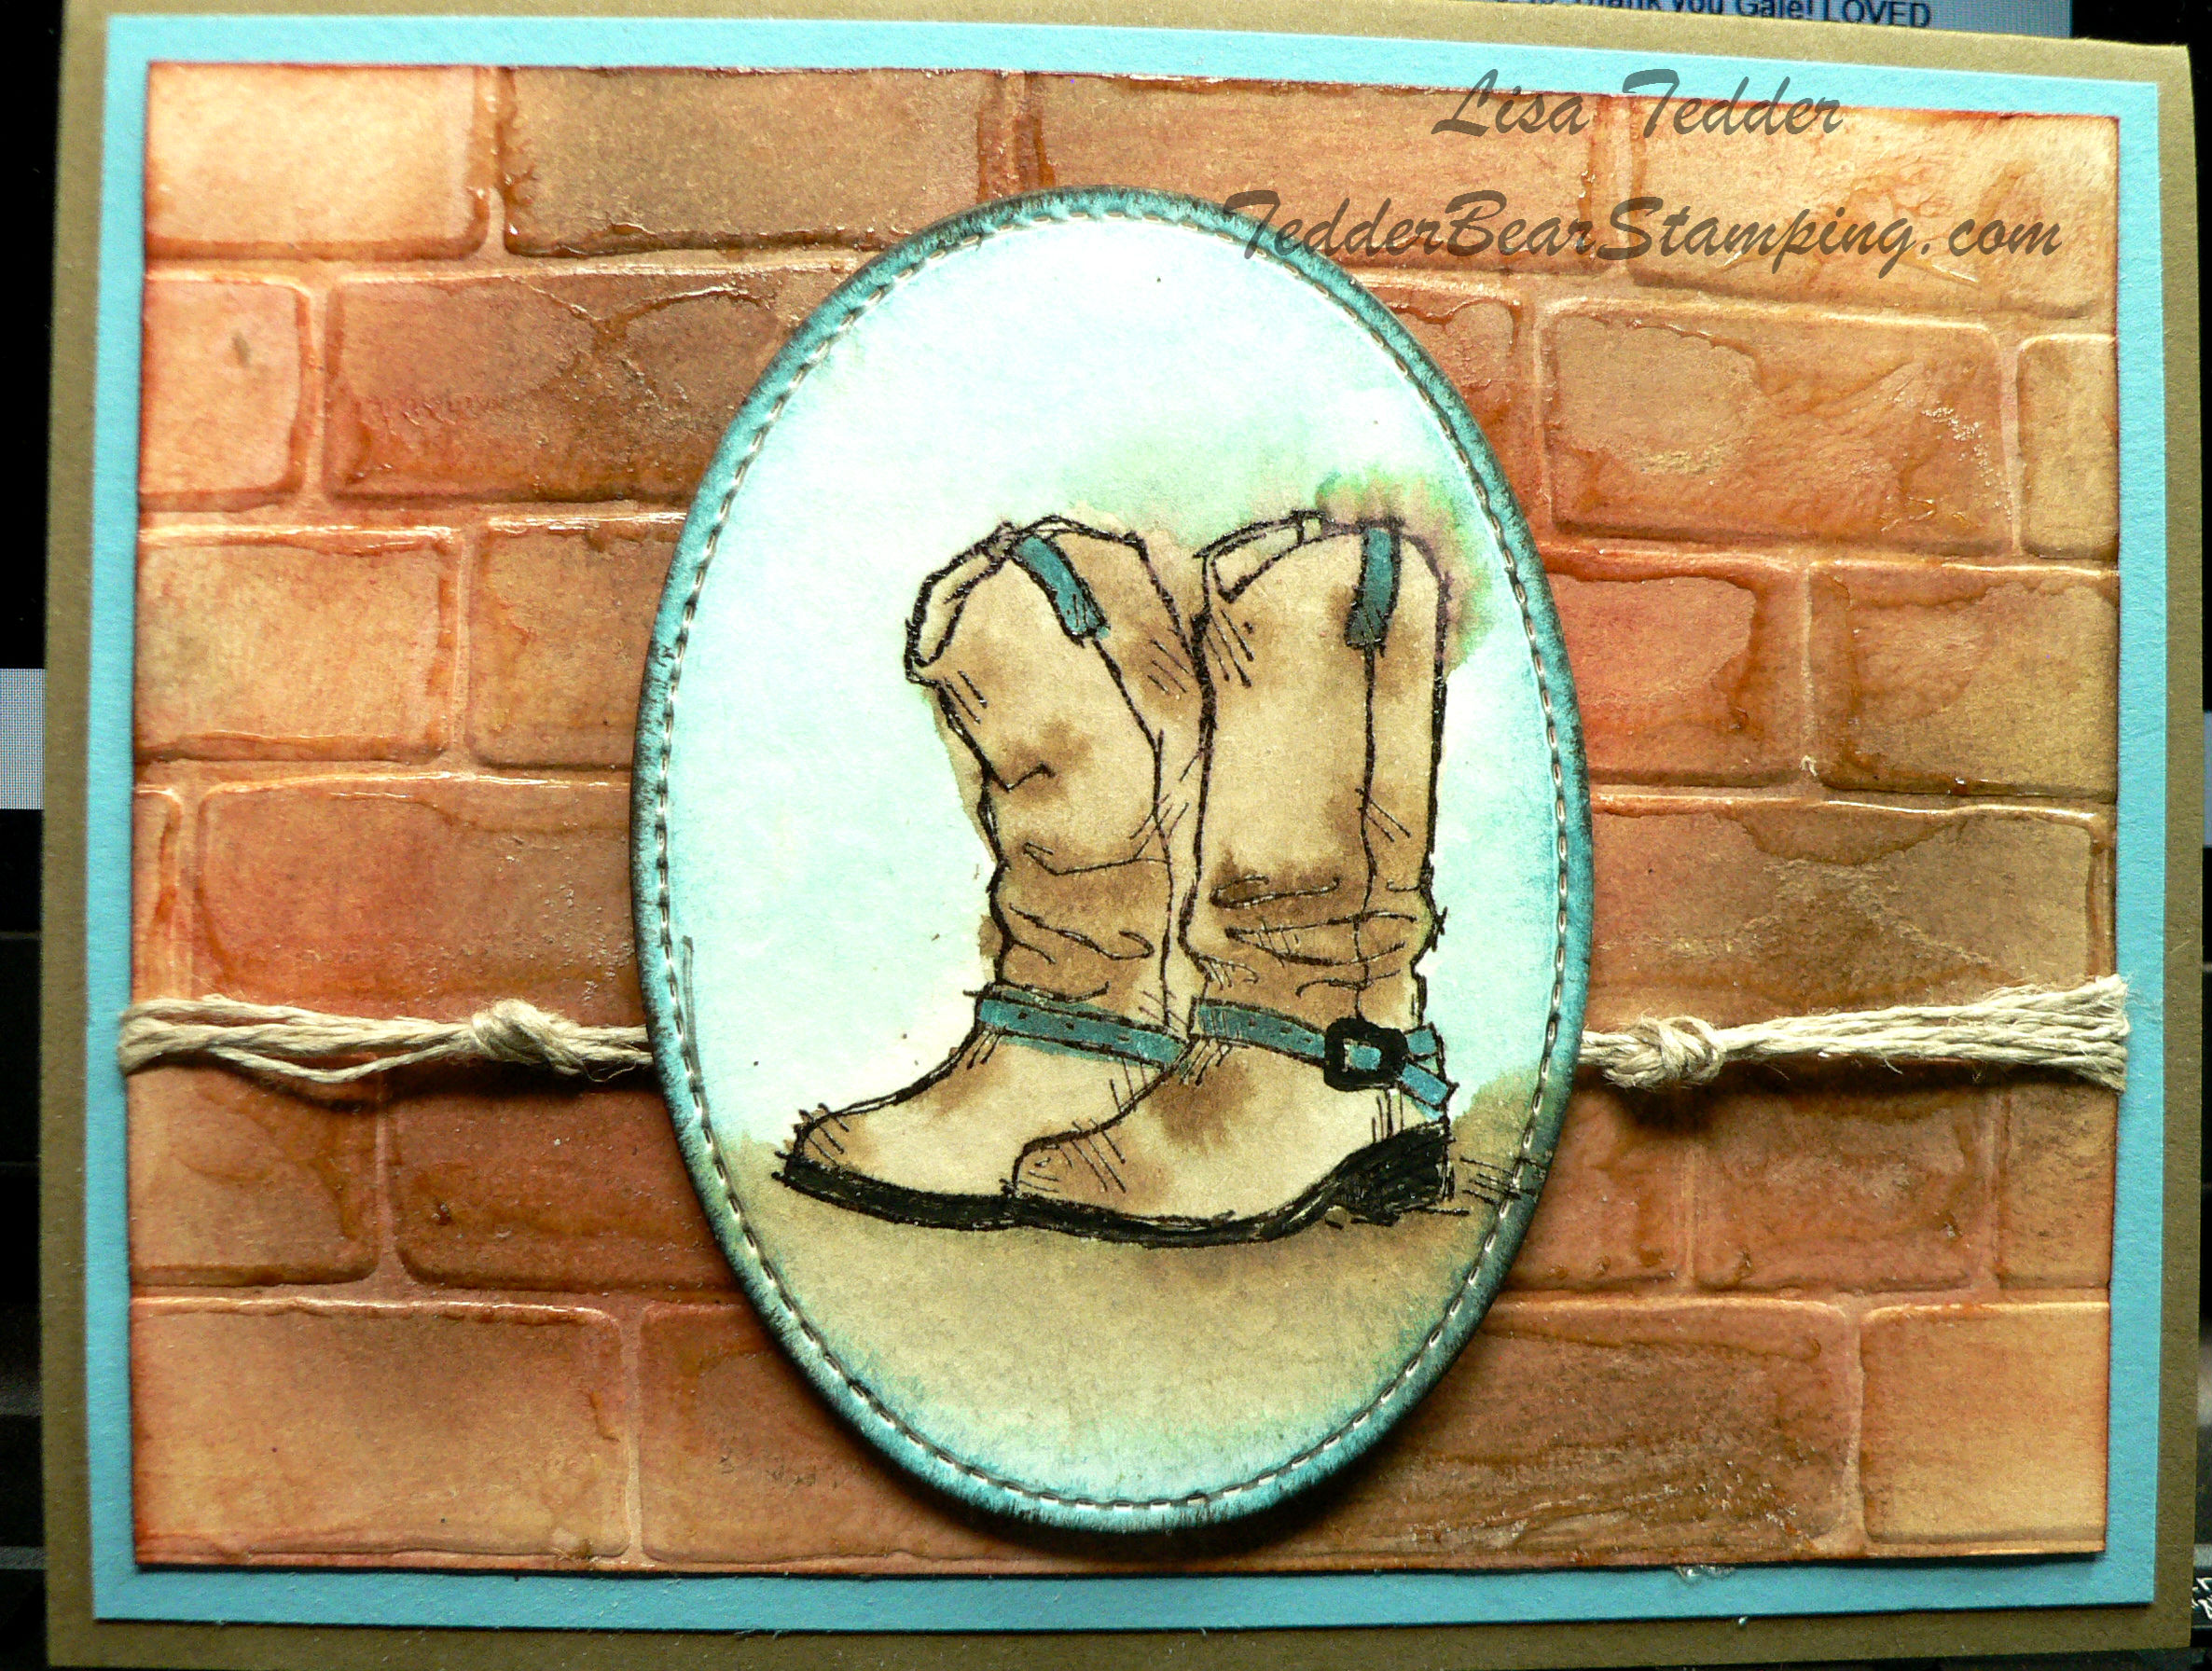
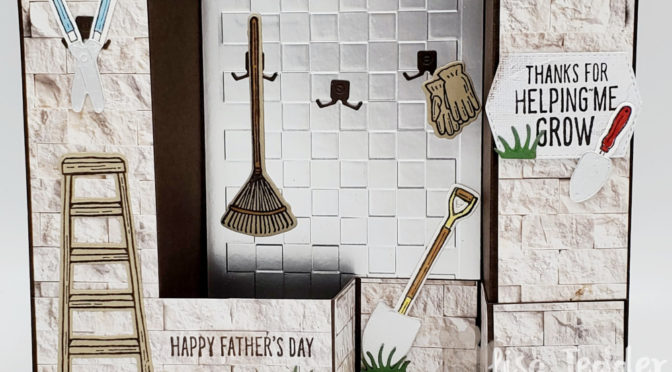
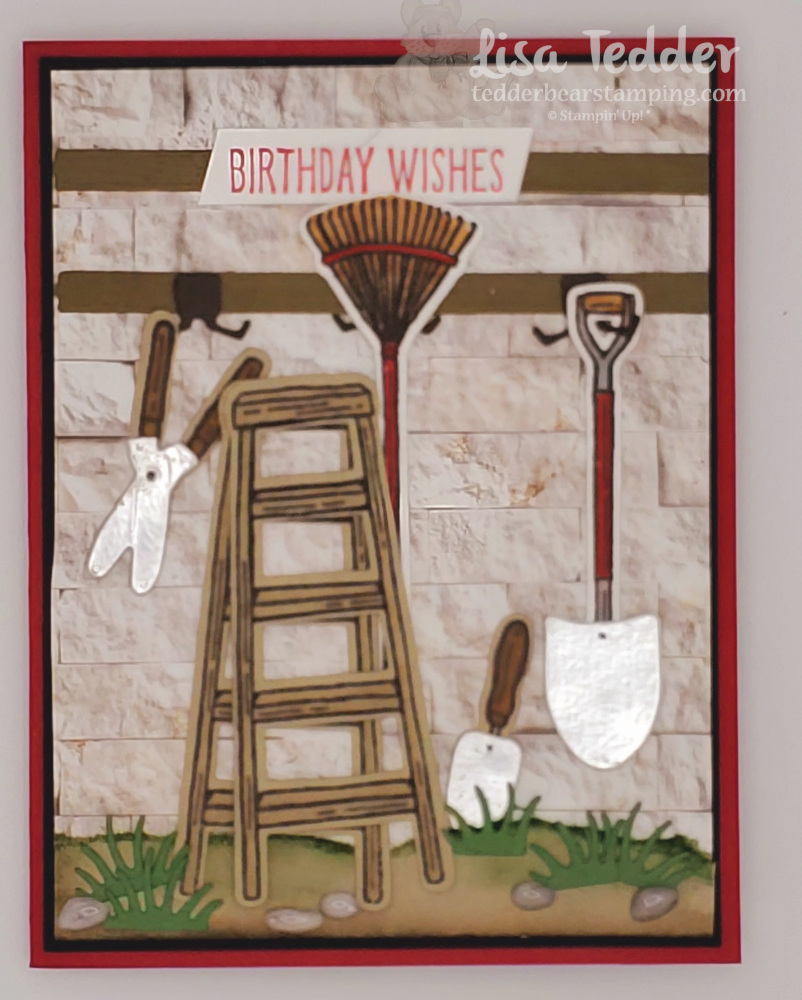
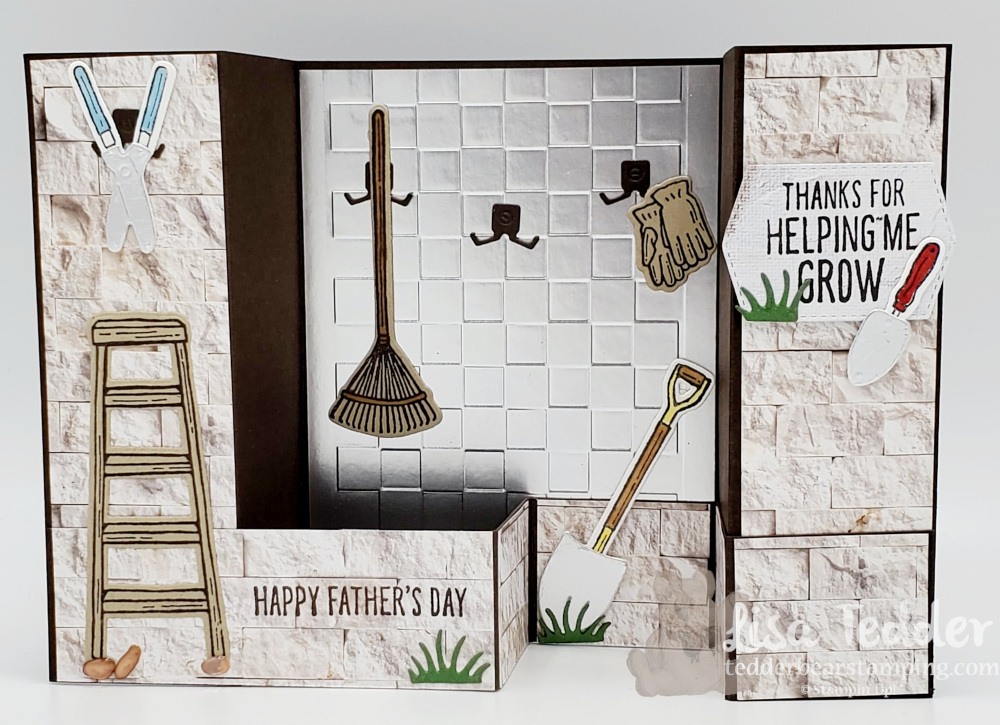
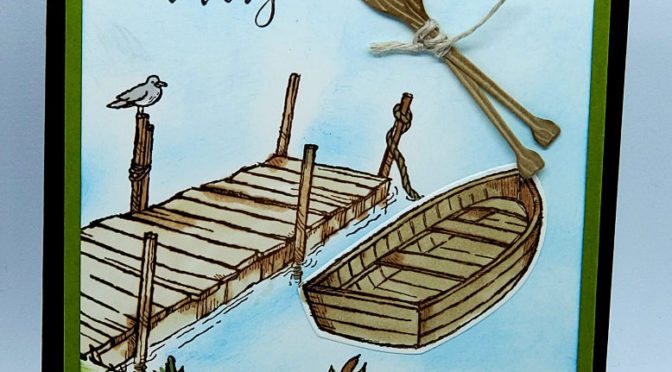
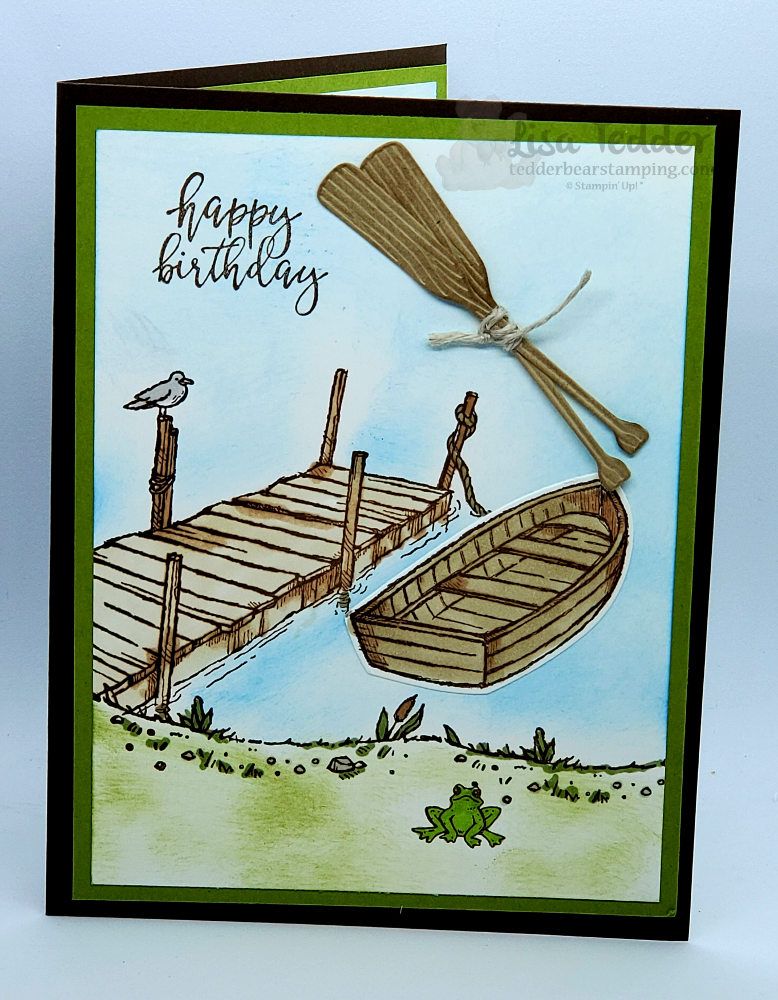
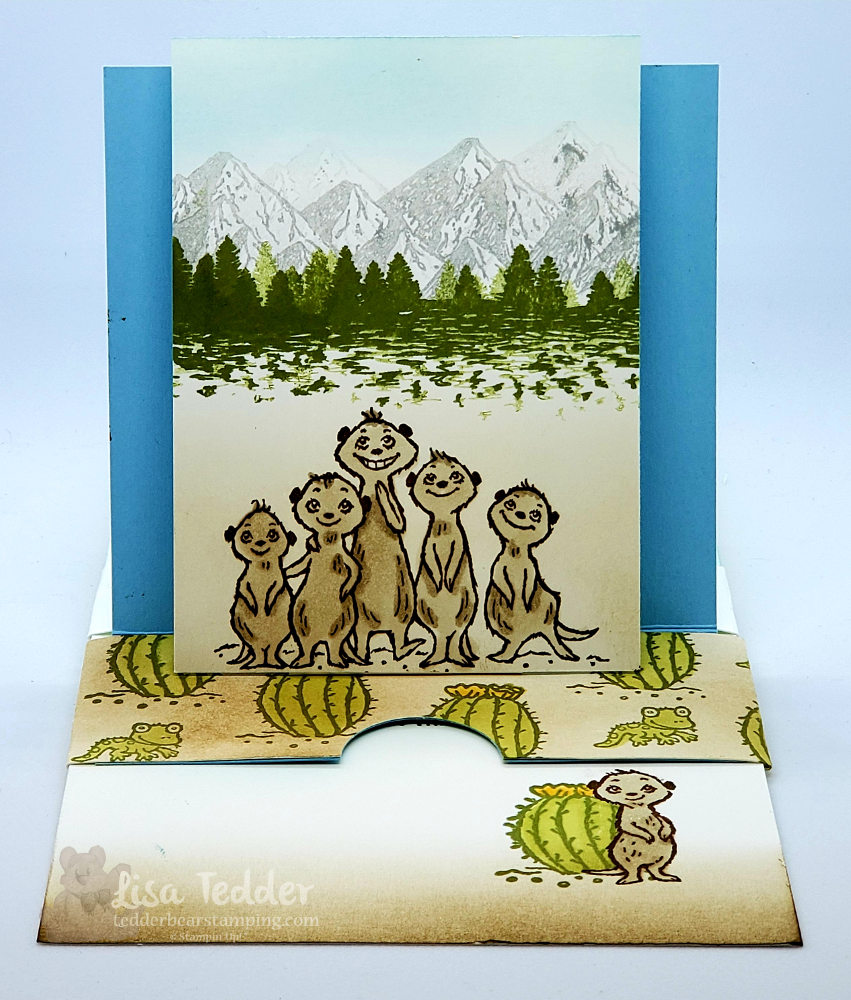
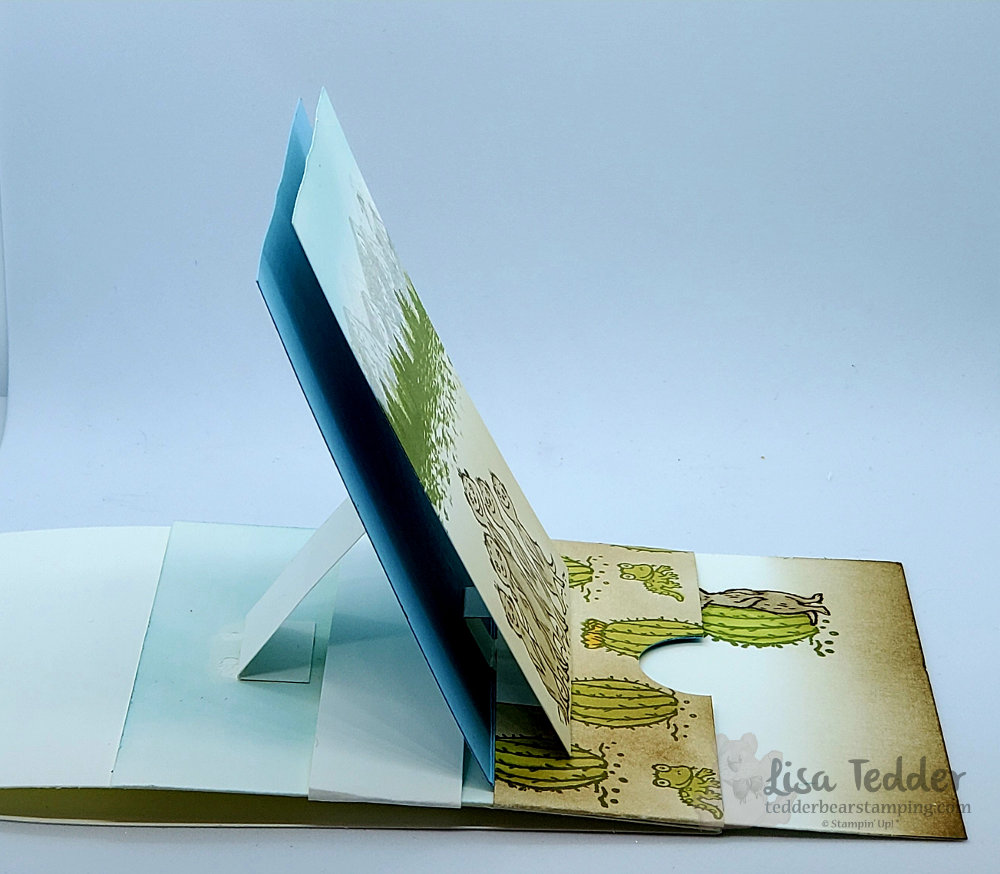
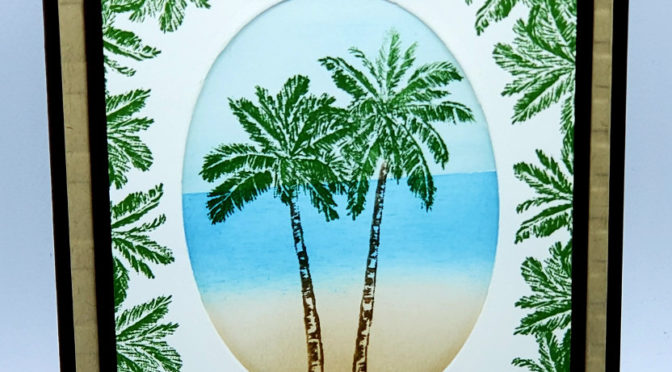
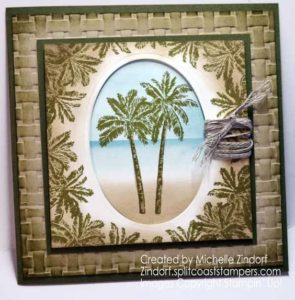
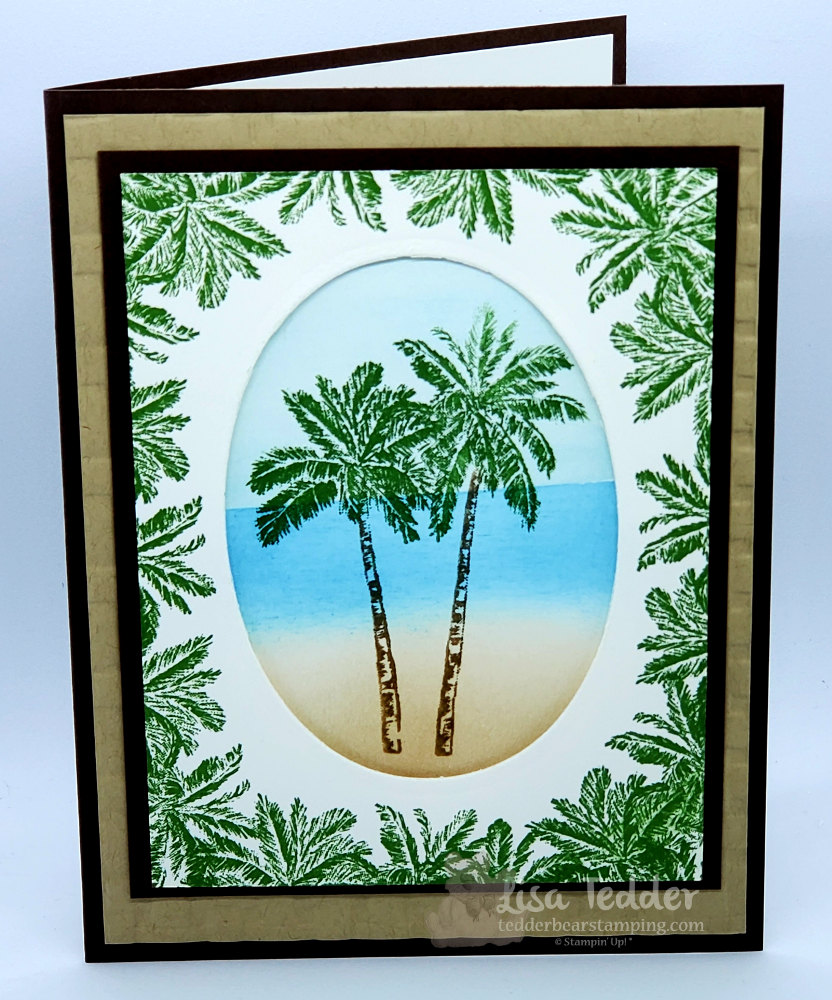
Hey Guys, Masculine card wanted? It’s easy, especially if you are using Stampin’ Up!’s stamp bundle Home & Garden. Evidently when you look at my cards you can surely see how much fun I had making them. As always on Thursday’s, I have a video for you to watch both of these equally good cards. Of course you can definitely catch it here! Overall, I really love making a scene. Thus using these stamps/dies really fit the bill! All in all I hope you like the cards I am showing today.

Masculine  card wanted  this uses Home & Garden bundle
Masculine card wanted and delivered! Thanks especially go to Sharni Haines for the inspiration!
Masculine card wanted, Inside of first Masculine card.
There is even a die that makes rocks!!

Masculine card done!

Masculine cards wanted! Here is a great Father's day card!
Of course I have a masculine card wanted and done!

Card Recipe’s! Download for FREE

At the present time I am adding my pdf’s for the projects here so you can make them easily! My hope is that you love this, of course you will need to let me know! Furthermore, if you are new to this Blog, I do a video every Thursday (4:00 eastern), and I share with you my Stamp Classes! Surprisingly I have been doing this every week for over a Year! Consequently you have a lot to catch up on if you are new here!
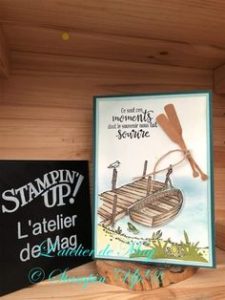
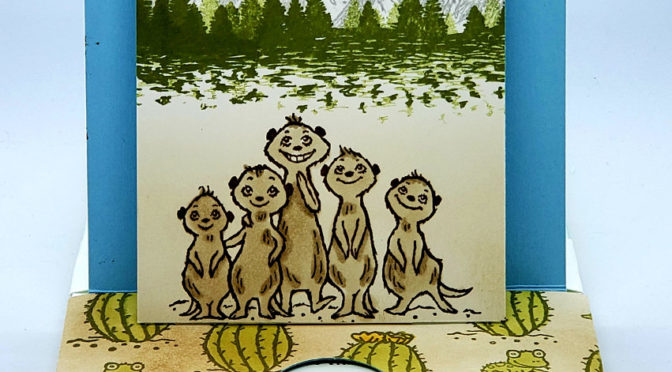
Sneak Peek

As always, When you spend $35 or more you especially get a PDF of 16 projects with step by step instructions with pictures! Above all if you purchase over $75 you get the PDF but also get a Home Décor shadow box! By all means, purchase the bundle for the cards made today. In brief Below is a sneak peek for the PDF!

Masculine cards in here too! Sneak Peek of PDF for orders of $35 or more in March
Sneak Peek at the present time.

To conclude, my hope is that you love the cards I’ve shown today! Occasionally I do a poll on my YouTube Live since I would like you to help choose which stamp set to use. Doubtless I chose Masculine cards this week nevertheless you can also come to my Live and help choose what I use! Obviously I would love for you to join me, as a result we will both be happy!

Thank you so much for your continued support! Together with Stampin’ Up!, of course I hope to inspire you! In fact, I have been in Love with this undoubtedly great company, for almost 19 years! In fact my anniversary is excitedly coming up soon! Basically you will want to keep coming since I will have a celebration! Markedly 19 years is a long time to do one thing, besides loving every minute of it!

Notwithstanding I have met a lot of friends through SU!, but have found a remarkable artist in myself. Surprisingly I didn’t even know existed 20 years ago! Markedly my husband is probably shocked too, even though he told me to get a hobby!

Indeed please stop by specifically while I’m Live on YouTube also check out the rest of my videos. Obviously I hope to see you next week!

Lisa Tedder
A Former California girl living in North Carolina

Click pics below to go to my Store!

Product List

Masculine card By the Dock

Hey Guys,

Here’s a Masculine card using the Stampin’ Up! stamp set By the Dock for you! If you missed my last one, check it out here.

The last masculine card had a LOT more sponging and this one has a little sponging and I think it’s much simpler! They are both great cards but this one makes me happier…..not sure why, maybe you can tell me? Here is my card for today:

I LOVE how I colored this!

This is a CASE (Copy And Share Everywhere) from L’atelier De Mag, here is her card so you can see how I changed little things to make it mine:

My shore is more pronounced, but you can definitely see that I got my idea from here! Thank you L’atelier for your inspiration, I love it! The cardstock was changed up too, I LOVE using Early Espresso cardstock as a Base for my handmade cards.

For my inside I wanted to make it just as serene as the front:

Isn’t this card one you would like to receive in the mail? I absolutely love, love, love it!

As usual, here are the specifics for this card:

Stamps:
By the Dock Bundle
A Great Man

Inks:
Early Espresso
Balmy Blue
Old Olive
Blends: Bronze, Combo Crumb Cake, Dk Granny Apple Green, Lt Smoky Slate, Dk Old Olive

Paper:
Early Espresso 8 1/2″ x 5 1/2″
Garden Green 5 1/4″ x 4″ (x2)
Whisper White 5″ x 3 3/4″ (x2), 2 1/4″ sq (for boat)
Crumb Cake scraps for oars (sponge over oars after they are cut out to bring out the texture with either Early Espresso or Soft Suede)

Misc:
Glue dots
Linen Thread
sponges/daubers

Also, you will see all these supplies in picture form under my name, click on any of them to be taken to my OnLine Store. If you choose me as your Demonstrator and purchase from me, I will send you a file that has tutorials for 35 + cards plus a homemade card as a thank you!

Hope you enjoyed your visit and that you come back soon!

Lisa Tedder
A California girl living in North Carolina

Product List

Gang’s All Meer Double Slider Easel Card

Hey Guys,

I’m sure that you have seen around the Double Slider Easel Cards, I saw them too, and tried my hand at it! Using The Gang’s All Meer Stamp set from Stampin’ Up! was a no brainer for me. They are so stinkin’ cute! Plus, the sentiment says “Happy Birthday to a STAND-UP friend”, thought it would be perfect to have a stand up card! LOL

Also I used the SU! set Mountain Air, because I thought they would make a great backdrop for those adorable MeerKats! The Belly band is stamped with the cactus and colored with Blends. I tried so hard to find a fitting Designer Series Paper (DSP) that would fit with these cuties, but alas I couldn’t! So, what is a crafter to do? Make their own DSP! 🙂

Here is my card, you’ll see a few pics since I want to show you all the angles:

This can open fuller, the sentiment is on the pull out. Can you see that this is open on it’s own?
sideways view
Inside

Cute right? I like it, depending on what everyone says at my classes is whether or not we make this in a class. It’s a little over the top, meaning it takes some time to get all the pieces together and put in the right place. BUT, it was super fun once I got the gist of it! Thanks go to Frenchie for her video! I may make a video if you would like to see it, just let me know!

As usual, here are the specifics for this card:

Stamps:
The Gang’s All Meer
Mountain Air

Inks:
Smoky Slate (mountains)
Old Olive (trees and cactus/lizard)
Early Espresso (meerkats)
Soft Suede (behind Meerkats and cactus on belly band)
Balmy Blue (sky)
Blends: Crumb Cake combo, Old Olive light, Mango Melody combo

Paper:
Whisper White thick 4 1/4″ x 11″
Whisper White 5 1/2″ x 4 1/4″, 3″ x 4″, 1 1/2″ x 9 1/2″ for banner & for Extra banner if you make a full card: 1″ x 9 1/2″
[2 3/4″ x 1″ (scored @ 1/2″ each end), 2 1/2″ x 1 1/2″ scored @ 1/2″, 1 1/2″ x 1/2″ scored @ 1/2″ & 1″…..for mechanisms]
Balmy Blue 4″ x 5 1/4″

Misc:
1″ circle punch
sponges
Simply scored

So, what do you think? Is this something you want to make for yourself!? I hope you give it a try!

Below you will see in picture form all the supplies needed for this card. Just click on any of them and you will be taken to my Online Store! Anytime you purchase from me, you will receive from me a file FULL of tutorials for you to use! There are usually 40 or more, but I like to promise 35…….don’t want to disappoint anyone! I will also send you a handmade card as a thank you! Every time you order you will get these as my thanks to you! If you live in the US and would like to use me as your Demonstrator, use away! LOL

Thanks for stopping by, hope you enjoyed your visit!

Lisa Tedder
A California girl living in North Carolina

Product List

Who doesn’t love a Palm Tree!?

Hey Guys,

First off, I want to thank you for sticking with me. I haven’t always been consistent with my blogging, but I HAVE been consistent with my classes. If you would like to do any of my classes let me know, I love to make cards and decorations and would love to have you join me!

Second, the card I am going to show you today is one that I somewhat cased (which means that I saw a card, loved it but changed it up just a little), this one was inspired by Michele Zindorf. She is very awesome but not everyone can do what she does, so I try to bring it down to what I would hope with some guidance anyone can do! Here is her card:

My card is one that fits in a regular envelope, that was my main objective……make this card, but have it fit into an envelope I have.

What I love about her card is that you really get to see the basket weave background, since I had to make mine smaller you get a hint of that!

Here is my card:

Not sure if I have told you this in the past, but my husband has a virtual tropical paradise in our yards, here in North Carolina! I grew up in SoCal, we and go to Disney World all the time and we both love how tropical it is. So, of course I naturally gravitate towards tropical stamps…..this one REALLY called to me! I hope you love how this came out as much as I do!

Here is the inside of this card:

Now, here is the specifics for this card:

Stamps:
Timeless Tropical

Inks:
Garden Green (marker and pad)
Balmy Blue
Soft Suede (marker and ink pad)
Pacific Point
Crushed Curry (marker)

Paper:
Early Espresso 8 1/2″ x 5 1/2″, 3 5/8″ x 4 3/4″
Crumb Cake 5 1/4″ x 4″
Whisper White 3 1/2″ x 4 1/2″ (x2), 5 1/4″ x 4″ (for inside card)

Misc:
Layering Ovals (3 1/4″)
sponges
Dimensionals
Basket Weave 3D folder

Below you will see pictures of all the supplies that I used, click on any of them to be taken to my Online Store. I am a Demonstrator with Stampin’ Up! in the US, if you are in need of a demo, I would love to be yours! If you purchase from me, I will send you a handmade card PLUS I will send you a file FULL of tutorials (at the least there will be 35! more than likely more!)

I hope you enjoyed your visit today! Please come back to see me!

Lisa Tedder
A California girl living in North Carolina

Product List

Still Night NEW Stamp set in Holiday Catalog

Hey Guys!

Today I am sharing with you an easy card that you can make if you are in a hurry.  This can be for a man or woman!  Those type of cards are hard to come by!  I love the new Owl in the stamp set from Stampin’ Up! called Still Night.  The branch can be used different ways and the owl can look different depending on how you color it.

I stamped the Buffalo Check stamp (also from SU!) onto Crumb cake using Early Espresso ink. Sponged the edges to make it look even more ‘old’.  I stamped the owl on a scrap of Vanilla and colored it using the Soft Suede/Crumb Cake Blends.  This stamp is EASY to color!  I used the Die that matches the owl, put Dimensionals on the back and he is ready to put on my card!  I die cut the branch from Soft Suede cardstock laid it over a Very Vanilla oval die cut with Stitched Framelits.  I sponged the edges of the oval with Soft Suede and used the Early Espresso marker to add the stitched look.

I hope you like my easy card!  I would love to hear what you think.

All the supplies are listed below, click on any picture to be taken to my OnLine Store!

Thank you for stopping by!

Lisa Tedder
A California Girl living in North Carolina
Product List

Experimenting and getting more from my SU! embossing folders!

Do you ever see things and wonder how it would look if you used it OUTSIDE of it’s usual purpose?  I do it all the time!  I LOVE to experiment with my SU! products!  Anything that will make my tools/stamps be used more is sooooo worth trying!   And if you do try something and it works, then you are so excited to share it!  That’s what I am doing today!

I have Mod Podge in my cupboard and I never use it!  I don’t even remember WHY I bought it!  I’m sure I used it for the purpose I bought it for, but I have totally forgotten why!  So, what to do?!  I know!  Try an experiment and see if I can come up with something new so I use it!!

I decided to put it on my Brick Wall Embossing Folder by SU!  Believe me, I was very nervous, but figured that it will wash off, and I might like what I make!  I LOOOOOOVE how it came out!  You’ll have to tell me what you think!

First let me show you a picture of this handmade card that could be used for a masculine card or it could be for your Western loving girl!:

Can you see all the texture?!  It is so shiny and it makes me just want to pick it up and move it in the light to catch the beauty!  You can watch my video on YouTube to see what I am talking about!  It’s called “Experimenting and getting more from my SU! embossing folders!”  I thought I would keep the name the same as the blog name to avoid confusing MYSELF!  It doesn’t take much ya know?

Get a piece of Very Vanilla 5″ x 3 3/4″, and sponge it with Sahara Sand, Crumb Cake, Soft Suede and Cajun Craze.  Just sponge spots around the cardstock and go from lightest to darkest!  Then you can go over all the spots with your Cajun Craze to lighten it up a bit.

I poured a little of Mod Podge onto the Embossing Folder and spread it out using a piece of chipboard I had.  Don’t use a lot, you don’t want it to squeeze out onto the Cutting plates, or not too much anyway!  Place your sponged Very Vanilla face down onto the Mod Podge.   Once you have run it through the Big Shot, you will immediately place your plates and folder into water until you can get to it to wash off.  It came off very easy!  I then heat set the embossed/Mod Podged piece, since I am not a patient person and didn’t want to wait!  Once dry, you can sponge over again with the Cajun Craze just to make sure that it is covered.  Set aside.

Now onto the loverly (NOT a typo, I’m just goofy) Boots from the Country Livin’ stamp set!  Stamp the boots onto Watercolor paper using Early Espresso, then add clear Embossing Powder which will make it to where the color won’t smudge and add texture!!  If you ever come to one of my classes you will see right away I love texture! Once you have it heat set, then take your Aqua Painter and go over the entire piece of Watercolor Paper, so it won’t hold too much color and you have more control.  Keep layering your Crumb Cake ink (which is what you start with) until it’s dark enough, then come in with Soft Suede where the artist has the ‘folds’ designed in.  Color the tabs at the top and the part that buckles with a Marina Mist marker, and the bottom of the boots with black.  Once done, color the background with Soft Sky and underneath the boots with Soft Suede……..this is where you will love that you made the cardstock a little wet, it just comes out looking so soft!

Using your Big Shot, place largest oval from the Stitched Framelits over your scene and cut out.  Sponge edges liberally with Marina Mist and then SOFTLY with the Early Espresso.  You will want to watch the technique video to see how to make this card from the beginning!

I looped 5 strands of Linen Thread and knotted it twice, one on each side that the oval scene will be over.  Then place this piece onto a
5 1/4″ x 4″ piece of Marina Mist, and then place that onto a piece of Soft Suede!  The colors go so well together!!

I hope you enjoyed this post, and hope you go check out my Technique video with a SU! Embossing Folder!  Let me know what you think?  Do you want MORE techniques?

Lisa Tedder
TedderBearStamping.com
A California Girl living in North Carolina
Product List