Tag Archives: Blender Pens

Brand NEW Stamp set Sailing Home

Hey Guys!,

I LOVE when the new CAtalog comes out by Stampin’ Up!!  I was drawn to the set Sailing Home as soon as I saw it!  If I had my way, I would go visit every Lighthouse!  Since I can’t do that I will stick to making cards using them!

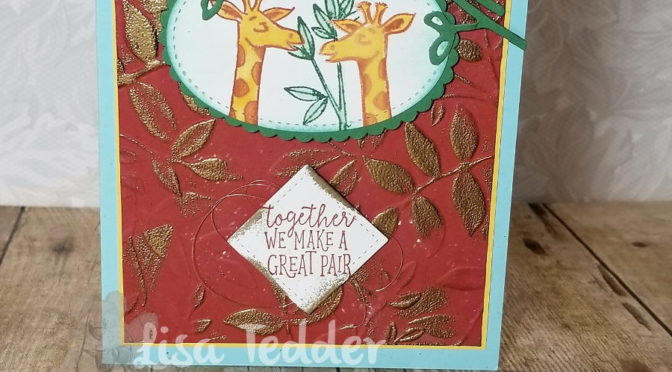
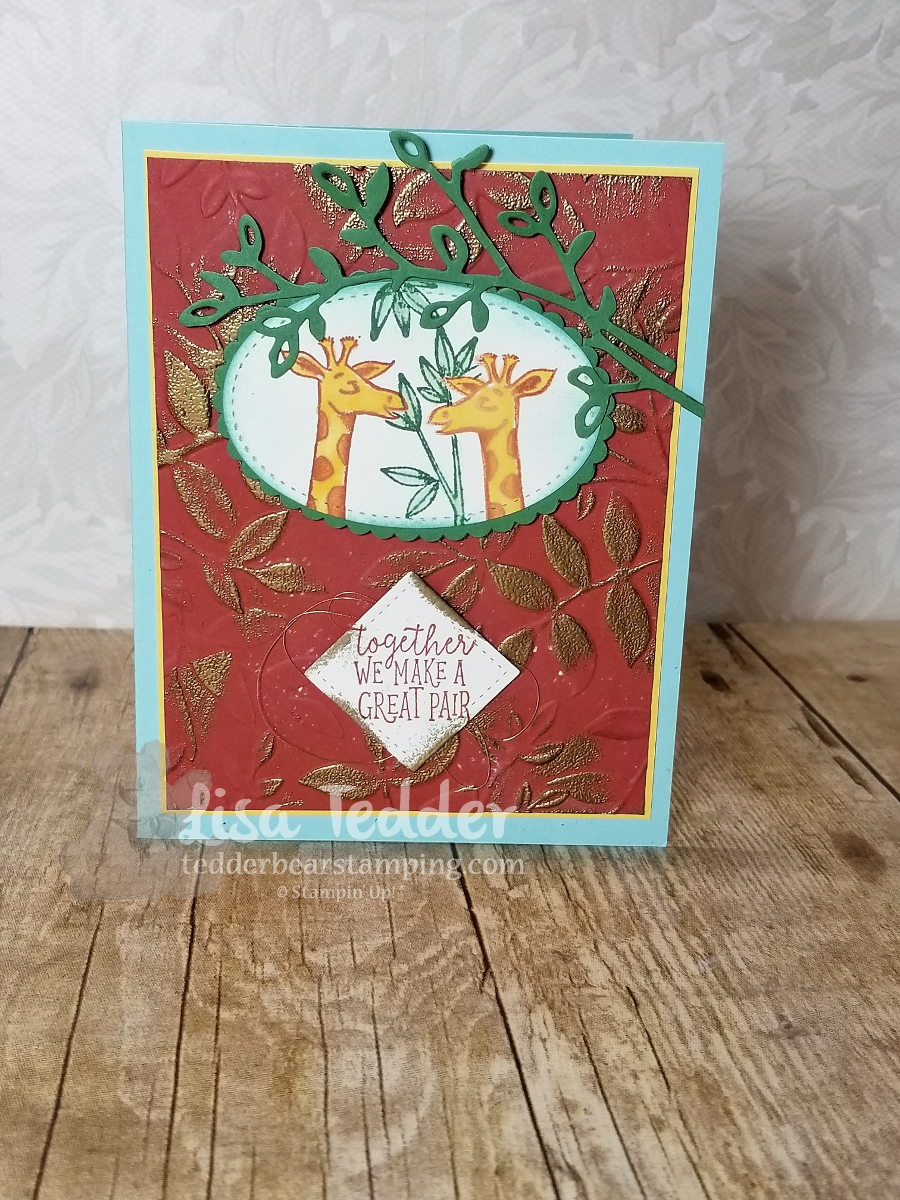
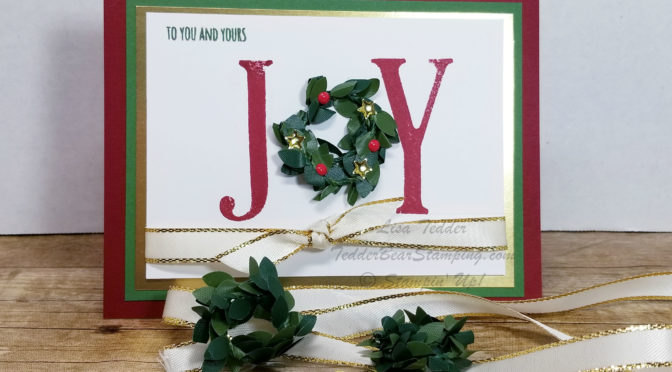
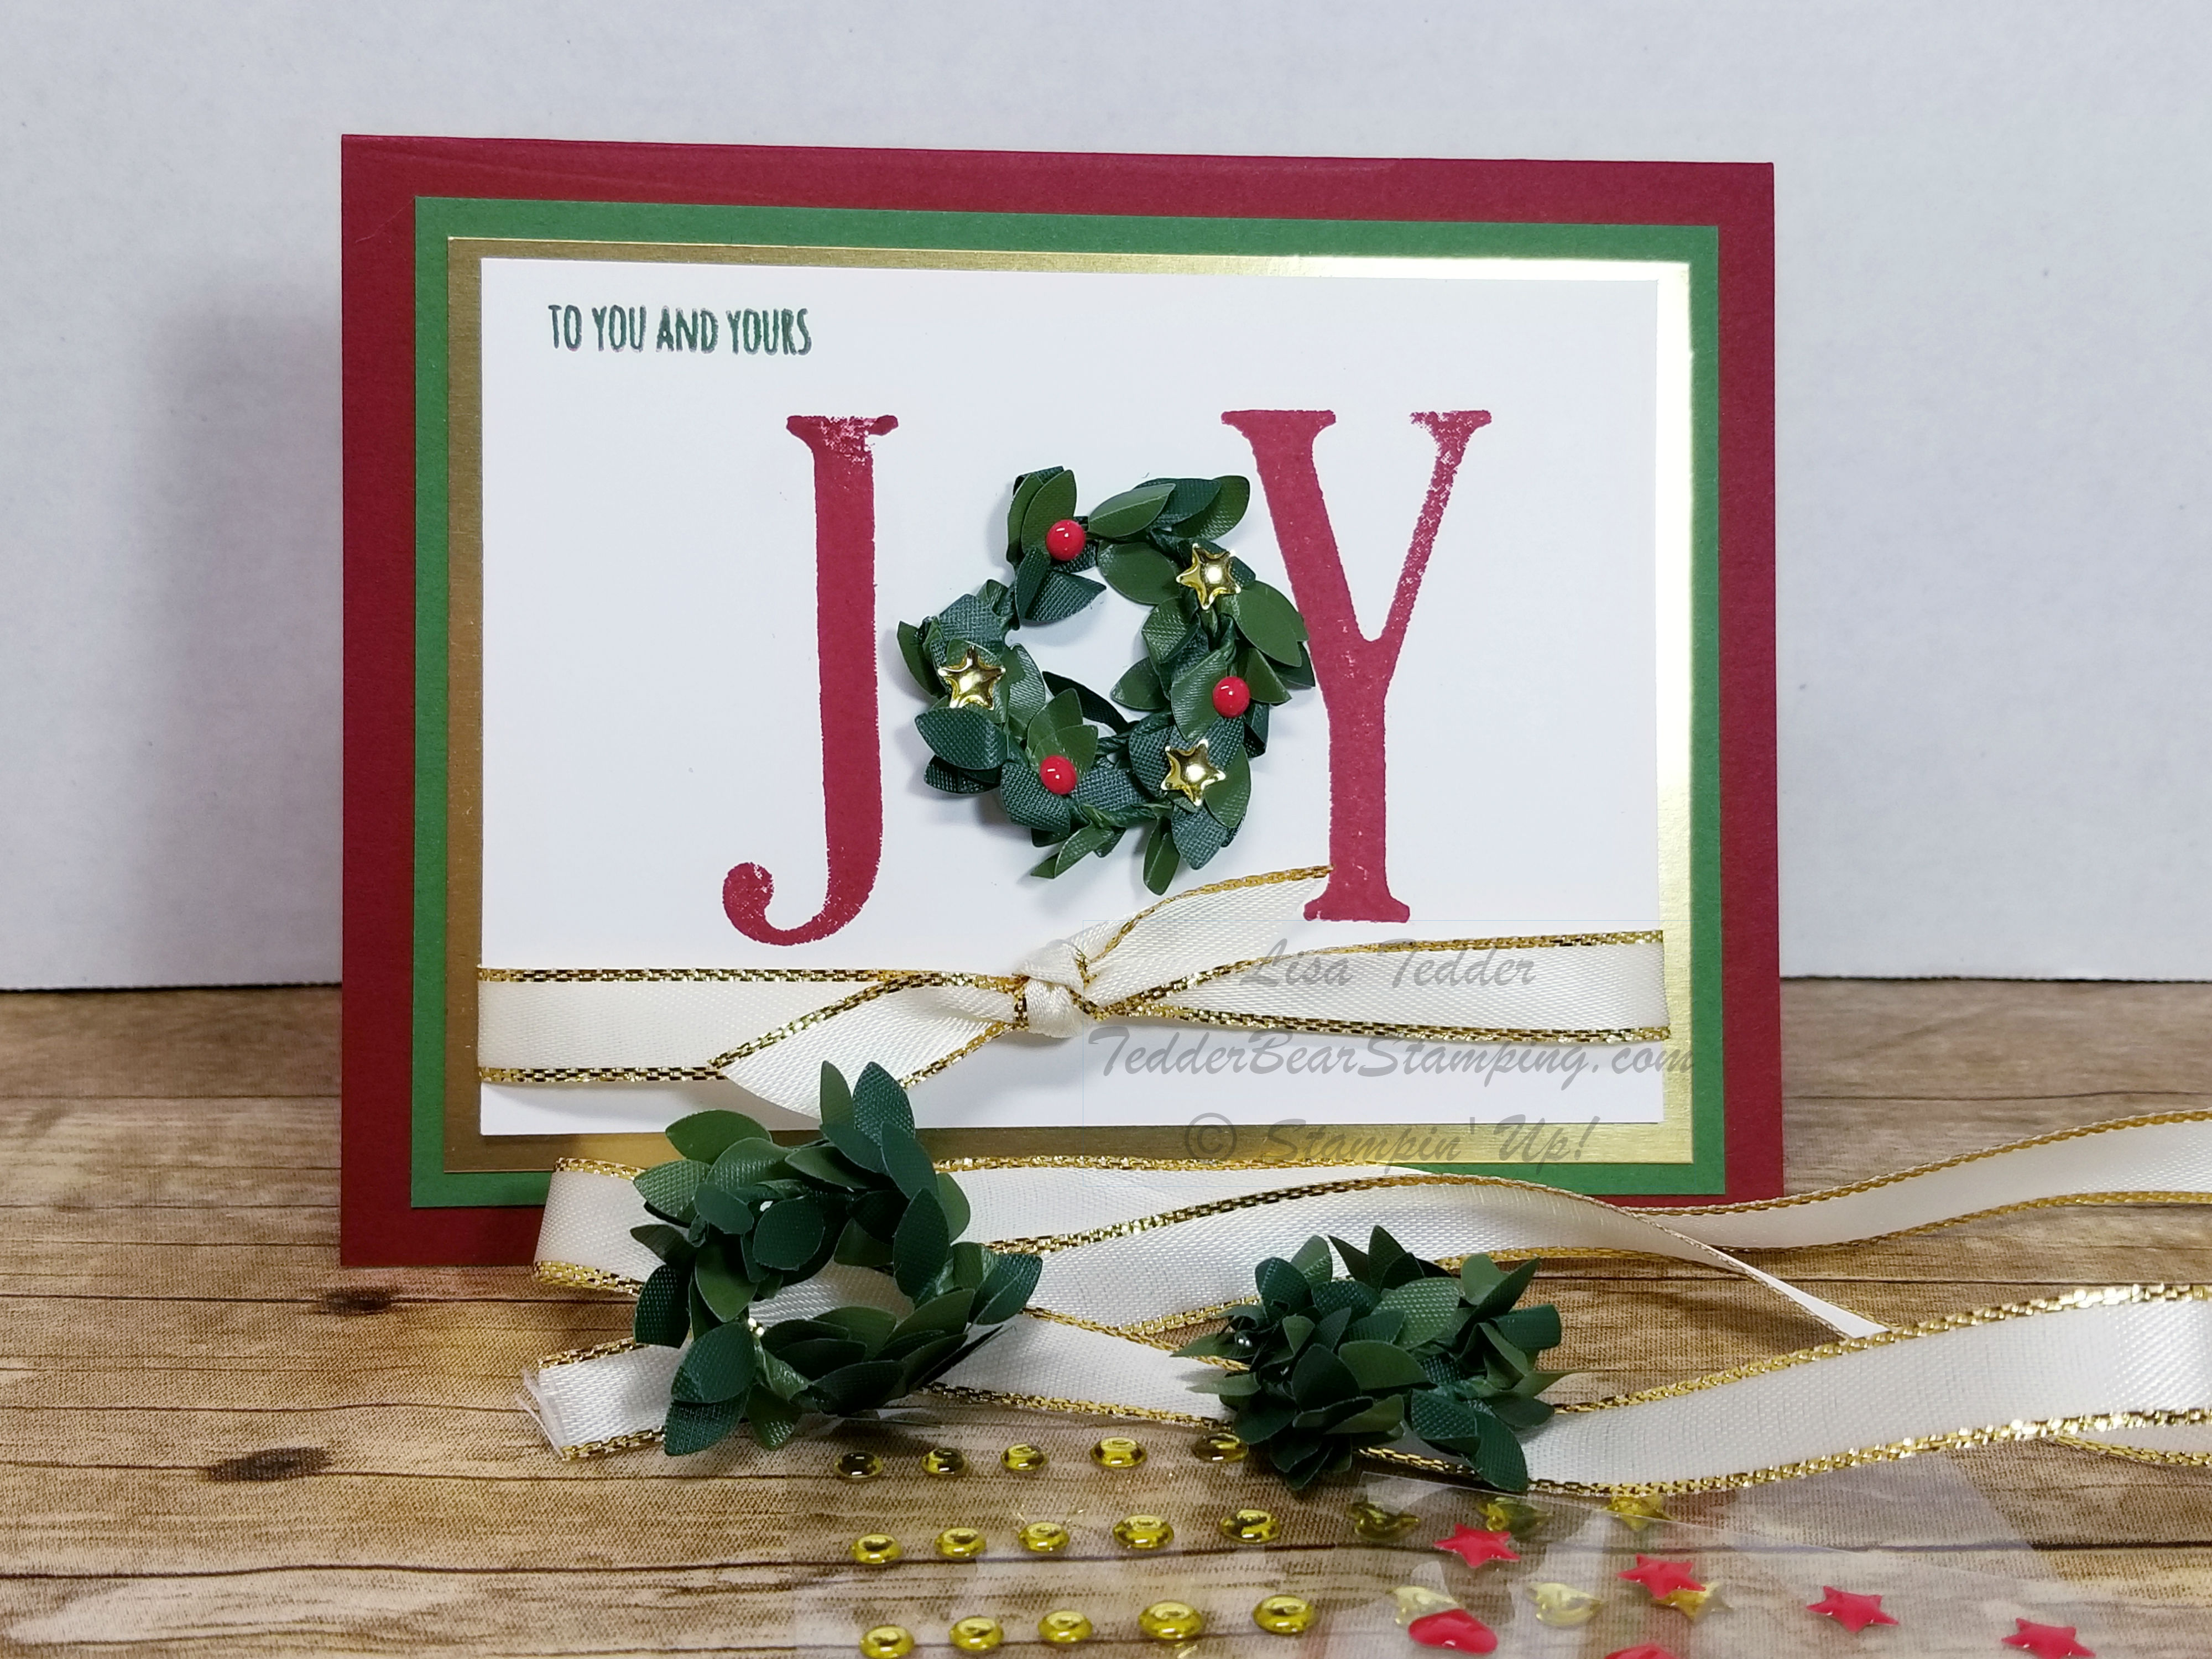
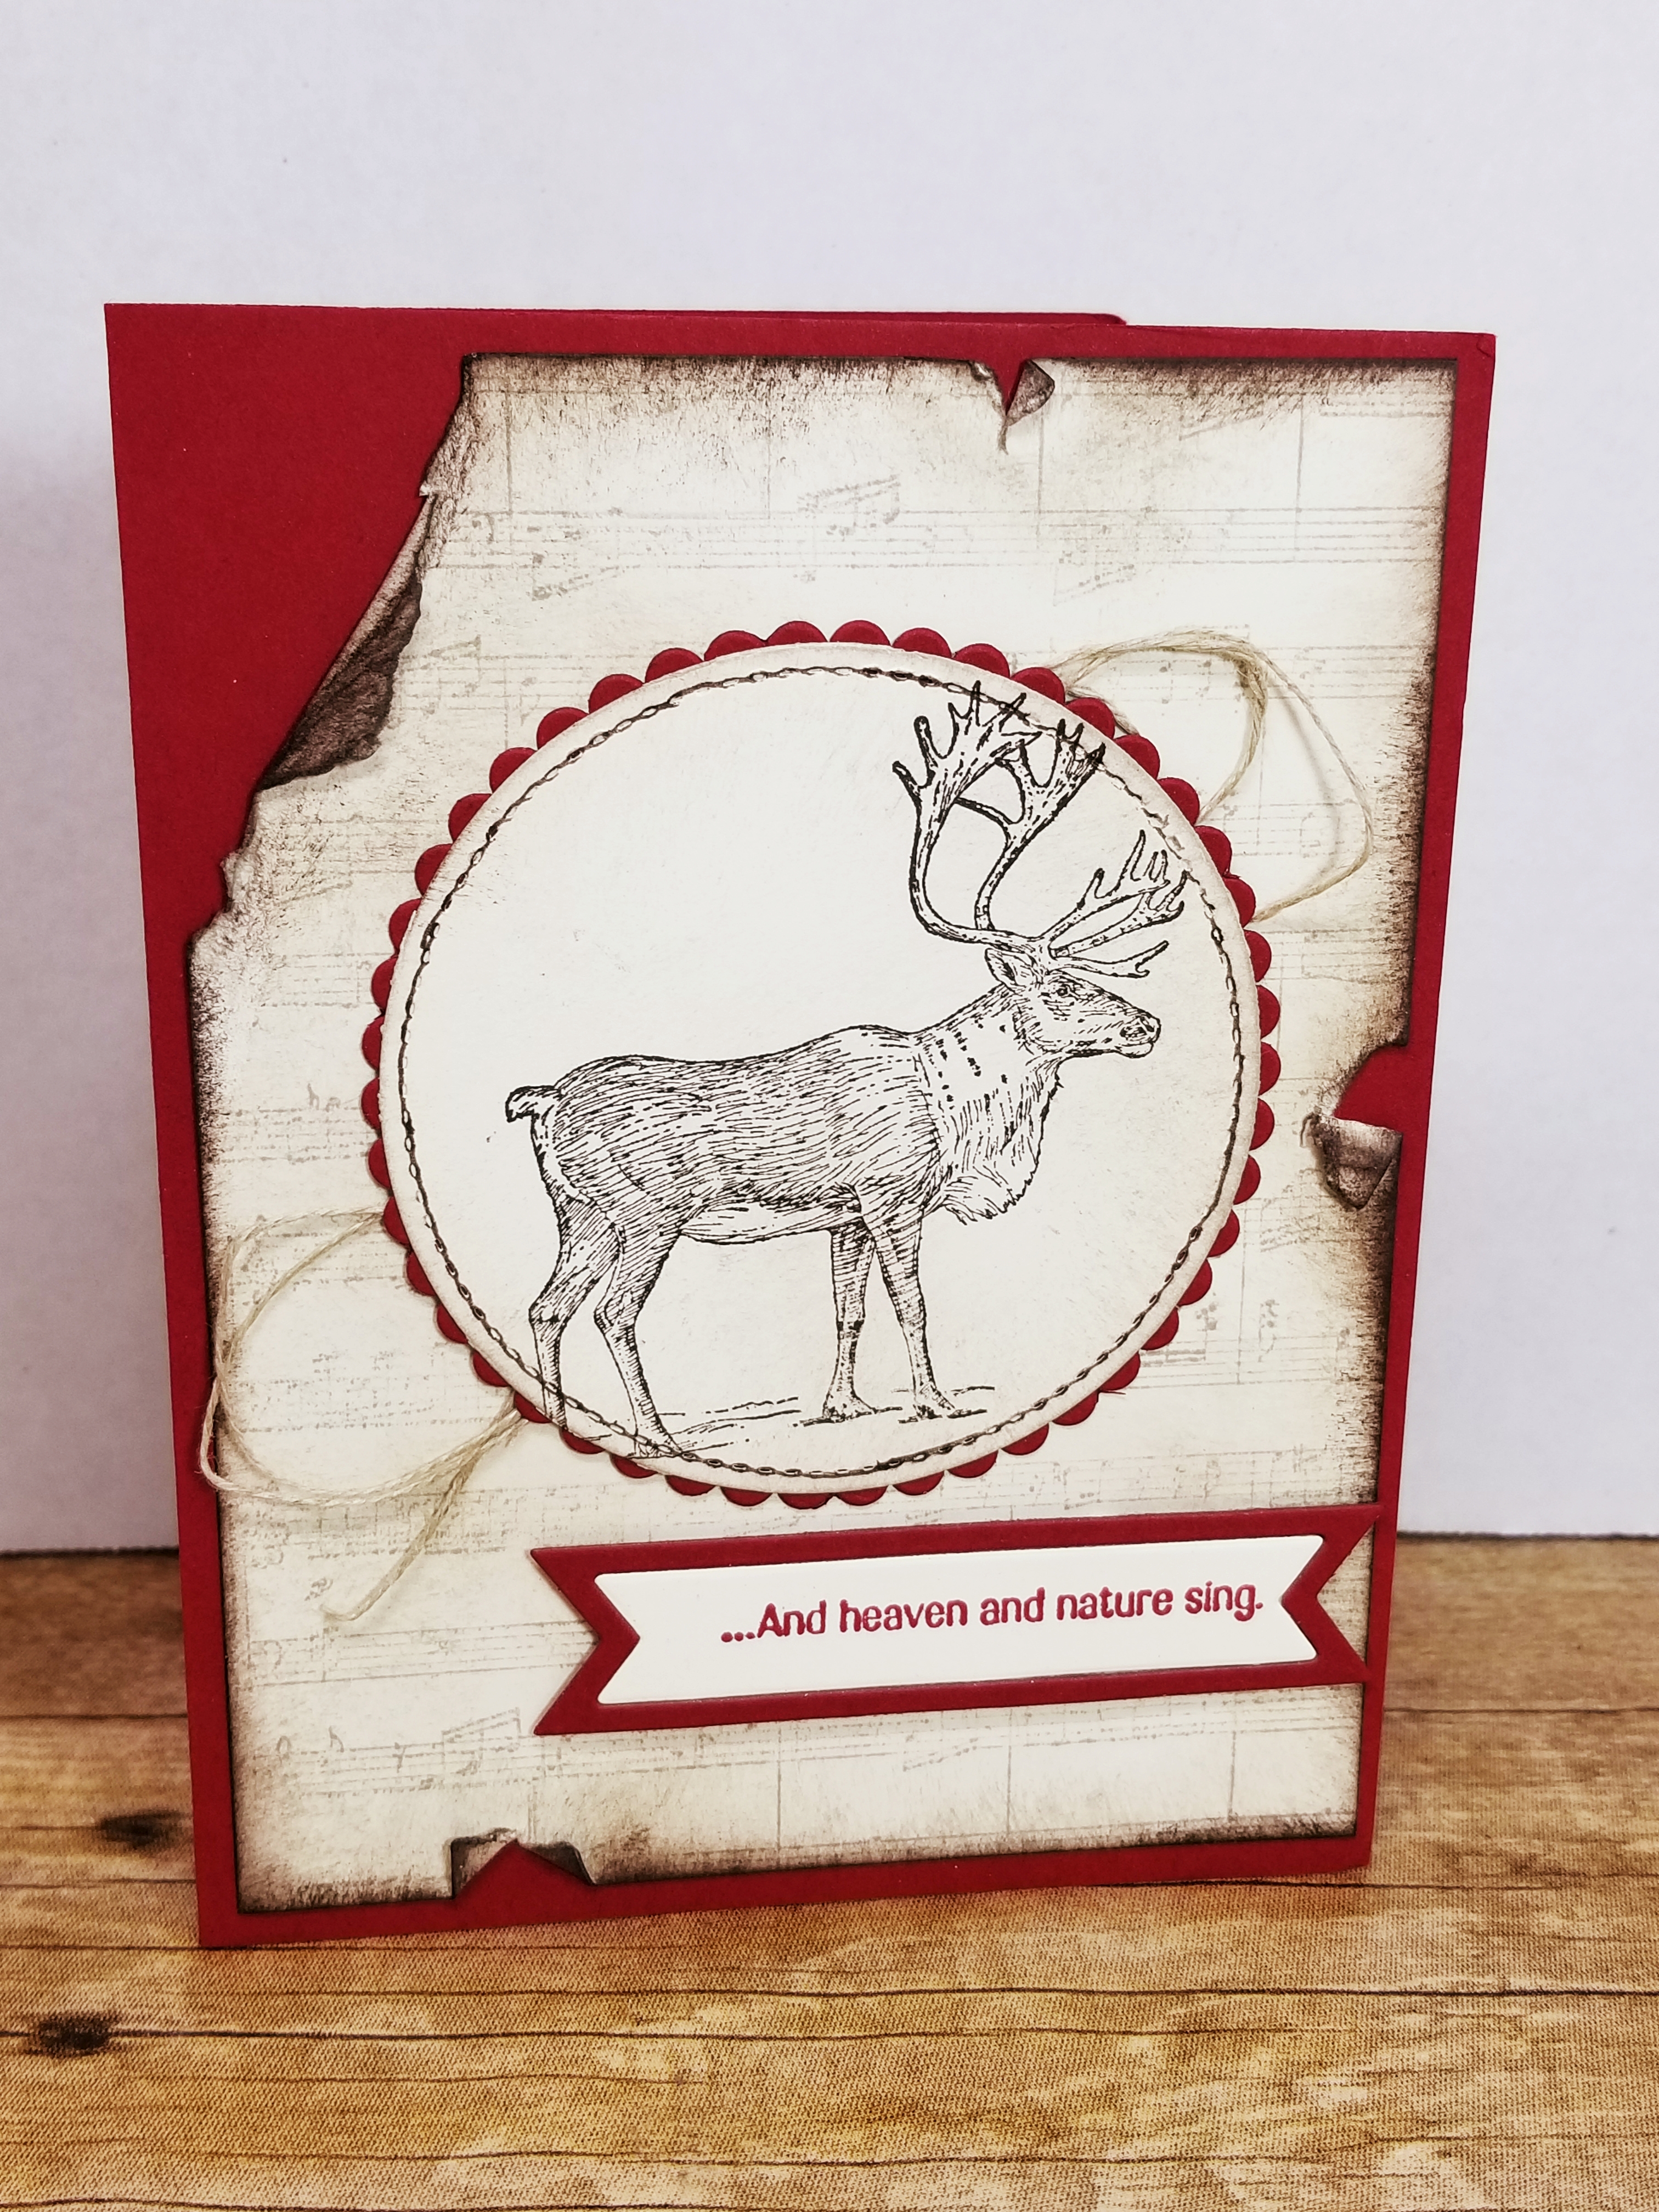
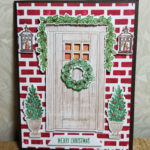
Here is a card I did NOT CASE, I came up with it!  Hope you like it!  Here it is:

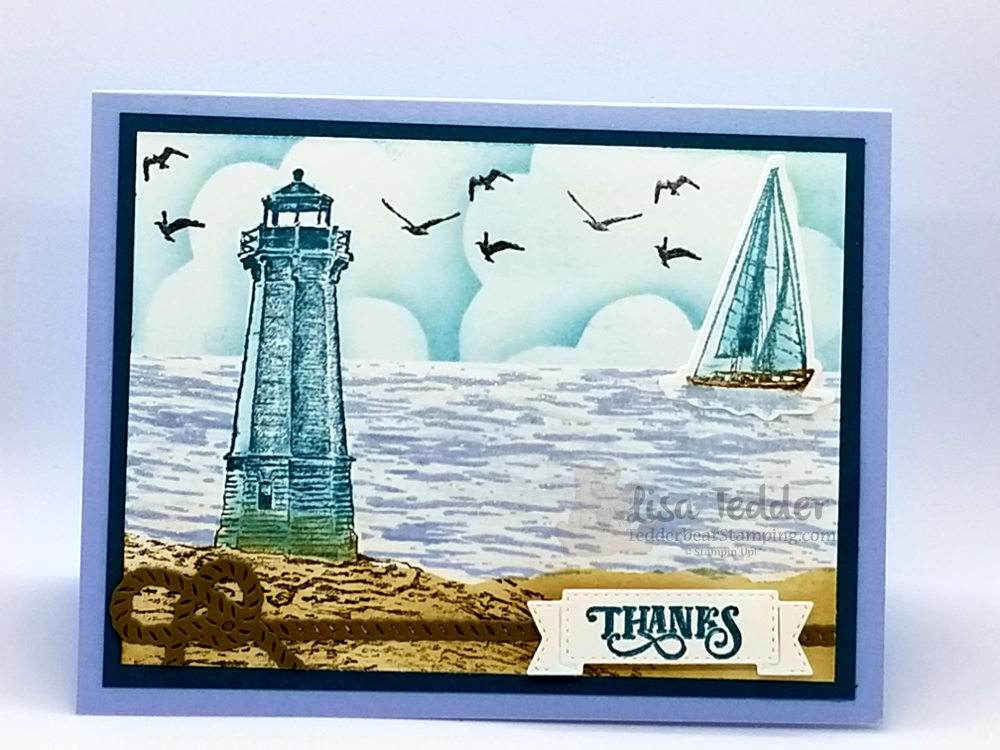
I did a video showing how I made this card, you can find it here.   I made my own cloud template and am offering it to those who order from me!  This uses a LOT of new goodies!  Sailing Home comes in a Bundle (which if you buy you will get 10% off!!).  The rope knot is a die, the die the Thanks is stamped on is included, plus the sailboat is cut out with a die.  There IS a die for the Lighthouse but I stamped and masked it.  Go check out the video to see how I got the texture on the sand.

Here are the specifics for this card:

PROJECT 1: Lighthouse
Stamp Sets Pg #
Sailing home Bundle
Paper
Seaside Spray 8 1/2″ x 5 1/2″
Pretty Peacock 5 1/4″ x 4″
White 5″ x 3 3/4″, scrap for sailboat and sentiment
Inks
Crumb Cake
Soft Suede
Pretty Peacock
Balmy Blue
Memento
Accessories
Big Shot
Wink of Stella
Dimensionals
window sheets for clouds

I hope you like my card!  I always get so excited when I make something without CASE’ing it.  I know the reason I don’t do it more often is that I am swamped with classes and don’t have the time.  The nice thing is that YOU don’t have to come up with anything either.  There are so many ways to get ideas that we don’t NEED to try and do it alone.

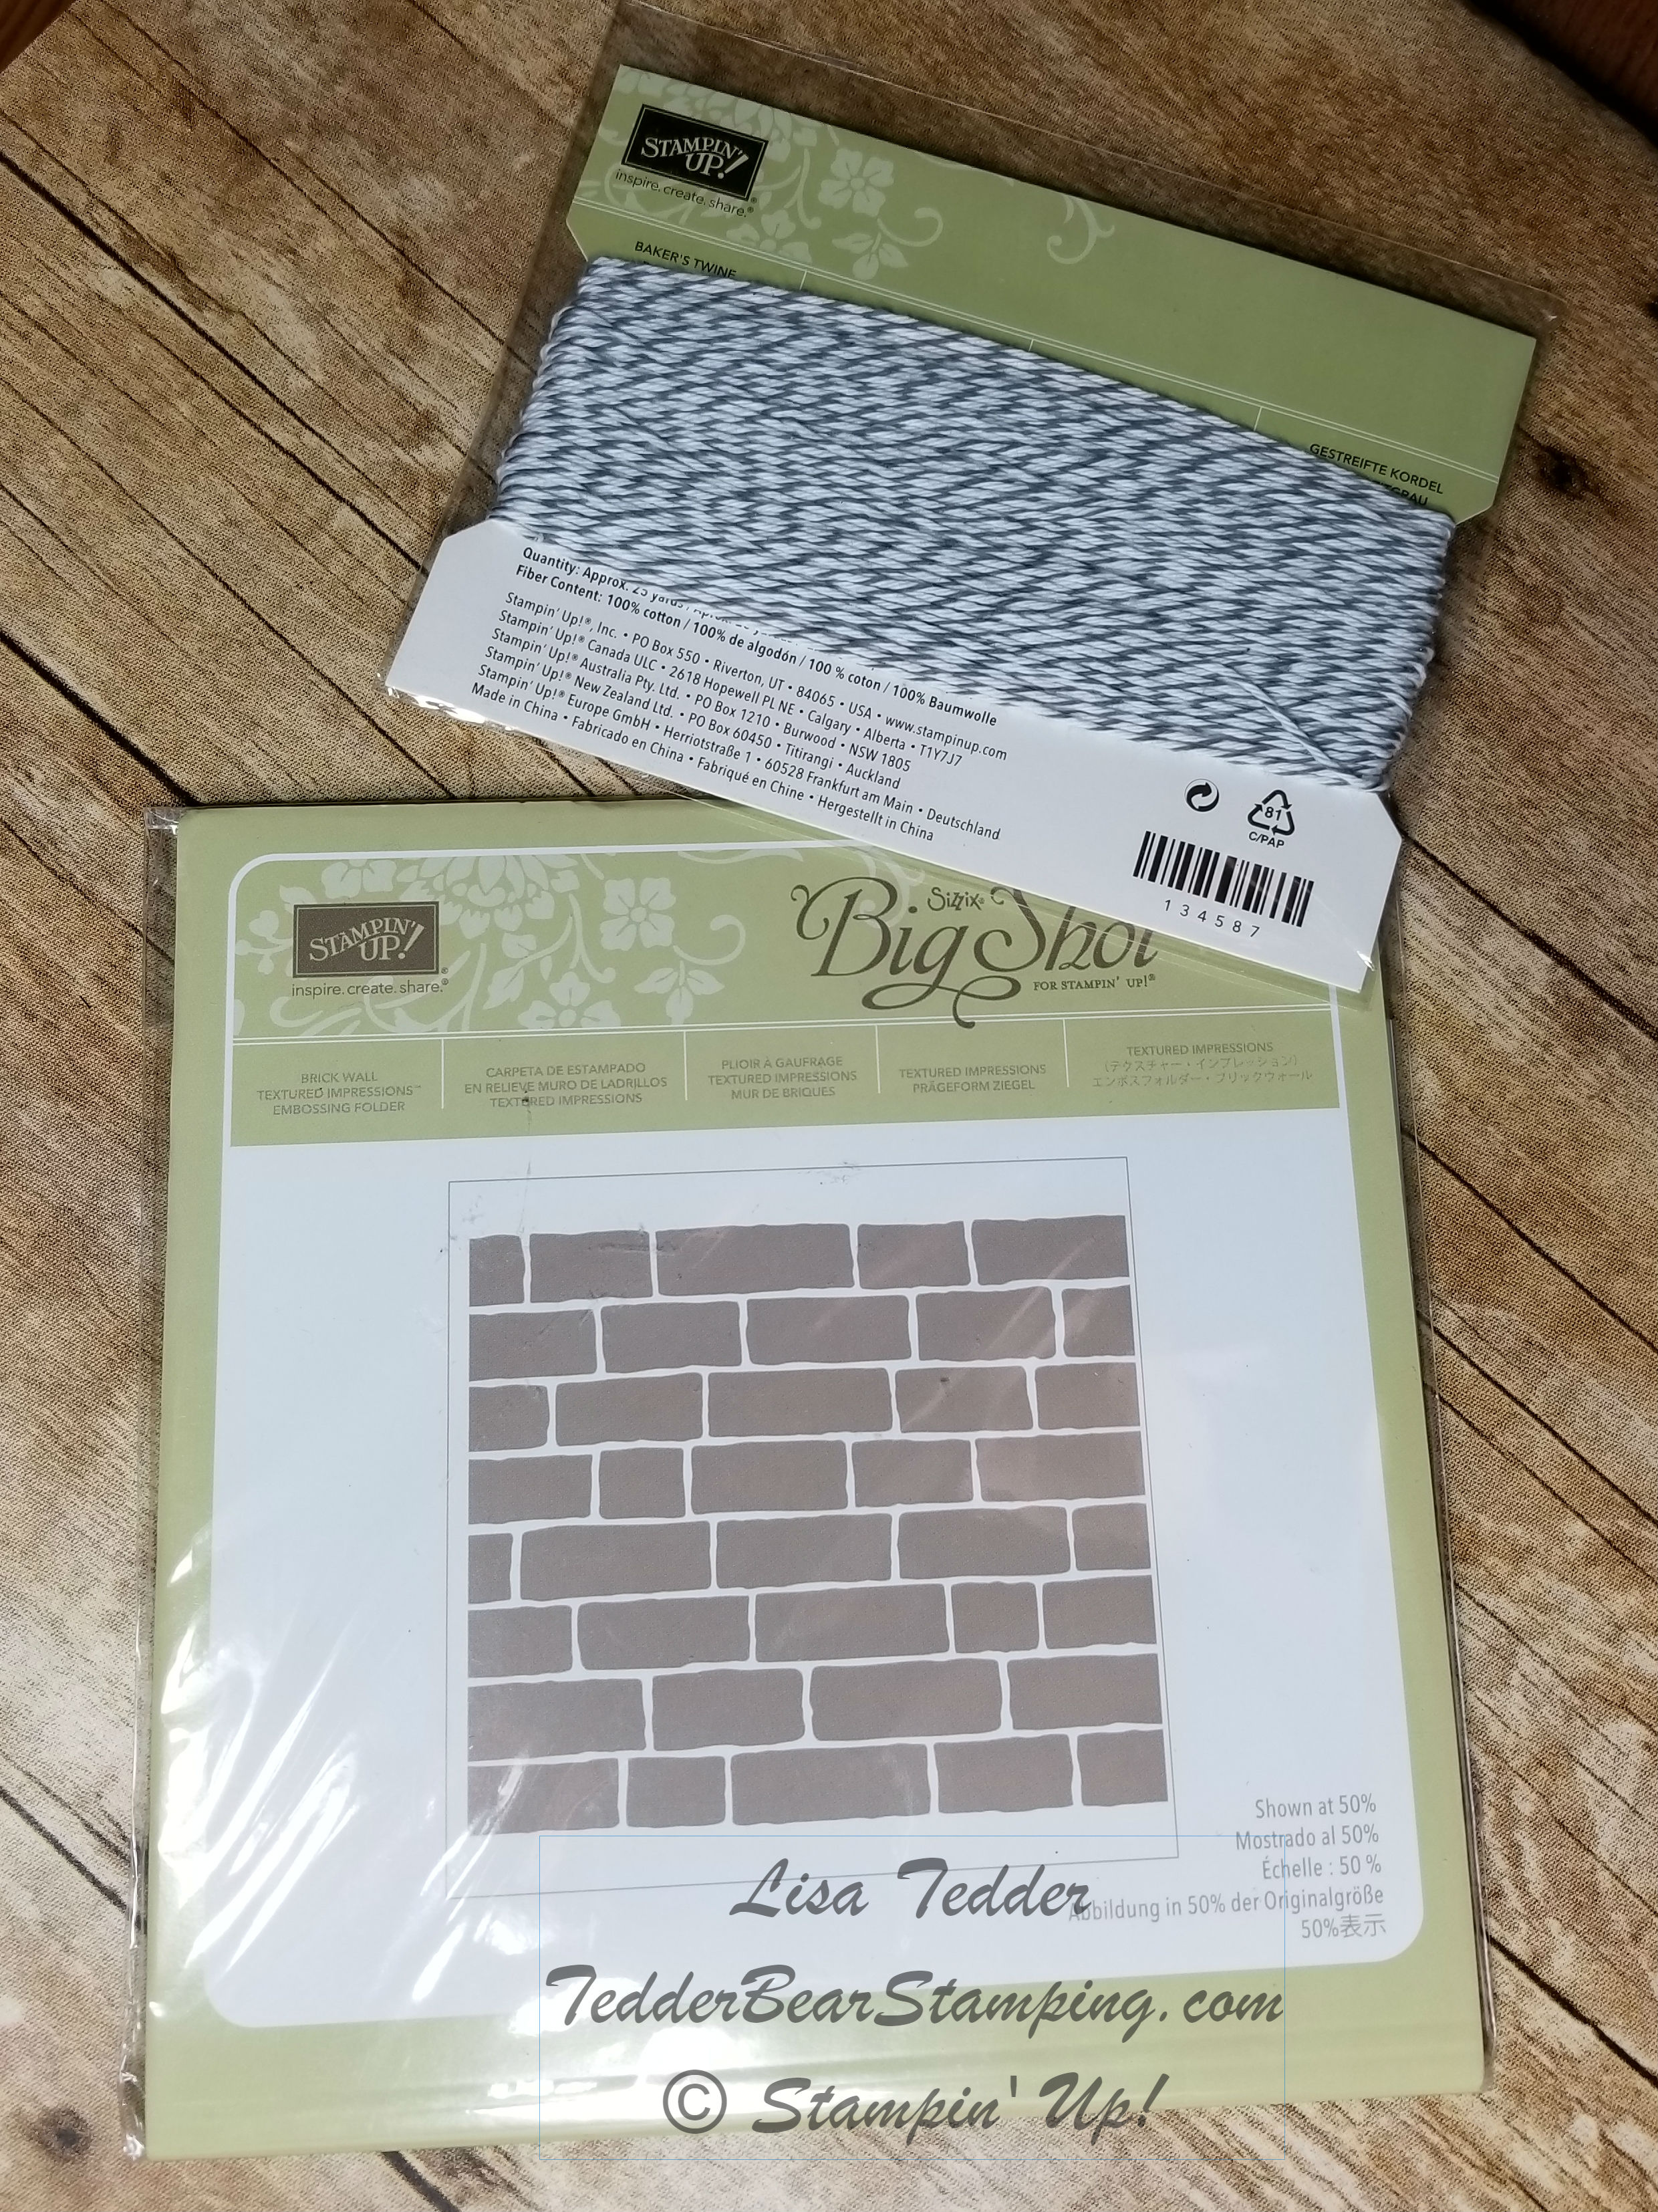
Below are the supplies used for this card in picture form, click on any of them to be taken to my OnLine Store!  If you purchase from me OnLine, you can get the cloud template that I used for this card for a thank you!  Or you can pick a card you like, I will add a little something from my favorites to send you also!  It’s like a Grab Bag!!  🙂

Thank you for stopping by!

Lisa Tedder
A California girl living in North Carolina
Product List

Sneak Peek Animal Outing

Hey guys!

I’m not sure that I’ve told you before, but I LOVE Giraffe!  They fascinate me.  I got to feed one by hand when I visited my daughter in MN!  NOW when I go to  visit we’ll HAVE to go feed them again!

Here is a card I made by creating a second giraffe facing the other way.

To get the image to face the other way, stamp onto the Silicone Craft Sheet and then immediately turn over and ‘stamp’ the image onto your cardstock.  This works really well, since the image doesn’t dry as fast on the mat.  Then color as usual!  Now, you have two Giraffe facing each other!

Dimensions:

Soft Sky 8 1/2″ x 5 1/2″
Daffodil Delight 3 7/8″ x 5 1/8″ (x2 for inside also)
Cajun Craze 5″ x 3 3/4″
Very Vanilla 5″ x 3 3/4″
Scraps of Garden Green and Very Vanilla

I embossed the Cajun Craze with the Layered Leaves Embossing folder, then ran the Versamark over the images GENTLY to have it only on the raised areas.  Then embossed with Copper embossing powder.

The Stitched framelits is a MUST for any stamper, I use it all the time!

If you would like to choose me as your demonstrator, I would love to have you purchase from me!  Just click on any image below to be taken to my Online Store!

Lisa Tedder
A California girl living in North Carolina
Product List

NEW Technique Tuesday Making a Scene using an Embossing Folder

I love Tuesday’s!  Techniques are my favorite thing about stamping.  I get to use my Stamps in a totally different way!!  The Technique I am using today had me thinking of what I could put BEHIND trees, but still show what I needed it to show.

Here is today’s card:

I made a YouTube video showing this stamping technique.  I love Birch Trees, I also love the Birthday Delivery Stamp set by Stampin’ Up!  I got super excited about being able to use BOTH!  When you go watch the video it will show you exactly how easy this technique is to do!

Stamping directly onto an Embossing Folder isn’t something you think of normally.  Tips:  1. Stamp on the side that has the negative (dipping down) the part you want as your focal in the folder this will be the part that is raised on your card. 2.  Pick images to stamp on that you will see in the lines available that are the flat parts of the folder.  3.  Use colors that will enhance what you are stamping.  4. Use a brayer to lay down a color that will be behind the images (sky), anything you stamp over the brayered color will be at the top of the cardstock.  5. Make sure that you don’t move the folder once you put all the stamping in (I did NOT follow this rule on my video, but I fixed my mistake!)  6.  Remember that it’s ONLY PAPER, and play with it!

I won’t be able to show you here how to do this technique, it would be too confusing, so please go check out my video and see how fun and easy it is.  You will notice that you will look at stamps in a totally new way!

As always, I will have the supplies listed below, just click on any image to be taken to my OnLine Store!

Thanks for stopping by!  Until next time!

Lisa Tedder
TedderBearStamping
A California Girl living in North Carolina

Product List

Bonus Christmas in July Card

Here is the Final Christmas card for my Christmas in July class! You get to make this Bonus card in my class if you Pre-Pay for the 15 cards! 3 each of 5 designs, to be done in a fun filled atmosphere where everyone is bringing a snack to share!! I’m so excited!

Of course I requested certain things…… Potato Chips with Dean’s Onion Dip (EEEEE!), and homemade Chicken Salad with crackers! YUMMMM! It really will be like Christmas in July!!
I was requested to bring my Brownies, so I am not out of the baking party!

Here is a picture of my card:

Inside:


LOVE the Deer from Nature Sings!  And the verse above the JOY comes from Christmas Pines!  The J and the Y are from Letters for You.

Some Christmas Cards you want to be simple, so you can crank those babies out and get them in the mail……this is one of those!  The wreath is the new Boxwood Wreaths on page 197!  I added Metallic Metal Shapes and the Brights Enamel Shapes to make the ‘ornaments’ on the front of the wreath!  Isn’t it pretty?!!

*****
Measurements:
Cardstock:

Cherry Cobbler 8 1/2″ x 5 1/2″
Garden Green 5″ x 3 3/4″ (x2)
Gold Foil  4 3/4″ x 3 1/2″
Whisper White 4 1/2″ x 3 1/4″ (front),  5″ x 3 3/4″ inside

*****

Here is a glimpse, if you missed the other 5 cards!!

Click on Picture to see post


Click on picture to see post
Click on picture to see post.

And Another reminder of the Blog Candy!!


Just post on any of my Social Media (below) to be entered into the drawing!  The drawing is on July 29th, each and every comment counts towards the blog candy….I use a Name Generator to pick the names, this way everything is fair!

Click on the names of my Social Media in this sentence to be taken to those venues………. Facebook, Twitter, Pinterest, and Instagram

Good Luck!  I always love to hear from you, it assures me that I am not talking to myself!!  LOL

Click on any of the product pictures below to be taken to my OnLine Store, when you purchase from my OnLine Store I will send  a handmade card to you!  Please send me your address so I have it!

Stay tuned for my next blog post…….I used the New Pattern Party Decorative Masks to make a really pretty summer card!!

Lisa Tedder
TedderBearStamping
A California Girl living in North Carolina

Product List

Christmas in July Card #5, Plus Blog Candy

Are you ready for my Christmas in July card #5?  This one was CASE’d (Copy, Share/Stamp *I don’t  know the original ‘S’*, Everything) from StampinMak.

I didn’t change a thing because this was perfect!  I really try to make cards I see my own, but when I see something that really touches me, I go with it!

Here is my 5th card:

I LOVE the Gold Foil on the Cherry Cobbler and Early Espresso!  The Cable Knit Embossing Folder ties the whole card together!!  What do you think?  Need anything?

Inside:

Fun!!  Now who is ‘card worthy’ to receive this wonderful card?!  When you put your heart into making a card, you have to make sure that the recipient will appreciate your efforts!  I really send them to all my family and friends, I just hope they know how much hard work and love goes into each and every handmade card!

Measurements for this card:
******
Cardstock:  
Tranquil Tide – 8 1/2″ X 5 1/2″
Early Espresso – 5 1/4″ x 4″ , 3 1/2″ x 2 1/2″ (for front), scrap for oval
Cherry Cobbler 5″ X 3 3/4″ (front), 5 1/4″ x 4 (inside)
Very Vanilla 5″ x 3 3/4″ for inside
Gold Foil 3 1/4″ X 2 1/4″, plus scrap for pinecone

TIP:  Use Envelope maker to corner round the small Early Espresso
******

To remind you, here are the other cards that have come before:

Click on picture to see post
Click on picture to see post.

Does this make you want to attend my class?  There is ONE more Christmas Card to go!! The one I post next is the one my attendees get if they pre-pay for the class!  Stay tuned.  Subscribe to my blog so you don’t miss the next post.

AND now the Blog Candy!

You can be put in the drawing to win the Brick Wall Embossing Folder AND Basic Gray Bakers Twine, just by commenting on any of my Social Media Outlets!  Click on the names of my Social Media in this sentence to be taken to those venues………. Facebook, Twitter, Pinterest,  and Instagram .  Easy way to get something for free……the only thing I hope is that you find something NICE to say about what you see!  🙂  Any and ALL comments count, even if you comment on things that aren’t current, and you can comment on multiple posts!  The drawing is on July 29th, so stay tuned and Good Luck!

All product for this card will be listed below, just click on any of the pics to be taken to my OnLine Store!  If you purchase anything from me, you will receive a handmade card in the mail, so be sure and send e your address!!

I’m off to play in my Stamp Room!  I’ll be back soon!!

Lisa Tedder
TedderBearStamping
A California Girl living in North Carolina
Product List