Hey Guys!
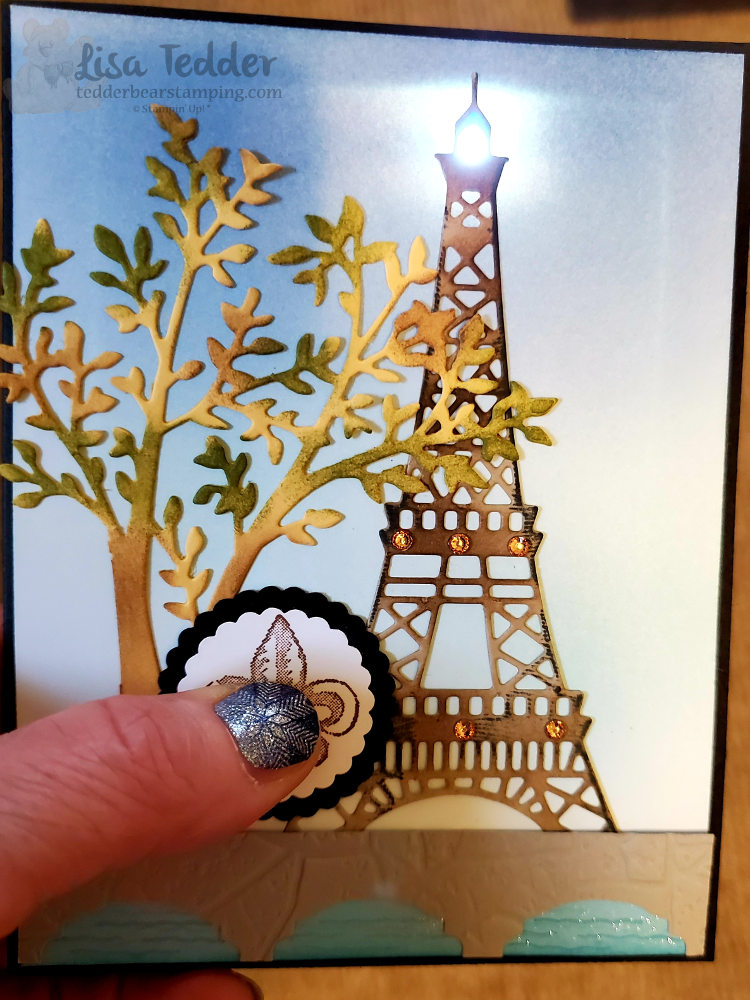
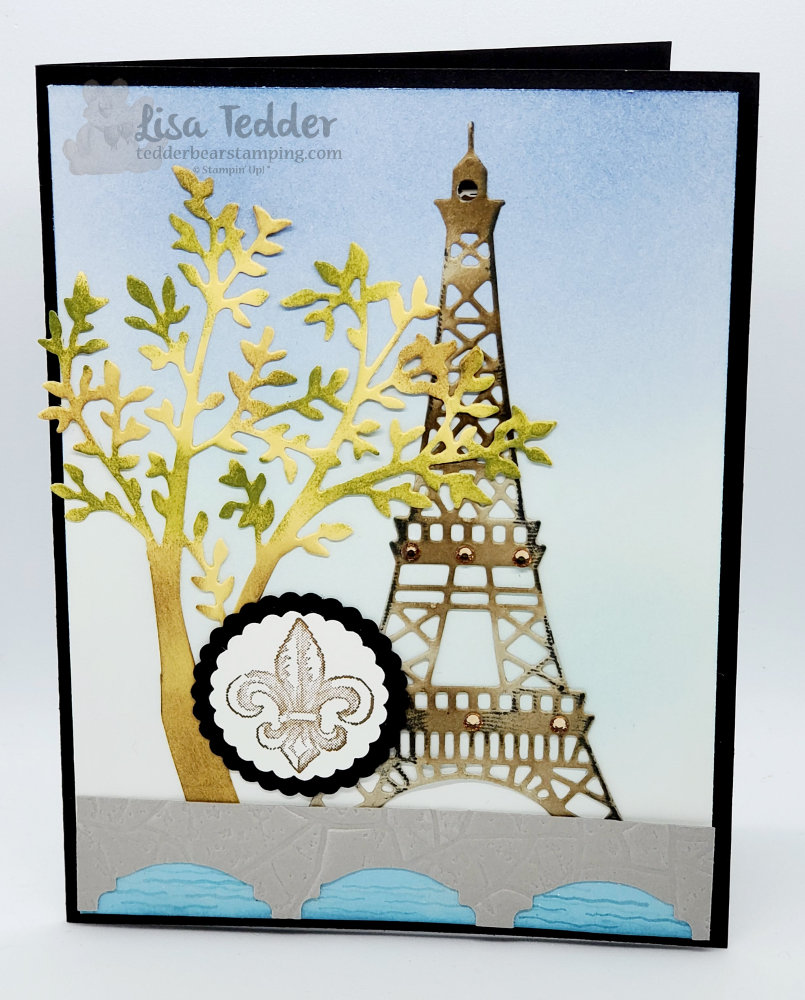
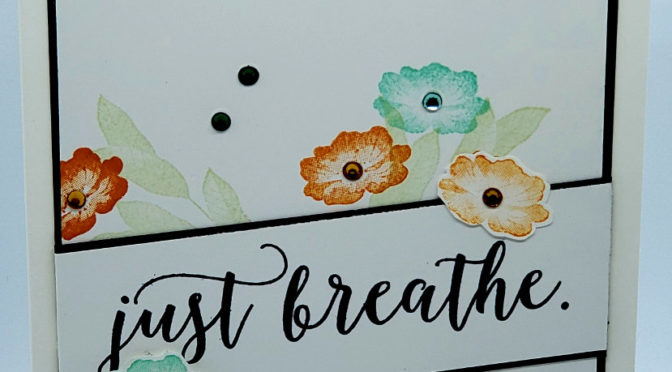
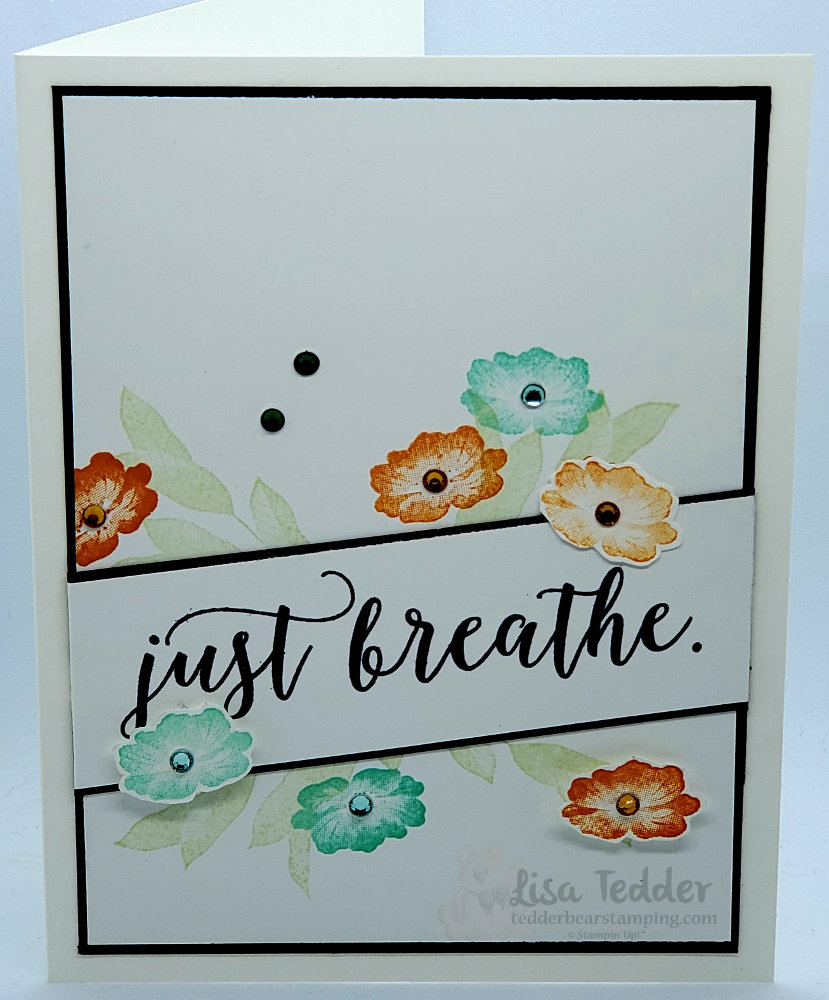
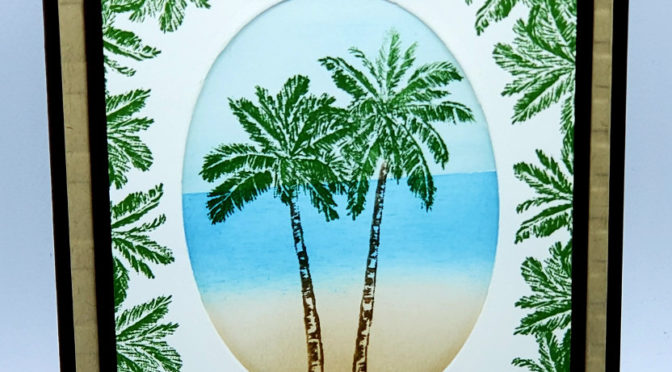
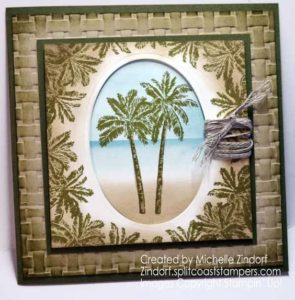
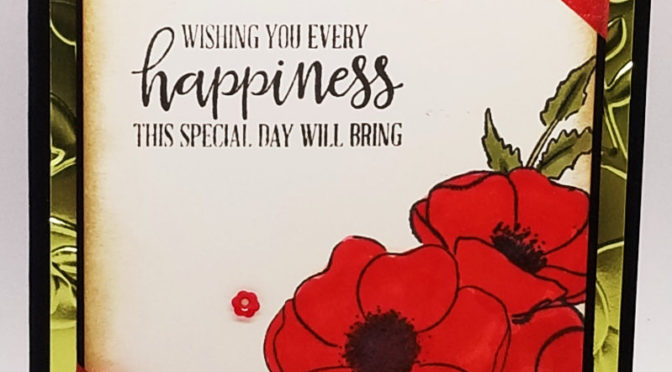
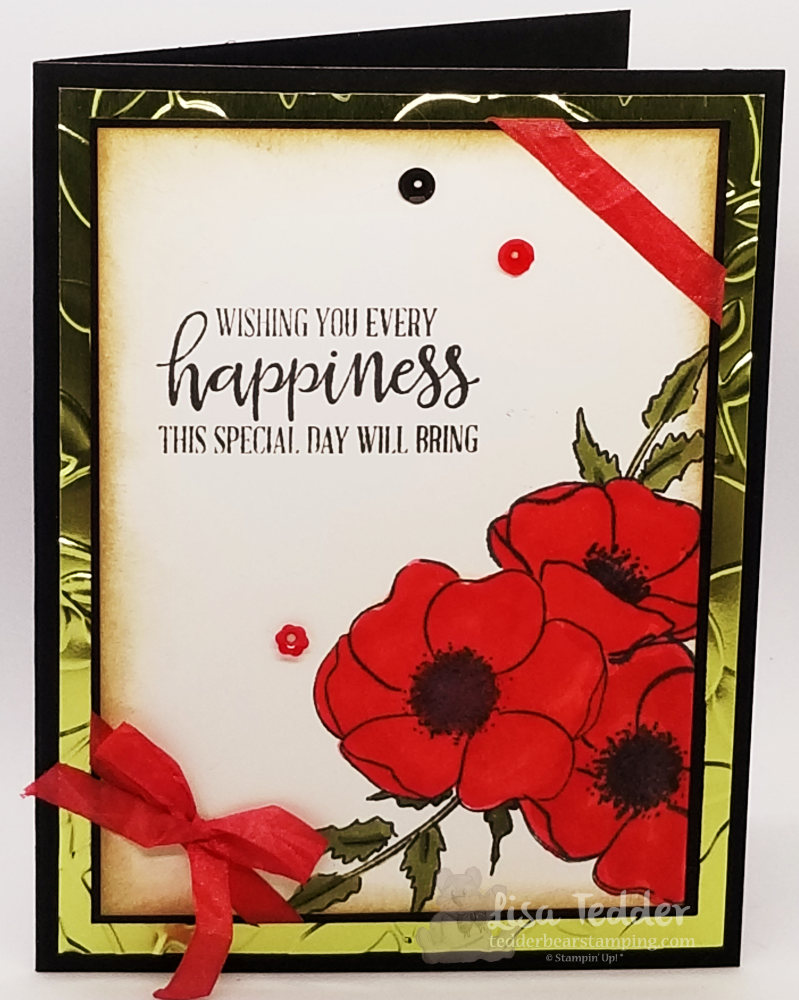
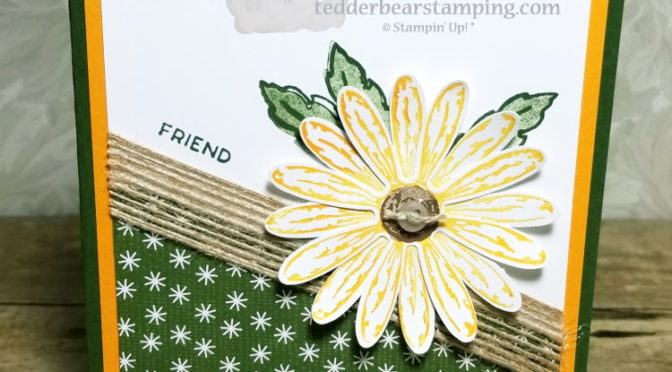
So, I was on Facebook the other day and this card from Amanda Charlesworth made me put down everything I was doing and make it! I had to make this card! I LOVE when that happens.
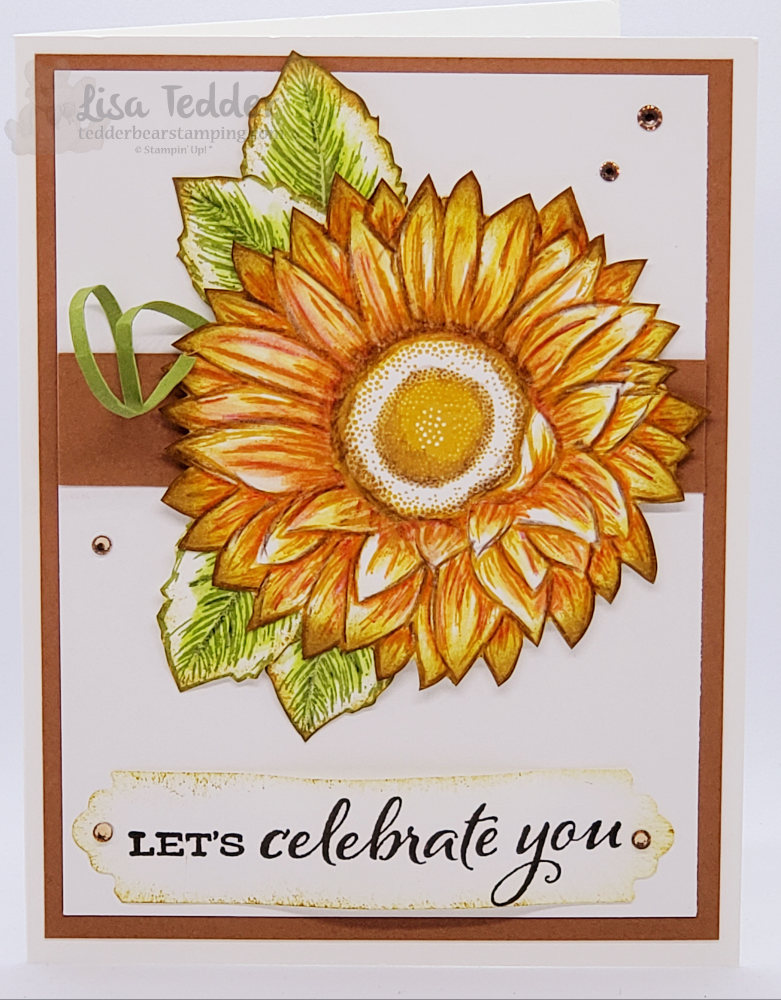
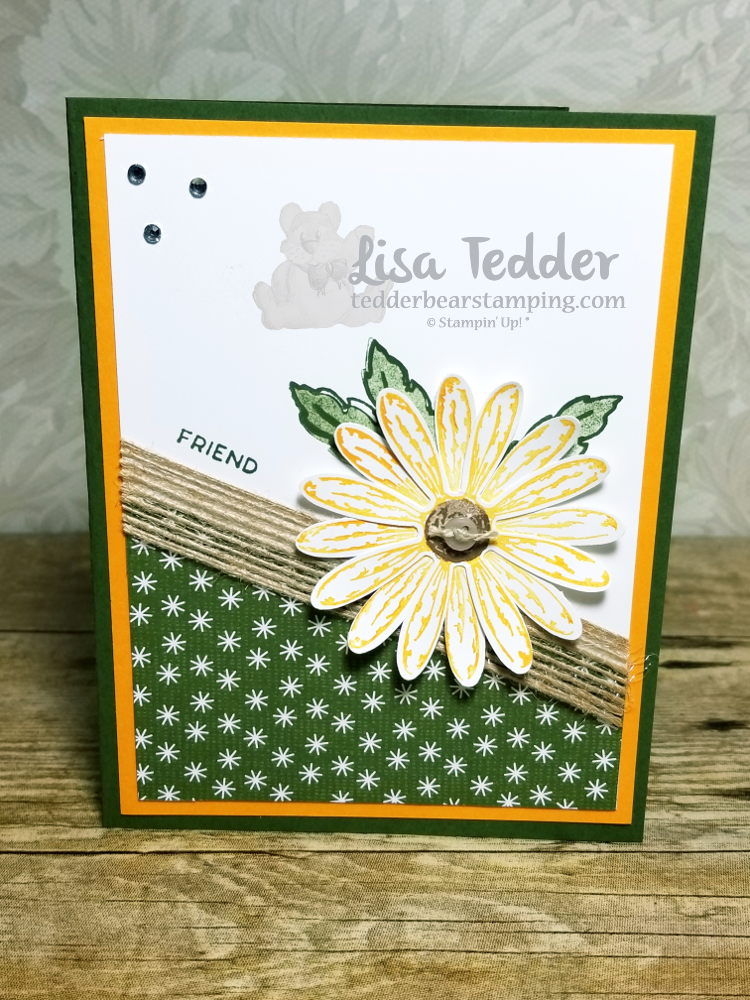
Not only was I inspired by Amanda, but I made the card exactly like she did because I wanted to see if I could color it as well as she did. I think it came out really well! What do you think?
Don’t you love it when you see something that stops you in your tracks and you want to try your hand at it? That’s what happened with this card.
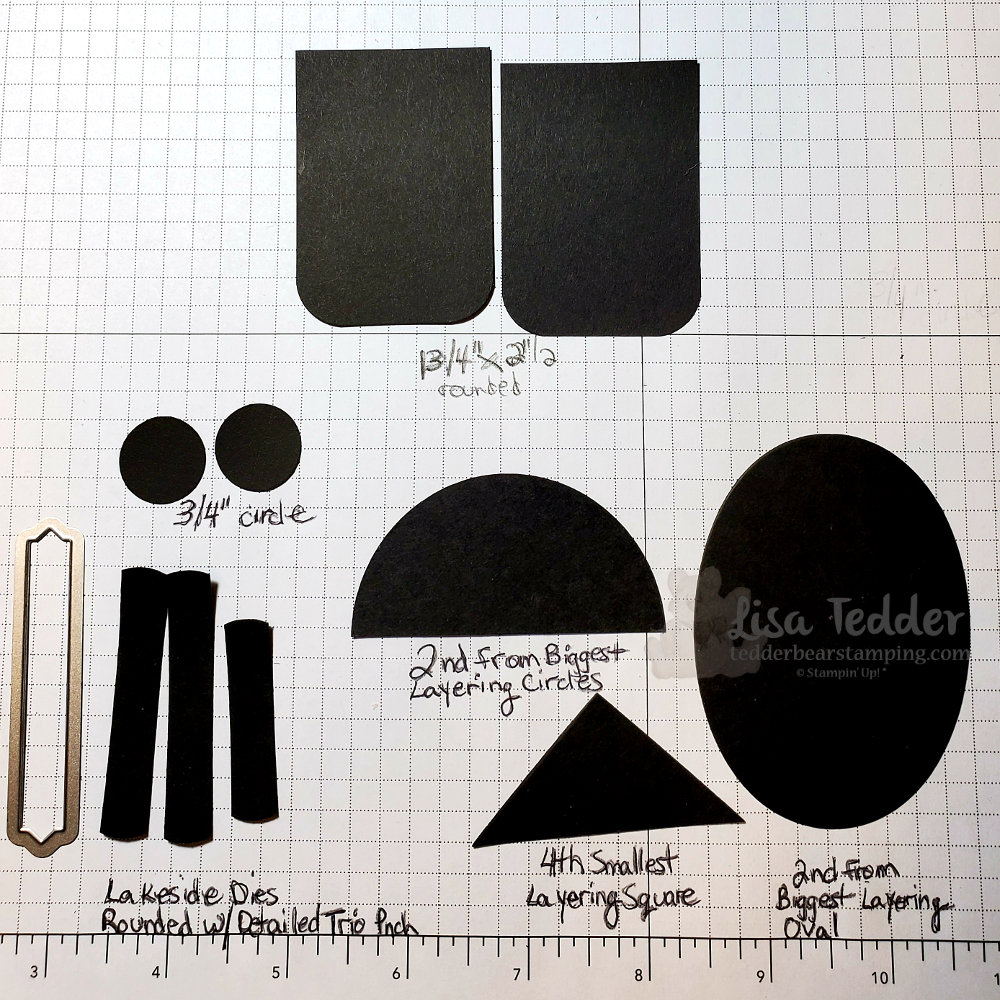
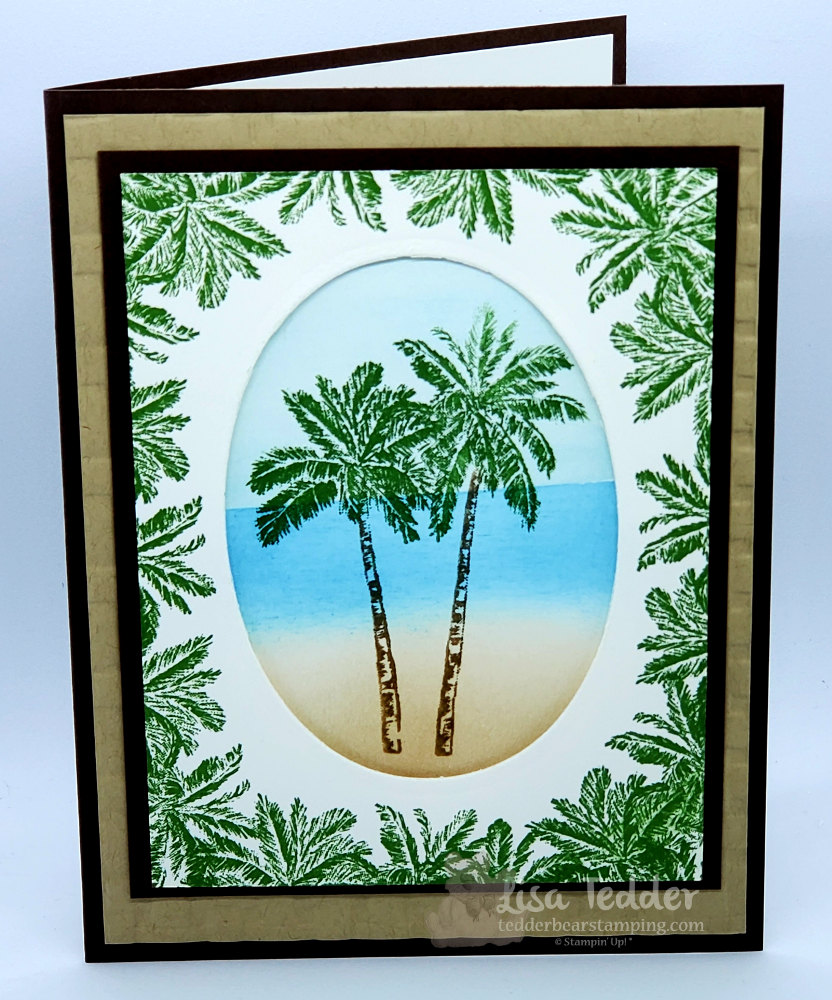
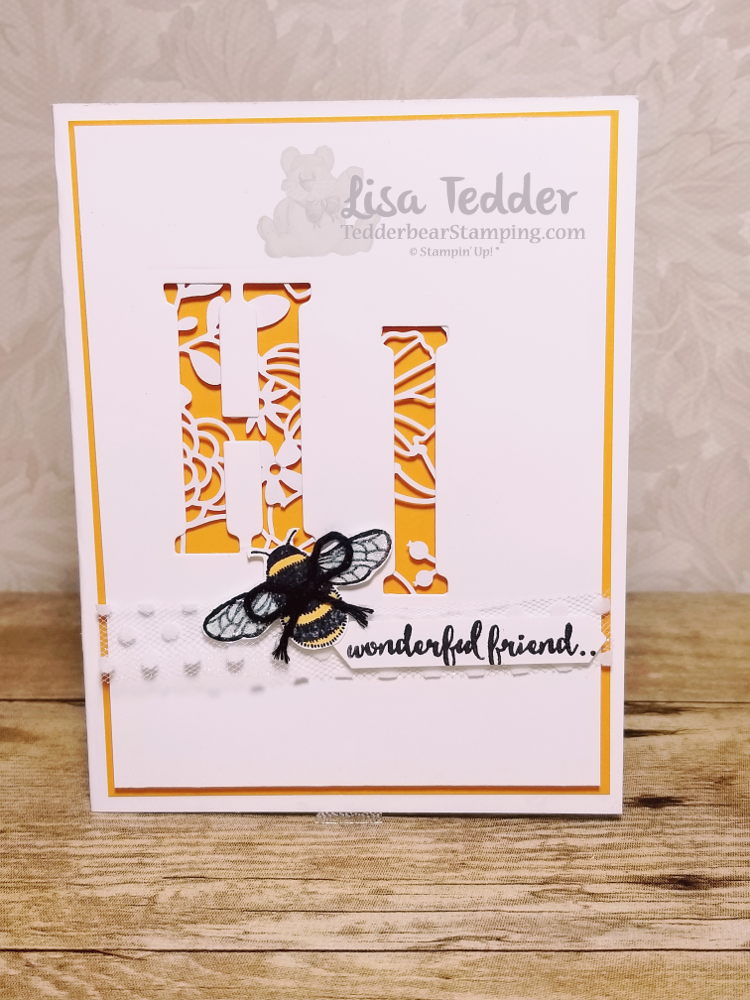
Here are the specifics for this card:
Stamps:
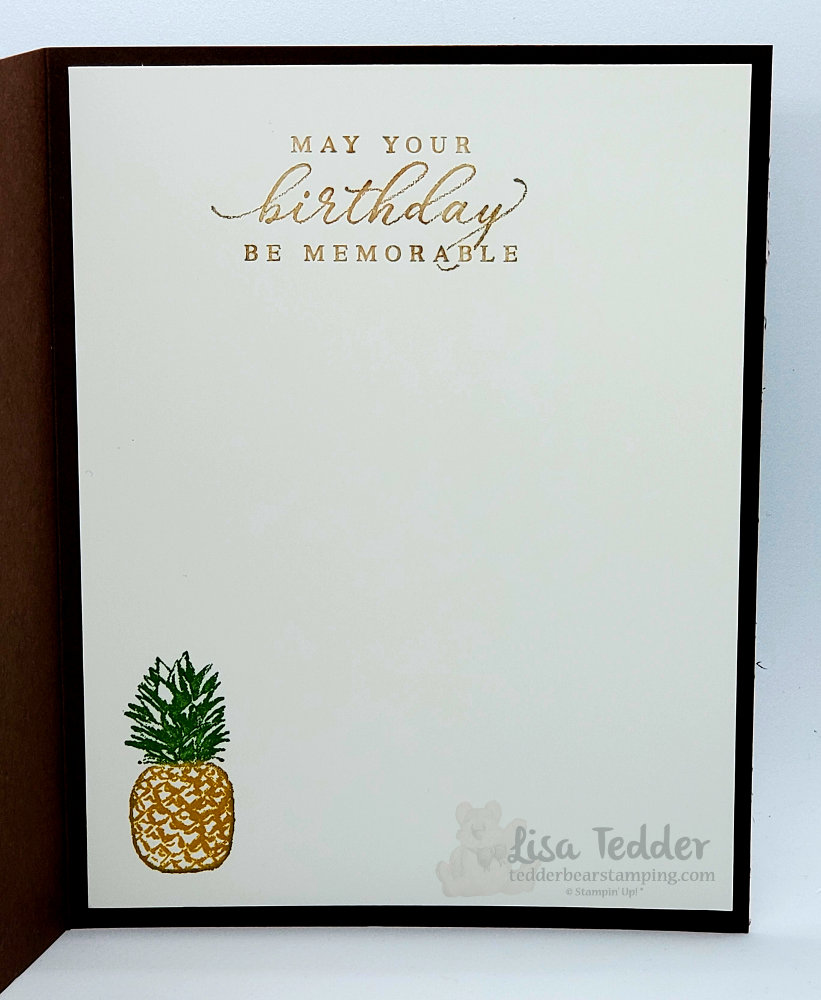
Celebrate Sunflowers
Inks:
Crushed Curry
Old Olive
StazOn Saddle Brown
Memento Black
Cardstock:
Whisper White Thick 8 1/2″ x 5 1/2″
Whisper White 5″ x 3 3/4″ (x2) one for sunflower and leaves
Cinnamon Cider 3 3/4″ x 3/4″, 5 1/4″ x 4″
Old Olive scrap
Misc:
Champagne Rhinestones
Dimensionals
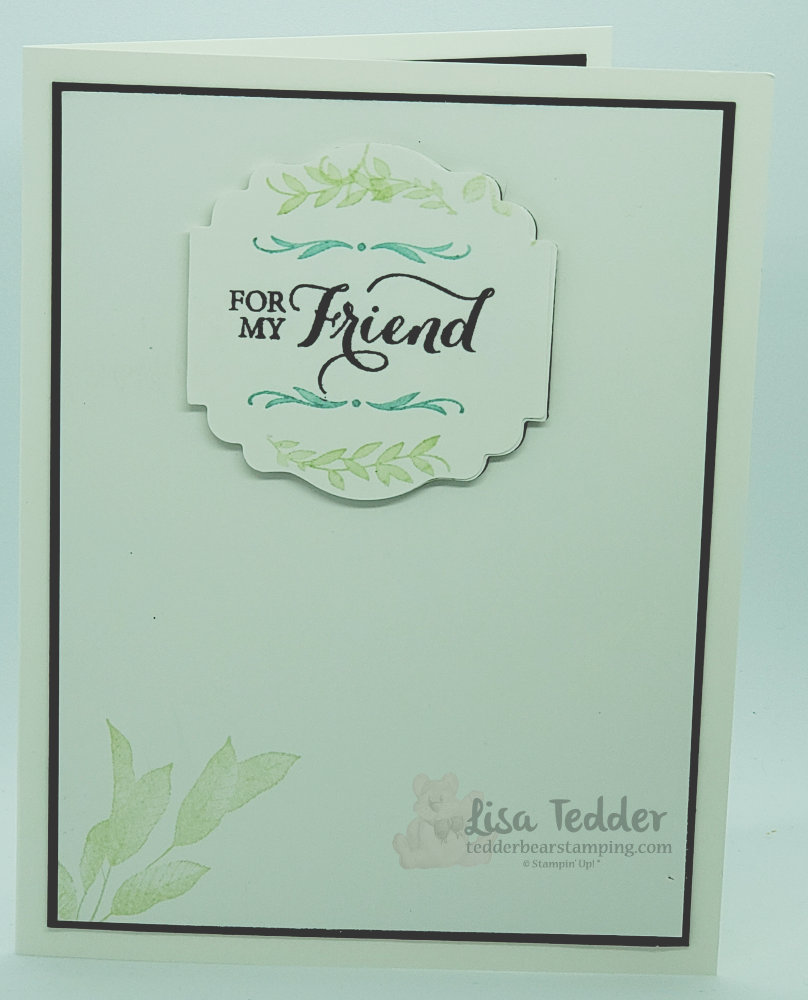
Lovely Labels Pick a Punch
Watercolor Pencils (Daffodil Delight, Early Espresso, Old Olive, Pumpkin Pie)
Watercolor Pencils Assortment 2 (Granny Apple Green)
Sponges
Blender Pen
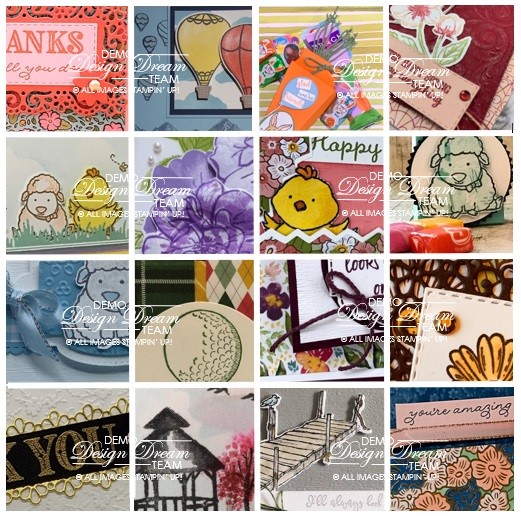
Below are the same supplies listed in Picture form, click on any of them and you will be taken to my OnLine Store. Any purchase you make over $35 you will receive 16 step by step tutorials with Pictures! Here is a sneak Peek:
This stamp set was the first one I HAD to have! So pretty!! I have offered a class using Celebrate Sunflowers where I made 5 cards and I loved everyone of them! You can see that post here. Doesn’t everyone love a Sunflower? We always had some growing, but it was very hard to keep the squirrels from jumping on them and knocking them over.
Thank you for stopping by! Please leave a comment to let me know that you are liking what I post, it also makes me happy!
Lisa Tedder
A California girl living in North Carolina
Product List
")


 Circle Punch")


")


 Scallop Circle Punch")
 Scallop Circle Punch")


")


")


")


 Crinkled Seam Binding Ribbon")


 Polka Dot Tulle Ribbon")


 Burlap Ribbon")
 Designer Series Paper")


 Textured Weave Ribbon")