Tag Archives: greeting cards

Floral Romance simple stamping

Hey guys!

Today I am sharing with you a handmade card that uses the Wonderful Romance Bundle!  If you haven’t seen the DSP that has printed Vellum you are missing out!!  I bought one pack, saw it, then had to buy another just so I wouldn’t stress if I used it!
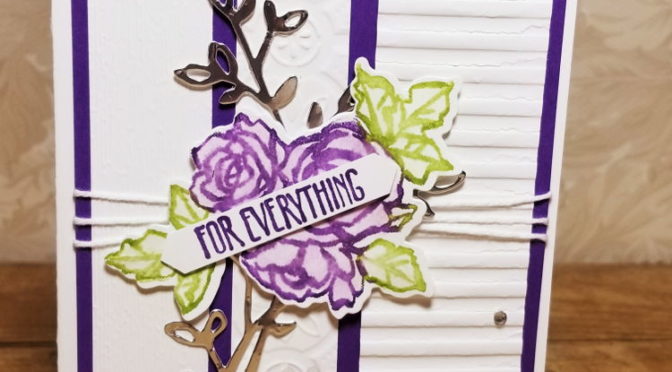
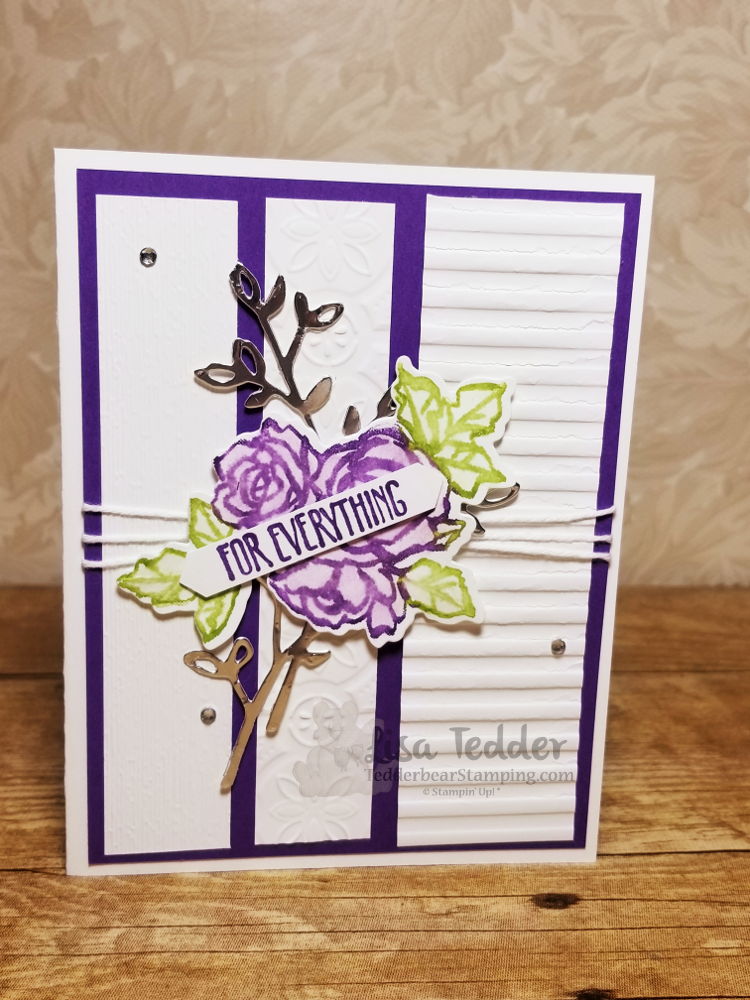
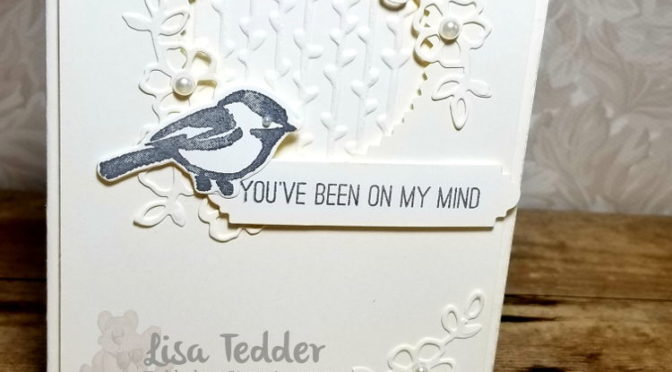
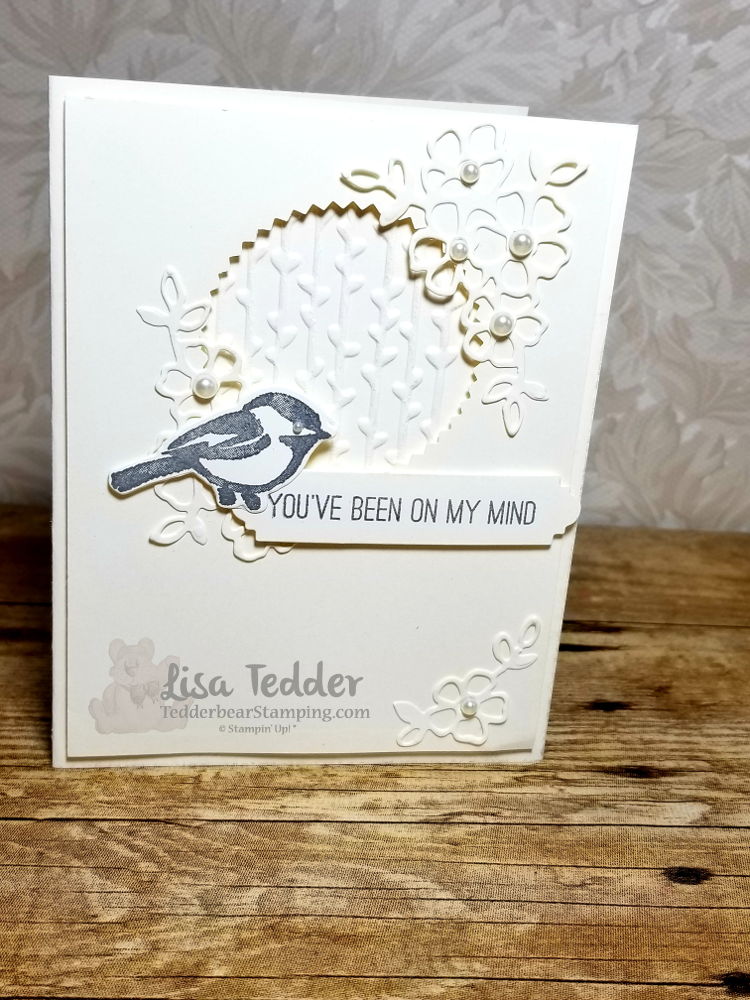
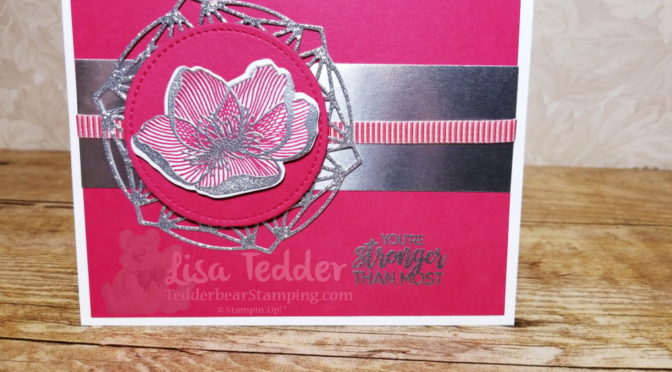
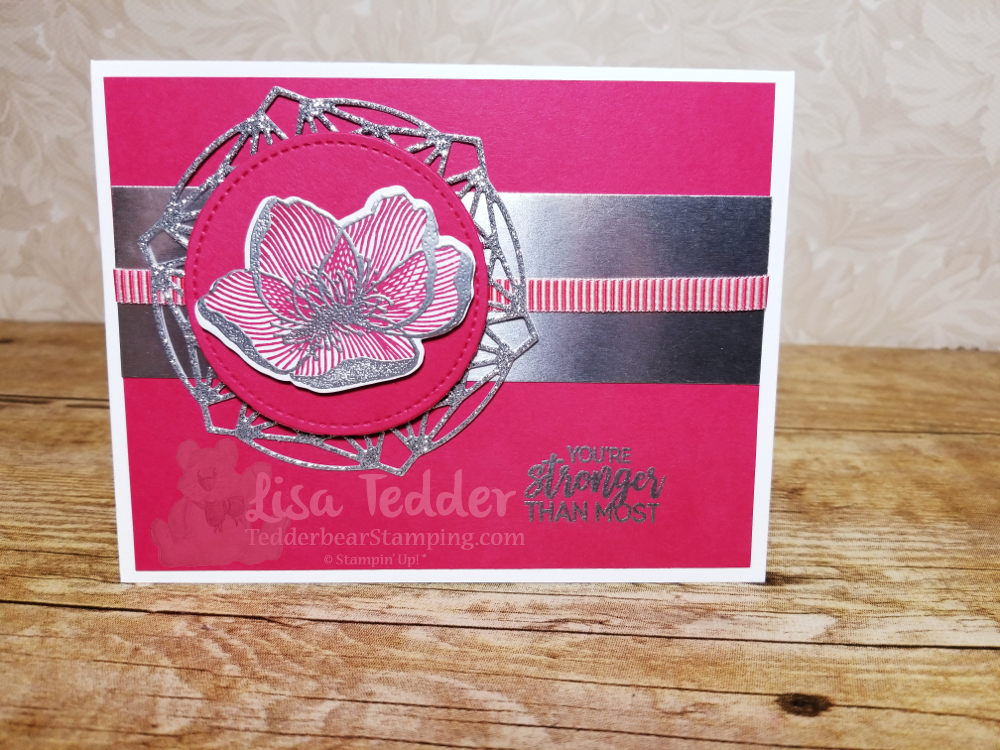
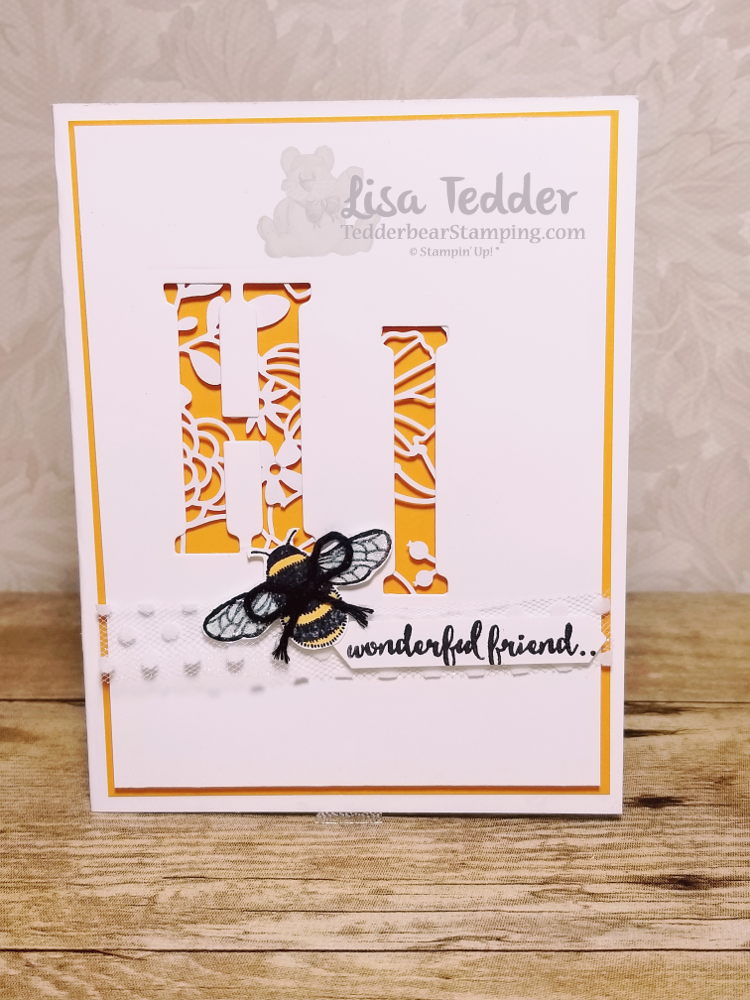
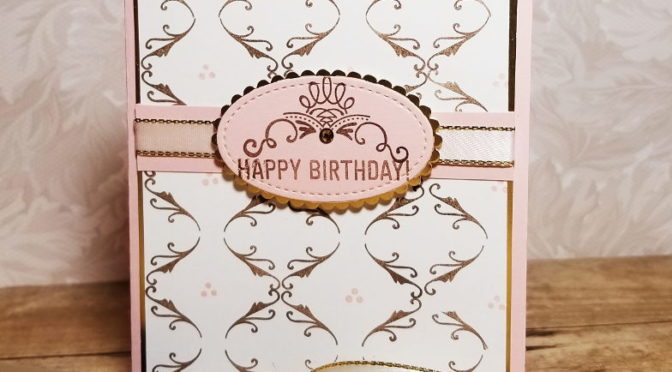
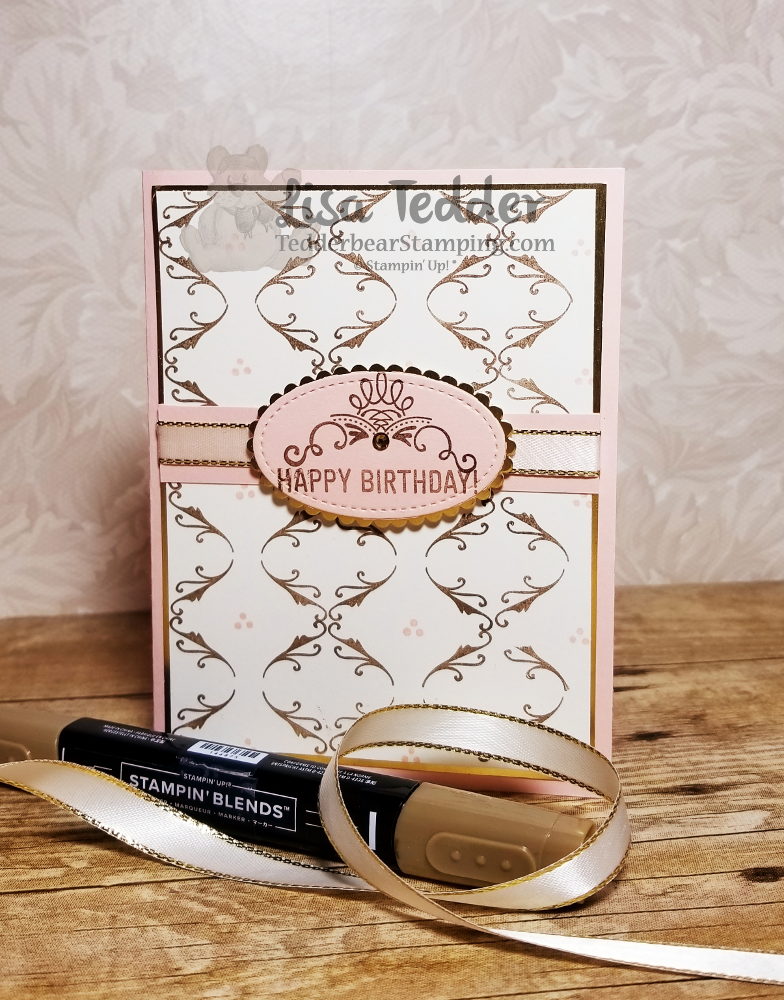
Here is my card:

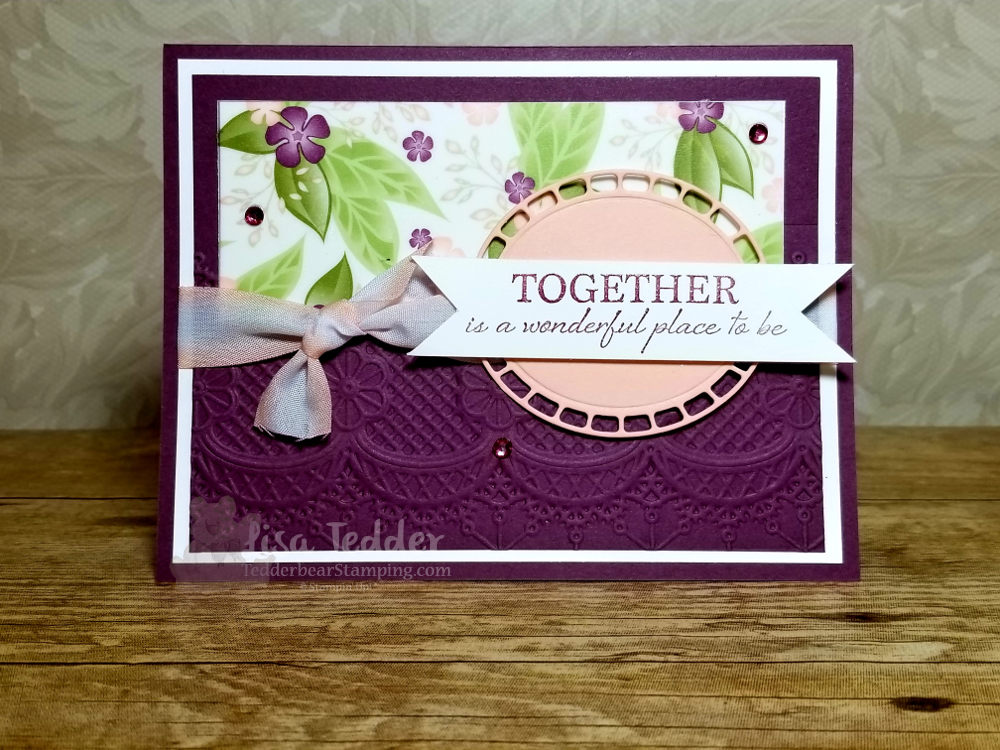
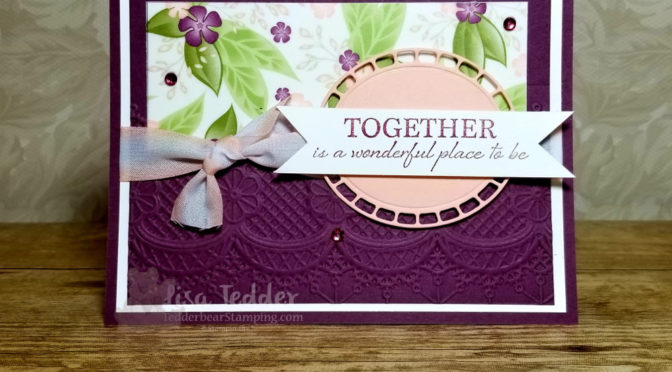
Can you believe that the floral on top is Vellum!?  When you place a piece of White cardstock under it, the whole thing POPS!  I also used the new Lace Dynamic Textured impressions Folder.  Can I just say this card is one of my favorites I’ve done?!

Here are the specifics for this card:

Project 2: Together
Stamp Sets Pg #
Wonderful Romance Bundle
Paper
Fresh Fig 8 1/2″ x 5 1/2″, 5″ x 3 3/4″
Whisper White 5 1/4″ x 4″ (x2), 4 1/2″ x 1 3/4″, scrap
Petal Pink 2 1/2″ x 3″
DSP Floral Romance 4 1/2″ x 1 3/4″, 4 1/2″ x 3/4″
Inks
Fresh Fig
Blend: Blackberry Bliss Dk
Accessories
Petal Pink/Whisper White ribbon (Occas) 11
Rhinestones
Lace Embossing Folder 11
Wink of Stella
Dimensionals

For every class I have, I print out the specifics above so they can take it home and file it away to re-make this card at their leisure.

I would love to be your Stampin’ Up! Demonstrator!  If you didn’t know, I do videos on YouTube and you can go to my Channel and see if I am a good fit for you!

Below are pictures of each of the products I used for this card, click on any of them and you will be taken to my OnLine Store!  I would love your business! If you purchase from me, I will send you a small token of my appreciation!

Lisa Tedder
A California Girl living in North Carolina
Product List


Beauty Abounds-STUNNING

Hey Guys,

Sorry it’s been a while!  But, I am back and hopefully you are happy with it!  LOL

Today I am showing you a CASE I got from Liz Yuille, you can see her video here.  I bought the Crackle Paint stamp JUST to do this card!  But, of course now I am in love with it!

Here is my card:

The only thing I changed from hers is the Rhinestones and the sentiment.  I love adding the gold Embossing powder to the sides of the Sentiment.  Take out your Versamark, touch each side of the Sentiment to it, then dip into the powder heat and you are all set!

Here are the specifics to make this card:

PROJECT 3: Hello
Stamp Sets Pg #
Crackle Paint Occasions 44
Beauty Abounds Bundle 13
Paper
Bermuda Bay 8 1/2″ x 5 1/2″, 5 1/8″ x 3 7/8″ (x2)
Gold Foil 5 1/4″ x 4″
Black 5 1/4″ x 4″
Very Vanilla scrap
Black Foil 5 1/2″ x 4″
Inks
Memento Black
Versamark
Blend: Bermuda Bay Dk
Accessories
Tea Room Ribbon
Rhinestones
Dimensionals
Embossing buddy/Gold Embossing powder/heat tool
Fine tip Glue Pen OR Green Glue (Tombo)
Glue Dots

As Always, if you purchase from me, you will get a gift!  I would LOVE to be your Demonstrator, if you would like to see what I do……you can check out my YouTube Channel and see if we are a good fit!

Below are pictures of each of the supplies used for this project, click on any photo to be taken to my OnLine Store!

Thank you for stopping by!

Lisa Tedder
A California Girl living in North Carolina

Product List

Petal Promenade show off card

Hey Guys!

Another card from Pinterest!  I saw a card by Gail Ellis and  decided to CASE (Copy and Share Everything) it.

Here is hers:

And here is mine:

This card was for a class so I made a few changes to make it not tooooo hard!  I think it’s very pretty, never thought to combine embossing folders on one card.

Here are the particulars for my card:

Stamp Sets
Petal Palette Bundle*
Paper
Whisper White Thick 8 1/2″ x 5 1/2″
Whisper White 5″ x 3 3/4″, 1″ x 5″, 7/8″ x 5″, 1 1/2″ x 5″
scraps, 3 1/2″ sq
Silver Foil 4″ x 3″
Gorgeous Grape 5 1/4″ x 4″ (x2)
Inks
Gorgeous Grape & Granny Apple Green markers
Accessories
Corrugated, Tin Tile, Subtle folders
Wink of Stella
Dimensionals
Rhinestones
Classic Label Punch
White Bakers Twine

I hope you like my version as much as I liked hers.  Everything needed for this card is pictured below, click on any of the icons and you will be sent to my OnLine Store!  All Online purchases get a gift from me!

Thanks for stopping by!

Lisa Tedder
A California Girl living in North Carolina

Product List

My “simple” card

Hey Guys!

I saw a card on Pinterest by Amy Koenders that made me want to make it right away!  Here is her card:

I did the main focal picture the same, but changed colors.  I couldn’t make it EXACTLY like hers!

Here is mine:

I used Bermuda Bay and Old Olive for my main image, PLUS the new Linen Thread that is in Old Olive.  I am always so excited to play with my new goodies that we can pre-order, BUT this was for a December class, otherwise I would have  broke out all my goodies!

Here are the particulars for this card:

Stamp Sets
Beautiful Promenade Bundle
Paper
Whisper White Thick 8 1/2″ x 5 1/2″
Whisper White 2 1/4″ x 2 1/8″, 3 1/2″ x 4 3/4″ scraps
Old Olive 3 5/8″ x 4 7/8″ (x2)
Bermuda Bay 3 1/2″ x 4 3/4″
Inks
Old Olive
Markers:  Old Olive, Bermuda Bay
Memento
Accessories
Pearls
Big Shot
Tufted Folder
Dimensionals
Old Olive Linen Thread NEW!!  SNEAK PEEK

Click on any of the pictures below to be taken to my OnLine Store.  Every Online order gets a free gift from me!

Thanks for stopping by, hope you stop by again real soon!

Lisa Tedder
A California Girl living in North Carolina

Product List

Sophistication meets Simple equals Perfection!

Hey Guys!

I got this idea from Pinterest, but for the life of me I can’t find it again to give credit! If you know who made this first, please let me know.

I’m not sure if this would be as stunning if I had used White paper, but who cares!?  it is so pretty!  I love how the bird sits at the opening of the circle and is dimensional.  The pearls gave a great touch too, right?

Here are the particulars for this card:

Stamp Sets
Petal Palette Bundle* (not sold as a bundle)
Butterfly Gala (SNEAK Peek!)
Paper
Very Vanilla Thick 8 1/2″ x 51/2″,4″x 5 1/4″(x2)
3″sq ,scraps
Inks
Basic Gray
Accessories
Pearls
Starburst Punch/ Petal Pair Embossing folder
Fine Tip Glue
Dimensionals

Below are pictures of the supplies used, click on any of them and you will be taken to my OnLine Store!  All Online orders receive a gift from me!   I would also love it if you could consider joining my SU! family!  It is the best decision (other than marrying my hubby and having my kids) that I have made!  I thought I better put that in there in case my kids or hubby are reading this!  LOL

Hope you enjoyed my project today, and will come back again soon!

Lisa Tedder
A California girl living in North Carolina

Product List

Beautiful Promenade with Silver

Hey Guys!

Happy New Year!  Hope you had a great Christmas and New Year.  I’m excited to see what the New Year Brings, are you?

Here is another card that I saw on Pinterest that I HAD to copy! The idea came from Robyn Cardon, I added the ribbon/changed the color, but the rest of the idea came from her!

This is my first time using the New Lovely Lipstick in the In Colors. I really like it!  The picture makes it look more like Melon Mambo, but it has more red than pink to it.

I used Silver Embossing powder to make it pop, and added the ribbon.

Here are the particulars for this card:

Stamp Sets
Beautiful Promenade Bundle
Paper
Whisper White Thick 8 1/2″ x 5 1/2″
Lovely Lipstick 5 1/4″ x 4″ (x2), 3″ sq
Silver Glimmer 3 1/2″ sq
Silver Foil 1 1/2″ x 5 1/4″
Whisper White 5″ x 3 3/4″, scrap flower
Inks
Versamark
Lovely Lipstick
Accessories
Silver EP/ Embossing Buddy/ Heat tool
Big Shot
Poppy Parade Mini Striped Ribbon
Dimensionals

All of the pictures below show the supplies used, click on any of them and you will be taken to my OnLine Store!  All Online purchases receive a gift from me!

If you are considering joining the SU! Family, I would love to be your Team Leader!

Hope you enjoyed my share for today!  Hope to see you back soon!

Lisa Tedder
A California Girl living in North Carolina

Product List

Bees, don’t you just love bees?!

Hey Guys!

Today I am sharing with you a card that I saw on Pinterest by Monica Gale.  I only changed up the yellow behind the ‘HI’, so technically I CASE’d it (Copy and Share Everything).

I fell in love with it as soon as I saw it and HAD to make it!  LOVE when that happens, it really gets my creative juices flowing!

I used the Large Letter framelits to cut out the HI, then placed some of the Delightfully Detailed Laser cut behind the panel, added dimensionals and then had the Mango Melody behind.  Colored the Bee  using the Mango Melody  Blend!

Here are the particulars for this card:

PROJECT 3: Hi
Stamp Sets Pg #
Dragonfly Dreams
Paper
Whisper White Thick 8 1/2″ x 5 1/2″
Whisper White 5 1/4″ x 4″ (x2), scrap
Mango Melody 5″ x 3 3/4″ (x2)
Inks
Memento Black
Blends: Mint Macaron light, Mango Melody Dark
Accessories
Large Letter Dies
Delightfully Detailed Laser Cut DSP
Classic Label Punch
Black Bakers Twine
Dimensionals
Wink of Stella/Whisper White Polka Dot Ribbon

Dazzling Diamonds with glue on wings

I was very happy with how it came out, can’t wait to see what my girls think when we do it in class!

Below are pictures of all the supplies used for this card, click on any of them and you will be taken to my OnLine Store!  Every Online order receives a gift from me!

If you are in the market for a Stampin’ Up! Demonstrator, I would love to be her!  Or you could join my Team and become a part of my SU! family!

Thanks for stopping by, hope you come back soon!

Lisa Tedder
A California Girl living in North Carolina

Product List

Dragonfly Dreams Photopolymer Stamp Set

Large Letters Framelits Dies

Delightfully Detailed Laser-Cut Specialty Paper

Whisper White 5/8" (1.6 Cm) Polka Dot Tulle Ribbon

Dazzling Diamonds Stampin' Glitter

Fine-Tip Glue Pen

Stampin' Dimensionals

Classic Label Punch

Whisper White 8-1/2" X 11" Thick Cardstock

Whisper White 8-1/2" X 11" Card Stock

Mango Melody Classic Stampin' Pad

Mango Melody Dark Stampin' Blends

Light Mint Macaron Stampin' Blends Marker

Big Shot

Basic Black Solid Baker's Twine

Want some Peace?!

Hey Guys!

Do you want some peace?  This card makes me peaceful just by looking at it!  I hope you agree!

I used the Winter Woods stamp set from the Holiday Catalog from Stampin’ Up!  Guess what!?  It is one of the stamps that is NOT retiring!  I am so happy!  This stamp set is sooooo pretty and I just love it, bet you couldn’t tell, right?

I used the Woodland Folder to get the background.  This is about as ‘simple’ as  I can get…….you would think that making cards with more details would be harder, but NO, I have problems making cards that have less stamps, less layers, less embellishments……ok I have problems with LESS!  LOL  I try really hard to make quick and simple one layer cards and I just can’t do it!  Who’s with me!?

Here are all the particulars for this card:

PROJECT 2:  Trees
Stamp Sets
Petal Palette
Winter Woods
Paper
Basic Black 8 1/2″ x 5 1/2″, scraps
Whisper White 5 1/4″ x 4″ (x2), scraps
Inks
Momento
Old Olive Marker
Soft Suede Marker
Dk. Black Blend
Accessories
Rhinestones
Everyday Label Punch/Starburst Punch
2″ Circle Punch
Dimensionals/ Woodland Embossing Folder
Black Shimmer Ribbon/Black Metallic Thread

Below are pictures of all the products used to make this card.  Click on any of them and you will be taken to my OnLine Store!  I would love it if you would choose me to be your Demo!  Any online order receives a  gift from me!

If you are thinking of joining the SU! Family I would also love for you to choose my Team – LETS Stamp! (the LETS stands for my name: Lisa Easterday Tedder, You would make a great addition to my SU! family!

Thanks for stopping by!

Lisa Tedder
A California Girl living in North Carolina

Product List

Chicken Wire – Retiring soon, don’t wait!

Hey Guys!

Today’s card was a really fun one to make.  The sad news is that the Chicken Wire (which I LOVE) is retiring!  Say it ain’t so!

I decided to play with it before it was gone…..    Here is the card I made for you today!:

I know that this picture looks like I used Tempting Turquoise, but the colors are all wrong, this was made using Bermuda Bay.  Bermuda Bay is one of my very favorite colors!  Not sure why my camera decided not to show the true color.

I used the Stamp set from SU! called Sitting Pretty.  This stamp set is so much fun to stamp with, all the stamps work together so you don’t ‘color’ anything, you stamp it.  Using the Stamparatus makes it even better!

Here are the specifics for this card:

Stamp Sets Pg #
Sitting Pretty
Paper
Bermuda Bay 8 1/2″ x 5 1/2″
Soft Sea Foam 4 1/4″ x 3 3/8″
Black 3 1/8″ x 4 1/8″
White 5 1/4″ x 4″, 3 7/8″ x 3″
Inks
Memento Black
Soft Sea Foam
Bermuda Bay
Versamark
Accessories
Chicken Wire Elements
Galvanized Buttons
Bermuda Bay Striped Ribbon
Stamparatus
Silver Embossing powder/embossing buddy/heat tool

The Galvanized Buttons are no longer available sad to say.  So make sure if you want/need the chicken wire, get your order in now!!

If you are living in the US and are in need of a SU! Demo, look no further!  I would love to be yours!  Below are all the items used for this card, if you click on any of them you will be taken to my OnLine Store!

Thank you for stopping by!  Please come back and see me!

Lisa Tedder
A California Girl living in North Carolina

Product List

Sneak Peek!! Amazing Life

Hey Guys!

Sorry it’s been a couple weeks, ok maybe longer…… I went to Orlando to attend the Stampin’ Up! ON Stage get together that SU! Demo’s attend.  I had such a great time! It was great rooming with my ‘SU! Besties’ (my girl friends and I only meet up at SU! functions) and learning/seeing all the new things coming out in January!!  I then spent a week with my Husband in Orlando for our 30th Anniversary!  The bummer is that I got sick the day after he got there. 🙁  I am STILL sick, and it’s been a MONTH!  Hence the reason why I haven’t been posting!

The card I am sharing with you today is from a stamp (Amazing Life) that we got for FREE while at OnStage!   I came up with this all on my own!!  I LOVE making my own designs, but time allowances don’t always make it to where I can do it.

I used this stamp from the set:

Doesn’t look like much right?

Well, I stamped it along the bottom with the two swirls going down, in Soft Suede ink. Repeated it along the bottom, lining up the swirls so they touched, then flipped the stamp over and lined up the two lines that are in the middle of the stamp.  I repeated this on top of the ones I stamped along the bottom and then flipped the stamp so the swirls were on the bottom again, and started all over to make a pattern!

After making the pattern, I stamped the 3 dot stamp in Petal Pink between the stamped pattern.  Don’t you LOVE how it came out!?  I was so tickled to see the beautiful pattern that this stamp made!!  If you watch the video I made you can see how It was done, if this doesn’t make sense.  I used other stamps for other designs, so be sure and check it out!

Here are the particulars for this card:

Paper
Petal Pink 8 1/2″ x 5 1/2″, 3/4″ x 3 7/8″, scrap
Gold Foil 4″ x 5 1/4″ (x2), scrap
Vanilla 5 1/8″ x 3 7/8″ (x2)
Inks
Soft Suede
Petal Pink
Versamark
Blend: Soft Suede dk, Petal Pink light
Accessories
Big Shot
Layering Ovals
Stitched Shapes
3/8″ Gold edged ribbon
Rhinestones
Gold EP/ embossing buddy/heat tool

If you live in the US and are in need of a Demonstrator with Stampin’ Up! I would love to be yours!  If you are looking into joining SU!, join my team!  We have a lot of fun and I would love to have you be part of my SU! family!

I hope you enjoyed this post, please leave me a comment below and let me know what you thought!

Check back, now that I am getting better I will be posting more!

Below are pictures of everything I used in the card, click on any of the pictures and you will be taken to my OnLine Store!

Lisa Tedder
A California Girl living in North Carolina

Product List