Tag Archives: SU!

Moonlit Scene made with Stamps!

Hey Guys!

I have another technique for you today on making another landscape scene!  This one is for a Moonlit water scene!  To see it done in person, you can watch me make it here!

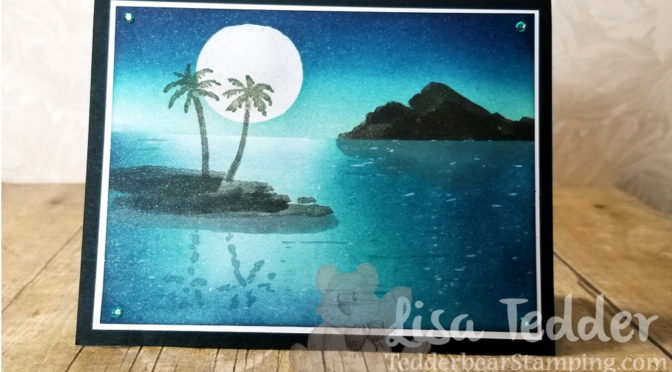
Here is the card that I show how to make it!

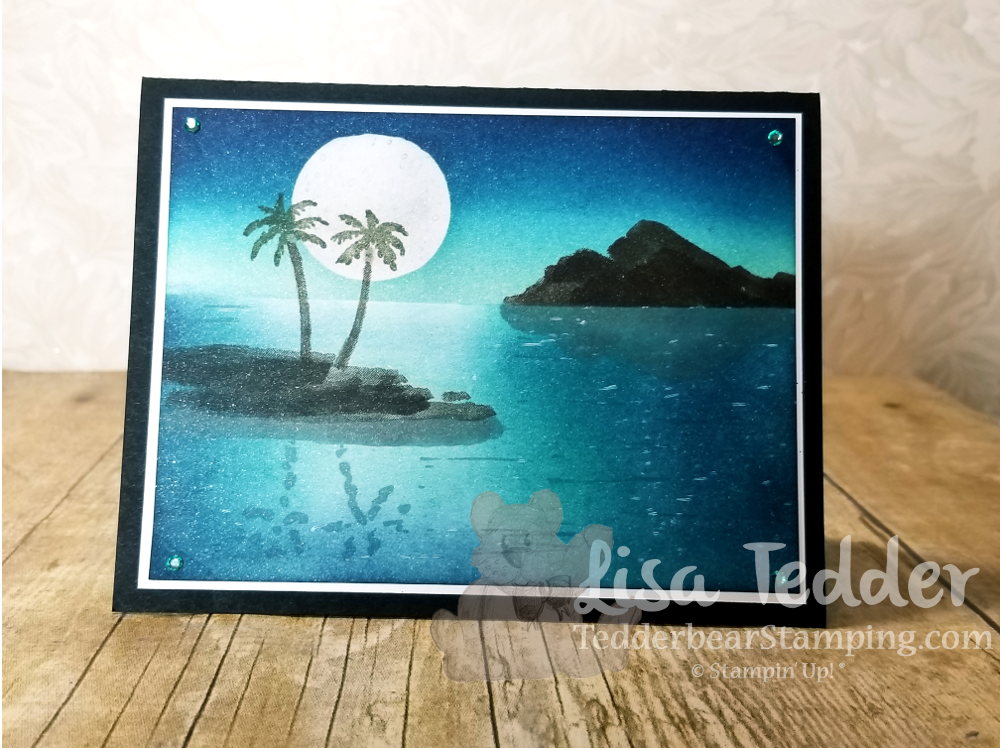
I was so excited on how this card came out!  I even tackled doing a reflection!

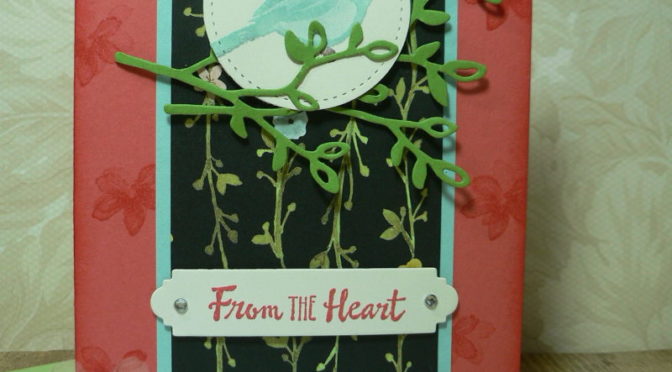
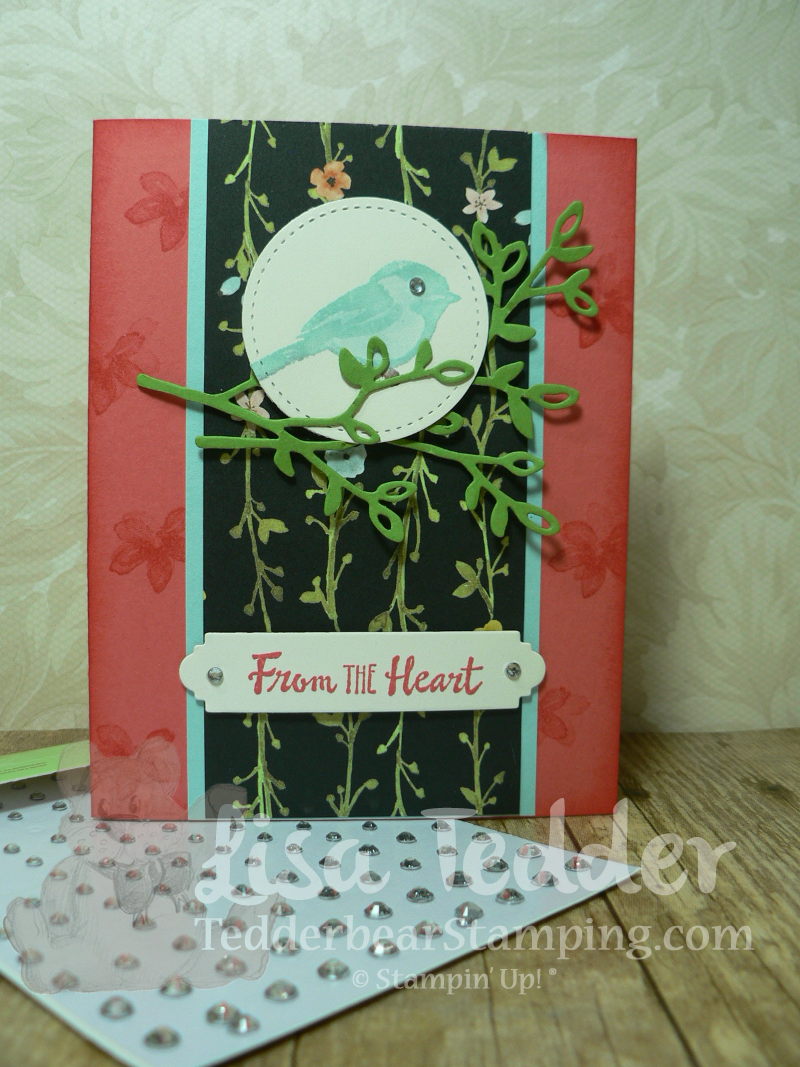
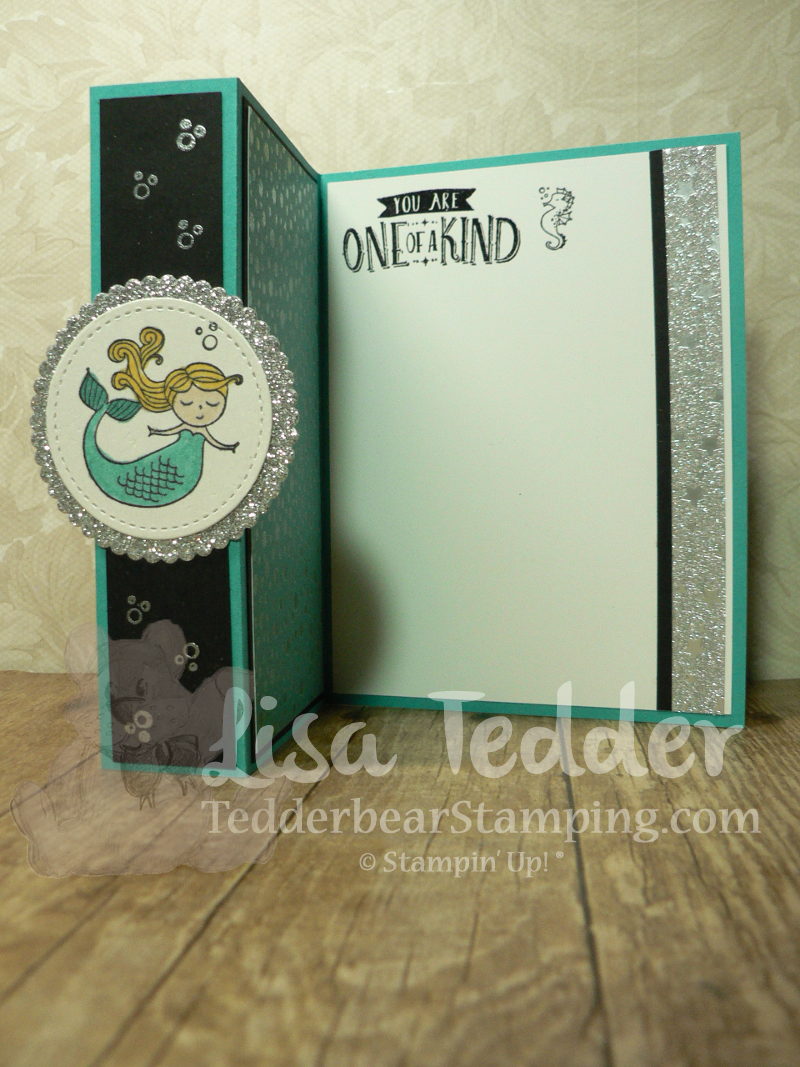
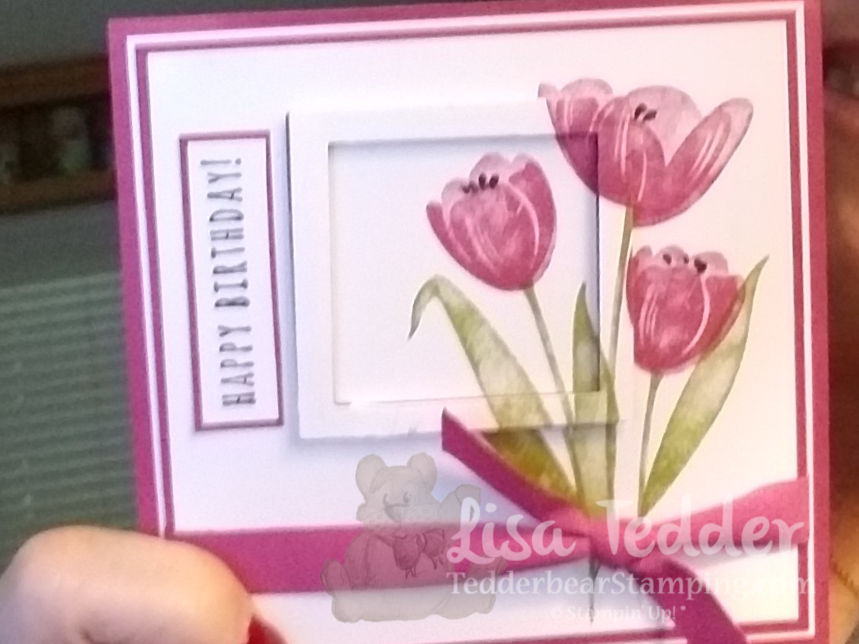
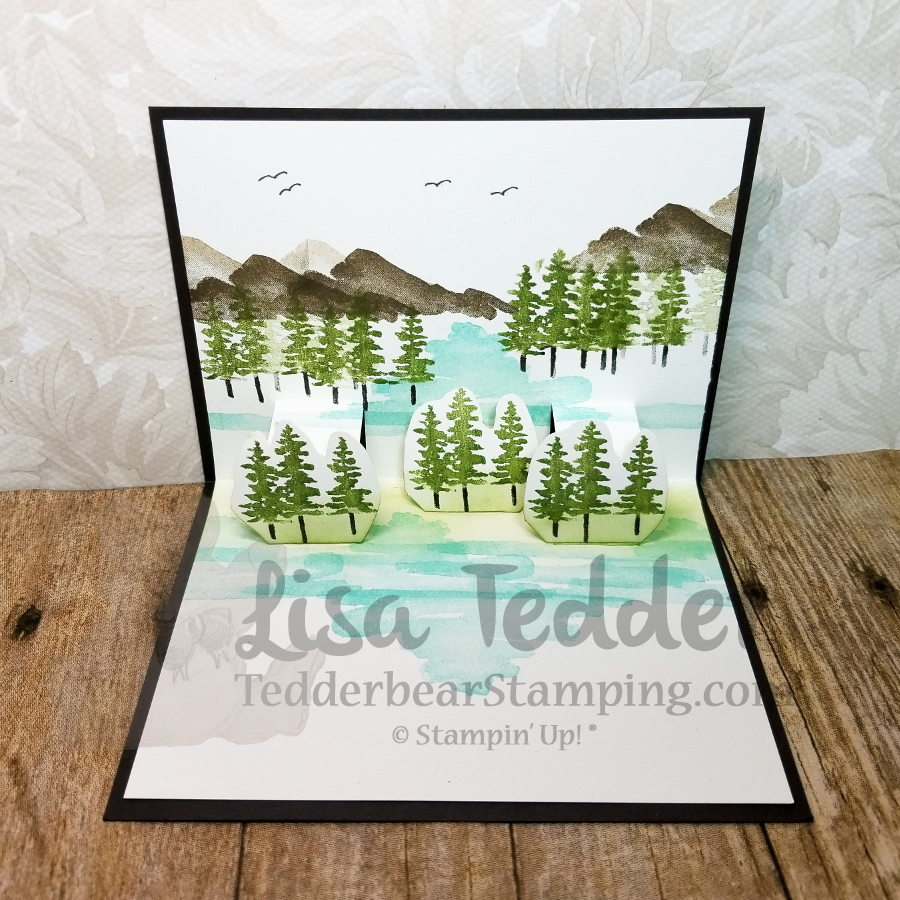
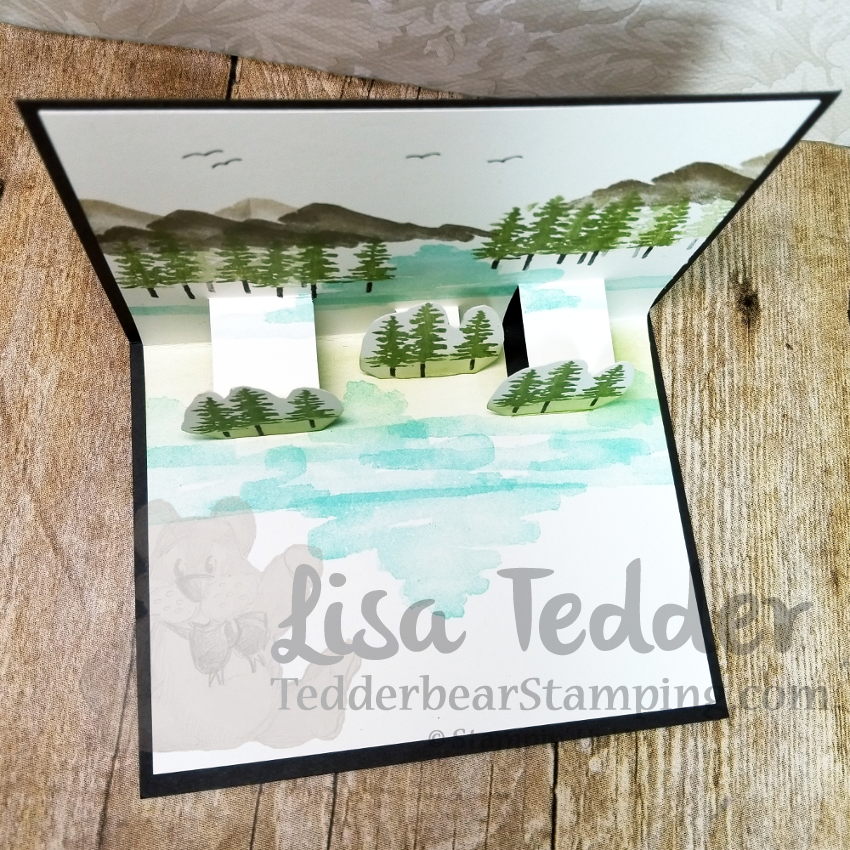
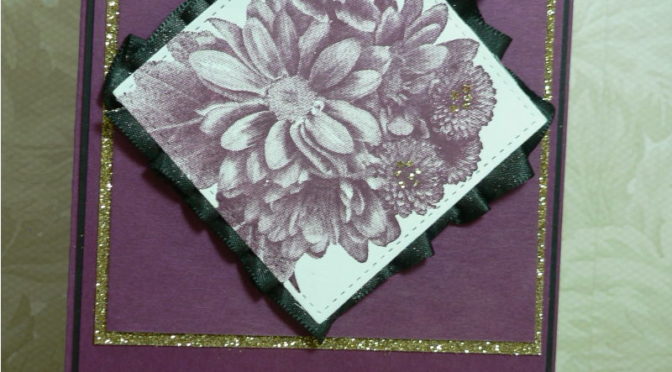
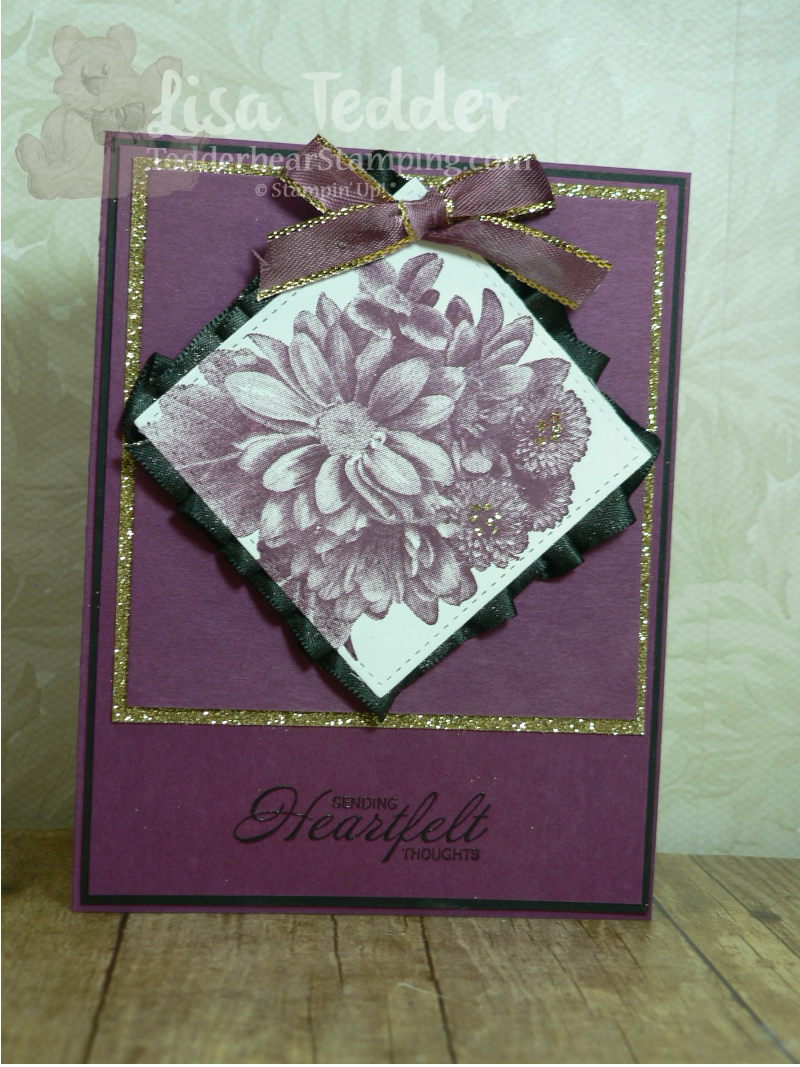
Here are some of the cards that I show at the end that you might want to see closer!

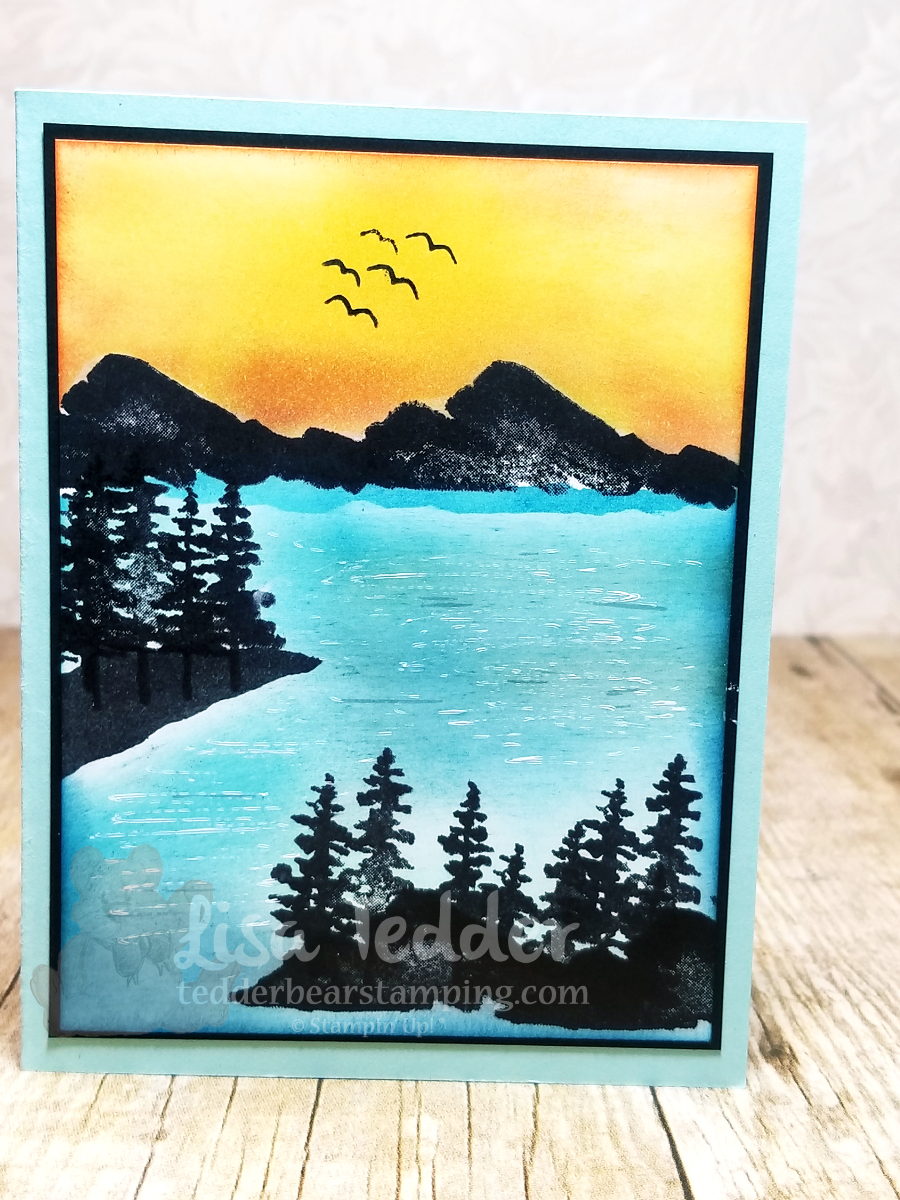
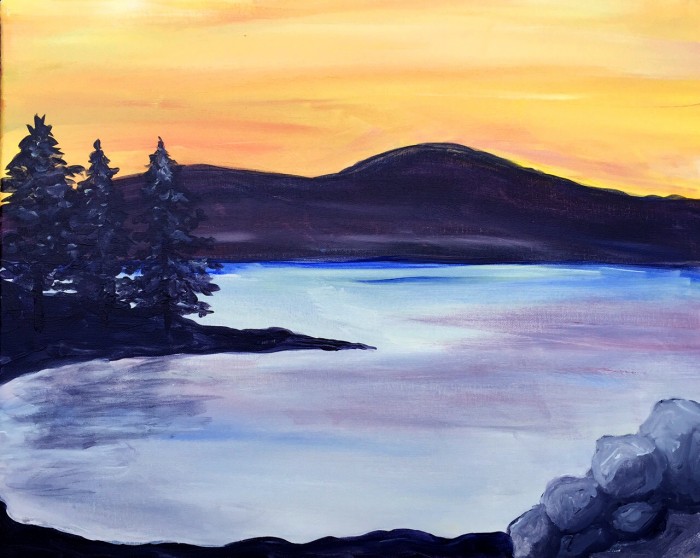
I made this one after looking at this photo i found online:

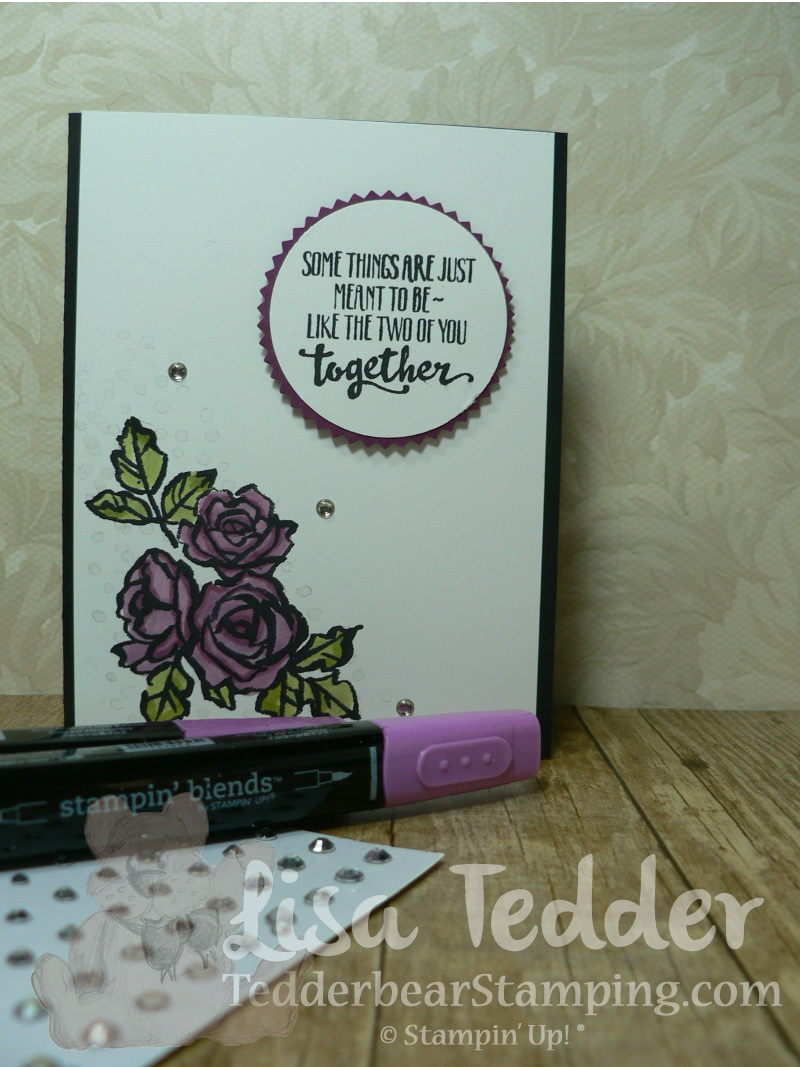
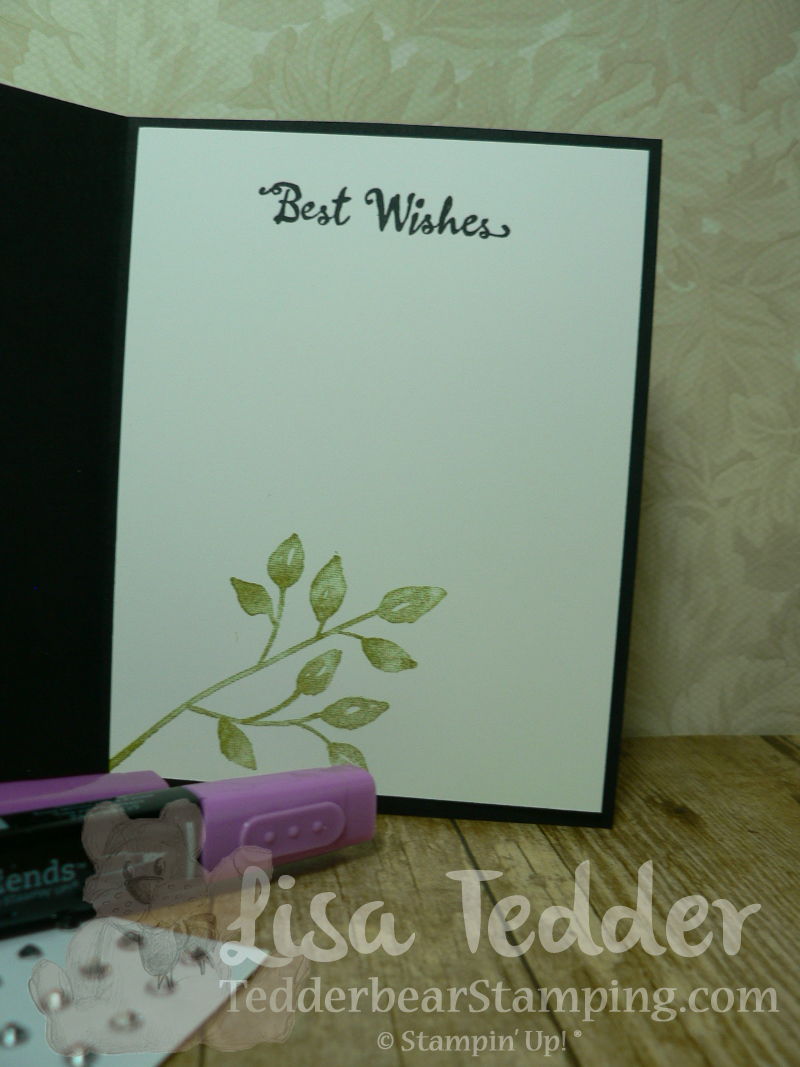
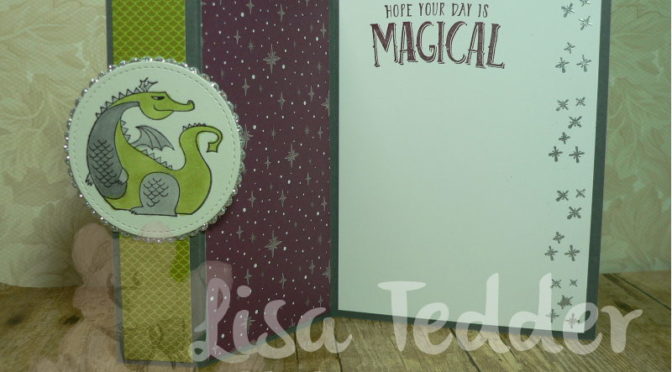
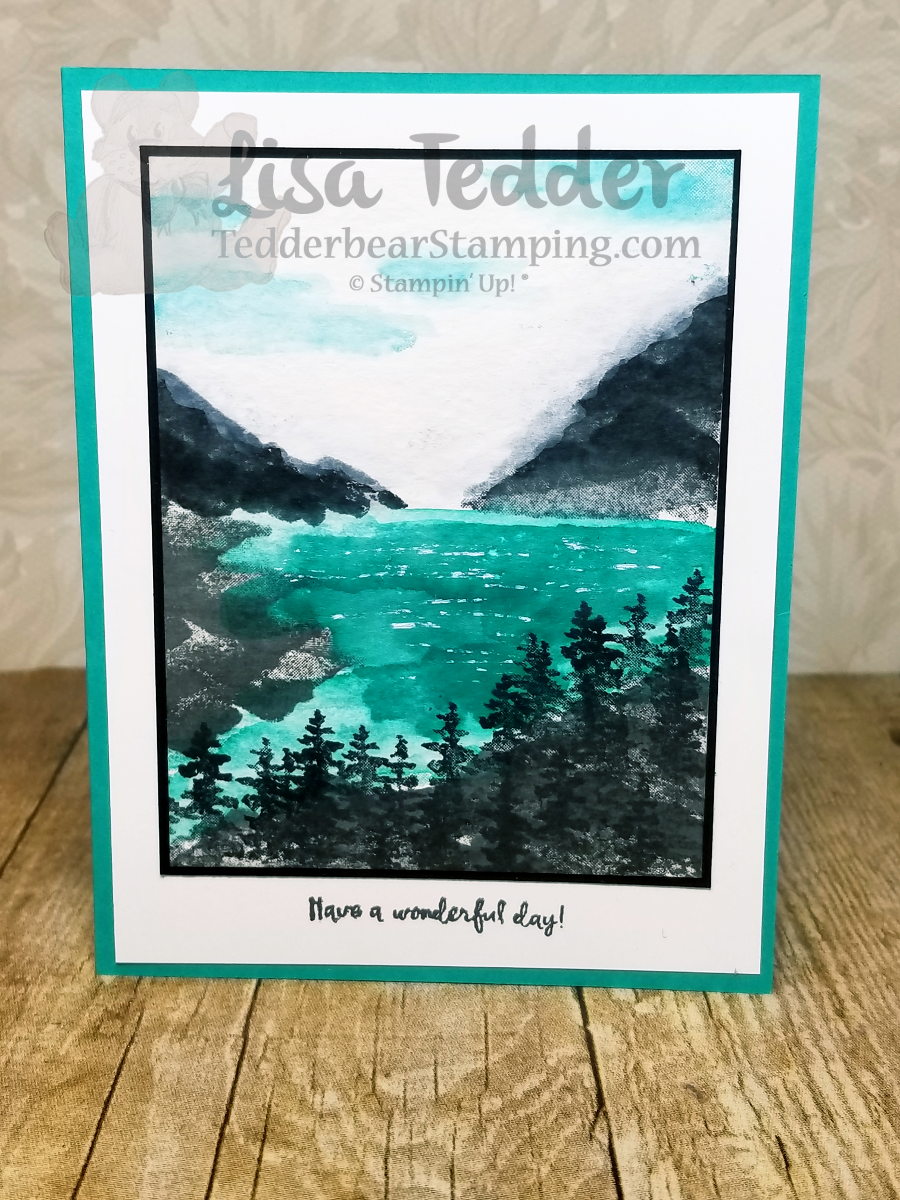
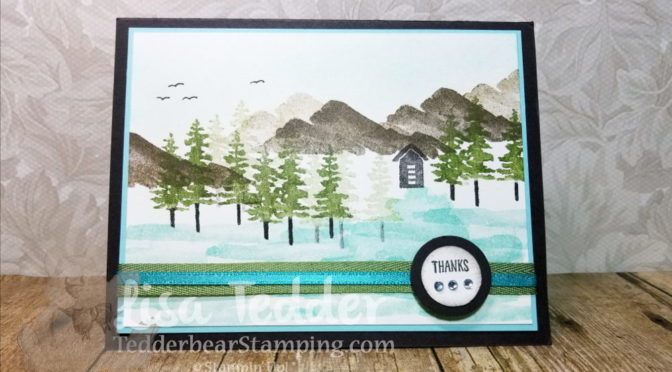
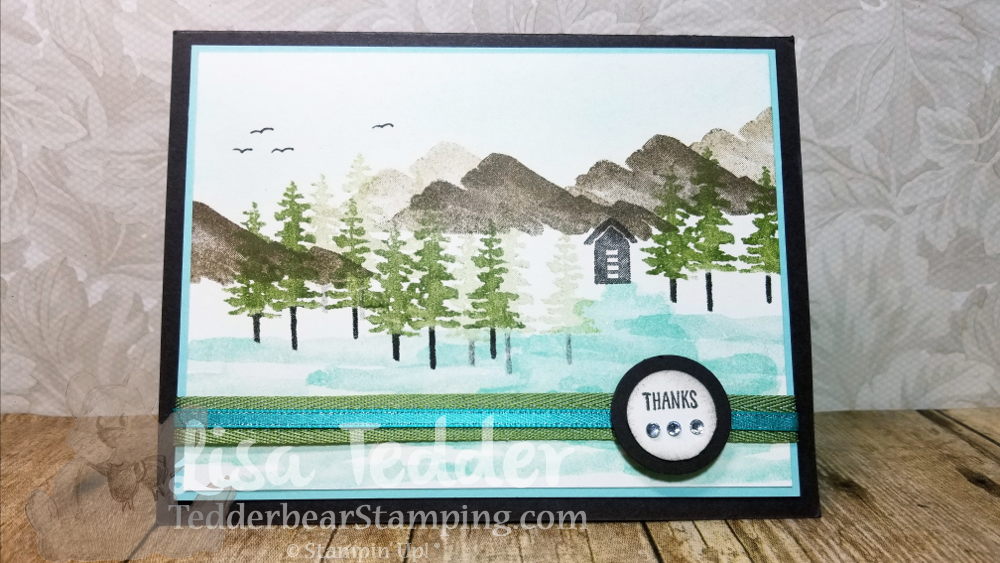
Here’s another card I made:


I saw a card like this online, but couldn’t find it again.  I pretty much copied it!  I did change a little in the sky, but the rest I kept.  If you happen to see this card please let me know so I can give credit.  UPDATE: Thank you for everyone that mentioned where I saw this, Kim Jolley at stampinartfully.blogspot.com is the one that I got the idea from.  Thank you Kim!!

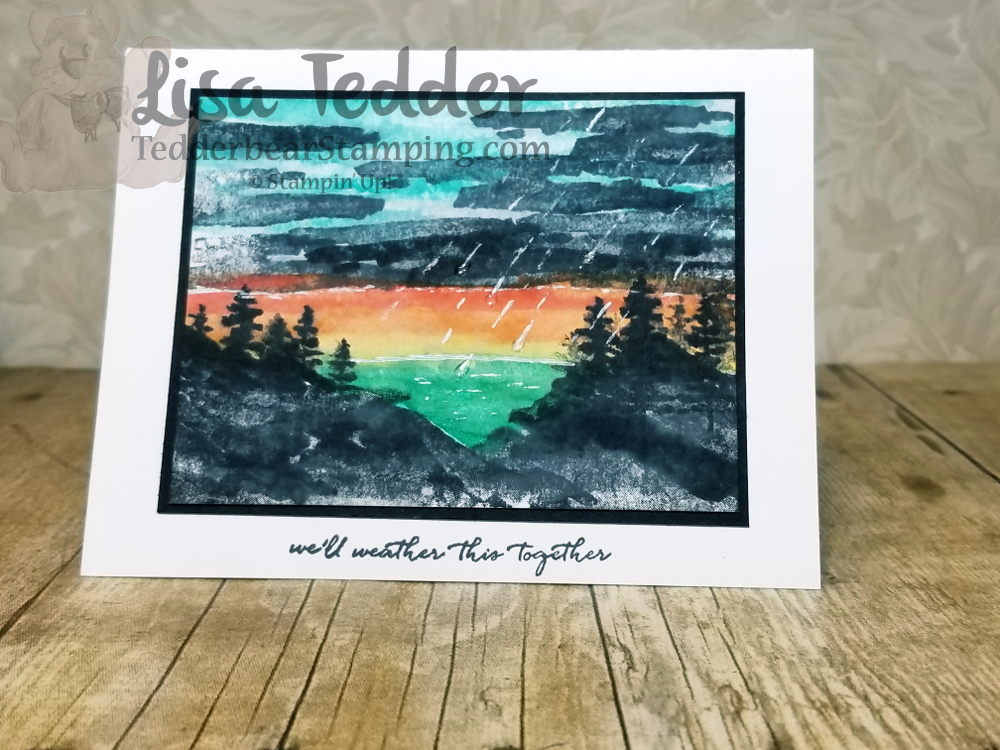
This is also from the same person, this is where I learned HOW to make the Scenes!  Again, if you see or know who made the original, please let me know!  I did add some Glitter & Clear Epoxy Dots to make the rain look more real!

Hope you like this post.  Check back in for my other posts!

Everything listed for my main picture at the top is listed below.  Click on any picture to be taken to my OnLine store!

Talk to you soon!

Lisa Tedder
A California Girl living in North Carolina

Product List


Make a Pop Up Card easy by Eyeballing it!

Hey Guys!

I am not much of a Measurer and if it takes me too long to ‘figure it out’ I tend to not want to do it!  That doesn’t mean that I WON’T do it, just that I put it off until I have plenty of time!  I keep seeing these Pop-Up Cards and I wanted to figure out an easy way to make one, that I could teach and show on a video…….
I figured out a quick and easy way to make a Pop-Up card that takes minimal measuring and hardly ANY stress!  Check out my video!

Here is the front of the card:

I absolutely LOVE this Stampin’ Up! set: Waterfront!  It really makes you feel like an artist, and you can make the scenery any way you can imagine!!  I changed the scenery inside, popped up some trees and I am thrilled with the result!

The trees fold down when the card is closed and Stand up when open!  On my video you can see just how easy this card is!

Here is the view from above:

I hope you like this card as much as I do!  The supplies are listed below, just click on any picture to be taken to my OnLine Store!

Until next time!

Lisa Tedder
A California Girl living in North Carolina

Product List

Stunning card made with FREE stamp set-Heartfelt Blooms

Hey Guys!

The card today is one I came up with all by myself!  That happens rarely and I get so tickled when I make something that I didn’t get any help from Pinterest or any other places!  It popped into my head and it came out even better than I thought it would!!

Not only is this stamp set Gorgeous, but did you know that Stampin’ Up! has a patent pending on HOW they made it?!!  When you look at the actual stamp before inking it up, it looks absolutely FLAT!  How in the World did they get a completely flat stamp to have so much dimension!?  NOT sure what/how they did it but I love it!

I’ve seen pictures of people who have stamped it and used different colors to differentiate the flowers,  here is one I took while at On Stage Live in Salt Lake City:

Isn’t that So pretty!!!?  The hint they gave to us was to stamp it with a light color so you could follow it.  If you give it a try I would love to see it!  I tried, but it didn’t come out.  That is why mine is one color!  Hahahaha   I’m still trying to figure out how to work the blends and have perfect shading………

So for my card above, I used Rich Razzleberry Cardstock, black and Gold Glimmer paper!  I added ribbon to the back by putting Tear & Tape around the edges (after I stamped it and cut it with the Stitched Framelits) and then I pleated the Black 3/8″ Shimmer Ribbon over the tape.  I then used the Foam Adhesive Strips to make it stand up higher.

I added some Fine Tip Glue to put some Gold Glitter on the smaller flowers.  I also used the Gold Metallic Edge Ribbon and colored it with the Razzleberry Blend so it would go with the card!  Love that!

I stamped the sentiment in the Basic Black and then immediately clear Embossed it so it would give texture and it just makes the Sentiment look so elegant, don’t you think?

Here are the Dimensions of the paper:

Rich Razzleberry: 8 1/2″ x 5 1/2″, 4″ x 5 1/4″ (x2) one for the inside,
3 5/8″ x 3 3/4″
Basic Black 4 1/8″ x 5 3/8″ (x2) one for the inside
Gold Glimmer paper 3 7/8″ x 4″
Whisper White 2 3/4″ sq (to fit the square stitched framelit)

I hope this helps!!

As always, the supplies are listed below, just click on any picture to be taken to my OnLine Store!  I would love to have you purchase your goodies from me!

Lisa Tedder
A California Girl living in North Carolina

Product List


Another Fun Swap using the Magical Day Stamp set from Stampin’ Up!


Hey Guys!

I was perusing Pinterest the other day and saw this really cute card that had the ‘wind’ from the Christmas Stamp set “Star of Light”  blowing out a candle.  Well, my mind went immediately to the Dragon in the SU! set Magical Day and how cute would it be if he was Lighting a candle!?   This is how my mind works sometimes so I went with the idea!

Here is the card:

As I’ve said before ‘I just love this dragon’!  I love how I colored him this time using Calypso Coral Blends and Cherry Cobbler Blends.  NEVER would I have put these colors together but, again, I saw it done on Pinterest.  It really makes him stand out, doesn’t it?

Here is the inside:

This Stamp set from SU! also has thinlits that cut out not only the characters, but the Banner seen above!  Waves, that I will be using soon, and lots of other goodies!!

For the flags in the front, I used the Myths & Magic Specialty Designer Series Paper.  I sponged the edges with the color that was on the DSP, and also made a banner out of the Silver Glimmer paper and the FREE Shimmer Ribbon pack from the Sale-A-Bration catalog!  This ribbon is so pretty!!  And it comes in THREE colors and sizes!  I also used Rhinestones and the Scattered Sequins Embossing folder.

The Dimensions are as follows:

Cherry Cobbler 8 1/2″ x 5 1/2″
Daffodil Delight 5″ x 3 3/4″
Dapper Denim banner 2″ x 5″
Gray Banner 1 1/2″ x 4 1/4″
Silver Banner 1/2″ x 3 1/2″
Calypso Coral Ribbon 3 3/4″
Scrap of White for Stitched Oval
Scrap of Calypso Coral for Scalloped Oval
Whisper White 4″ x 5 1/4″ (inside)

I really hope that those who received these swaps love them as much as I do!!

The supplies used for this project are listed in pictures below, just click on any picture to be taken to my OnLine Store!

As always!  Have a great day/weekend!

Lisa Tedder
A California Girl living in North Carolina
Product List

FUN Swap card using Magical Day

Hey Guys!

I am sharing with you a card that I made for a swap that I signed up for where I made 20 of these cards (below) and received 20 different swaps back!

Here is my card:

I think I love this stamp set so much because it reminds me of Disney and being a kid.  Below I will have all the supplies listed to make this card, just click on any of the pictures to be taken to my OnLine Store.

I also used the Stamp set In the Trees by Stampin’ Up! for the grass under the dragon.  I stamped the ‘Magic stars’ in Versamark on the Black and then embossed it with Silver Embossing powder.  I thought it added just that right sense of MAGIC!!

The dimensions for this card are as follows:

Bermuda Bay Base: 8 1/2″ x 5 1/2″
Soft Sky: 5 1/4″ x 4″
Cherry Cobbler: 2 1/8″ x 3 7/8″, scrap for scalloped Ovals
Whisper White: 2″ 3 3/4″, scrap for Stitched Shape Oval
Basic Black 2 1/2″ x 3 1/2″
Silver Glimmer Paper: scrap for Oval

I hope this helps you if you want to recreate this card!  I had a lot of fun making it!

Lisa Tedder
A California Girl living in North Carolina
Product List


NEW! Sneak Peek from the 2018 Occasions Catalog #2

Are you ready for card #2?  I am using the Petal Palette stamp set that will be coming out in January!  I love how this card came out!

The front uses the Beautiful flowers that I used the Blender Pens to color.  If you look close you can see the dots that I used that remind me of Baby’s Breath flowers, behind the flowers!  I used Smoky Slate stamped off for these.  This was fun to make and I will be doing this in class this month!

Here is the inside:

I love how this stamp has shades in the leaves and I didn’t have to do anything buy ink and stamp!  This will make a great Valentines card for one of your couple friends!  Or you can use it as a Wedding Card and color the flowers to match the colors of the Wedding!

All of the items used are listed below, click on any picture to be taken to my OnLine Store!

Lisa Tedder
A California Girl living in North Carolina
Product List

NEW! Occasions 2018 Petal Palette #1

I have two cards using the Petal Palette stamp set from the NEW Occasions 2018 catalog!  Today I am showing you the first card.  I had a lot of fun making this card, I love birds and it’s been awhile since I have found a great bird stamp!  Well, now I have!

The Designer Series Paper (DSP) is called Whole Lot of Lovely and is available from the Main Catalog!  So no worries it is available for quite a while!!  After you purchase the paper and the bundle you will be VERY close to get the Stamp set, Happy Wishes, that I used on the inside for FREE!  This set is a Sale A Bration set that if you spend $100.00 you can get this set for free!  It has 16 stamps that is in TWO of the boxes!  SUCH a great deal!

The Leaves are from the Bundle, so if you like this card, be sure and get the Bundle!

Here is the inside:

I love how intricate this stamp is, don’t you?

Come back so you can see the 2nd card from this set!  I know I will be making a LOT more so stay tuned!

If you click on any of the images below, you will be taken to my OnLine Store!

Lisa Tedder
A California Girl living in North Carolina
Product List

Coming Soon! Sneak Peek to Magical Day!

Today I am sharing with you a couple of cards that I made for my YouTube Channel.  I have a very simple fold but the cards are stunning!  You can see the video here!

While I was at OnStage in Salt Lake City in UT I got to see first hand cards that were made using this set!!  I fell in LOVE!

Here is the front of my card:

The Designer Series Paper (DSP) is called Myths & Magic, it is embossed and GORGEOUS!!  ON the Video you can see how shiny and beautiful they are!

Here it is partially open:

I embossed the ‘sparkles’ on the side using Silver embossing powder.

Here is this card open all the way, isn’t it pretty!!?

I used Stampin’ Blends, and just love this card so much!!

Now, here is the other card, same design, different stamps!

I used the Myths & Magic Washi Tape on the side, isn’t it gorgeous!?

I am already planning on ordering MORE of this DSP and Washi Tape!

Well?  Do you love it?!  If you want a catalog, just let me know and I will get it to you!!

Click on any picture below and you will be taken to my OnLine Store!

Have a great day!

Lisa Tedder
A California girl living in North Carolina
Product List

Tarnished Foil Technique

Hey Guys!

It’s been a while since I was last here!  Sorry, life got a bit busy.  I had my trip to Salt Lake City Utah for Stampin’ Up!’s OnStage event, and WOW I had so much fun! I met up with my SU! Besties and we room together every time!

I came home and 4 days later we went to Vero Beach for a much needed break!  It was so nice to sit and read on the beach!!  I was under the umbrella and the only thing that would have totally made it better was to have a Beach Boy bring me some drinks!  hahaha

Now I am home and I jumped right back in to my ‘work’.  I put the apostrophes there because I have so much fun creating it is sometimes hard to remember that I get PAID!  Love my job, if you want to join my team, just let me know!

On to the Tarnished Foil technique, thanks to my Besties Carol and Hetty for telling me all about it!  I HAD to come home and try my hand at it!

Here are the cards I did on my YouTube video:

Aren’t they stunning?!!  This is a fun and easy technique and no two are alike!  I Love stacking my ribbons, can you see it?  I ‘colored’ my gold edged ribbon with the Bronze Stampin’ Blends so it would go with my project and stacked it with the copper ribbon!  Go check out my video for all the dimensions.

I hope if you live in the States you choose me as your demonstrator!  IF you purchase from me, I will send you one of my cards that I use for my videos!  Shop Now!

As always, the items used for this post are listed below, each picture will link you to my OnLine Store!  I DO have some SAB items for a sneak peek, can’t list them below, but the one I used is called Happy Wishes, and I KNOW you will want it as much as I did!

I’m back to my ‘work’, I am making my Christmas cards, I’ll share those with you next time!!

Lisa Tedder
A California girl living in North Carolina

Product List

Technique Tuesday Eclipse

This week I am doing my first video of a 3 part video series where I will do the front first, the Eclipse technique, next week will be the inside – Cascading Steps, and for the final video I will show how to make an envelope for the card!  Stay tuned for all three!

Here is the front of the card:

I’m going to save the inside for next week, but let me tell you that you WON’T want to miss it!  All the measurements for this card are on the video.  This is a fun and easy technique, I hope you check it out!

Click on any of the supplies below to be taken to my OnLine Store!  If you purchase from me I will send you a very nice thank you gift!

Until next time!

Lisa Tedder
Tedder Bear Stamping
A California Girl living in North Carolina

Product List