Hey Guys,
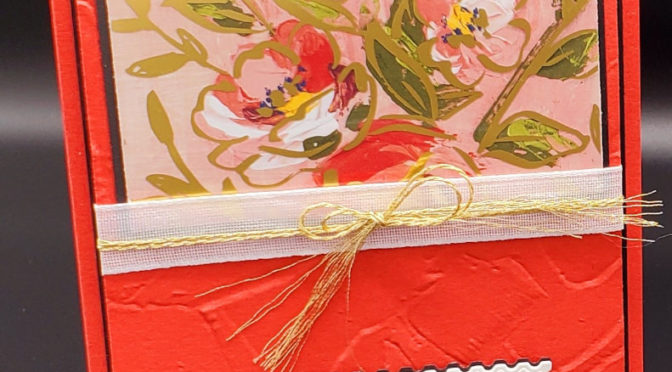
For my Mini class this week I am using Art Gallery with Gilded Leafing! I hadn’t used it up until this card, and I have to tell you I LOVE it! Here is my first card:
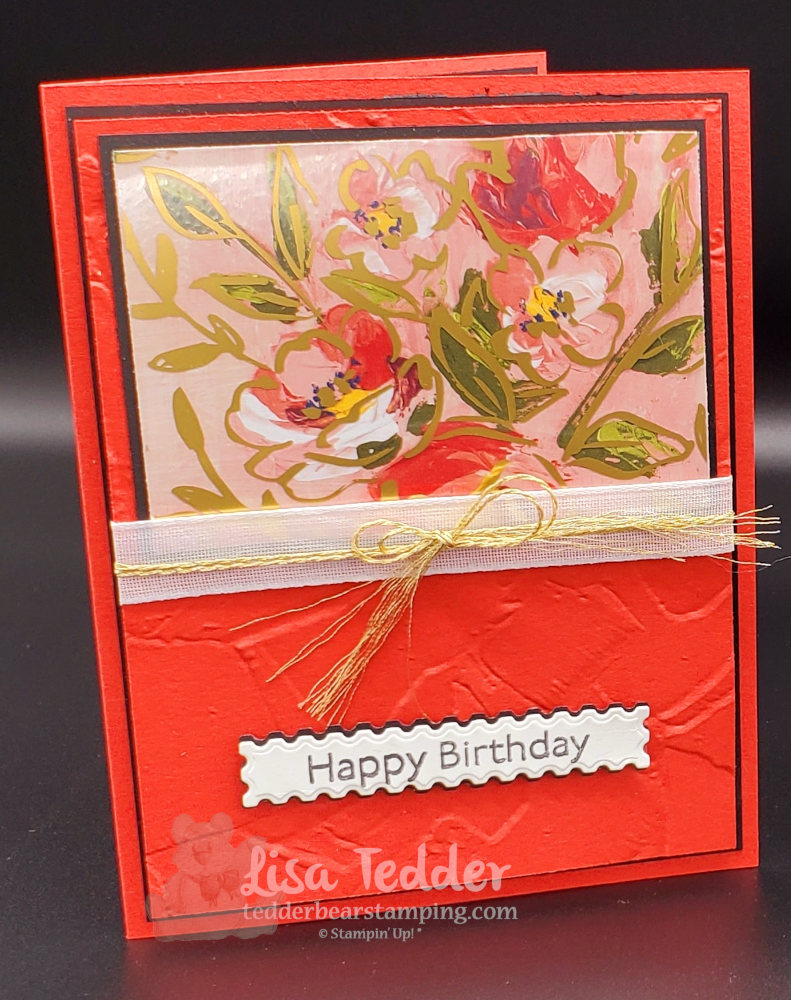
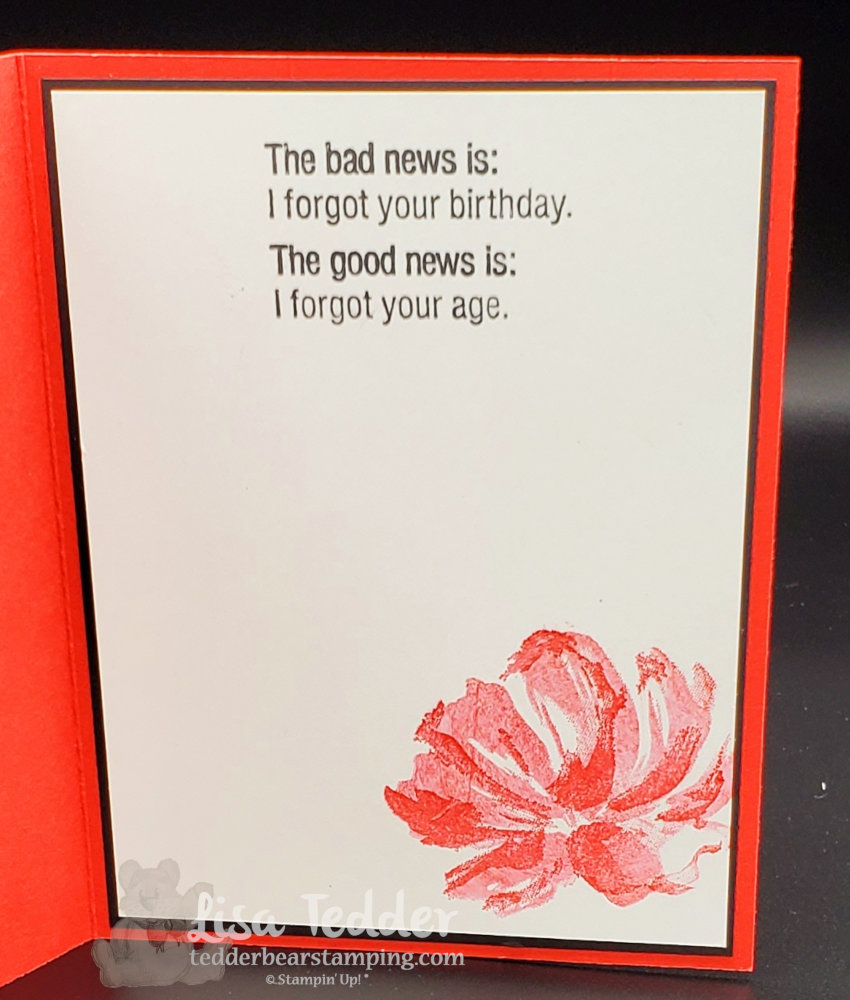
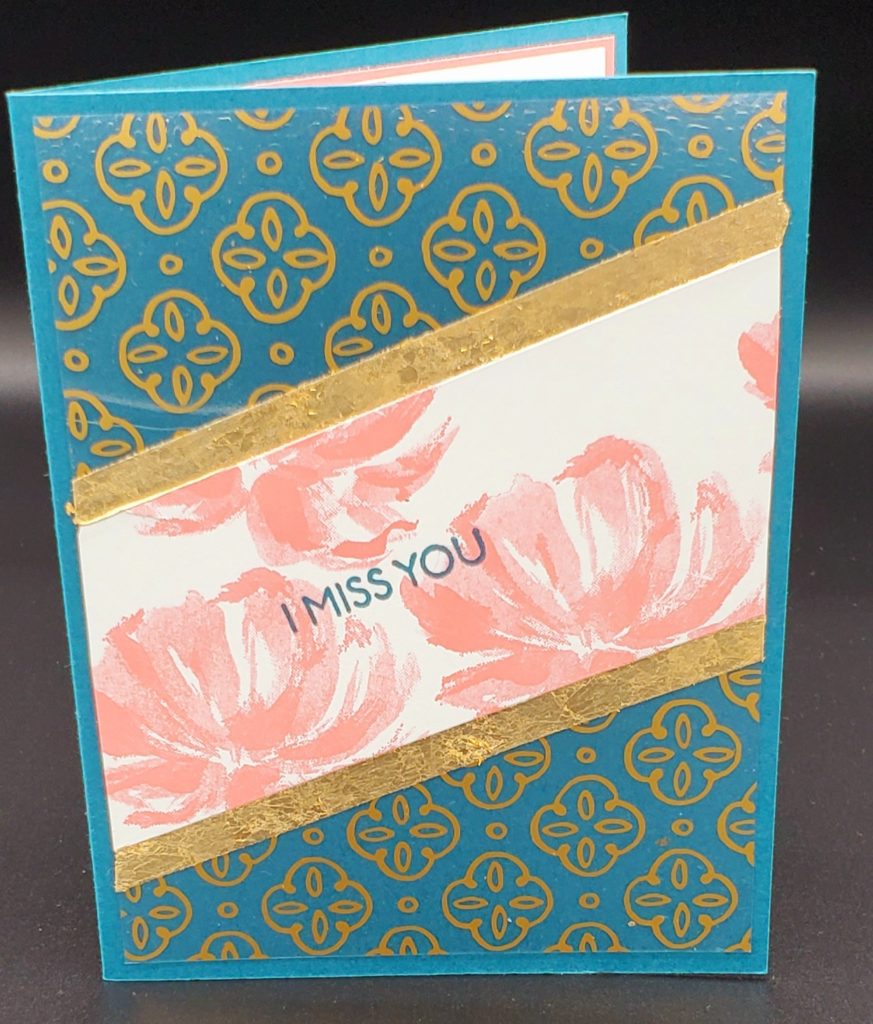
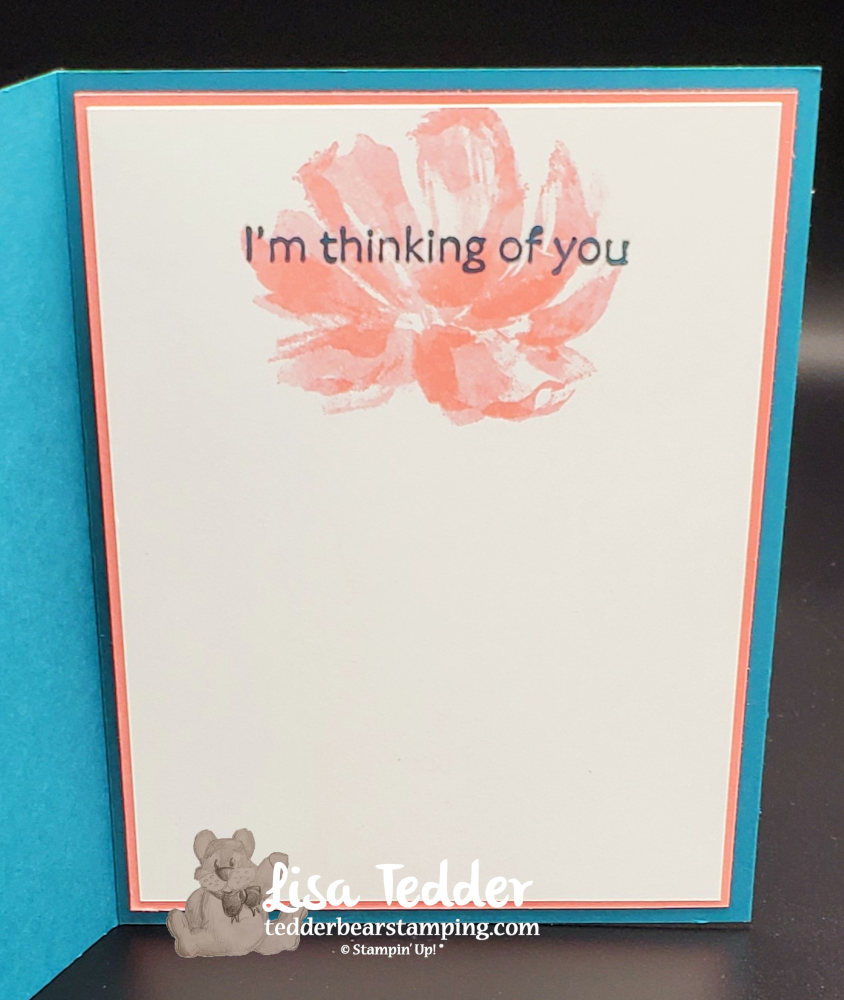
Here are the specifics for both cards:
- Stamps:
- Art Gallery Bundle
- Approaching Perfection
- Inks:
- Poppy Parade
- Memento Black
- Flirty Flamingo
- Paper:
- Poppy Parade 8 1/2″ x 5 1/2″, 5 1/8″ x 3 7/8″ (Card 1)
- Basic Black 5 1/4″ x 4″ (x2), 3 5/8″ x 2 5/8″, scrap (Card 1)
- Basic White 5 1/8″ x 3 7/8″ (Card 1), 5″ x 2″ (Card 2), 5 1/8″ x 3 7/8″ (Card 2)
- Golden Garden Designer Specialty Acetate 3 1/2″ x 2 1/2″ (Card 1), 5 1/4″ x 4″ (Card 2)
- Fine Art Floral Designer Series Paper (DSP) 3 1/2″ x 2 1/2″ (Card 1)
- Flirty Flamingo 5 1/4″ x 4″ (Card 2)
- Misc:
- Tear & Tape
- Gilded Leafing Embellishment
- Stamping Sponge
- Flowers for every Season ribbon combo Pack (I used the white)
- Forever Greenery Trim Combo Pack ( I used the gold trim
- Painted Texture 3D Folder
- Dimensionals
As always, the list of supplies I have above can be seen below in picture form. Click on any of them and you will be taken directly to my OnLine Store! Any order of $35 or more you will receive 1 PDF of 16 projects with pictures and step by step instructions! Here is a sneak peek:
Also you will receive for your $35 order is all the class supplies for that weeks video: (cardstock cut, DSP, ribbon, die cuts) along with a Pillow Gift from me!! For each video I do, you have the Thursday I do my Live up until Wednesday of the following week to place an order for that video ‘fixin’s’…..I live in the South, so might as well talk like it! 🙂
Also, I have some exciting news to share!! EEEEEE! It has been a dream of mine since I began in Stampin’ Up! And it is now a reality!! I have teamed up with my two Besties that I have met through SU!, we have been getting together for 10 years and having so much fun together! Carol Hickman is from AZ (other side of the states from me) and Hetty Jones lives in BC Canada. WE are starting a club that you can join for monthly fun and be a part of the Bestie experience! If you would like to learn more, click on this link and you can be as excited as I am!!
As you hopefully know I also do weekly YouTube Lives on Thursdays at 4:00 p.m. (eastern), if you can watch live you will be put in a drawing to possibly win one of the cards I make on my Live! All you have to do is comment so we know you are there! I will mail it to you even if you live out of the States! Hope to see you there! Today I worked on these cards, you can re-watch it here.
Thank you for supporting my Small Business! I really appreciate it!
Lisa Tedder
A former CA girl living in North Carolina
Christmas Mini Stamp Class!
Hey Guys!
For the last 5 weeks I have been doing LIVE YouTube mini classes, if you missed them be sure and check them out! To begin with, I have 2 projects using the same stamp set and a Pillow Gift I give away if you spend the Qualifying amount* on product that week. Every week I come up with things I would like to see (hence they are a little more than ink, paper & stamps). My joy is doing things that have more substance to them, I hope you agree!
Here is a link to my last LIVE class, I used Tag Buffet to make 3 projects absolutely FREE to you! Besides getting the free video you can also get the Class Packet that has all the ‘fixin’s’ to make the cards I made, and like I said above you also will get the Pillow Gift…..all that if you purchase * $35.00 or more! Now, if you want to make exactly like I have them, you will need to get the stamp set too, otherwise you can use whatever stamp set you have on hand.
Yes, it’s been a while since I posted. I’m sorry about that! The reason is, that I started something NEW, and I had to get in the groove before adding in the blogging. As a result, I feel I am ready to blog my YouTube Live videos! Ordinarily I would post about every video and from here on out I plan to, thank you for your patience!
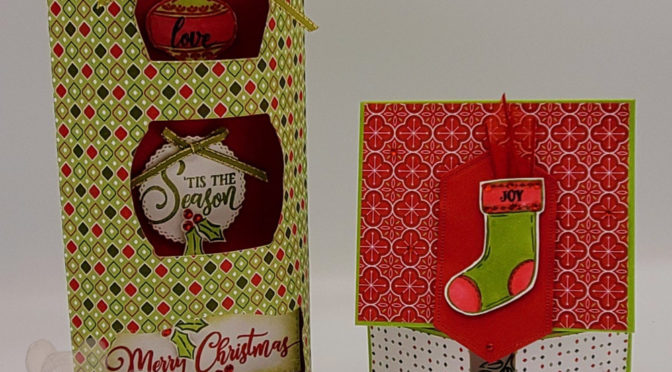
So, now I can show you my projects:
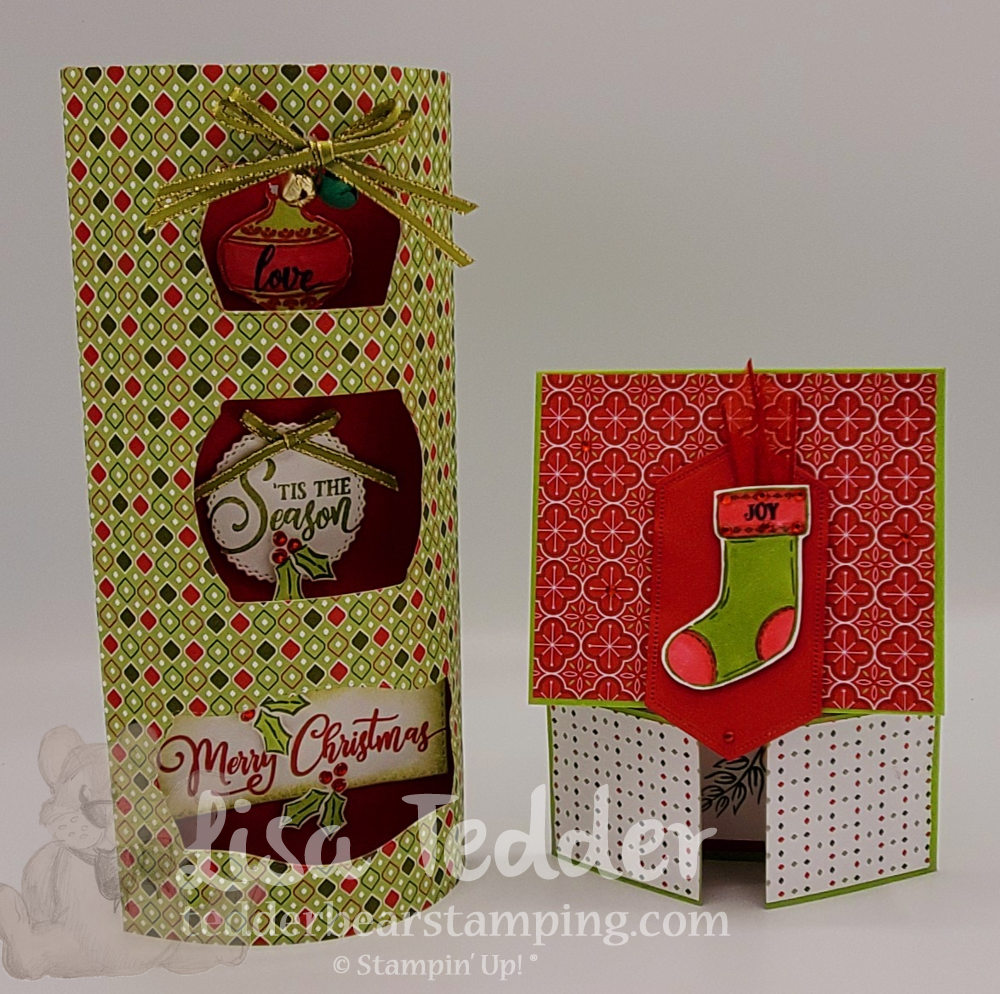
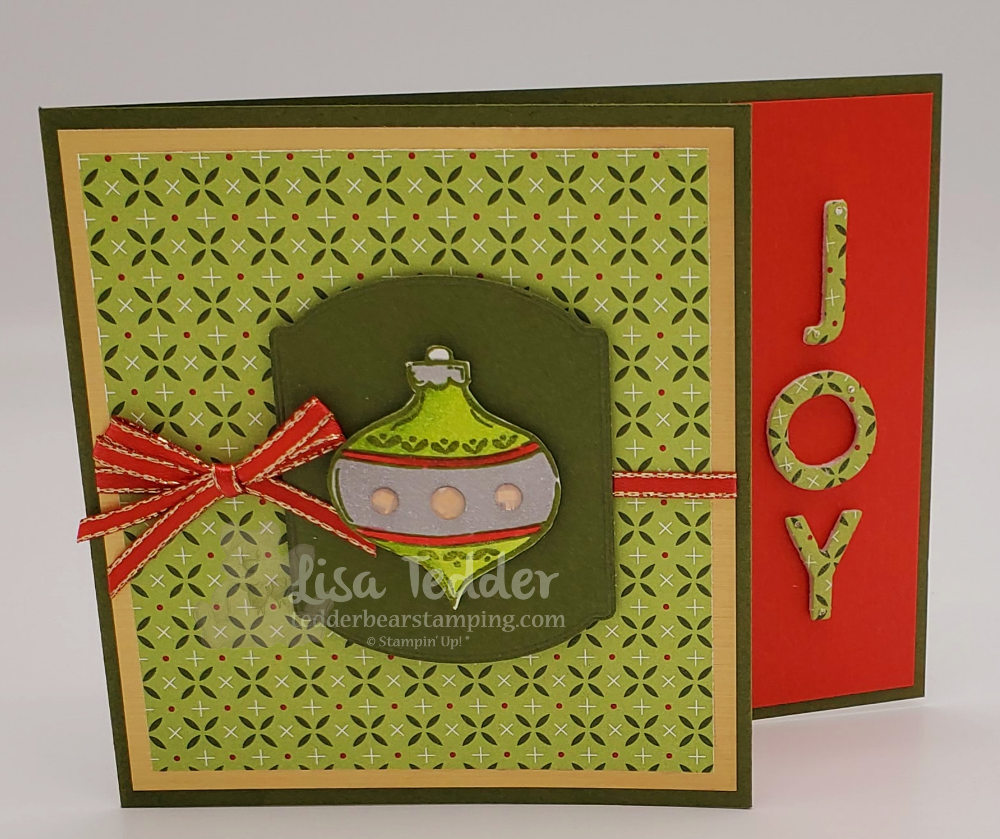
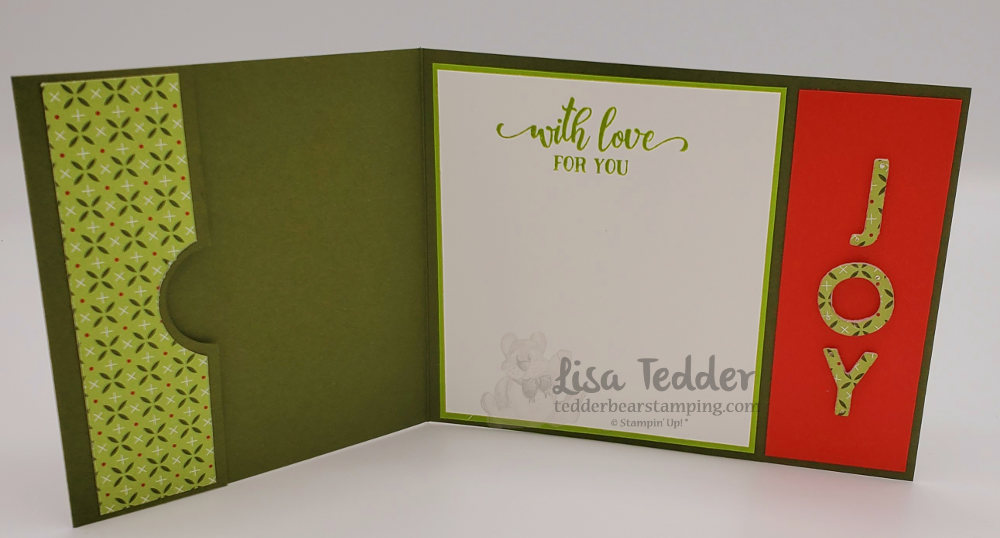
As for the Pillow Gift, I got the idea from Carol Hickman, the design is mine though. By the way, do you see that I used our Pattern Play Dies to say ‘JOY’?
Here are the specifics for this card:
- Stamps:
Tag Buffet - Inks:
Mossy Meadow
Memento Black
Real Red - Blends:
Real Read Combo
Granny Apple Green Combo - Markers:
Real Red
Granny Apple Green - Paper:
Granny Apple Green project 2: 9″ x 4 1/8″, 8 1/2″ x 2″
Real Red project 1: 8 1/2″ x 3 3/4″, Project 2: 5 1/4″ x 4″ scrap for die
Whisper White Project 1: 8 1/4″ x 3 1/2″, scraps for all three windows. Project 2: 5″ x 3 3/4″, scrap for stocking
Heartwarming Hugs Project 1: 8 1/2″ x 5 3/4″ (score at 1/2″ on BOTH long ends), Project 2: 4″ x 3 3/8″, 2″ x 1 7/8″ (x4 SAME pattern) but you’ll turn two to the opposite side. - Misc:
Dimensionals, Tasteful Labels Dies, Stitched Rectangles Dies, Stitched Nested Dies (project 2), Playful Alphabet Dies, All The Trimmings Ribbon Pack project 1, Red Rhinestones BOTH projects, Jingle Bells, sponge
Lastly, don’t forget that if you buy $35 or more from me that you ALSO get a 16 project pdf, which has pictures and step by step instructions! Wow, you get quite a bit for your money! I really appreciate you and want you to know that, thank you for supporting me and my business!
As always, pictures of the supplies used are also shown below, click on any of them to be taken directly to my OnLine Store!
Lisa Tedder
Formerly from CA, but now a North Carolina girl!
Product List
Window Sheet Card
Hey Guys!
Today I am sharing with you a card that was inspired by a card online. You can find a video of my card here. I think the creator is french, and her name is Lezards de Cilou. Here is the card that influenced me:
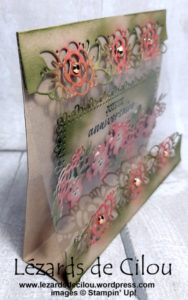
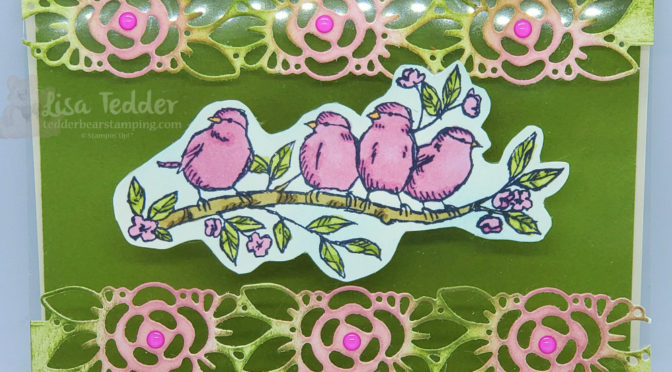
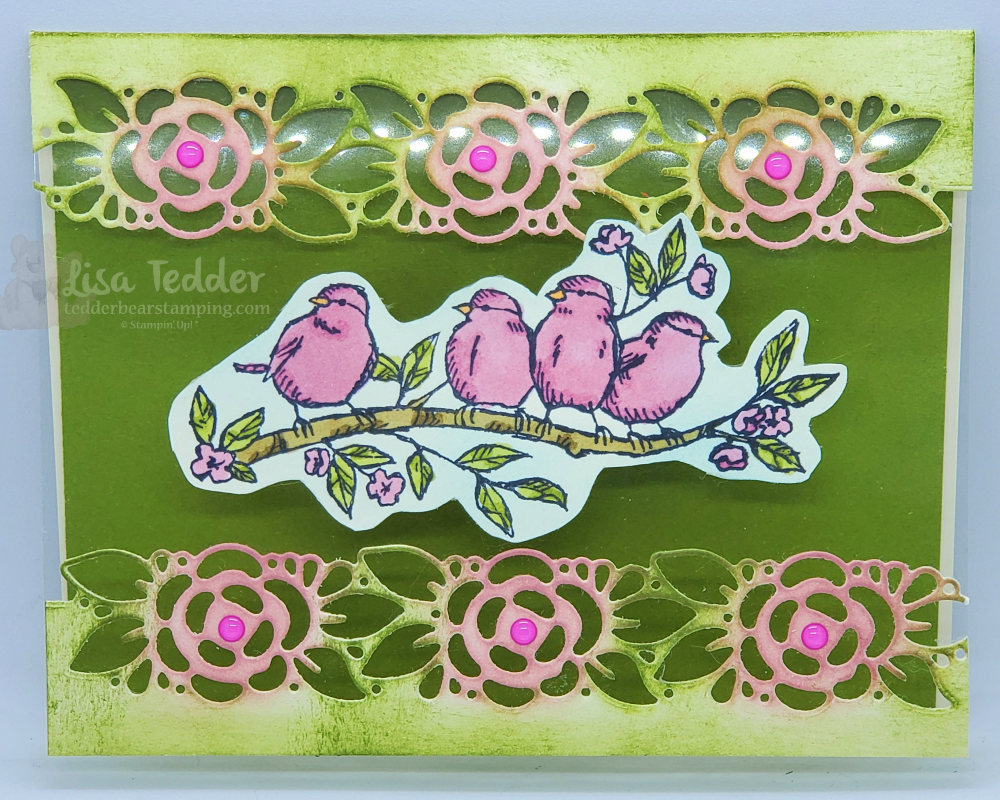
Having seen other cards made with Window Sheets as the front of the card, I wanted to have another go! If you would like to see an additional card I made using Window Sheets click here. Here is what I made today:
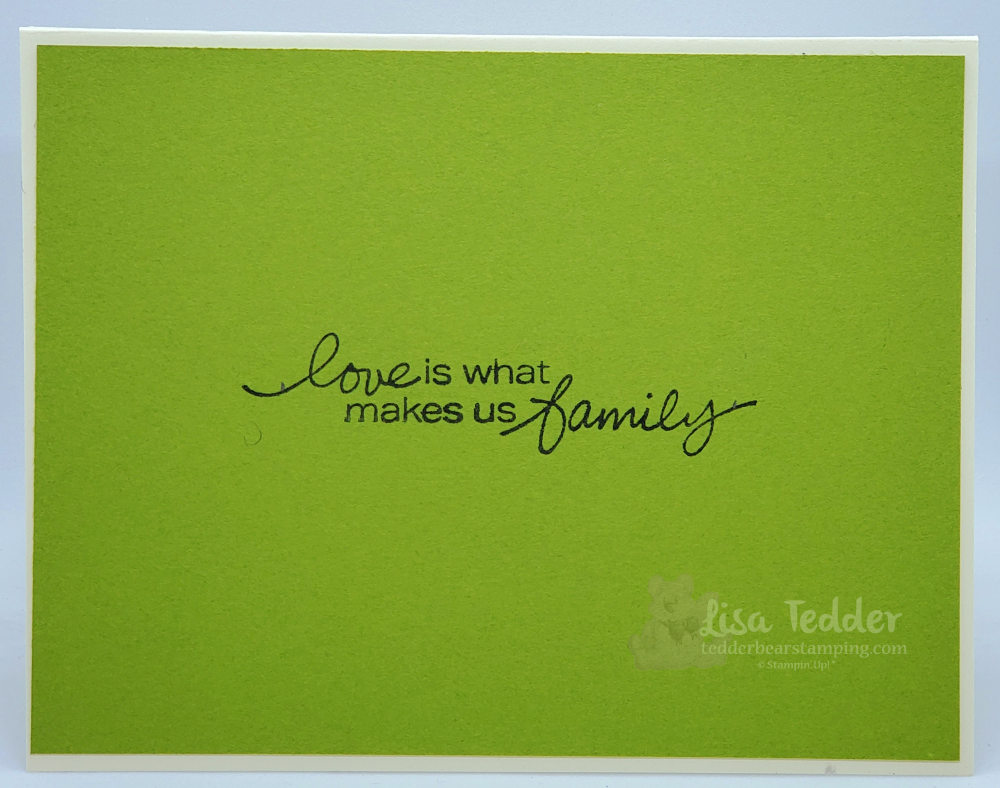
And on the inside we have the sentiment that is hidden by the birds when it is closed:
This card is so pretty in person! The colors go so well together! I love how Stampin’ Up!’s product coordinates together. When I realized this 19 years ago, I knew that I wanted to get the discount and become a Demo! What I didn’t know is that I would STILL be doing it AND loving every part of it!
Here are the specifics for this card:
Stamps: Free as a Bird, Lovely You (Brand NEW!!)
Inks: Memento Black, Old Olive, Rococo Rose, Blends: Rococo Rose, Old Olive, Soft Suede
Paper:Very Vanilla 5 1/2″ x 5 1/2″ scored @ 4 1/4″, 1 1/2″ x 5 1/2″, Whisper White 2″ x 4″ (for stamping birds, then fussy cut around, Old Olive 5 1/4″ x 4″, Window Sheet 5 1/2″ x 4 1/8″
Misc: 2020 – 2022 In Color Enamel Dots, MultiPurpose Liquid Glue, Stamping Sponges
When cutting the Ornate Flowers border, cut it on the edge of the cardstock so you can place the other edge against the Window Sheet. You will need to color the flowers by sponging over the center of the flowers using Rococo Rose, and the leaves with Old Olive, you will also want to sponge the edges of the cut out with the Old Olive, this will make it blend. To place this on the Window Sheet, use a Silicone Craft Sheet, place a puddle of Liquid Glue and pounce the sponge over the glue and holding the cut out still, pounce the back so you won’t see where you put the glue. This makes it so much prettier on the other side of the Window Sheet.
Hope you are doing well!
Lisa Tedder
A California girl living in North Carolina
Product List
Puzzle Card
Hey Guys!
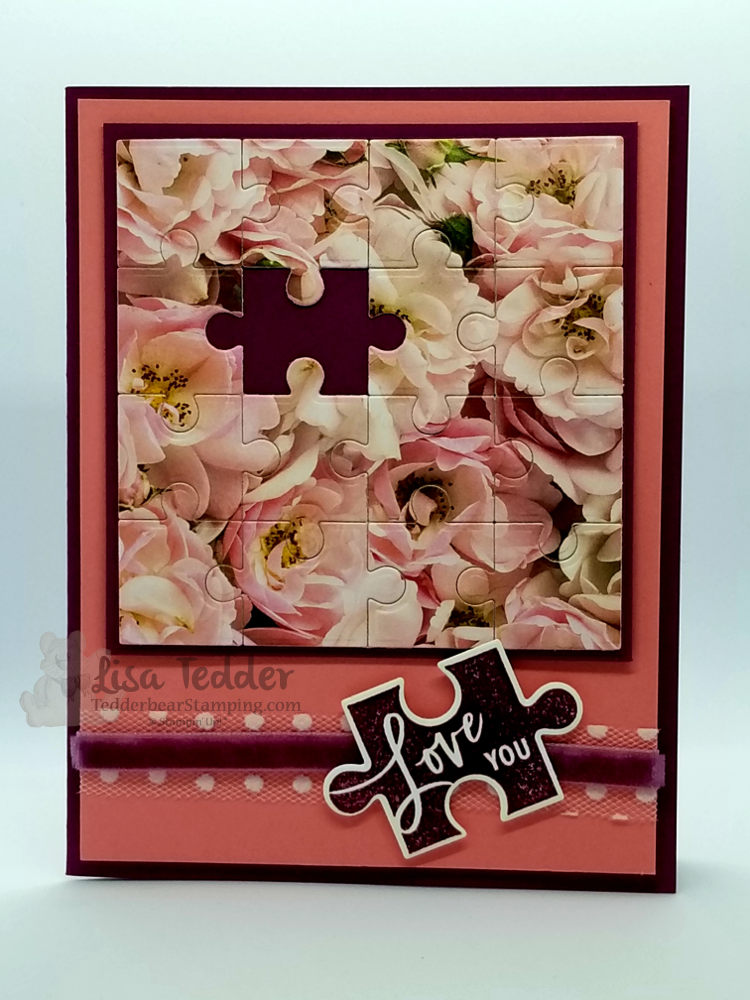
I was on the fence a long time before I decided to get the Love You To Pieces stamp set from Stampin’ Up! I really love it, the sentiments are too cute!
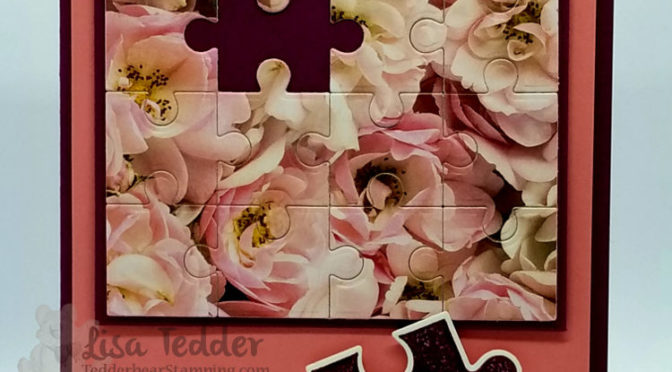
Here is my card:
I used Designer Series paper for the main picture, you can’t beat the Petal Promenade Paper!
Here are the specifics for this card:
| PROJECT 1: Puzzle | |
| Stamp Sets | Pg # |
| Love you to pieces Bundle | |
| Well Said | |
| Paper | |
| Rich Razzleberry 8 1/2″ x 5 1/2″, 3 1/2″ sq, 3 5/8″ sq | |
| White 3 1/2″ sq, scraps 2 1/2″ x 4 1/4″ | |
| Petal Promenade 3 1/2″ sq | |
| Flirty Flamingo 5 1/4″ x 4″ (x2) | |
| Inks | |
| Rich Razzleberry | |
| Accessories | |
| Big Shot, Clear EP, Heat Tool | |
| Tear n Tape | |
| Polka Dot Tulle ribbon | |
| Rich Razzleberry Velvet ribbon | |
| Tombo Multi Purpose glue | |
| Dimensionals | |
I recommend putting the DSP onto a piece that’s the same size of thick Whisper White. This helps it not be so fragile when you run it through the Big Shot with the Puzzle Die. Then turn it over, put Tear N Tape on the back to help hold it together, but skip the one piece you want to be missing.
Below are the supplies that I used to make this card, click on any picture and you will be taken to my OnLine Store! I would LOVE to be your SU! Demo if you live in the U.S.! For every OnLine order I send you a small gift as a token of my appreciation! You can pick this card if you would like it! If I still have it in my possession I will send it to you! Just let me know which card you want.
Thanks for stopping by!
Lisa Tedder
A California Girl living in North Carolina
Product List
<!——– TAMS End —-
Stunning card made with FREE stamp set-Heartfelt Blooms
Hey Guys!
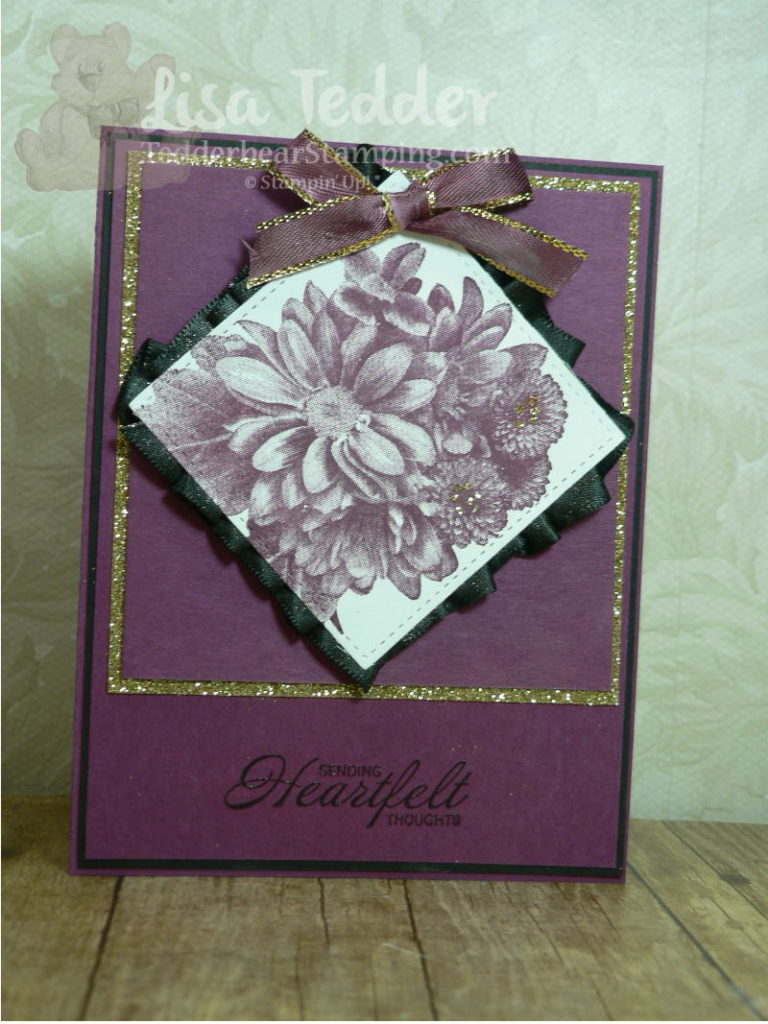
The card today is one I came up with all by myself! That happens rarely and I get so tickled when I make something that I didn’t get any help from Pinterest or any other places! It popped into my head and it came out even better than I thought it would!!
Not only is this stamp set Gorgeous, but did you know that Stampin’ Up! has a patent pending on HOW they made it?!! When you look at the actual stamp before inking it up, it looks absolutely FLAT! How in the World did they get a completely flat stamp to have so much dimension!? NOT sure what/how they did it but I love it!
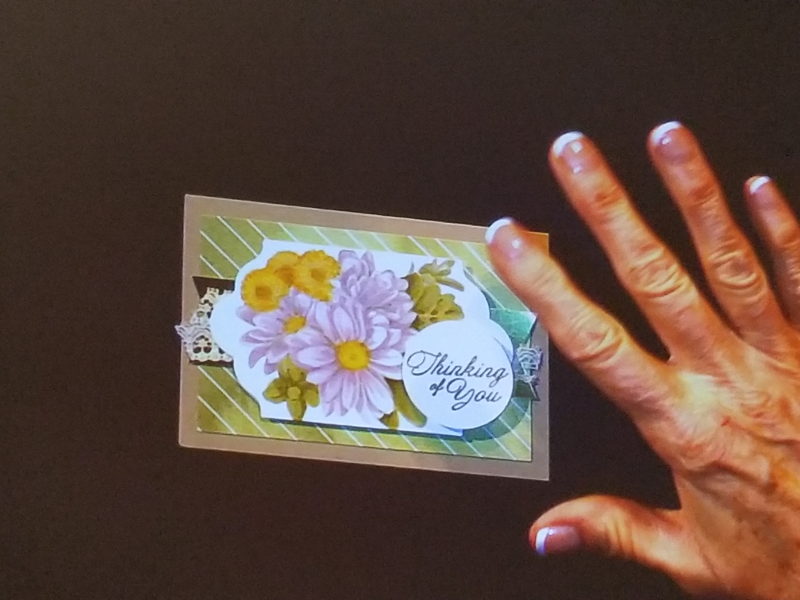
I’ve seen pictures of people who have stamped it and used different colors to differentiate the flowers, here is one I took while at On Stage Live in Salt Lake City:
Isn’t that So pretty!!!? The hint they gave to us was to stamp it with a light color so you could follow it. If you give it a try I would love to see it! I tried, but it didn’t come out. That is why mine is one color! Hahahaha I’m still trying to figure out how to work the blends and have perfect shading………
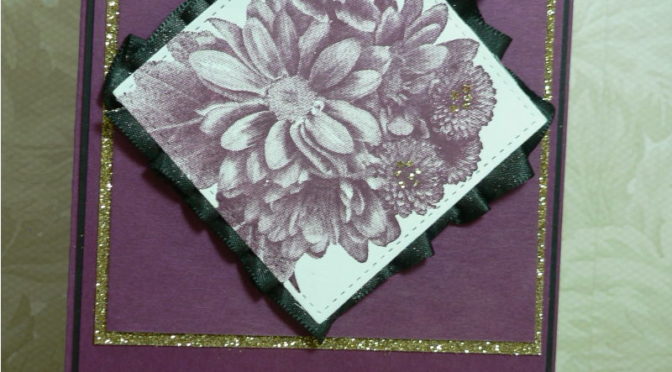
So for my card above, I used Rich Razzleberry Cardstock, black and Gold Glimmer paper! I added ribbon to the back by putting Tear & Tape around the edges (after I stamped it and cut it with the Stitched Framelits) and then I pleated the Black 3/8″ Shimmer Ribbon over the tape. I then used the Foam Adhesive Strips to make it stand up higher.
I added some Fine Tip Glue to put some Gold Glitter on the smaller flowers. I also used the Gold Metallic Edge Ribbon and colored it with the Razzleberry Blend so it would go with the card! Love that!
I stamped the sentiment in the Basic Black and then immediately clear Embossed it so it would give texture and it just makes the Sentiment look so elegant, don’t you think?
Here are the Dimensions of the paper:
Rich Razzleberry: 8 1/2″ x 5 1/2″, 4″ x 5 1/4″ (x2) one for the inside,
3 5/8″ x 3 3/4″
Basic Black 4 1/8″ x 5 3/8″ (x2) one for the inside
Gold Glimmer paper 3 7/8″ x 4″
Whisper White 2 3/4″ sq (to fit the square stitched framelit)
I hope this helps!!
As always, the supplies are listed below, just click on any picture to be taken to my OnLine Store! I would love to have you purchase your goodies from me!
Lisa Tedder
A California Girl living in North Carolina
Product List
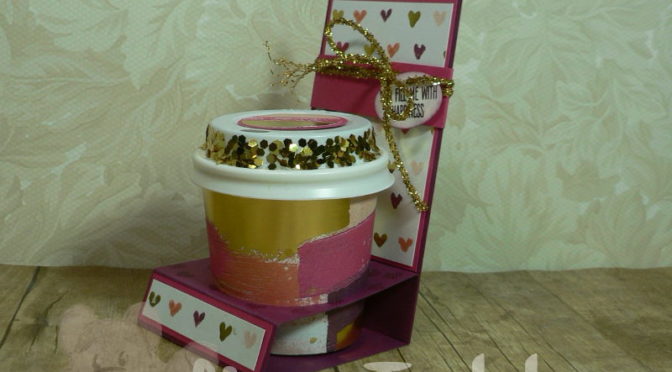
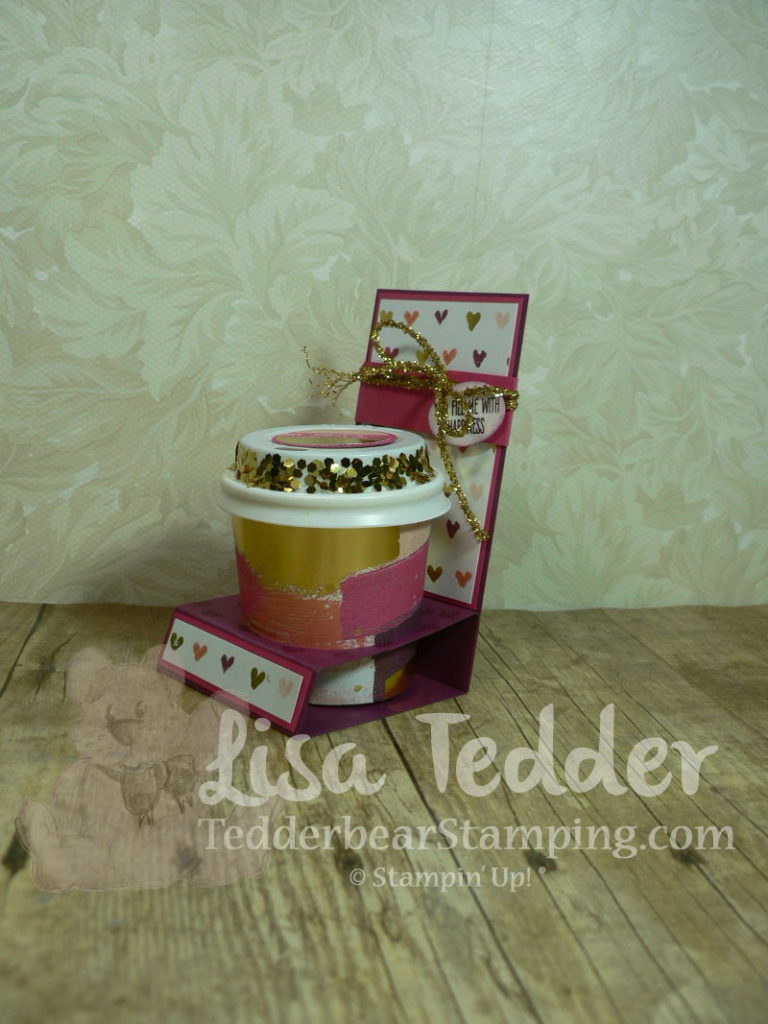
Technique Tuesday – Espresso cup holder for Valentines Day or for a loved one ANY day!
Hey Guys!
Today is Tuesday!! Today I am going to share with you a REALLY cute project that I’m sure you have seen around……..I JUST made it after Christmas with my team members and I LOVED it! They did a class for our team, and I got to come and be a Student!! It was so much fun and I am TRYING to get them to do it again! LOL
The one we did with them was a regular coffee theme and it was stinkin’ cute! Those little cups are darling!
For my Technique this time I wanted to do something that ANYONE would love to get! It is so full of love I just had to share!
The Belly Band can hold a gift card behind the cup. It has the Sentiment ‘You Fill me with Happiness’, and of course I filled the cup with Chocolate! The sentiment comes from the SU! stamp set Jar of Love. The DSP is Painted with Love Specialty Designer Series Paper and it has Gold Foil Accents throughout the paper! This paper is stunning in person! I had a hard time cutting into it…….just had to keep reminding myself that “It’s just paper”! LOL I’m sure I am not the ONLY one who does that!
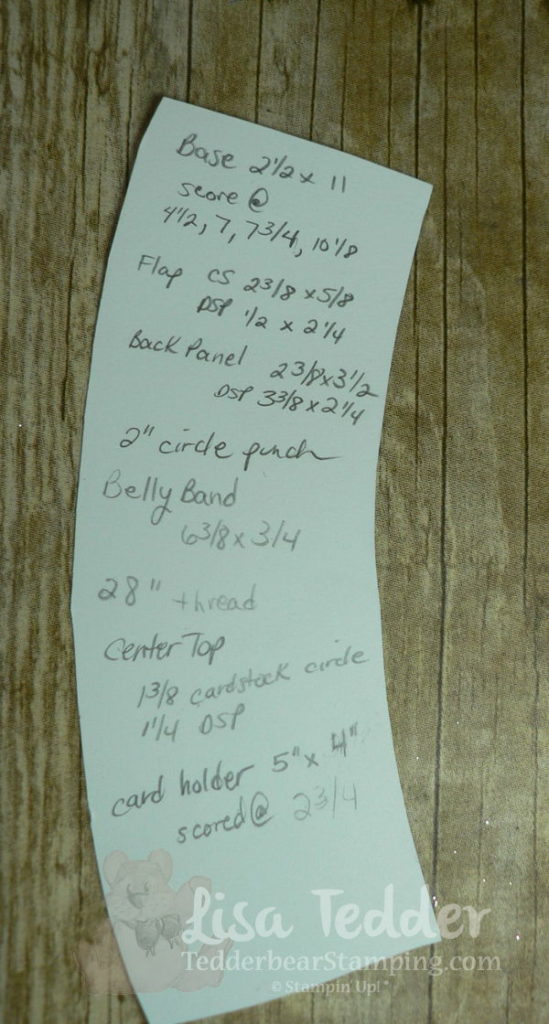
On the video I will have all the dimensions for the project, and you can see how it was made. IF you really want to see the glimmer and glam check out the video! NEXT week I’ll show you a quick and easy way to make the Gift Card Holder using your own Designer Paper!!
I bought the cups/lids here.
And for all the dimensions I have written them down on my Coffee Cup that I took apart to get the exact measurements. I’ll show you that on the video too! But here is what I wrote down.
This includes the card holder which I will show you next Tuesday!
You can click on any supply image below to be taken to my OnLine Store! I hope you choose me to be your demonstrator in the US!
Have a great day!
Lisa Tedder
A California Girl living in North Carolina
Product List

