Hey Guys!
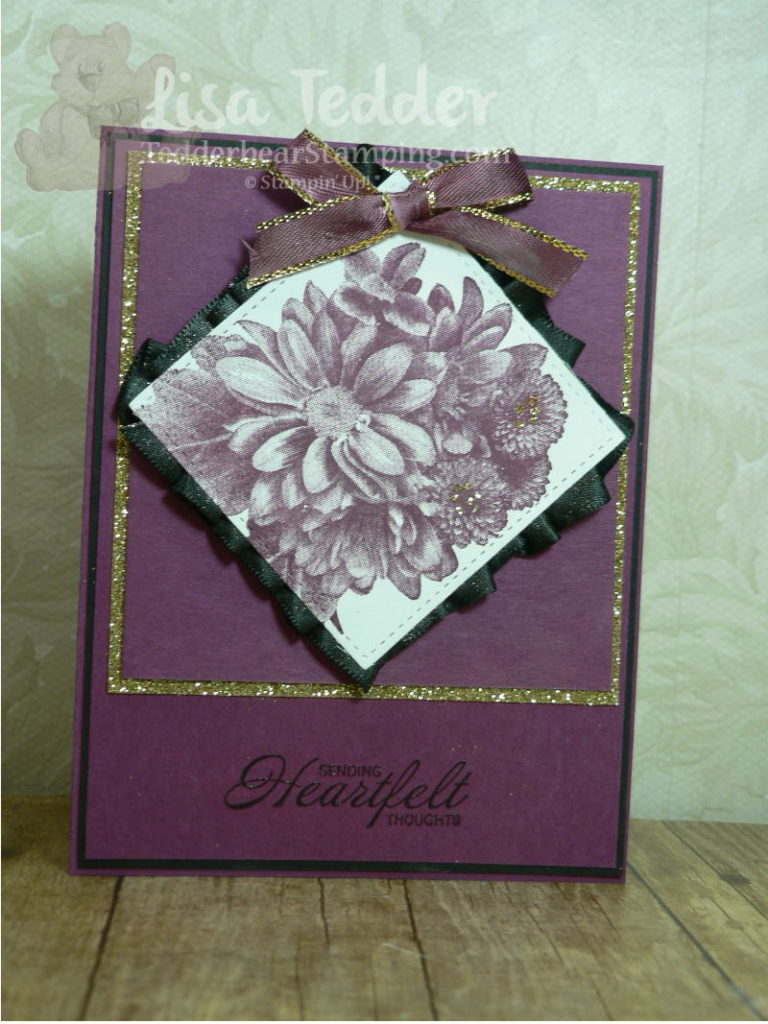
The card today is one I came up with all by myself! That happens rarely and I get so tickled when I make something that I didn’t get any help from Pinterest or any other places! It popped into my head and it came out even better than I thought it would!!
Not only is this stamp set Gorgeous, but did you know that Stampin’ Up! has a patent pending on HOW they made it?!! When you look at the actual stamp before inking it up, it looks absolutely FLAT! How in the World did they get a completely flat stamp to have so much dimension!? NOT sure what/how they did it but I love it!
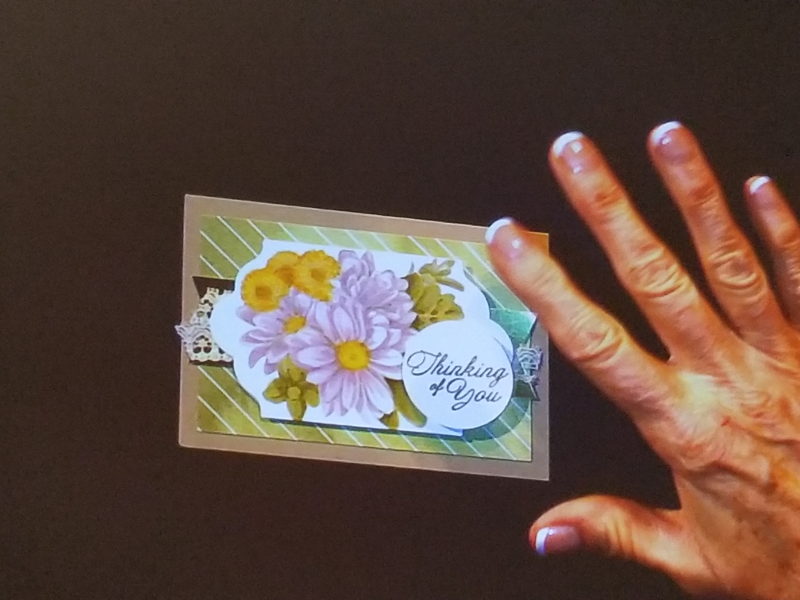
I’ve seen pictures of people who have stamped it and used different colors to differentiate the flowers, here is one I took while at On Stage Live in Salt Lake City:
Isn’t that So pretty!!!? The hint they gave to us was to stamp it with a light color so you could follow it. If you give it a try I would love to see it! I tried, but it didn’t come out. That is why mine is one color! Hahahaha I’m still trying to figure out how to work the blends and have perfect shading………
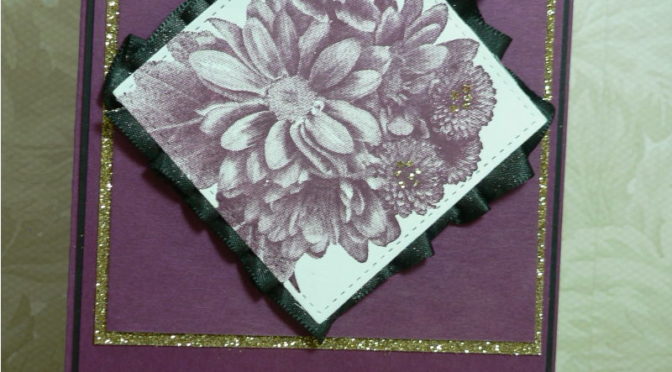
So for my card above, I used Rich Razzleberry Cardstock, black and Gold Glimmer paper! I added ribbon to the back by putting Tear & Tape around the edges (after I stamped it and cut it with the Stitched Framelits) and then I pleated the Black 3/8″ Shimmer Ribbon over the tape. I then used the Foam Adhesive Strips to make it stand up higher.
I added some Fine Tip Glue to put some Gold Glitter on the smaller flowers. I also used the Gold Metallic Edge Ribbon and colored it with the Razzleberry Blend so it would go with the card! Love that!
I stamped the sentiment in the Basic Black and then immediately clear Embossed it so it would give texture and it just makes the Sentiment look so elegant, don’t you think?
Here are the Dimensions of the paper:
Rich Razzleberry: 8 1/2″ x 5 1/2″, 4″ x 5 1/4″ (x2) one for the inside,
3 5/8″ x 3 3/4″
Basic Black 4 1/8″ x 5 3/8″ (x2) one for the inside
Gold Glimmer paper 3 7/8″ x 4″
Whisper White 2 3/4″ sq (to fit the square stitched framelit)
I hope this helps!!
As always, the supplies are listed below, just click on any picture to be taken to my OnLine Store! I would love to have you purchase your goodies from me!
Lisa Tedder
A California Girl living in North Carolina
Product List


So funny. That is exactly how I feel when I don’t CASE a card….WHOOPEE, I do have an imagination!!!!!! The card is lovely. I too have tried coloring the Heartfelt Blooms. I prefer the one color image, but a friend fell in love with the multi-color (I used a blender pen) saying it looked “antique” somehow. I was pleased she liked it!
Sue, then I’m in good company! I would love to see what yours looked like colored! I didn’t take a picture of mine, it went straight in the trash!
Thank you so much for your comment, it helps me know at least ‘someone’ is reading! Lol
I love the different colors as well as the single color. I think I’d just use pens to color the stamp to make the different colors. Either way, I love the stamp!