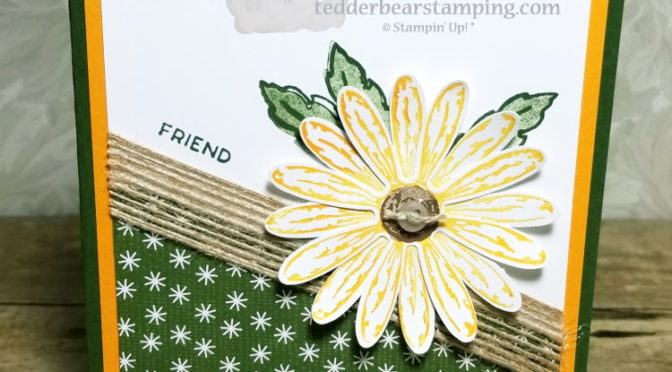
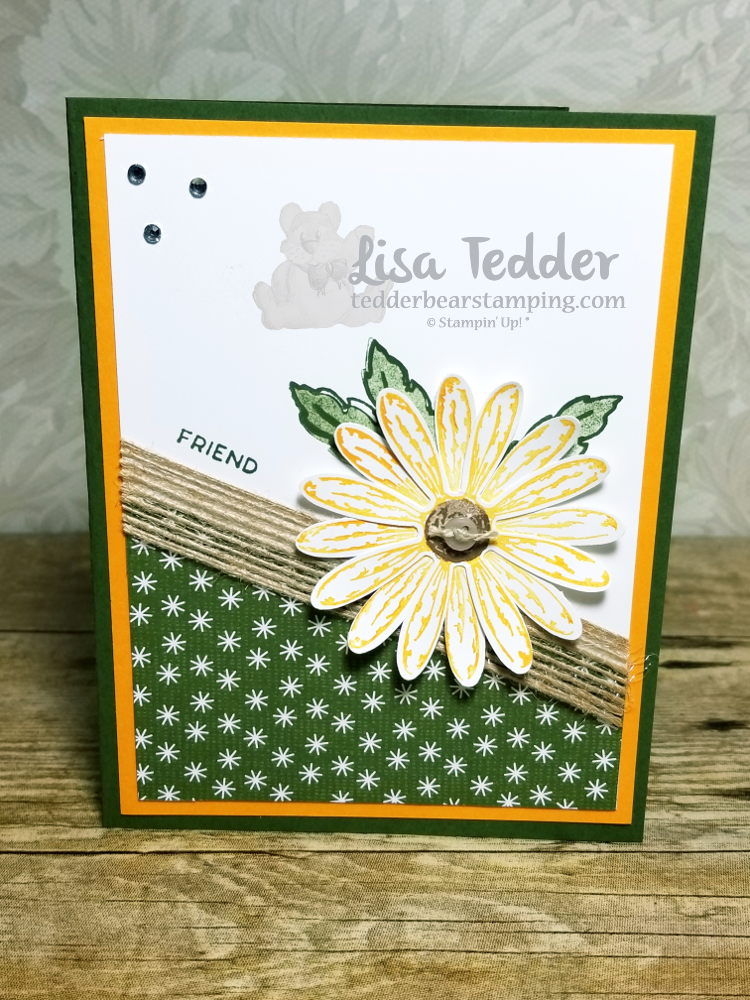
As my title says, this was the first time using my Daisy stamp and punch! I have had it for a good 9 months, but forgot I had it! Does that tell you that I have a few too many stamps? NO! You can NEVER have too many stamps!
This card was inspired by a card on Pinterest by Jari
Here are the particulars for this card:
Stamp Set
Stitched All Around
Daisy Delight
Paper
Mossy Meadow 8 1/2″ x 5 1/2″
Mango Melody 5 1/4″ x 4″
Whisper White 5″ x 3 3/4″ (x2), 5 1/4″ x 4″
Festive Farmhouse DSP 3 3/4″ x 2 1/2 ” cut
diagonal
Inks
Mango Melody
Mossy Meadow
Soft Suede
Accessories
Daisy Punch
Needlepoint Nook mini buttons
Burlap Ribbon
Glue Dots, Dimensionals
Rhinestones
I had so much fun making this card! I am definitely going to be using this stamp set again soon!!
All the supplies for this card are listed below in pictures. Click on any of them and you will be taken to my OnLine Store! All Online orders receive a gift from me!!
Thank you so much for stopping by! I hope you enjoyed yourself enough to come back!
Lisa Tedder
A California Girl living in North Carolina
Sorry it’s been a couple weeks, ok maybe longer…… I went to Orlando to attend the Stampin’ Up! ON Stage get together that SU! Demo’s attend. I had such a great time! It was great rooming with my ‘SU! Besties’ (my girl friends and I only meet up at SU! functions) and learning/seeing all the new things coming out in January!! I then spent a week with my Husband in Orlando for our 30th Anniversary! The bummer is that I got sick the day after he got there. 🙁 I am STILL sick, and it’s been a MONTH! Hence the reason why I haven’t been posting!
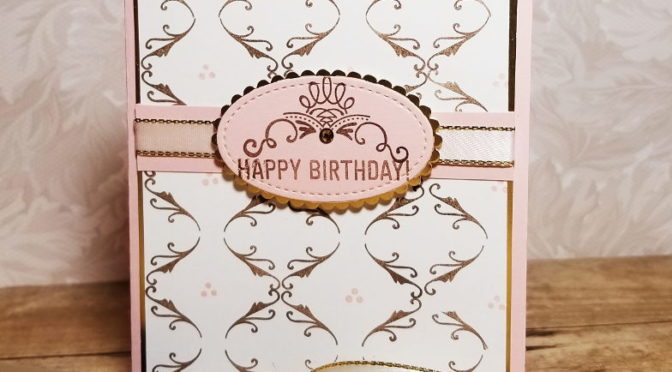
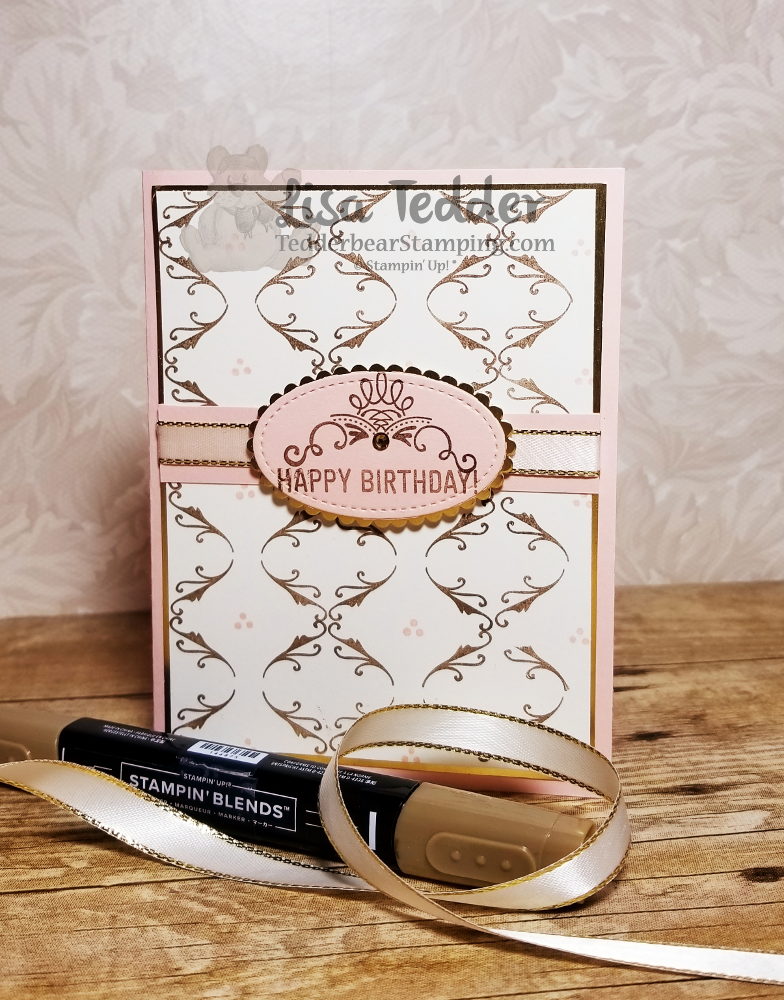
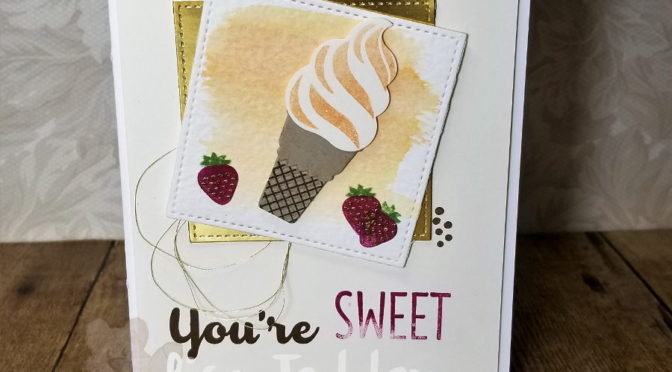
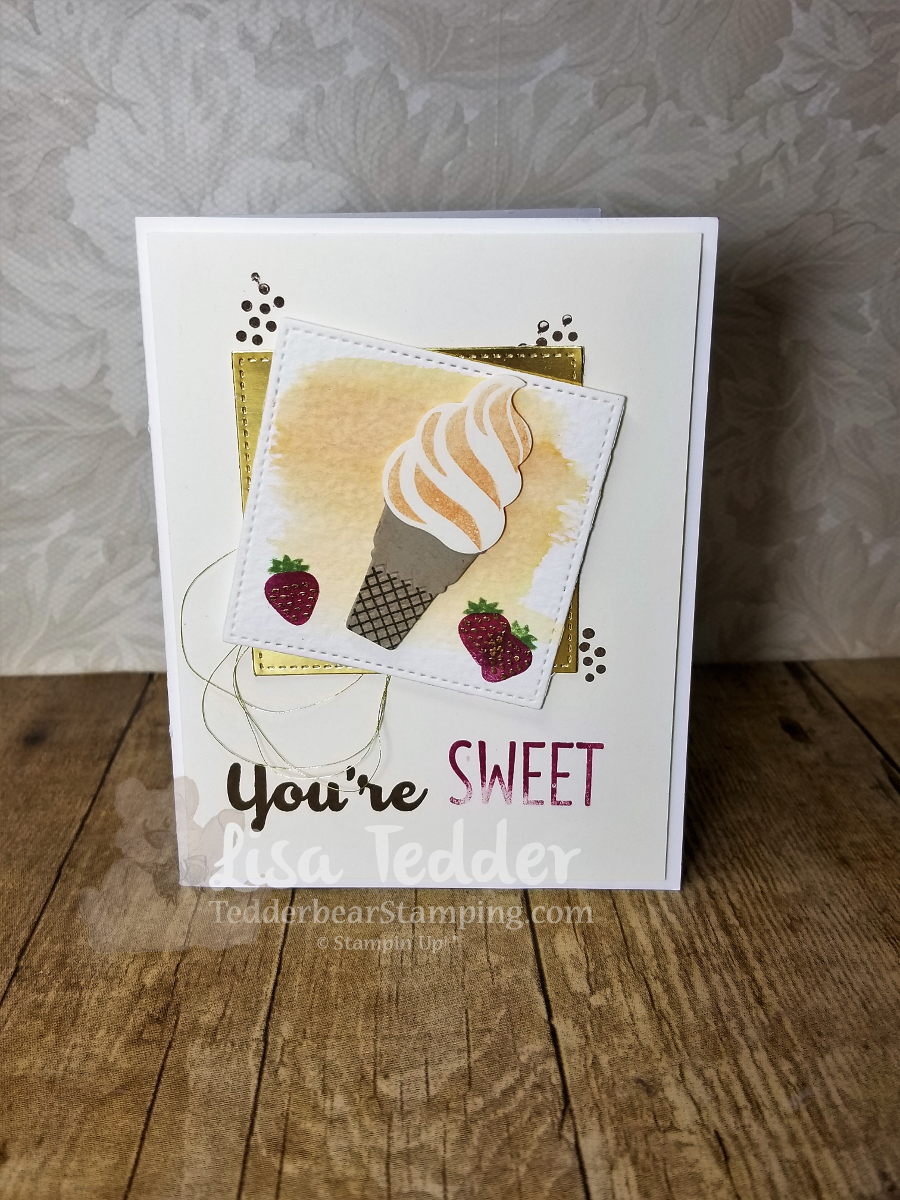
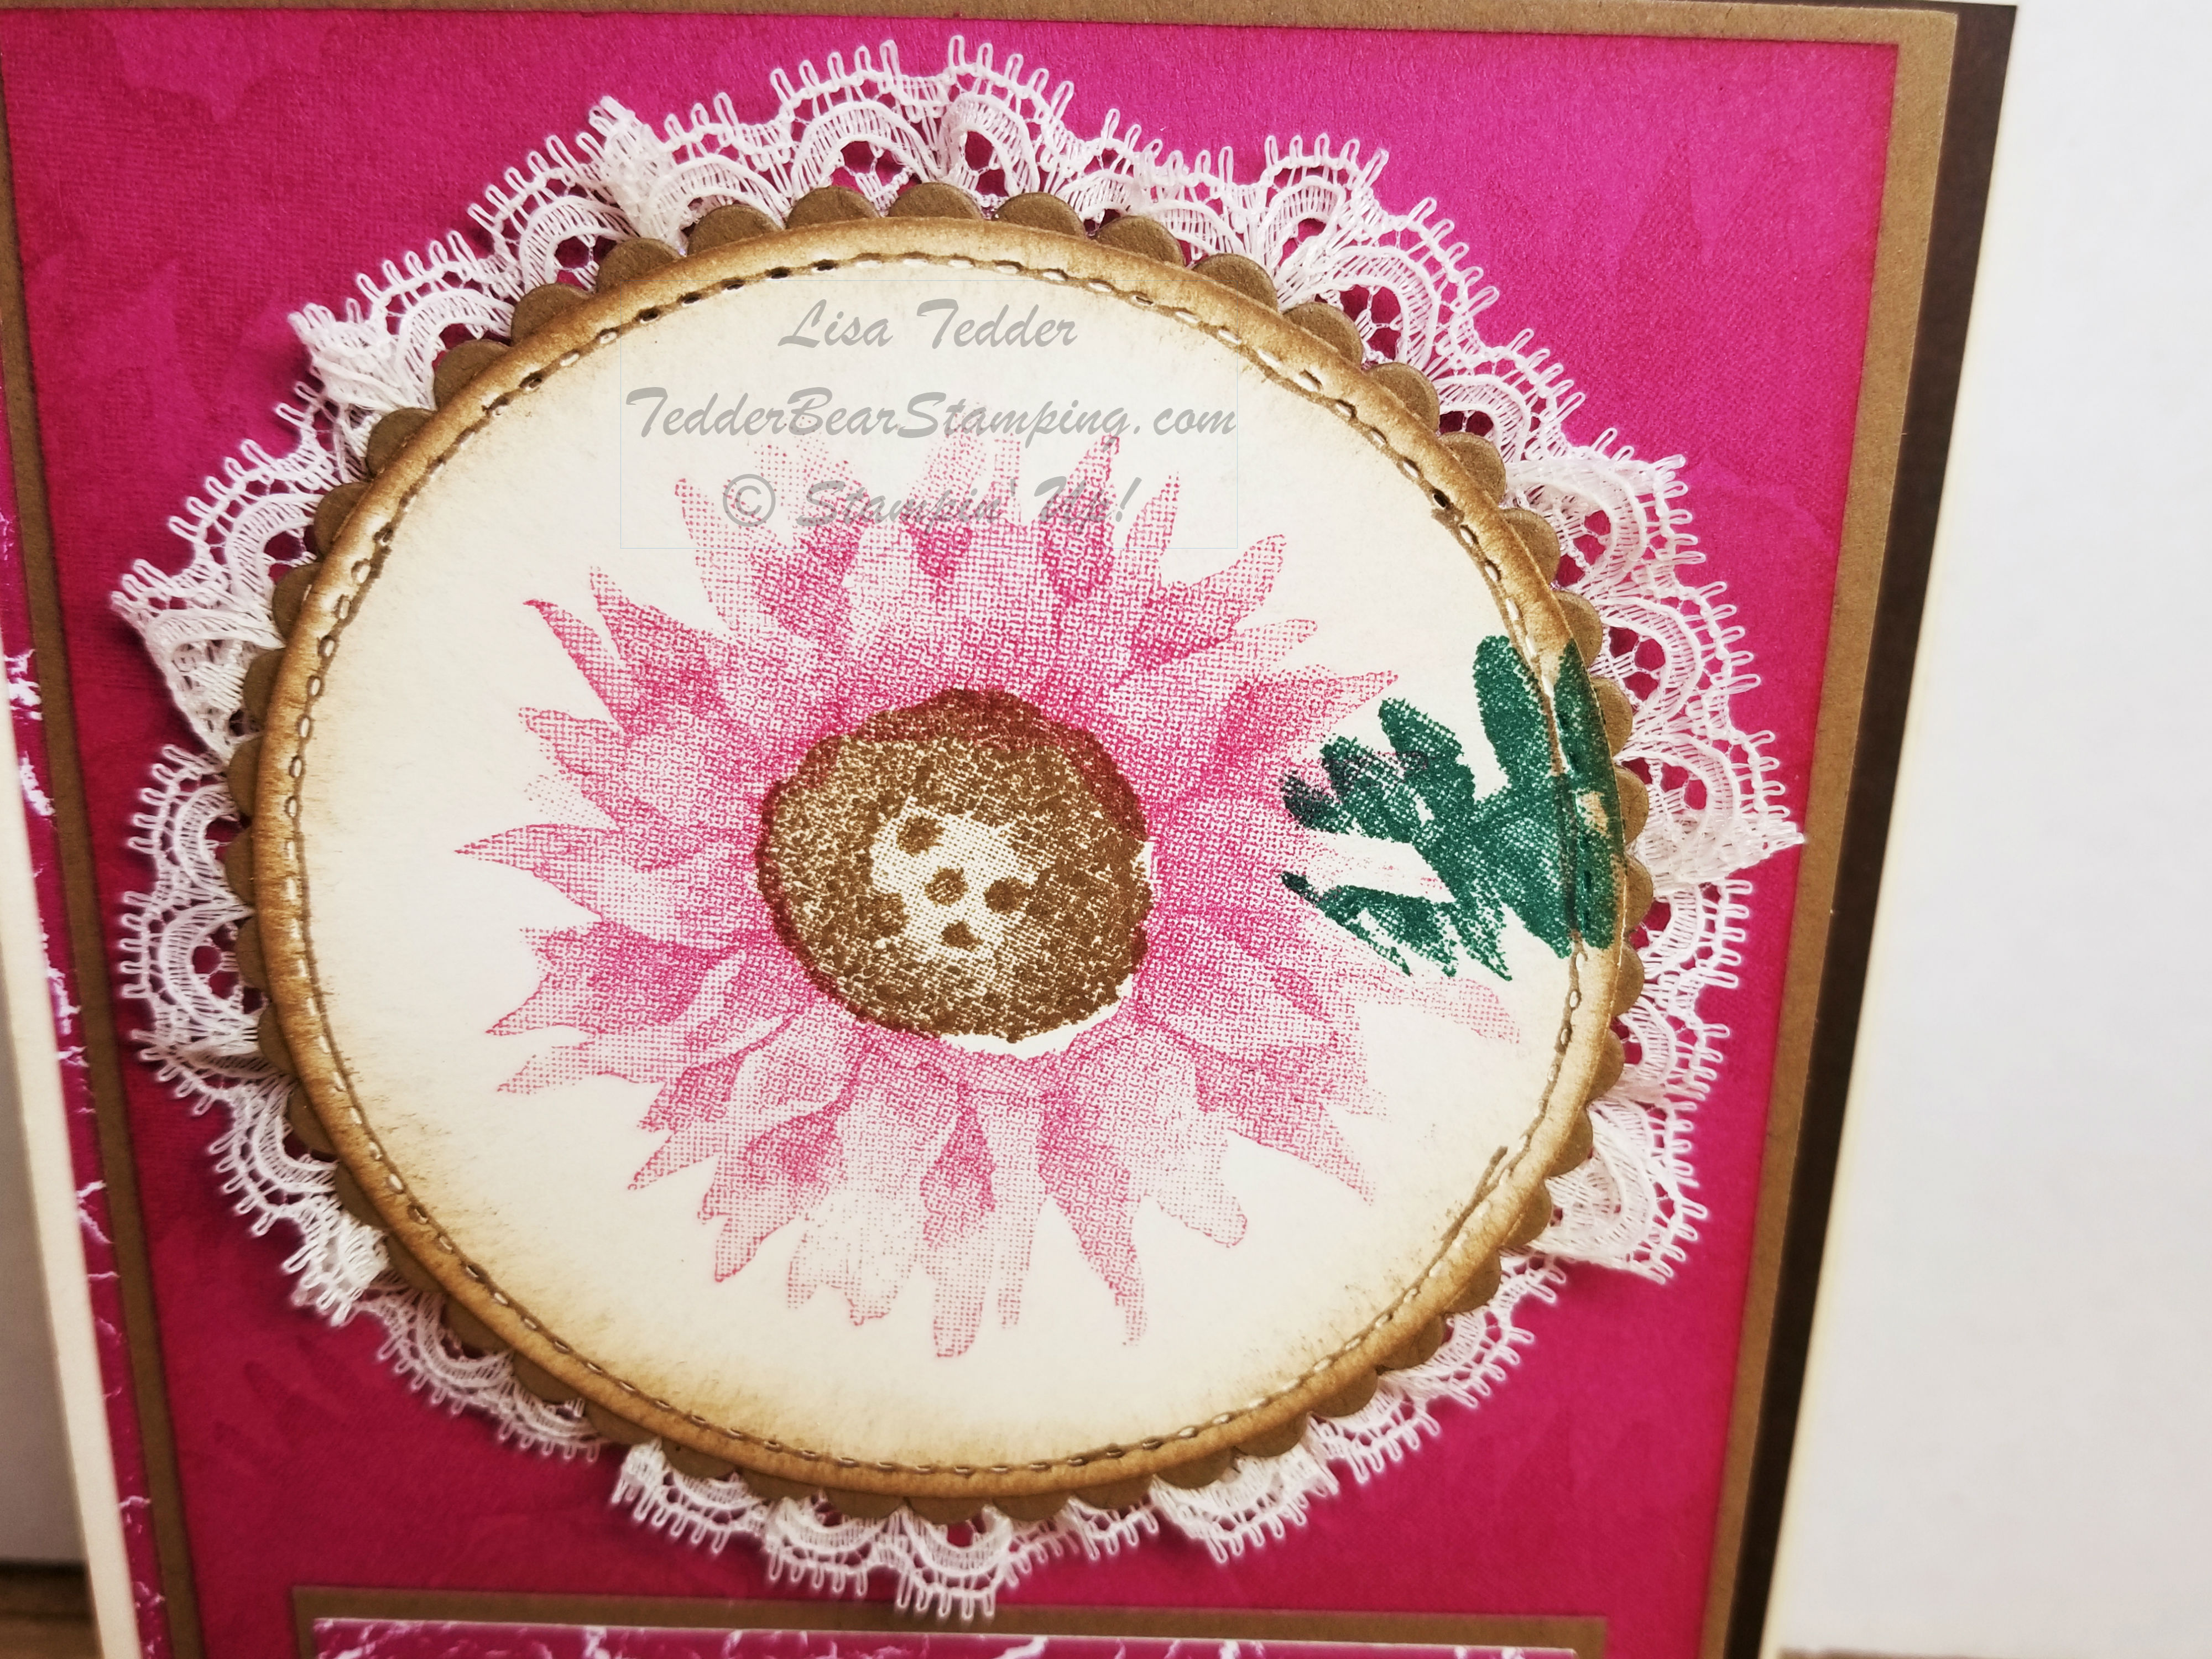
The card I am sharing with you today is from a stamp (Amazing Life) that we got for FREE while at OnStage! I came up with this all on my own!! I LOVE making my own designs, but time allowances don’t always make it to where I can do it.
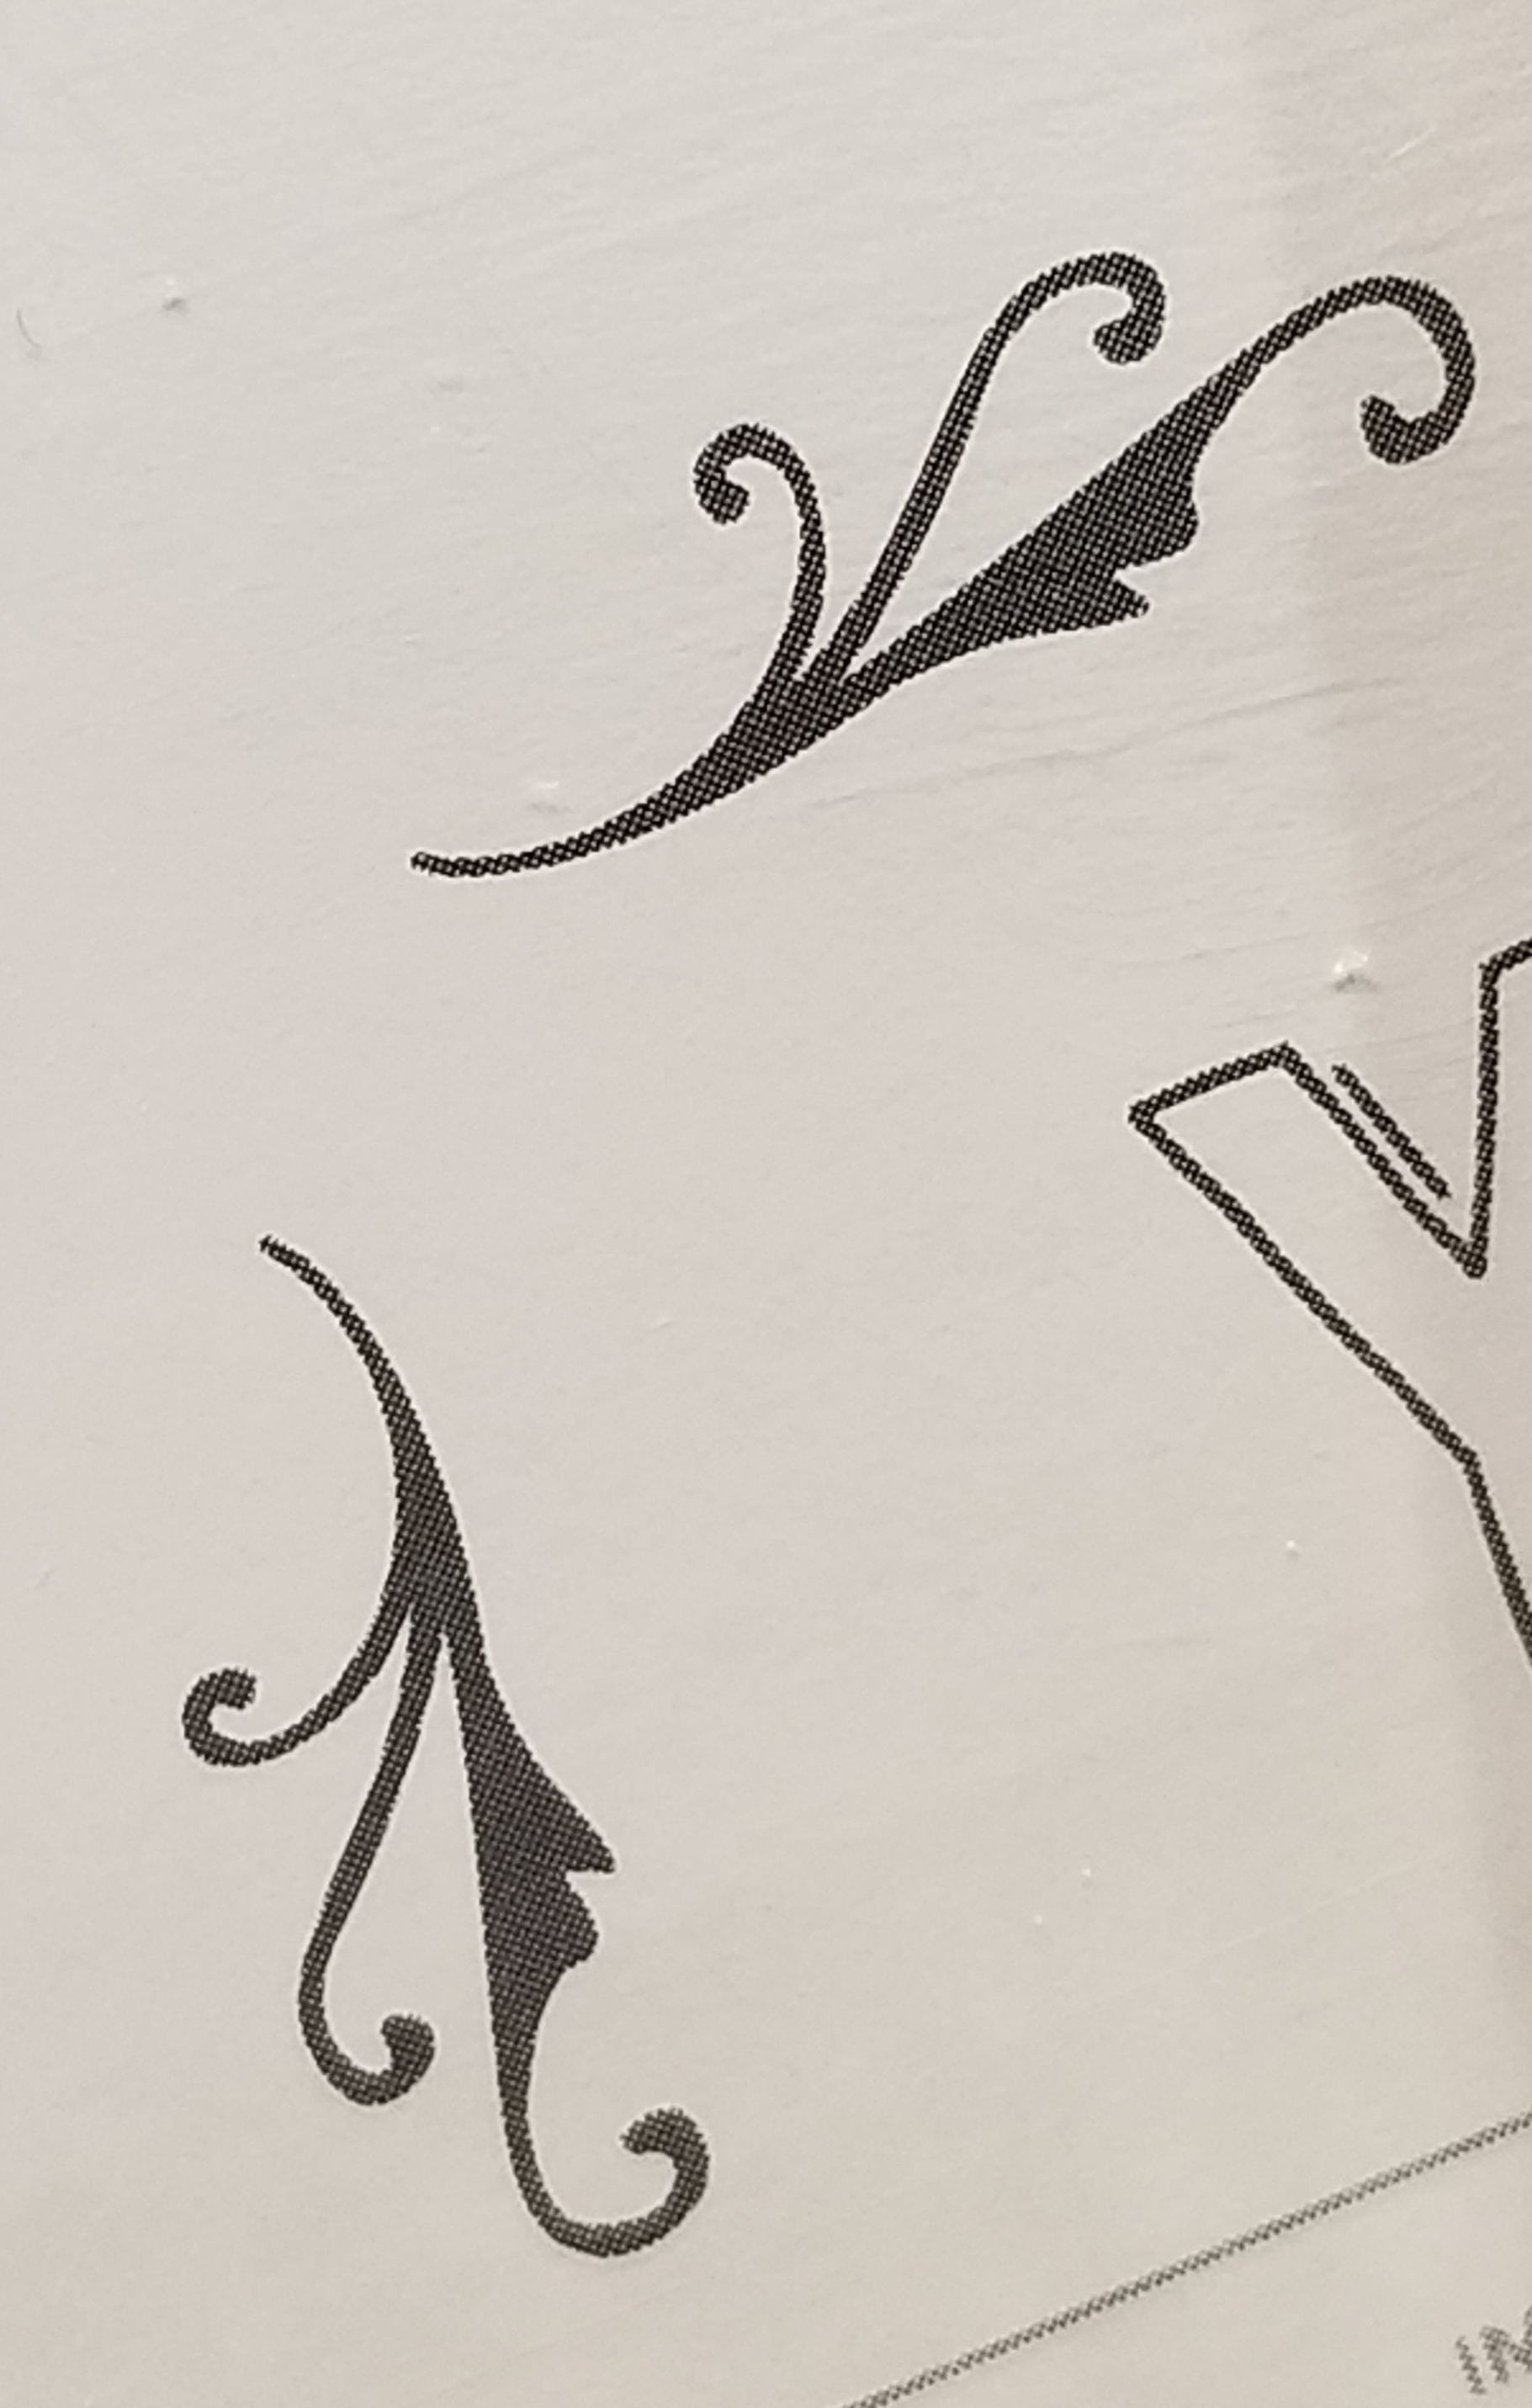
I used this stamp from the set:
Doesn’t look like much right?
Well, I stamped it along the bottom with the two swirls going down, in Soft Suede ink. Repeated it along the bottom, lining up the swirls so they touched, then flipped the stamp over and lined up the two lines that are in the middle of the stamp. I repeated this on top of the ones I stamped along the bottom and then flipped the stamp so the swirls were on the bottom again, and started all over to make a pattern!
After making the pattern, I stamped the 3 dot stamp in Petal Pink between the stamped pattern. Don’t you LOVE how it came out!? I was so tickled to see the beautiful pattern that this stamp made!! If you watch the video I made you can see how It was done, if this doesn’t make sense. I used other stamps for other designs, so be sure and check it out!
Here are the particulars for this card:
Paper
Petal Pink 8 1/2″ x 5 1/2″, 3/4″ x 3 7/8″, scrap
Gold Foil 4″ x 5 1/4″ (x2), scrap
Vanilla 5 1/8″ x 3 7/8″ (x2)
Inks
Soft Suede
Petal Pink
Versamark
Blend: Soft Suede dk, Petal Pink light
Accessories
Big Shot
Layering Ovals
Stitched Shapes
3/8″ Gold edged ribbon
Rhinestones
Gold EP/ embossing buddy/heat tool
If you live in the US and are in need of a Demonstrator with Stampin’ Up! I would love to be yours! If you are looking into joining SU!, join my team! We have a lot of fun and I would love to have you be part of my SU! family!
I hope you enjoyed this post, please leave me a comment below and let me know what you thought!
Check back, now that I am getting better I will be posting more!
Below are pictures of everything I used in the card, click on any of the pictures and you will be taken to my OnLine Store!
Lisa Tedder
A California Girl living in North Carolina
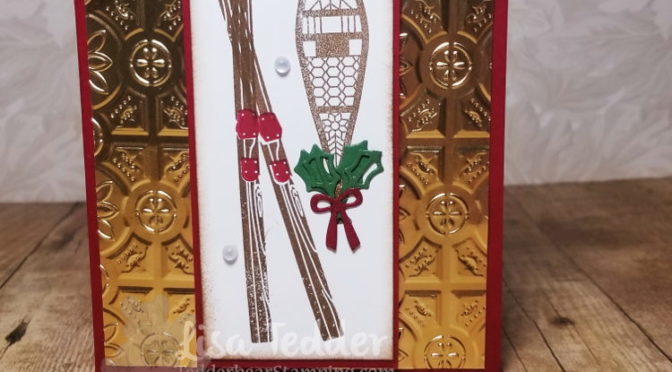
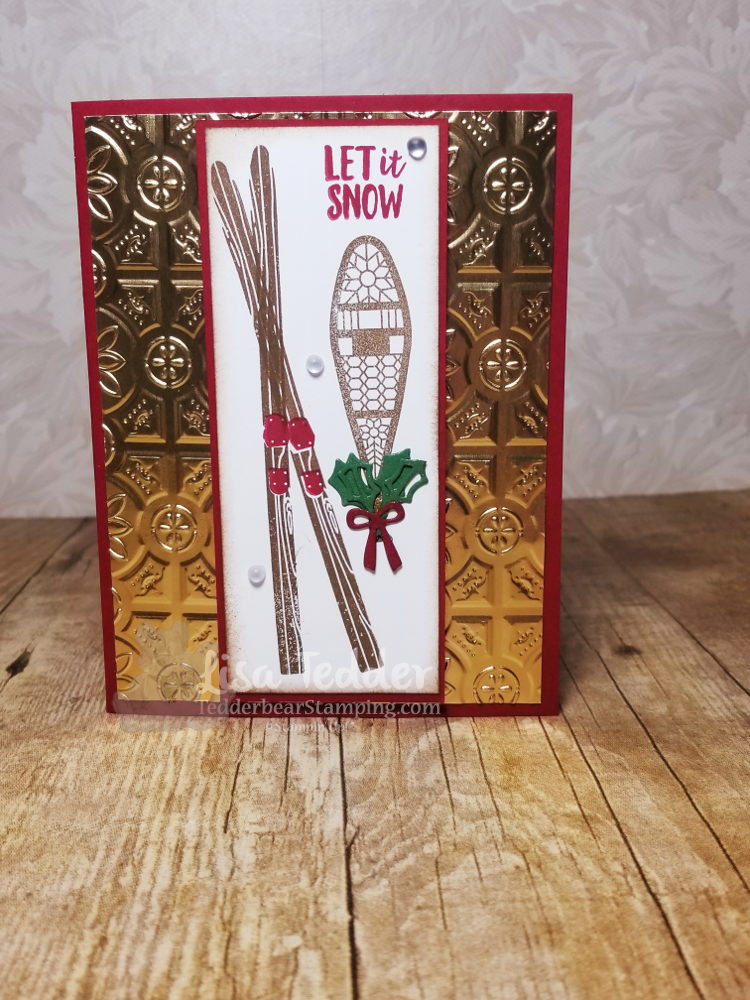
I fell in love with the Alpine Adventure stamp set from Stampin’ Up!, as soon as I saw it! I HAD to get it and this card is one that I have come up with:
This is a fun set. It really got my imagination going. The embossing folder is SOOOOO pretty!! Using it with the Gold Foil makes even more of an impact! I found that it looks just as pretty no matter what side of the Tin Tile Dynamic folder you emboss with.
Here are the particulars:
Stamp sets: Alpine Adventures Bundle Cardstock: Cherry Cobbler 5 ½” x 8 ½”, 2 1/8” x 5 1/8”, Gold Foil 5 ¼” x 4”, White 2” x 5”, 5 ¼” x 4” Inks: Soft Suede, Cherry Cobbler, Garden Green Misc: Frosted & Clear Epoxy Droplets, Big Shot, Wink of Stella, Dimensionals Mini/Reg, Fine Tip Glue Pen, Tin Tile Folder
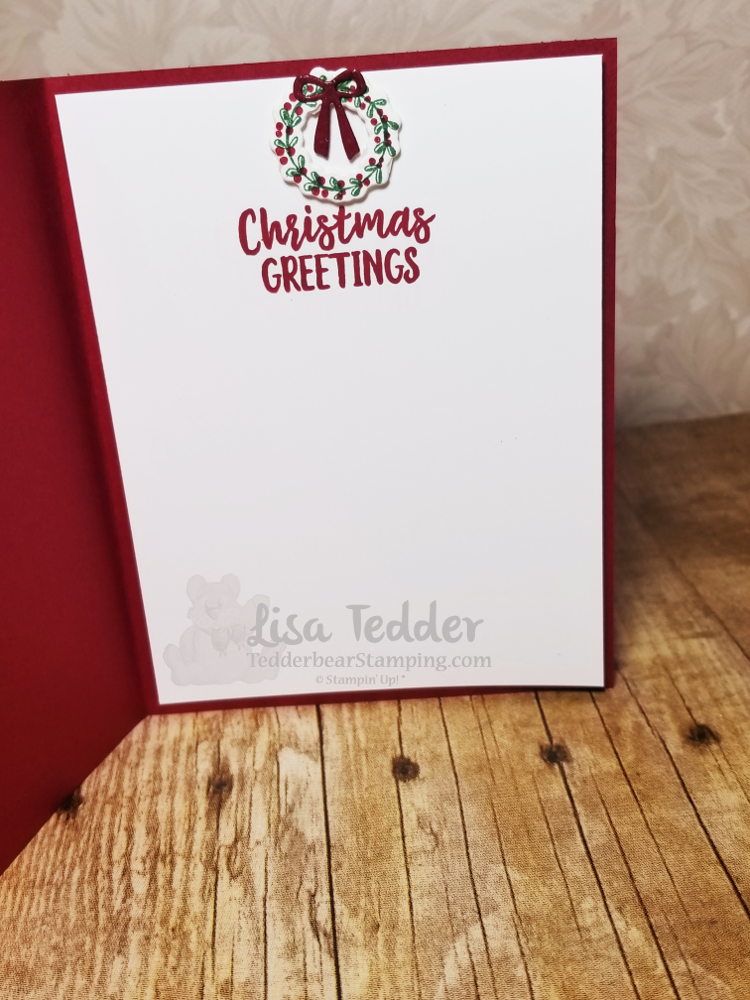
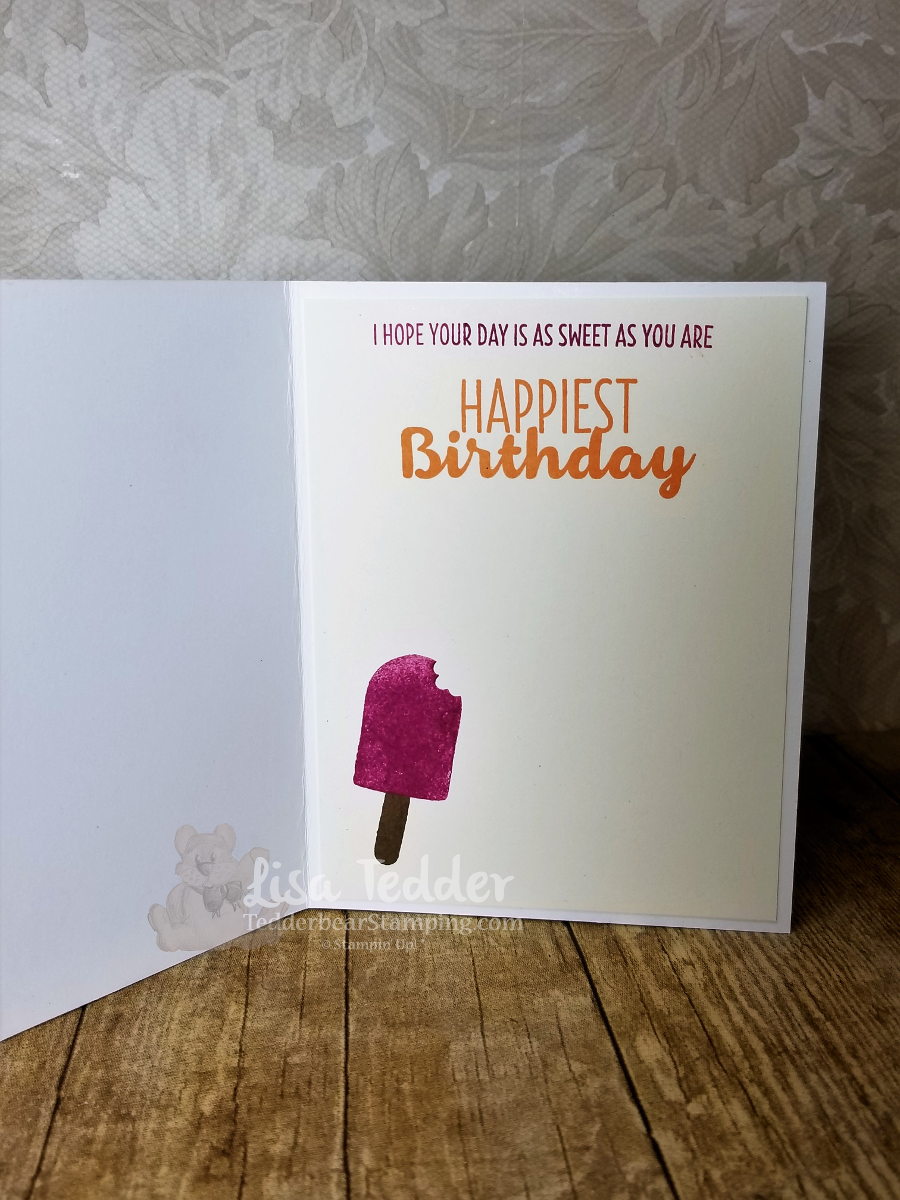
Here’s a look at the inside:
The inside:
I LOVE the Wreath, don’t you?
Here are the particulars:
Stamp sets: Alpine Adventures Bundle Cardstock: Cherry Cobbler 5 ½” x 8 ½”, 2 1/8” x 5 1/8”, Gold Foil 5 ¼” x 4”, White 2” x 5”, 5 ¼” x 4” Inks: Soft Suede, Cherry Cobbler, Garden Green Misc: Frosted & Clear Epoxy Droplets, Big Shot, Wink of Stella, Dimensionals Mini/Reg, Fine Tip Glue Pen, Tin Tile Folder
There’s only a couple of die cuts, so this card is pretty simple! I hope you like it!
Below are pictures of the supplies used for this card, click on any of them and you will be taken to my OnLine store! I would love to be your SU! demonstrator if you live in the US!
Lisa Tedder
A California girl living in North Carolina Product List
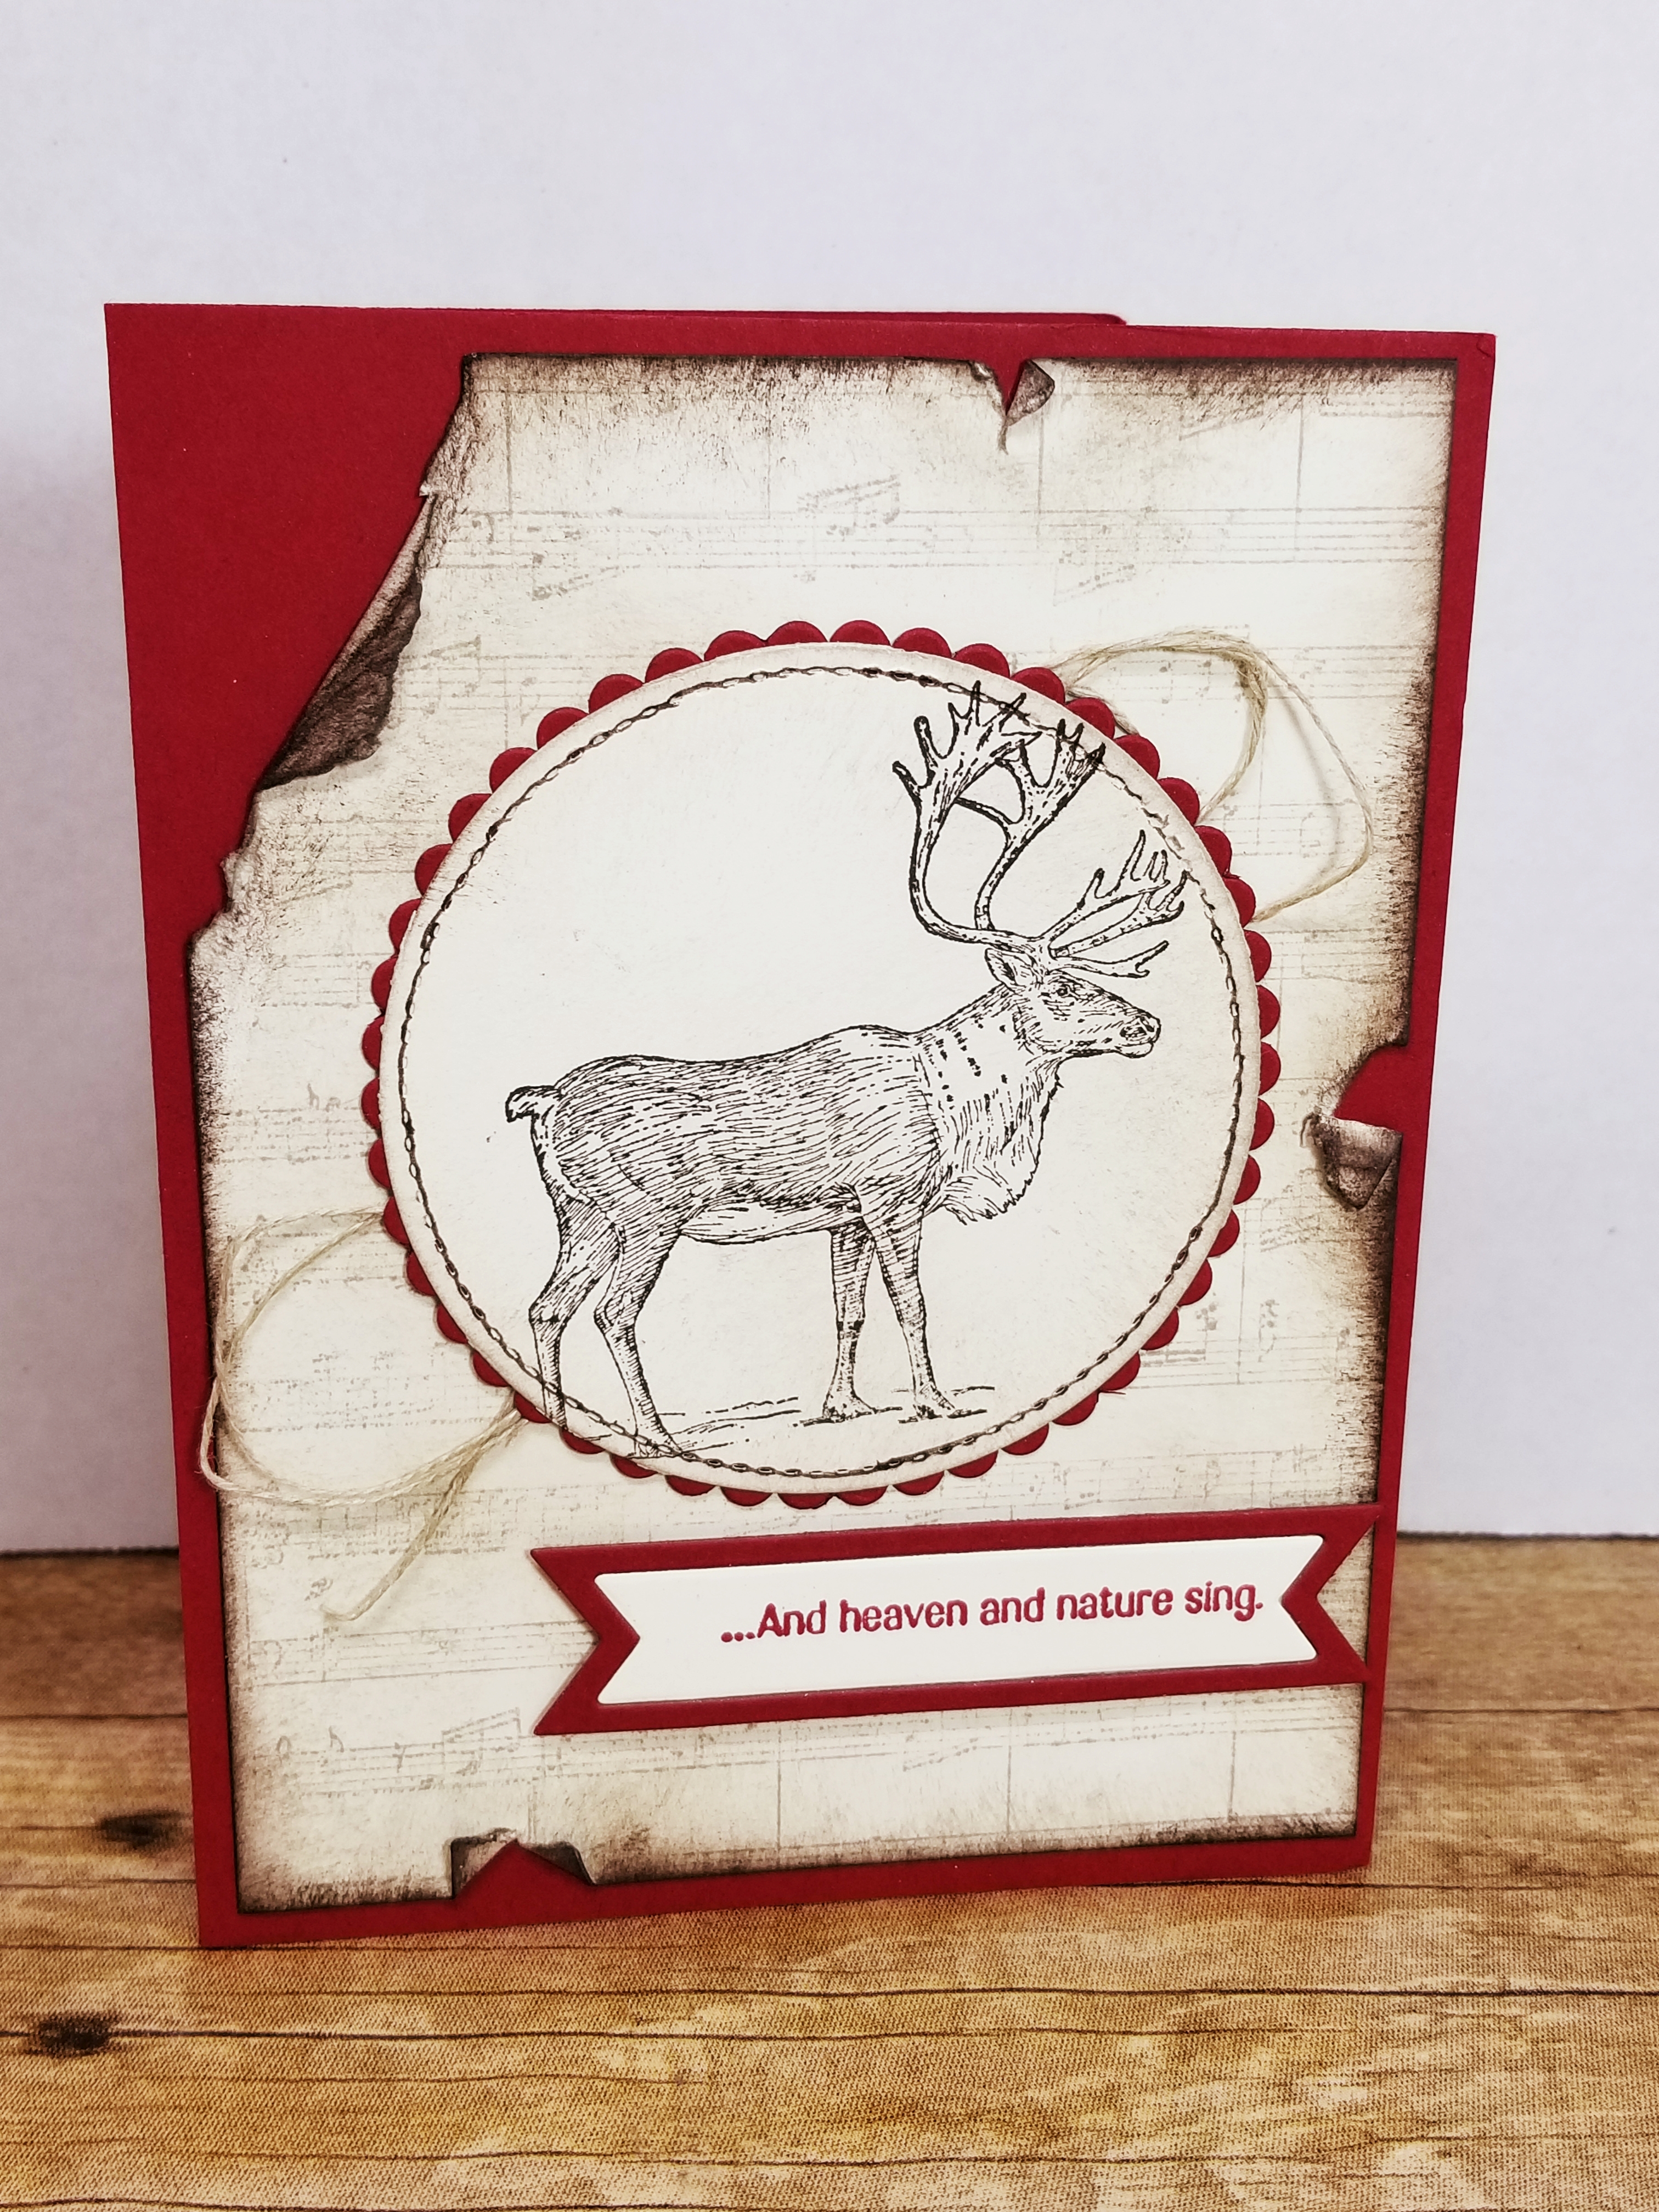
Today it’s time for card #2 out of 6. By this time of year I am excited to do Christmas cards, but by Christmas I am ready to put it aside until July of next year.
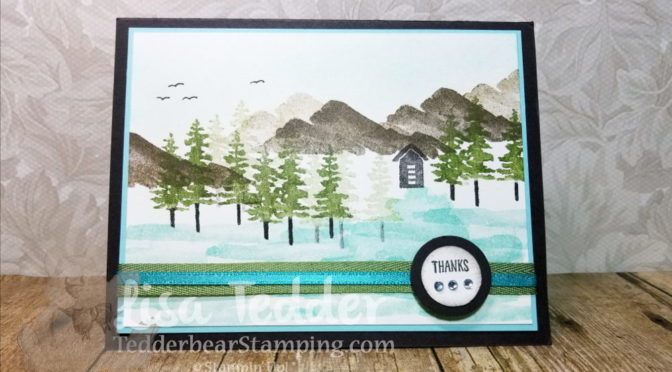
Here is a card using the stamp set Winter Woods and Timeless Tidings from Stampin’ Up!
I saw this on Pinterest, changed up the background by stamping the Birch trees in Versamark first. But the idea came from Linda Vich. Thank you Linda!
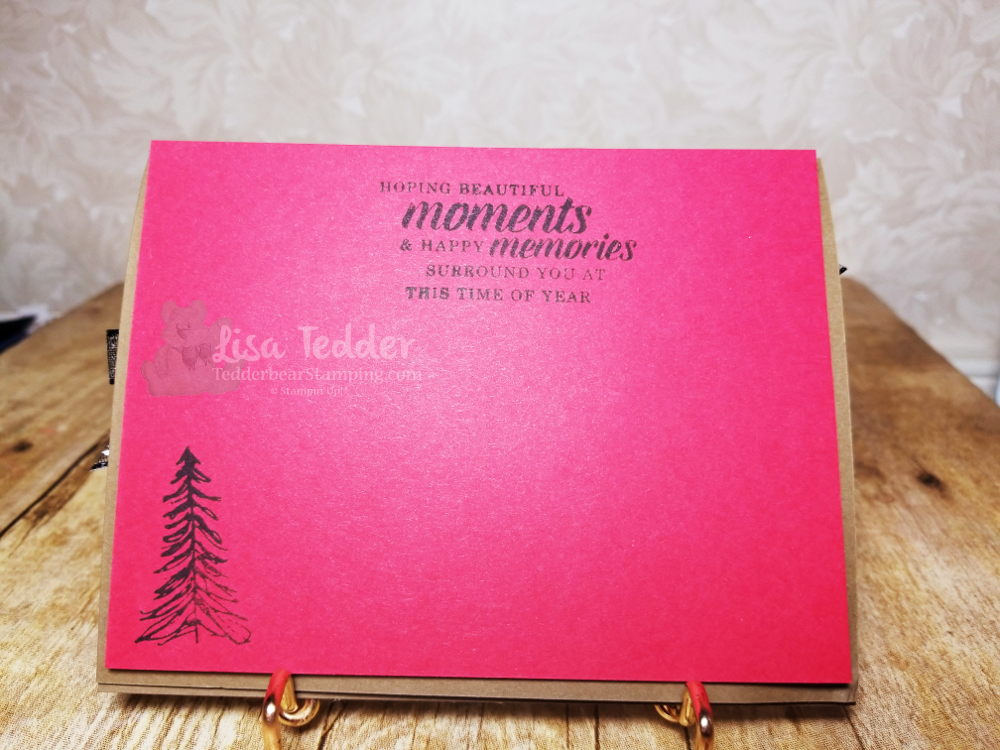
Here is a look at the inside:
Hope you like it as much as I do! The ingredients for this card are pictured below, click on any of them and you will be taken to my OnLine Store!
Here are the particulars to this card:
Stamps: Winter Woods, Timeless Tidings Cardstock: Soft Suede 8 ½” x 5 ½”, 4 ¼” x 3 ¼”, scrap, Black
4 3/8” x 3 3/8”,scrap, Real Red 5 ¼” x 4” (x2) Ink: Memento Black, Versamark, Dk Black Blend Misc: Rhinestones, Black 3/8” Glittered Organdy Ribbon
5 ½” (x2), Tufted Folder, Dimensionals
Thank you for stopping by!
Lisa Tedder
A California girl living in North Carolina Product List
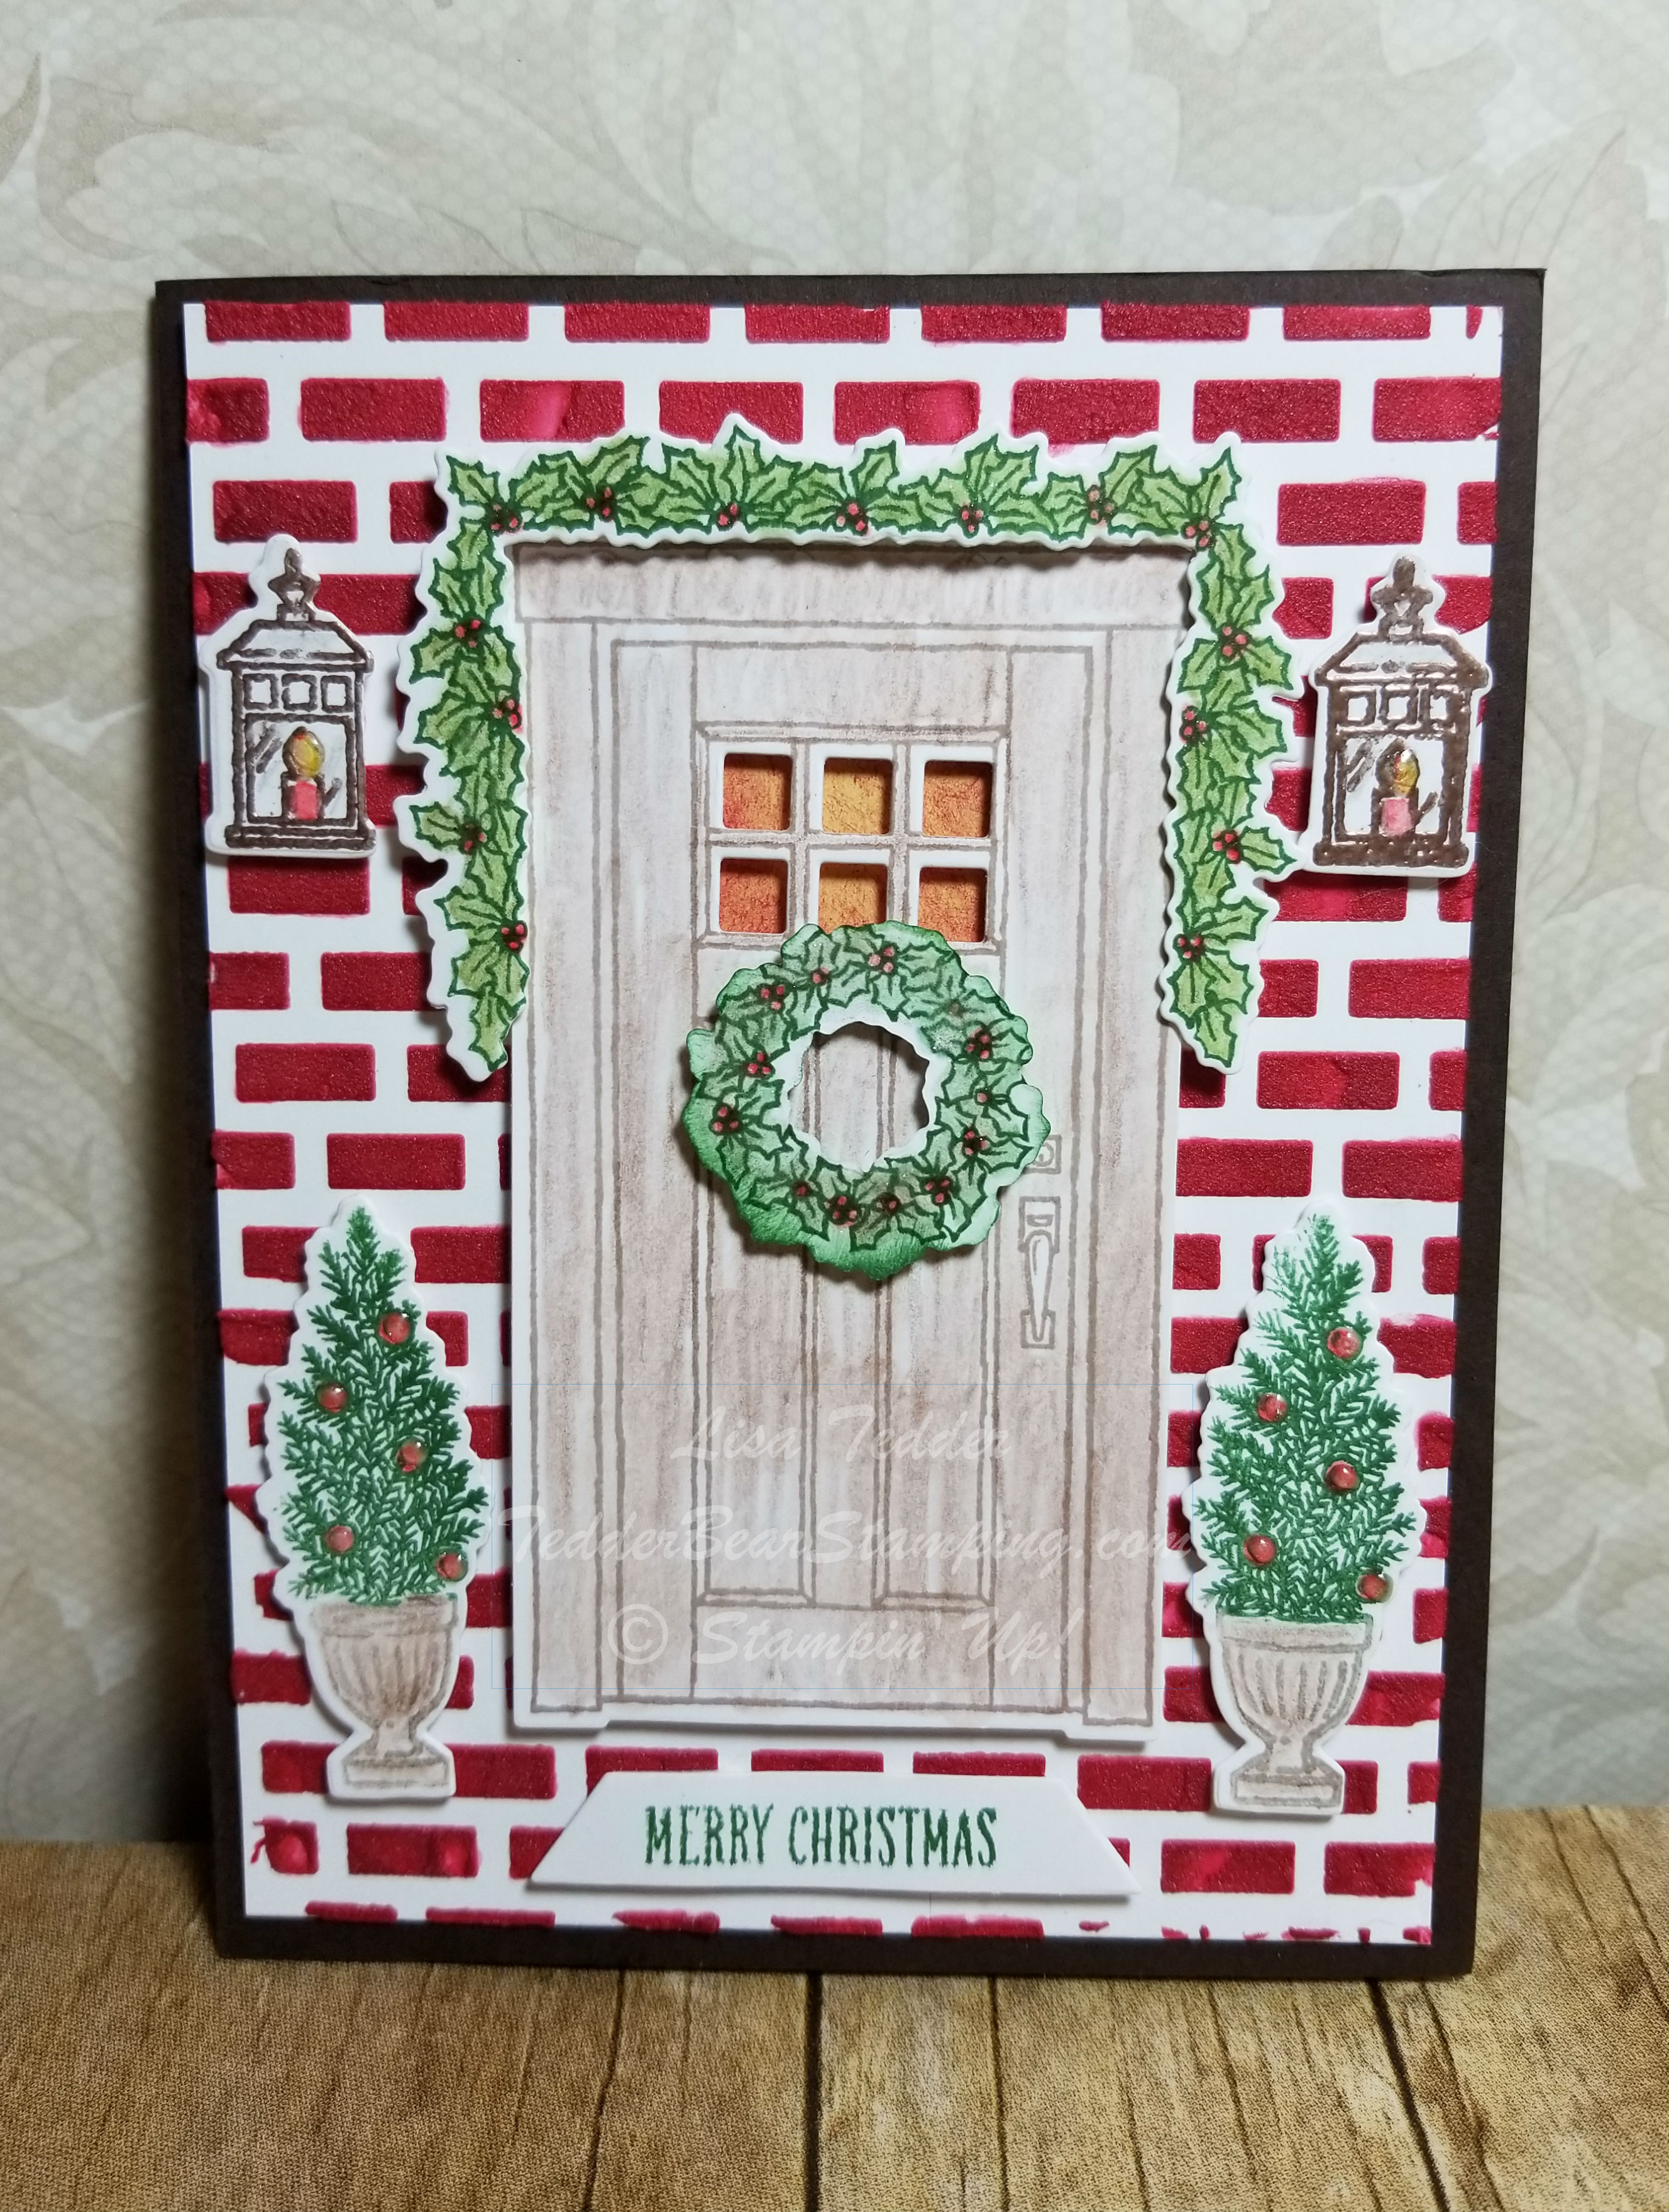
Today I am sharing with you my Christmas in July card #5. I’ve been sharing, so if you missed it-click on my header and you can find the others.
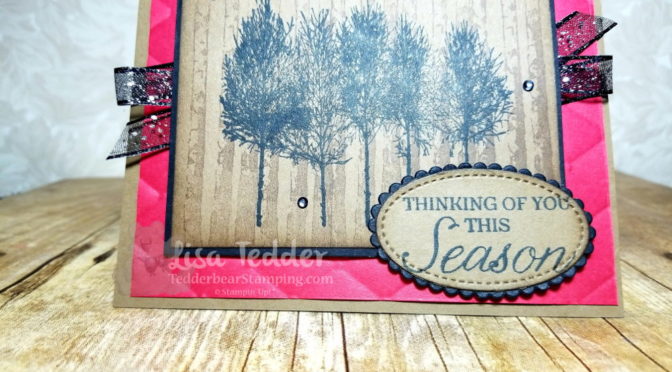
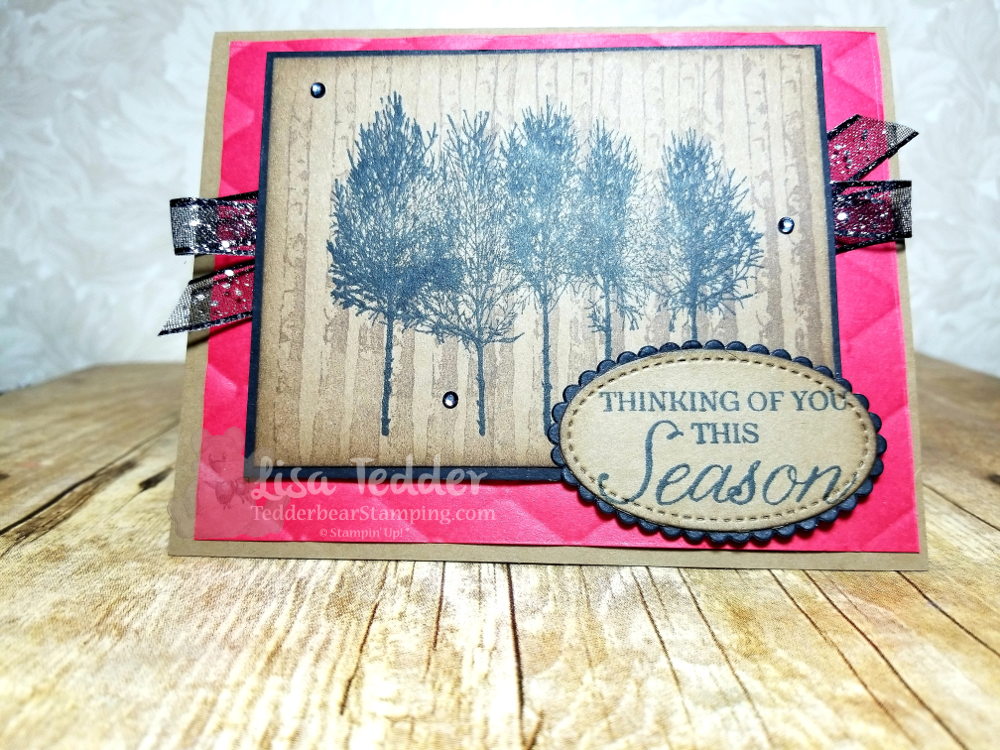
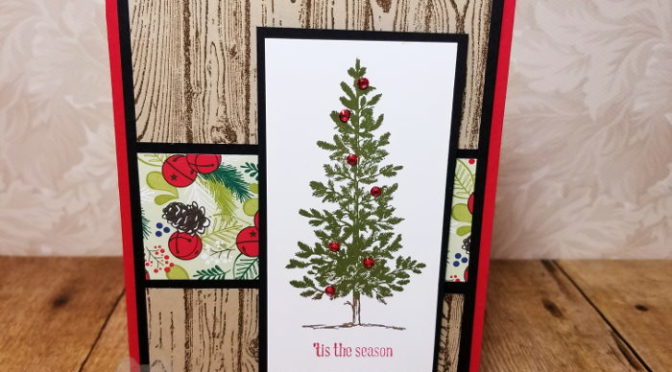
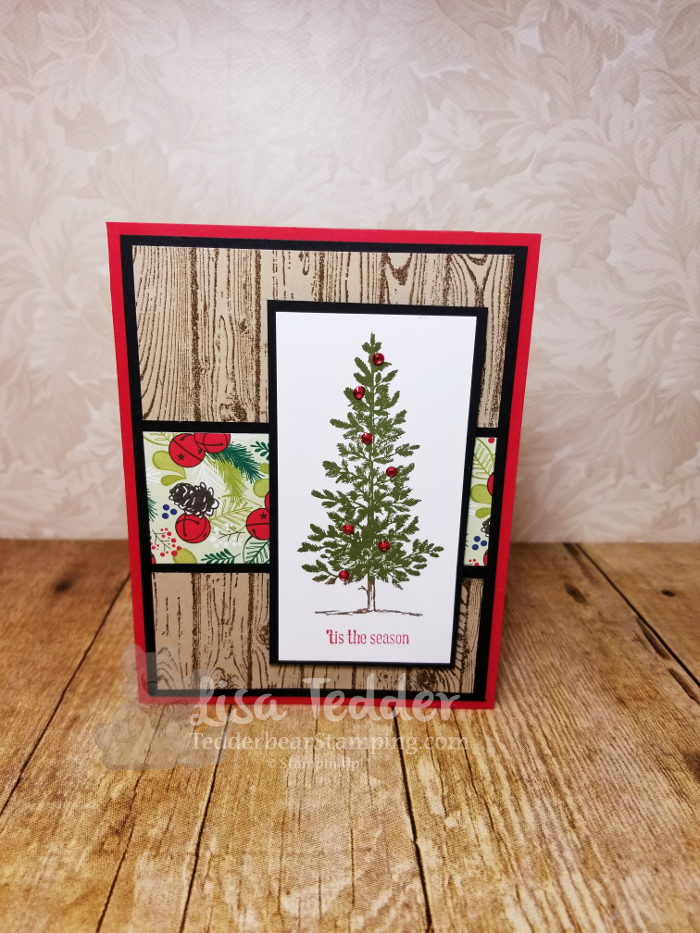
Today’s card uses the Greatest Stamp set, Lovely as a Tree by Stampin’ Up! This stamp has been around for a long time, but it is very beloved! I also used the Hardwood stamp set to get the wood look and some Designer Series Paper. Check out my pictures below for the supplies and click on any picture to be taken to my Online Store.
Here is the card:
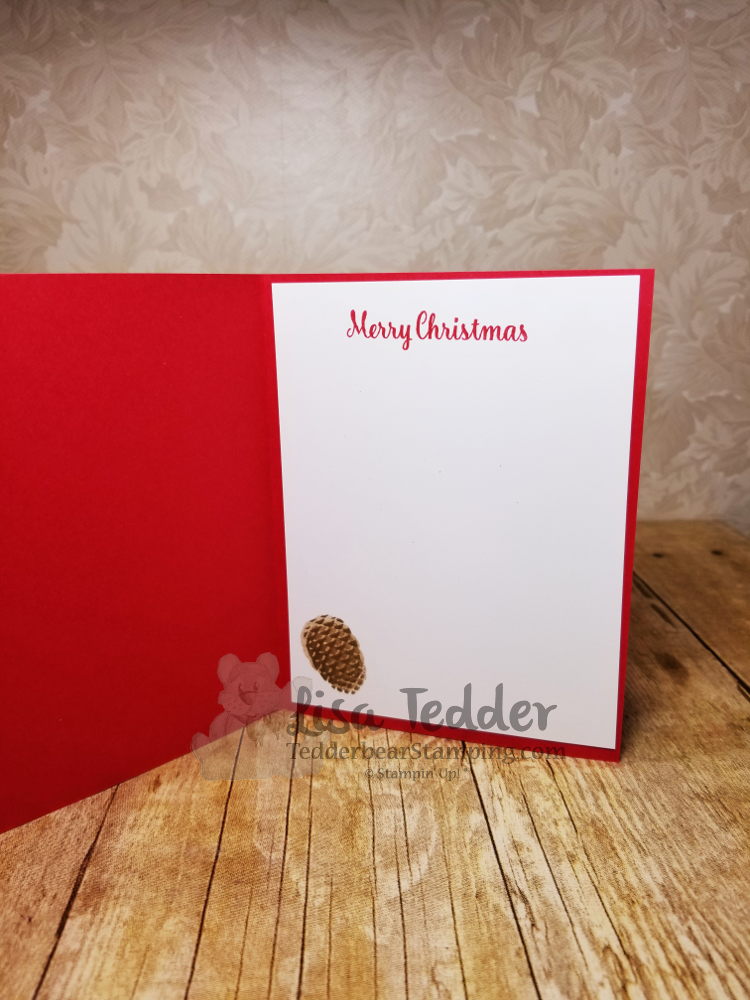
Here is the inside:
This is another easy, but fun card!
Come back for #6! This is the one that I used for a ‘Bonus Card’, i didn’t have enough of the DSP to make three each for 10 people!
Thank you for joining me today! I appreciate your support!
Lisa Tedder
A California girl living in North Carolina Product List
I was perusing Pinterest and saw this Beautiful card by Robin Feicht. I loved it so much I CASE’d it just like it was!
Here is my card:
Here is the inside:
She didn’t show her inside, so this is what I came up with. I LOVE this set and am sad to see it go. If you want this set, be sure to check out my OnLine Store to get yours! Just click on any of the pictures below to be taken there!
Dimensions:
Whisper White 8 1/2″ x 5 1/2″
Very Vanilla 5 1/4″ x 4″ (x2)
Watercolor paper 2 3/4″ sq then cut out with biggest Square (stitched shapes)
Gold Foil same as watercolor paper
I hope you enjoyed my card, if you are in the neighborhood of Kernersville NC, come attend a class!
Lisa Tedder
A California girl living in NC Product List
I am not much of a Measurer and if it takes me too long to ‘figure it out’ I tend to not want to do it! That doesn’t mean that I WON’T do it, just that I put it off until I have plenty of time! I keep seeing these Pop-Up Cards and I wanted to figure out an easy way to make one, that I could teach and show on a video…….
I figured out a quick and easy way to make a Pop-Up card that takes minimal measuring and hardly ANY stress! Check out my video!
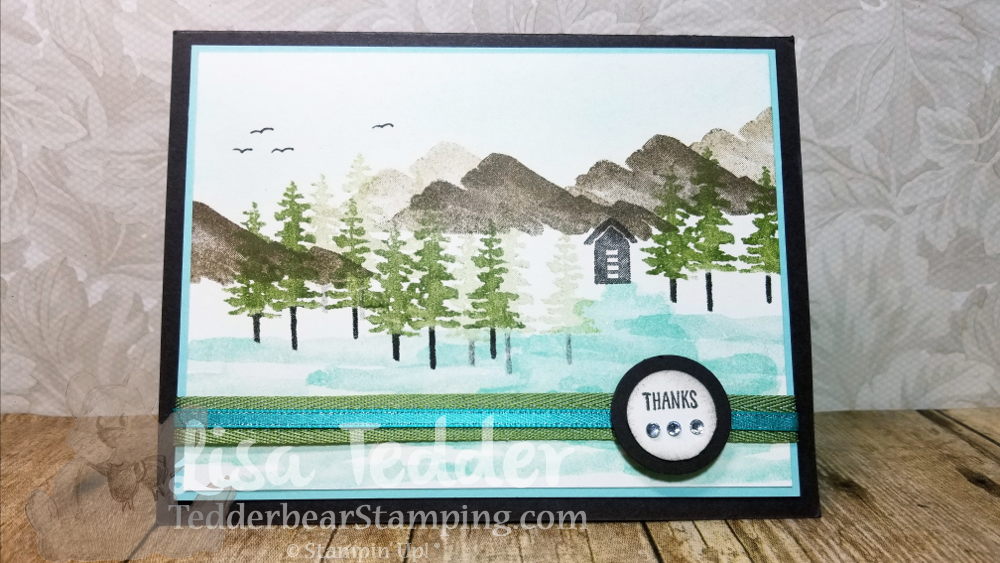
Here is the front of the card:
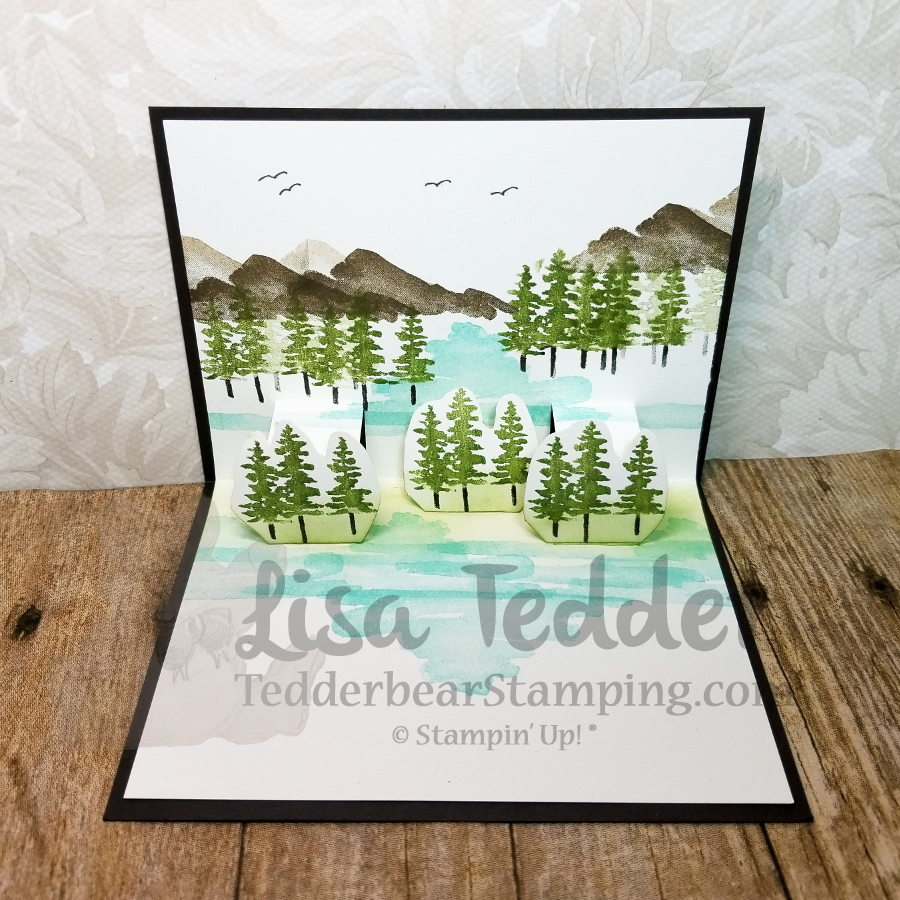
I absolutely LOVE this Stampin’ Up! set: Waterfront! It really makes you feel like an artist, and you can make the scenery any way you can imagine!! I changed the scenery inside, popped up some trees and I am thrilled with the result!
The trees fold down when the card is closed and Stand up when open! On my video you can see just how easy this card is!
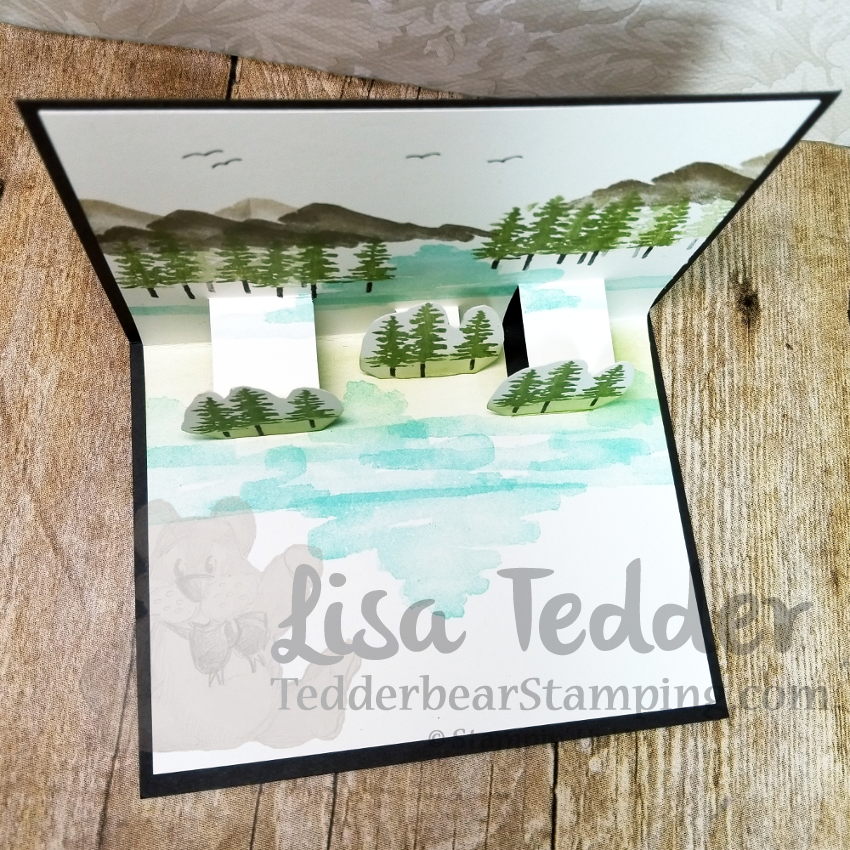
Here is the view from above:
I hope you like this card as much as I do! The supplies are listed below, just click on any picture to be taken to my OnLine Store!
Until next time!
Lisa Tedder
A California Girl living in North Carolina
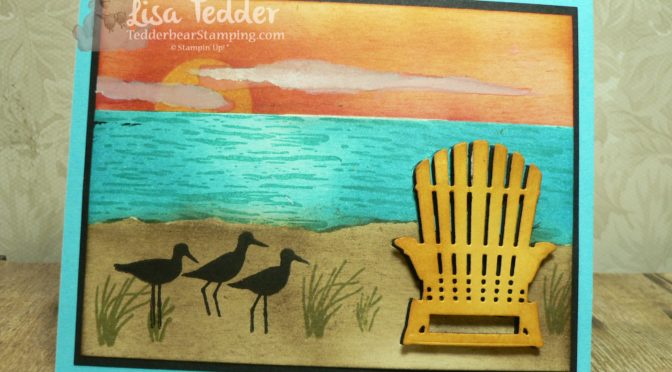
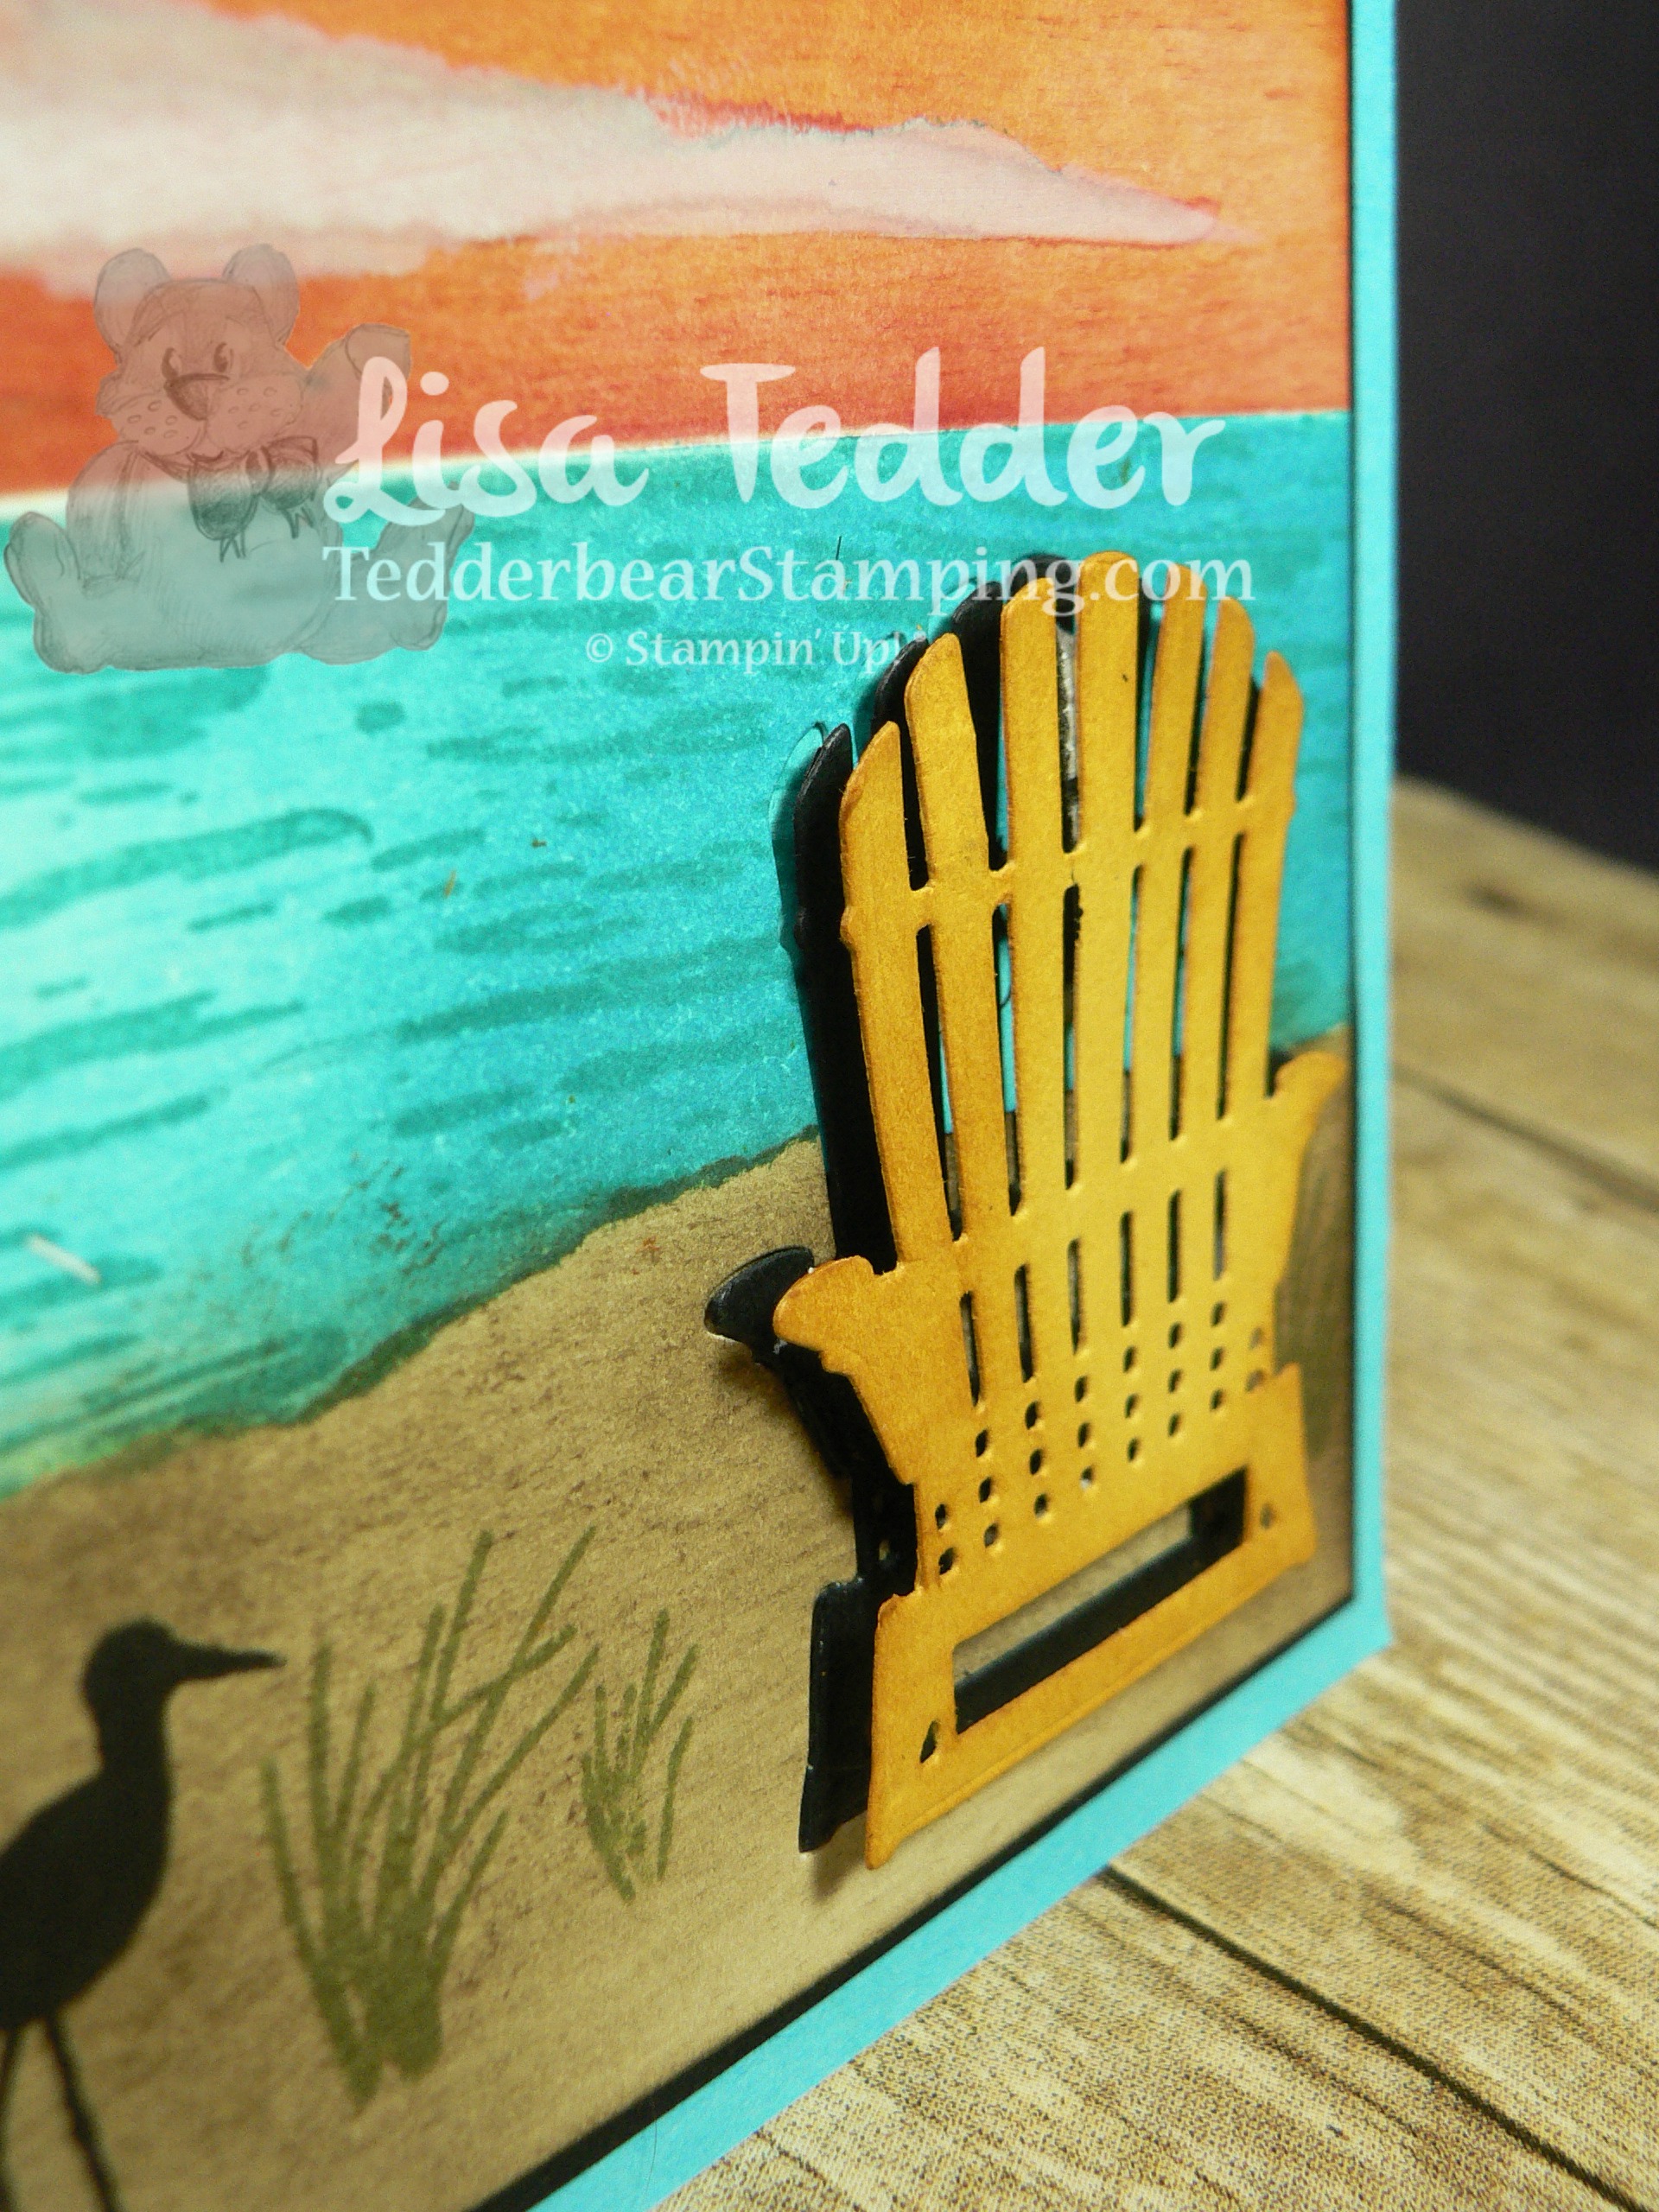
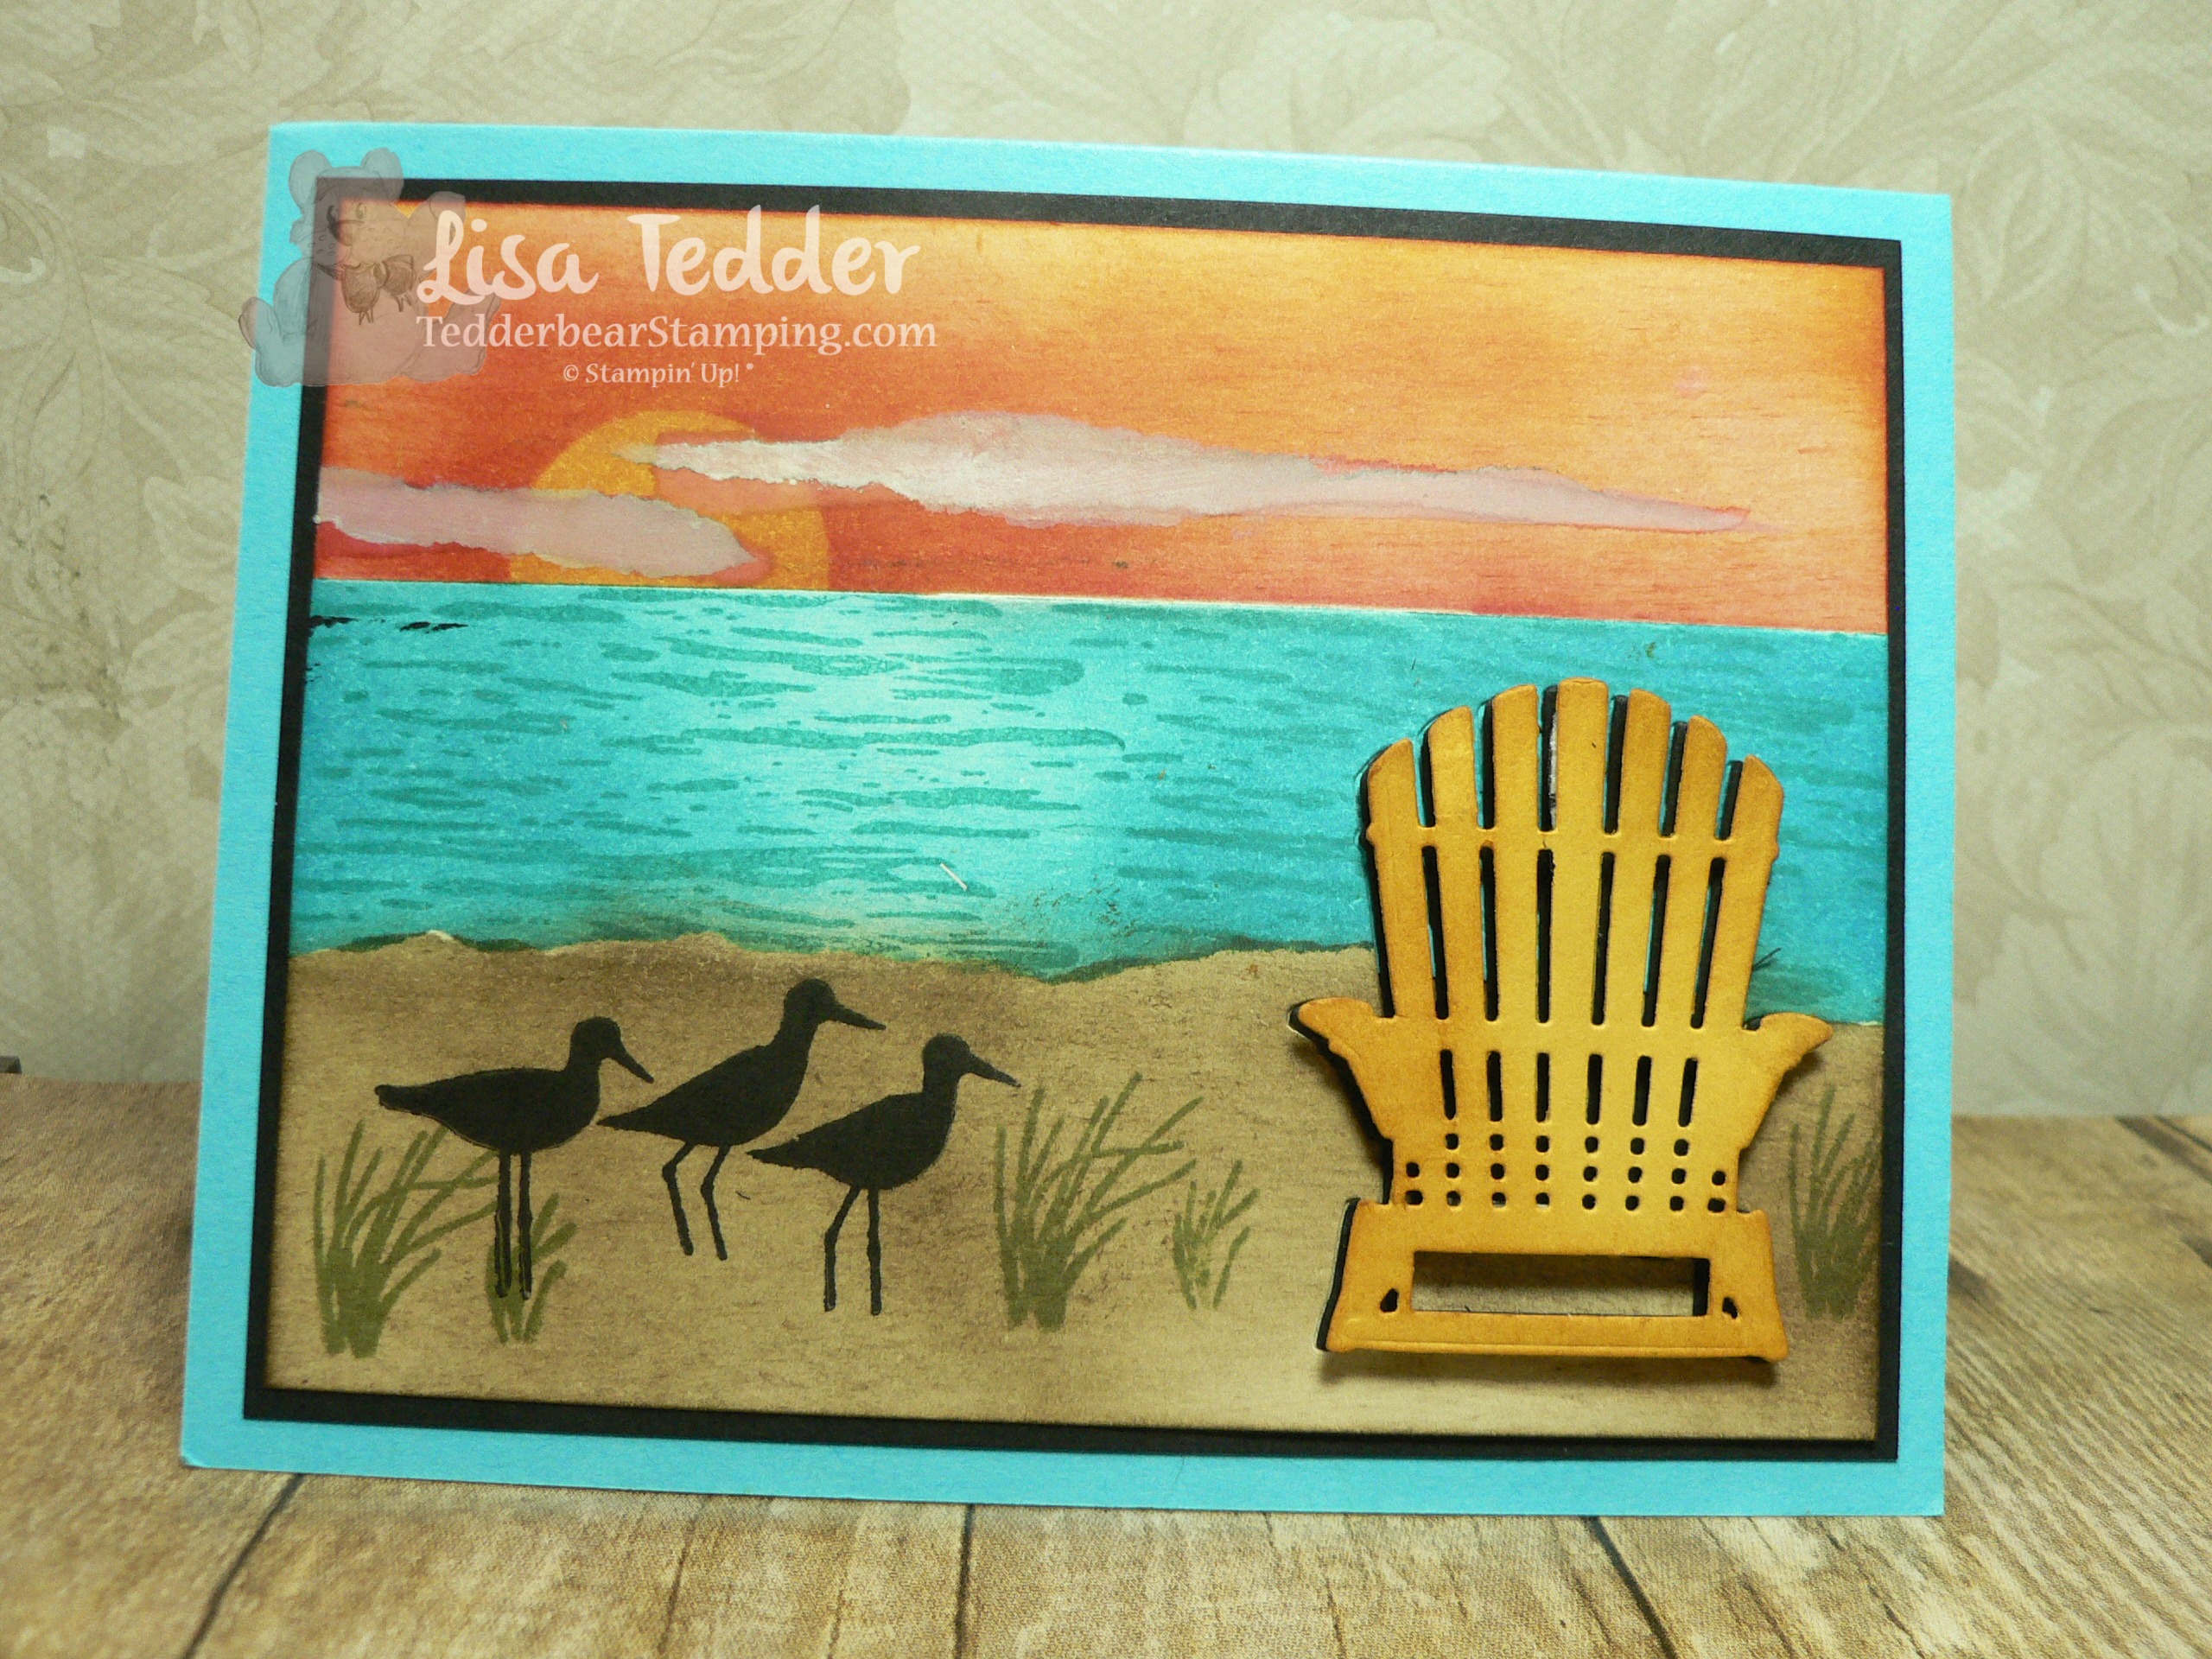
I see the ‘Ghosting’ Technique all over, and I wanted to do this with a Twist! I made a Beach landscape card, and wanted my chair to have a shadow, or ghosting effect, BUT I wanted to be able to see the water and sand behind the chair. The thinlit from SU!’s Seasonal Layers cuts the entire chair out, and that would leave a BIG hole in my beach scene! :-O Can’t have that!! So, I die cut out 2 images of the chair, one in Crushed Curry and one in Black. Plus, I had to die cut out the chair directly from my scene!
Once the card was made, I cut out the chair which left a BIG hole in my card, so I had to remake my background on scraps of Very Vanilla to match the colors that I already had on my card. This is much easier than you would think…….just sponge the colors you used onto Very Vanilla and stamp the waves for the water, tape them onto the back of your card. It’s that easy!! Then you will still have the outline to place a black chair, and it will be flat to the card, it looks just like a shadow!
As always the supplies are listed below, just click on ANY picture to be taken to my OnLine Store! IF you purchase from me using this Hostess code: WNUY3EBP, I will make YOU this card and mail it to you!
Be sure and subscribe to my YouTube channel so you won’t miss the next Technique Video!
I’m off for now!!
Lisa Tedder
TedderBearStamping
A California Girl living in North Carolina
Want to receive this card? Check out below how you can be in a drawing to get this beautiful card mailed to you!
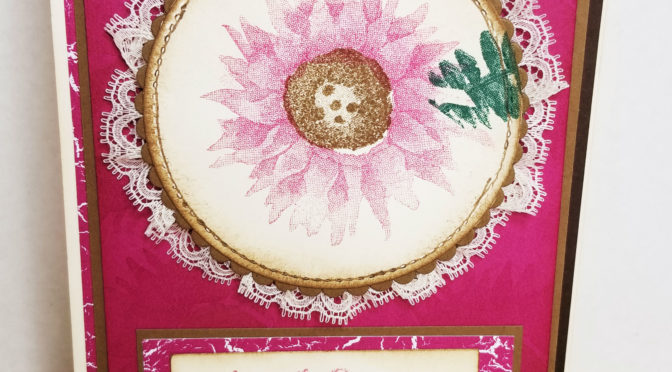
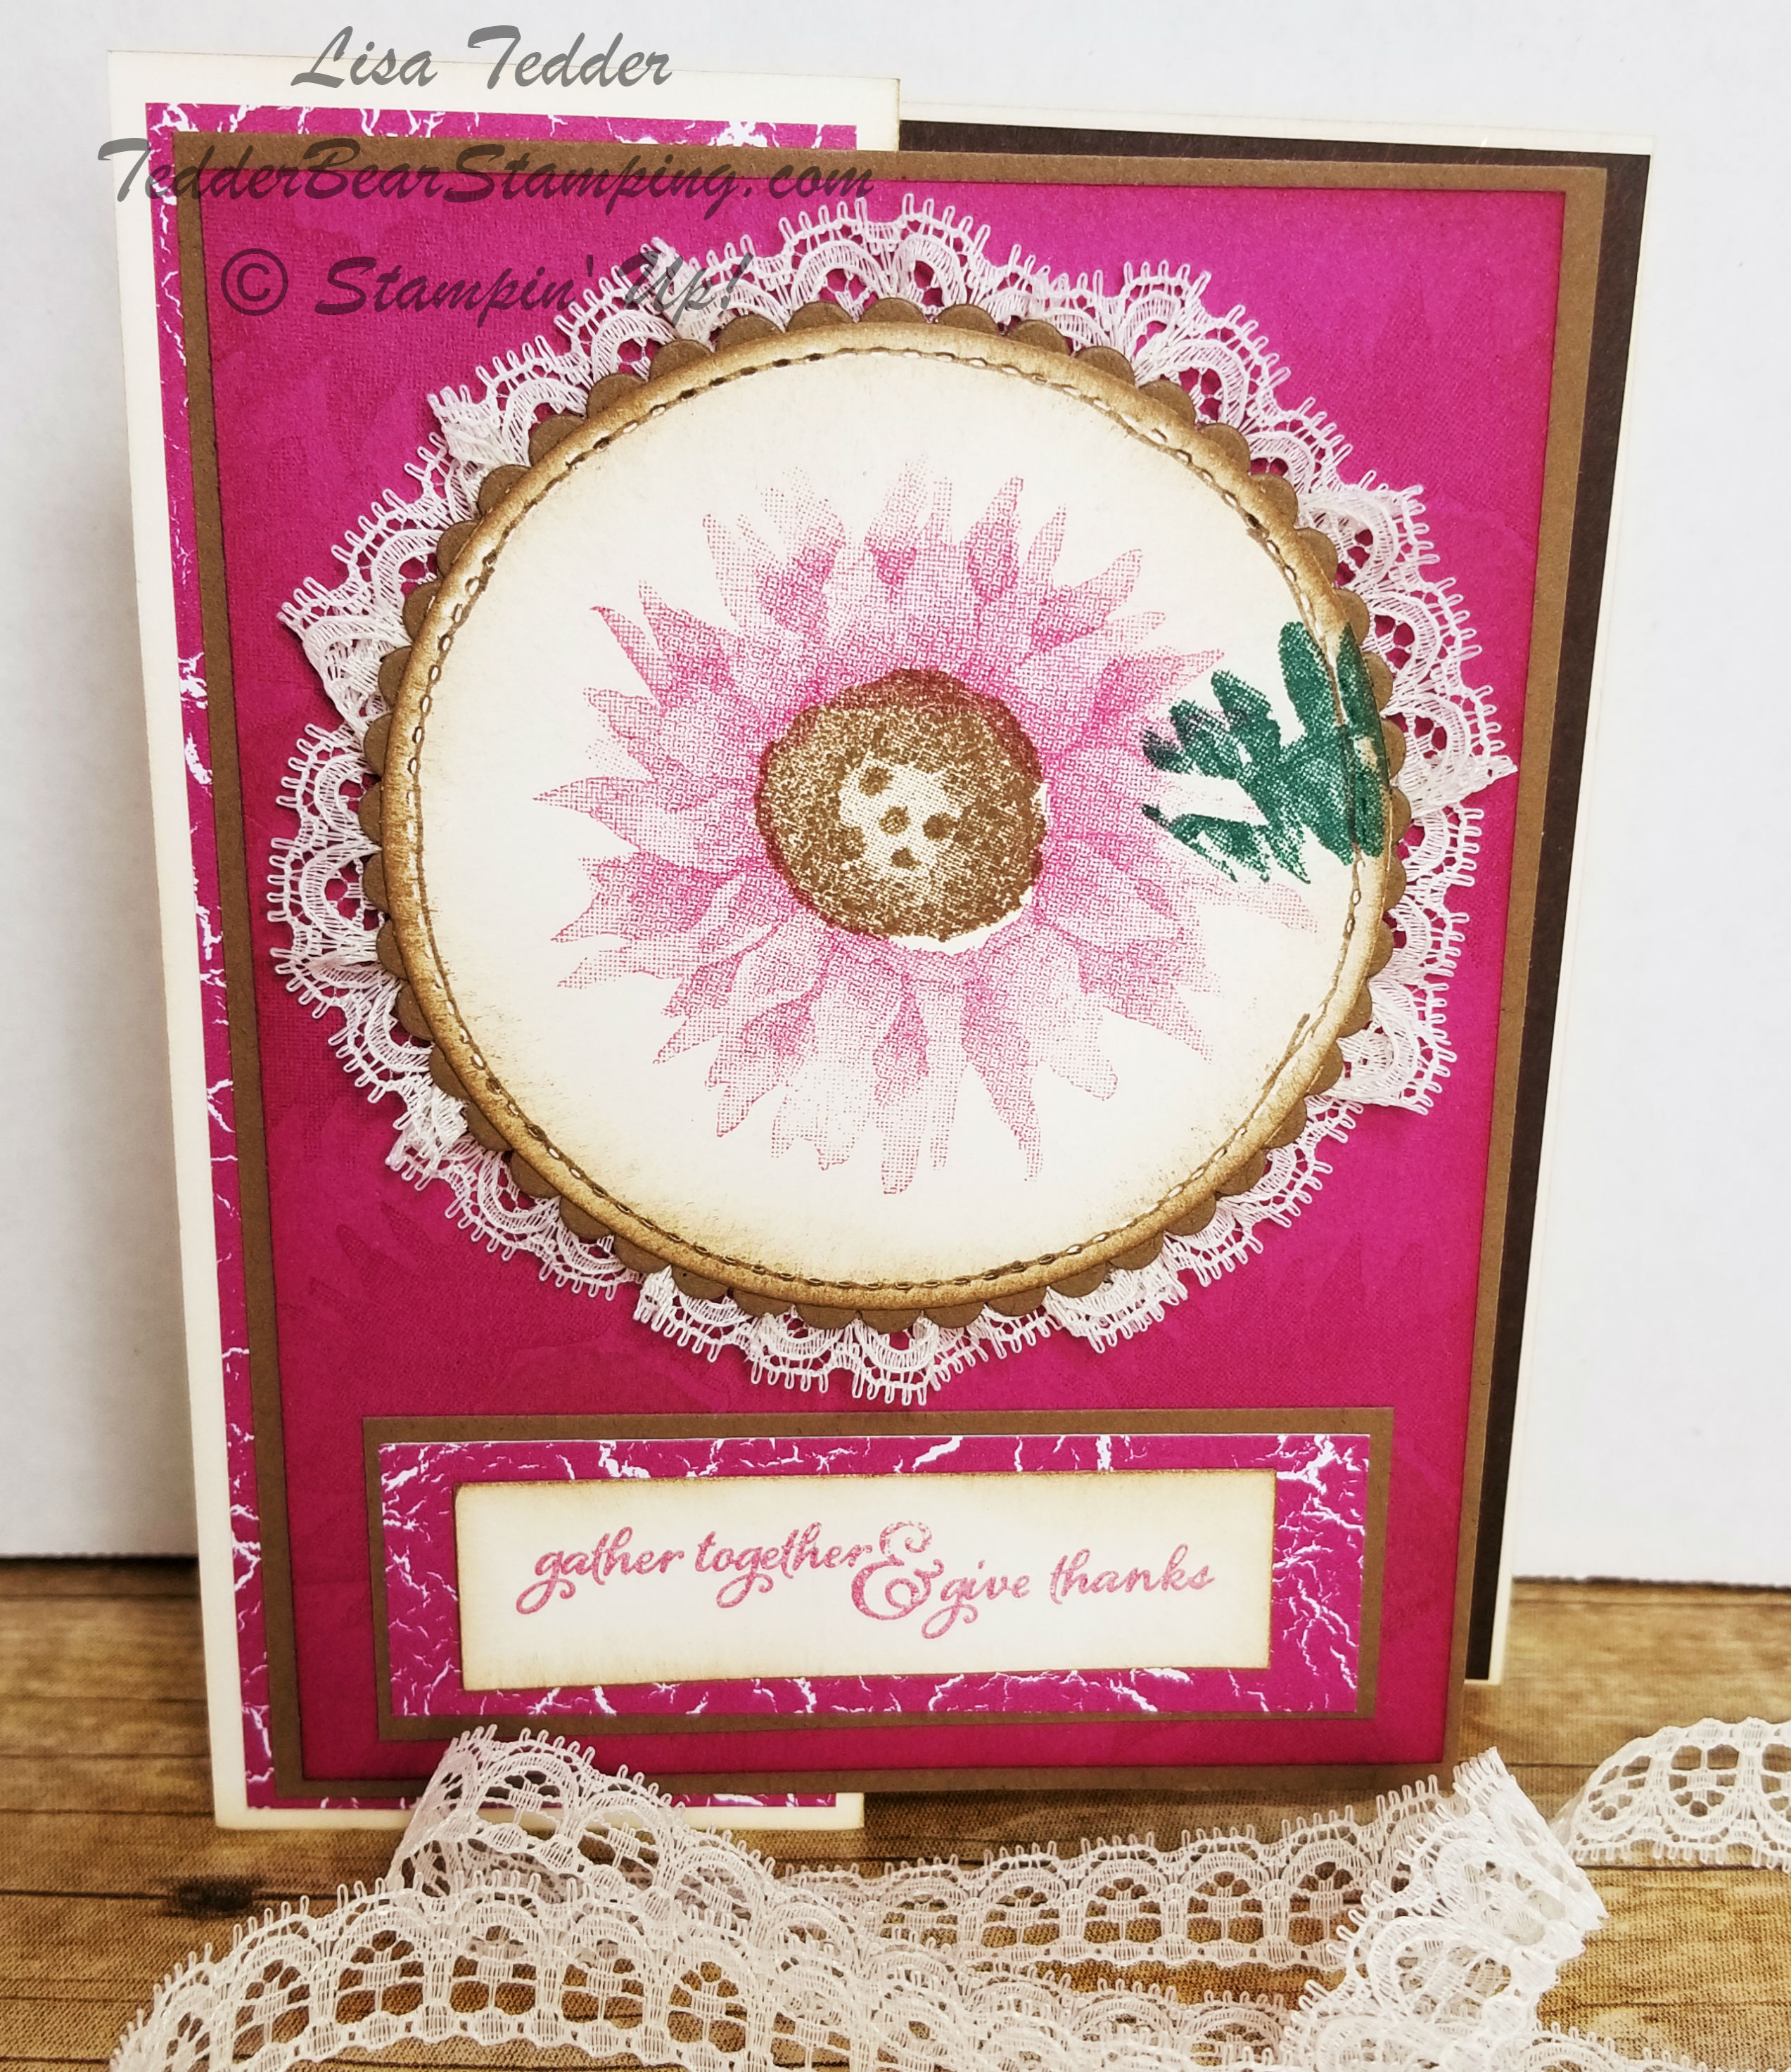
Today I am sharing with you a new Technique that I kind of stumbled on!! I’m using the NEW stamp set: Painted Harvest #144783 which will be in the Holiday Catalog coming out in September! You can see the video on YouTube, I have some great tips and it’s a VERY simple Z fold card!
Here is a picture of the front of the card:
Isn’t it GORGEOUS!? I was just playing around and was astounded at how great this came out! This is one of those times when I am sitting at my stamp table (by myself) and I start to talk and say how beautiful it is! LOL No-One is there, mind you……..even after 16 years of stamping I STILL get excited that I can make something this pretty!
Here it is open:
Doesn’t Berry Burst work great with this card? And here is a close-up of the front flower that looks like embroidery:
I popped up this whole piece using the Foam Adhesive Strips since they pop up more than Dimensionals. The video I made shows a different leaf than the one shown here, and I like it better. I show you how to mask the flower and put the leaves behind it. I also show you how to do the ribbon behind this image. If you go see it, leave me a message and let me know what you think.
IF you leave me a message I will have a drawing in 2 weeks on the 28th for one of you to win this card! Leave a message either here on my blog or on the video on Youtube.
ALL the dimensions are on the video, so if you want to recreate this go check it out!
All the supplies are listed below, click on any picture to be sent to my On-Line Store! If you purchase from me I will be sending you a handmade card as a Thank You!
This is a SNEAK PEEK so hope you enjoyed this card as much as I do! Keep an eye out for MORE Technique Tuesday videos! Techniques are my favorite. Anything that will let me use my stamp supplies more are a win win in my book!
Until next time!
Lisa Tedder
TedderBearStamping
A California girl living in North Carolina
I love getting a jump on things! This month I am planning on getting a jump on Christmas Cards! I have a class at the end of the month where we will be making 16 cards at one time! 3 each of 5 designs! I have already shown you Two of my cards:
The First one uses the Embossing paste and you can find the details here. The Second one you can find here.
The Third Christmas card (out of 6) is straight out of the catalog! I don’t know what you guys think about the new Catalog, but I LOVE the card ideas in there! Stampin’ Up! has stepped up most of the ideas and I love them so much I have copied them…….or as a lot of Stampers call it (CASE…..Copy, And, Share, Everything). It’s great when you are in a bind for an idea and there it is!
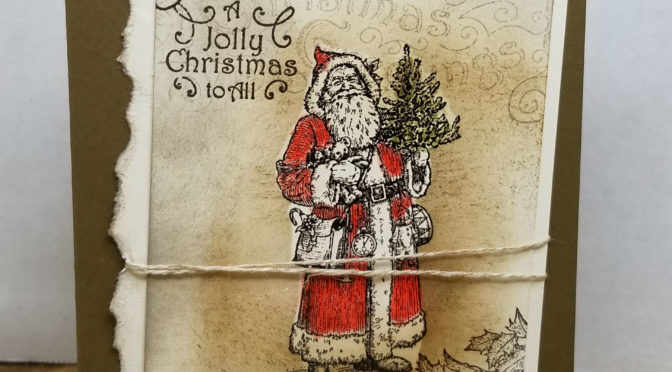
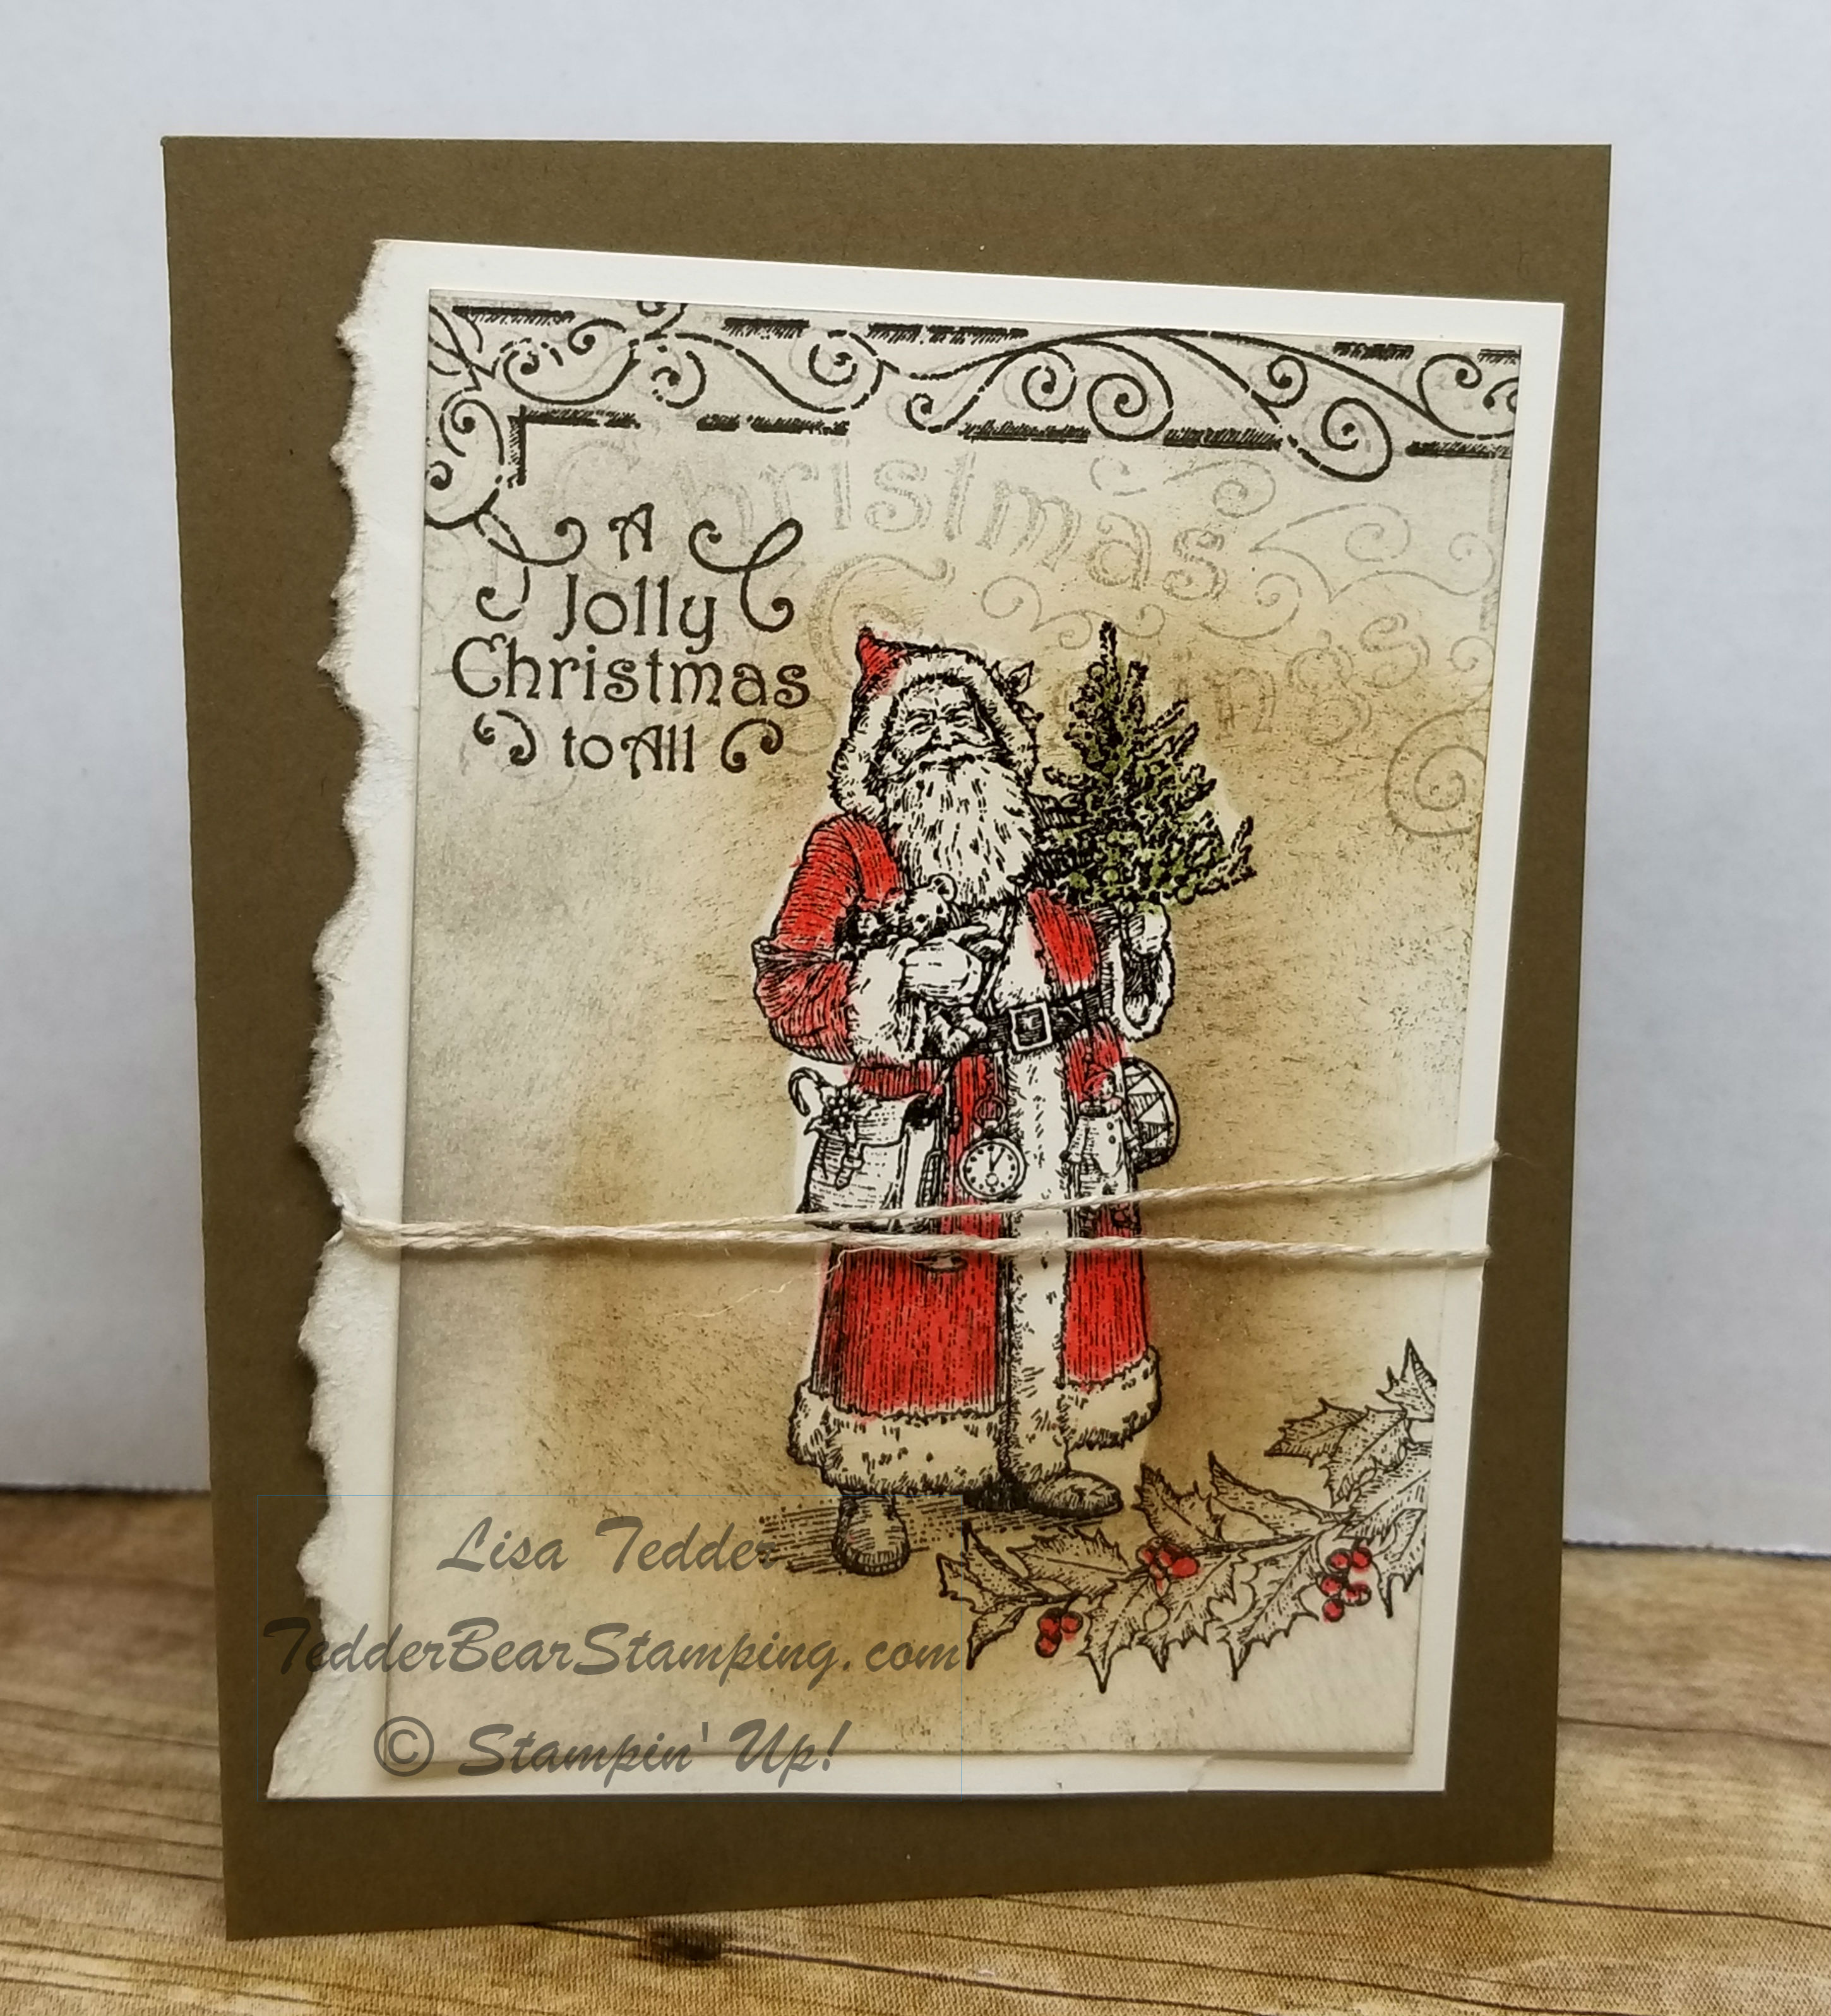
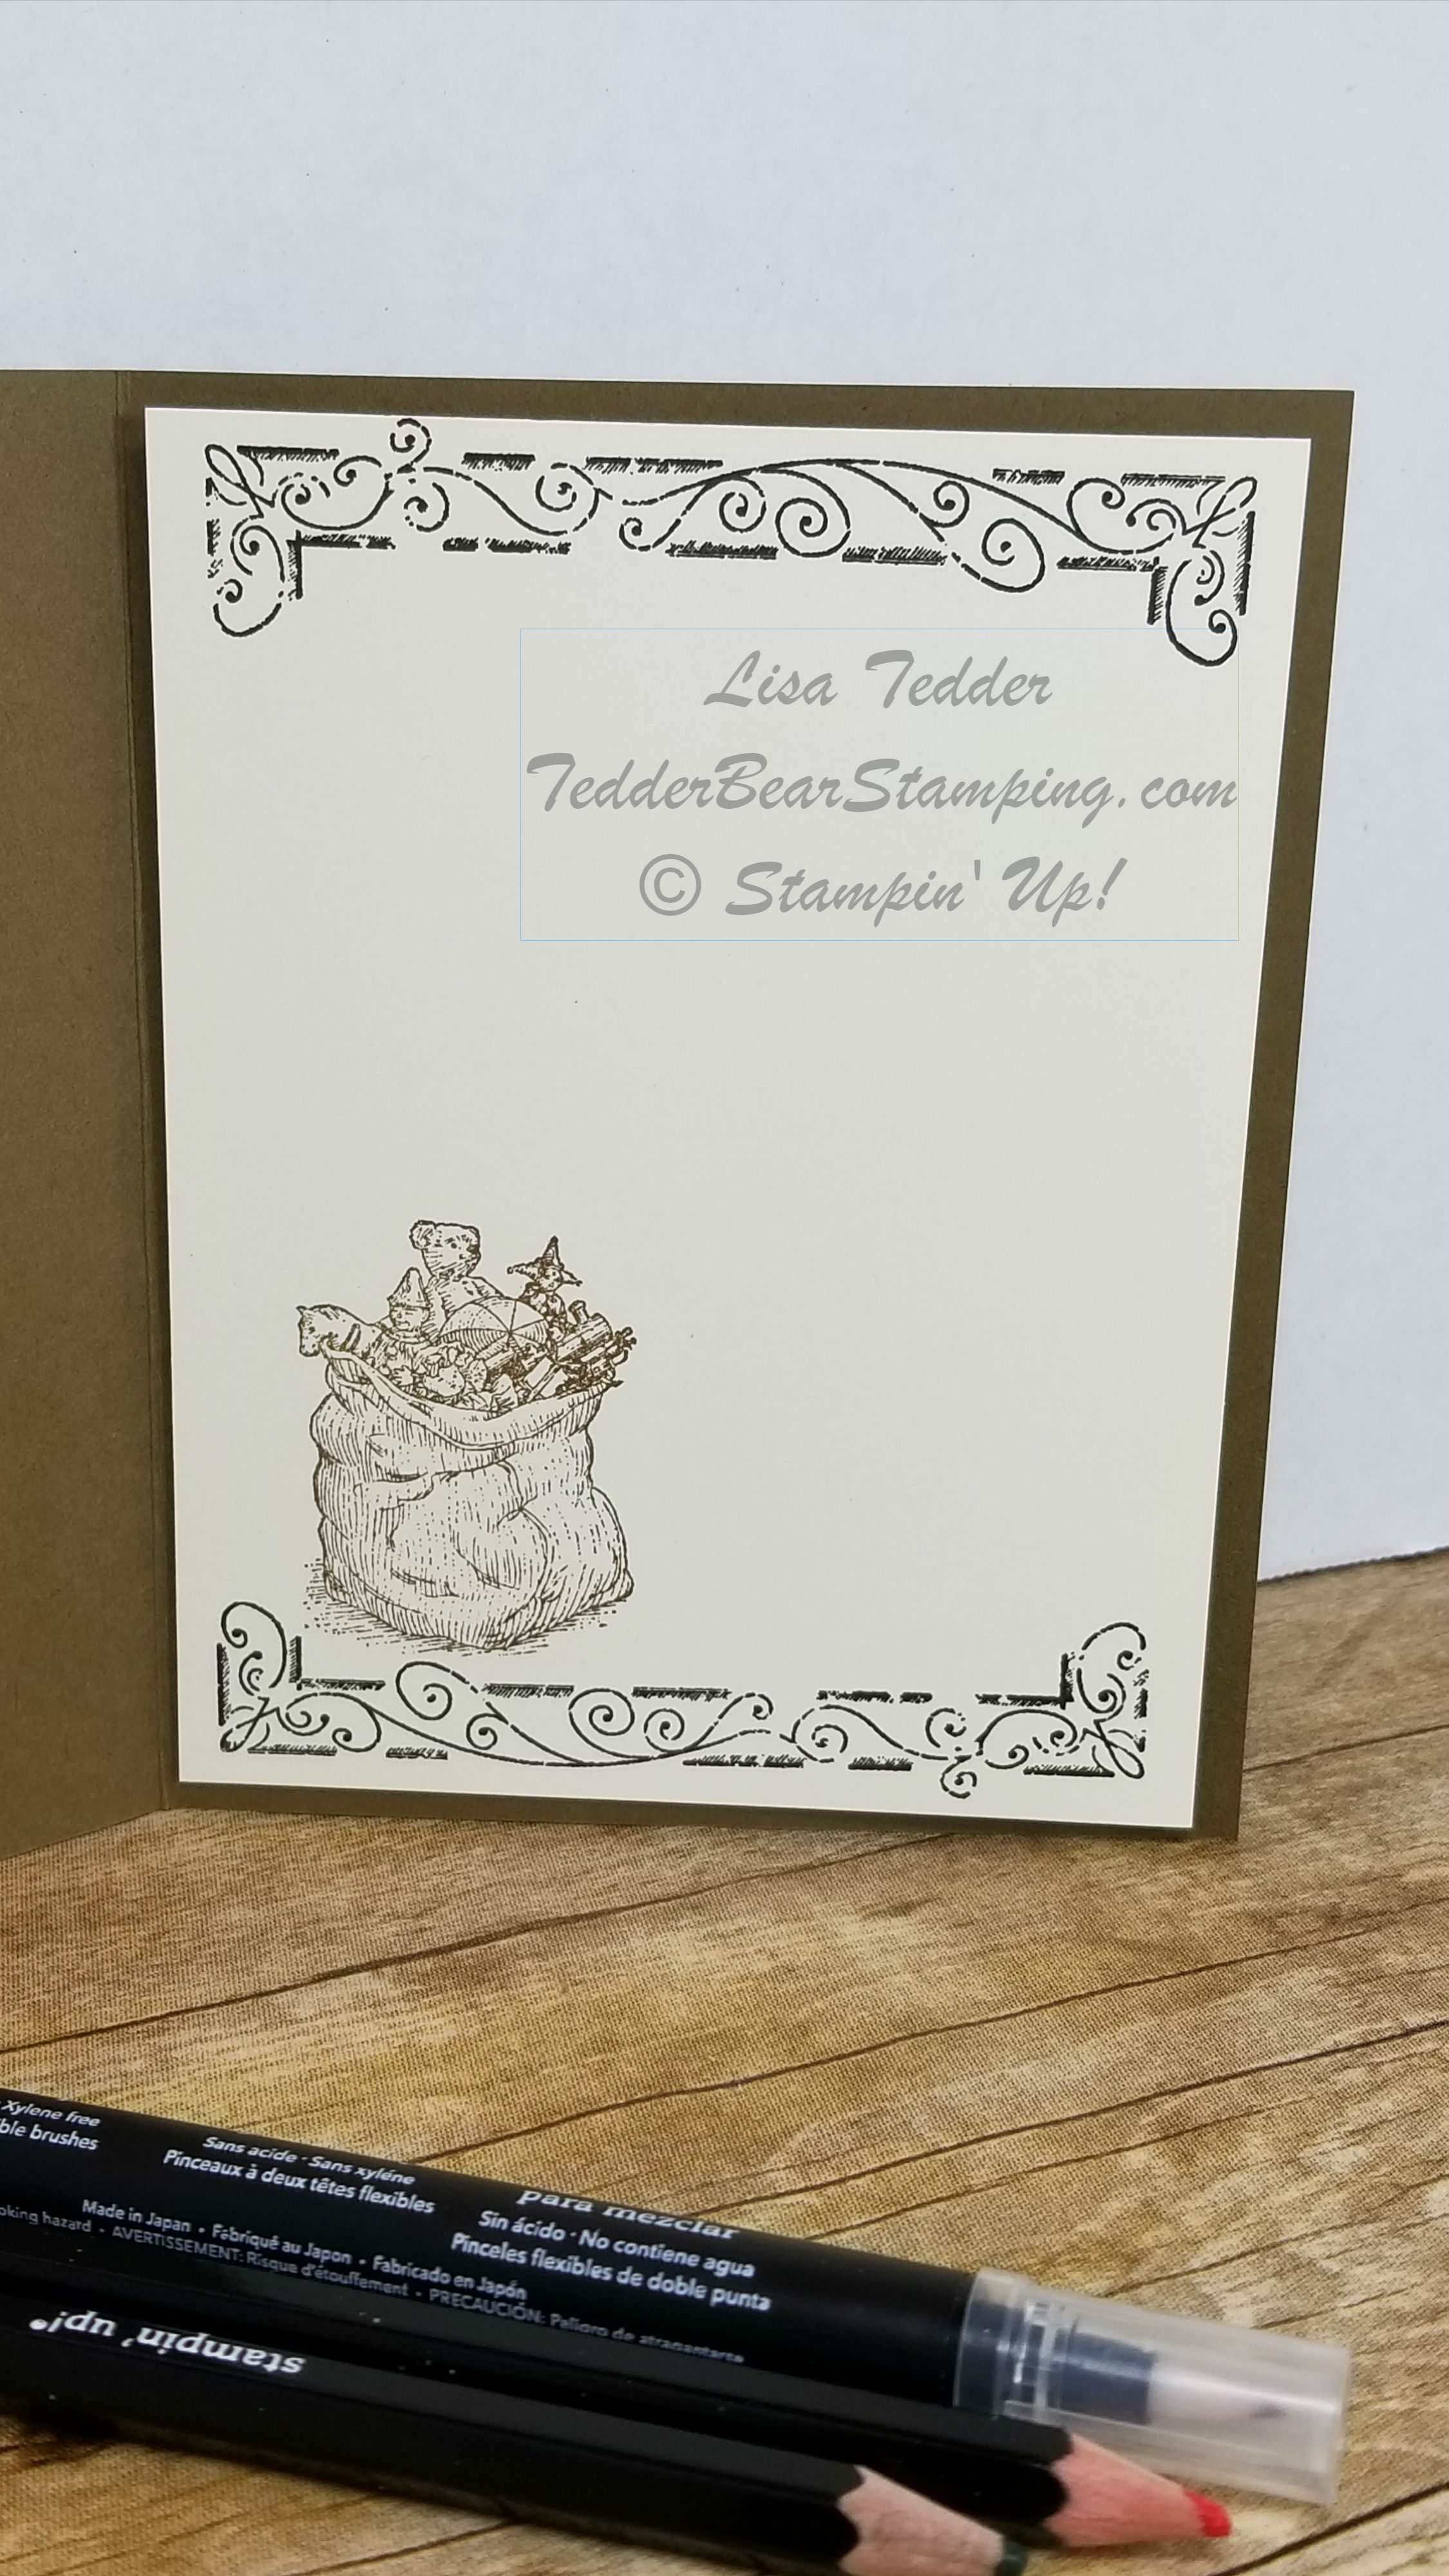
Here is the card I’m sharing today!
You can find this design on page 114 in the Catalog! Another antiquey card! I colored the berries on the bottom, so it’s TECHNICALLY not a total CASE but I pretty much copied everything else. Do you like it?
Inside Pic:
Out of my 6 cards, most are straightforward and very simple, but others are a ‘little’ harder. This one has some masking (I put the stamped image that was cut out of post it over the Santa to sponge around him, so I could get it darker around the edges than i wanted him) I then sponged again, to make sure and get parts of him sponged so it looks old. This card is something anyone could do, with some guidance. I HAVE to have some easier cards so we can make them in bulk, but also have some stepped up cards so we, as stampers, are happy!
Details for this card: ie measurements:
*************
Card stock:
Soft Suede 5 1/2″ x 8 1/2″ scored in half at 4 1/4″
Very Vanilla 4 x 4 3/4″ torn on the 4″ side (once torn it will be approximately 3 5/8″) and 4 1/2″ x 3 1/4″ (for the part the Santa is stamped on), 4″ x 5 1/4″ for inside
Accessories:
Linen Thread wrapped around 2 x
Colored pencils, I used real red, but made it as dark as I could.
The rest of the supplies will be in pictures below, click on any picture and you will be taken to my OnLine Store!
Are you excited to see the rest of my Christmas in July cards? Stay tuned!! I’ll be posting tomorrow my Kylie International Blog Hop card, it is NOT Christmas, but stay tuned the others will be coming soon! I hope that you will vote for me!!
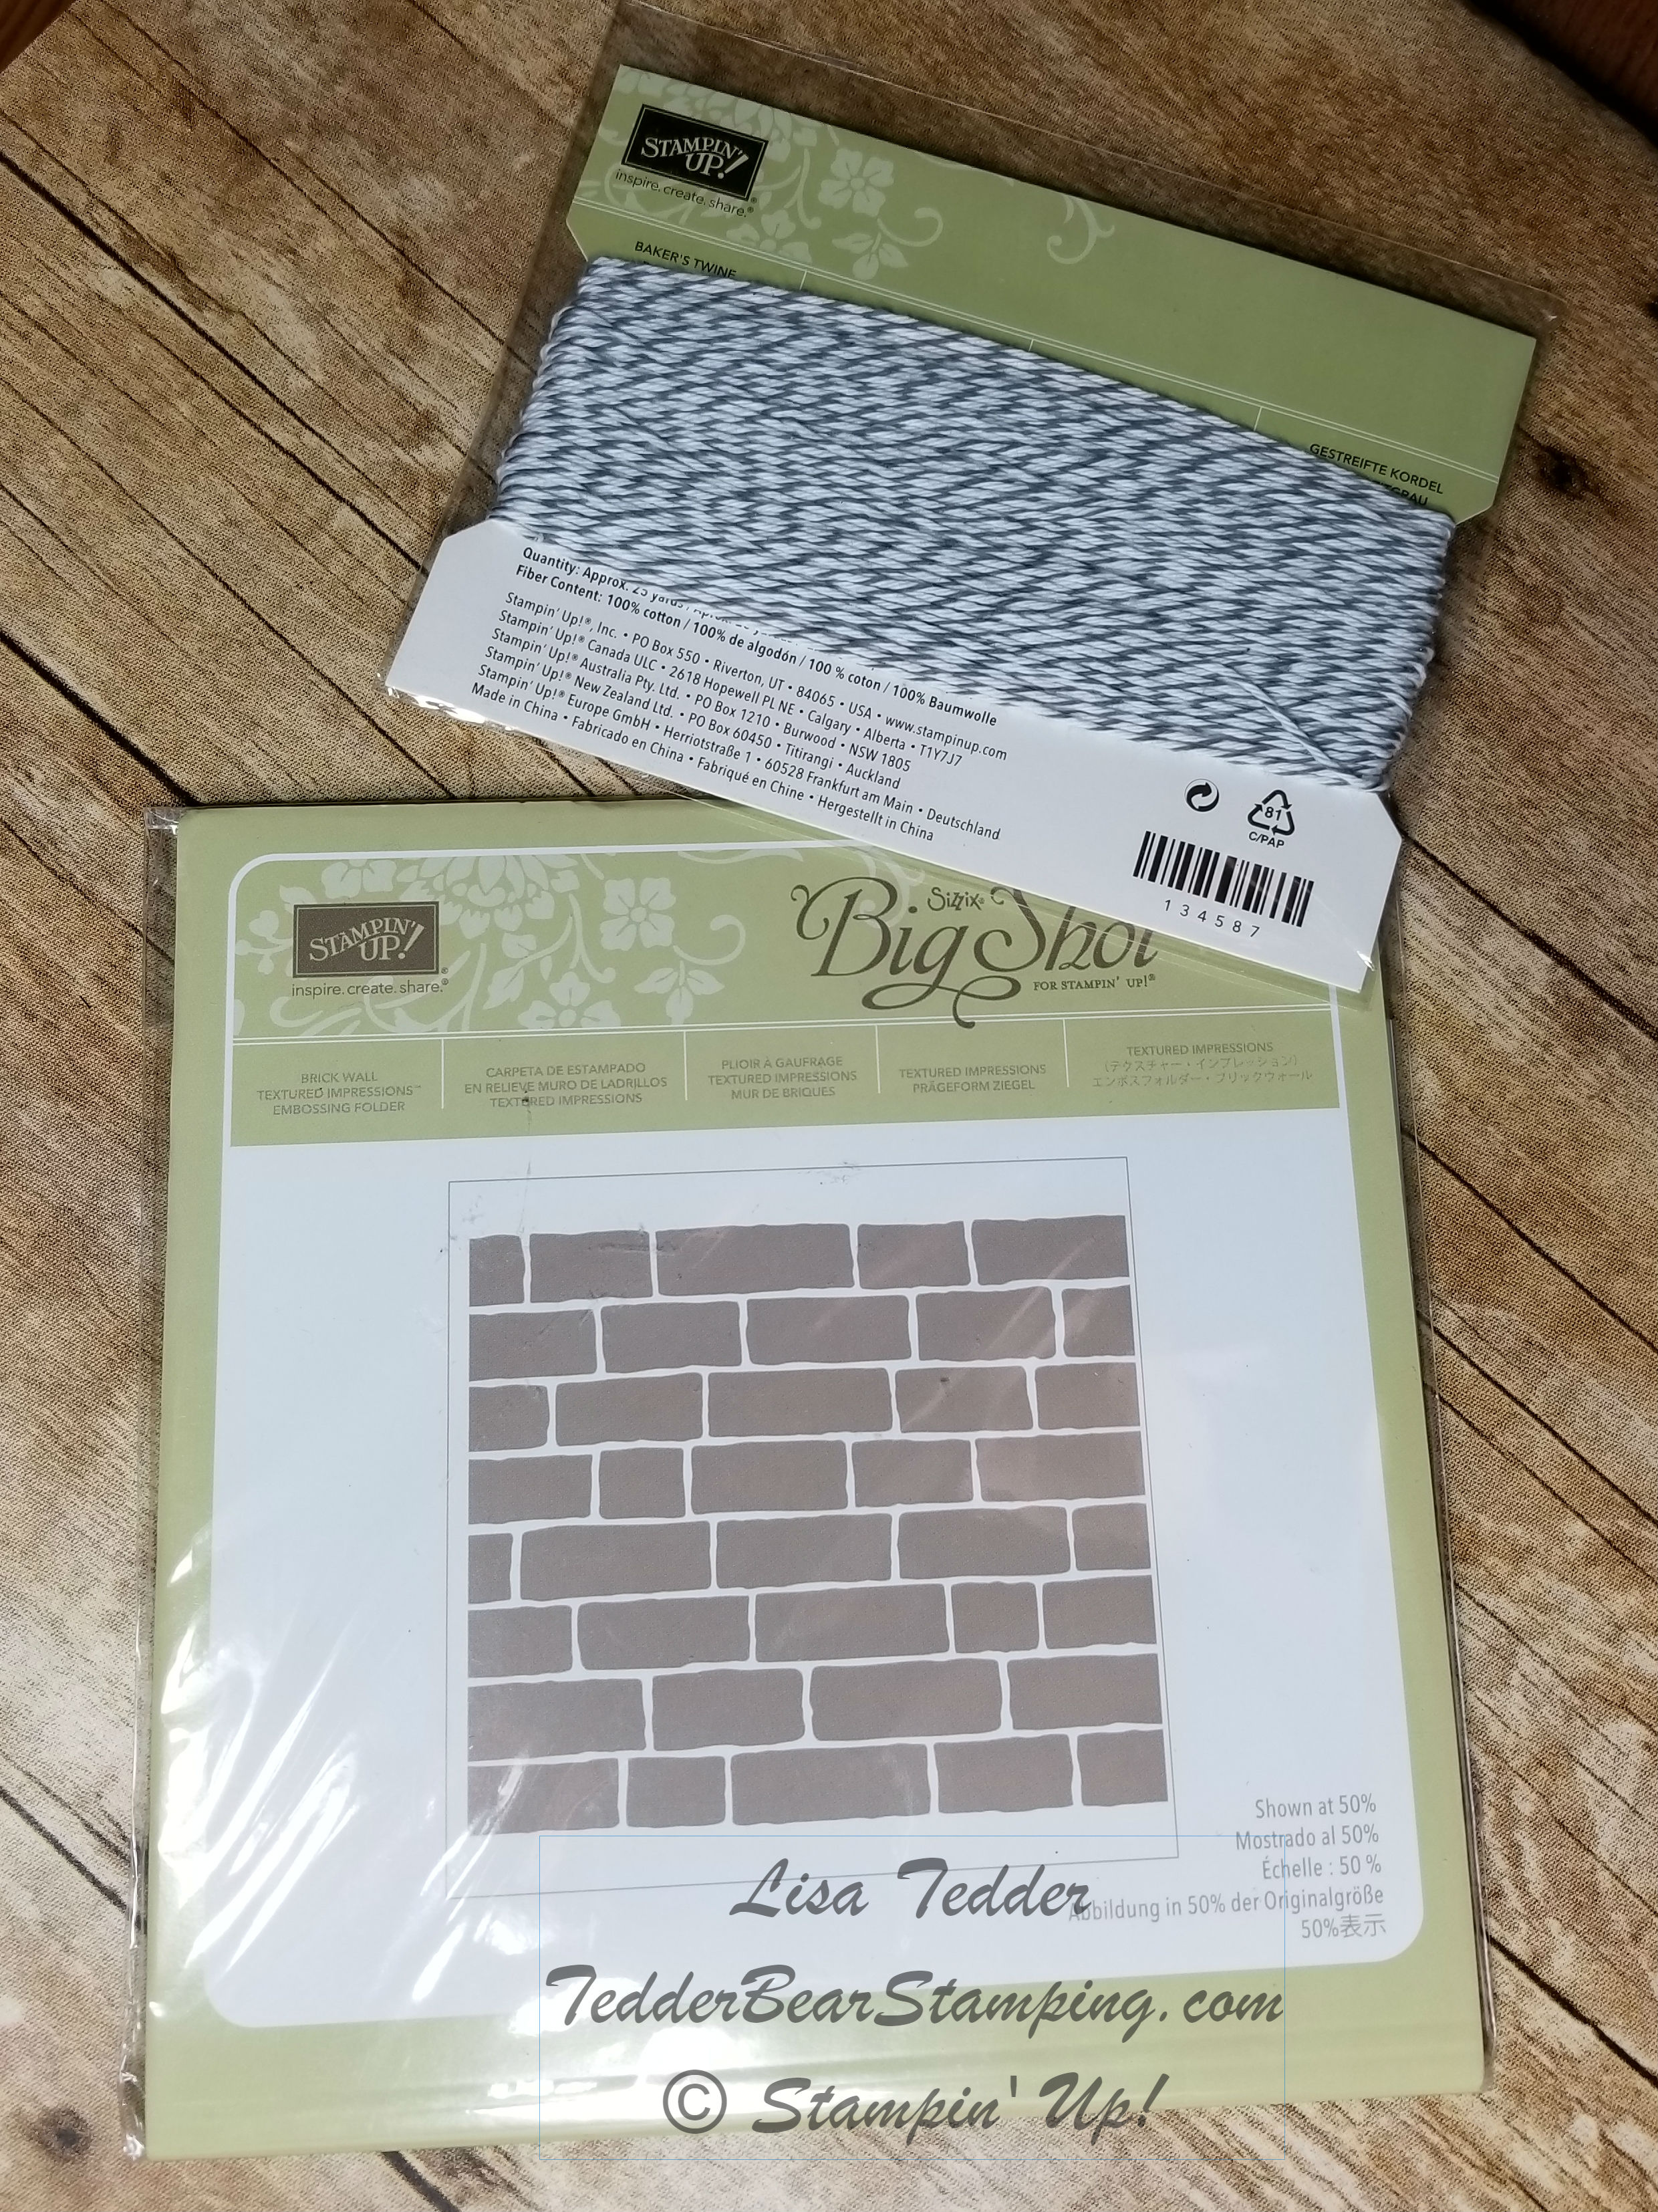
Blog Candy!! Who Wants Some!? 🙂 I know I am silly, but I would love to get blog candy of my own! Here is what I am giving away this time!!
The Brick Wall Embossing Folder and some Basic Gray Bakers Twine! Absolutely FREE! All you need to do is add a comment here on my blog ANY POST! My Facebook page, Pinterest page, Instagram or Twitter! Even if you comment on older posts IT COUNTS! I keep track of everyone who comments and I put them into a Random Name Generator and that’s how you win! The drawing will be held July 29th! Good Luck!
Again, I hope you have enjoyed your visit, and will come back again! Subscribe to my blog so you don’t miss anything!
Lisa Tedder
TedderBearStamping
A California Girl living in North Carolina Product List


 Burlap Ribbon")
 Designer Series Paper")


 Metallic-Edge Ribbon")


 Glittered Organdy Ribbon")


 Shimmer Ribbon Pack")


 Lace Trim")