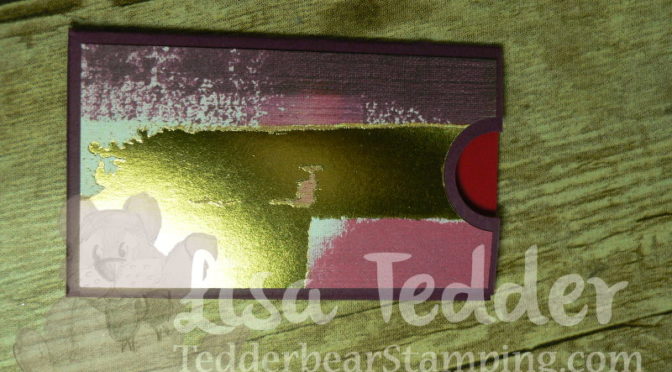
Today I am sharing a video on how to EASILY make a gift card holder using the Mini Treat Bag Thinlits! It’s so simple I even amazed myself at how well it went together! You can watch my video here!
Here is a picture of the finished project:
On my video I show not only how to make this, but how to add the Designer Series Paper and add the half circle so it looks Perfect! You can now make your very own Gift Card Holder and Personalize it!
I used Rich Razzleberry cardstock for the base and for the DSP I used is Painted with Love.
All supplies are listed below and if you click on any picture you will be taken to my OnLine Store!!
Thanks for stopping by!
Lisa Tedder
A California Girl living in North Carolina
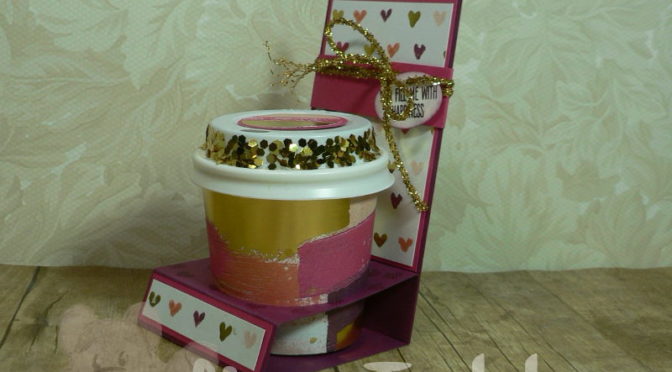
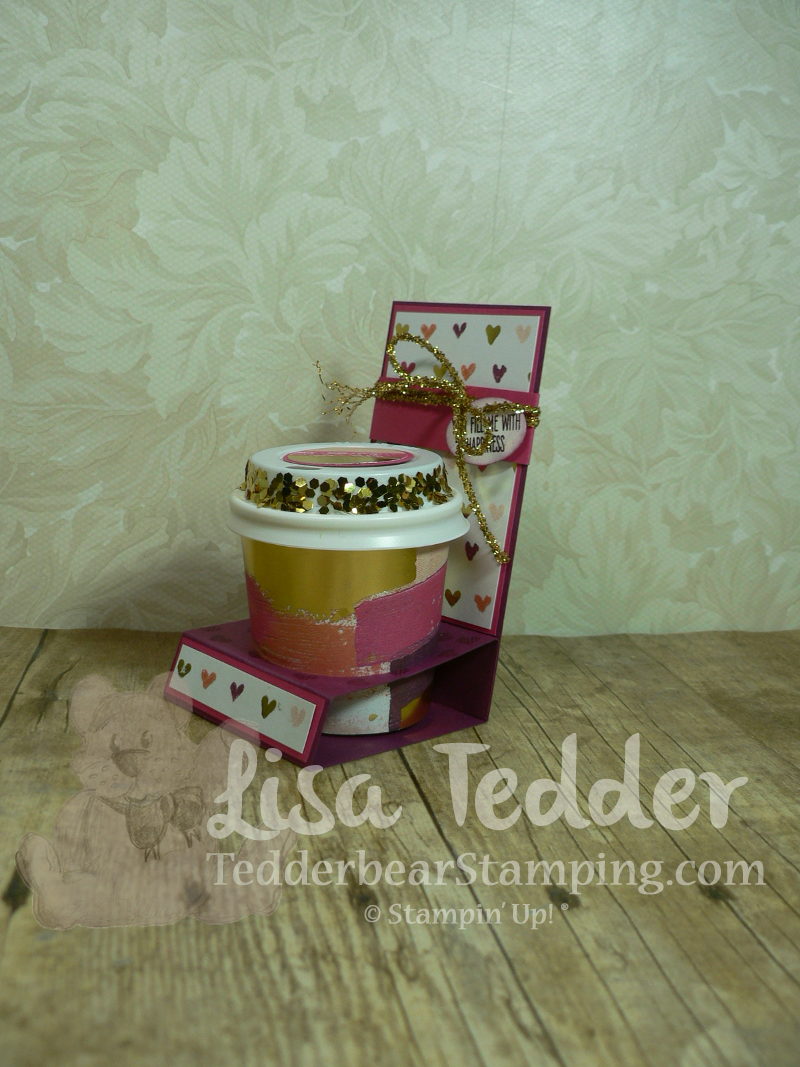
Today is Tuesday!! Today I am going to share with you a REALLY cute project that I’m sure you have seen around……..I JUST made it after Christmas with my team members and I LOVED it! They did a class for our team, and I got to come and be a Student!! It was so much fun and I am TRYING to get them to do it again! LOL
The one we did with them was a regular coffee theme and it was stinkin’ cute! Those little cups are darling!
For my Technique this time I wanted to do something that ANYONE would love to get! It is so full of love I just had to share!
The Belly Band can hold a gift card behind the cup. It has the Sentiment ‘You Fill me with Happiness’, and of course I filled the cup with Chocolate! The sentiment comes from the SU! stamp set Jar of Love. The DSP is Painted with Love Specialty Designer Series Paper and it has Gold Foil Accents throughout the paper! This paper is stunning in person! I had a hard time cutting into it…….just had to keep reminding myself that “It’s just paper”! LOL I’m sure I am not the ONLY one who does that!
On the video I will have all the dimensions for the project, and you can see how it was made. IF you really want to see the glimmer and glam check out the video! NEXT week I’ll show you a quick and easy way to make the Gift Card Holder using your own Designer Paper!!
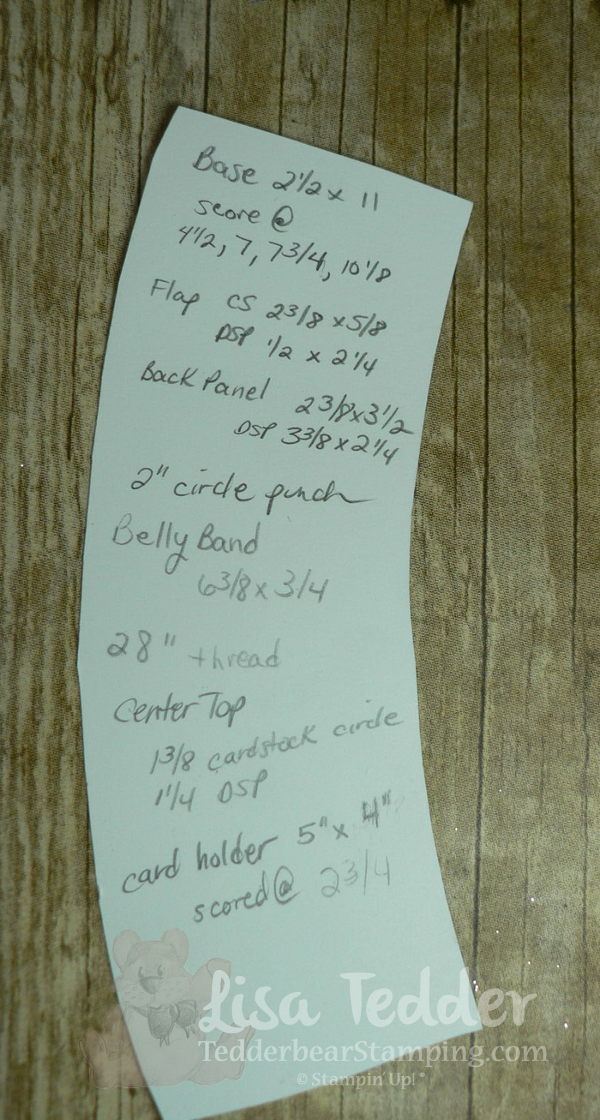
And for all the dimensions I have written them down on my Coffee Cup that I took apart to get the exact measurements. I’ll show you that on the video too! But here is what I wrote down.
This includes the card holder which I will show you next Tuesday!
You can click on any supply image below to be taken to my OnLine Store! I hope you choose me to be your demonstrator in the US!
Have a great day!
Lisa Tedder
A California Girl living in North Carolina Product List
Today I am sharing with you a couple of cards that I made for my YouTube Channel. I have a very simple fold but the cards are stunning! You can see the video here!
While I was at OnStage in Salt Lake City in UT I got to see first hand cards that were made using this set!! I fell in LOVE!
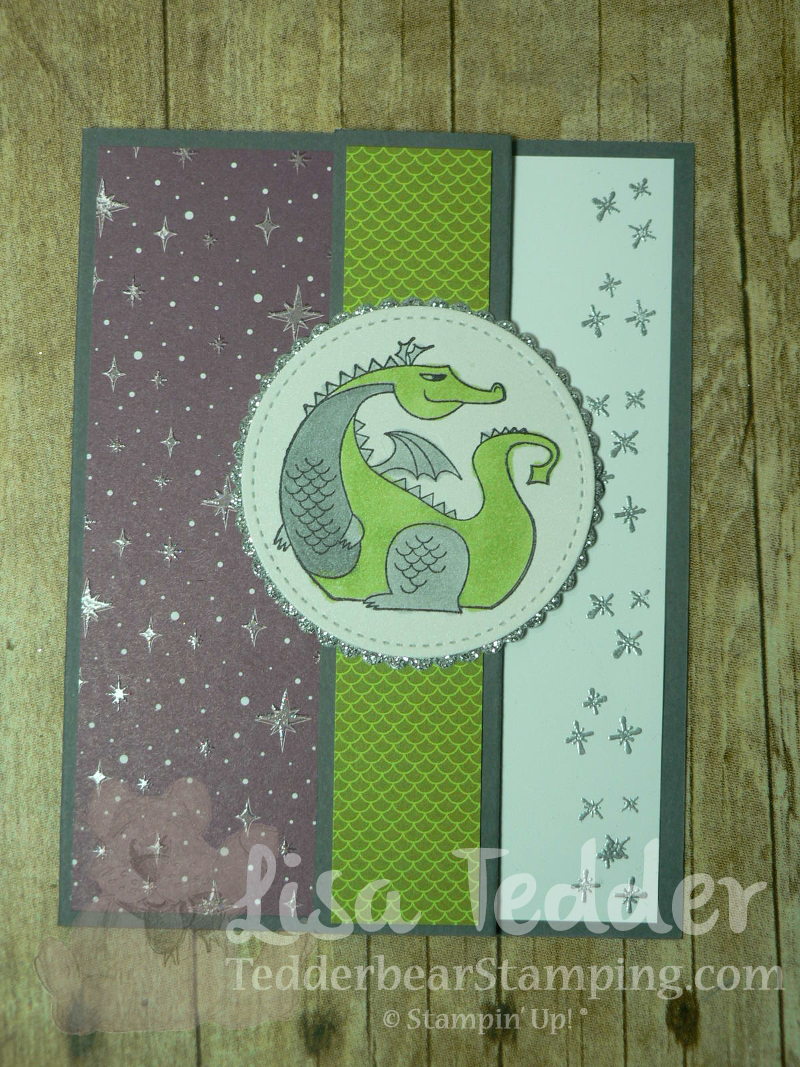
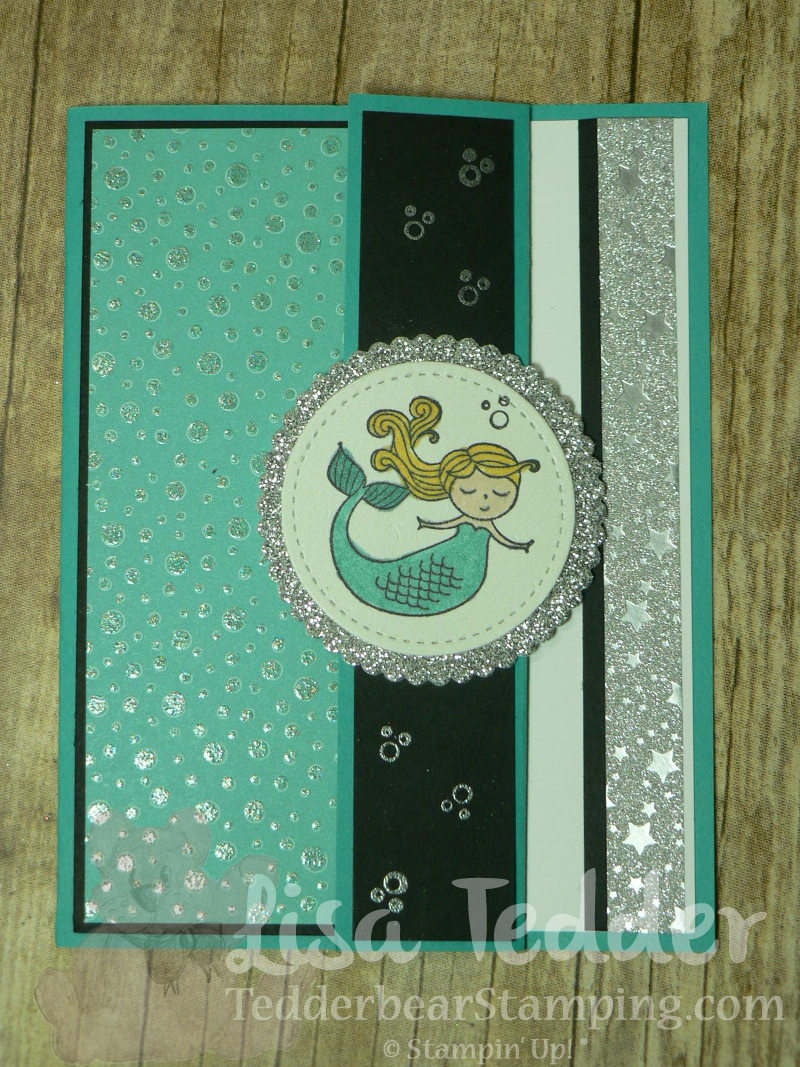
Here is the front of my card:
The Designer Series Paper (DSP) is called Myths & Magic, it is embossed and GORGEOUS!! ON the Video you can see how shiny and beautiful they are!
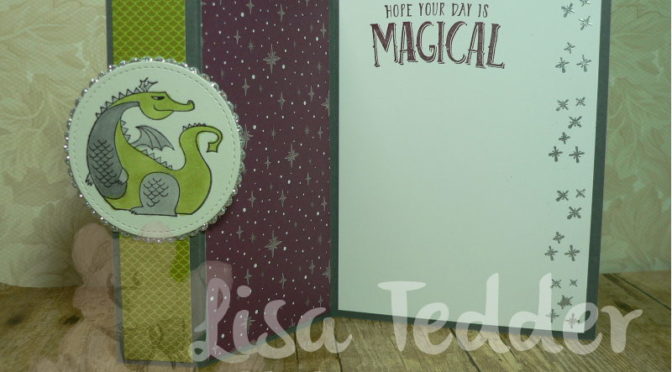
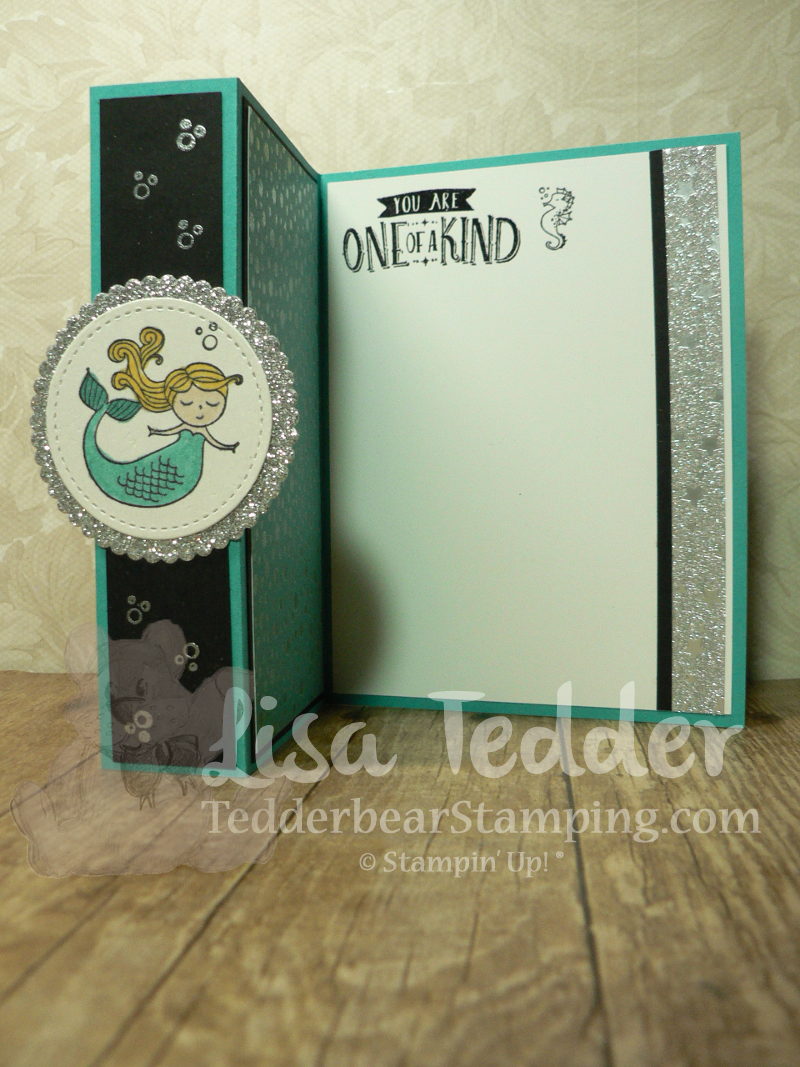
Here it is partially open:
I embossed the ‘sparkles’ on the side using Silver embossing powder.
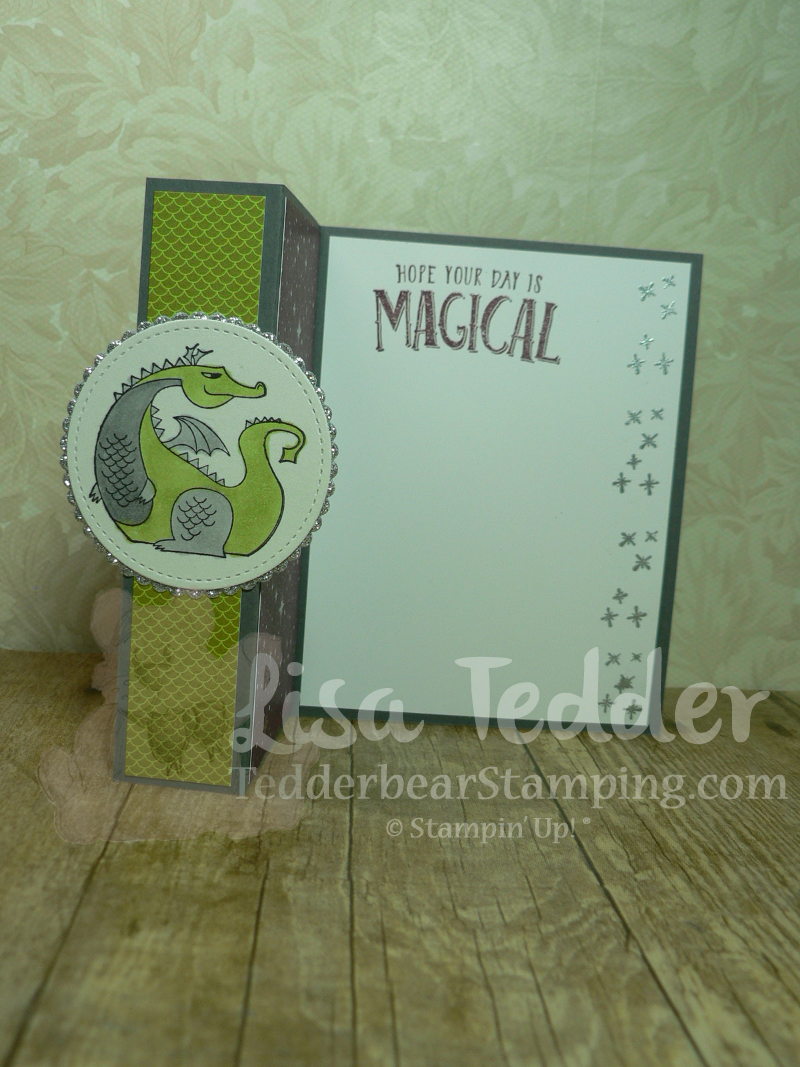
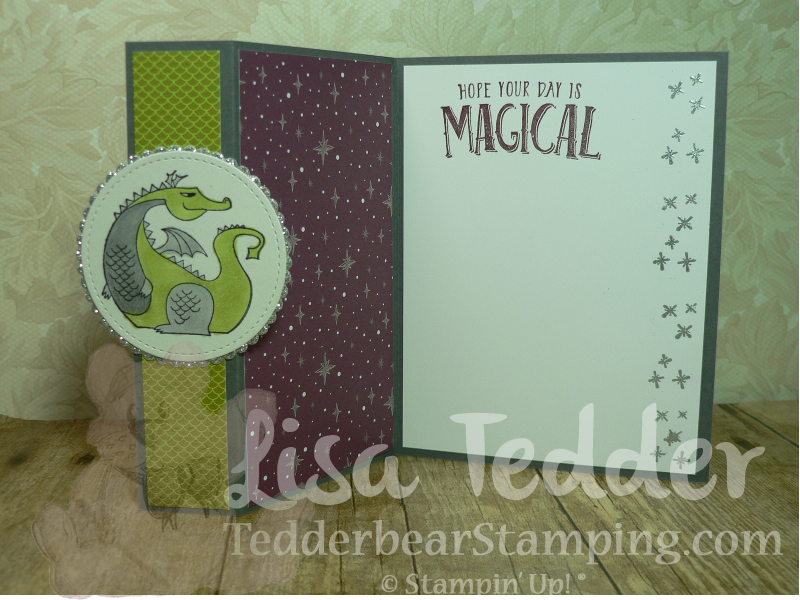
Here is this card open all the way, isn’t it pretty!!?
I used Stampin’ Blends, and just love this card so much!!
Now, here is the other card, same design, different stamps!
I used the Myths & Magic Washi Tape on the side, isn’t it gorgeous!?
I am already planning on ordering MORE of this DSP and Washi Tape!
Well? Do you love it?! If you want a catalog, just let me know and I will get it to you!!
Click on any picture below and you will be taken to my OnLine Store!
Have a great day!
Lisa Tedder
A California girl living in North Carolina Product List
I’m going to save the inside for next week, but let me tell you that you WON’T want to miss it! All the measurements for this card are on the video. This is a fun and easy technique, I hope you check it out!
Click on any of the supplies below to be taken to my OnLine Store! If you purchase from me I will send you a very nice thank you gift!
Until next time!
Lisa Tedder
Tedder Bear Stamping
A California Girl living in North Carolina
I love Tuesday’s! Techniques are my favorite thing about stamping. I get to use my Stamps in a totally different way!! The Technique I am using today had me thinking of what I could put BEHIND trees, but still show what I needed it to show.
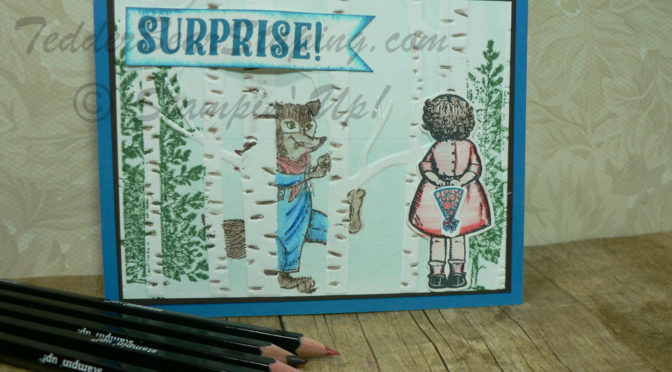
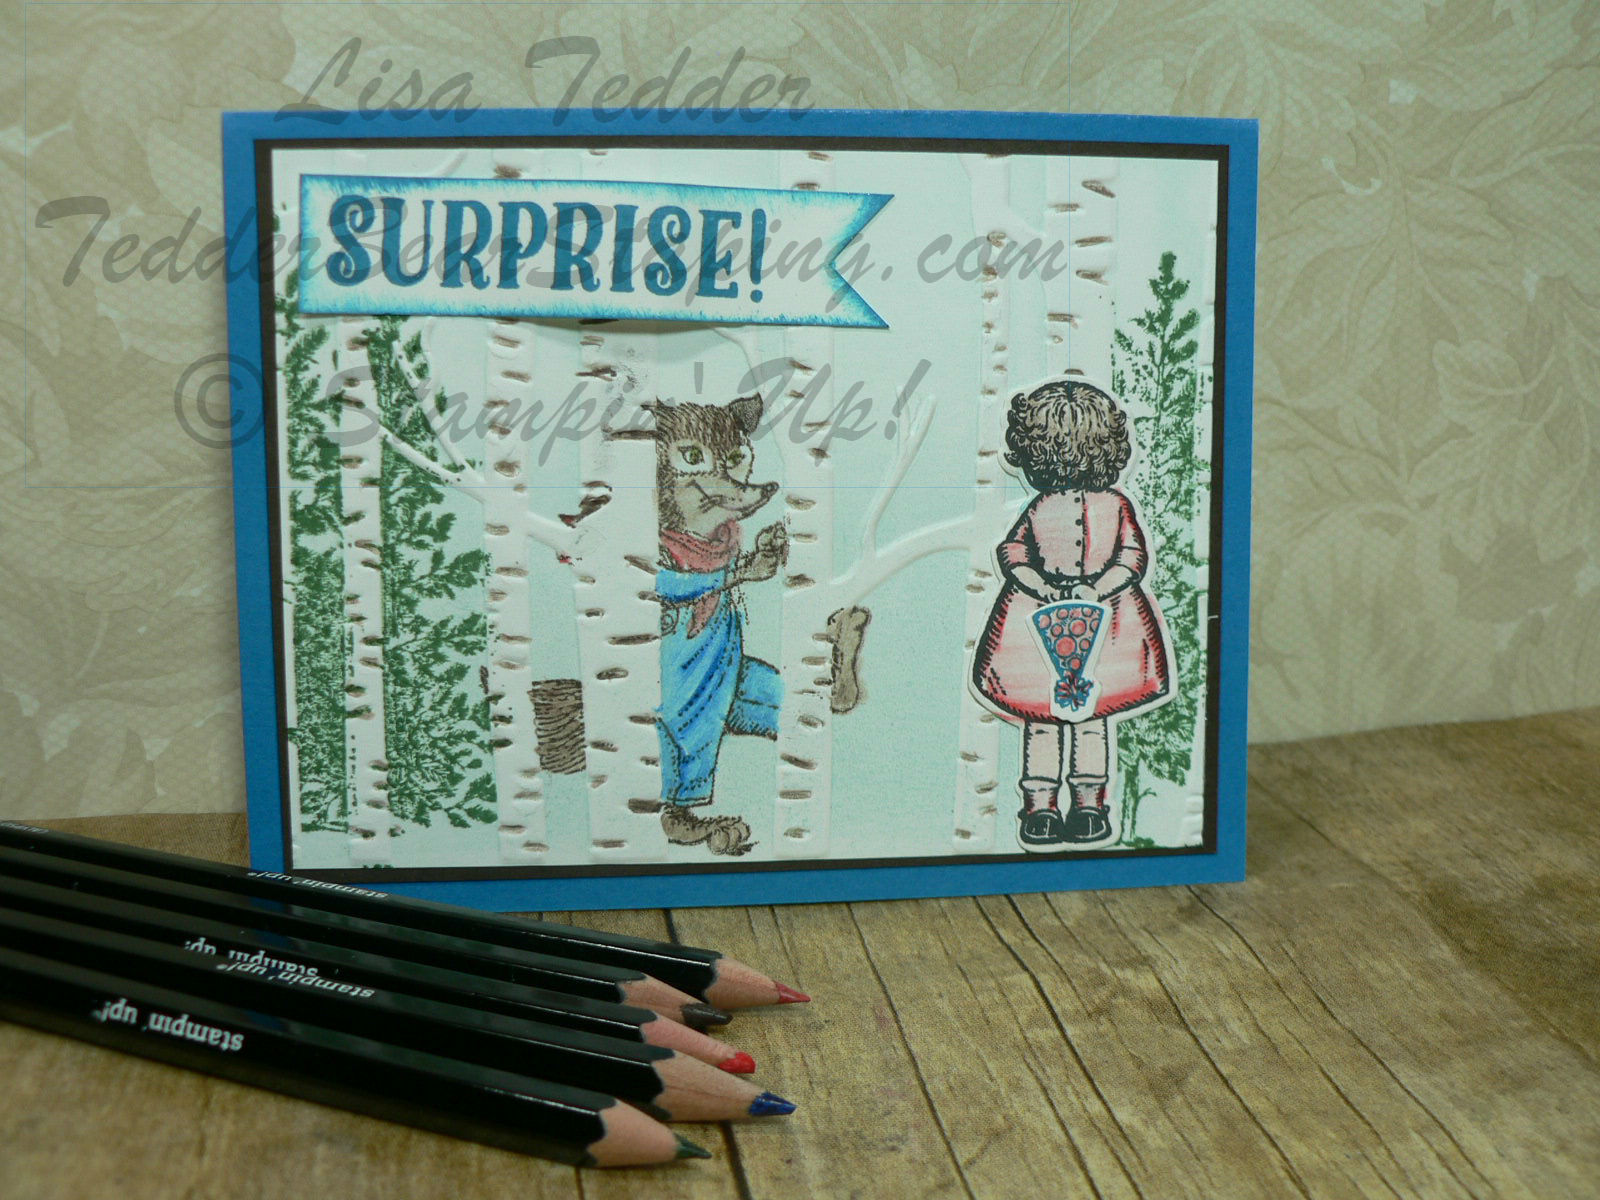
Here is today’s card:
I made a YouTube video showing this stamping technique. I love Birch Trees, I also love the Birthday Delivery Stamp set by Stampin’ Up! I got super excited about being able to use BOTH! When you go watch the video it will show you exactly how easy this technique is to do!
Stamping directly onto an Embossing Folder isn’t something you think of normally. Tips: 1. Stamp on the side that has the negative (dipping down) the part you want as your focal in the folder this will be the part that is raised on your card. 2. Pick images to stamp on that you will see in the lines available that are the flat parts of the folder. 3. Use colors that will enhance what you are stamping. 4. Use a brayer to lay down a color that will be behind the images (sky), anything you stamp over the brayered color will be at the top of the cardstock. 5. Make sure that you don’t move the folder once you put all the stamping in (I did NOT follow this rule on my video, but I fixed my mistake!) 6. Remember that it’s ONLY PAPER, and play with it!
I won’t be able to show you here how to do this technique, it would be too confusing, so please go check out my video and see how fun and easy it is. You will notice that you will look at stamps in a totally new way!
As always, I will have the supplies listed below, just click on any image to be taken to my OnLine Store!
Thanks for stopping by! Until next time!
Lisa Tedder
TedderBearStamping
A California Girl living in North Carolina
Want to receive this card? Check out below how you can be in a drawing to get this beautiful card mailed to you!
Today I am sharing with you a new Technique that I kind of stumbled on!! I’m using the NEW stamp set: Painted Harvest #144783 which will be in the Holiday Catalog coming out in September! You can see the video on YouTube, I have some great tips and it’s a VERY simple Z fold card!
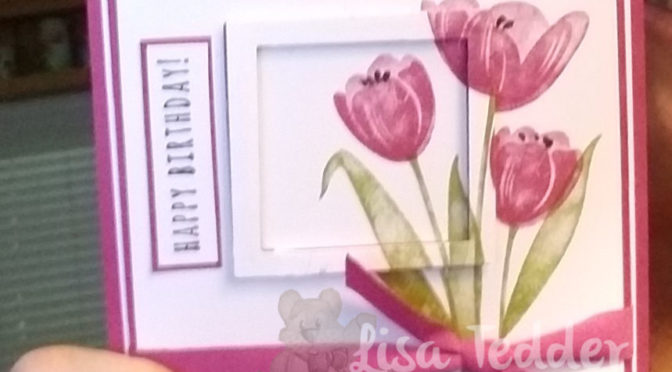
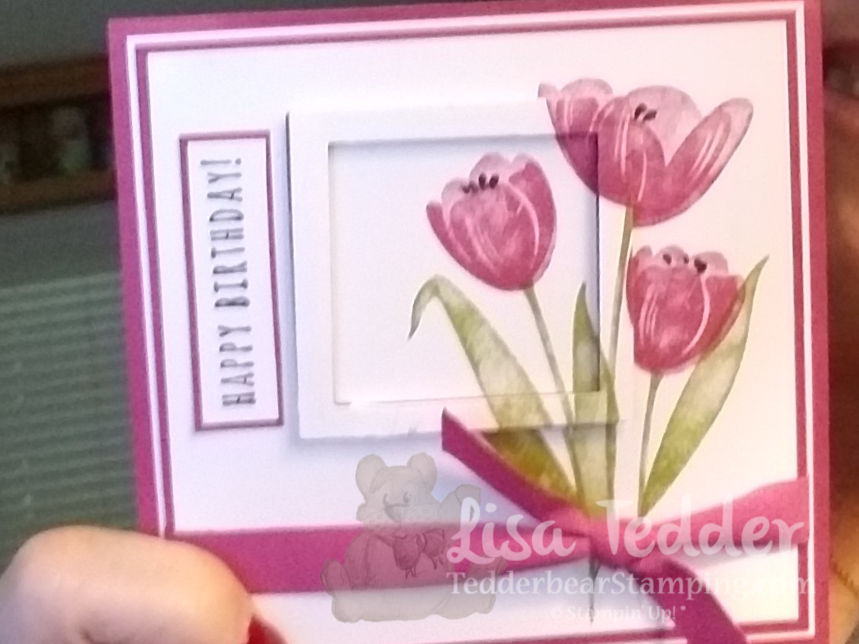
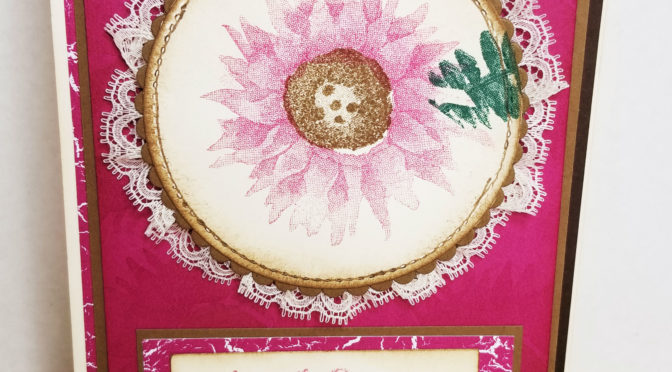
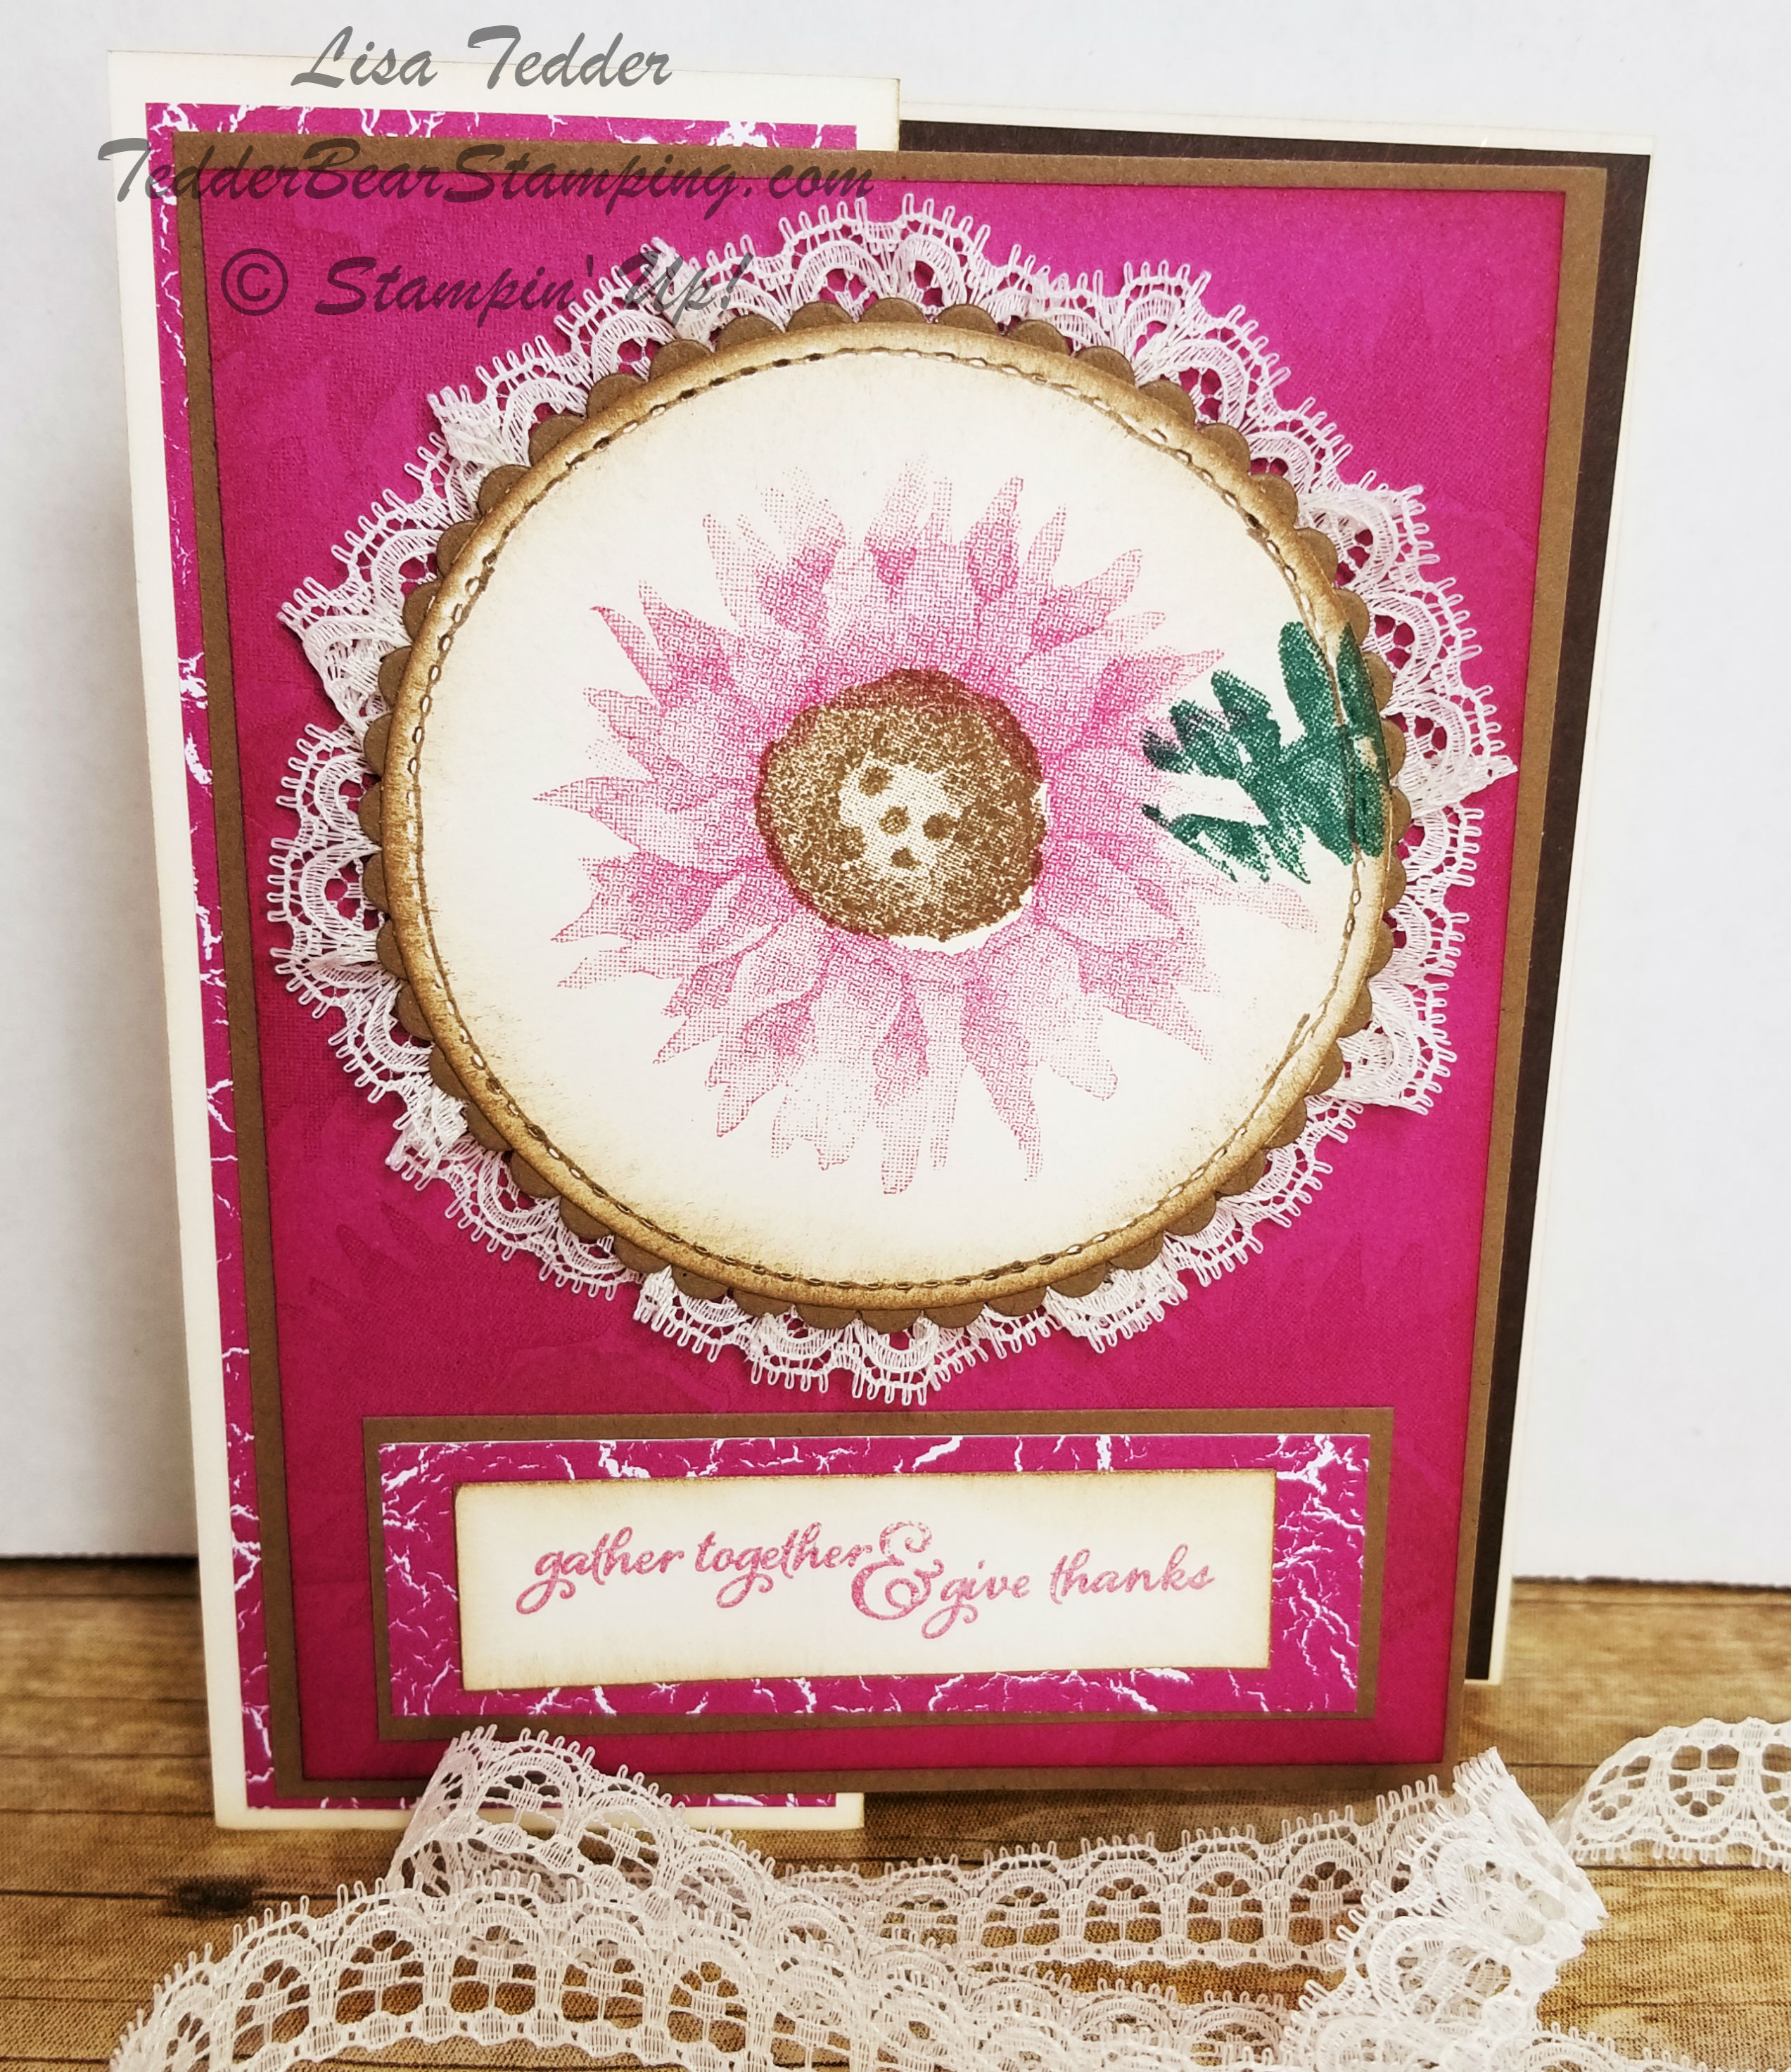
Here is a picture of the front of the card:
Isn’t it GORGEOUS!? I was just playing around and was astounded at how great this came out! This is one of those times when I am sitting at my stamp table (by myself) and I start to talk and say how beautiful it is! LOL No-One is there, mind you……..even after 16 years of stamping I STILL get excited that I can make something this pretty!
Here it is open:
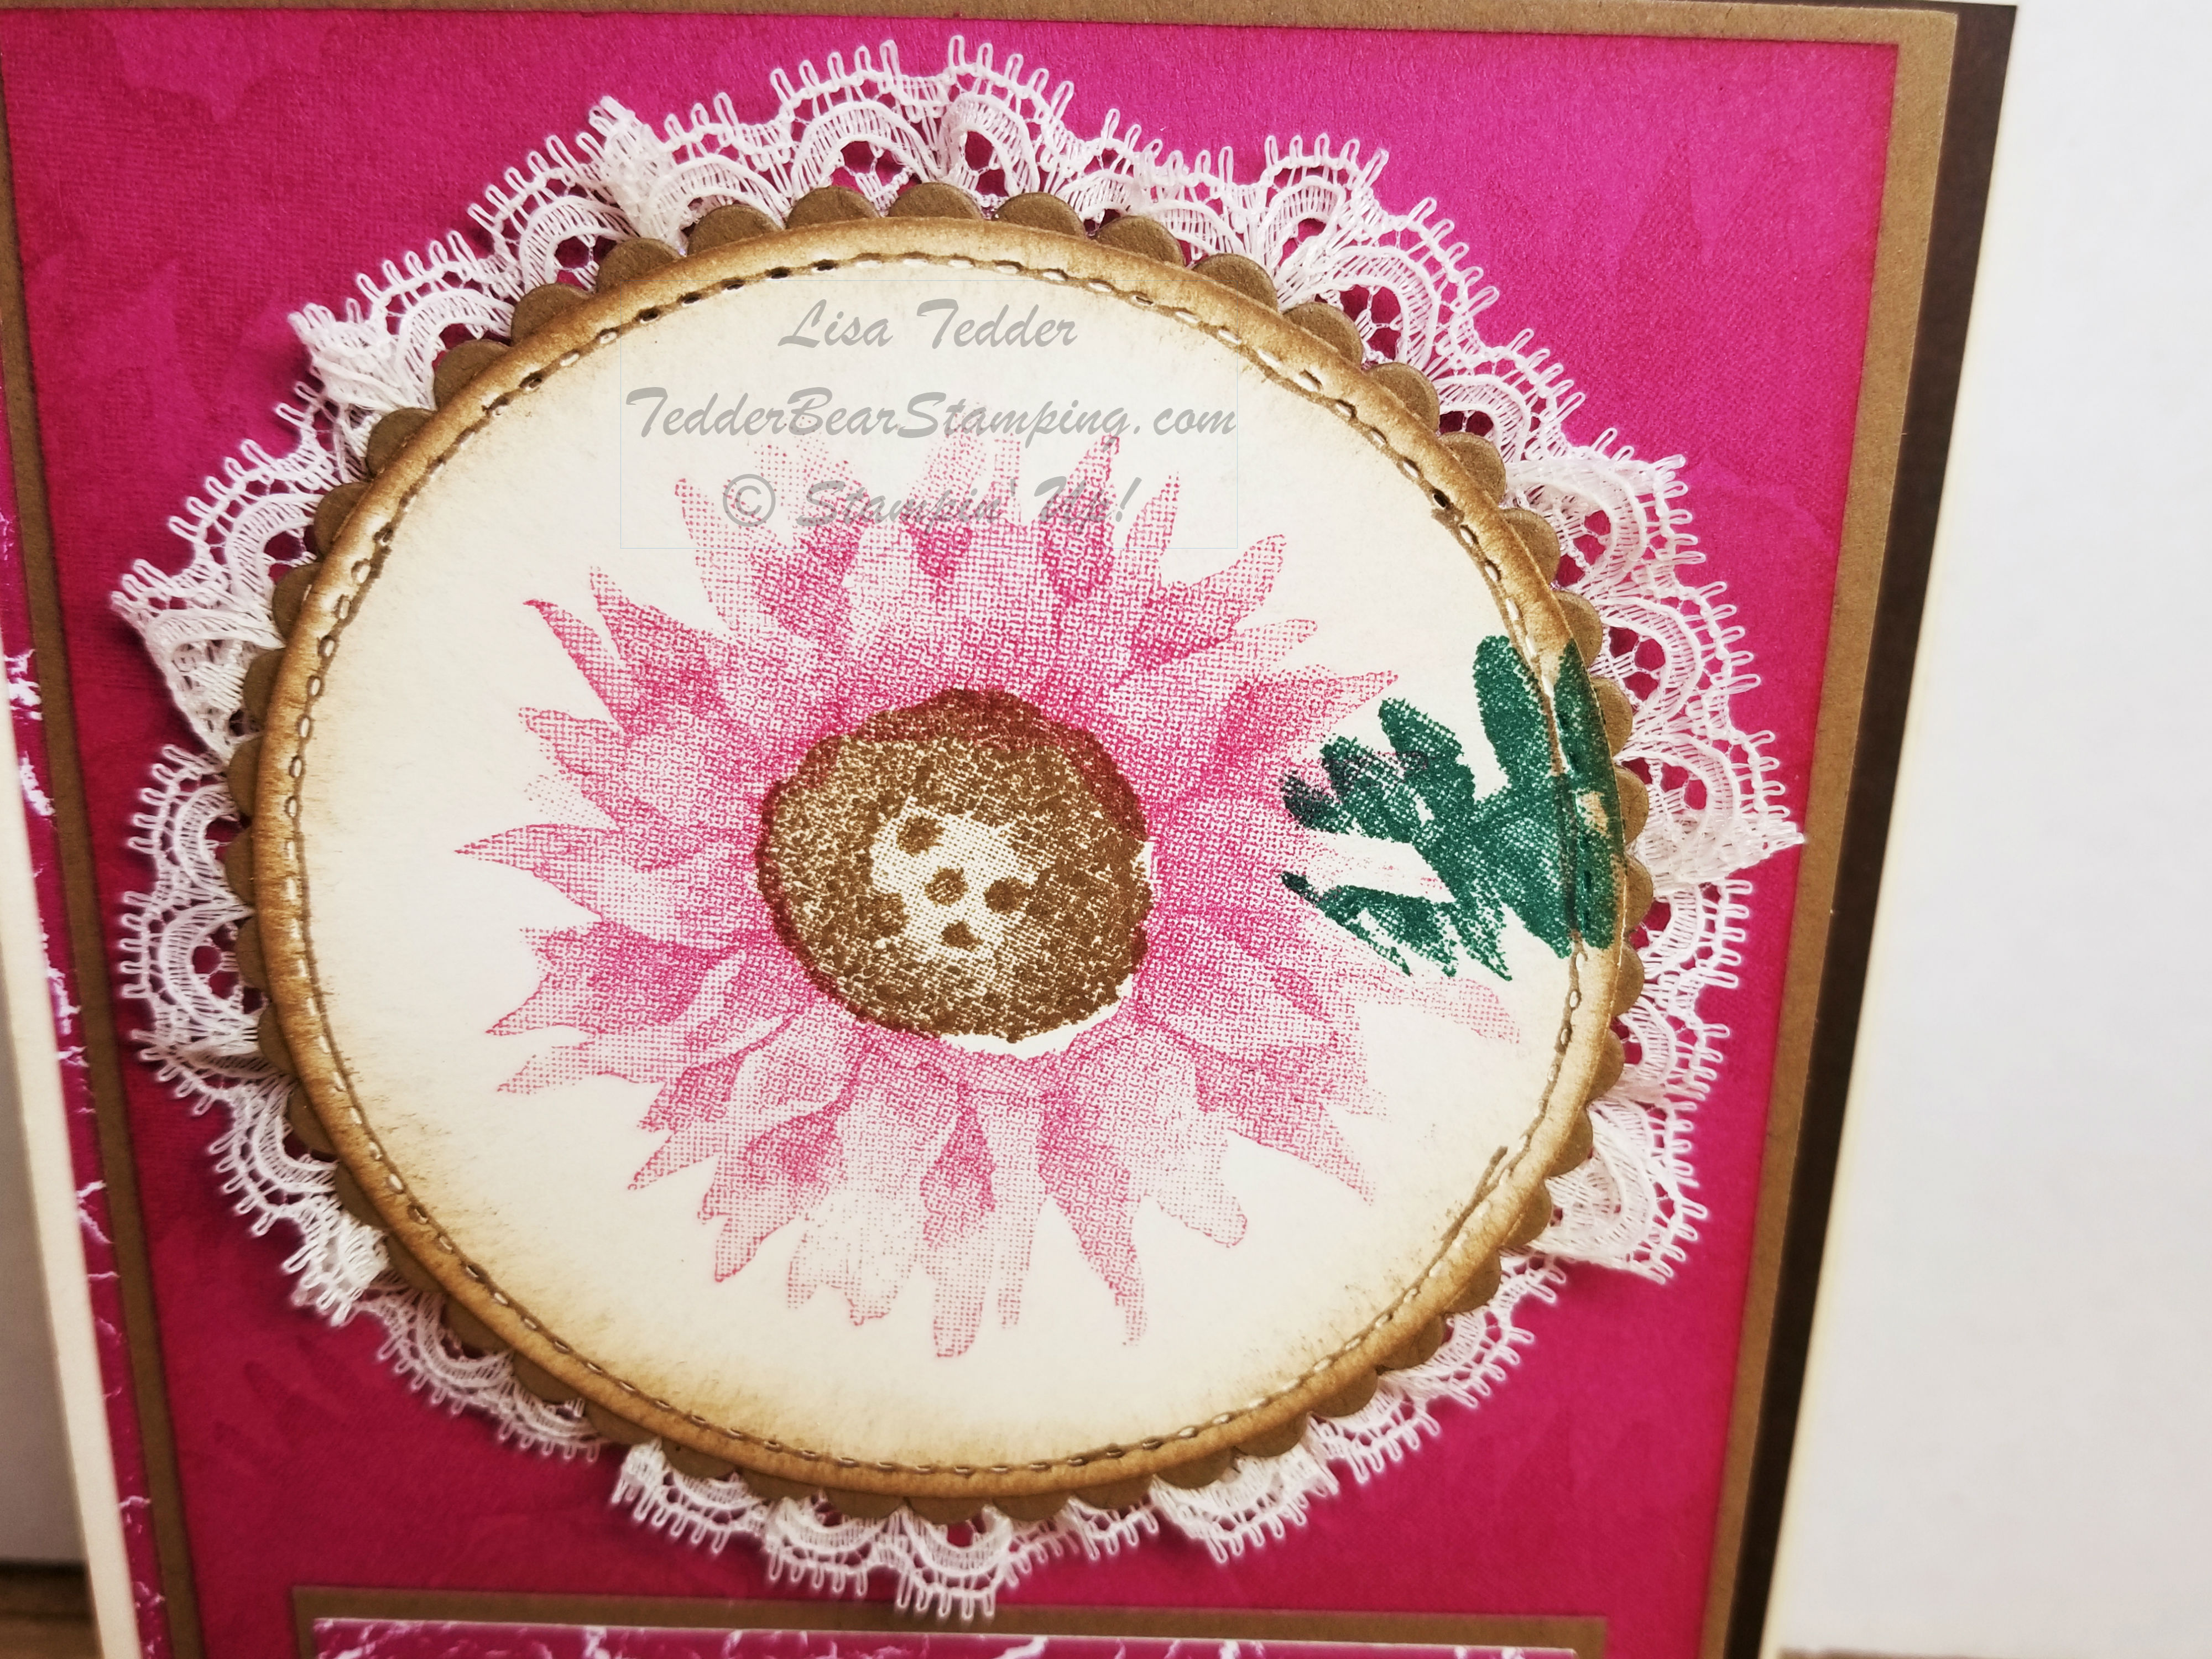
Doesn’t Berry Burst work great with this card? And here is a close-up of the front flower that looks like embroidery:
I popped up this whole piece using the Foam Adhesive Strips since they pop up more than Dimensionals. The video I made shows a different leaf than the one shown here, and I like it better. I show you how to mask the flower and put the leaves behind it. I also show you how to do the ribbon behind this image. If you go see it, leave me a message and let me know what you think.
IF you leave me a message I will have a drawing in 2 weeks on the 28th for one of you to win this card! Leave a message either here on my blog or on the video on Youtube.
ALL the dimensions are on the video, so if you want to recreate this go check it out!
All the supplies are listed below, click on any picture to be sent to my On-Line Store! If you purchase from me I will be sending you a handmade card as a Thank You!
This is a SNEAK PEEK so hope you enjoyed this card as much as I do! Keep an eye out for MORE Technique Tuesday videos! Techniques are my favorite. Anything that will let me use my stamp supplies more are a win win in my book!
Until next time!
Lisa Tedder
TedderBearStamping
A California girl living in North Carolina


 Lace Trim")

