I’m sure I am not the only one who loves the Stampin’ Up! stamp set The Gang’s All Meer! This stamp set makes me smile. It’s easy to create a card using these happy little guys. Saw this card on Pinterest and decided to jump off from Christine’s card, here is her card:
To make it mine, I decided to change it up a bit:
I love layers, almost every card I make has at least one layer, most have more! Do you find it as hard as I do to NOT have layers? Or to even make a card without doodads all over it…….that’s me in a nutshell!
The inside of the card is super cute too!
Look at that smirk! Too cute!!
As usual, here is all the info you need for this card:
Stamps: The Gang’s All Meer Well Said Bundle
Inks: Memento Black Blends: Crumb Cake C, Poppy Parade C
Paper: Granny Apple Green 8 1/2″ x 5 1/2″, 1 1/2″ x 4″ Basic Black 5 1/4″ x 4″ (x2), scraps White 5 1/8″ x 3 7/8″ (x2), scraps
Misc: Layering Circle Dies Stitched Shapes Dies Peaceful Poppies Sequins Liquid Glue Stone 3D folder
Below all of these supplies are in picture form, click on any of them to be taken to my OnLine Store. Any purchase you make of $35 or more you will receive from me a file FULL of over 50 tutorials for projects, with pictures! I would love to be your SU! Demo, if there is anything I can do for you, please let me know!
Lisa Tedder A California girl living in North Carolina
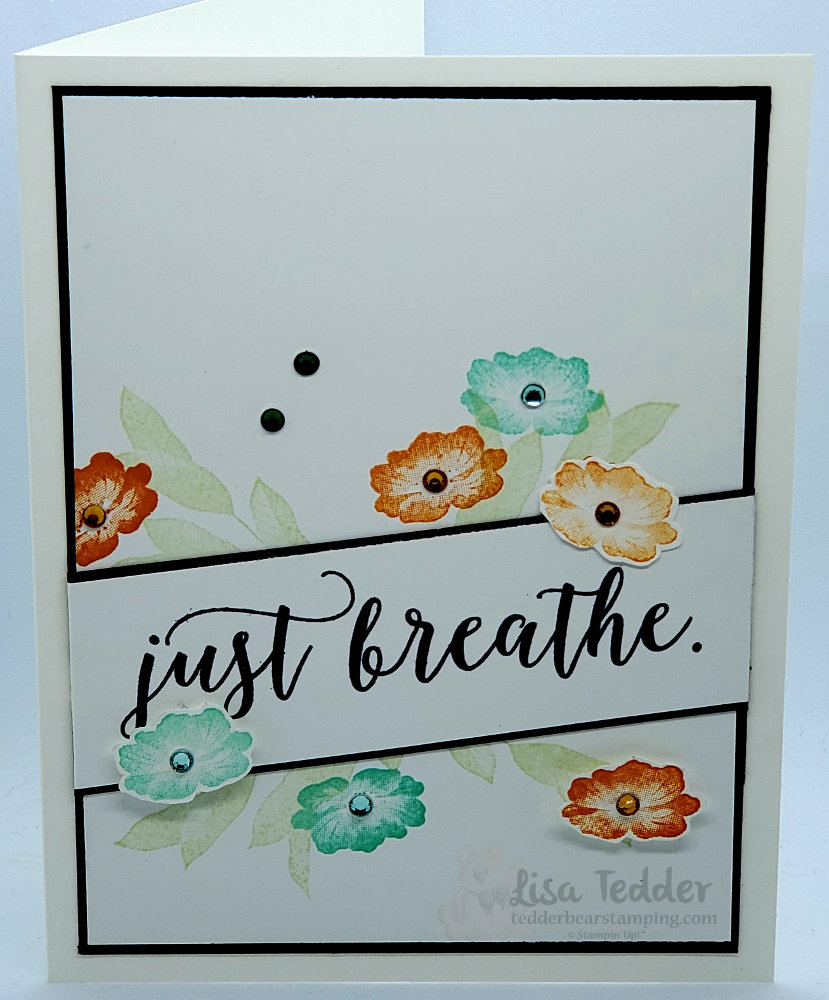
Today I’m sharing with you a card that was inspired by one I saw on Pinterest (it was a rival stamp company), I thought that Stampin’ Up! Stamps would be GORgeous! I used Layered with Kindness, it is a DISTinkTive set! Do you know what that means? SU! has a patent pending for a VERY beautiful way to make stamps look realistic! LOVE them!
These leaves are stunning!
Every time I stamp with a DISTinkTive stamp set I am in awe. You’ll have to tell me if you have used them, what you think. If you want to check them out, go ahead and place an order… look for this sign:
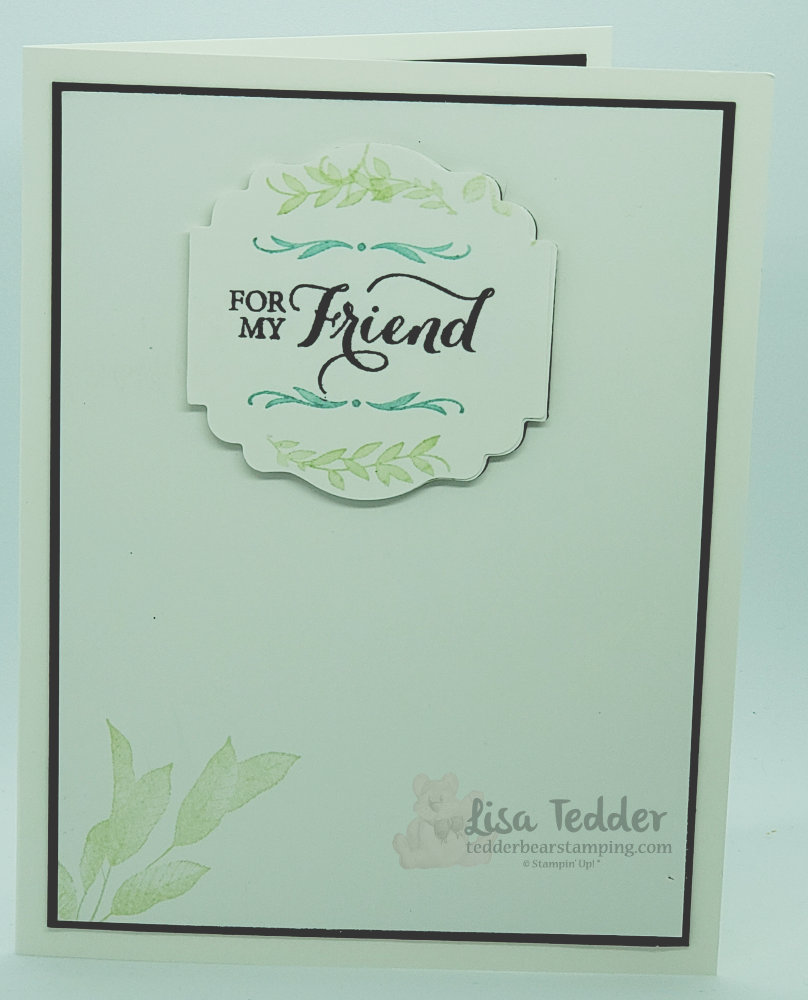
Would you like to see the inside of the card? I used the Label Me Lovely punch. It turned out so pretty!
As usual, I give you all the particulars for this card. All supplies will be in picture form below, click on any of them and you will be taken to my OnLine Store. For purchases $35 and over you will receive from me Tutorials with pictures of over 50 projects!
Stamps: Layered with Kindness Colorful Seasons
Inks: Pumpkin Pie Calypso Coral Memento Black Pear Pizzazz
Paper: Whisper White thick 8 1/2″ x 5 1/2″ Whisper White 5″ x 3 3/4″ (x2), 1 1/4″ x 4 1/4″ (cut at an angle), scrap for cut out flowers Basic Black 1 3/8″ x 4 1/4″, 5 1/8″ x 3 7/8″ (x2)
Misc: Holiday Rhinestones Mini Dimensionals Label Me Lovely Punch
This card was pretty easy, a little bit of fussy cutting but you only cut out three flowers, that’s doable! Of course if you know me, you know I love bling…..I added a rhinestone to each flower and two at the top to add a little bit of bling on it’s own. I think if balances it out!
Thank you for checking out my blog, please come back again!
Lisa Tedder A California Girl living in North Carolina
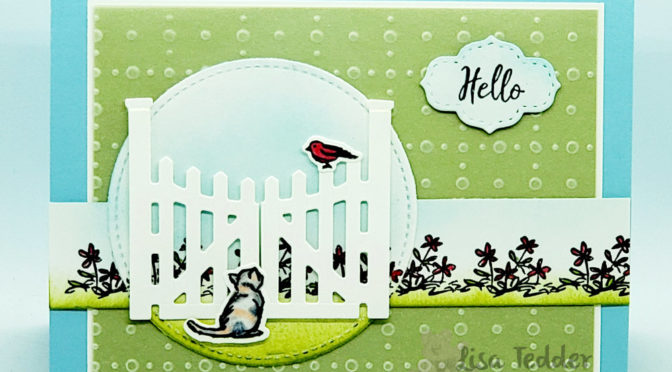
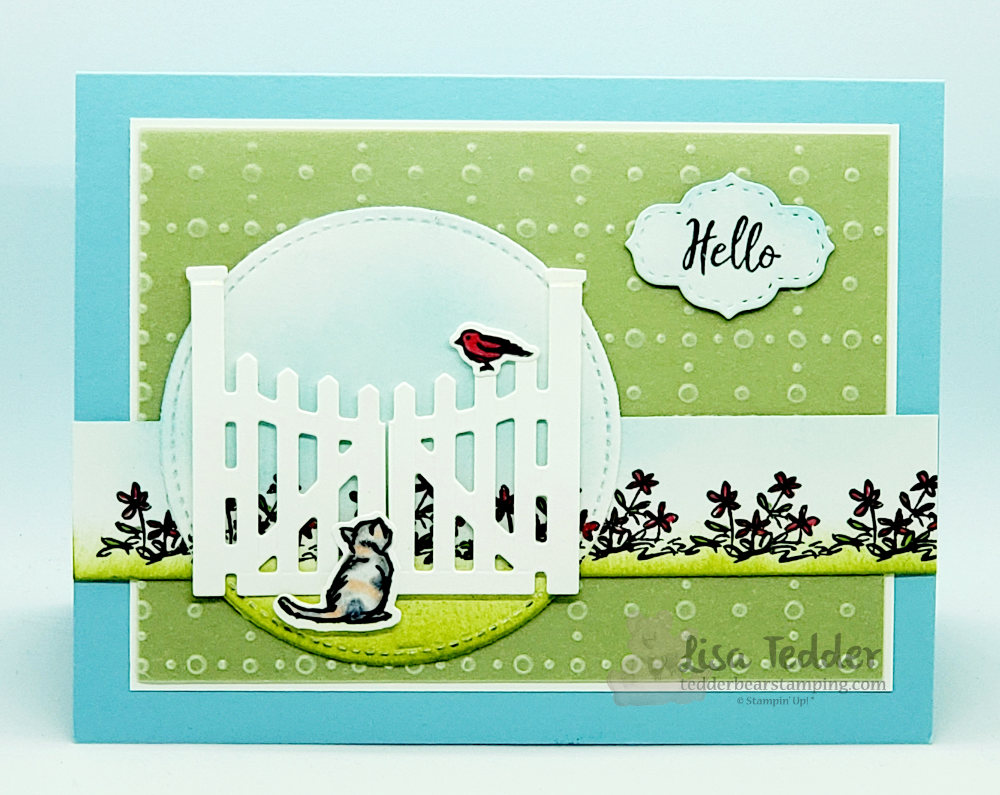
In my last post I showed you a really cute bug card for a kid in your life. Today I am going to show you a card for an older kid using the Stampin’ Up! Bundle Grace’s Garden. Let me tell you this set called to me for MONTHS and I finally broke down and bought it two weeks ago! Normally, I try not to buy too much from the Occasions Catalog, but this time there was just too many things that I fell in love with, so of course I overdid it! The great thing is that this set I can keep forever because it will work great in Scrapbooking!
Isn’t this so cute?!! I love the kitty saying ‘hello’ to the bird! I choose to believe that is what he is doing! LOL I have owned a cat that looks like this kitty, her name was Pepper (after my daughter’s imaginary friend when she was little!)
Are you like me? Do you love fencing/gates or anything like it on a card? I think it really adds a lot! This idea came from KB Papercraft on Pinterest. Changing up the background paper to use the really pretty So Very Vellum DSP in the Sale-A-Bration catalog! Vellum is something I absolutely LOVE working with. To make the Vellum stand out even more I layered under it Pear Pizzazz cardstock, this makes it be more vibrant. The sentiment is different on mine too, I love to use Dies to set it off.
Here are the specifics for this card:
Stamps: Grace’s Garden Bundle
Inks: Memento Black Pear Pizzazz Balmy Blue Blends: Real Red D, Granny Apple Green L, Calypso Coral L, Smoky Slate D, Basic Black D
Paper: Balmy Blue 8 1/2″ x 5 1/2″ Whisper White 4 7/8″ x 3 5/8″ (x2), 1″ x 5 1/2″, 3″ for circle, scraps for sentiment, cat, bird and gate Pear Pizzazz 4 3/4″ x 3 1/2″ So Very Vellum DSP 4 3/4″ x 3 1/2″
Misc: Mini Dimensionals (cut in half) Stitched So Sweetly Dies Stitched Shapes Dies Sponges
Below you will see the products in Picture form, click on any of them to be taken to my OnLine Store. When you place an order from $35 on up you will be sent 50 + Picture tutorials to make all kinds of projects, for Free! This is my way of saying thank you!
Come back to see me! And leave a comment so I know you came by!
Lisa Tedder A California girl living in North Carolina
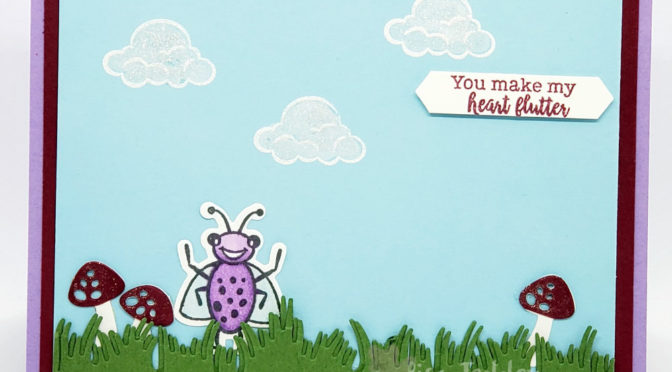
Are kid cards hard for you to make? I am challenged with kid and masculine cards……not sure why, Stampin’ Up! makes it easy, I guess it’s because I am not drawn to kid stamps. But, the Wiggle Worm bundle really called to me! They are just so stinkin’ cute! Don’t you think?
With this in mind, looking at the stamp set and dies, the Bugs are super cute, add in the grass and mushrooms and this card practically made itself! Don’t you love the clouds too?! There is ONE problem that I have with this card, the bare space towards the bottom right is bugging me! Ha! Pun not intended! Would you add something more? For the inside I used the little flying bugs, and thought of adding one to that space, but am afraid that I will over do it.
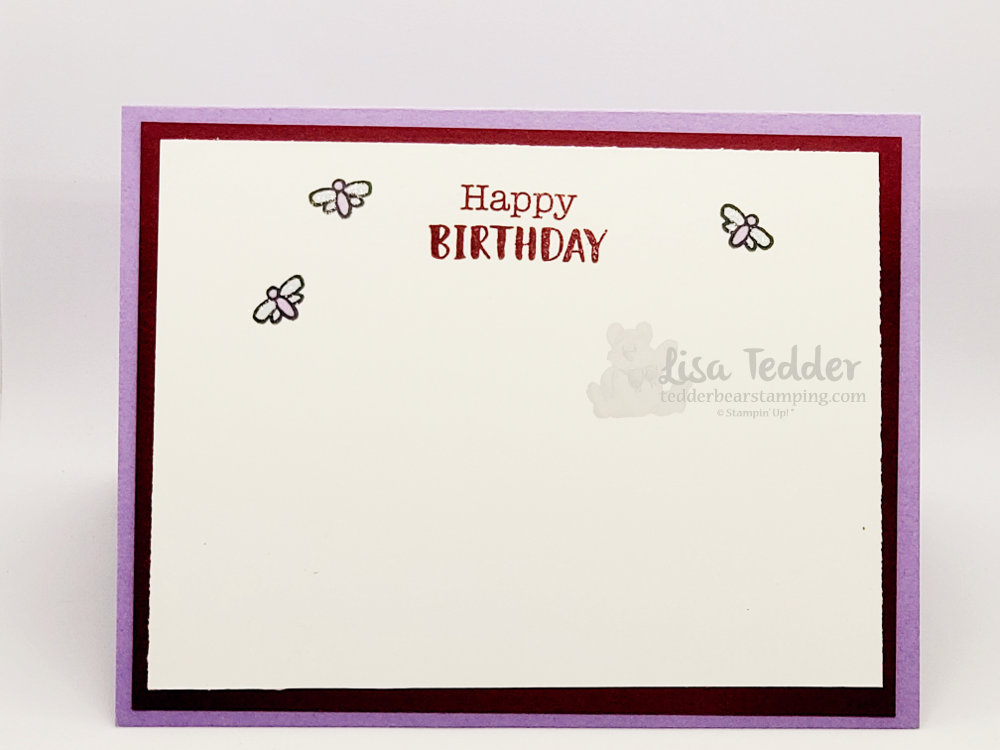
Speaking of the inside here it is!
For the class on the 3rd Wednesday (of every month at 1:00) at our local Senior Enrichment Center, the subject is ‘kids’, so I decided to do this one! Would you add one of the little bugs to the front? Or are you like me and say ‘less is more’ and let it shine on it’s own? Please let me know what you think!
As always, here are the specifics for this card:
Stamps: Wiggle Worm
Inks: Memento Black Versamark Merry Merlot Blends: Highland Heather combo, Balmy Blue Lt
Paper: Highland Heather 8 1/2″ x 5 1/2″ Merry Merlot 5 1/4″ x 4″ scraps for mushrooms Balmy Blue 5″ x 3 3/4″ Whisper White 5″ x 3 3/4″, scraps for sentiment Garden Green scraps for grass
Misc: Chalk Marker White Embossing Powder Heat tool Wink of Stella Dimensionals
So, what do you think? Do you agree with me? That these bugs are just too cute!? My favorite part is the Mushrooms! They just make me smile.
I hope you enjoyed this post. Come back later in week to see what ELSE I am making in the Kid class! Keep in mind that I’m not always talking about ‘little’ kids! My Granddaughter will LOVE the one I’ll show you later! Am I a stinker trying to entice you to come back?! 🙂
Thanks for stopping by! If you are looking for a Demo in the United States, I will do whatever I can do to help you make your own creations! Below you will see all the supplies in picture form, click on any of them to be taken to my OnLine Store! For every order you make from $35 + you will receive from me 2 sets of Tutorials of over 45 just as my thank you!
Lisa Tedder A California girl living in North Carolina
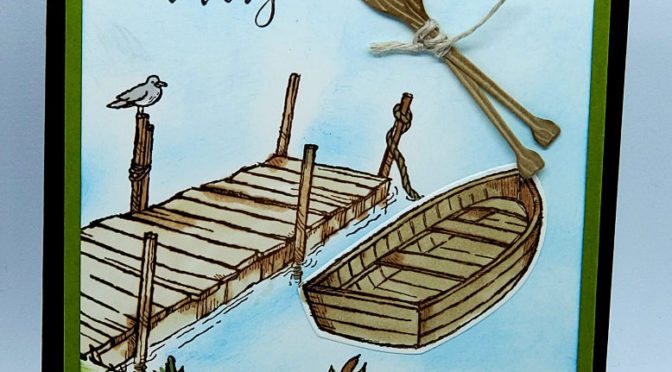
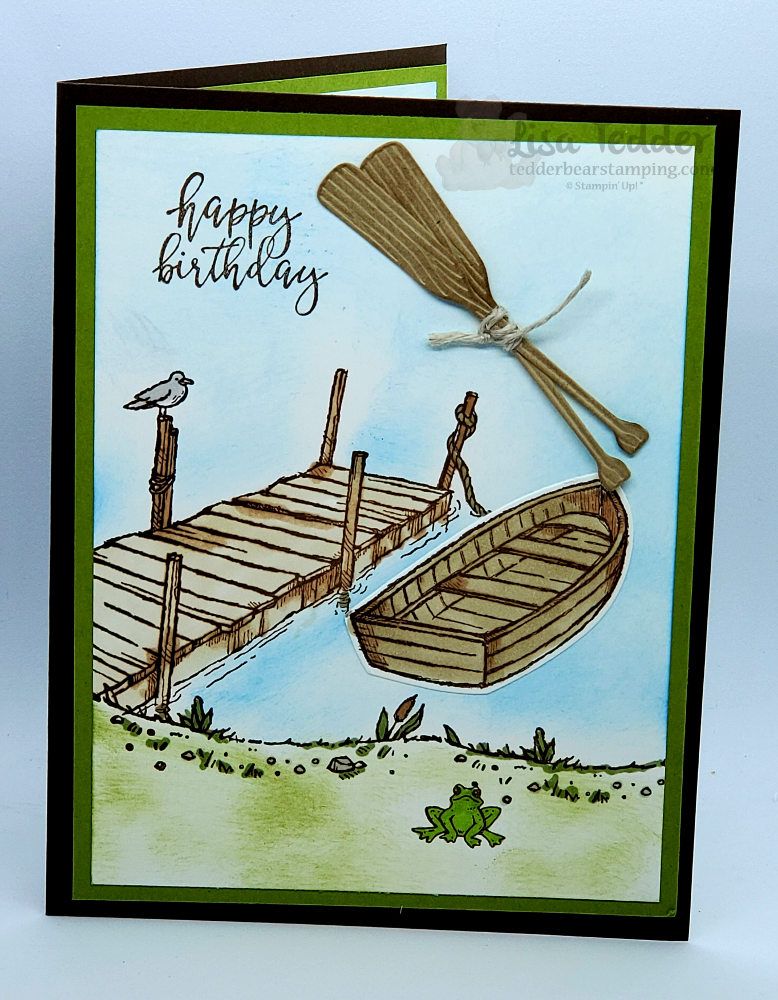
Here’s a Masculine card using the Stampin’ Up! stamp set By the Dock for you! If you missed my last one, check it out here.
The last masculine card had a LOT more sponging and this one has a little sponging and I think it’s much simpler! They are both great cards but this one makes me happier…..not sure why, maybe you can tell me? Here is my card for today:
I LOVE how I colored this!
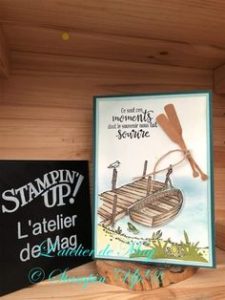
This is a CASE (Copy And Share Everywhere) from L’atelier De Mag, here is her card so you can see how I changed little things to make it mine:
My shore is more pronounced, but you can definitely see that I got my idea from here! Thank you L’atelier for your inspiration, I love it! The cardstock was changed up too, I LOVE using Early Espresso cardstock as a Base for my handmade cards.
For my inside I wanted to make it just as serene as the front:
Isn’t this card one you would like to receive in the mail? I absolutely love, love, love it!
As usual, here are the specifics for this card:
Stamps: By the Dock Bundle A Great Man
Inks: Early Espresso Balmy Blue Old Olive Blends: Bronze, Combo Crumb Cake, Dk Granny Apple Green, Lt Smoky Slate, Dk Old Olive
Paper: Early Espresso 8 1/2″ x 5 1/2″ Garden Green 5 1/4″ x 4″ (x2) Whisper White 5″ x 3 3/4″ (x2), 2 1/4″ sq (for boat) Crumb Cake scraps for oars (sponge over oars after they are cut out to bring out the texture with either Early Espresso or Soft Suede)
Misc: Glue dots Linen Thread sponges/daubers
Also, you will see all these supplies in picture form under my name, click on any of them to be taken to my OnLine Store. If you choose me as your Demonstrator and purchase from me, I will send you a file that has tutorials for 35 + cards plus a homemade card as a thank you!
Hope you enjoyed your visit and that you come back soon!
Lisa Tedder A California girl living in North Carolina
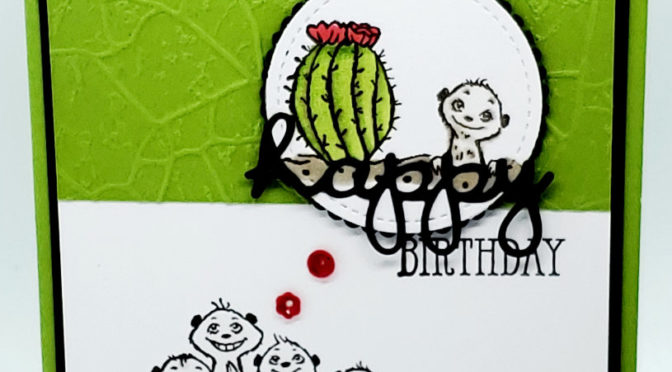
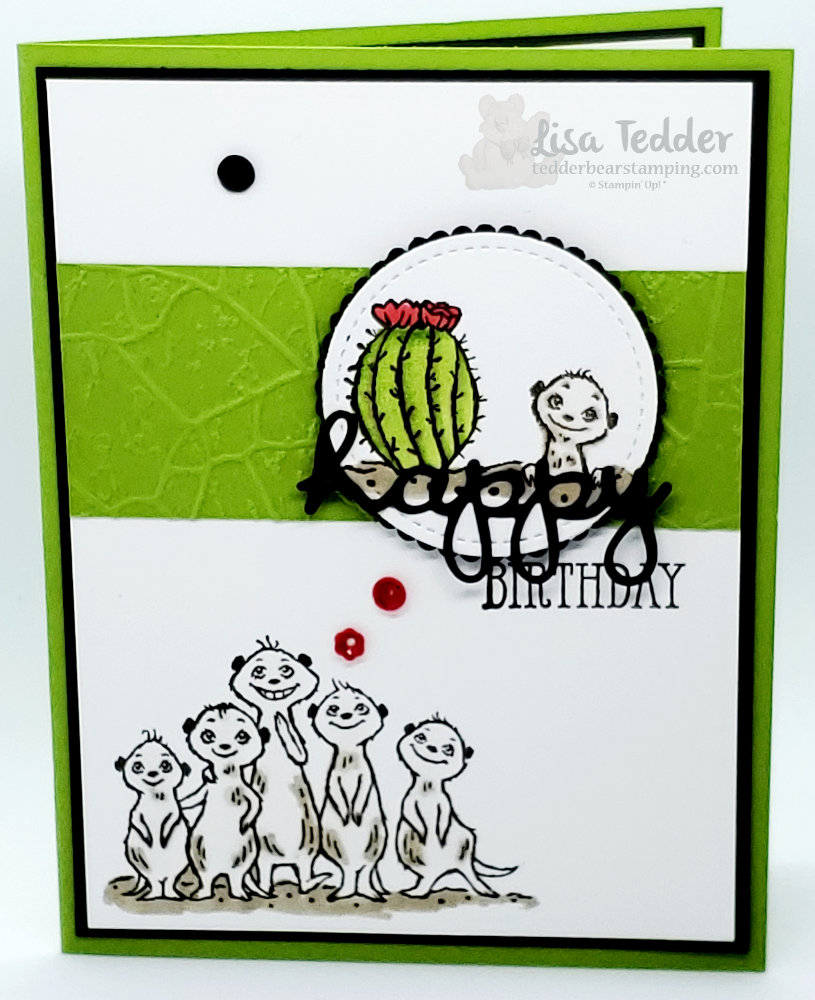
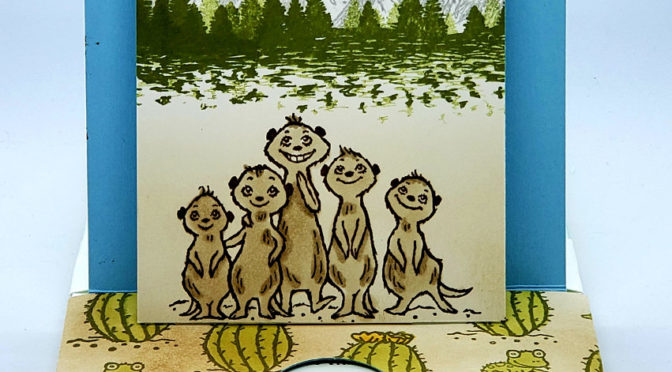
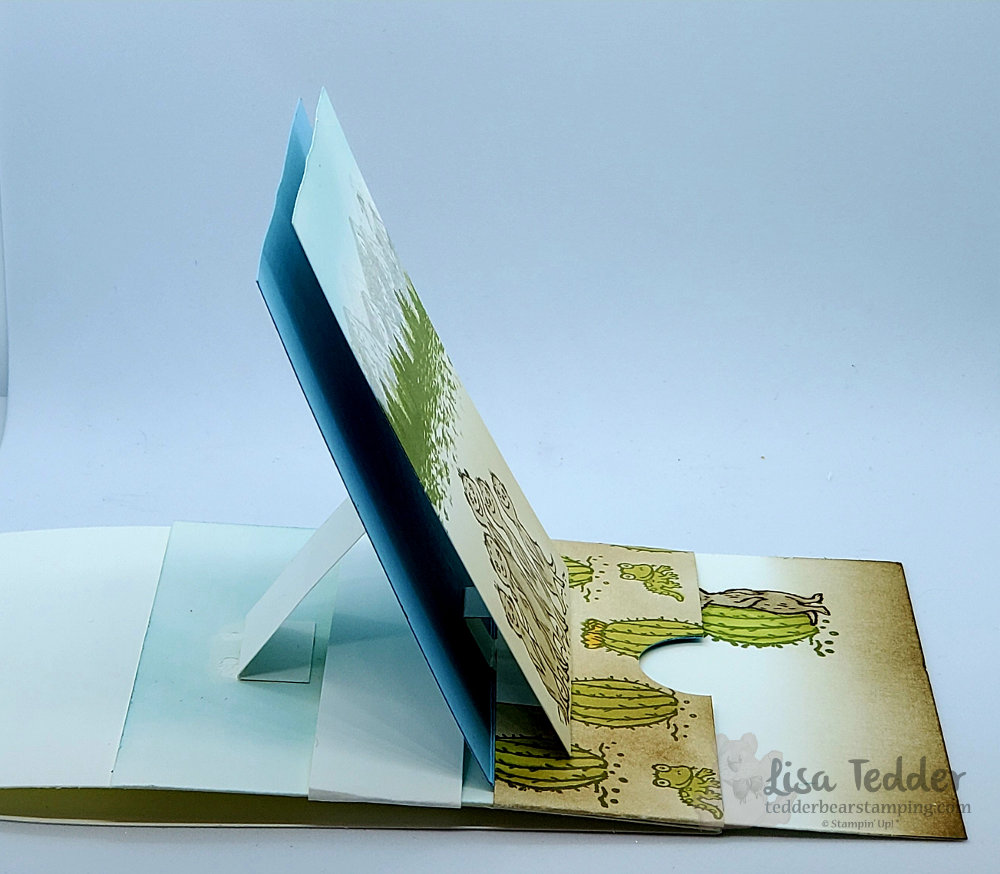
I’m sure that you have seen around the Double Slider Easel Cards, I saw them too, and tried my hand at it! Using The Gang’s All Meer Stamp set from Stampin’ Up! was a no brainer for me. They are so stinkin’ cute! Plus, the sentiment says “Happy Birthday to a STAND-UP friend”, thought it would be perfect to have a stand up card! LOL
Also I used the SU! set Mountain Air, because I thought they would make a great backdrop for those adorable MeerKats! The Belly band is stamped with the cactus and colored with Blends. I tried so hard to find a fitting Designer Series Paper (DSP) that would fit with these cuties, but alas I couldn’t! So, what is a crafter to do? Make their own DSP! 🙂
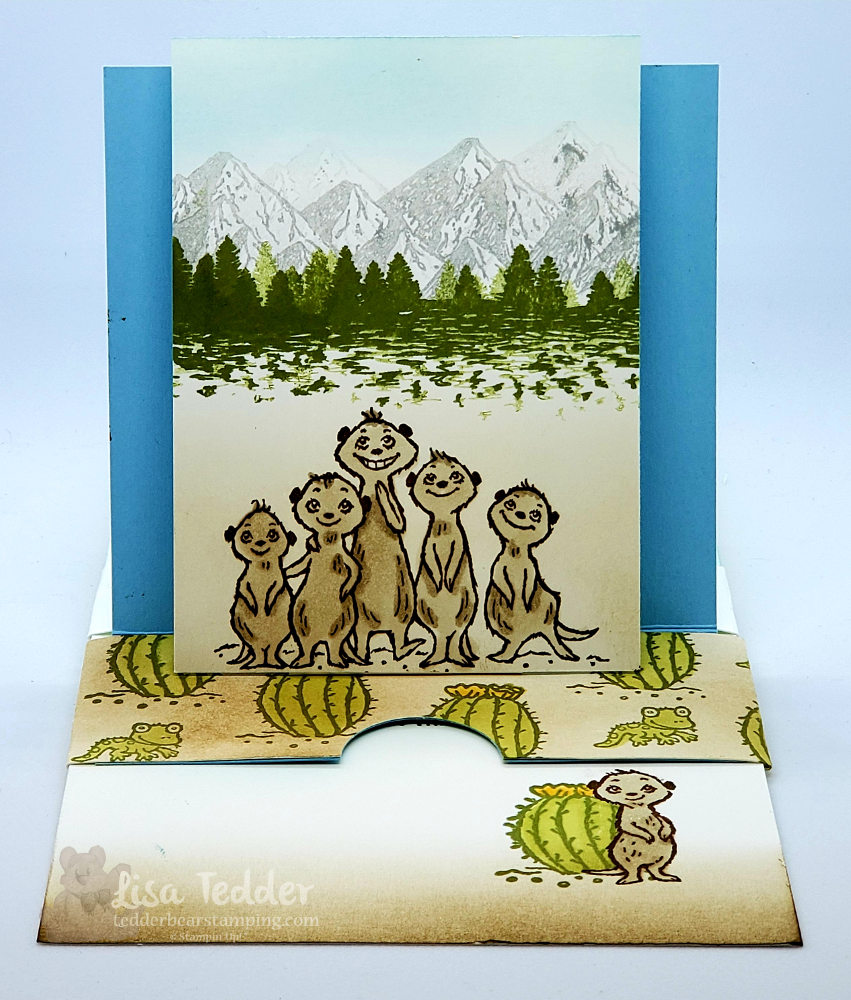
Here is my card, you’ll see a few pics since I want to show you all the angles:
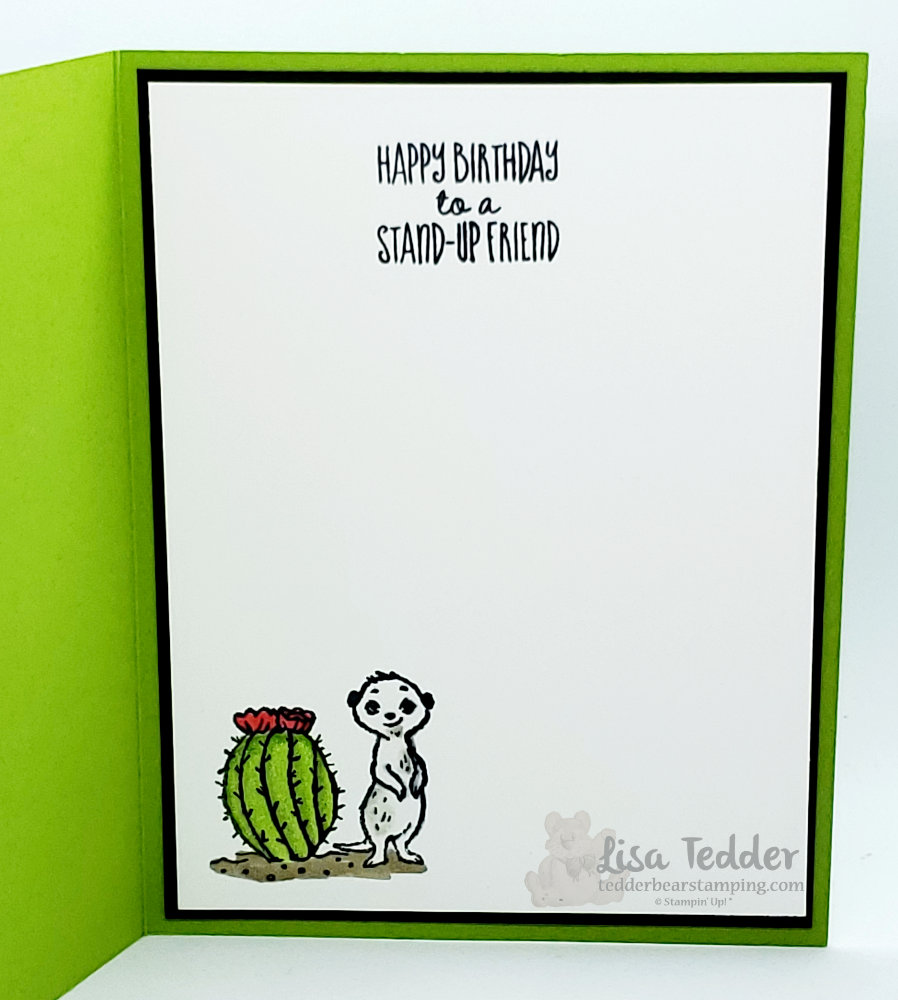
This can open fuller, the sentiment is on the pull out. Can you see that this is open on it’s own?sideways viewInside
Cute right? I like it, depending on what everyone says at my classes is whether or not we make this in a class. It’s a little over the top, meaning it takes some time to get all the pieces together and put in the right place. BUT, it was super fun once I got the gist of it! Thanks go to Frenchie for her video! I may make a video if you would like to see it, just let me know!
As usual, here are the specifics for this card:
Stamps: The Gang’s All Meer Mountain Air
Inks: Smoky Slate (mountains) Old Olive (trees and cactus/lizard) Early Espresso (meerkats) Soft Suede (behind Meerkats and cactus on belly band) Balmy Blue (sky) Blends: Crumb Cake combo, Old Olive light, Mango Melody combo
Paper: Whisper White thick 4 1/4″ x 11″ Whisper White 5 1/2″ x 4 1/4″, 3″ x 4″, 1 1/2″ x 9 1/2″ for banner & for Extra banner if you make a full card: 1″ x 9 1/2″ [2 3/4″ x 1″ (scored @ 1/2″ each end), 2 1/2″ x 1 1/2″ scored @ 1/2″, 1 1/2″ x 1/2″ scored @ 1/2″ & 1″…..for mechanisms] Balmy Blue 4″ x 5 1/4″
Misc: 1″ circle punch sponges Simply scored
So, what do you think? Is this something you want to make for yourself!? I hope you give it a try!
Below you will see in picture form all the supplies needed for this card. Just click on any of them and you will be taken to my Online Store! Anytime you purchase from me, you will receive from me a file FULL of tutorials for you to use! There are usually 40 or more, but I like to promise 35…….don’t want to disappoint anyone! I will also send you a handmade card as a thank you! Every time you order you will get these as my thanks to you! If you live in the US and would like to use me as your Demonstrator, use away! LOL
Thanks for stopping by, hope you enjoyed your visit!
Lisa Tedder A California girl living in North Carolina
First off, I want to thank you for sticking with me. I haven’t always been consistent with my blogging, but I HAVE been consistent with my classes. If you would like to do any of my classes let me know, I love to make cards and decorations and would love to have you join me!
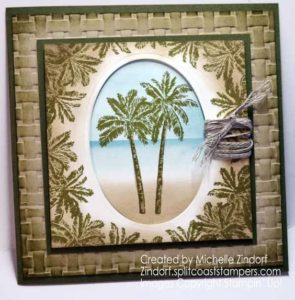
Second, the card I am going to show you today is one that I somewhat cased (which means that I saw a card, loved it but changed it up just a little), this one was inspired by Michele Zindorf. She is very awesome but not everyone can do what she does, so I try to bring it down to what I would hope with some guidance anyone can do! Here is her card:
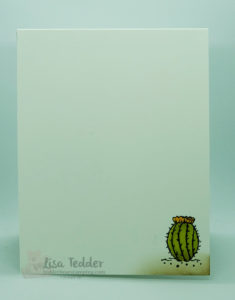
My card is one that fits in a regular envelope, that was my main objective……make this card, but have it fit into an envelope I have.
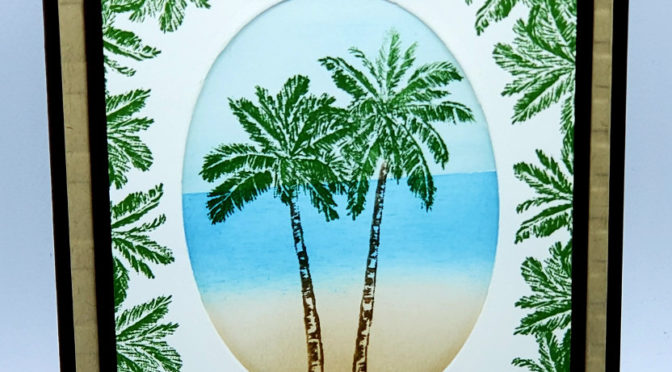
What I love about her card is that you really get to see the basket weave background, since I had to make mine smaller you get a hint of that!
Here is my card:
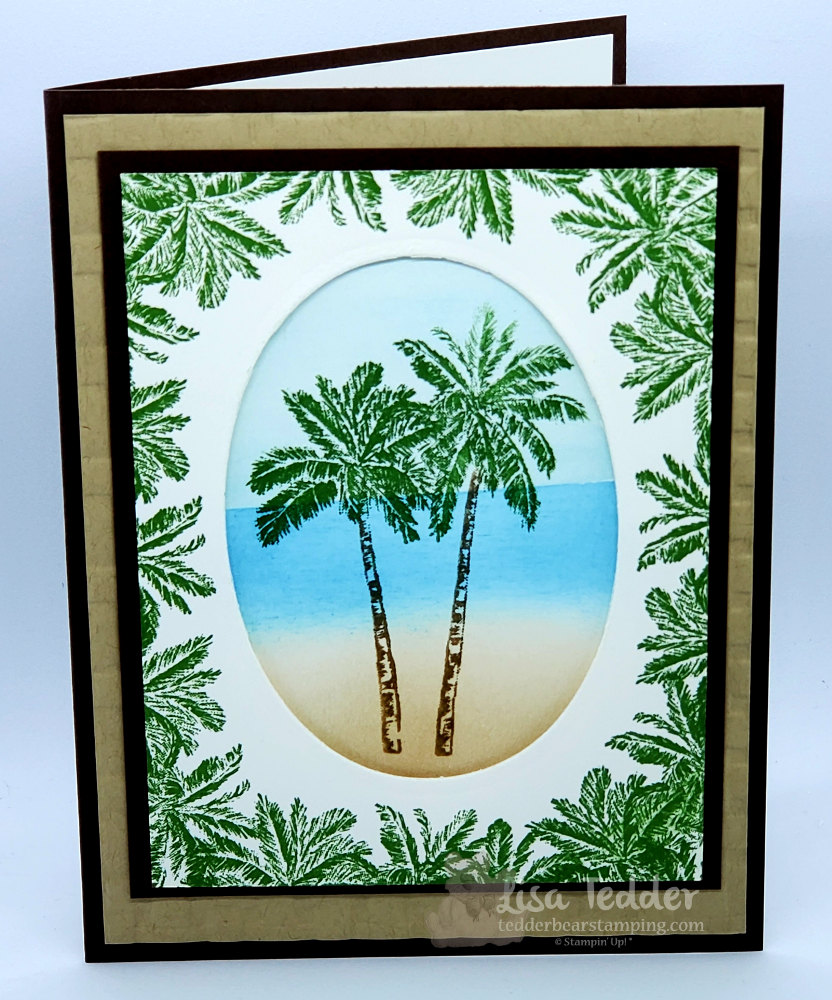
Not sure if I have told you this in the past, but my husband has a virtual tropical paradise in our yards, here in North Carolina! I grew up in SoCal, we and go to Disney World all the time and we both love how tropical it is. So, of course I naturally gravitate towards tropical stamps…..this one REALLY called to me! I hope you love how this came out as much as I do!
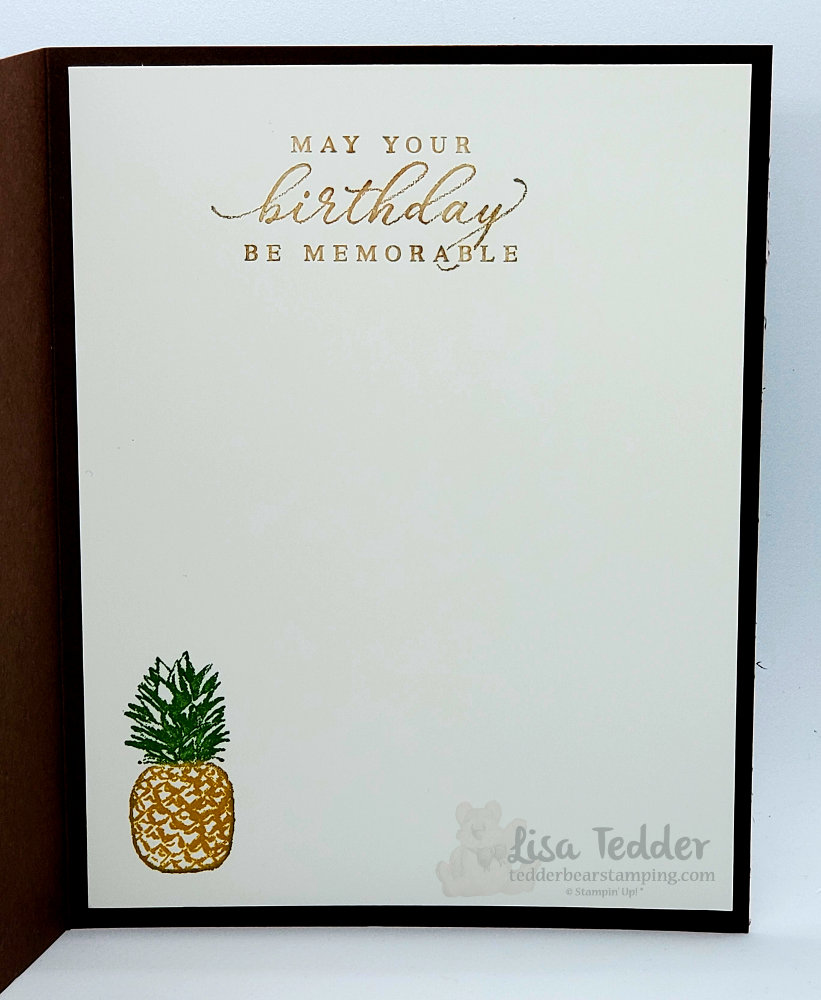
Here is the inside of this card:
Now, here is the specifics for this card:
Stamps: Timeless Tropical
Inks: Garden Green (marker and pad) Balmy Blue Soft Suede (marker and ink pad) Pacific Point Crushed Curry (marker)
Paper: Early Espresso 8 1/2″ x 5 1/2″, 3 5/8″ x 4 3/4″ Crumb Cake 5 1/4″ x 4″ Whisper White 3 1/2″ x 4 1/2″ (x2), 5 1/4″ x 4″ (for inside card)
Below you will see pictures of all the supplies that I used, click on any of them to be taken to my Online Store. I am a Demonstrator with Stampin’ Up! in the US, if you are in need of a demo, I would love to be yours! If you purchase from me, I will send you a handmade card PLUS I will send you a file FULL of tutorials (at the least there will be 35! more than likely more!)
I hope you enjoyed your visit today! Please come back to see me!
Lisa Tedder A California girl living in North Carolina
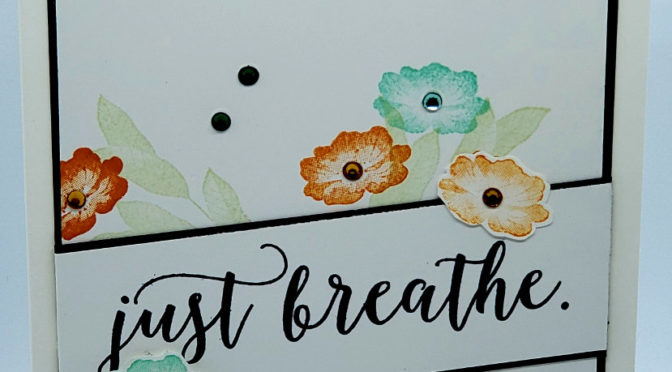
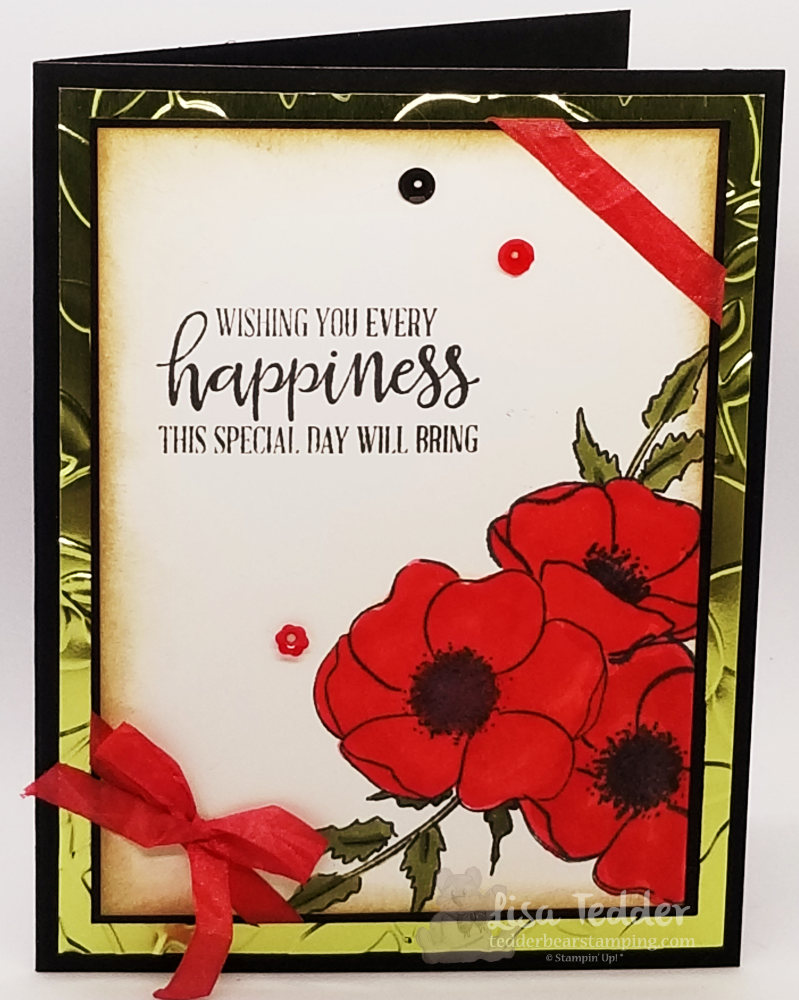
Here I am once again, I am on a roll with my postings! WooHoo for me! Today I am going to share with you a card I made using the Painted Poppies stamp set from Stampin’ Up! This is one of 5 cards that you can do if you purchase the Painted Poppies bundle from me. 3 of the cards are if you purchase the stamp set but you get all FIVE if you get the bundle! I am in the process of showing all 5, later this week you will see the last one, so make sure and come back!
The inspiration for this card was Becca Santos, I changed up a lot so I’m not even sure you would recognize that I was inspired by her card, but I want to give credit where it’s due! Here is her card:
I just realized putting this on, that the other card is where I got the idea for one of my other cards! Sorry Becca that I didn’t give you credit for that one!
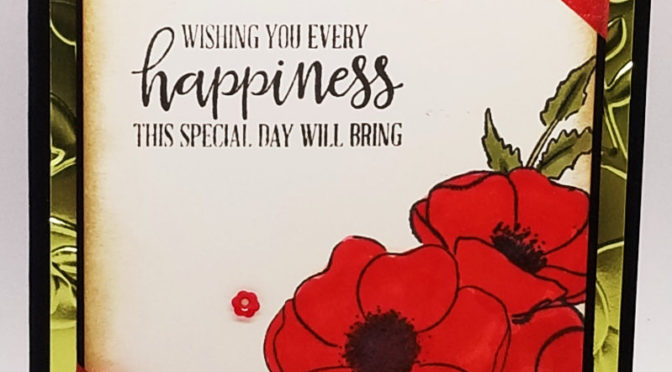
Here is my card for today:
I used the Crinkled Seam Binding for the bow, but I colored it first with a Poppy Parade Blend! Isn’t it pretty?! You can’t see it on this picture, but I used Wink of Stella on the flowers and WOW, that makes it really pop in person!
When I am looking at other’s blogs, I always want to know the measurements and everything that is included to make that card. So, in honor of me, here are the specifics to this card:
Paper: Basic Black 8 1/2″ x 5 1/2″, 3 5/8″ x 4 7/8″ Noble Peacock Foil 5 1/4″ x 4″ Whisper White 3 1/2″ x 4 3/4″
Misc: Peaceful Poppies Sequins Whisper White Crinkled Seam Binding Layered Leaves 3D Folder MultiPurpose Liquid Glue Wink of Stella
Below you will see all these supplies in picture form, if you click on any of the pictures you will be taken to my OnLine Store. And if you purchase anything from me you will receive from me 40 +/- tutorials that change every month. So, each and every month you buy from me you will get new Tutorials! Also, if you buy the Painted Poppies stamp set you will get a pdf of the 3 free cards, and if you buy the bundle you’ll get a pdf of all five!
Don’t forget to come back later this week so see the final card!
Lisa Tedder A California girl living in North Carolina
Hopefully, you’ve been following along with my cards that I will do in a free class when you purchase the Painted Poppies Stamp set from Stampin’ Up! And, if you buy the bundle you can make FIVE cards! The last 2 posts I have been showing you the cards that we will be doing.
First off, can I say how much I LOVE this stamp set!? It is super pretty and the way SU! brought so many cool things that coordinate with it make it even that much better! Every time I get on Pinterest, I find something else that I want to do, or am inspired to make.
Secondly, I love that Stampin’ Up! is always encouraging us demonstrators to do well in our business. They gave us a challenge to sell a certain number of this set, and being that it is so cool, I doubt I will have any trouble! It was first on my list to buy and I’ve heard others say the same thing.
Enough Talk! Here is the 3rd card you can make with me:
Simple but very elegant, right? I love how the DSP brings out the color of the Poppy.
Inks: Memento Black Gorgeous Grape Highland Heather/Mossy Meadow Blends
Paper: Gorgeous Grape 8 1/2″ x 5 1/2″, 2 1/2″ x 3 5/8″ Basic Black 5 1/4″ x 4″ (x2), scraps for 4 swirlies on sides (from Die) Perennial Essence DSP 5″ x 3 3/4″ Shimmering White 3 3/8″ x 2 1/4″ Very Vanilla 5″ x 3 3/4″
Misc: Noble Peacock Rhinestones Dimensionals Wink of Stella
As you can see, Elegance doesn’t have to be hard! I love the touches of the black swirls (Die) on the sides, really sets off the flower, don’t you think? Plus the Wink of Stella adds just that POP that this card needs!
Below you will see all the supplies in picture form. If you click on any of the pics you will be taken to my OnLine Store! IF you decide to purchase this set from me, you are invited to my class where you will make either 3 cards OR 5 if you purchase the bundle! Live too far away? No problem, I will send you a pdf of the instructions with pictures!
Also, you will receive from me 40 +/- tutorials that will give you so many ideas! This happens every month, so if you are consistent in purchasing from me, you will be overwhelmed with ideas!!
Thank you for stopping by!
Lisa Tedder A California Girl living in North Carolina
Here I am again! Are you ready to see a card I made using the Stampin’ Up! stamp set Painted Poppies? First, let me tell you that I have been challenged by SU! to sell a certain number of Painted Poppies. Second, I am really not thinking this is much of a Challenge since this set is STINKIN’ CUTE!
But, since this IS a challenge I thought I would add some incentives to purchase from me! So, I am offering 3 cards if you just buy the set AND 5 cards if you purchase the bundle. The class is FREE! You’ve already seen ONE of the cards, and I am here today to share with you a second card. Stay tuned throughout this week and next to see the others!
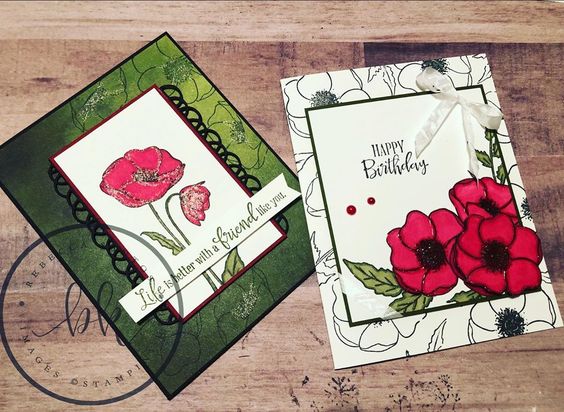
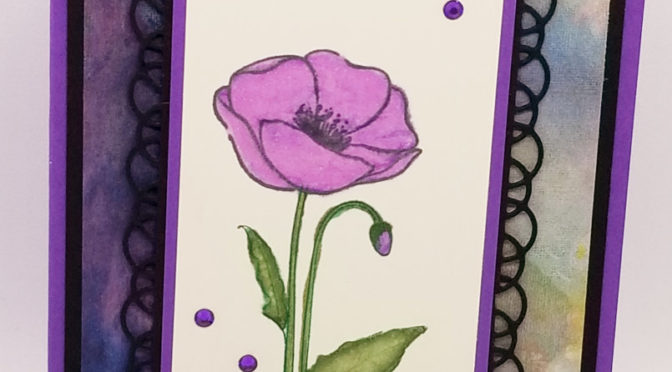
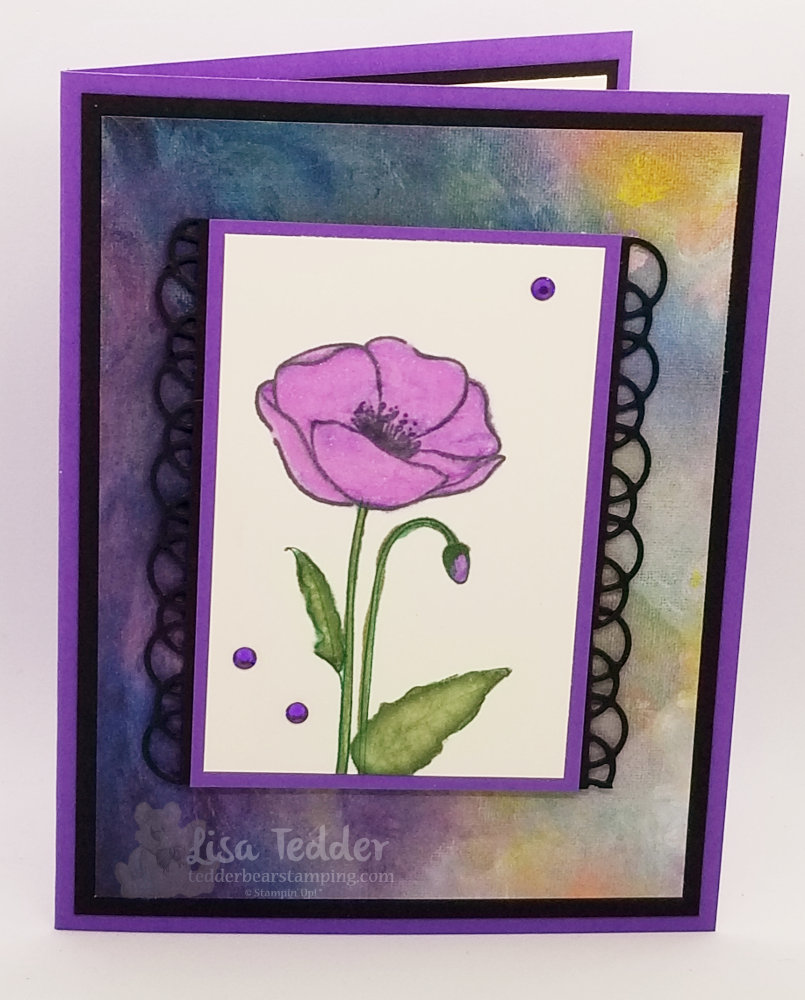
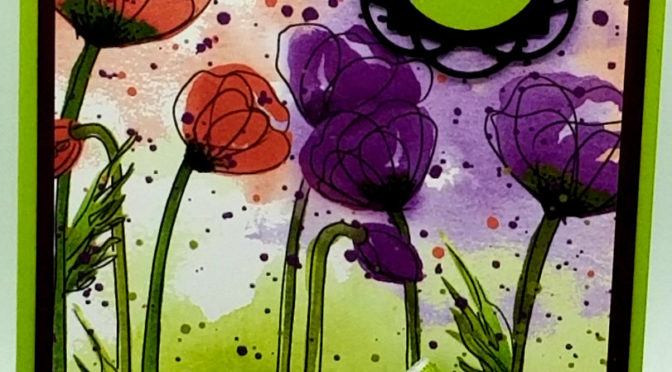
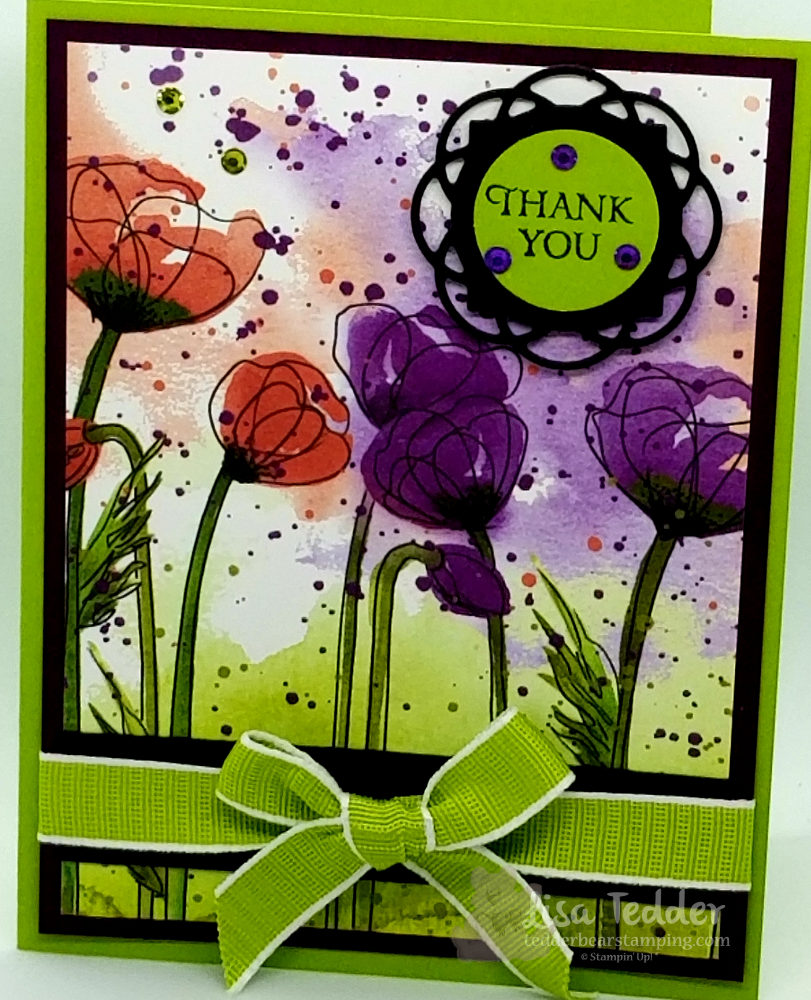
Here is my favorite that we are doing:
Isn’t this stunning?! It is a very simple card, but boy, does it pack a punch! I used one of the dies from the set, to make the swirly circle-ish image for the sentiment to sit on. Are you like me? Do you LOVE seeing things like this! I hope so, because my card for tomorrow has even more fabulousness! Is that a word, or did I just make it up!? Since the DSP has Granny Apple Green in it, this was perfect for my Granny Apple Green Ribbon. I also added the same color green for my Rhinestones, plus some Highland Heather Rhinestones. It’s like SU! made this paper just for the sparkly add ons!
Knowing that you like to have the specifics for the cards I post, here it is!
Stamps: Painted Poppies Honey Bee So Sentimental (for inside)
Inks: Memento Black Granny Apple Green & Highland Heather Markers
Paper: Granny Apple Green 8 1/2″ x 5 1/2″, 1″ circle Blackberry Bliss 5 1/4″ x 4″, 1/2″ x 3 3/4 (for inside) Peaceful Poppies DSP 5″ x 3 3/4″, 1/4″ x 3 3/4″ (for inside) Basic Black scrap for swirly cut out for sentiment (die), 3 3/4″ x 3/4″ (for under ribbon) Whisper white 5″ x 3 /4″
Misc: Granny Apple Green ribbon Noble Peacock Rhinestones Dimensionals
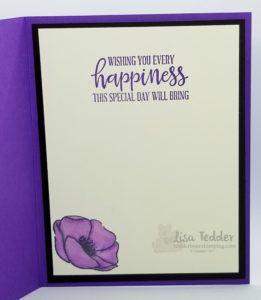
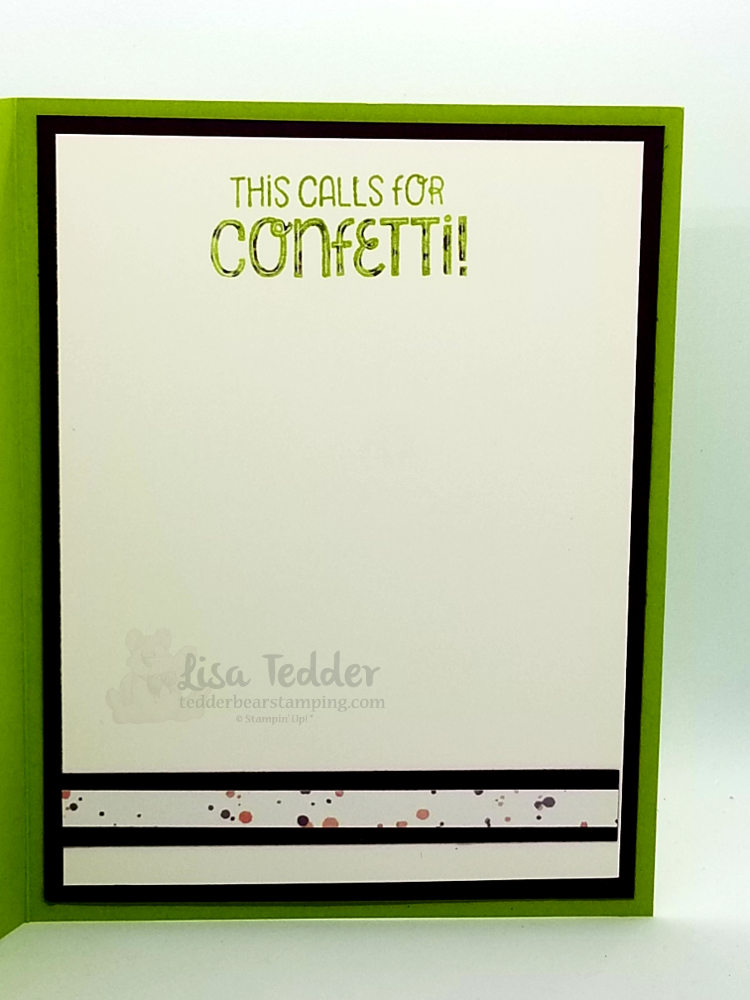
Here is a picture of the inside:
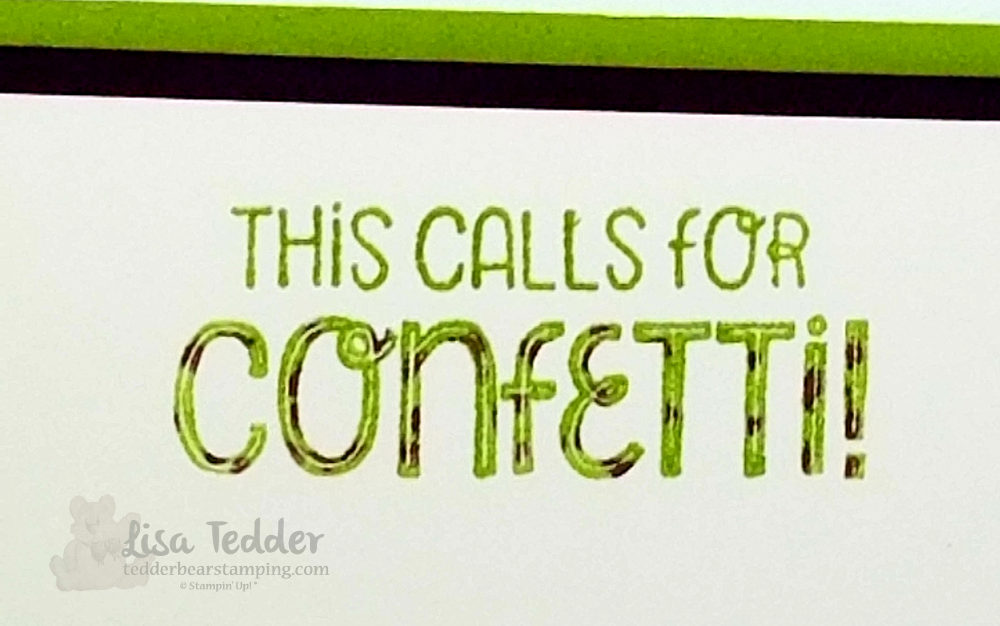
Since I love the sentiment so much, here is a close up of it!:
To do this, I inked up the stamp with Granny Apple Green. Then I dotted the last word with a Blackberry Bliss Marker, huffed on it, since it dries a little when coloring and stamped it. Didn’t it turn out so cute! I was so tickled that I made ‘confetti’ on my stamp! I’m such a goober! 🙂
The strip at the bottom is a piece of the DSP mounted on a black strip. Perfect touch if you ask me!
Hope you have enjoyed today’s post! If you are interested in getting this class in the mail, or in person let me know! I live in the US and if you are looking for a Demonstrator I would love to help you find your creativity!
Below you will see, in picture form all the supplies needed for this card. Click on any of them and you will be taken to my OnLine Store. Any purchase you make from me, you will receive 40 +/- tutorials! Each month I have new tutorials, so feel free in continuing to purchase from me, you will love the tutorials!
Lisa Tedder A California Girl living in North Carolina


")


")


")


")


 Circle Punch")


")


")


 Crinkled Seam Binding Ribbon")


")


 Textured Weave Ribbon")