Tag Archives: greeting cards

Sneak Peek Animal Outing

Hey guys!

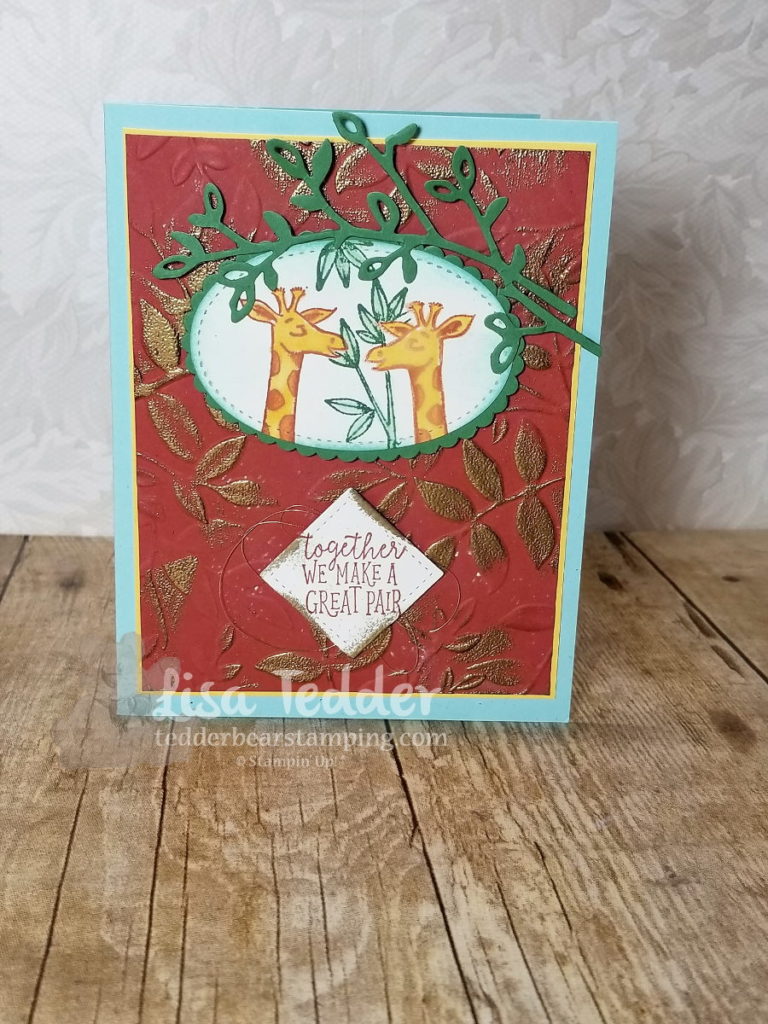
I’m not sure that I’ve told you before, but I LOVE Giraffe!  They fascinate me.  I got to feed one by hand when I visited my daughter in MN!  NOW when I go to  visit we’ll HAVE to go feed them again!

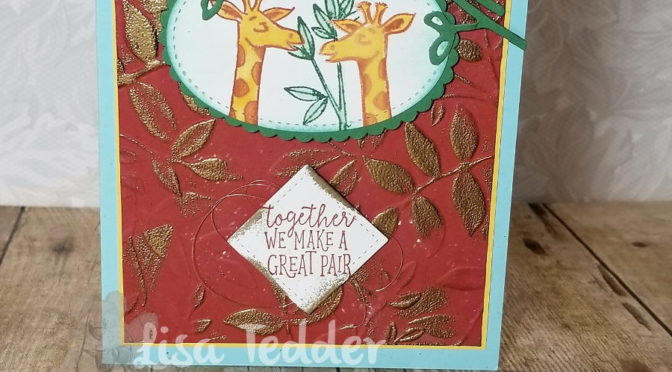
Here is a card I made by creating a second giraffe facing the other way.

To get the image to face the other way, stamp onto the Silicone Craft Sheet and then immediately turn over and ‘stamp’ the image onto your cardstock.  This works really well, since the image doesn’t dry as fast on the mat.  Then color as usual!  Now, you have two Giraffe facing each other!

Dimensions:

Soft Sky 8 1/2″ x 5 1/2″
Daffodil Delight 3 7/8″ x 5 1/8″ (x2 for inside also)
Cajun Craze 5″ x 3 3/4″
Very Vanilla 5″ x 3 3/4″
Scraps of Garden Green and Very Vanilla

I embossed the Cajun Craze with the Layered Leaves Embossing folder, then ran the Versamark over the images GENTLY to have it only on the raised areas.  Then embossed with Copper embossing powder.

The Stitched framelits is a MUST for any stamper, I use it all the time!

If you would like to choose me as your demonstrator, I would love to have you purchase from me!  Just click on any image below to be taken to my Online Store!

Lisa Tedder
A California girl living in North Carolina
Product List

Elegant any occasion card

Hey Guys!

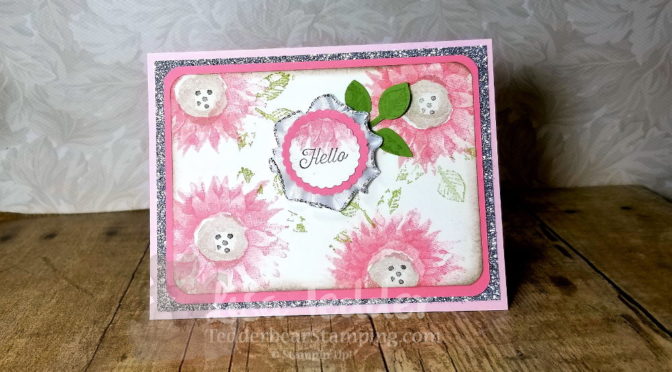
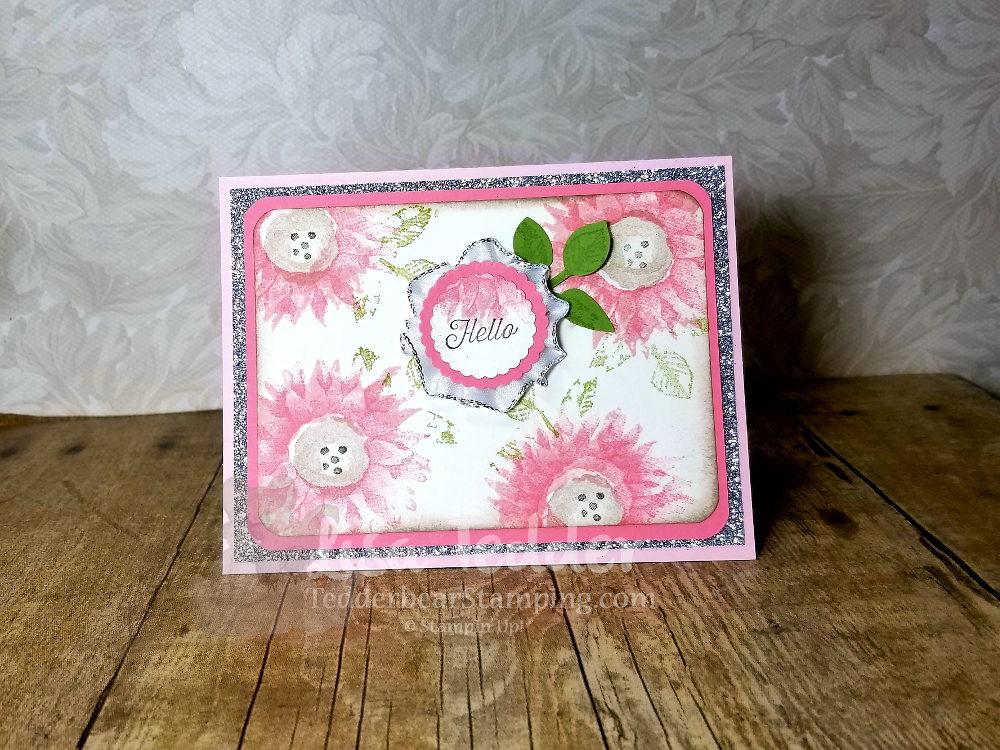
Today I bring you a handmade card that I just LOVE!  It uses the Stamp set from Stampin’ Up! called  Painted Harvest.

This elegant card has sparkle and dimension.  When I show this to people in person, they just say WOW!  Love when that happens.

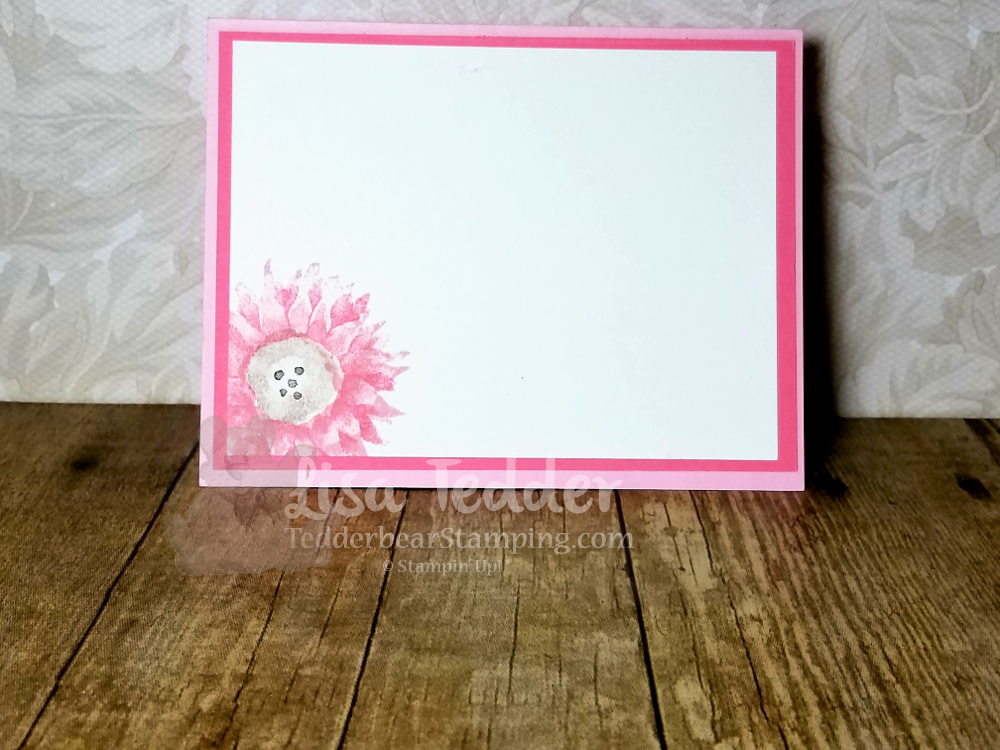
Here is the inside:

A simple card with Maximum effect.  I used the Metallic Edge Ribbon to pleat around the sentiment to add to the effect.

Dimensions:

Blushing Bride 5 1/2″ x 8 1/2″
Silver Slimmer paper 5 1/4″ x 4″
Flirty Flamingo 5 1/4″ x 4″ (inside), 5″ x 3 3/4″ (front)
Very Vanilla 4 3/4″ x 3 1/2″ (front), 5″ x 3 3/4″ (inside)

I rounded the corners on the two smallest layers on the front to add dimension.

I would appreciate it so much if you would choose me as your demonstrator if you live in the US!  Click on any picture below to be taken to my OnLine Store!

Lisa Tedder
A California girl living in North Carolina
Product List
 

Star Wars AT AT

Hey Guys!

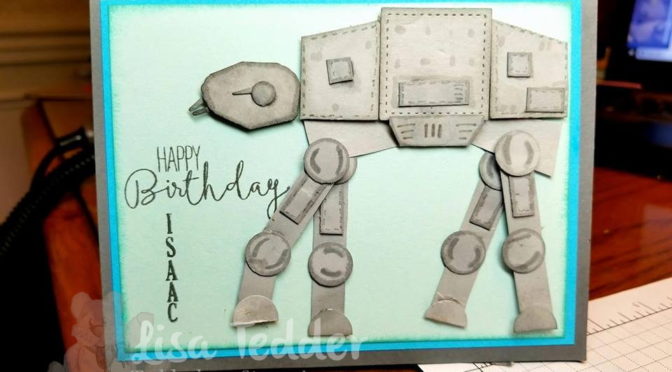
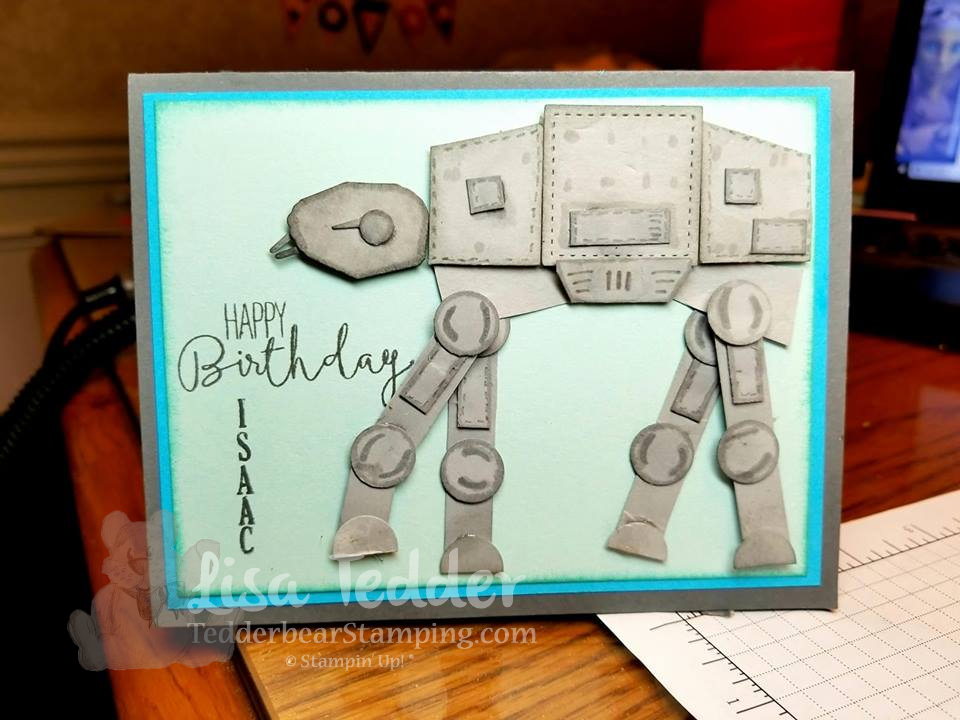
Every year I make a Star Wars birthday card for my Grandson Isaac.  I’ve made Yoda, BB8 and this year I am making the AT AT.

Here is a picture of the finished project:

This took me ALL day and many times to get it just right!  I used the 1/2″ circle punch, square punches even the pinecone die (for the head).  I posted quite a few pictures on FB to get my friends thoughts before I was happy with it!

I hope you like it and if you have any questions please don’t hesitate to ask!

Lisa Tedder
A California girl living in North Carolina

Cool Treats – Get yours before it’s gone!

Hey Guys!

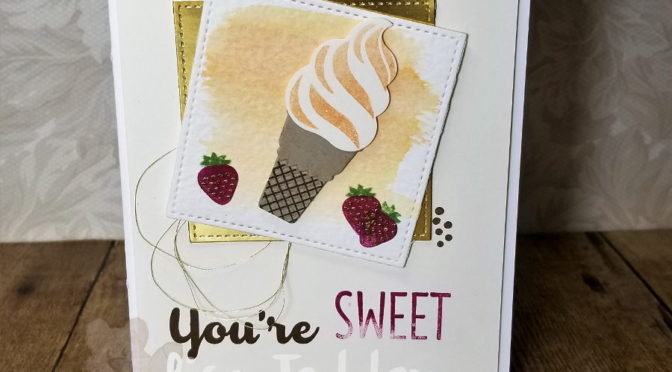
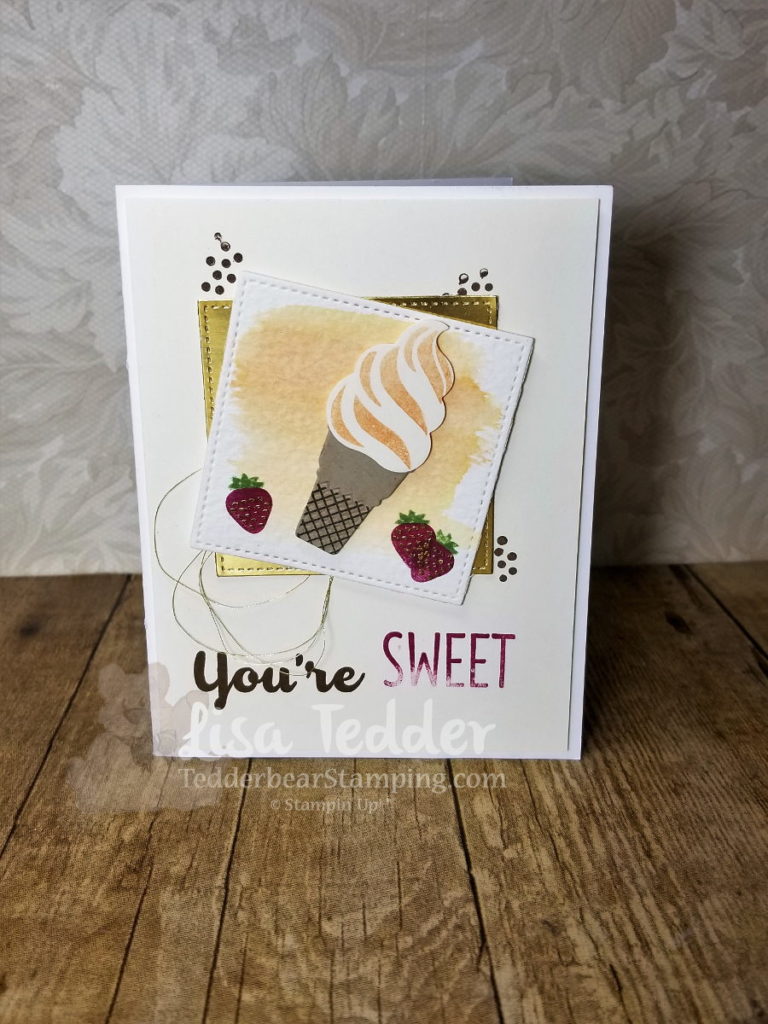
I was perusing Pinterest and saw this Beautiful card by Robin Feicht.  I loved it so much I CASE’d it just like it was!

Here is my card:

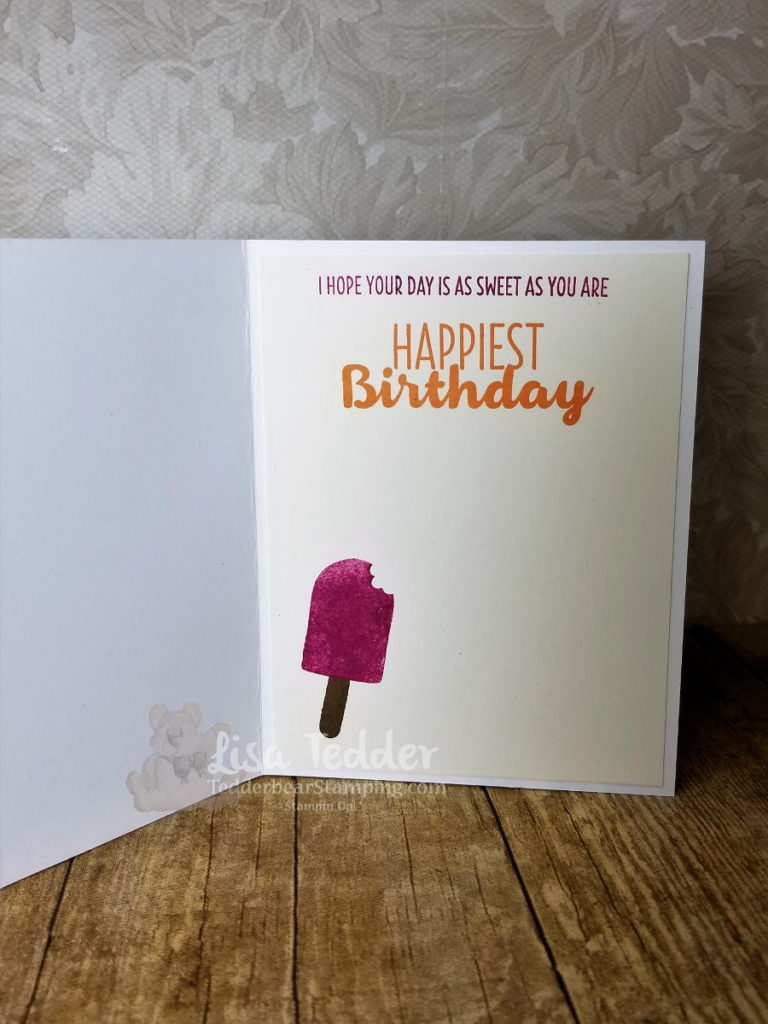
Here is the inside:

She didn’t show her inside, so this is what I came up with.  I LOVE this set and am sad to see it go.  If you want this set, be sure to check out my OnLine Store to get yours!  Just click on any of the pictures below to be taken there!

Dimensions:
Whisper White 8 1/2″ x 5 1/2″
Very Vanilla 5 1/4″ x 4″ (x2)
Watercolor paper 2 3/4″ sq then cut out with biggest Square (stitched shapes)
Gold Foil same as watercolor paper

I hope you enjoyed my card, if you are in the neighborhood of Kernersville NC, come attend a class!

Lisa Tedder
A California girl living in NC
Product List


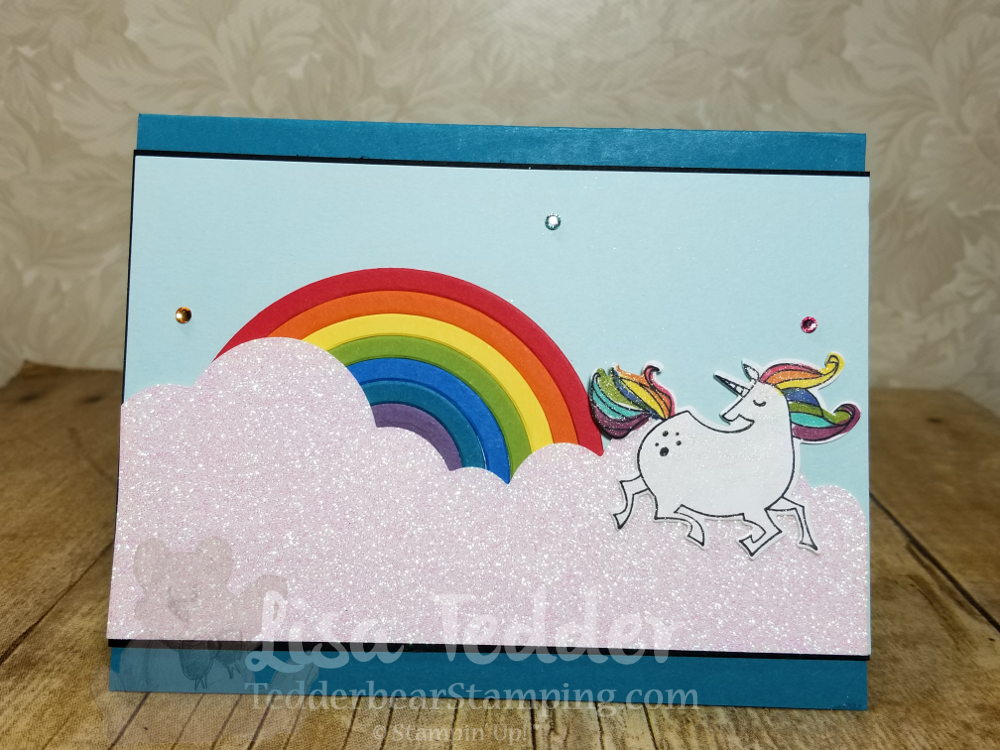
Rainbows and Unicorns!

Hey Guys!

Today I have a really fun and super cute card!  I LOVE rainbows, but who doesn’t?  I also love Unicorns!  So I put them together!  I got this idea from Kirsten Aitchenson on Pinterest.  I gave the card some black to make the image pop, but otherwise it’s all her.  Isn’t it cute?

The Rainbow took a few minutes to cut out each color, but honestly? It didn’t take as long as I thought it would.  I LOVE this card!!

TIP!!:  Cut a small piece of white cardstock that you will use to mount your rainbow on.  The dimensions are 2 3/4″ x 1″.  Place adhesive on your white piece, and start your outer colors going down almost to the bottom of the white.  This will hold your rainbow together AND let you pop it off the card with dimensionals. Your white will be covered up by the cloud!

The sparkle paper is from the Myths and Magic 6″ x 6″ glimmer paper.

Here are the dimensions for this card:

Island Indigo: 5 1/2″ x 8 1/2″, plus scrap for rainbow
Basic Black: 5 1/2″ x 3 5/8″, 5 1/4″ x 4″ for inside
Soft Sky: 3 1/2″ x 5 1/2″
Whisper White: 5″ x 3 3/4″ inside and scrap for Unicorn
Scraps for Rainbow: Real Red, Pumpkin Pie Daffodil Delight, Old Olive, Pacific Point, Island Indigo, Perfect Plum

I colored the Rhinestones to go with the rainbow and also colored the Mane and Tail using the Blends.

I used Wink of Stella for the Unicorn.

Hope you like this as much as I do!!  Please visit my YouTube Channel to see my other creations and see how I make them.

Below are pictures of the supplies I used, click on any picture to be taken to my OnLine Store.  For any purchase you make with me you will receive one of my handmade cards!

Thank you for stopping by!  Please come back.

Lisa Tedder
A California Girl living in North Carolina
Product List
Pandas and Bamboo!

Hey Guys!

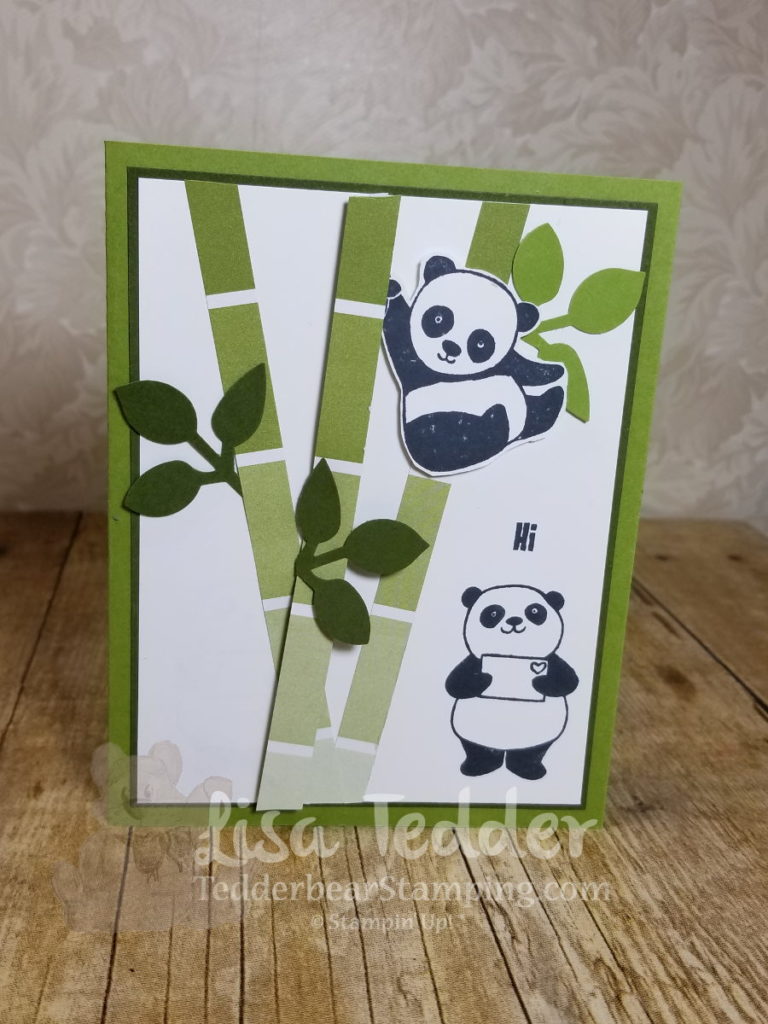
Today I have for you the CUTEST card!  I got this idea from Jo Anne Hewins, I saw it and had to make it!  Don’t wait to buy it!  March is the last month to be able to get this stamp for FREE!  Just purchase $50.00 worth of product from ANY current catalog and you can get this stamp set!  It’s too cute to pass up!

Here is the card:

I almost CASEd (Copy, And Share Everything) this card exactly as I saw it, I changed the word on the front of the card, so does that make it MY design now?!  Nah!  I just have a problem copying exactly what I see!  LOL

The Dimensions for this card:

Old Olive: 8 1/2″ x 5 1/2″, scrap for punch
Always Artichoke: 5 1/8″ x 3 7/8″ (x2) the inside has the same
Whisper White:  5″ x 3 3/4″ (x2), scraps for panda to cut out
Color Theory DSP: 3/8″ x  5 1/4″ (trimmed to meet top/bottom)

Below are the supplies I used for this card.  Click on any picture to be taken to my OnLine Store!  If you purchase from me, I will send you one of my handmade cards!

Thank you for stopping by!  Please go visit my YouTube Channel and see the other projects that I make.  Be sure and subscribe so you don’t miss out on the next one!

Lisa Tedder
A California Girl living in North Carolina
Product List

Old Olive 8-1/2" X 11" Card Stock

Always Artichoke 8-1/2" X 11" Card Stock

Whisper White 8-1/2" X 11" Card Stock

Party Pandas Clear-Mount Stamp Set

Leaf Punch

Foam Adhesive Strips

Stampin' Dimensionals

Paper Snips Scissors

Tuxedo Black Memento Ink Pad

Flying Home

Hey Guys!

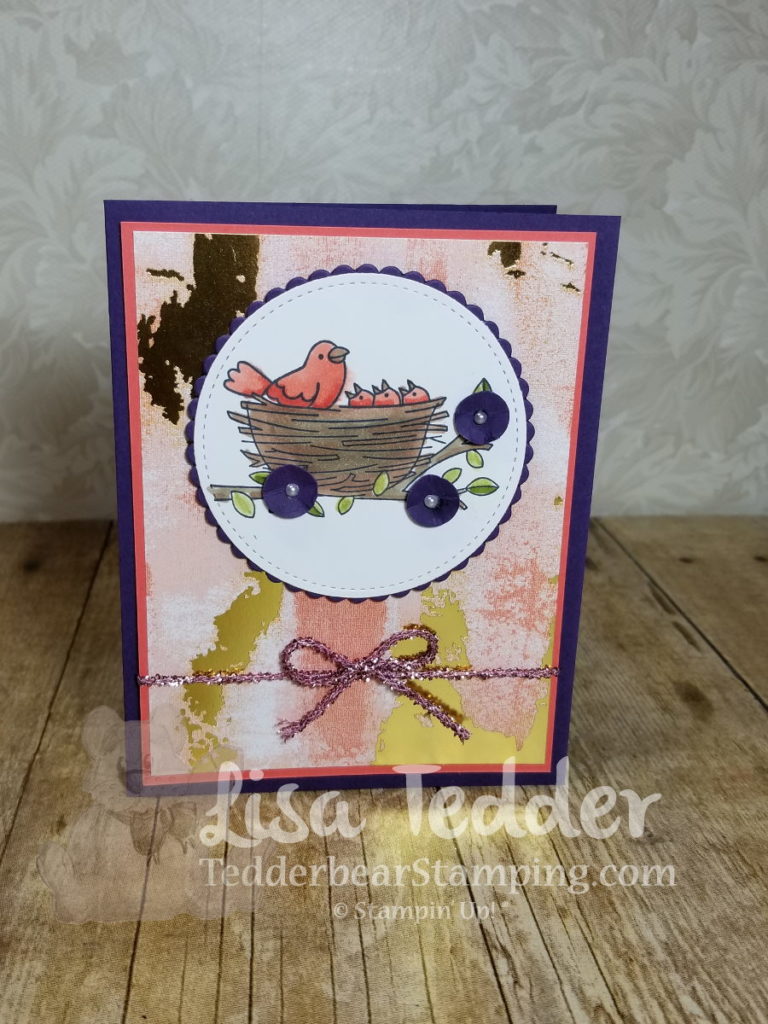
Today I am sharing with you a handmade card I had at my class last month!

I used the Myths and Magic DSP (Designer Series Paper), which you have seen in my post here:  I LOVE this paper!  I’ve seen a LOT of Designer Paper in my 17 years of stamping, I think this IS my favorite one yet!

The dimensions for this card are:

Elegant Envy: 8 1/2″ x 5 1/2″, 3 1/4″ sq for scallop circle, scraps for the flowers
Calypso Coral: 3 7/8″ x 5 1/8″
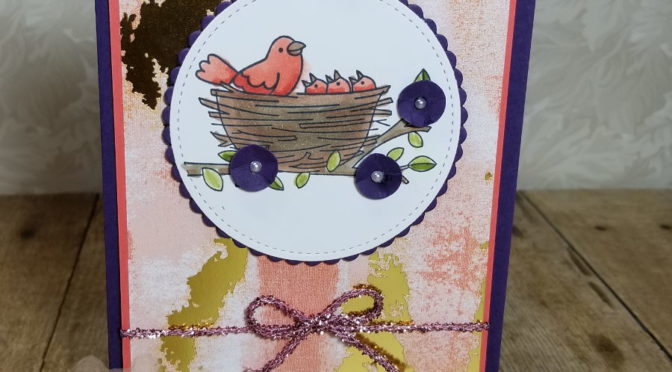
Painted with Love DSP: 3 3/4″ x 5″
Whisper White 5 1/4″ x 4″ for inside, and 3″ x 3″ for Stitched framelit

For the flowers, I punched out a 1/2″ circle and then placed it on my Stampin’ Pierce Mat and with the NON pokey side of my paper piercer, I pushed down in the center of the circle and it made it a flower shape!  I placed a pearl in the ‘bowl’ that I made to make a matching flower to the cardstock I used!

I hope you enjoyed my project!  And that you come back again!  If you get the chance go visit my YouTube Channel and see cards/projects that take a little more instruction!   My passion is making cards/projects that challenge me, or that STILL delight me that I AM artistic!  I thought my sister got all the artistic genes in my family!  STILL tickles me when I make something pretty!

Below is everything I used to make this card.  Click on any picture and you will be taken to my OnLine Store!  If you purchase from me, I will send you a handmade card!

Thanks for stopping by!  I hope you come back again!

Lisa Tedder
A California Girl living in North Carolina

Magical Day Box Card

Hey Guys!

So glad you could join me for this awesome project I have for you today!

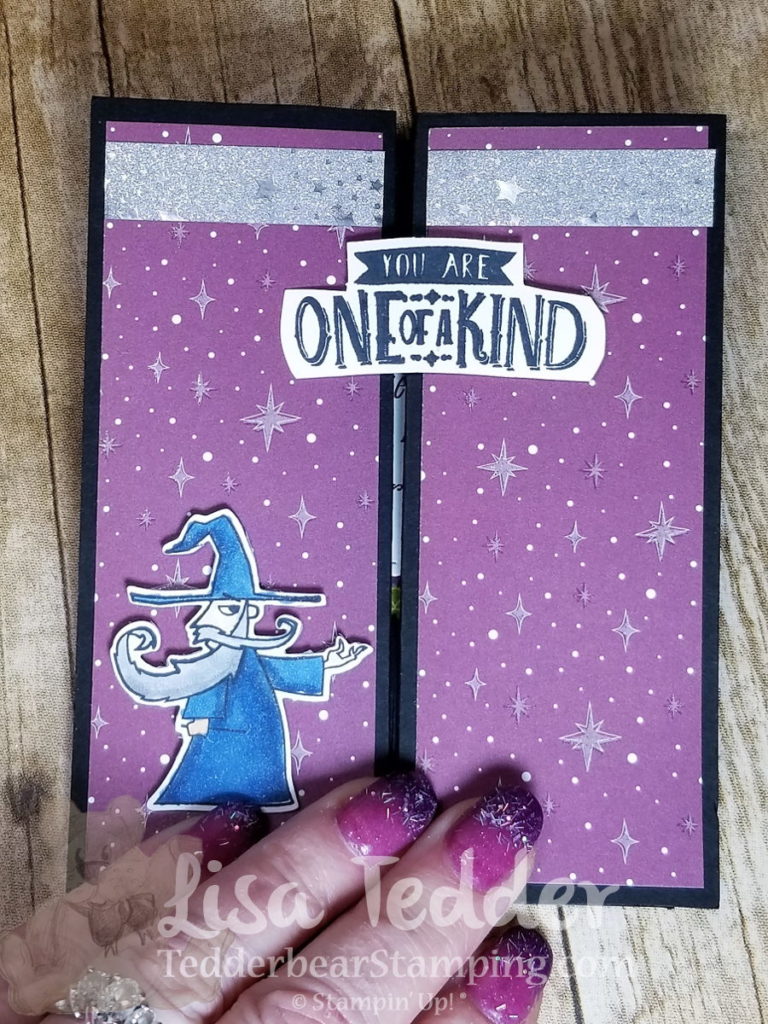
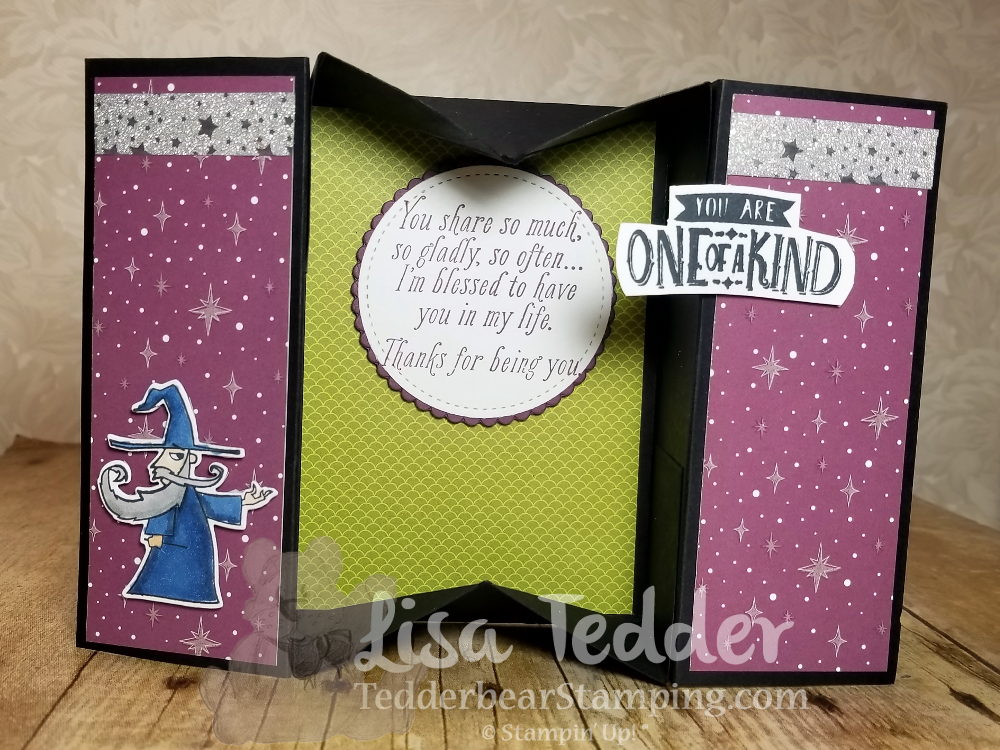
Funny that my nails match!!  Just got them done today!  This is the card in the closed position

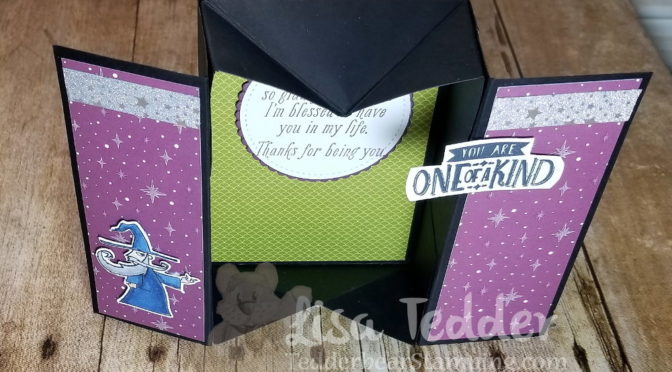
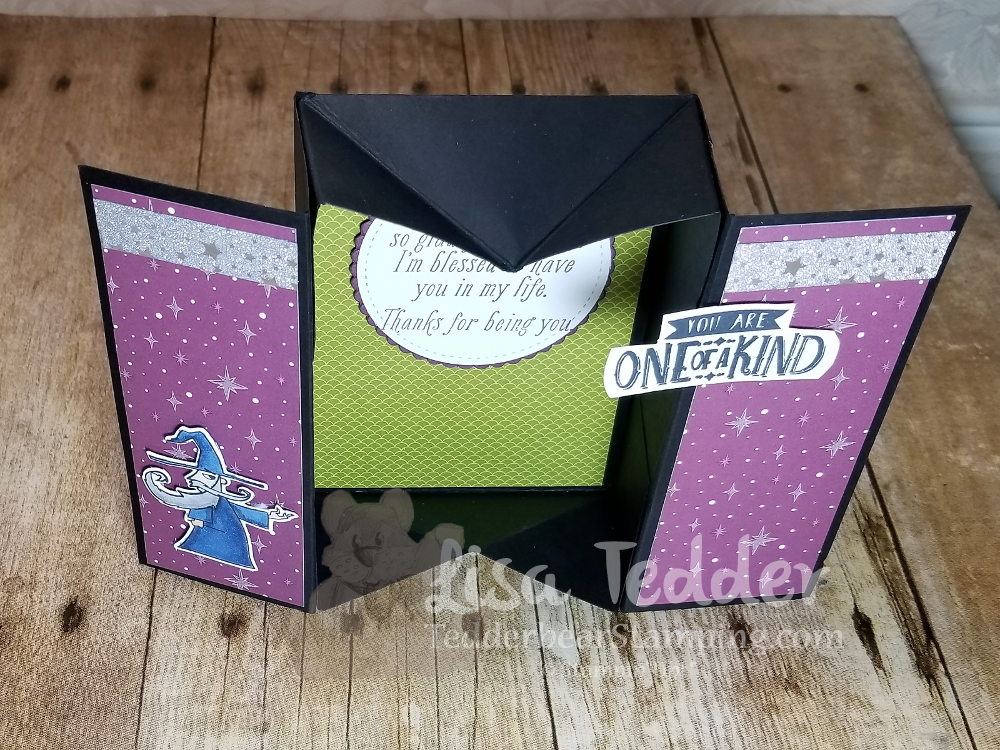
Here it is Open, the next picture shows it from a higher angle so you can really see the ‘box’.

This was super fun!  I love the Magical Day Stamp set……I had used EVERY stamp in the set but the Magician,  and now I have used them ALL!  I colored with the Blends and also used the Magical Day Washi Tape!  This entire Suite is awesome!

I got this idea from Natalie Lapakko……..I’m a visual learner so seeing a video would have helped me learn, so I thought I could help you if you also learn by seeing!

This project takes a whole piece of 8 1/2″ x 11″ piece of cardstock.  Score Horizontal @  2″, 3 3/4″, 7 1/4″ and 9″

Score Vertical @ 1 3/4″ and 6 3/4.

Follow along with the video to see where to snip and trim!  It was MUCH easier than I anticipated!

Below will be pictures of the items used to make this project.  Click on any picture to be taken to my OnLine Store!!  If you purchase from me, I will send you one of my handmade cards!

Thanks for stopping by!  If you are new to me, I have a YouTube Channel where I TRY to do a video every Tuesday!  I would love it if you would subscribe and be alerted when my next video posts!

Lisa Tedder
A California Girl living in North Carolina

Product List

Hold on to Hope Easter Card

Hey Guys!

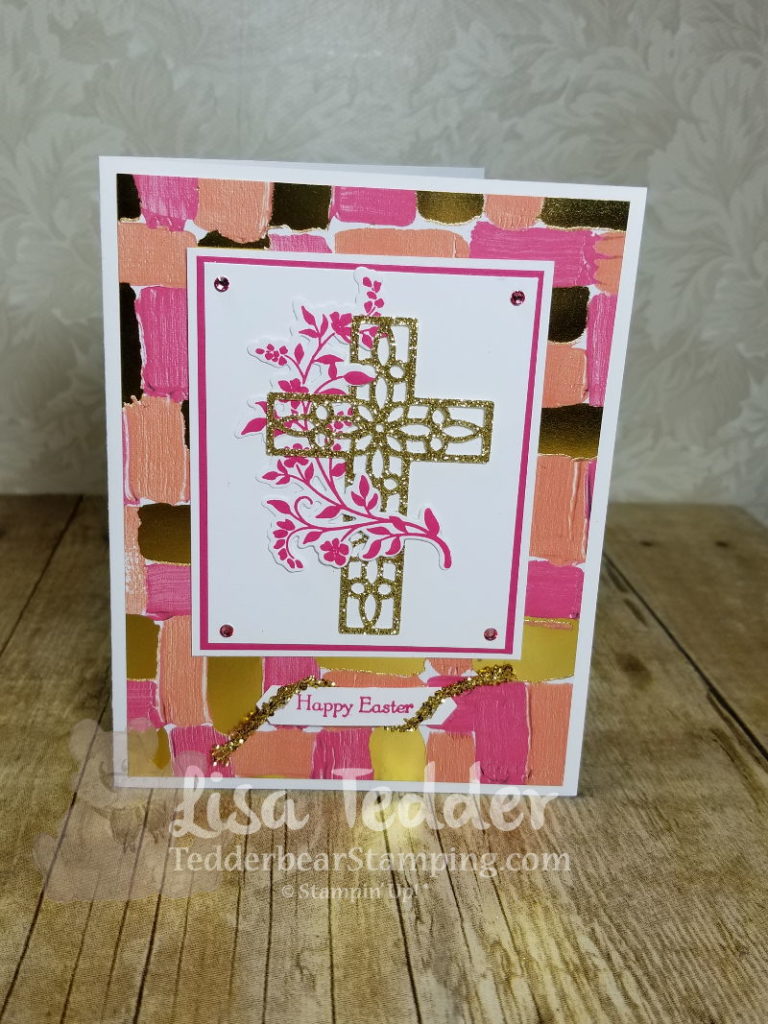
Today I am sharing with you a card I did for my Senior Center Class (not ALL of the people attending are Seniors!), they loved this card!  It’s so pretty  and uplifting!

I used the Painted with Love Designer Paper.  This paper Is so pretty I HATE calling it paper!  It seems like there should be a better name for how beautiful it is!  LOL

Here is the card:

The colors are so stunning!  And the Gold is very shiny.  I wrapped the Love Mini Tinsel around the Sentiment to mimic the Shroud that Jesus wore.  I hope you think that this card shows love for that awesome sacrifice!!

Below are the items I used, click on any picture and you will be taken straight to my OnLine Store!

Here are the dimensions for this card:

Thick Whisper White:
8 1/2″ x 5 1/2″, 2 7/8″ x 3 1/2″, 3 1/4″ x 2  5/8″

Melon Mambo:
5 1/4″ x 4″, 5″ x 3 3/4″

Painted with Love DSP:
5 1/4″ x 4″

Gold Glimmer:
2″ x 3″ (for the cross)

Thank you for stopping by!  I hope you come see me at my YouTube Channel!

I TRY to make a video every Tuesday, subscribe to my channel so you don’t miss my next fun card/project!!

Lisa Tedder
A California Girl living in North Carolina

Product List

Another Fun Swap using the Magical Day Stamp set from Stampin’ Up!


Hey Guys!

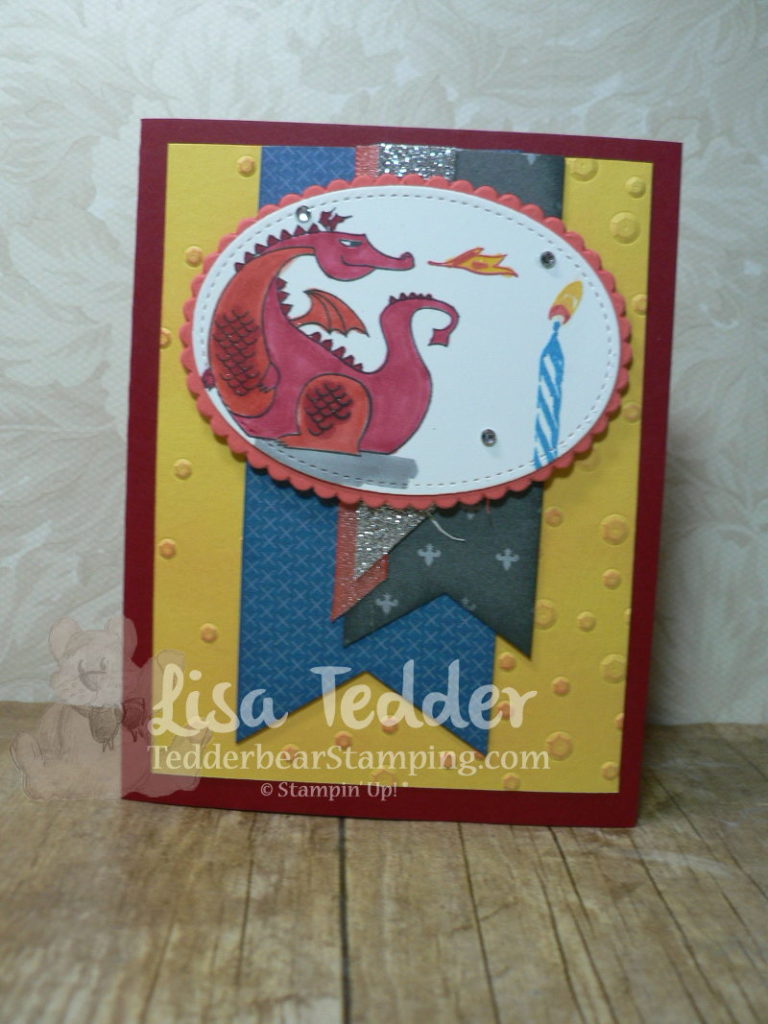
I was perusing Pinterest the other day and saw this really cute card that had the ‘wind’ from the Christmas Stamp set “Star of Light”  blowing out a candle.  Well, my mind went immediately to the Dragon in the SU! set Magical Day and how cute would it be if he was Lighting a candle!?   This is how my mind works sometimes so I went with the idea!

Here is the card:

As I’ve said before ‘I just love this dragon’!  I love how I colored him this time using Calypso Coral Blends and Cherry Cobbler Blends.  NEVER would I have put these colors together but, again, I saw it done on Pinterest.  It really makes him stand out, doesn’t it?

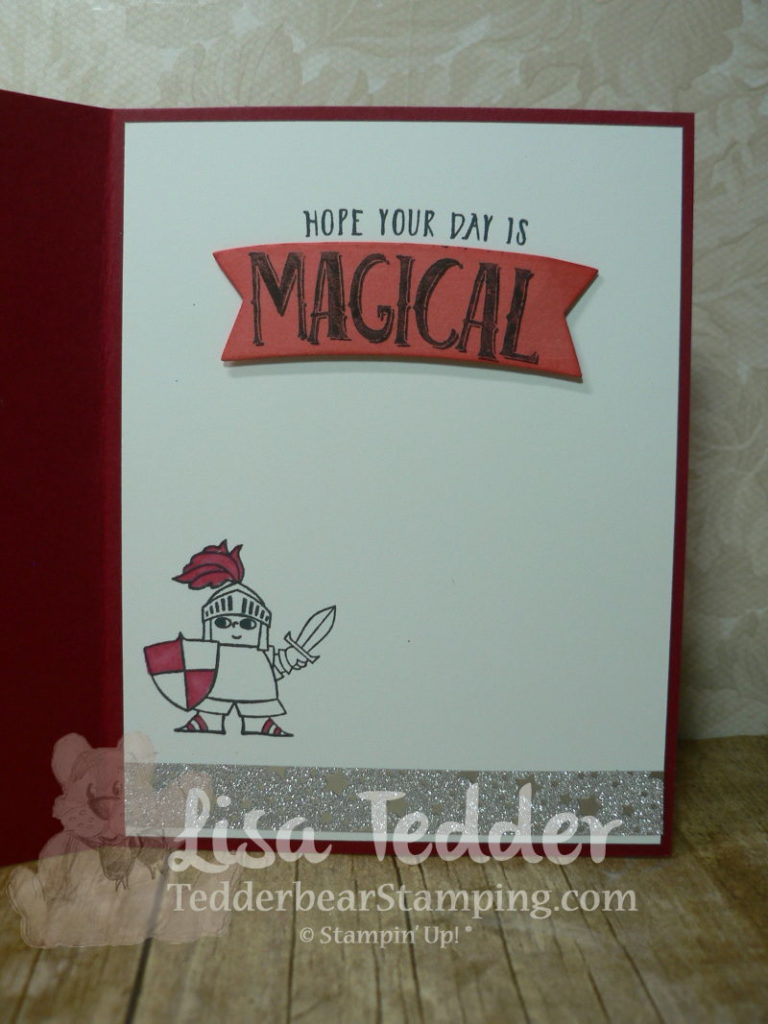
Here is the inside:

This Stamp set from SU! also has thinlits that cut out not only the characters, but the Banner seen above!  Waves, that I will be using soon, and lots of other goodies!!

For the flags in the front, I used the Myths & Magic Specialty Designer Series Paper.  I sponged the edges with the color that was on the DSP, and also made a banner out of the Silver Glimmer paper and the FREE Shimmer Ribbon pack from the Sale-A-Bration catalog!  This ribbon is so pretty!!  And it comes in THREE colors and sizes!  I also used Rhinestones and the Scattered Sequins Embossing folder.

The Dimensions are as follows:

Cherry Cobbler 8 1/2″ x 5 1/2″
Daffodil Delight 5″ x 3 3/4″
Dapper Denim banner 2″ x 5″
Gray Banner 1 1/2″ x 4 1/4″
Silver Banner 1/2″ x 3 1/2″
Calypso Coral Ribbon 3 3/4″
Scrap of White for Stitched Oval
Scrap of Calypso Coral for Scalloped Oval
Whisper White 4″ x 5 1/4″ (inside)

I really hope that those who received these swaps love them as much as I do!!

The supplies used for this project are listed in pictures below, just click on any picture to be taken to my OnLine Store!

As always!  Have a great day/weekend!

Lisa Tedder
A California Girl living in North Carolina
Product List