Tag Archives: SU! Stampin’ Up!

Catalog Launch Prize Give-away using Colorful Seasons, now to make one for me!

Last Friday, I had my Catalog Launch Party and I had two Prizes that those who attended could win!

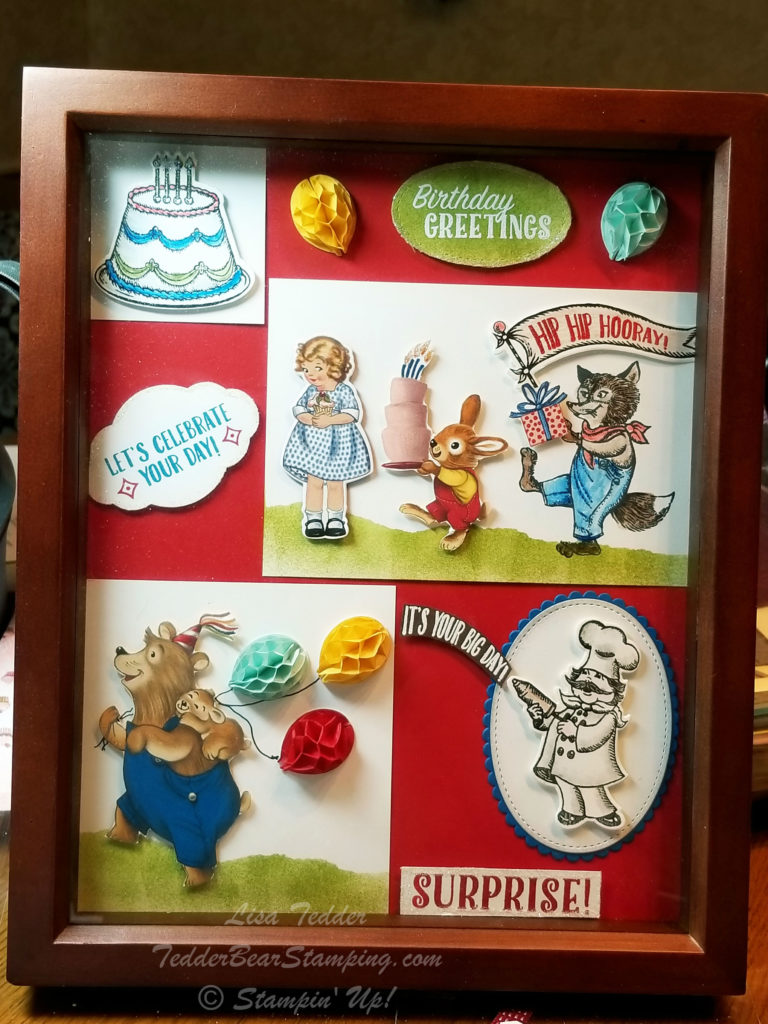
The first one uses the Birthday Delivery bundle!  LOVE this bundle, it is so much fun to play with!  Did you know that the thinlits not only fit the STAMPED images, but also fits the images on the Designer Series Paper (aka DSP)?!  It’s so versatile and you KNOW I love to get more from my stamping dollars!

I LOVE how the Chef has his can that will spray out the words “It’s your big day!”   Isn’t that so cute!  The balloons are fun to add, I had to ‘fussy cut’ the bear but it was super simple.  I’m sorry to say that I gave this away BEFORE I measured it!  I ‘think’ it was 8″ x 10″.   I made it on Thursday and I had a winner for it on Friday!  For the grass I sponged using Old Olive with a mask giving it that great wavy look!

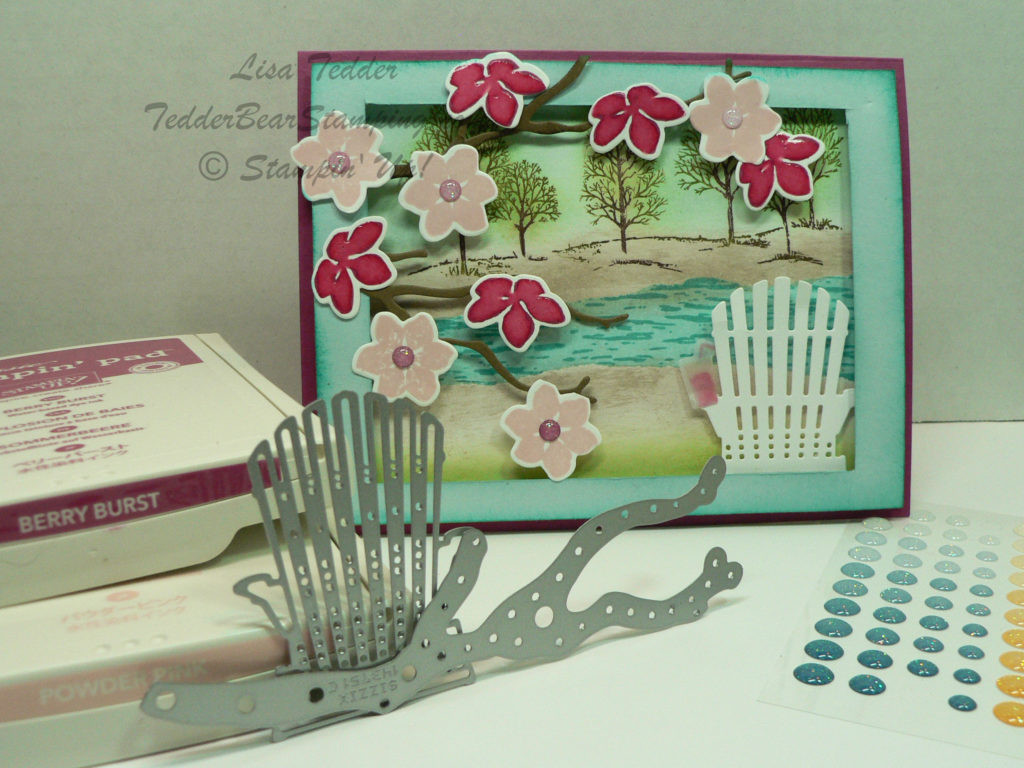
For my other Prize I did a take on a card I made in another post:

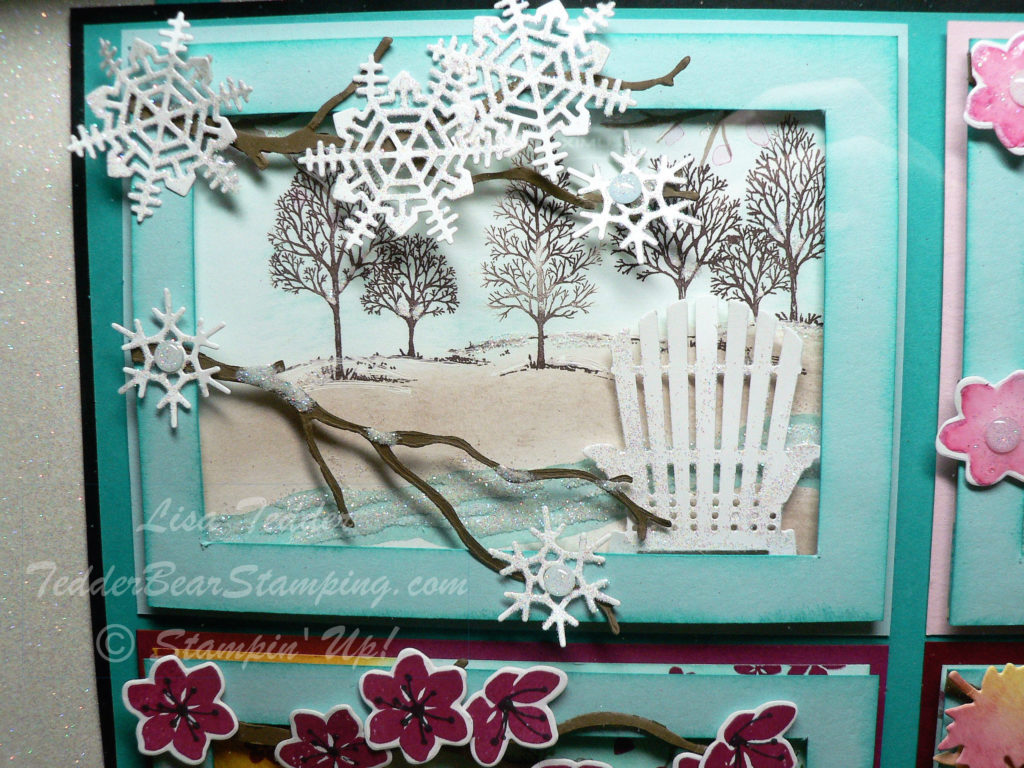
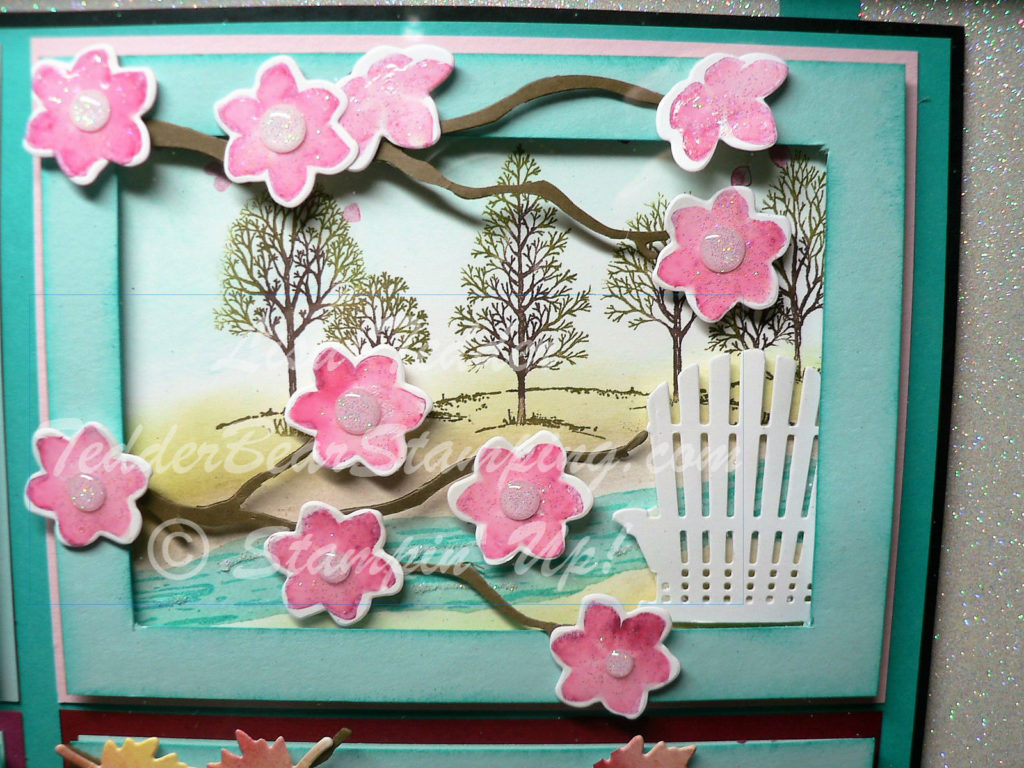
I loved how this came out, and decided to see how it would look framed with all the seasons!  I have to admit I was soooooo excited when I was done, and a little disappointed that I had to GIVE IT AWAY!  LOL  I used Dazzling Diamonds to make the water sparkle, especially on the winter one to make the water look icy!  Here is a closer look at each Season:

The water is icy and the chair is sparkly with Dazzling Diamonds!

The trees are just budding with leaves and the Chair is in Pristine condition!

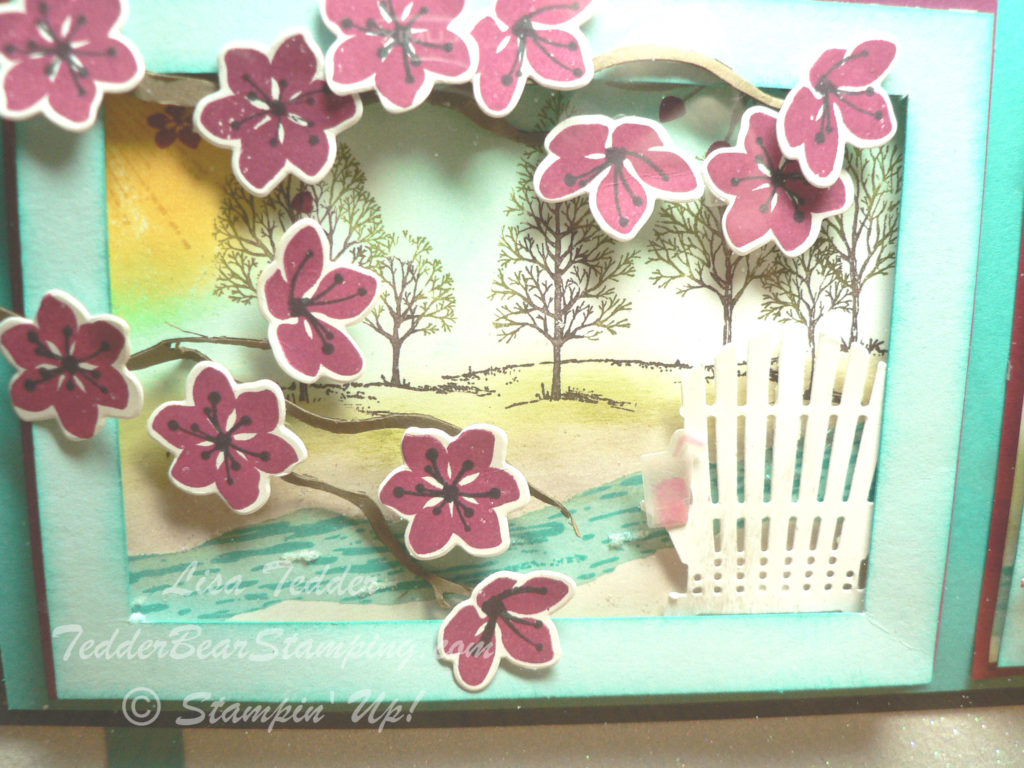
Summer time!  The sun is shining! The blooms are out!  The chair is a ‘little’ dirty, but we have that iced drink so we don’t care!!

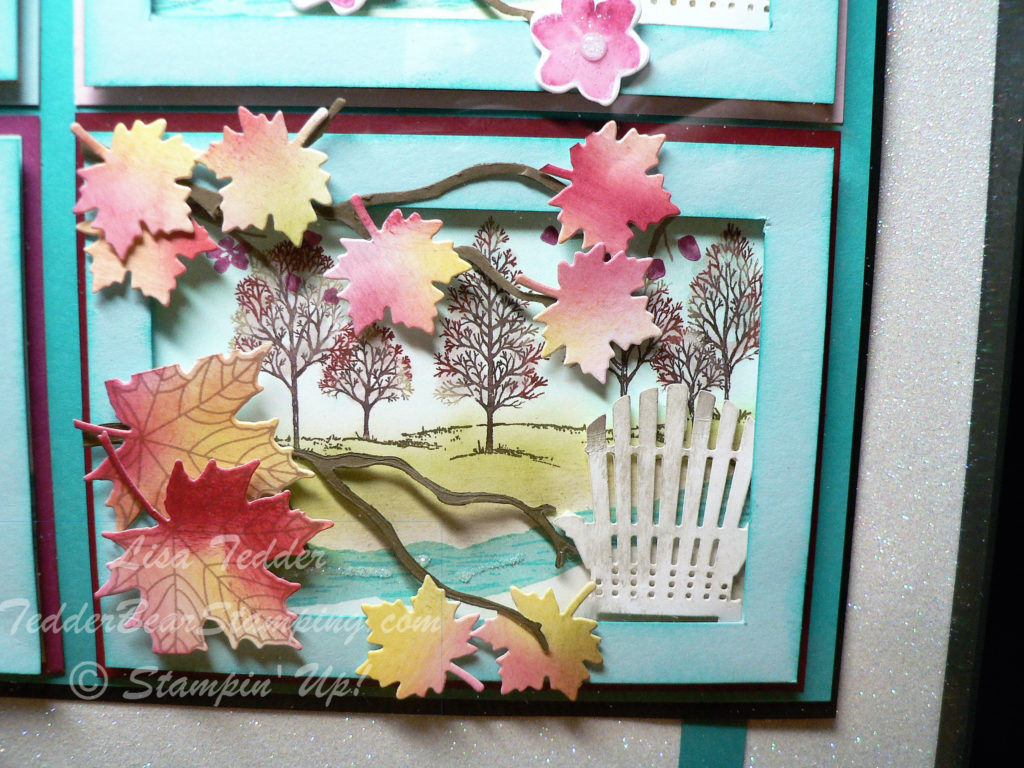
Fall is here!  The leaves are changing!  The chair is almost ready to be cleaned for the end of the season!

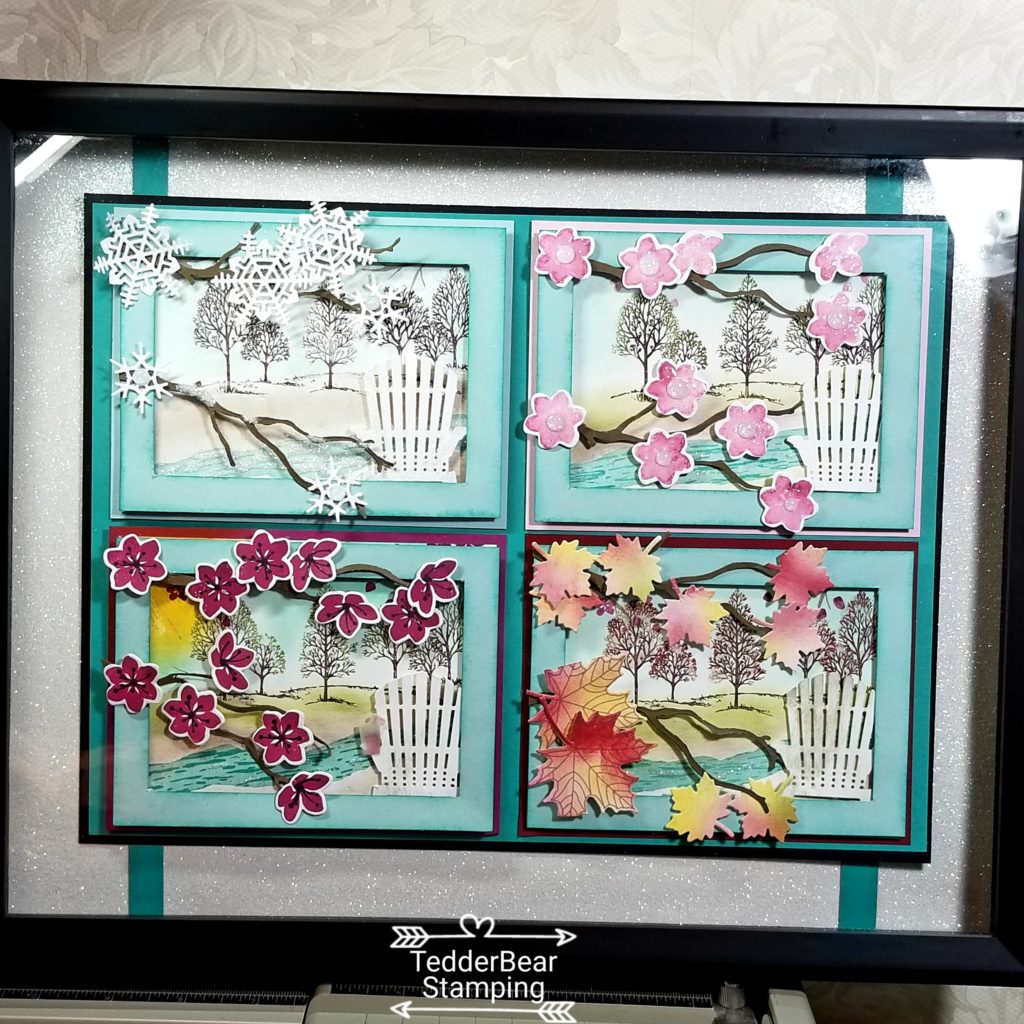
Here is the full view!  Notice the Dazzling Diamonds background paper?  The measurements for this beauty is 11″ x 14″………..which is why I had to add the strips of Bermuda Bay.  Can’t have a place that has a seam!  There’s only ONE seam, but for symmetry I put two strips in!

For this Colorful Seasons framed art, I took off with the given name of the set……..Colorful SEASONS!  I chose to make four scenes but having the scene stay the same but change it up to see the Seasons!  I had a blast making this!  I used Lovely as a Tree to be my backdrop, and the best thing is that you can make this stamp set look different just by using markers!

Dimensions:

Dazzling Diamonds Glimmer Paper #135315, 12″ x 11″ and 12″ x 2″
Bermuda Bay ( Brights Cardstock pack) #145409, 1/2″ x 11″ x’s 2
Basic Black #124267, 12″ x 9″
Bermuda Bay (see # above), 11 3/4″ x 8 3/4″
Seasons:
Pool Party (Winter) 4 1/4″ x 5 1/2″
Pink Pirouette (Spring) 4 1/4″ x 5 1/2″
Berry Burst (Summer) 4 1/4″ x 5 1/2″
Cherry Cobbler (Fall) 4 1/4″ x 5 1/2″

All Seasons are on Whisper White cardstock 4″ x 5 1/4″, ‘frame’ is Pool Party 5 1/4″ x 4″ with a 1/2″ cut out on inside all around.

Water is Soft Sky and Bermuda Bay for all seasons except winter which is Soft Sky and Whisper White.

Trees are colored with markers:  Tree trunk is all Early Espresso, Leaves are Old Olive (spring and summer), Fall is Cajun Craze and Crushed Curry.

For the water I used the Fine Tip Glue Pen to make the water sparkle with Dazzling Diamonds on top.

For the winter tree branch thinlit I used the White Gel pen (retired) to make snow on the top, with Dazzling Diamonds over it to make the branches be snowy!

That’s it for the Dimensions!

I hope you like this post!  This took me a couple days to create but only because I had to think it up!  Once started, it took a couple of hours.

I will be making one for myself as soon as I am able!  I will probably take this to the winner on Monday so will have to make one before then, just in case I need a life size reference!!

I have my Blog Candy to give away TOMORROW!!  Wow, that went fast!  You can get in on the drawing by posting comments here on this blog (any post! or multiple posts!) or on my Facebook page and I will put your name down each and every time you comment!

Here is a reminder of what you can win:

These are soooooo pretty!!  Good luck!

I’m off to make some cards for my upcoming classes!  I’m sure I will be sharing them with you as time allows!

Below my name is pictures of what I used to make this project…..you can click on any picture and you will be taken to my online store!  If you place an order with me, I will send you a handmade card and a small token of my appreciation! Please use this Hostess Code for you order:  C62FFAR3

Lisa Tedder
TedderBearStamping
A California girl living in North Carolina!
Product List

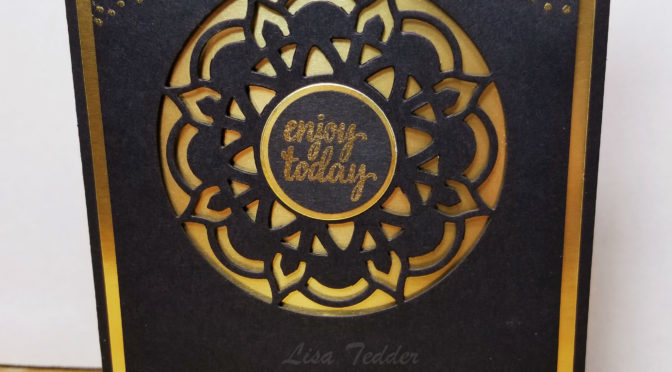
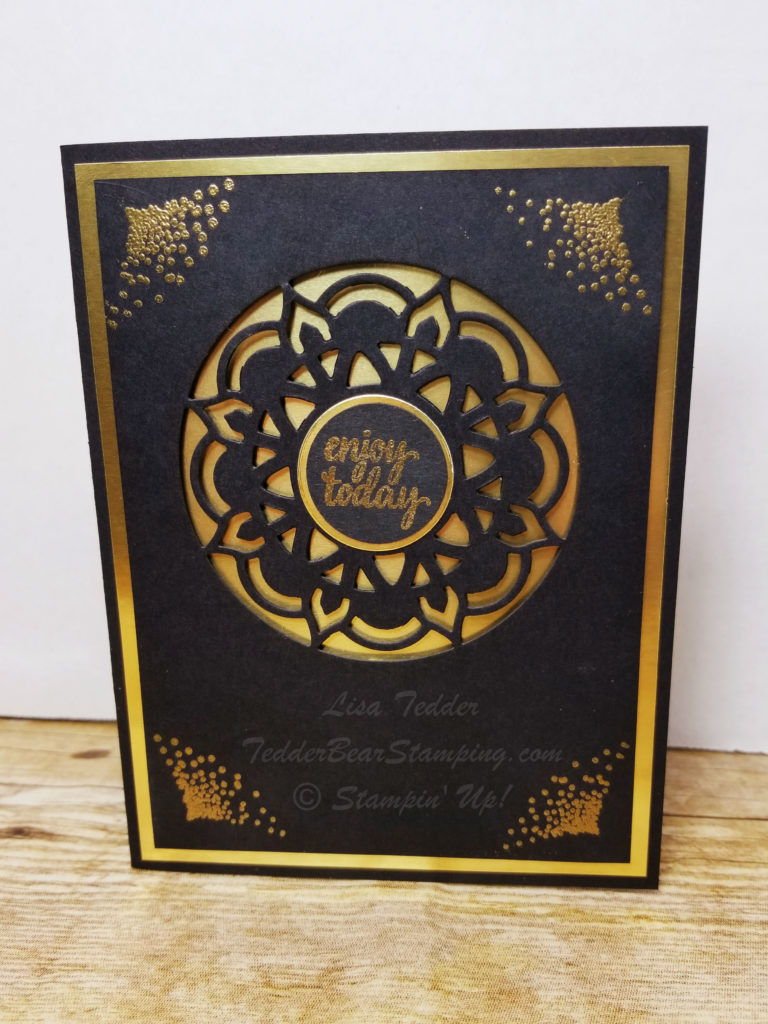
Black and Gold meet up with Eastern Elegance, all I can say is WOW!

I had a class yesterday and we made three cards, one of which I am going to share with you today!  I was inspired by Priscilla Ivler.  I LOVE getting ideas from others and tweaking it a bit!

Here is the card we made:

Isn’t it stunning?!!  It’s not a ‘hard’ card, you just have to work on getting the thinlit to let go of the paper without ripping it.  My Die Brush has seen better days and the bristles are falling out!  Yay!  We get a new one in the NEW catalog!!

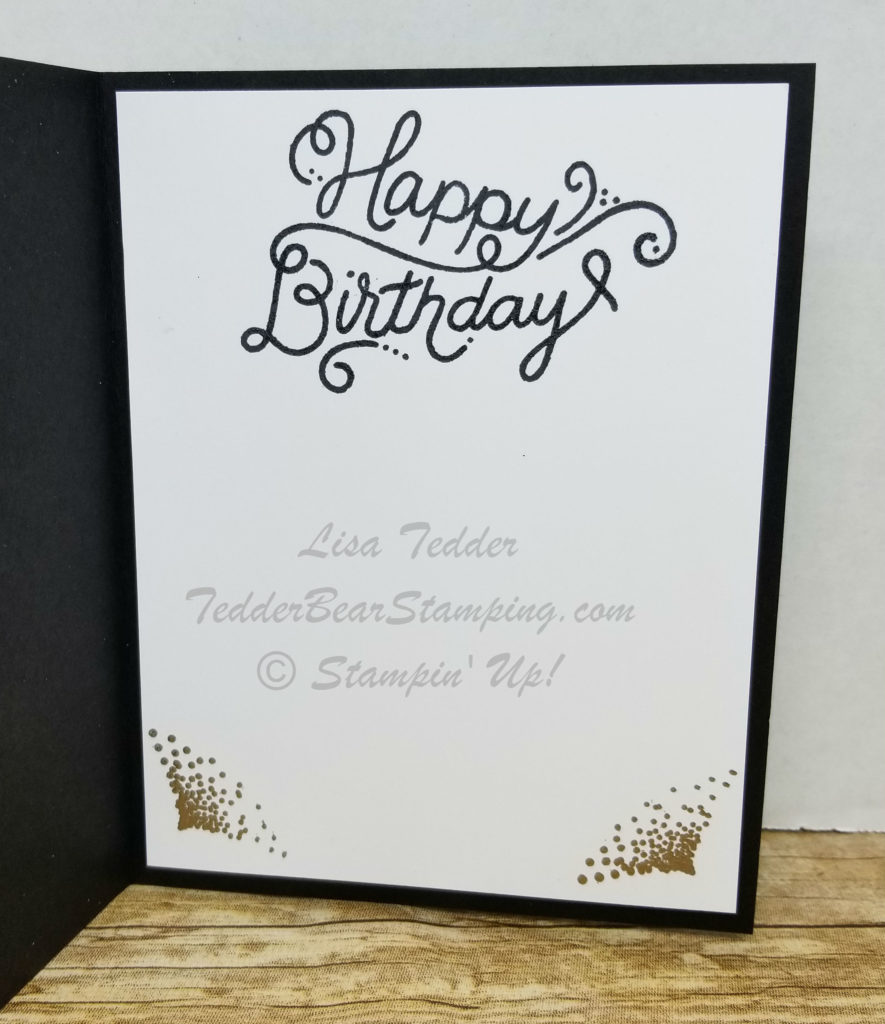
Here is the inside:

Everyone at class loved it!  And in person it is even prettier than here!  I know it’s hard to believe!

This is going to be a quick post today, if you want the dimensions just let me know and I will send them to you!

Don’t forget about my blog candy!!


The drawing for this Blog Candy is June 6th!  Post here on my blog (on any post, as many as you want!) or on any of my social media posts TedderBearStamping on Facebook, Instagram as TedderBearStamping, or on my Twitter acct as TedderBearStamp!

See?  PLENTY of ways to win free goodies!!  I will be continuing with my blog candy until I feel like you don’t want free stamping supplies!  Think that will ever happen?  Nah!  I wouldn’t think so!

Lisa Tedder
TedderBearStamping
A California Girl living in North Carolina
Product List

Gorgeous Eastern Beauty card!

I was inspired by Daniela Hödl  when I made this card!  She made this stunning card:

Since I had to translate her blog I wasn’t able to see what size the original was.  I didn’t do the entire part that she did, but when I do a scrapbook page this is what I want!!

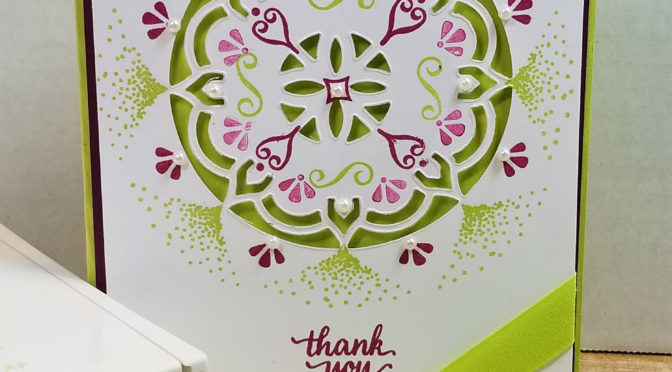
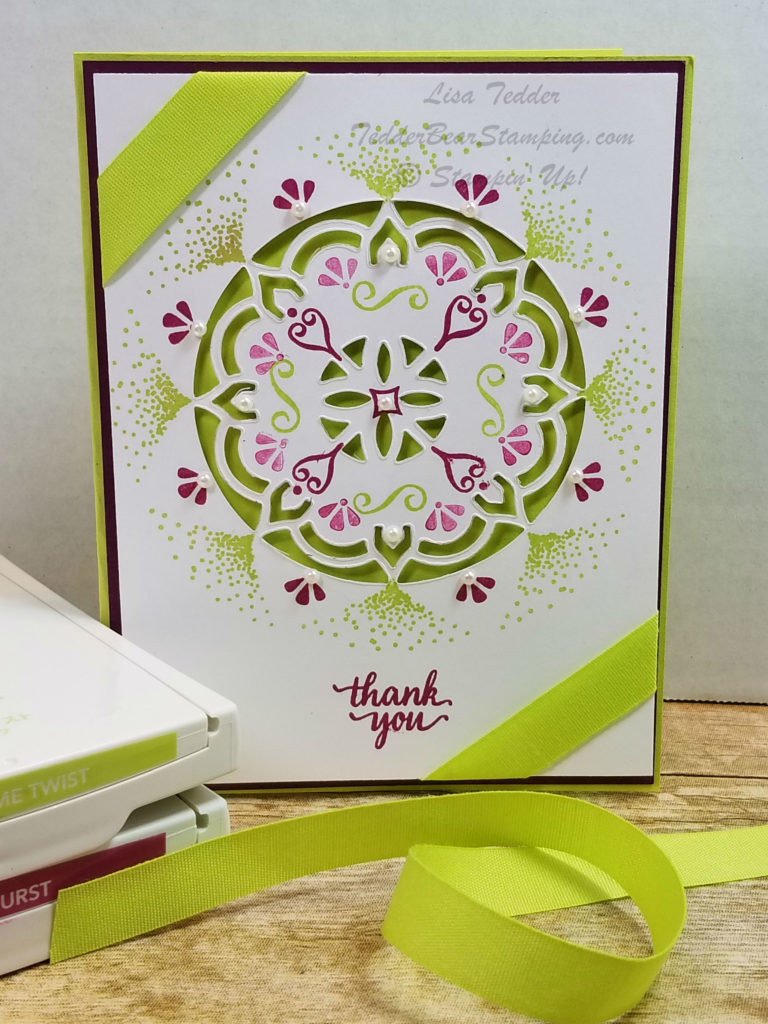
So, here’s mine:

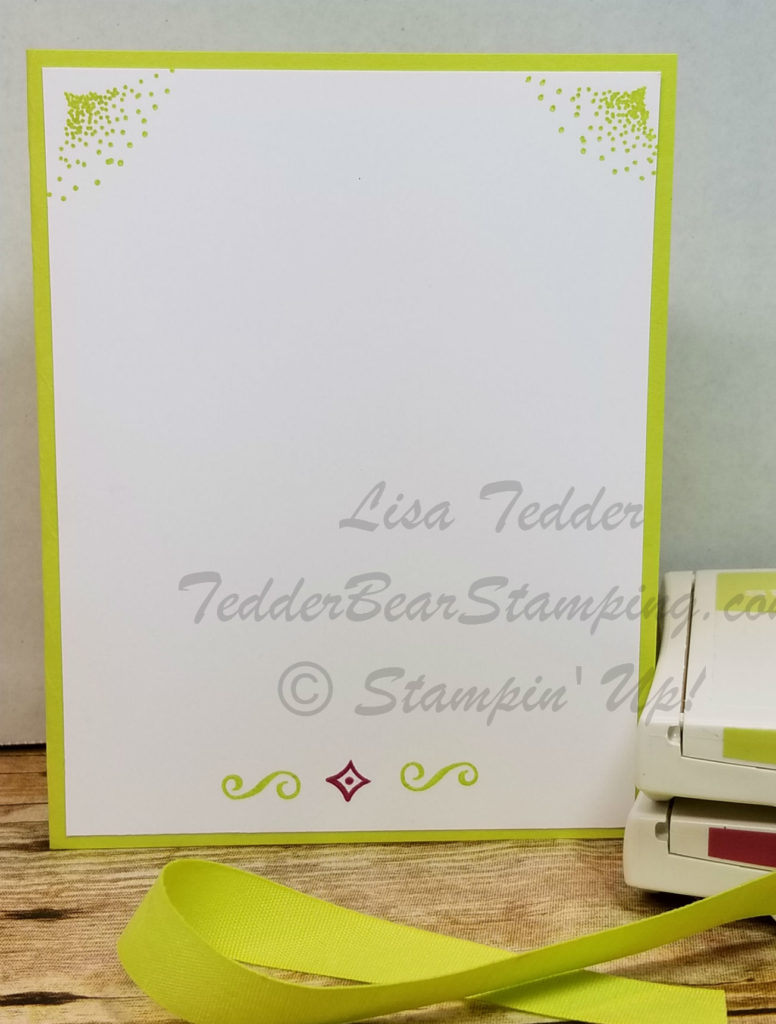
And the inside:

Ok, I said I was inspired, but I ended up doing it  totally different!  BUT now I have the other one on my computer to do another time!  🙂

I added pearls to some of the front, they are on the outside of the Medallion and in the middle and right smack dab in the center! It’s hard to see in my picture…….

I used 2 of the New In Colors Lemon Lime Twist and Berry Burst.  For the Berry Burst, I stamped on scrap THEN on my card (this is called stamped off), this gives the Berry two different hues!

The ribbon is #144135, so on June 1st you can order it!   Hostess code for this month is:  97H62RVK   IF you order from me, I will send you a NEW Catalog!  Only US citizens can order from me, so if you need a recommendation from me, I know of a few that might be around you!

The stamp set is: Eastern Beauty #143675
And the Thinlits are Eastern Medallions #143725

Again, if you order from me, I will send you a free Catty!  PLUS a special something in the mail!

Oh!  I almost forgot!  Did you forget?!  I have BLOG CANDY!  This is what you can win just be commenting on my blog or Facebook Page-TedderBearStamping :

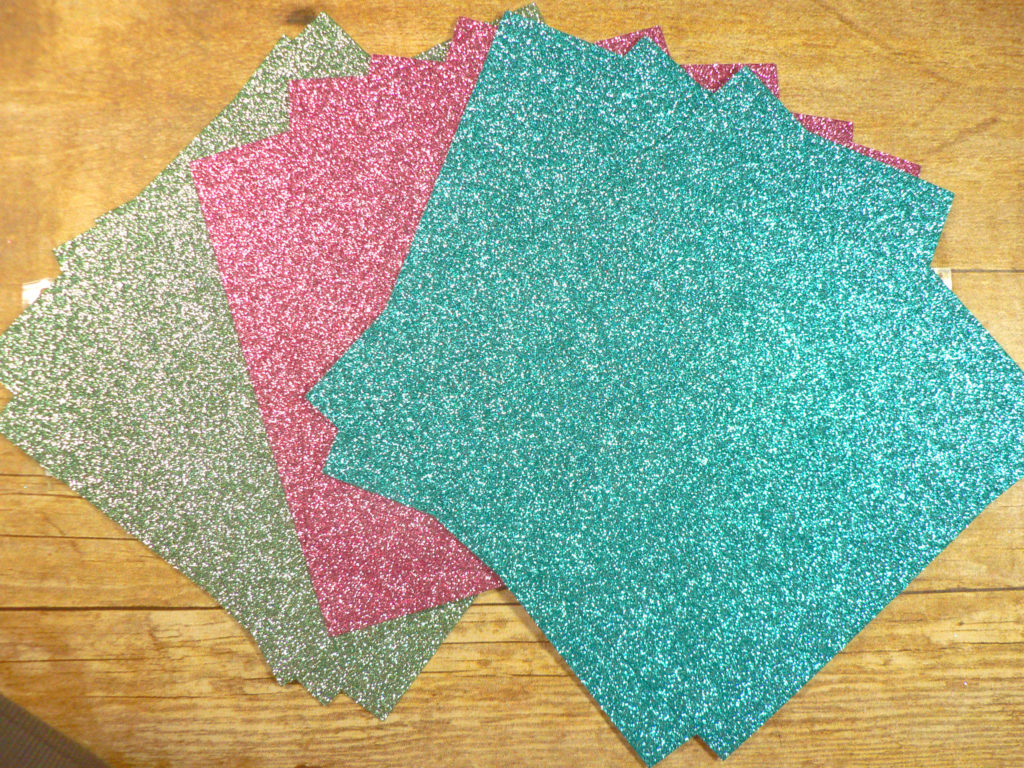
ONE entire package of this Beautiful Glitter Paper, plus MOST of another one!  And if that’s not enough, I have some cutouts that I am sending plus a card that I made using this!

Hope you enjoyed my post today!!  Subscribe to my blog to be notified when I post again!  Remember, the more you comment, the more your name gets put in for the drawing!  I will be doing the drawing on June 6th!

Hostess code for this month is:  97H62RVK

Lisa Tedder
TedderBearStamping
A California Girl living in North Carolina

Another Stained Glass Card with At Home With You

I posted earlier that I was going to use this stamp set from Stampin’ Up! for Kylie’s International Blog Hop, but I changed my mind!  I didn’t think, when I was finished with it, that it yelled MASCULINE. So I am sharing it with you now!

Yes! This is the one that I told you about with the stained glass that came out even better than how I did it in the past!  I touched the one that was drying before it was ready so I had to start all over.  I don’t want to pray for Patience because I really don’t want to practice it a lot!  🙂  I’m not very good at it!

To start off, I scribbled on a piece of Window Sheet with some of SU!’s markers.  I then placed little circles of the Fine Tip Glue Pen over the scribbles and the colors bled and create a really cool pattern!

I used Cajun Craze and Dapper Denim.  See how it marbles?!!  Once dry it is see through with the colors showing through what looks like an antique stained glass!!

Once it’s dry………..it takes  time, it’s probably a good idea to leave it overnight so you don’t mess with it!  Trust me!

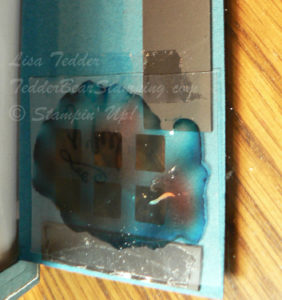
Once the door is cut out with the thinlit, place the Window Sheet down on the back side (the side that opens).

NOT sure why I took this picture of the door UPSIDE down other than to get a better picture!  Can you see the two colors?!!

I have magnet strips on the door between this layer and the next which will sandwich the Window Sheet so you won’t see it.  I placed magnets under the inside of the door (under the saying too), so when the card is standing the door won’t flap open. It makes it snap together.
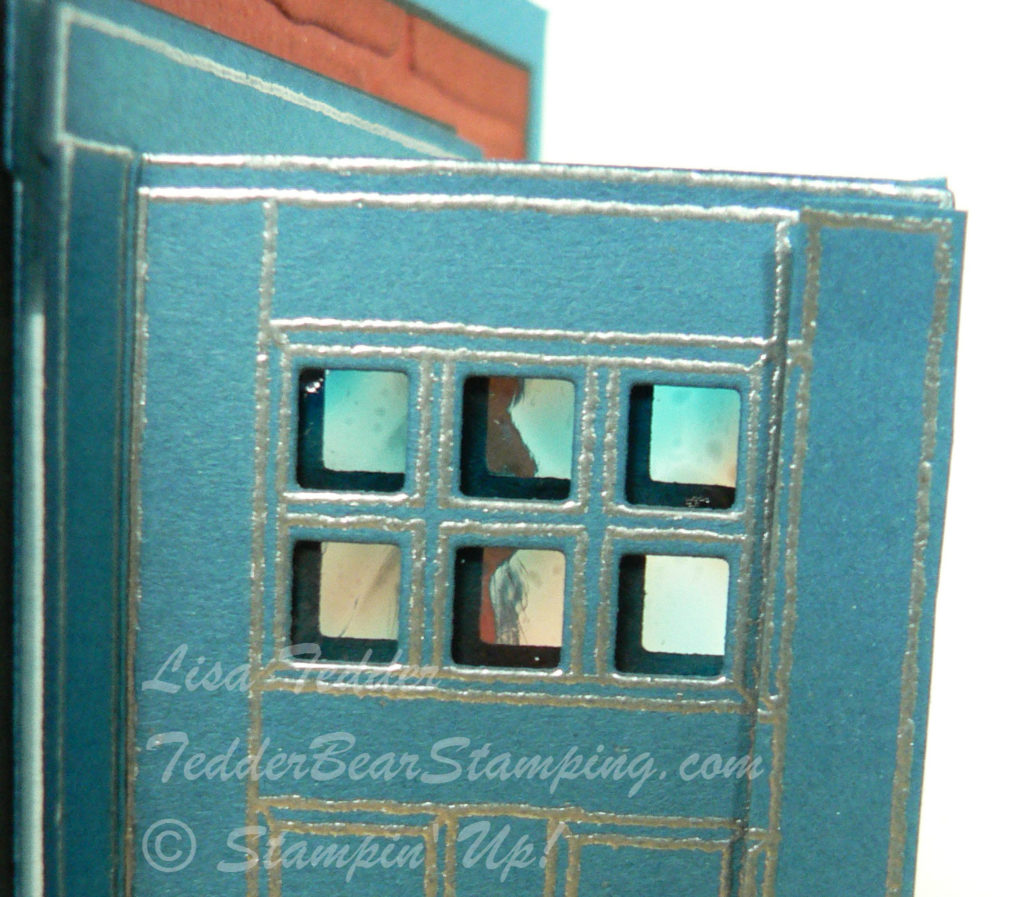
Here is a picture of the other side of the door attached so the Window Sheet is between them:

It REALLY looks like Antique glass, right?

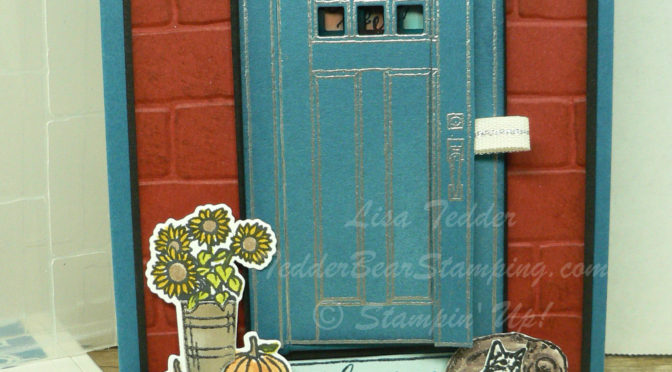
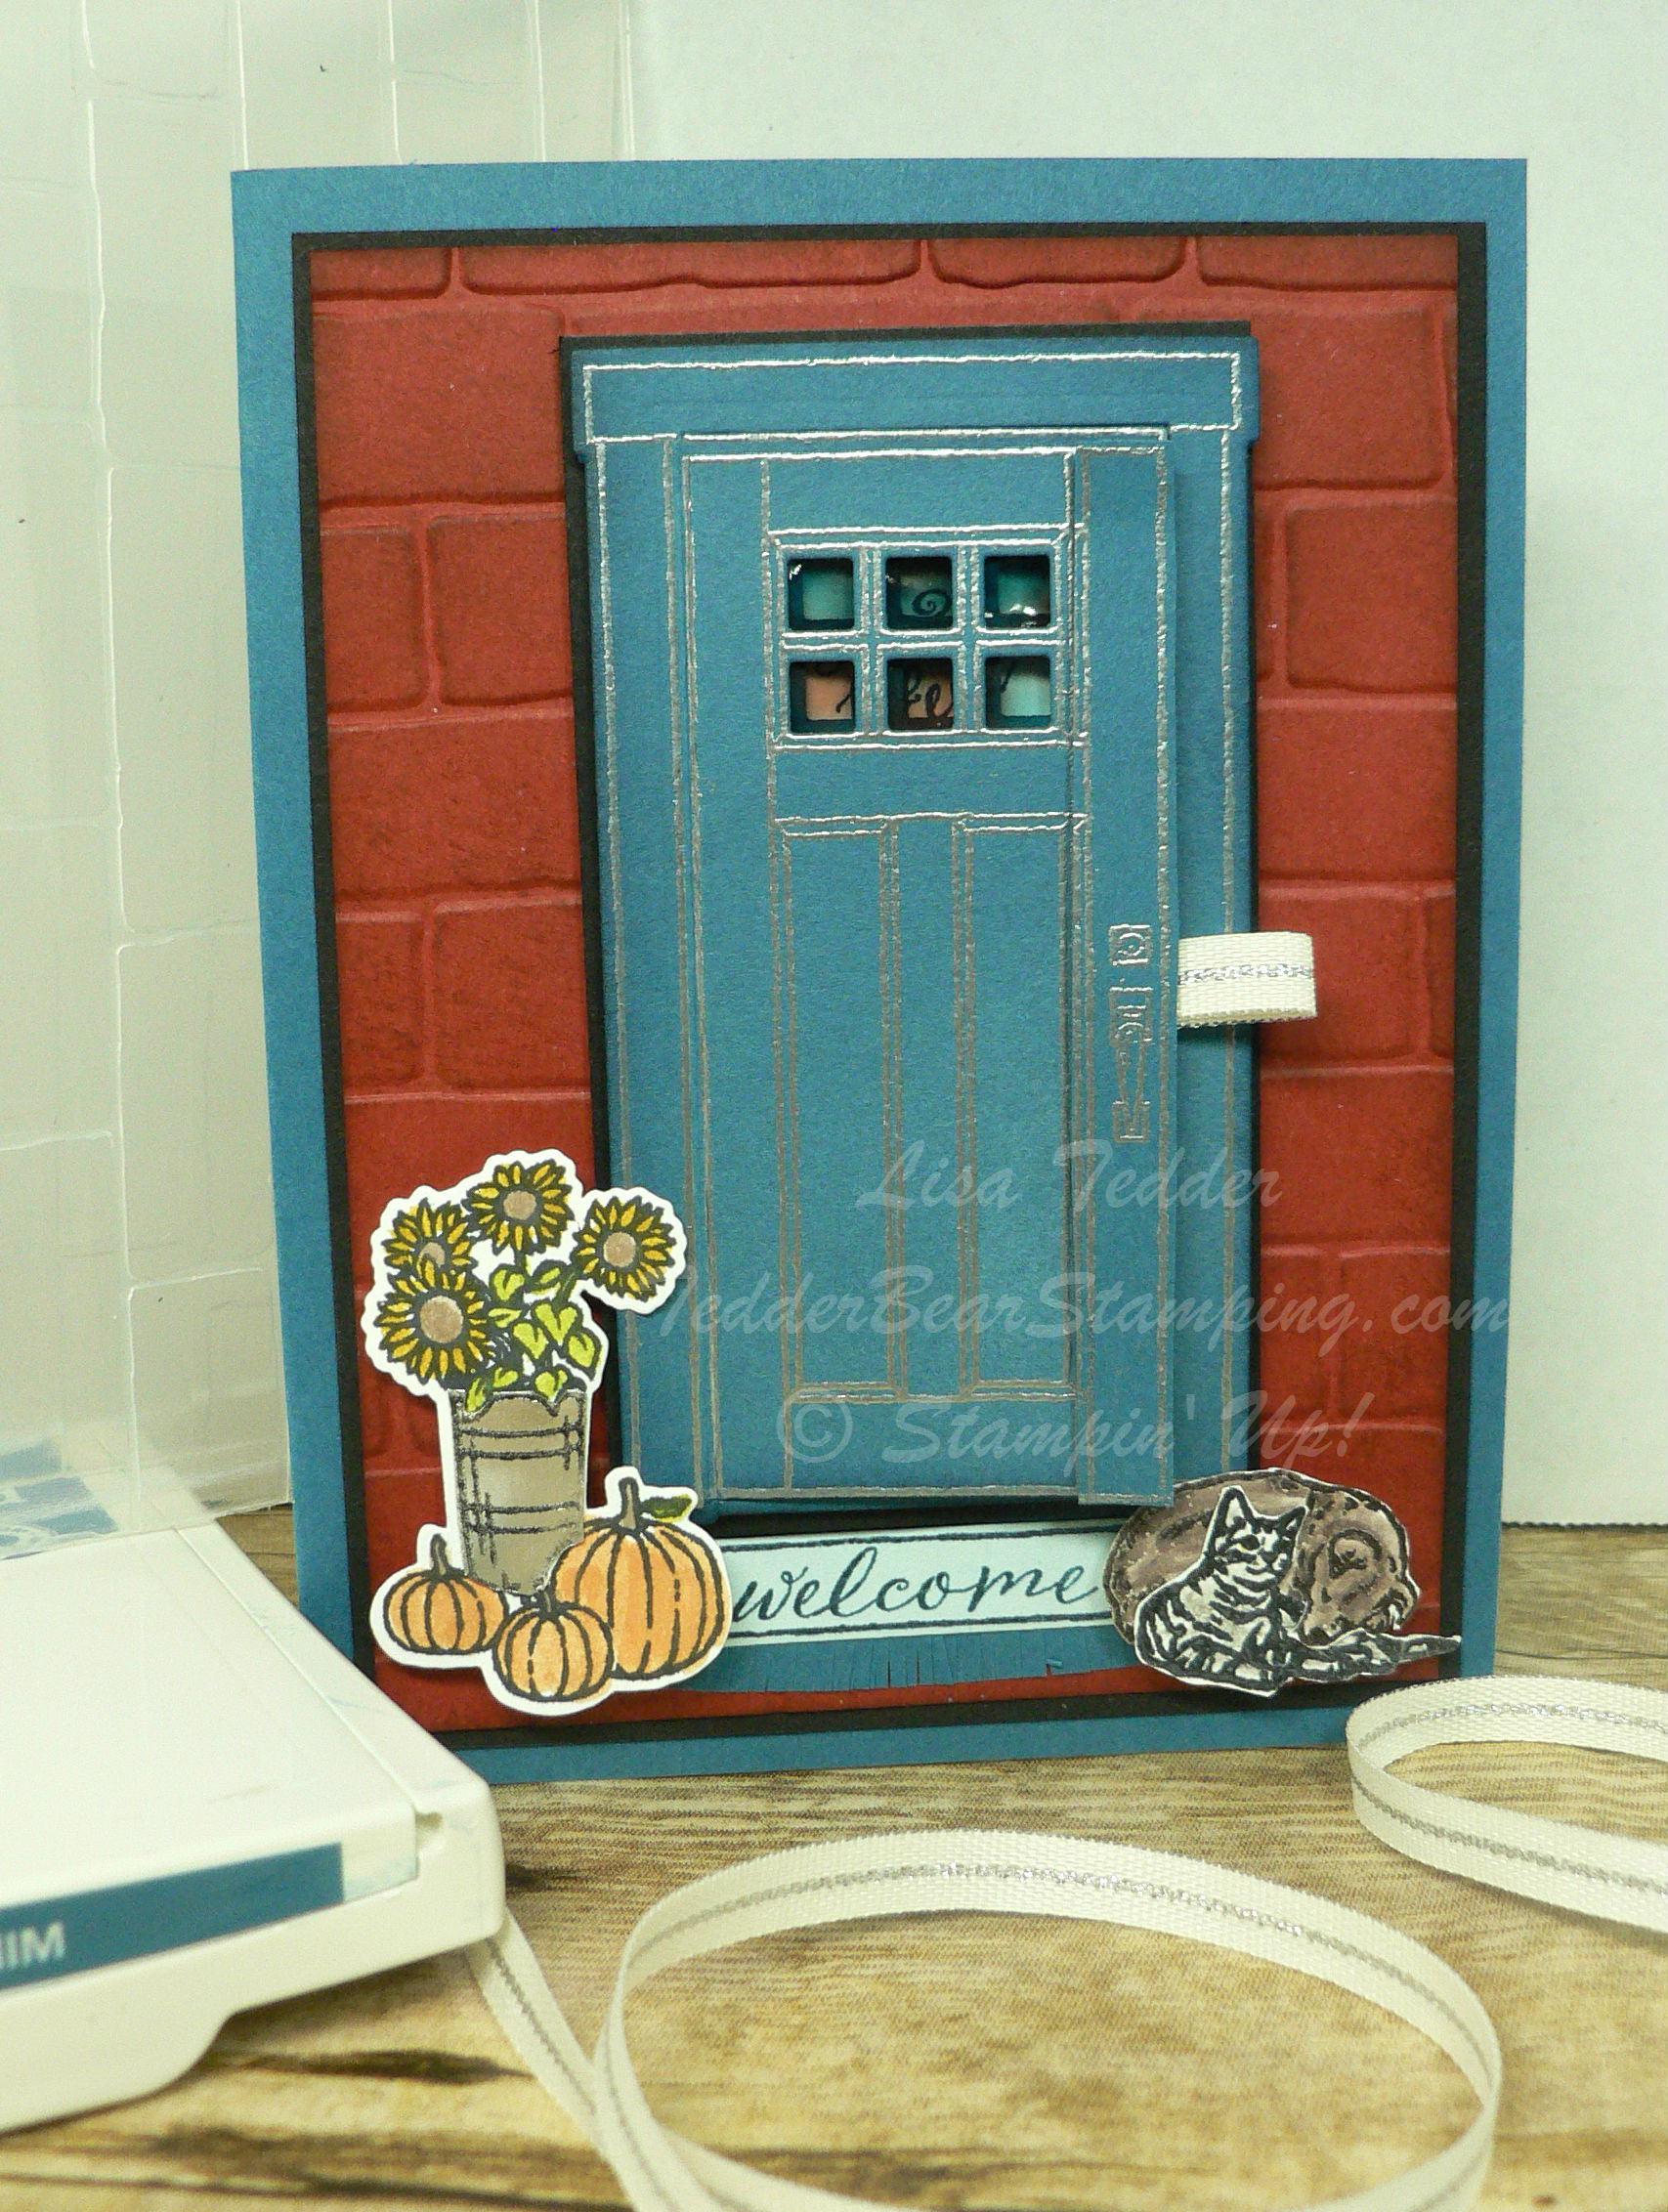
Here is a pic of the card:

Can you see the dog and the cat cuddling together?!  I put a piece of ribbon between the door and the ‘sandwich’ so it can’t be seen other than the part I want to help open the door.

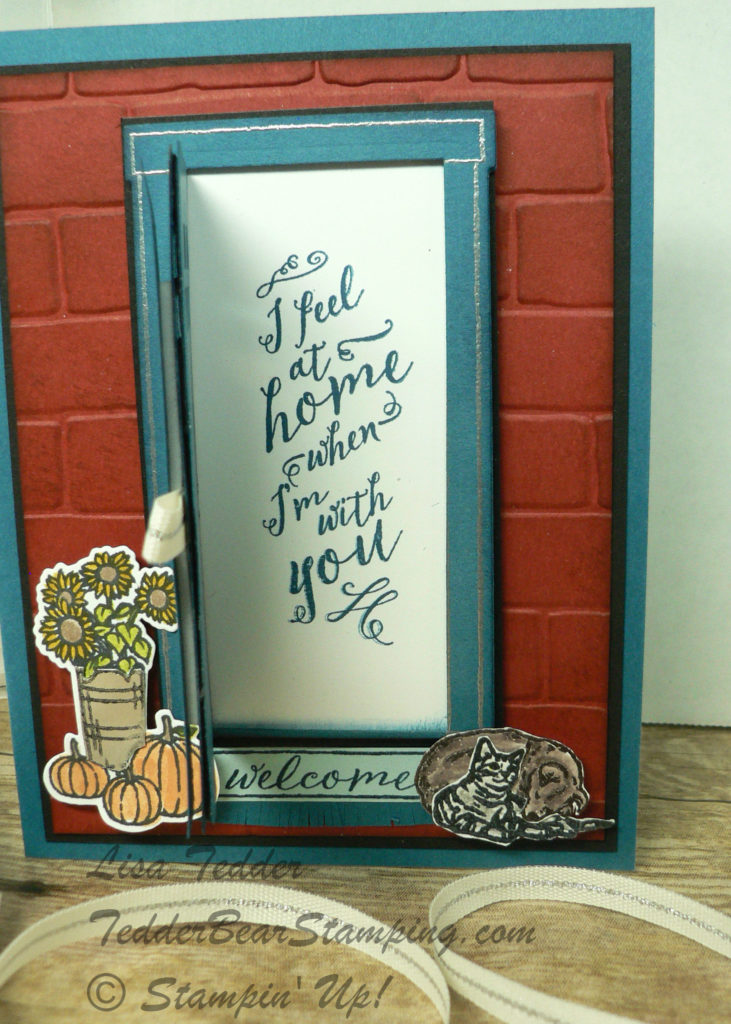
Here is the door open:

The welcome mat is stamped and then I cut fringes in the layer under it so it looks like a mat!

I would love to hear what you think!  Too much?
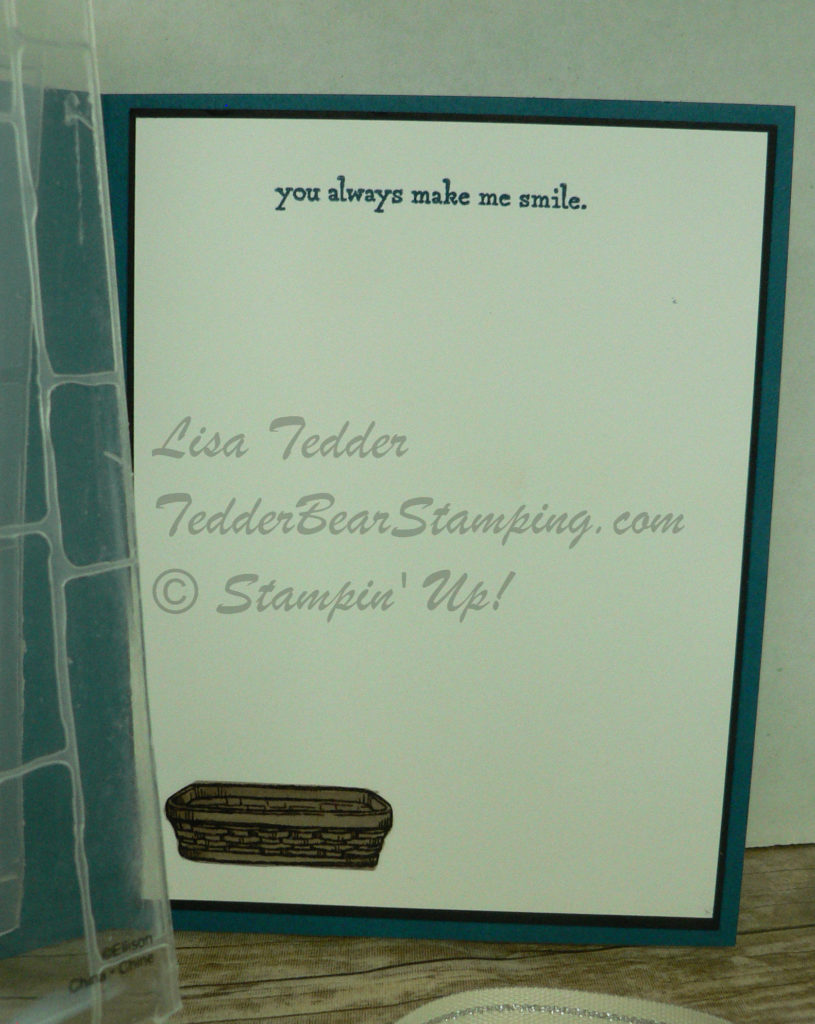
Here is a picture of the inside:

I love the dog basket!!

That’s it for today!!  Hope you liked it!  Subscribe to my blog so you don’t miss anything!!

Don’t forget that I have Blog Candy!!  Here is what you can win:

Just leave a comment here or on my Facebook Page TedderBearStamping, I am doing the drawing on the 15th of May!  Only 3 days left!  Each and Every comment you leave (on any post!) will be counted!  Good Luck!!

Lisa Tedder
TedderBearStamping
A California Girl living in North Carolina

Eastern Beauty trying new combinations!

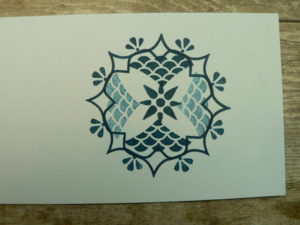
Today I am playing with Eastern Beauty, a NEW stamp set from Stampin’ Up!  This stamp set is so Versatile!!  I have seen so many different ways of stamping  with this set so I thought I would give it a try and just play with it!  I DID end up making a card!  And I love how it came out!

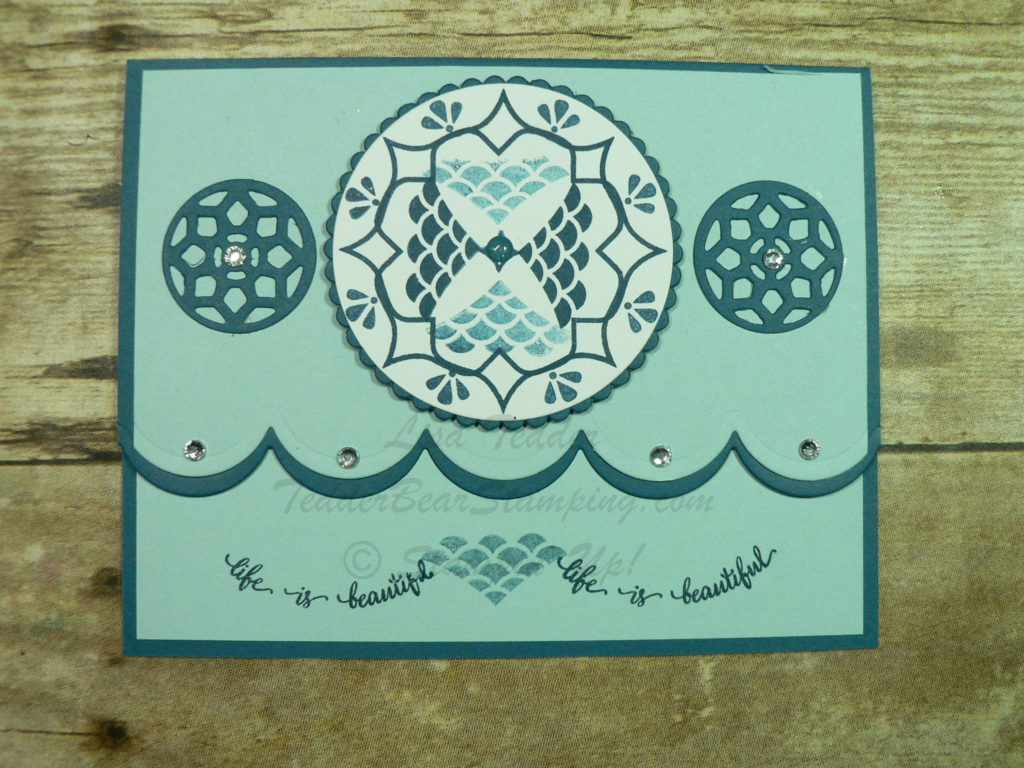
Here it is:

It’s a monochromatic card using ONE ink pad!  The ink I used is Dapper Denim! To get the two different colors I just stamped once on a scratch paper before I stamped on the cardstock.

The cardstock I used is Dapper Denim and Soft Sky.  The measurements are:

Dapper Denim:  5 1/2″ x 4  1/2″, scored at 1 1/4″ and another piece    5 1/2″ x 4 1/4″   (I had to cut it this way since the thinlit won’t fit through the Big Shot from side to side. The flap that I scored fits over the back of the 5 1/2″ x 4  1/4″ )

Soft Sky: 5 1/4″ X 4″ and 5 1/4″ X 3″

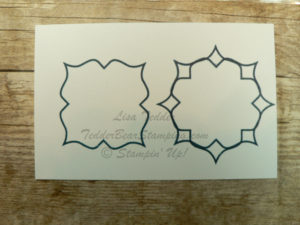
I then placed the curvy Thinlit from Seasonal Layers on the bottom of each piece (away from the flap on the one, and along the smaller Soft Sky)  centering it on each side so it is even.  NOT at at same time though!

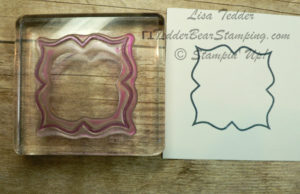
Stamped this first:

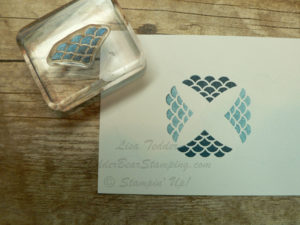
Then turned stamp….

Then:

There are all kinds of ways to do this!  You can place the diamond shape further apart and get this:

Then go from there:

I put a different middle on this one!  Plus I stamped that pretty 3 point exclamation (not sure what to call it!) at each curve.

I stamped the Life is Beautiful stamp along the curve at the bottom twice and then once more stamped the ‘diamond’ shape but stamped off since I wanted it to be lighter than the words.

Here’s more images from this stamp set:

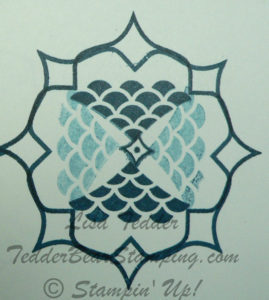
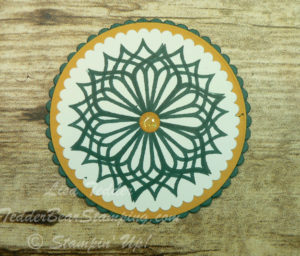
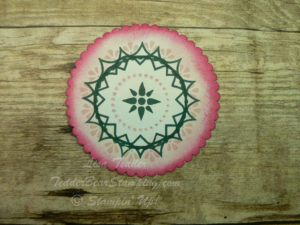
This one uses the stamp from the set that has the point in the middle, just line it up and stamp between each valley and it looks like a Spirograph from when I was a kid!

One more:

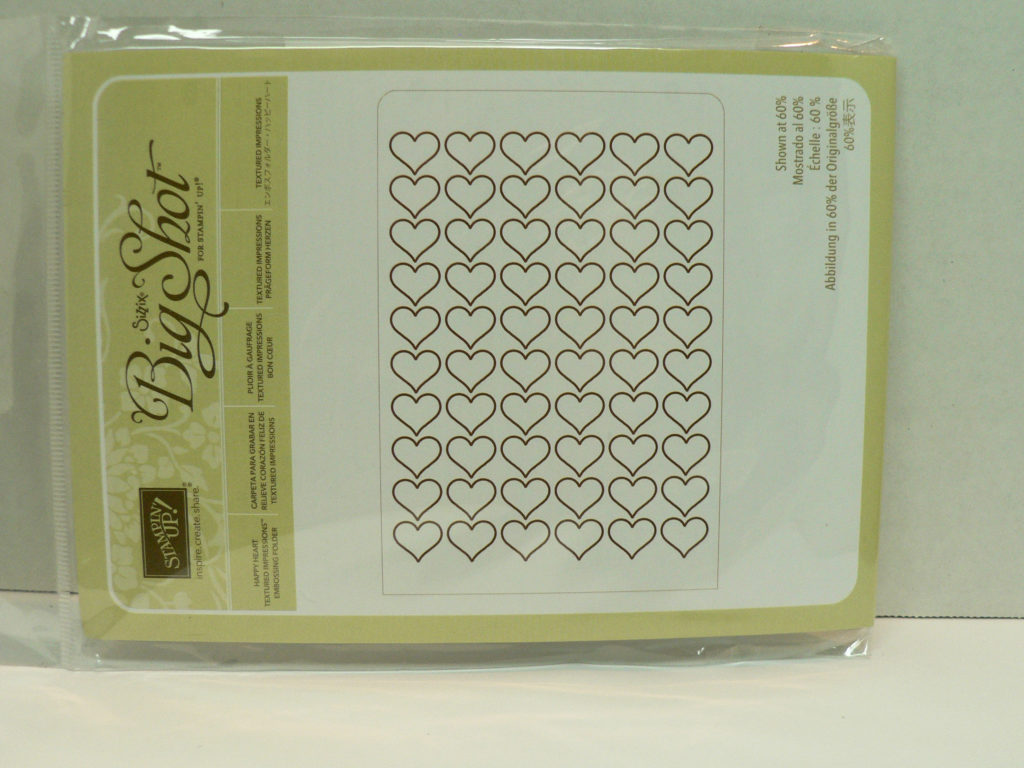
Hope you love this stamp as much as I do!  I’ve been having a lot of fun playing with it!  I would love to hear from you which image YOU like best!  Just place a comment here and you will also be eligible for my Blog Candy!  Which is this:

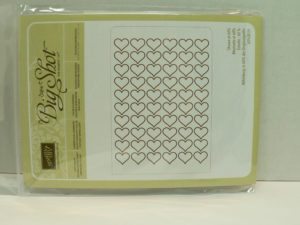
I LOVE Embossing folders, don’t you?!  Comment before May 15th and you might get this in YOUR mail box! You can also put a comment on my Facebook Page TedderBearStamping and I’ll put you in the drawing!

Visit me again, and to be sure you don’t miss anything, subscribe to my blog and you will be notified each time I post!

Lisa Tedder
TedderBearStamping
A California Girl living in North Carolina

Product List

Easy Way to Make a Vintage Card, Plus Blog Candy Winner

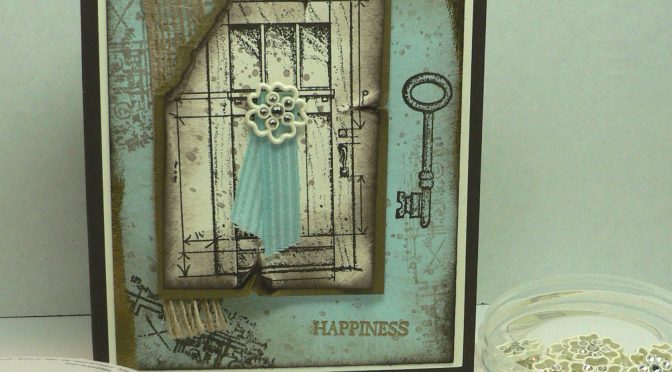
I saw on Pinterest a card using the rubber stamp set from Stampin’ Up! called In This World.  I had bought this set because I love anything Vintage and this called to me!

I changed it up so much that I went back to see hers and it was nothing like what mine turned out as!  Has that happened to you? You can find her YouTube video here  It’s very pretty, but not the way I went with mine.  I followed some of her ideas, but that’s as far as I got!

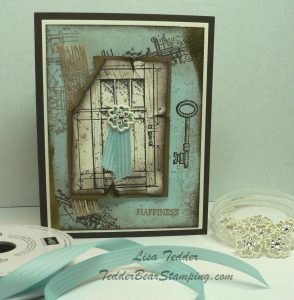
Here is my version:  


What do you think?  It needed a ‘spot’ of color, so I added the ribbon and the Falling In Love Trinket.  This picture has the Burlap ribbon in it, going along the side.  I ran out (I’m making swaps for my Savannah OnStage event!!) so I just went without for the rest of the swaps.

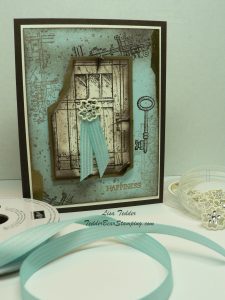
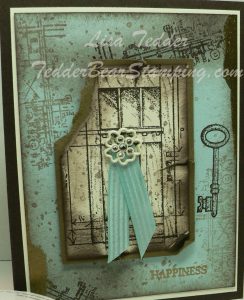
Here is the other version:  

I used VersaMark on the sides of BOTH swaps and added Gold Embossing Powder.  Plus added it to the Sentiment to make it stand out.

Here is a close-up of the treatment on the Soft Sky:  

I used almost every Stamp in this set!  The only one I didn’t use is the chair.  And I LOVE the chair, so I will have to come up with something to use that the next time!

I used the stamp from the In This World that has the long strip of dimensions?  I have a question mark there because I’m not sure what to call it!  Do you know?  I stamped that image in Crumb Cake on the top left and bottom right. Then stamped again, along top and bottom left using Early Espresso ink.  I stamped the one on the right bottom once on a scrap and then on the page, so the key will show up.  That is stamped in Early Espresso too!  I then stamped the blotchy stamp (that’s what I call it!) from the Stamp set Gorgeous Grunge using the Crumb Cake all over the card, stamping off every other time.  I then sponged it with Crumb Cake on ALL sides, sponging really well so it went towards the center.  Then sponged SOFTLY using the Early Espresso ink.  Just to give it a dark outer edge.

I stamped the door on Very Vanilla (it doesn’t look like it does it!), that shows how much I sponged it!  I used Early Espresso for the Door, and Crumb Cake for the sponging.  But first I distressed the edges by ripping, bending and tearing , I tore off the corner.  You have to make sure you do the distressing first, and THEN sponge.  This way the edges that bend over are sponged on both sides.  My shoulders were HURTING by the end of this, and I only made 30 cards!  I usually make a LOT more, but I’m glad I didn’t this time!

Here is the inside: 

I didn’t sponge the inside because I wanted it to stay pristine, so you can see what is written when sending it.  Would you be happy to get this card?  Or is it too messy?

It’s been awhile since I’ve done a Vintage card, have I forgotten how to do it?  I feel needy today for some reason!  It could be because I was winging it the whole time!  LOL

Here is the Blog Candy that I’m giving away today:

Congrat’s to the Winner:  Sue Root!!

I hope you enjoyed the project today!  Please let me know which one you like more, with or without the Burlap Ribbon.  Sometimes you look at something so long you just can’t be the judge!

Hope to see you again, soon!  Make sure you subscribe so you won’t miss when I post.
Lisa Tedder
A California Girl living in North Carolina

Product List

<!——– TAM

Stair Step Card with Blog Candy!

Today I am showing you a really fun and surprisingly simple card!  I’m calling it a Stair Step Card, if you know of the ‘correct’ name,  would love to hear what it is!

I’m using the stamp sets from Stampin’ Up! called Lift Me Up and Beautiful You for the sentiment!  I have a video showing how to do this card, and you can see it HERE!  Please subscribe to my video’s I am having a ton of fun and like to show things that are a Step Up from ‘regular’ cards!

Paper Art is one of my favorite things to do!  Subscribe to my Newsletter that will come each month!

The measurements for the
Whisper White is:  5 1/4″ X 4″ (front), 5″ X 8″ (inside) Score at 2″, 4″ and 6″, or fold back as shown on video.
Island Indigo is: 5 1/2″ X 4 1/4″

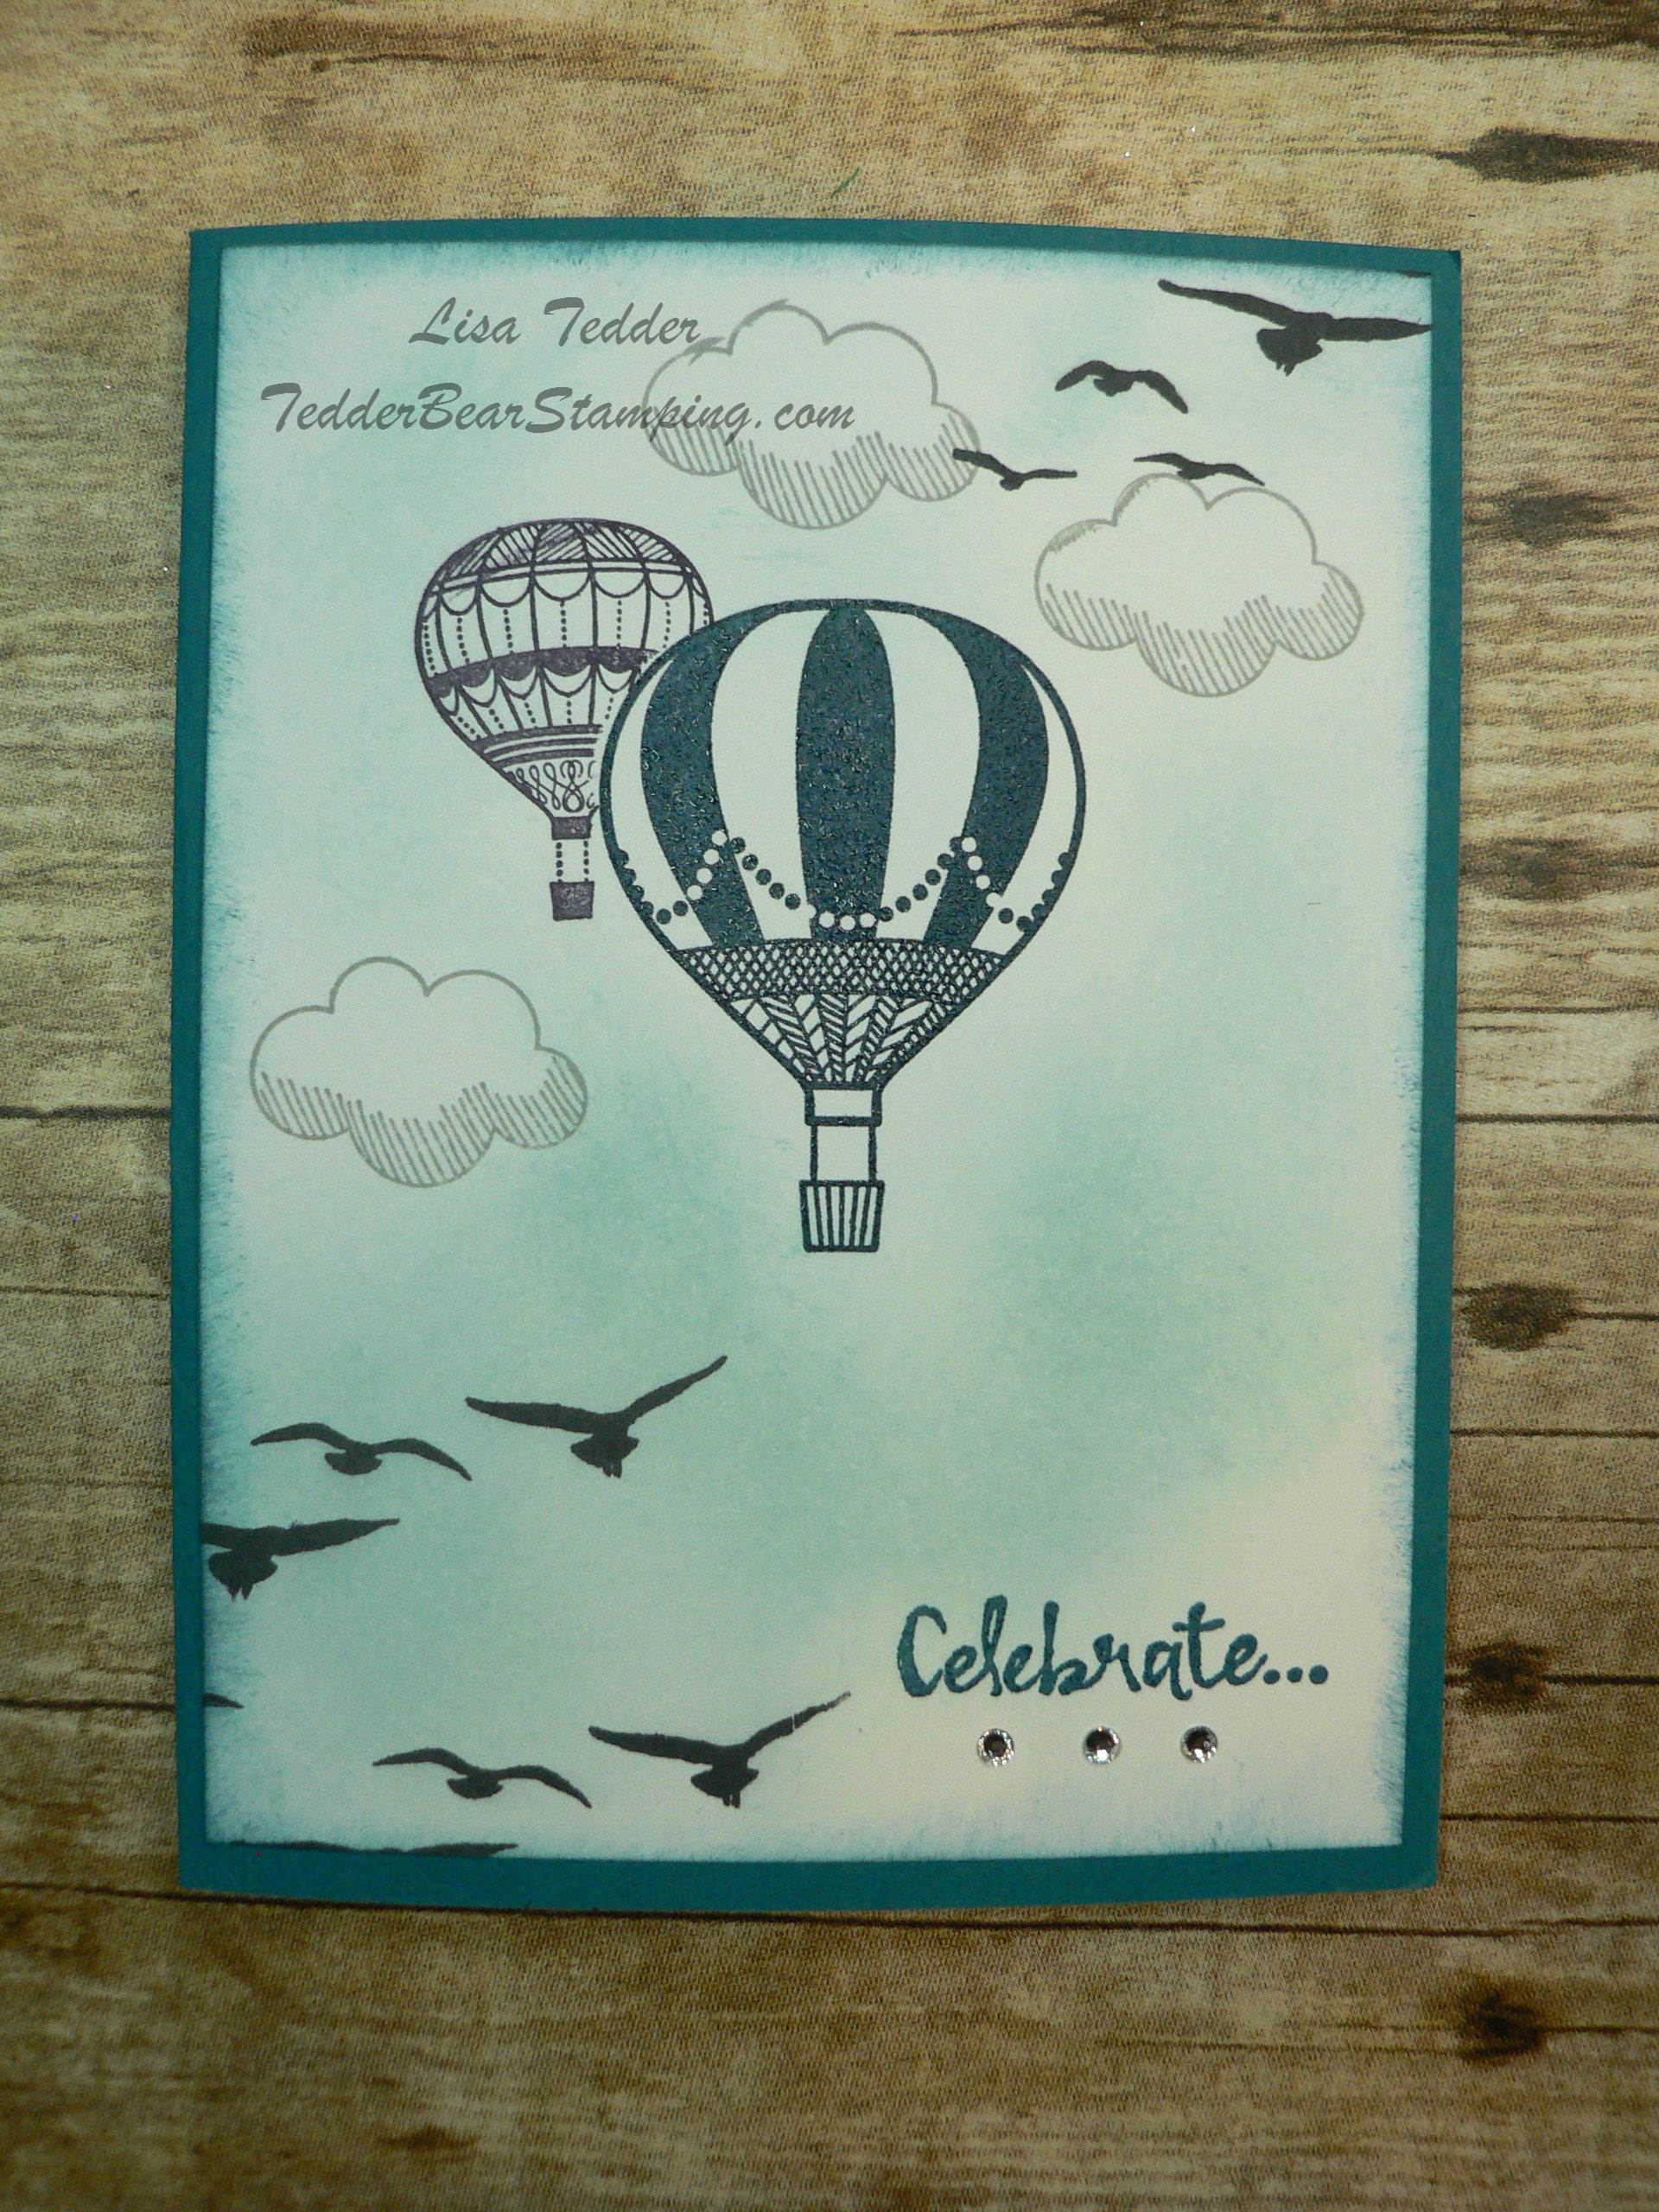
Here is a picture of my card:


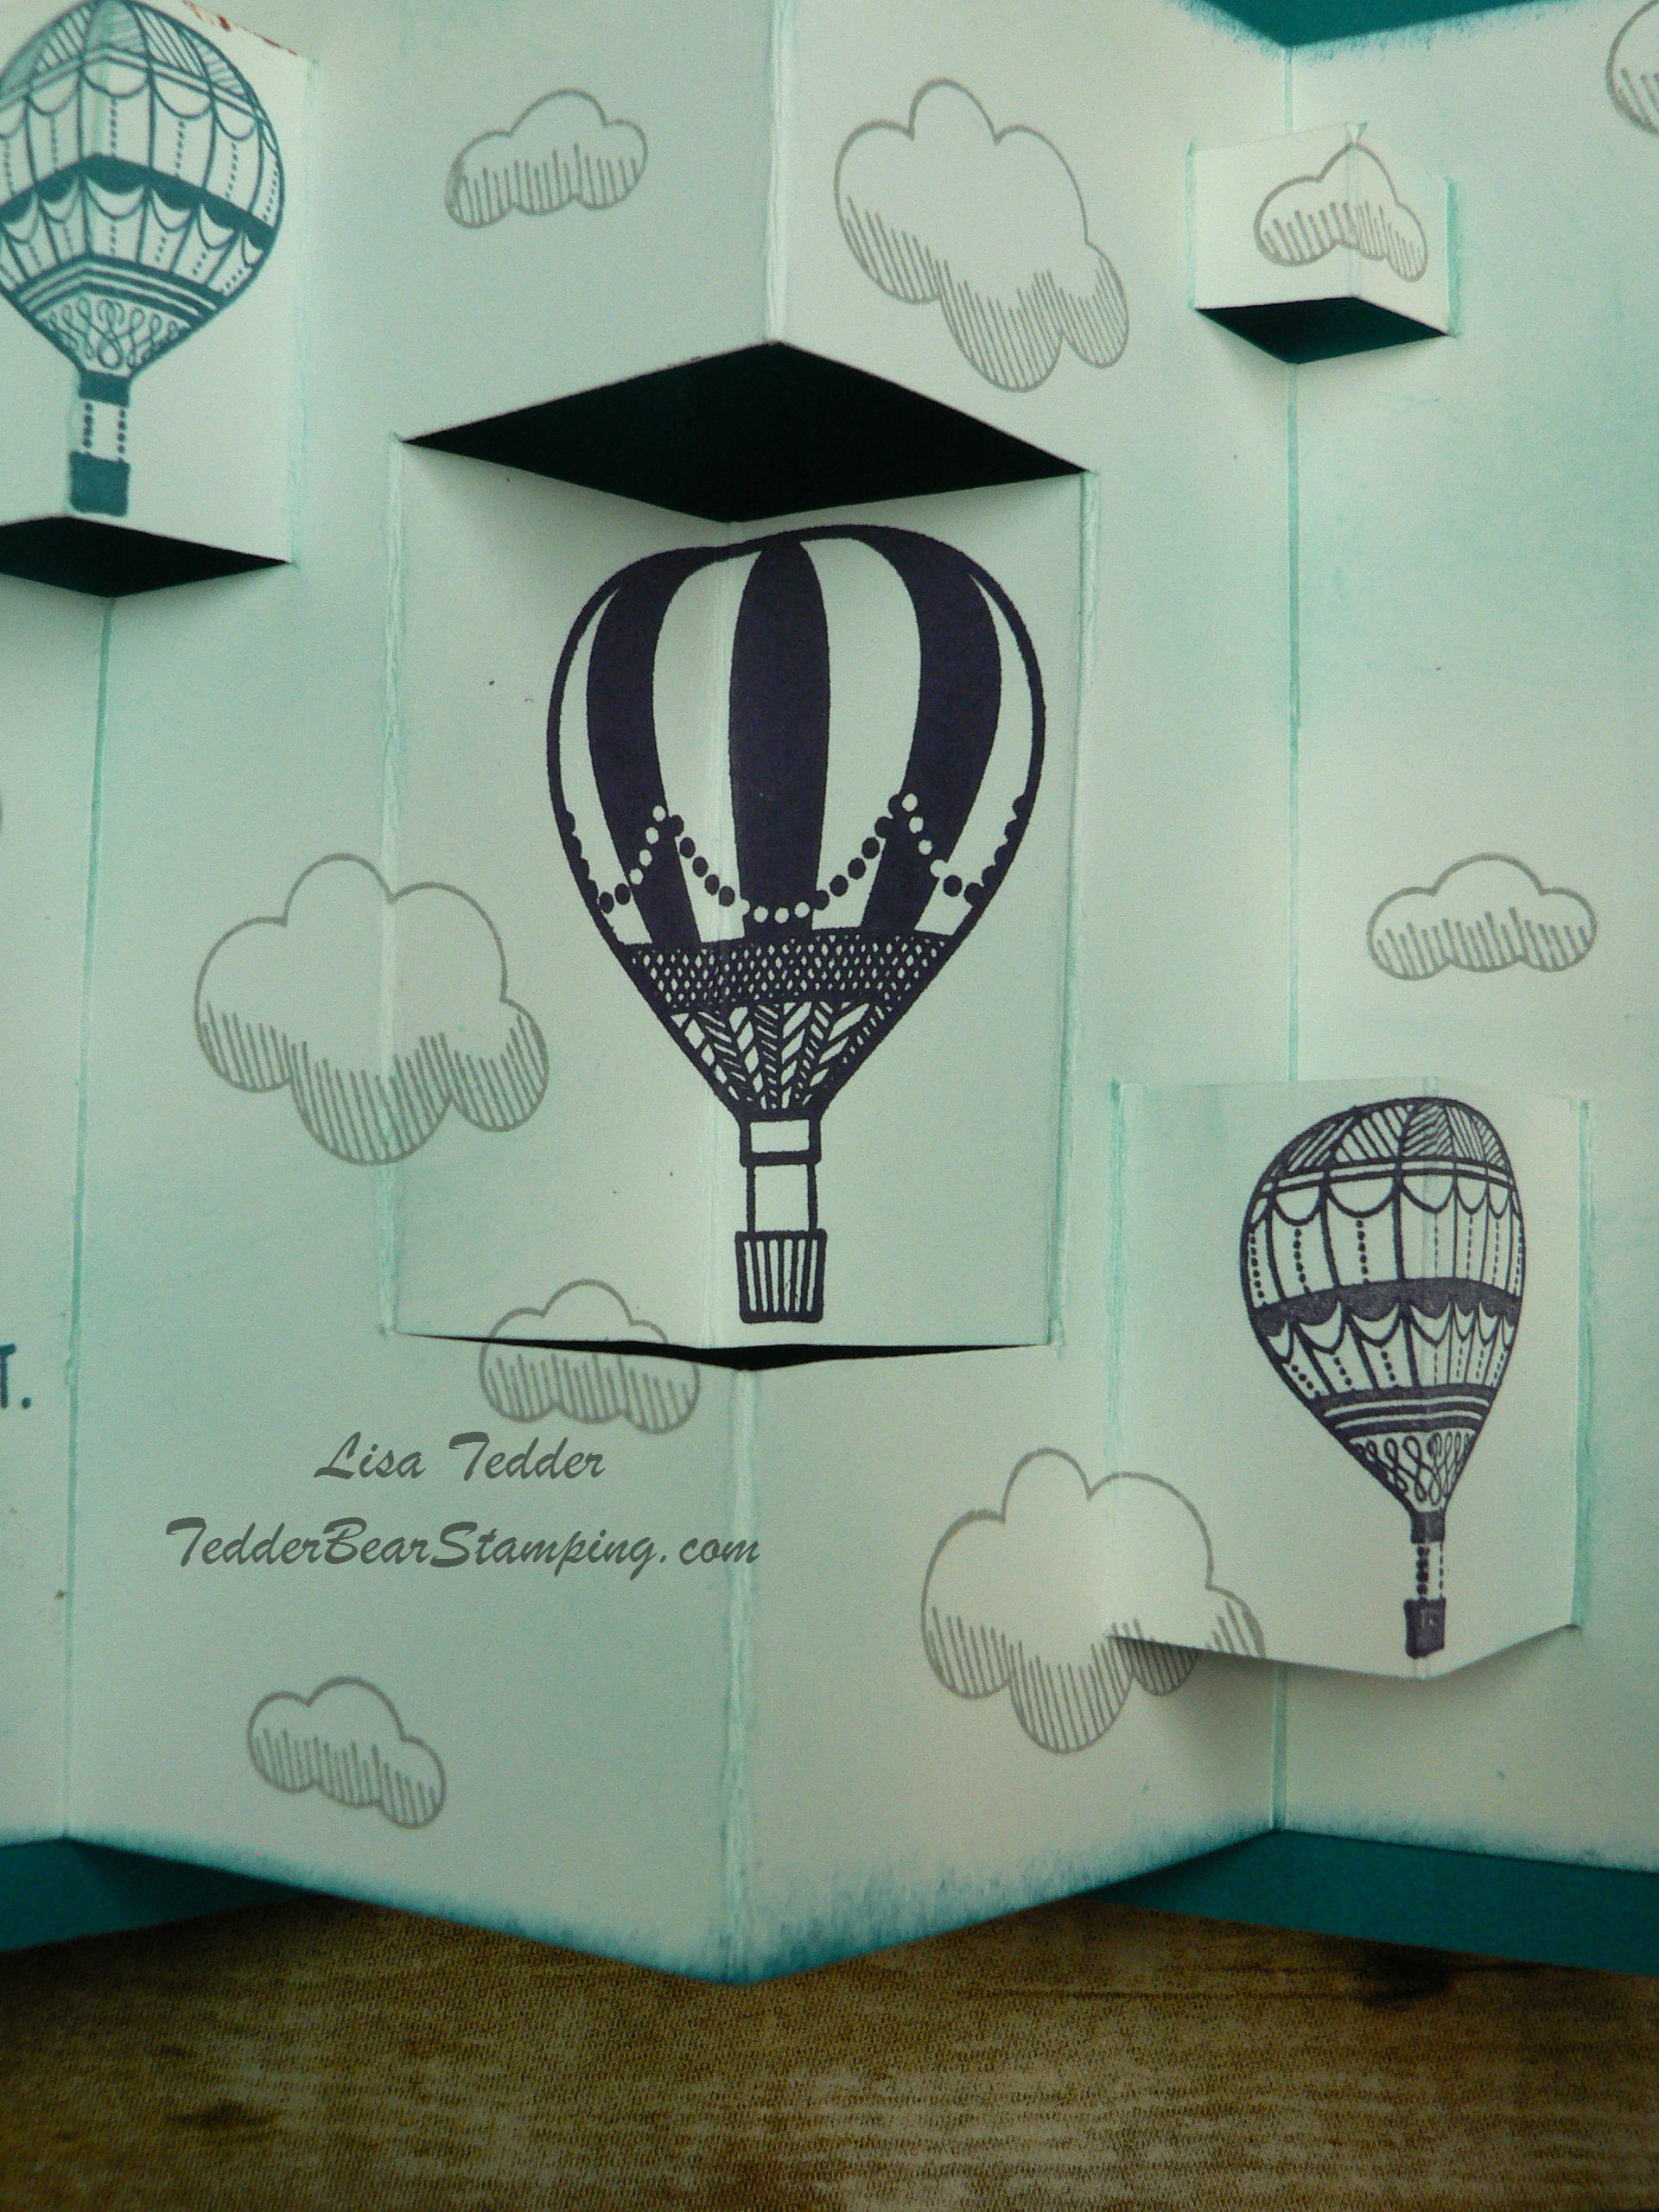
This is what the front looks like.  Pretty right?  Just vision yourself getting this card, it’s such a pretty card, and you go to open it AND…….


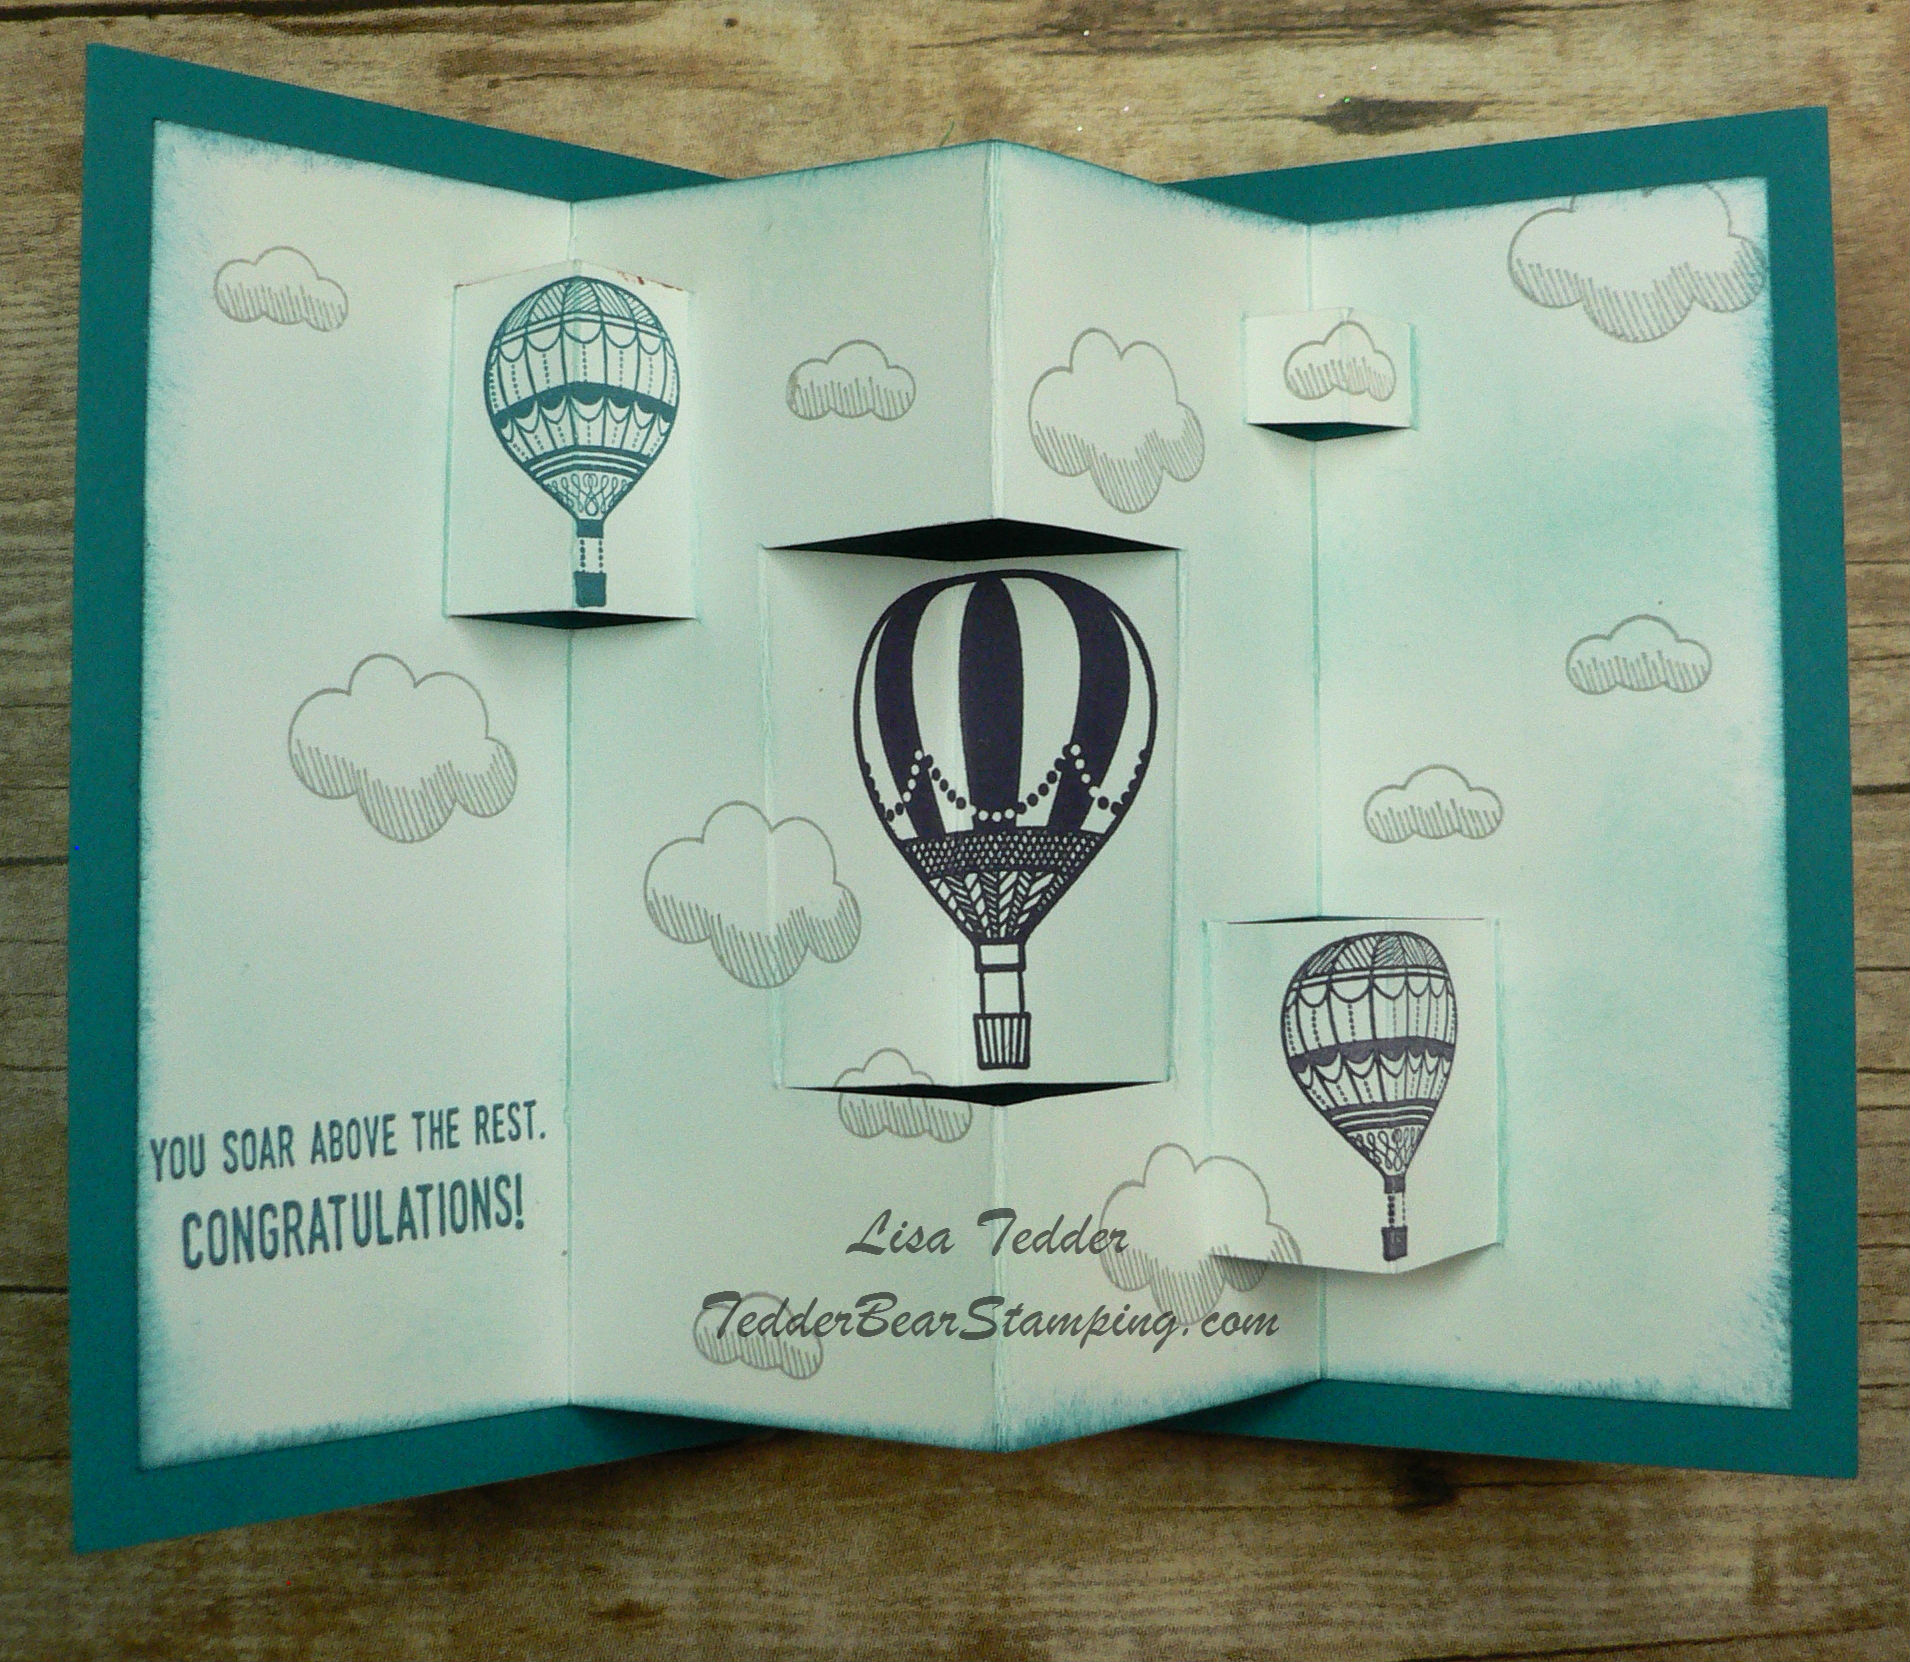
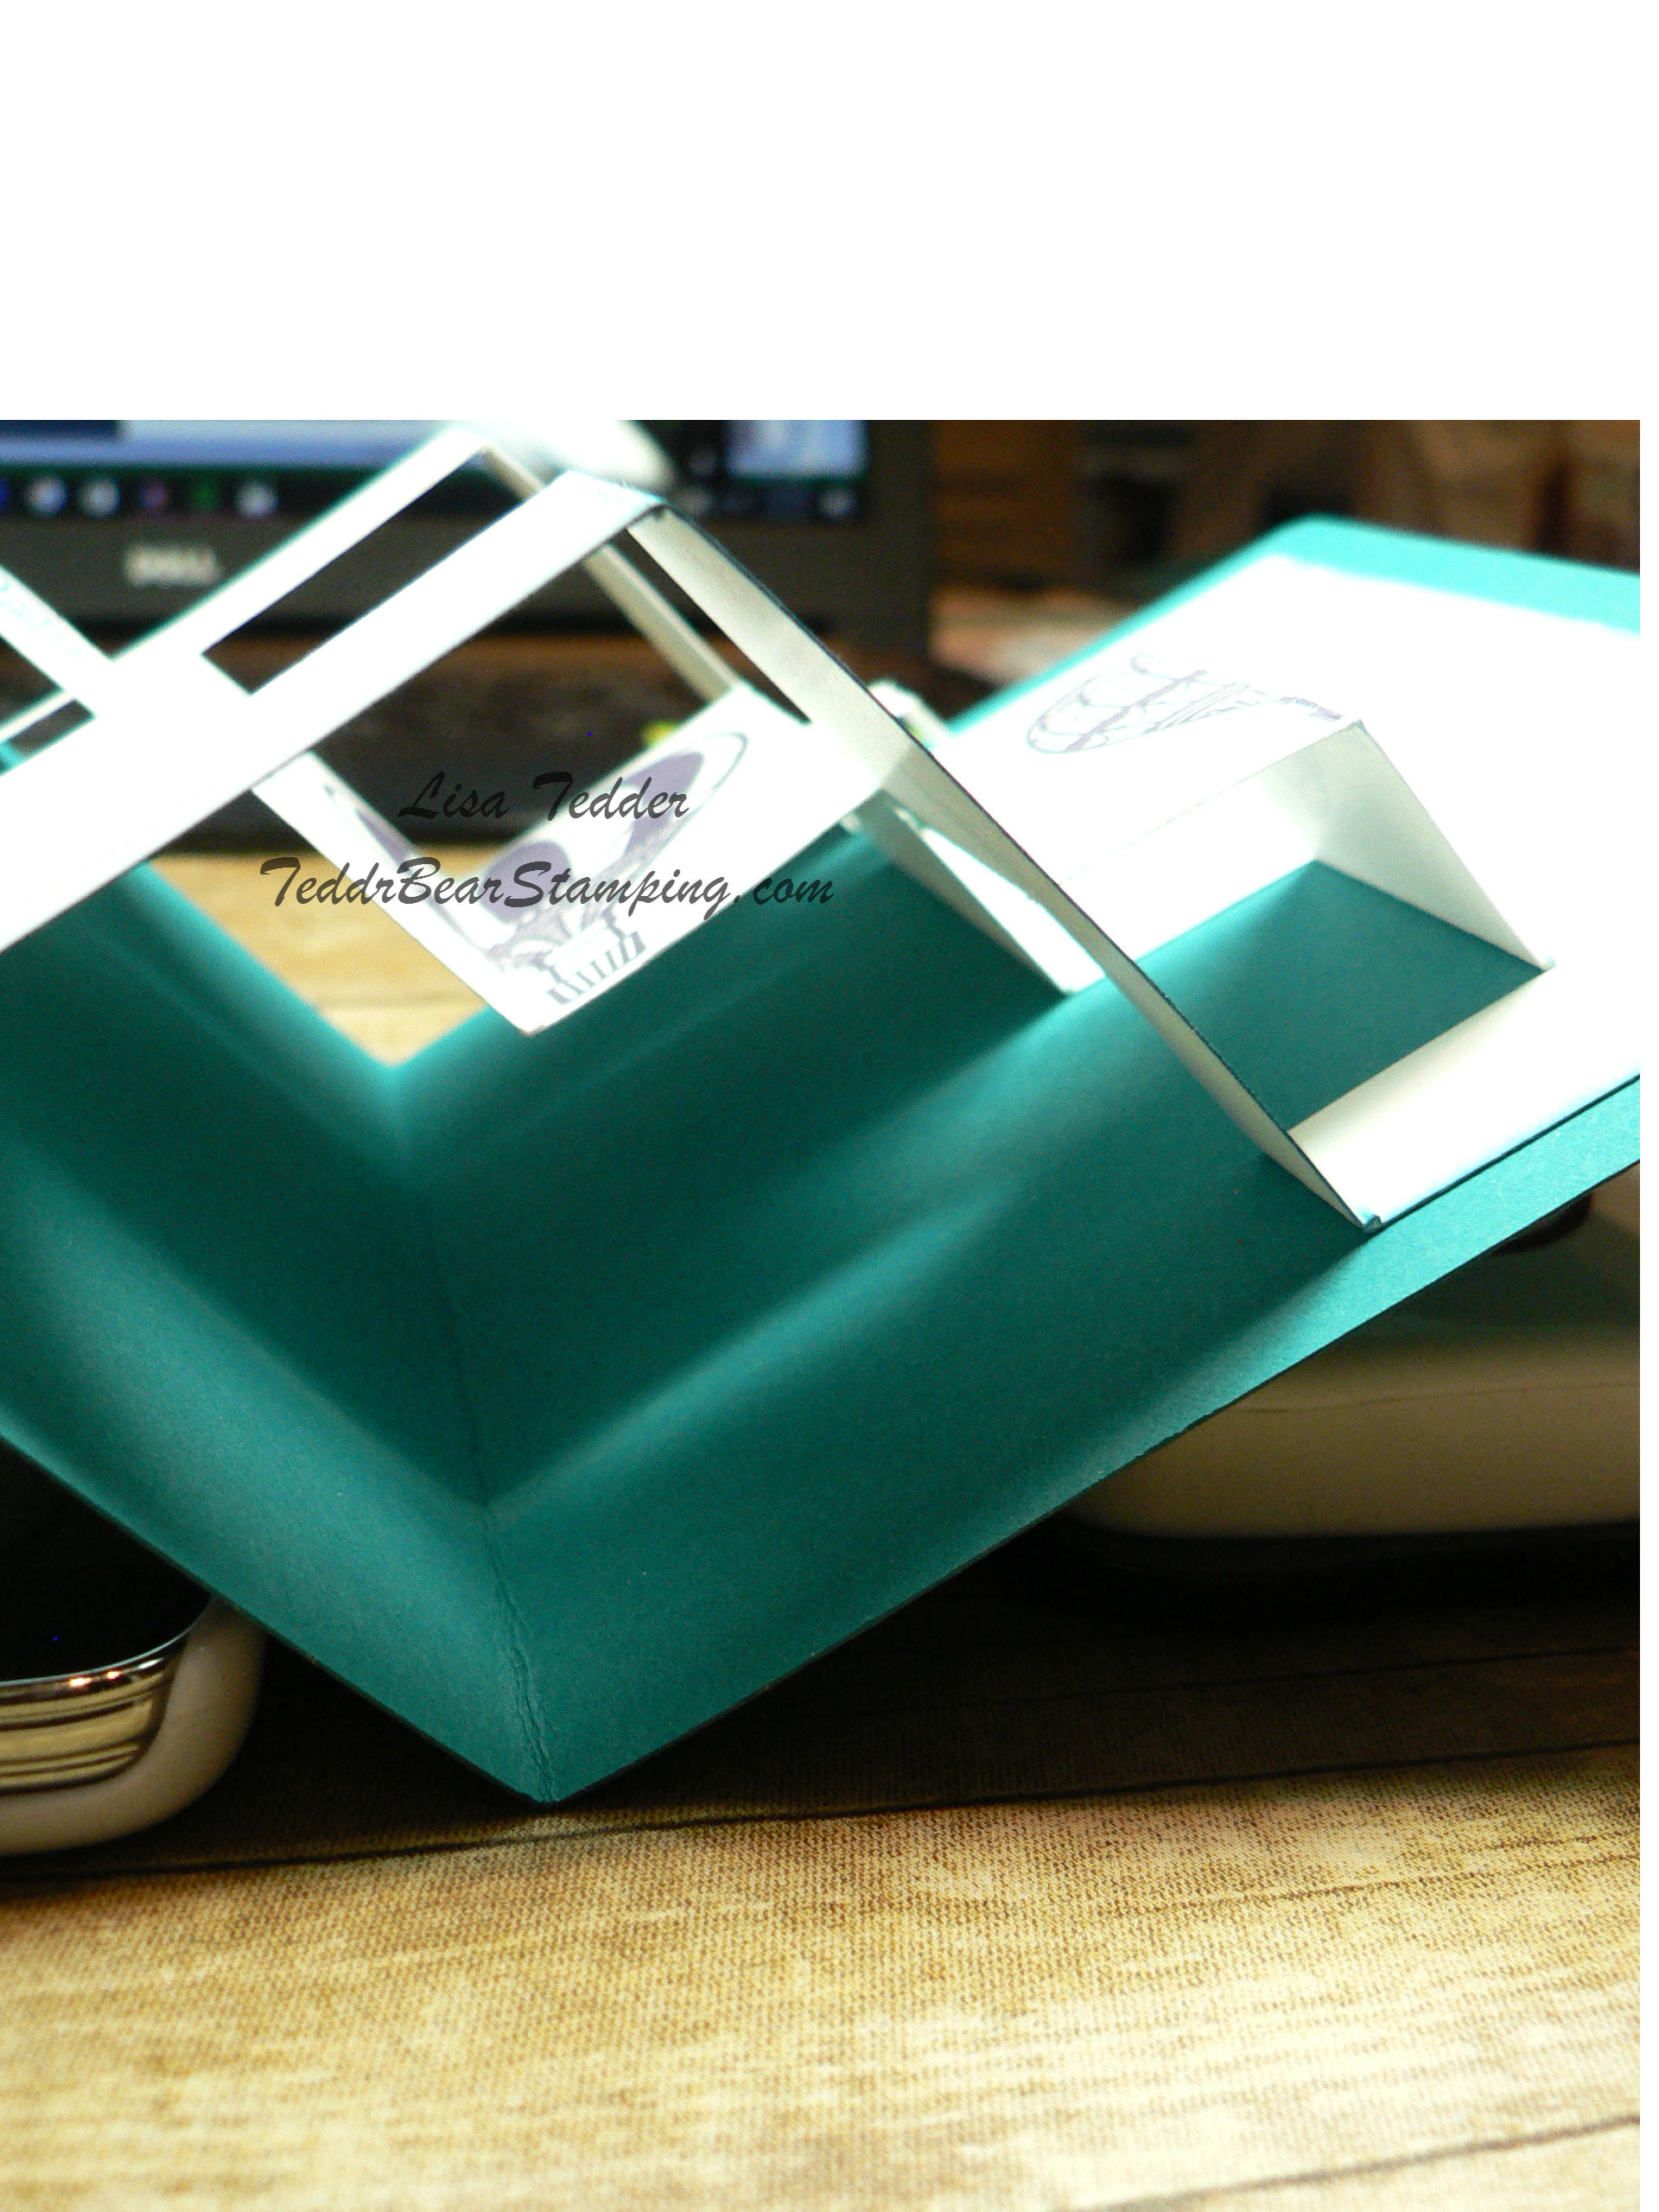
Wow!  It is Really fun and interactive inside!  The Balloons look like they are flying!  This card is super easy to make!  It doesn’t look like it does it?!   It took me all of 15 minutes to make!  That’s with cutting the cardstock too!  If you watch my Video, you can see how much fun it is!  You’ll want to get out any and all stamp sets that you can use this technique with!

Here is another view, close up!

And one more!!
This shows the side view.  Pretty cool right?  What will you be making using this technique!?  I would love it if you could add your links in my comments!  Or just send me a picture!  My email is:
TedderBearStamping@gmail.com

NOW, on to my Blog Candy!!  If you leave me a comment you will get your name put onto a list where I will do a random computer generator to pick who gets it!  I will be doing the drawing April 4th! You can comment as many times as you want!  AND, if you visit my FaceBook Page and make a comment there I will put your name on the list again!

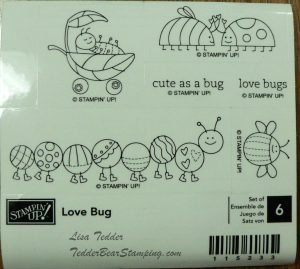
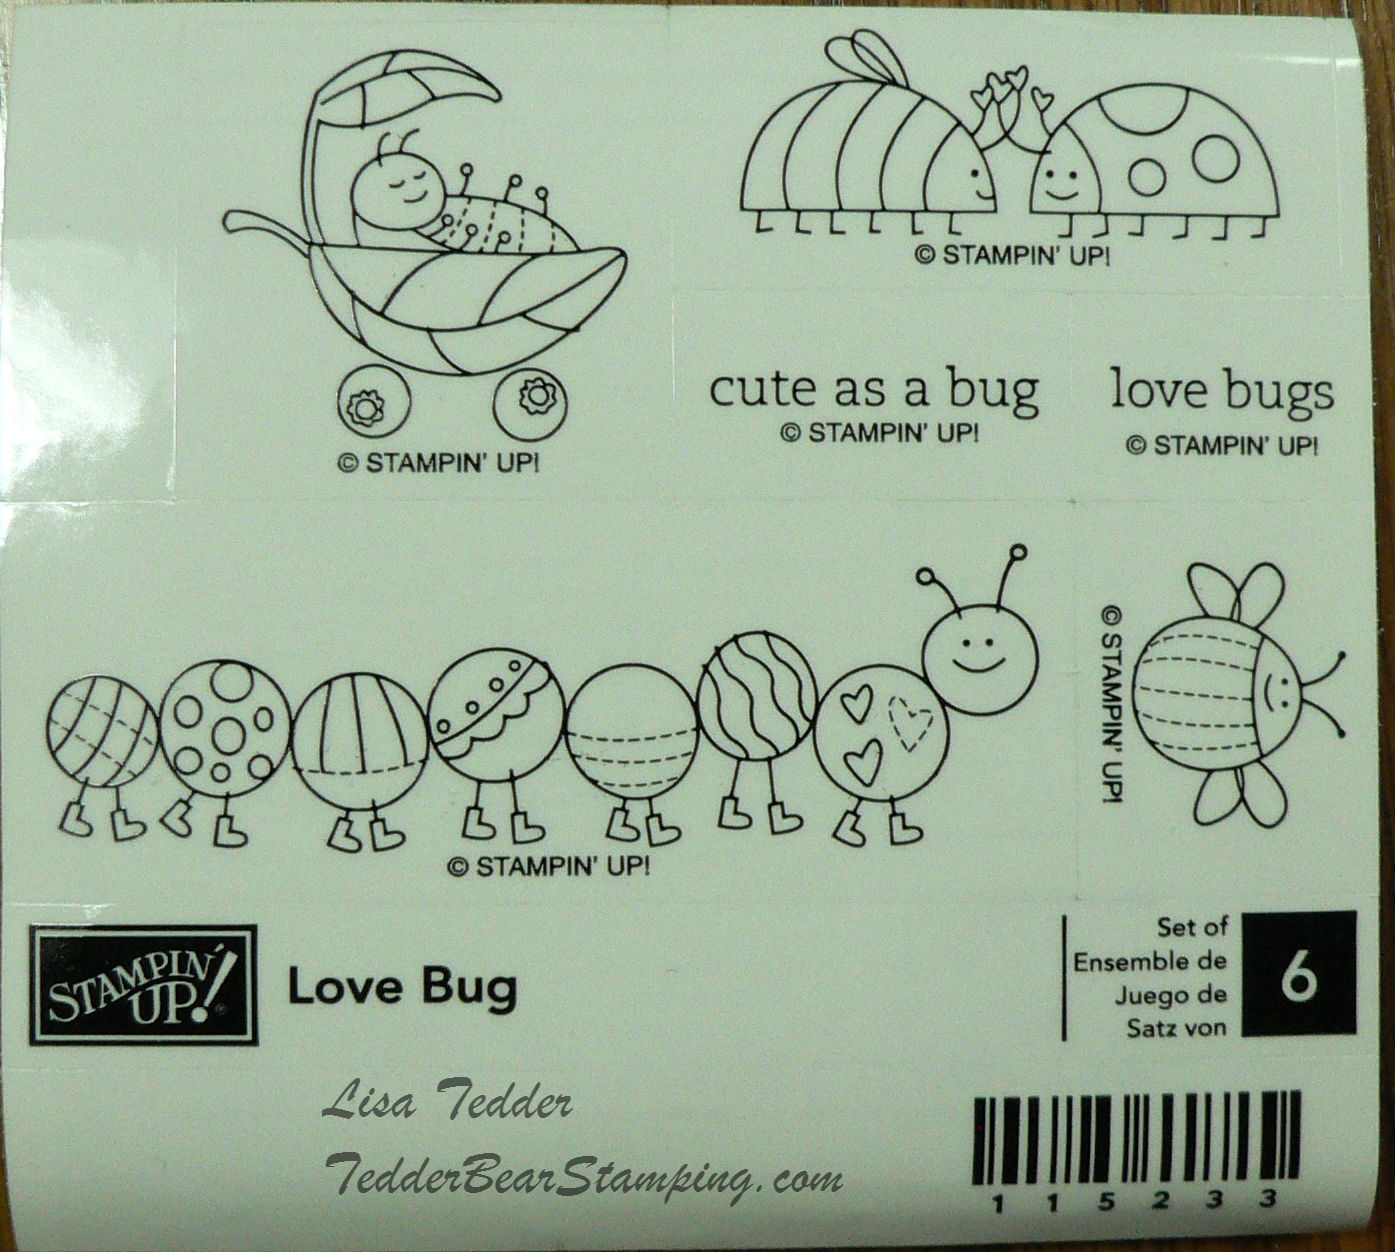
This is a Wood set from quite a while ago, so if you are new to stamping and Stampin’ Up! you will want this set!  It’s so stinkin’ cute!!  Those little bugs can be colored for Easter, a new baby or pretty much any occasion you will want to tell someone you love and care for them!  AND it’s FREE!!  Can’t beat that!

Click on any product below my signature and you will be sent to my online store!
If you purchase from me, I will send you a handmade card or two!

Thank you for stopping by!!  Again, you can watch the video on how to make this card by clicking HERE!   The video isn’t long, I sped it up, but it’s so easy, you can easily pause it to keep up!

Product list below!

Lisa Tedder
A California girl living in North Carolina!

Product List
Puffy Vellum

If you happened to see my Periscope video on this technique, I apologize that i didn’t get my orientation right, but it was my first one, so I’m happy I got it done, didn’t stutter and it looked good, even though you’ll get a crick in your neck watching it!

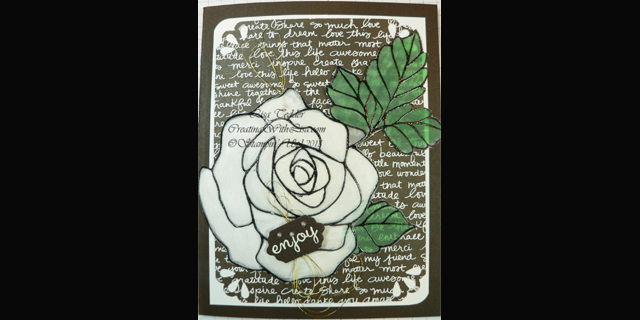
I promise next time I will get it right!!  Here is the card I was working on.  The white flower is Vellum and I used my  score tool from my stampin’ score board.  It not only makes the vellum stick out on the other side, but it makes it white!!

You can’t see the clear Wink of Stella on it, it’s so pretty!!  I also added the gold thread behind the flower and behind the sentiment that I cut out with my Big Shot and Lots of Labels thinlits!

puffy-vellum-front


Here is the side so you can see the flower is puffy:

puffed-vellum-side

It’s hard to see,but WOW when you feel it, there is so much texture and interest on your card!

Keep an eye on my next Periscope, and if you leave a comment I will put you in a drawing for a free SAB stamp set, the drawing will be at the end of February, so you’ll have plenty of times to leave comments!!

I love stamping, it gives me so much pleasure.

Working for a company like Stampin’ Up! lets me get PAID for doing something I love to do!

There is a sale right now during Sale-a-Bration, if you decide to join the SU! team and mine (LETs Stamp!) you get for your $99……..$150 worth of product PLUS the shipping is free!!  March is the last month of SAB and your chance to get sooooooo many goodies for so little!

I would love to have you join my team and me when we share fabulous creations and have meetings!  I try to skype with the down line that is not living close enough.

I’m not very savvy with all the technical things, but I usually just have to ask one of my kids!!  🙂

Go take a look at my Periscope, look under Puffy Vellum or my name Lisa Tedder, or Lisa E Tedder, it won’t be there but 24 – 48 hours!!

Thanks for visiting, hope to see you next time!

Lisa Tedder

Kernersville NC