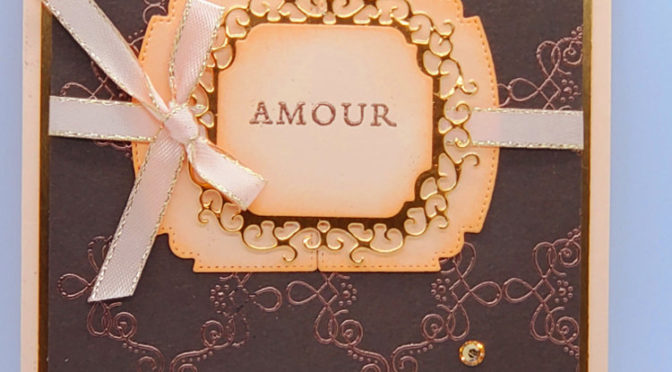
Today I am sharing with you a card I made that uses a teeny tiny stamp to make a background that is really amazing! Moreover, it is embossed with Copper to make it REALLY stand out! I love this technique, I hope you like it as much as I do!
You’ll have to watch video to see how, it’s too hard to describe otherwise!
Didn’t it come together well? As I said, techniques have always inspired me and helped to make my stamping even more fun! Look through your stamps and see if any image has this basic shape and see what you come up with! If you didn’t catch this technique, go check it out!
As usual, here are the specifics for this card:
Stamps: Parisian Beauty Ornate Style
Inks: Versamark Petal Pink
Paper: Petal Pink 8 1/2″ x 5 1/2, 5″ x 3 3/4″ (inside), scraps for dies Early Espresso 5 1/8″ x 3 7/8″ (x2) Copper Foil 5 1/4″ x 4″ (x2) cut inside out for dies White scrap for underneath dies (see video)
Also, you will find the supplies listed below in picture form. Click on any picture and you will be taken to my OnLine Store. If you purchase $35 or more you will receive two sets of tutorials containing 50 +/- with step by step instructions! Here is a sneak peek of one:
Step by Step tutorial for these projects + 35 more for a purchase of $35!
I hope you are staying safe during this trying time in our world! I am stamping and creating away to bring happiness to my little world and hopefully yours!!
Stay tuned and please visit again!
Lisa Tedder A California Girl living in North Carolina
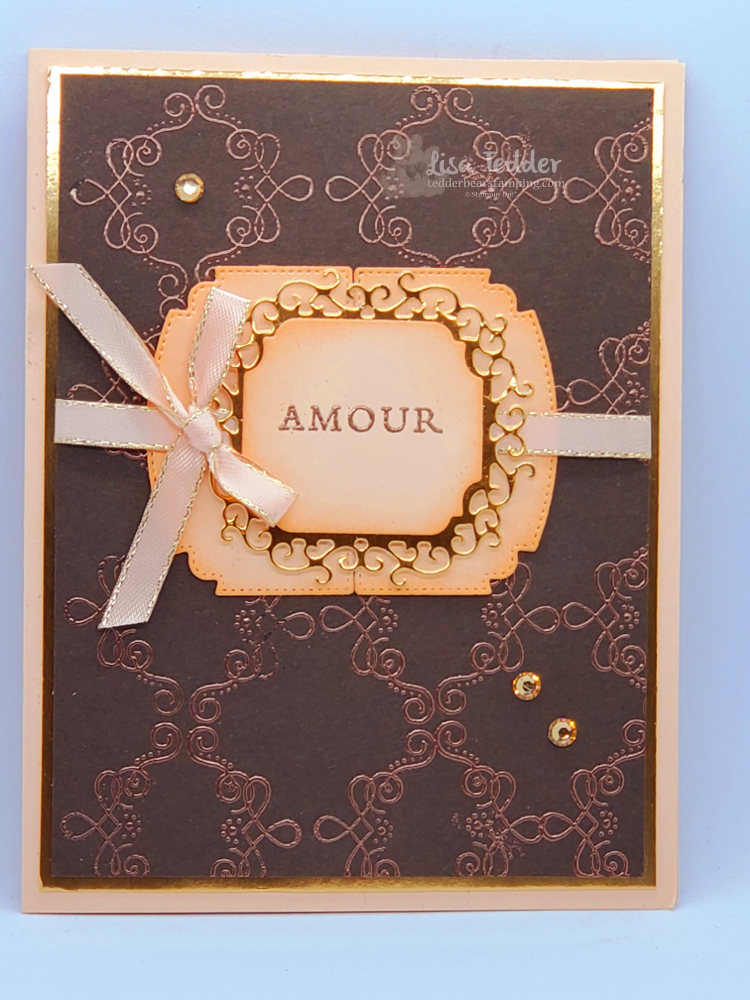
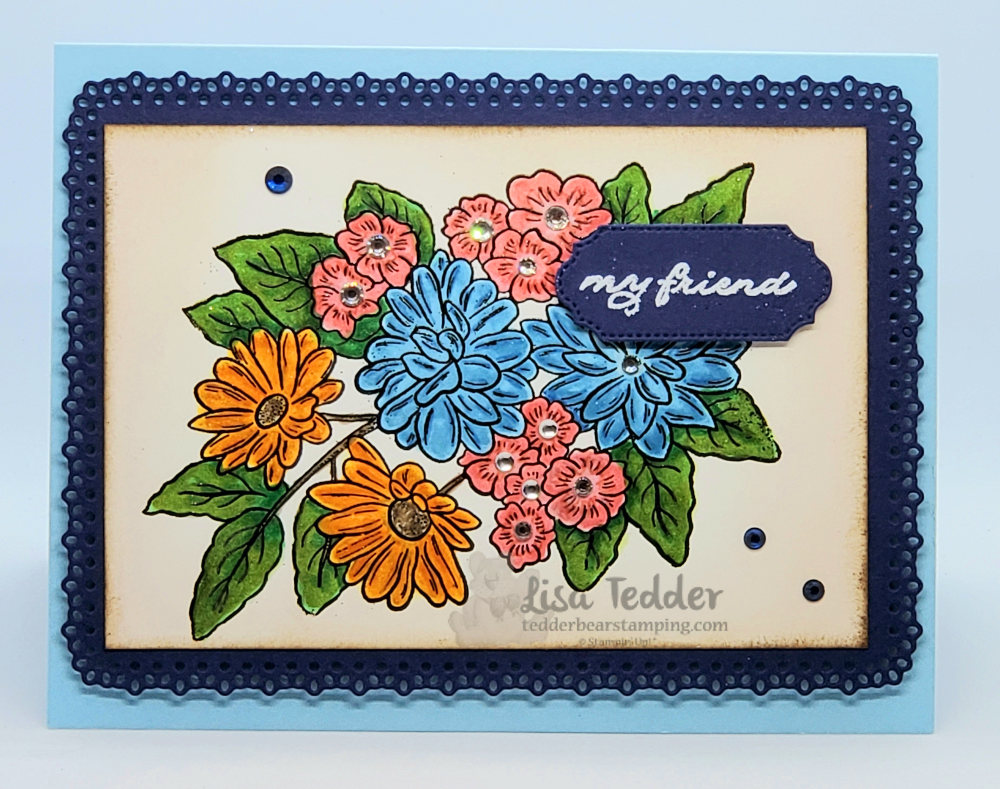
Today I am sharing with you a New (to me) way to color, I have really never liked to color using Markers, it always seemed too…….much. I love to color straight onto my stamp sets using markers, but not to actually color an image once stamped. Stampin’ Blends are my go-to for coloring because they are easy. Moreover, they let you shadow really well, the only problem with Blends is when you use Embossing Powder on your project. For some reason they get muddy when they touch the embossed part. Even though I try to NOT touch the embossed part, inevitably I always do. Here is my card so you can see why I had problems with Blends.
Colored with Markers
As you can see, this is a pretty busy stamp, It’s called Ornate Style, the embossed parts are close together. Now, I could have stamped and not embossed, but I love the way the embossing is shiny and really lets the image stand out. Furthermore, I never thought of blending with markers! So, I used two different colors to make it look like it did when I used Blends. It came out MUCH better than I thought it would, in fact I love it! Now I will have to do this more often! I then sponged the white cardstock with Crumb Cake and then the edges were sponged with Early Espresso.
Also, I used other items from the Suite in the upcoming 2020-2021 Annual Catalog from Stampin’ Up! The dies I used are called Ornate Layers and the other stamp set is called Ornate Thanks & I am in love! Doesn’t everyone like playing with new goodies?! The great thing about this Suite is that you can get it now, (some of the dies are on backorder) and it will be good until the end of the Upcoming catty and possible longer! For those of you who like getting the discount when you order bundles, I will honor the bundle price and give you 10% off your dies when you can order them. Since it will be around a long time, there will be lots of time to create projects using it! Plus, there are a TON of project ideas on Pinterest, you will be kept busy for sure!!
As usual, here are the specifics for this card:
Stamps: Ornate Style Ornate Thanks
Inks: Versamark Crumb Cake/Early Espresso for sponging edges Markers: Balmy Blue/Pacific Point, Mango Melody/Pumpkin Pie, Calypso Coral/Flirty Flamingo, Old Olive/Mossy Meadow & Soft Suede for stems
Paper: Balmy Blue 8 1/2″ x 5 1/2″ Night of Navy 5 1/2″ x 4″, scrap for sentiment Whisper White 4 3/4″ x 3 1/4″
Misc: Embossing Buddy Heat tool Black Embossing Powder White Embossing Powder Ornate Layers Dies Ornate Frames Dies Noble Peacock Rhinestones Basic Rhinestones Wink of Stella Dimensionals Stampin’ Sponges
Also, you will find the same supplies listed below in picture form, click on any of them to be taken to my OnLine Store! Purchase $35 or more from me and you will Receive not one but TWO sets of project files with over 50 (combined) tutorials with pictures! Here is a sneak peek of just one set:
Tutorials with pictures/supplies
I really hope you are taking this ‘down time’ at home and are playing with your stamps. When I woke up this morning I felt down…….I told myself to go down to my office and make something pretty, THAT always makes me happy. I hope that you are taking care of yourselves and making pretty things too!
Please stay safe, do something creative and send some Happy Mail! Come back soon!
Lisa Tedder A California girl living in North Carolina
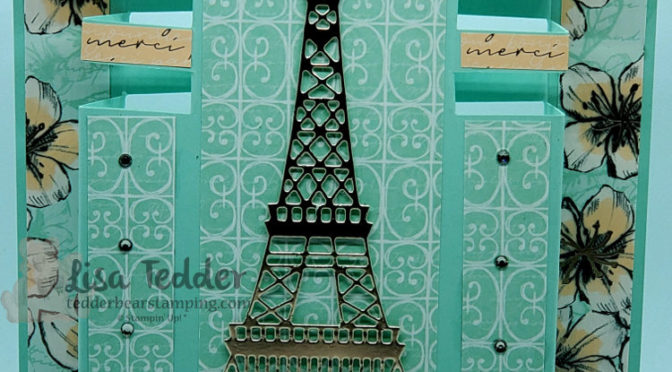
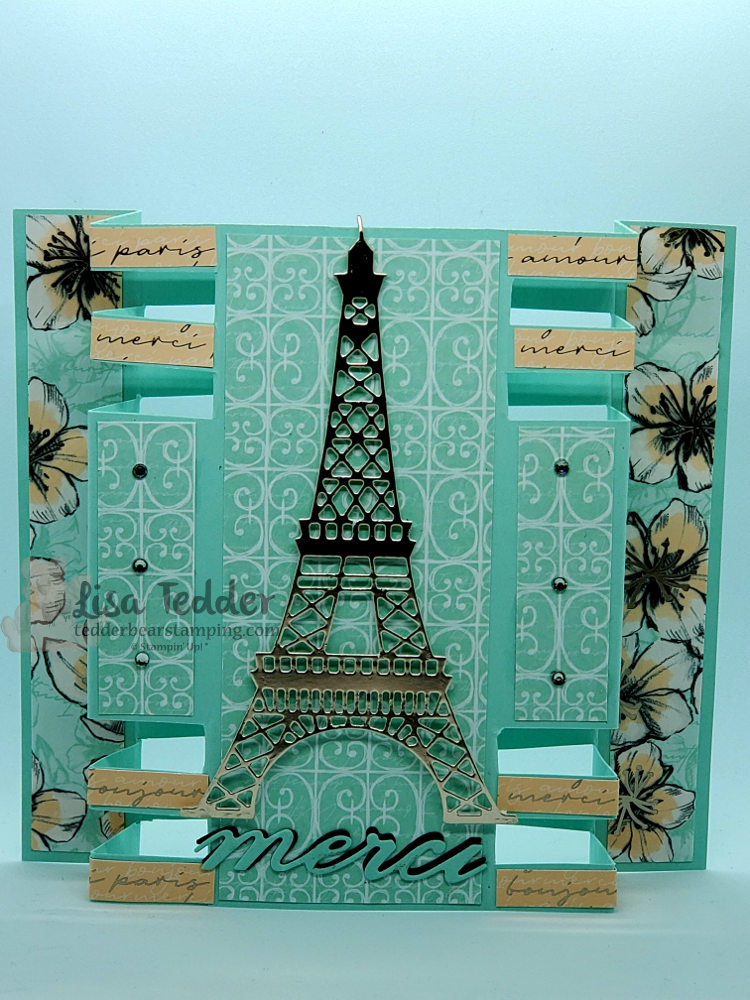
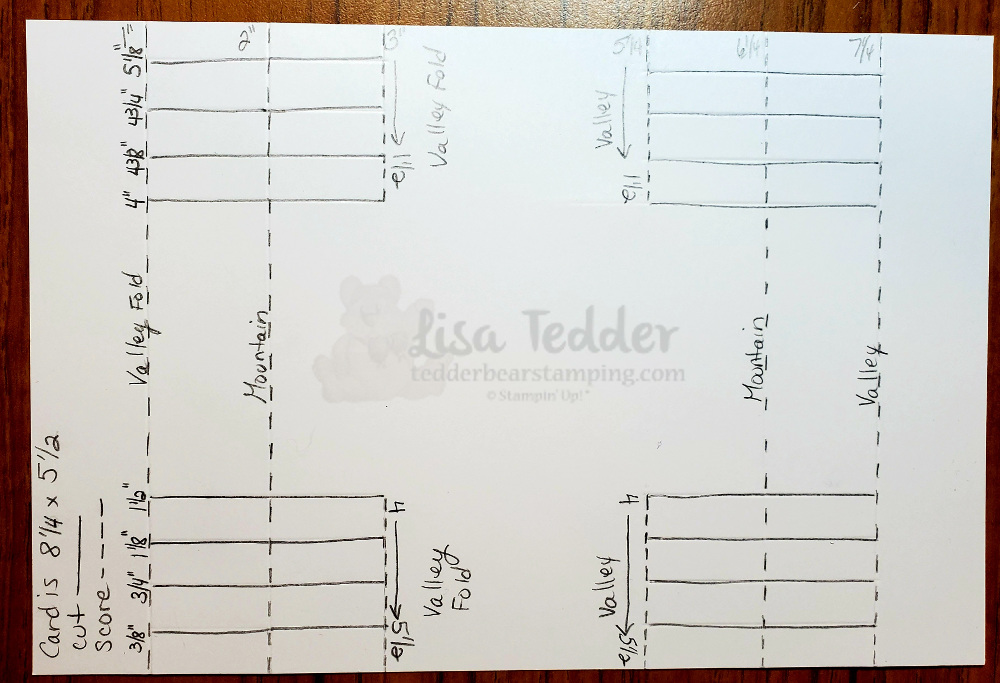
Today I am sharing with you a Special Fold card using the dies from Stampin’ Up! called Parisian. This took a while to get the folds correct, and some of my cuts aren’t straight, but I REALLY love how it came out! Below you will see how I made it MUCH easier for you to get straight cuts/folds!
So Fun!
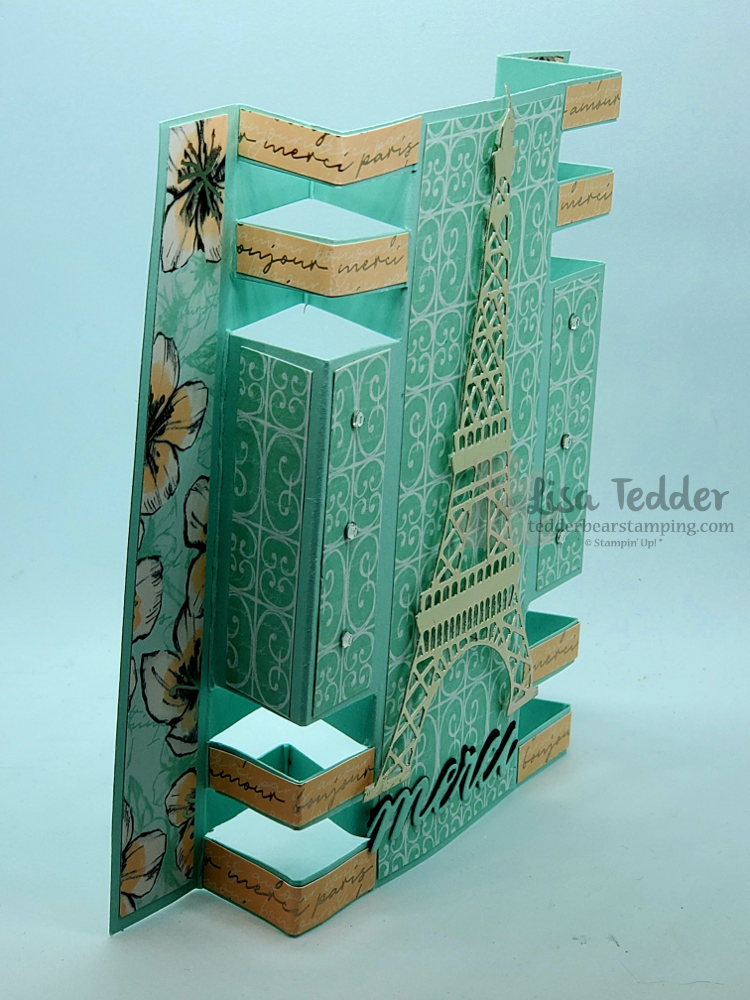
Here is a side view:
LOVE it!!
Here is the pattern, that you can go by so it’s a little easier:
Paper: -Pool Party 8 1/4″ x 5 1/2″ (This is NOT the usual size!), scrap for Merci. -Parisian Blossoms Specialty DSP 3/4″ x 5 3/8″ (x2) Long Side panels…… …….3/4″ x 2 3/8″ (x4), 2 1/8″ x 5 3/8″ for middle panel, 3/8″ x 1 7/8″ (x8) -Champagne Foil 5″ x 2 3/4″ -Black scrap for Merci
Misc: Parisian Dies Rhinestones Embossing machine Dimensionals Tombow liquid glue
Below are the supplies in picture form, click on any of them to be taken to my OnLine Store! If you purchase $35 or more I will send you a LOT of card/project tutorials, one has 16 and the other one has over 35! Can’t beat a deal like that!! You will also receive from me a handmade card!
I hope you are staying Safe and please be sure to remember that This Too Shall Pass, if you need any crafting supplies keep me in mind!! Doing crafts helps you stay Sane in these crazy times!
Lisa Tedder A California girl living in North Carolina
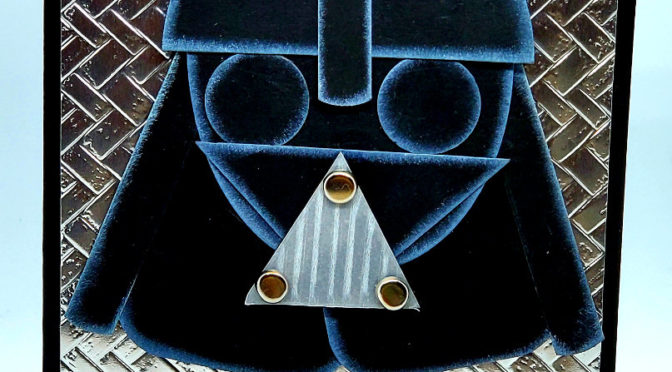
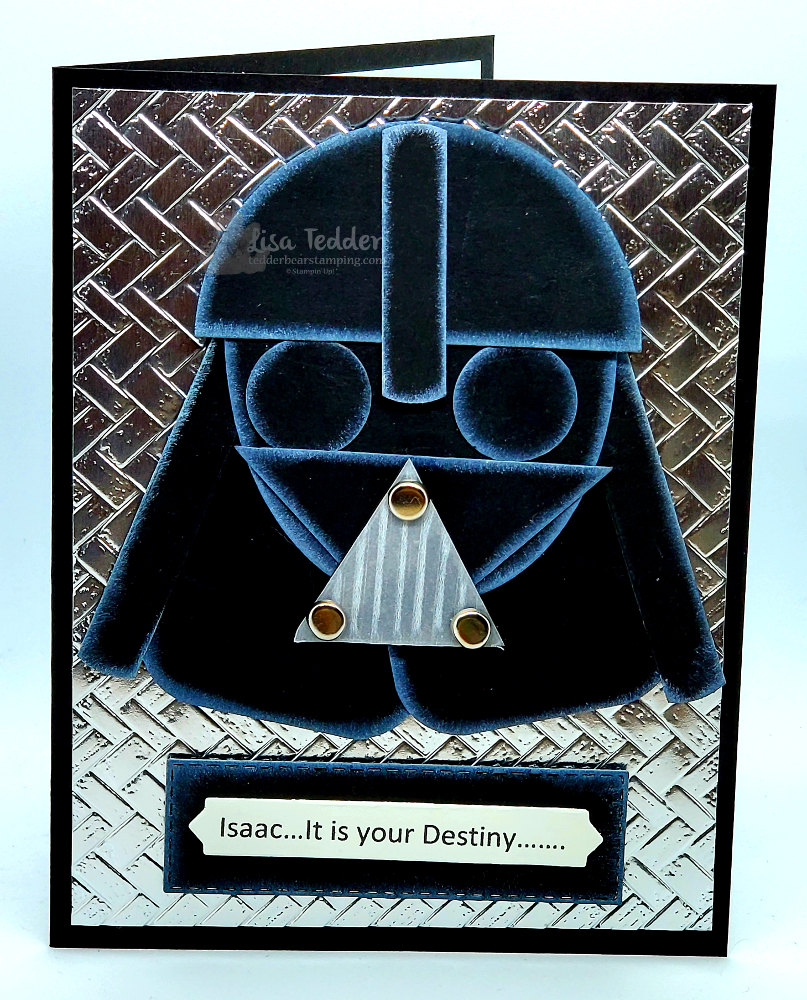
Ever year I make a Star Wars Themed Birthday card, you can see one here, here and here. So, after MUCH thought and stress……(I am NOT a Star War fan myself) this is the card I made this year:
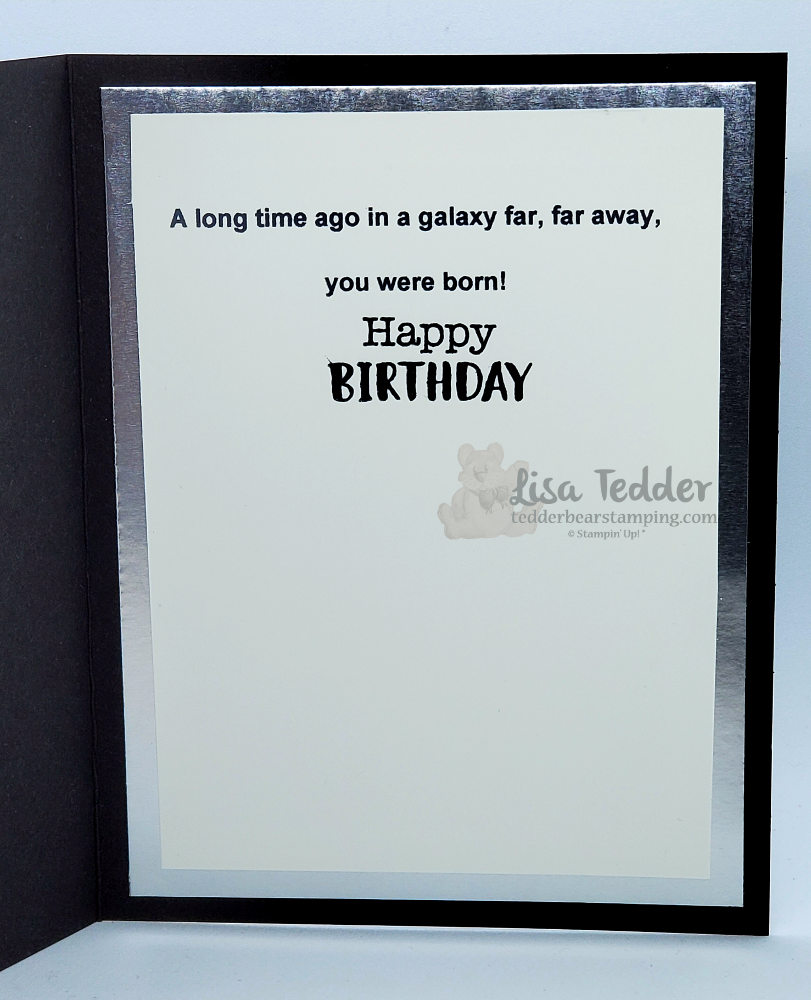
And the inside:
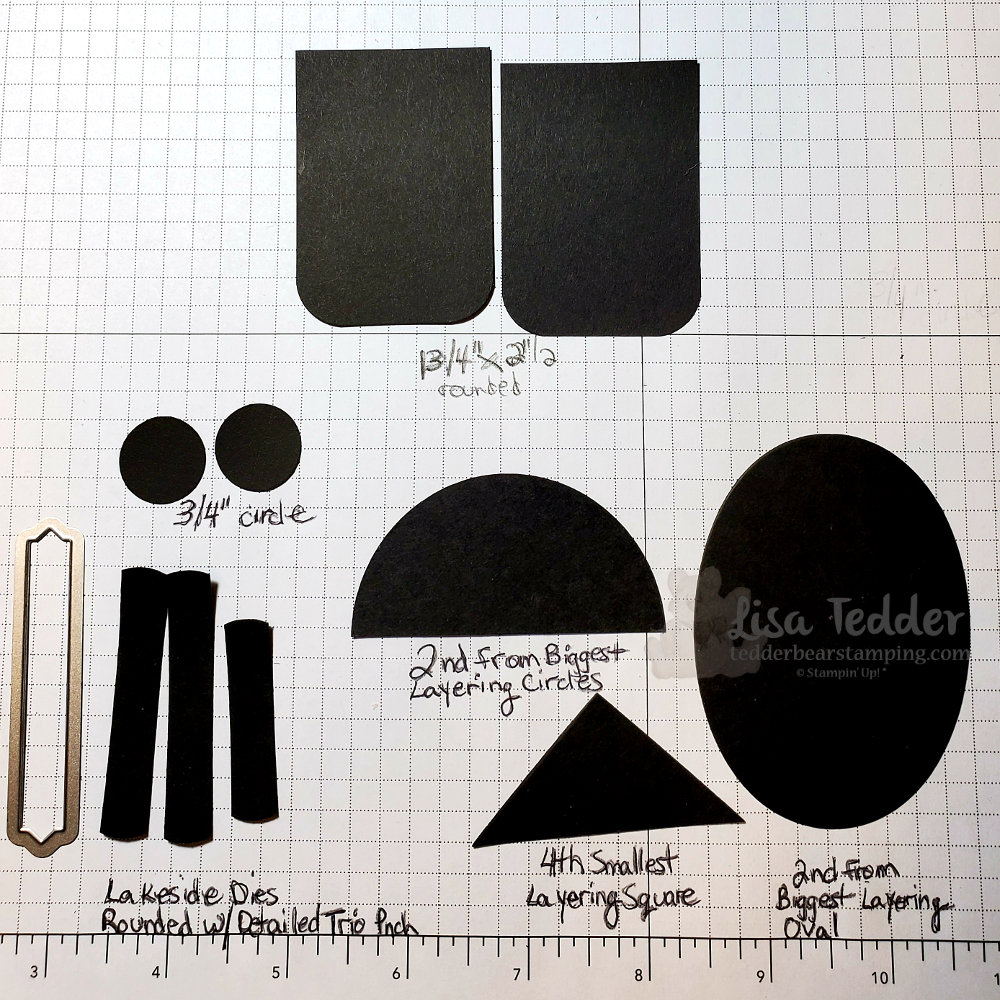
To make this card I used only current supplies from Stampin’ Up!, I took a picture of all the dies all ready to go (except for one triangle that I had to fussy cut to get it the right way).
Funny how this goes each and every year…… I think for MONTHS trying to think which Character I can make, then it gets down to the wire. So, after a lot of research, I finally pick which one I’ll do. It’s trial and error, but it ends up a labor of love. My daughter is going to frame all of them at some point, so I want them to be worthy! Of course, when Isaac goes to open the card, he BARELY pays attention to the card at all! He is just too excited about the $5.00 I always put inside. Then, my daughter calls him back after he runs off with the cash, and makes him look at the card! hahahaha Eventually, I figure that he will appreciate the effort taken for the cards, but for now I know that MY baby girl loves them! 🙂 Any ideas for me for NEXT year? It’s never too early to start planning!
As usual, here are the specifics for this card:
Stamps: Wiggle Worm (for Happy Birthday)
Inks: Memento Black White Craft
Paper: Basic Black 8 1/2″ x 5 1/2″, scraps for all the pieces Silver Foil 5 1/4″ x 4″, 5 1/8″ x 3 7/8″ Vellum scrap for lined piece on face (black behind it) Whisper White scraps (I printed the sayings), 3 1/2″ x 4 3/4″
Misc: Layering Circle Dies – 2nd from Biggest Layering Square Dies – 4th smallest Layering Oval Dies – 2nd from Biggest Lakeside Dies 3/4″ circle punch Detailed Trio Punch Coastal Weave 3D Embossing Folder Metallic Brads Dimensionals Sponges
Below you will see these same supplies in picture form, click on any of them and you will be taken to my OnLine Store. IF you purchase $35 or more from me, you will get a special treat from me!! Not only will I mail you a handmade card, BUT you will get not 1 but 2 sets of Tutorials for making over 60 cards!! Can’t beat a deal like that!! Every month is the same deal, the tutorials change every month! Here is a sneak peek of just ONE of the tutorials:
16 Tutorials!
I really hope you are staying healthy and safe! Sheltering in place is a great opportunity to get your crafting in! Also, if you want me to send you a NEW Catalog from Stampin’ Up! come June, please let me know! I would love to help you find your creative outlet!
Lisa Tedder A California girl living in North Carolina
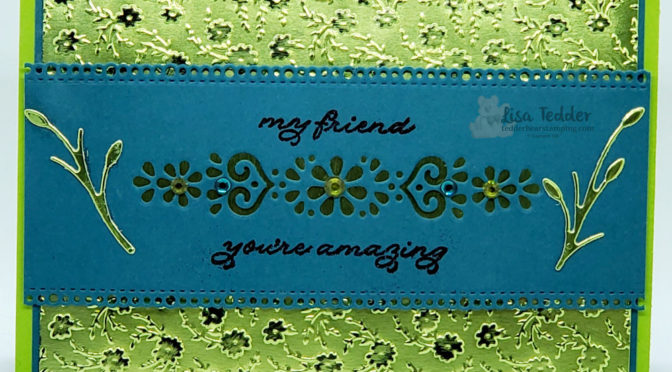
Today I am sharing with you again, the Ornate Suite that you can get early! Yes, Stampin’ Up! released new product from the upcoming New Catalog (out in June!!, let me know if you want a catalog!). I have made three cards, so far from this suite, and I am sharing with you the first one I came up with! If you missed it, here is another card I made using this set.
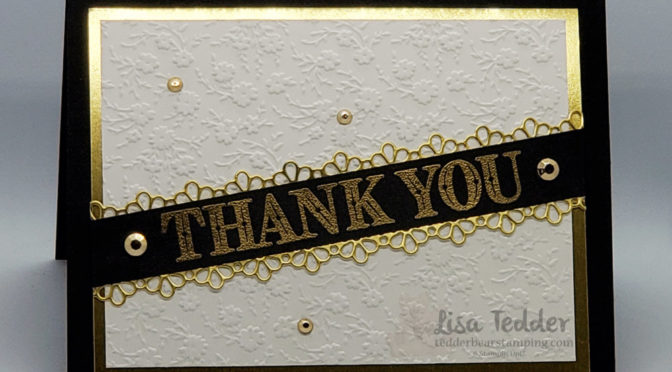
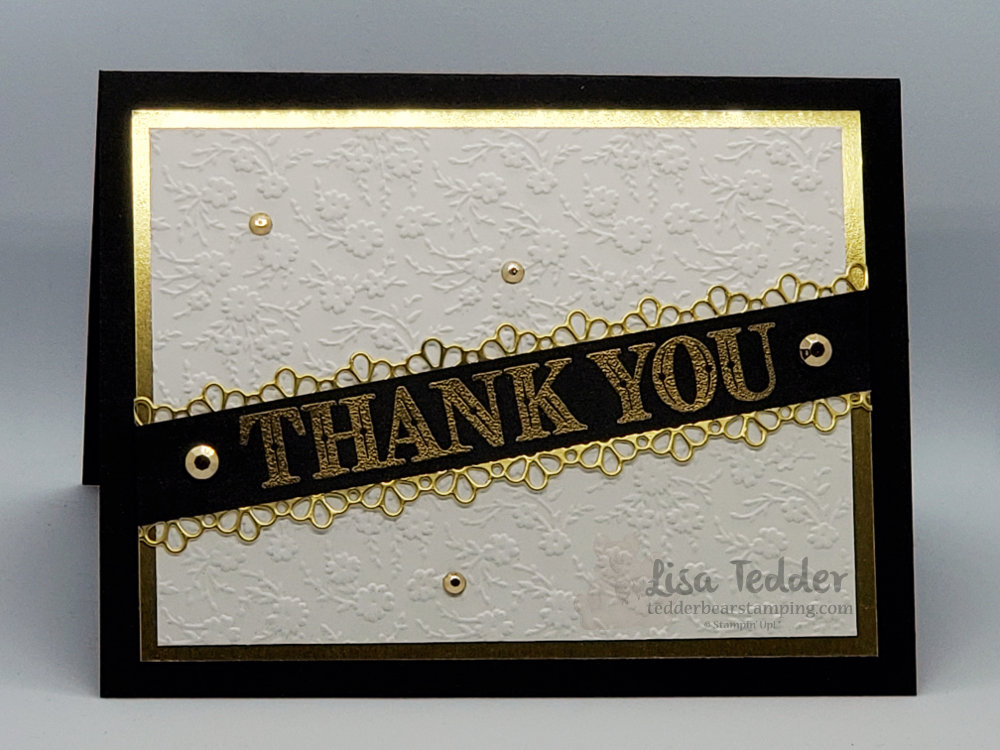
I love it when we get new product! It’s so fun to let your creativeness flow! There aren’t many samples out there, so you need to come up with it on your own……..scary? Yes! But it feels so good when you make something that you want to show off! Here is what I made:
Aren’t the new Rhinestones so pretty?!
This is pretty simple for me, but when you add the Rhinestones, Gold Foil and Embossing (both ways) it really adds up to something very elegant! I am so excited that I get to share this with you!
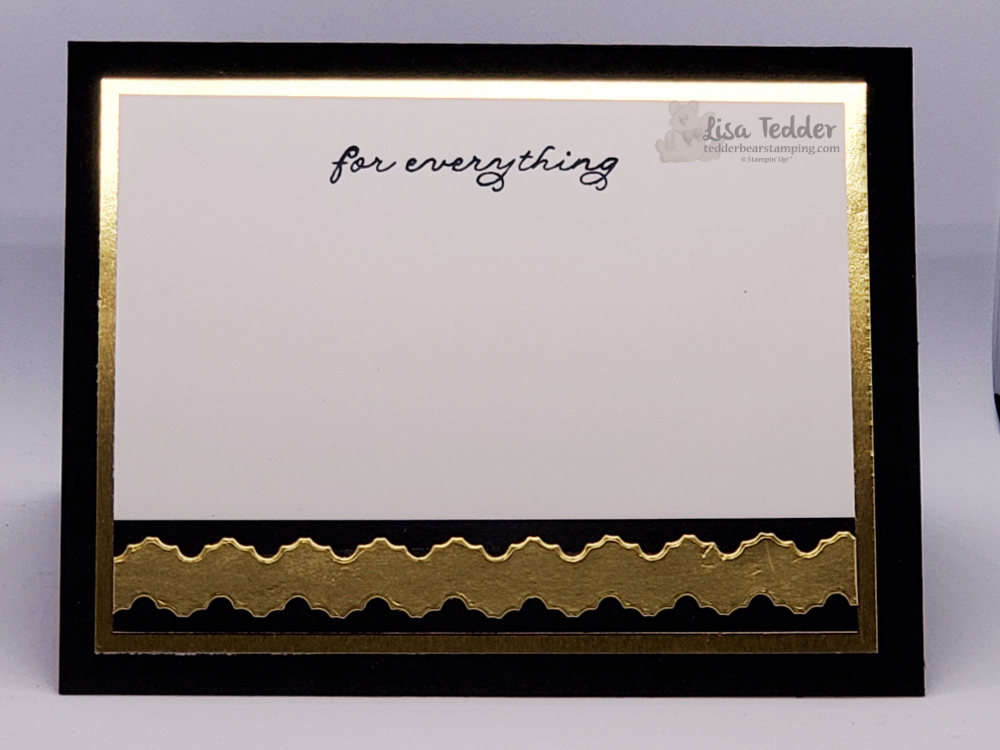
And the inside:
The squiggly gold on bottom is from the two scallops on front (cut them out across from each other to get this)!
As usual, here are the specifics for this card:
Stamps: Ornate Thanks
Inks: Versamark Memento Black
Paper: Basic Black 8 1/2″ x 5 1/2″, 3/4″ x 4 3/4″ (inside), 5/8″ x 5 1/2″ (trim after you place on front) Gold Foil 5″ x 3 3/4″ (x2), cut out inside to use on a different project, 5 1/2″ x 1 1/4″ (give or take, depending on how wide you want your squiggly) Whisper White 4 3/4″ x 3 1/2″ (x2)
Misc: Ornate Borders Dies Gilded Gems Ornate Floral 3D Embossing Folder
Below you will see these same supplies listed in picture form, click on any of them to be taken to my OnLine Store so you can purchase any or all of them! If you purchase from me, you will receive not only one but two tutorials each made up of fabulous ideas with pictures & measurements! These have over 50 ideas each month for you, you only need to purchase $35 from me to have these sent to you! Don’t wait for the New Catalog, get this early release product and the tutorials. It’s a great deal and fun to create with something new!
Thank you so much for stopping by! I hope you are staying safe and that you are getting some crafting done in this time of Social Distancing. Believe me, crafting really helps keep you sane!
Lisa Tedder A California girl living in North Carolina
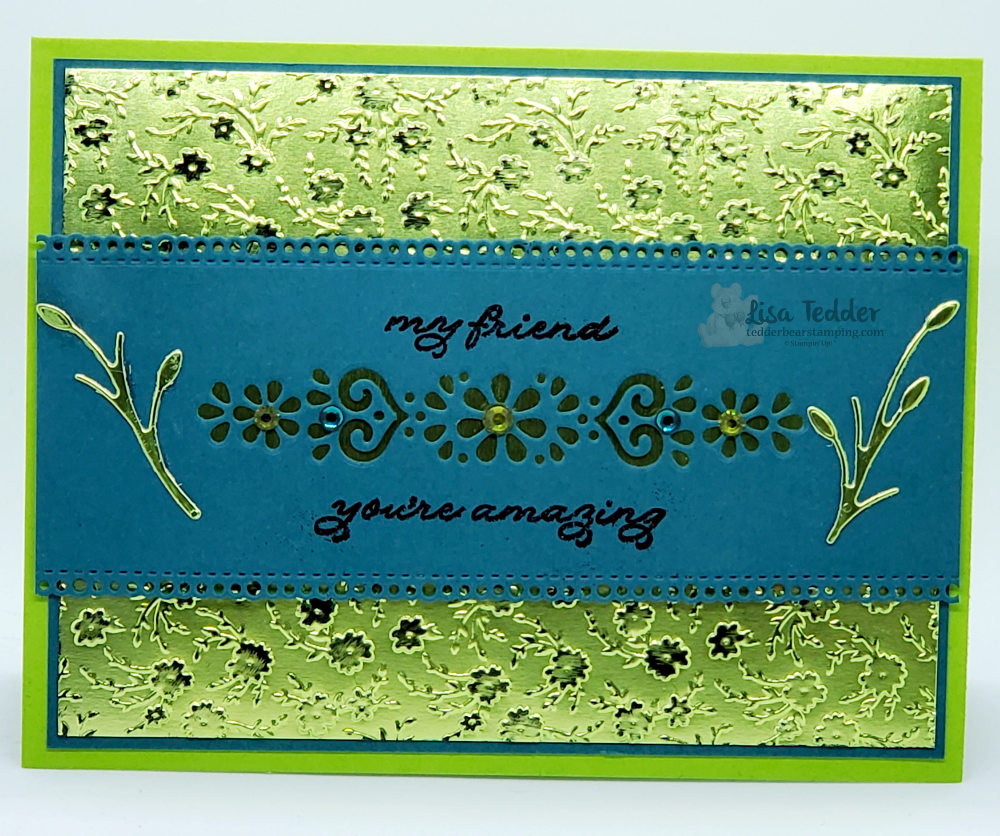
So, Stampin’ Up! has NEW product we can buy now from the upcoming catalog! Of course, I HAD to buy it, I mean twist my arm a little harder. 🙂 Here is a video you can watch to see the full Suite.
I have made three cards, today I am sharing with you one of them.
It is funny how you start out with one idea in your head, and it morphs into something else. The first thing I did was do the scallop edges on the top of a piece of Pretty Peacock, I didn’t realize at first that it was a border die…once I figured that out (duh) I ran it through again to make a strip so both edges are scalloped.
Then, I thought I would use one of the small dies to put in the middle. Well, that turned out very pretty!
Now what to do with it? There was a strip of the Noble peacock Foil sitting next to me, Put it behind the image and that was great! Then I thought that the embossing folder would be so pretty using that same foil paper, and it was! But I needed it to pop, so I got my StazOn black and rubbed it over the flowers in places to get it to shine! Well? What do you think?
As always, here are the particulars for this card:
Stamps: Ornate Thanks
Inks: StazOn Black (the Memento won’t stick to the foil) Versamark
Paper: Granny Apple Green 8 1/2″ x 5 1/2″ Pretty Peacock 5 1/4″ x 4″, 2 1/8″ x 5 3/8″ Noble Peacock Foil 4″ x 1″, 5 1/8″ x 3 7/8″, scrap for leaves I got from die
Misc: Ornate Floral 3D Embossing Folder Noble Peacock Rhinestones Glitter Black Embossing Powder Ornate Borders Dies Ornate Layers Dies Liquid Glue
I’ve lagged behind on my blog posts, so sorry! Who says that if they had ‘enough time’ they would get a ton done!? Well, WE all have time now, what have you been doing with that time? I AM stamping, tried out Zoom (great tool for keeping in touch and getting to SEE everyone!), been watching a ton of tv……How about you?
Hope everyone is staying safe and healthy. We are lucky, my husband and I can work from home, but our Son’s job wants him to come in and it is NOT a crucial job. He feels like he HAS to go since he needs to pay his bills. 🙁
Please come back and visit!
Lisa Tedder A California Girl living in North Carolina
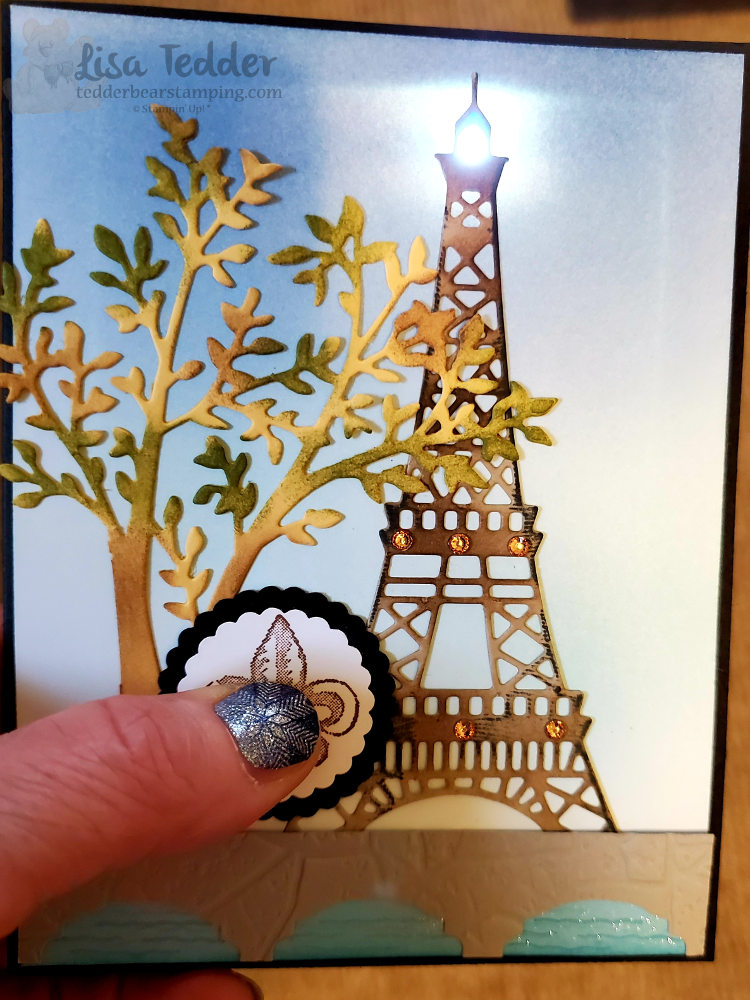
Today I am sharing with you a light up card! I love these! They are so much fun! Next year, I am planning on going to see the Eiffel Tower (thank God it’s not THIS year!). I saw this card where someone made a bridge with water under it, and the Tower is in the background. I am not sure that they used Stampin’ Up! stamps, so decided to make one using Parisian Beauty. Here is my card lit up:
Not only did I use the Parisian Beauty stamp set, but I used the punch Label Me Fancy! This is what I used to make the bridge. I tried so hard to make them evenly spaced, this is as close as I could get. Also, I used Wink of Stella to highlight the water to give it that bit of sparkle!! If you lay the Smoky Slate piece of cardstock onto a grid sheet or against a ruler, make marks at these spots: 5/8″, 2″ and 3 5/16, then put the punch into these spots and only go part way up (look at picture to see how far) making the marks in the middle of the punch. This way it will make your waterway!
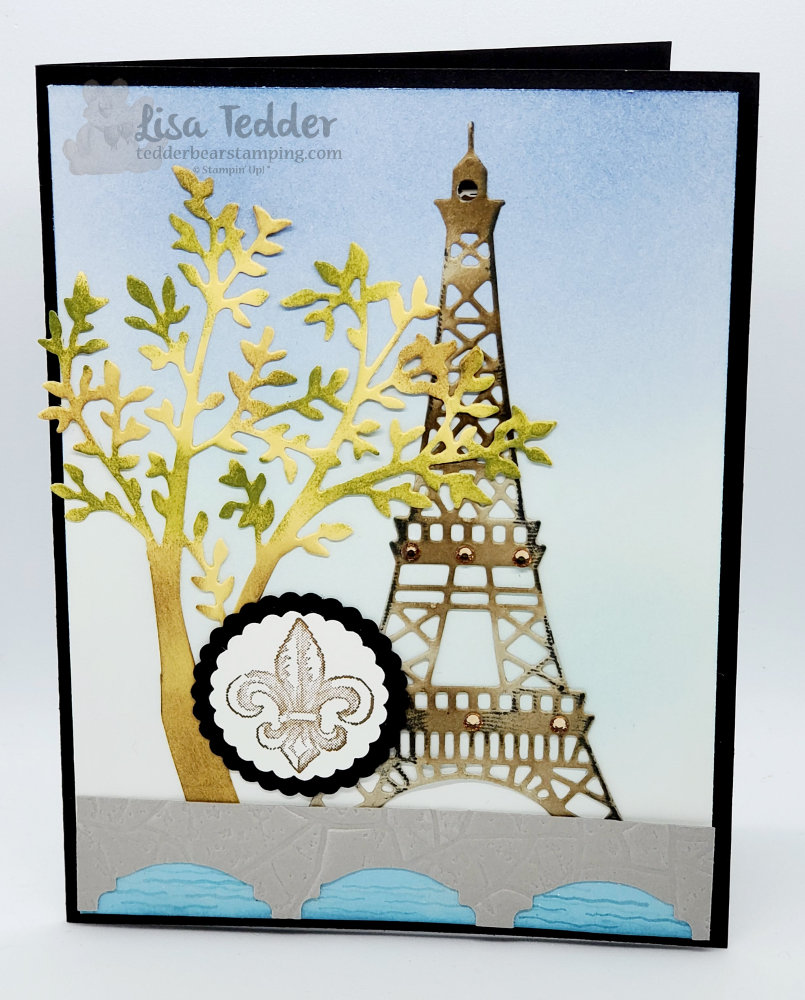
In the light of sharing with you the lit up version, I HAD to show you the card (a little more professional pic) when it’s NOT lit up:
Of course, I used a lot of bling by using Champagne Rhinestones, because you are not always going to have it turned on! The tree came from the die Sweet Silhouettes. Sponging the So Saffron cardstock after it was die-cut with Soft Suede and Garden Green, really makes this ‘tree’ look like the sun is hitting it in spots! Make sure you leave some yellow to give it that sun kissed look!
Furthermore, I also sponged the Eiffel Tower with Soft Suede and then ran the Memento Black pad itself over parts of the sides. This was to make it look like it was antiqued. What do you think? Did I hit it, or is it a miss? For those of you who love light up cards, we are going to be making this card next week! Let me know if you want to attend!
As always, here are the specifics for this card:
Stamps: Parisian Beauty
Inks: Soft Suede Garden Green Balmy Blue Memento Black
Paper: Basic Black 8 1/2″ x 5 1/2″, scraps Whisper White 5 1/4″ x 4″, scraps Whisper White Thick 5 1/4″ x 4″ So Saffron scraps (to fit tree) Crumb Cake to fit Tower Balmy Blue 4 ” x 1/2″ (for water) Smoky Slate 5/8″ x 4″
Misc: 1 1/8″ & 1 3/8″ circle punches Sweet Silhouettes Dies Champagne Rhinestones Stone 3d Folder Foam Adhesive Strips Tombo Liquid Glue Batteries/Lights Label Me Fancy punch
Furthermore, below you will see all the supplies in picture form. Click on any picture and you will be taken to my OnLine Store! If you purchase $35 or more from me, you will receive a handmade thank you card AND two sets of files with 16 tutorials in one and the other has over 40 tutorials! Every month you will get different tutorials with each purchase, I hope you take me up on it!
Thank you for stopping by, please come again!
Lisa Tedder A California Girl living in North Carolina
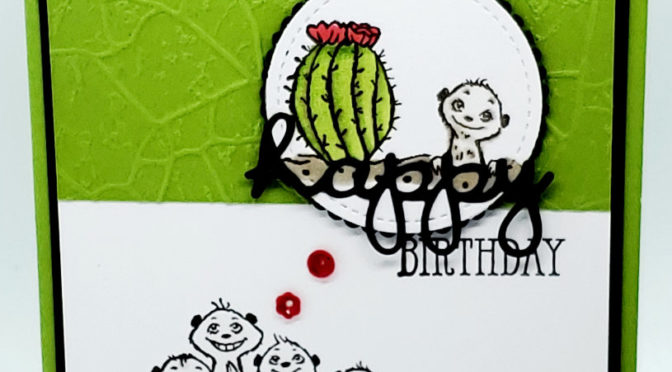
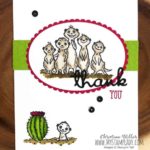
I’m sure I am not the only one who loves the Stampin’ Up! stamp set The Gang’s All Meer! This stamp set makes me smile. It’s easy to create a card using these happy little guys. Saw this card on Pinterest and decided to jump off from Christine’s card, here is her card:
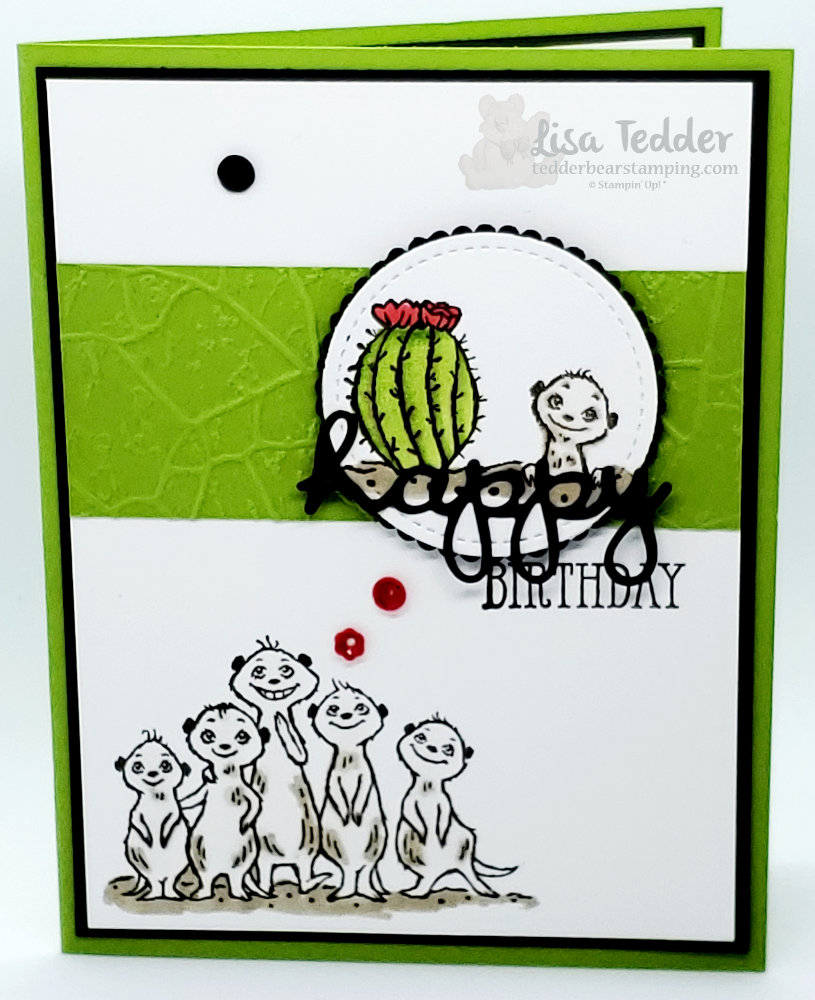
To make it mine, I decided to change it up a bit:
I love layers, almost every card I make has at least one layer, most have more! Do you find it as hard as I do to NOT have layers? Or to even make a card without doodads all over it…….that’s me in a nutshell!
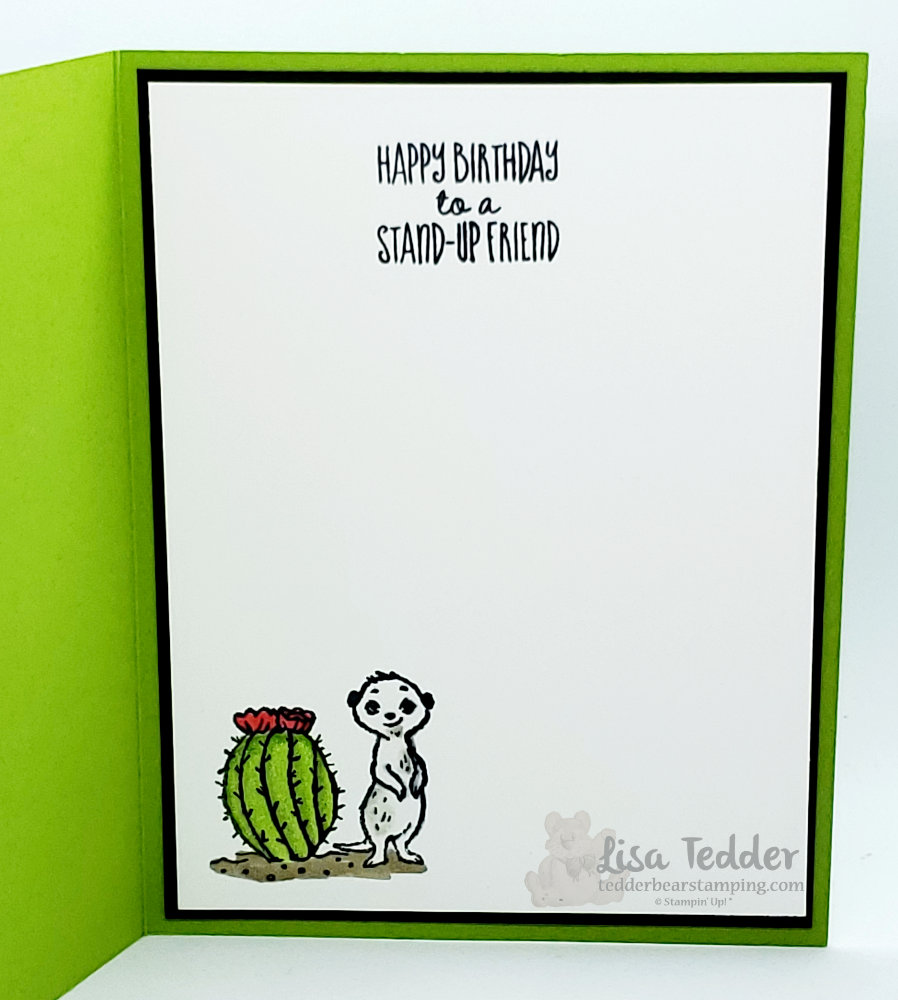
The inside of the card is super cute too!
Look at that smirk! Too cute!!
As usual, here is all the info you need for this card:
Stamps: The Gang’s All Meer Well Said Bundle
Inks: Memento Black Blends: Crumb Cake C, Poppy Parade C
Paper: Granny Apple Green 8 1/2″ x 5 1/2″, 1 1/2″ x 4″ Basic Black 5 1/4″ x 4″ (x2), scraps White 5 1/8″ x 3 7/8″ (x2), scraps
Misc: Layering Circle Dies Stitched Shapes Dies Peaceful Poppies Sequins Liquid Glue Stone 3D folder
Below all of these supplies are in picture form, click on any of them to be taken to my OnLine Store. Any purchase you make of $35 or more you will receive from me a file FULL of over 50 tutorials for projects, with pictures! I would love to be your SU! Demo, if there is anything I can do for you, please let me know!
Lisa Tedder A California girl living in North Carolina
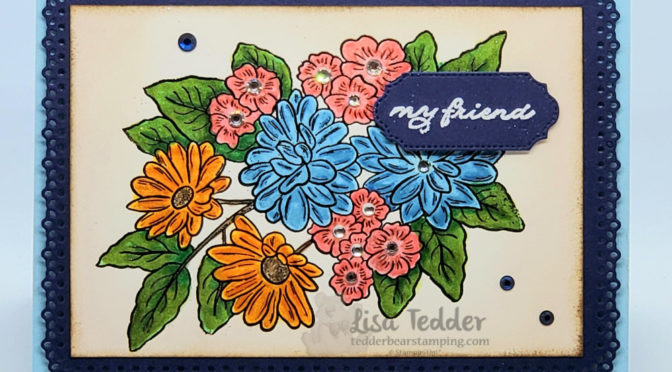
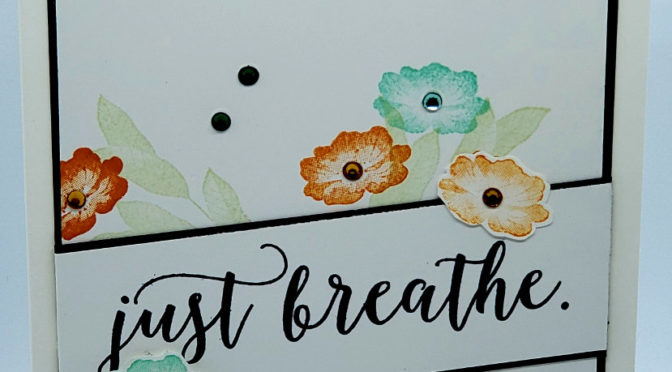
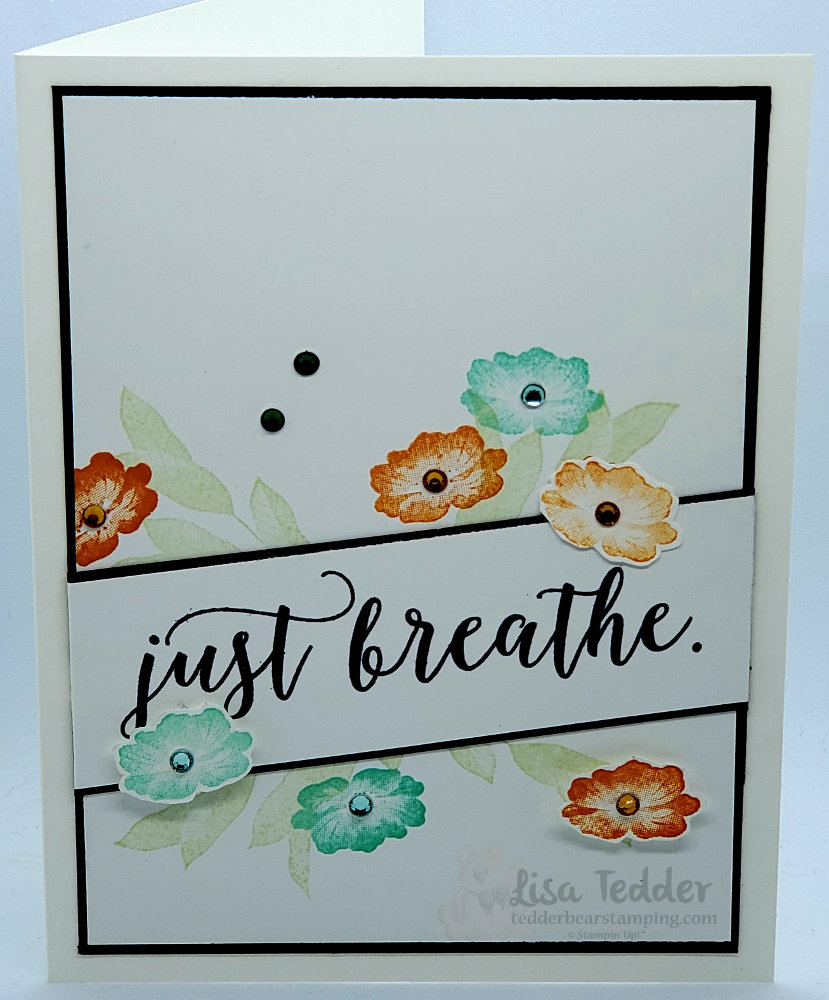
Today I’m sharing with you a card that was inspired by one I saw on Pinterest (it was a rival stamp company), I thought that Stampin’ Up! Stamps would be GORgeous! I used Layered with Kindness, it is a DISTinkTive set! Do you know what that means? SU! has a patent pending for a VERY beautiful way to make stamps look realistic! LOVE them!
These leaves are stunning!
Every time I stamp with a DISTinkTive stamp set I am in awe. You’ll have to tell me if you have used them, what you think. If you want to check them out, go ahead and place an order… look for this sign:
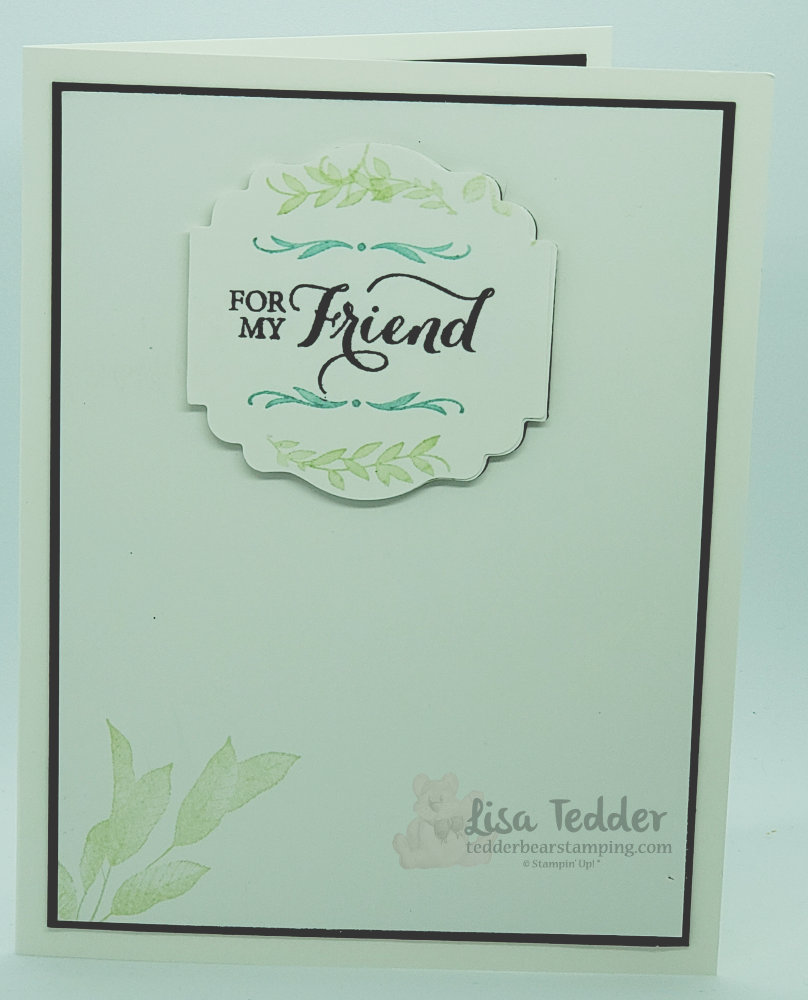
Would you like to see the inside of the card? I used the Label Me Lovely punch. It turned out so pretty!
As usual, I give you all the particulars for this card. All supplies will be in picture form below, click on any of them and you will be taken to my OnLine Store. For purchases $35 and over you will receive from me Tutorials with pictures of over 50 projects!
Stamps: Layered with Kindness Colorful Seasons
Inks: Pumpkin Pie Calypso Coral Memento Black Pear Pizzazz
Paper: Whisper White thick 8 1/2″ x 5 1/2″ Whisper White 5″ x 3 3/4″ (x2), 1 1/4″ x 4 1/4″ (cut at an angle), scrap for cut out flowers Basic Black 1 3/8″ x 4 1/4″, 5 1/8″ x 3 7/8″ (x2)
Misc: Holiday Rhinestones Mini Dimensionals Label Me Lovely Punch
This card was pretty easy, a little bit of fussy cutting but you only cut out three flowers, that’s doable! Of course if you know me, you know I love bling…..I added a rhinestone to each flower and two at the top to add a little bit of bling on it’s own. I think if balances it out!
Thank you for checking out my blog, please come back again!
Lisa Tedder A California Girl living in North Carolina
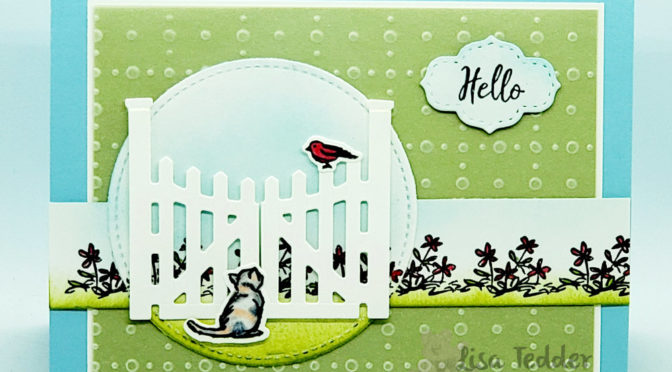
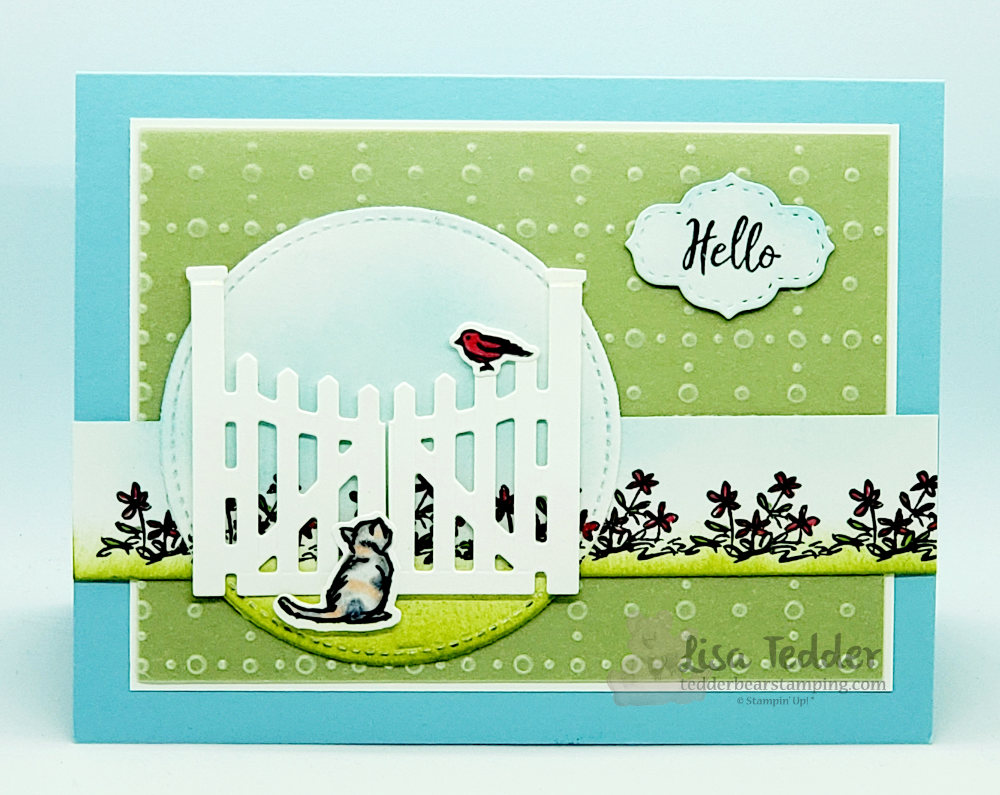
In my last post I showed you a really cute bug card for a kid in your life. Today I am going to show you a card for an older kid using the Stampin’ Up! Bundle Grace’s Garden. Let me tell you this set called to me for MONTHS and I finally broke down and bought it two weeks ago! Normally, I try not to buy too much from the Occasions Catalog, but this time there was just too many things that I fell in love with, so of course I overdid it! The great thing is that this set I can keep forever because it will work great in Scrapbooking!
Isn’t this so cute?!! I love the kitty saying ‘hello’ to the bird! I choose to believe that is what he is doing! LOL I have owned a cat that looks like this kitty, her name was Pepper (after my daughter’s imaginary friend when she was little!)
Are you like me? Do you love fencing/gates or anything like it on a card? I think it really adds a lot! This idea came from KB Papercraft on Pinterest. Changing up the background paper to use the really pretty So Very Vellum DSP in the Sale-A-Bration catalog! Vellum is something I absolutely LOVE working with. To make the Vellum stand out even more I layered under it Pear Pizzazz cardstock, this makes it be more vibrant. The sentiment is different on mine too, I love to use Dies to set it off.
Here are the specifics for this card:
Stamps: Grace’s Garden Bundle
Inks: Memento Black Pear Pizzazz Balmy Blue Blends: Real Red D, Granny Apple Green L, Calypso Coral L, Smoky Slate D, Basic Black D
Paper: Balmy Blue 8 1/2″ x 5 1/2″ Whisper White 4 7/8″ x 3 5/8″ (x2), 1″ x 5 1/2″, 3″ for circle, scraps for sentiment, cat, bird and gate Pear Pizzazz 4 3/4″ x 3 1/2″ So Very Vellum DSP 4 3/4″ x 3 1/2″
Misc: Mini Dimensionals (cut in half) Stitched So Sweetly Dies Stitched Shapes Dies Sponges
Below you will see the products in Picture form, click on any of them to be taken to my OnLine Store. When you place an order from $35 on up you will be sent 50 + Picture tutorials to make all kinds of projects, for Free! This is my way of saying thank you!
Come back to see me! And leave a comment so I know you came by!
Lisa Tedder A California girl living in North Carolina


")


 Metallic-Edge Ribbon")


")

")


 Circle Punch")


")


")


 Scallop Circle Punch")
 Scallop Circle Punch")


")


")


")


