Hey Guys!
Did you know that you can emboss with water?! What!? I didn’t think it was possible, but I accidentally dripped water on a project I was Gold embossing, as I poured the powder, the water took it too and it embossed along with the Versamark!
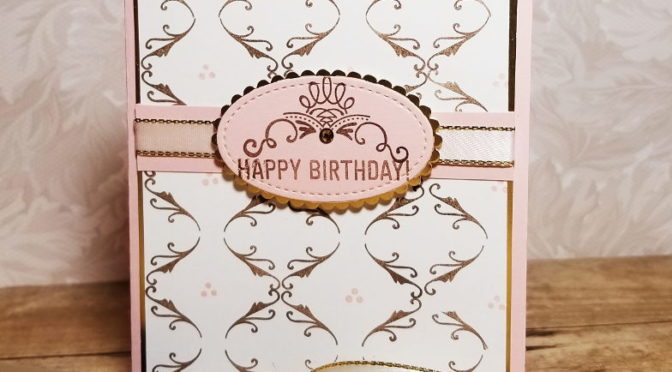
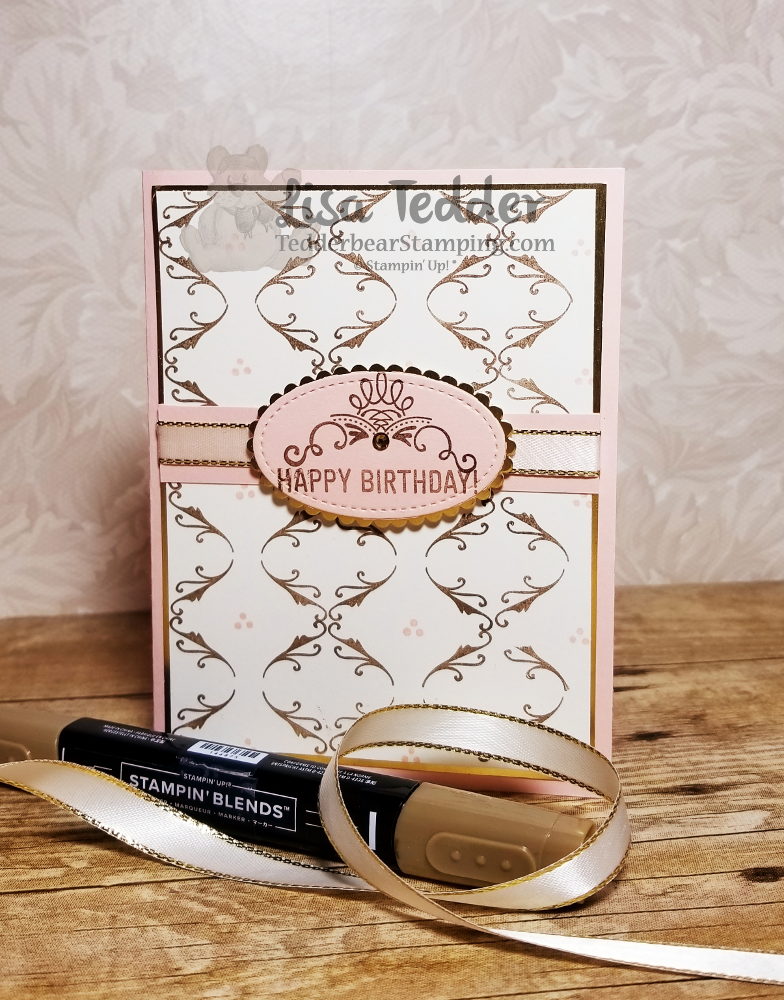
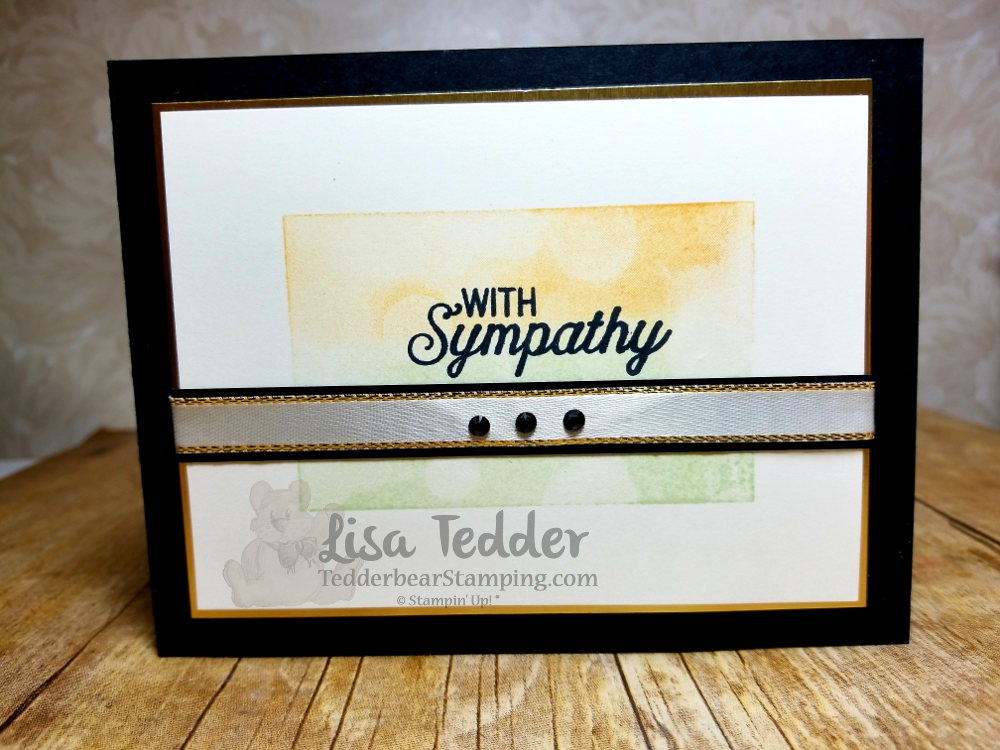
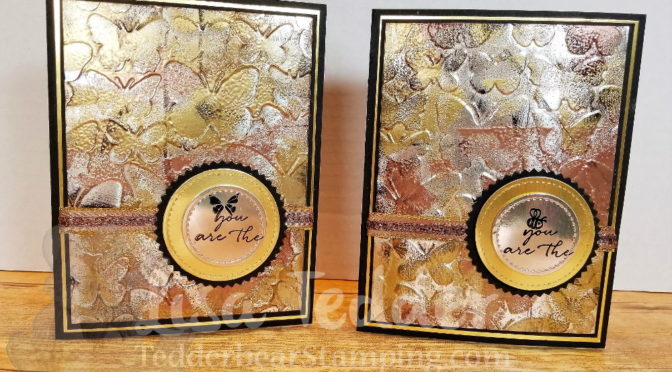
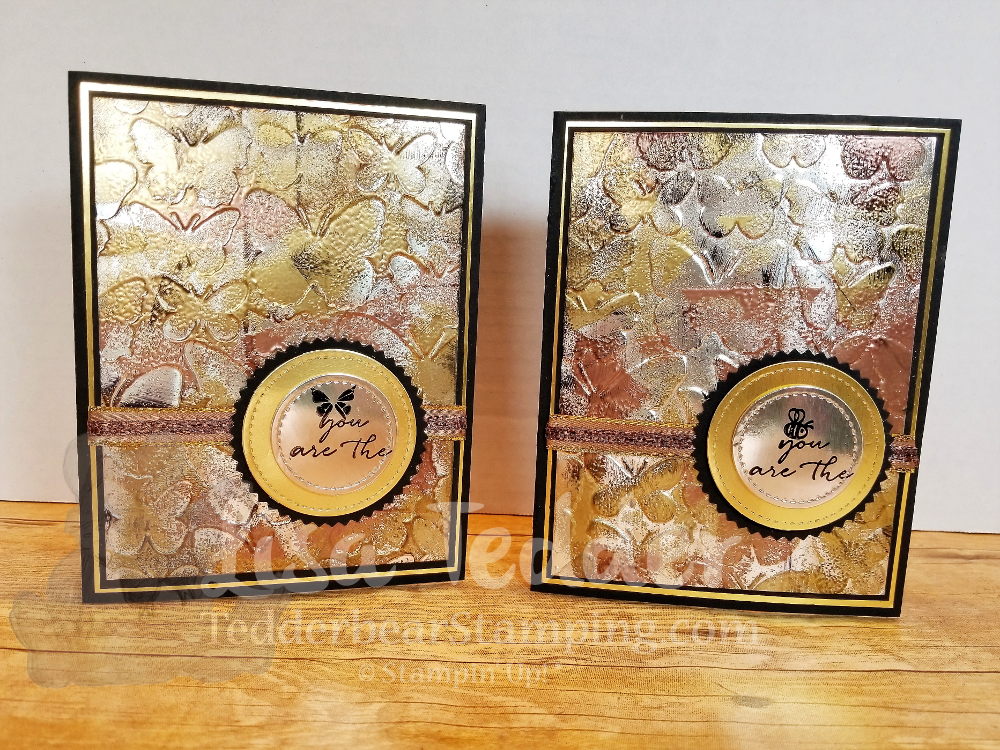
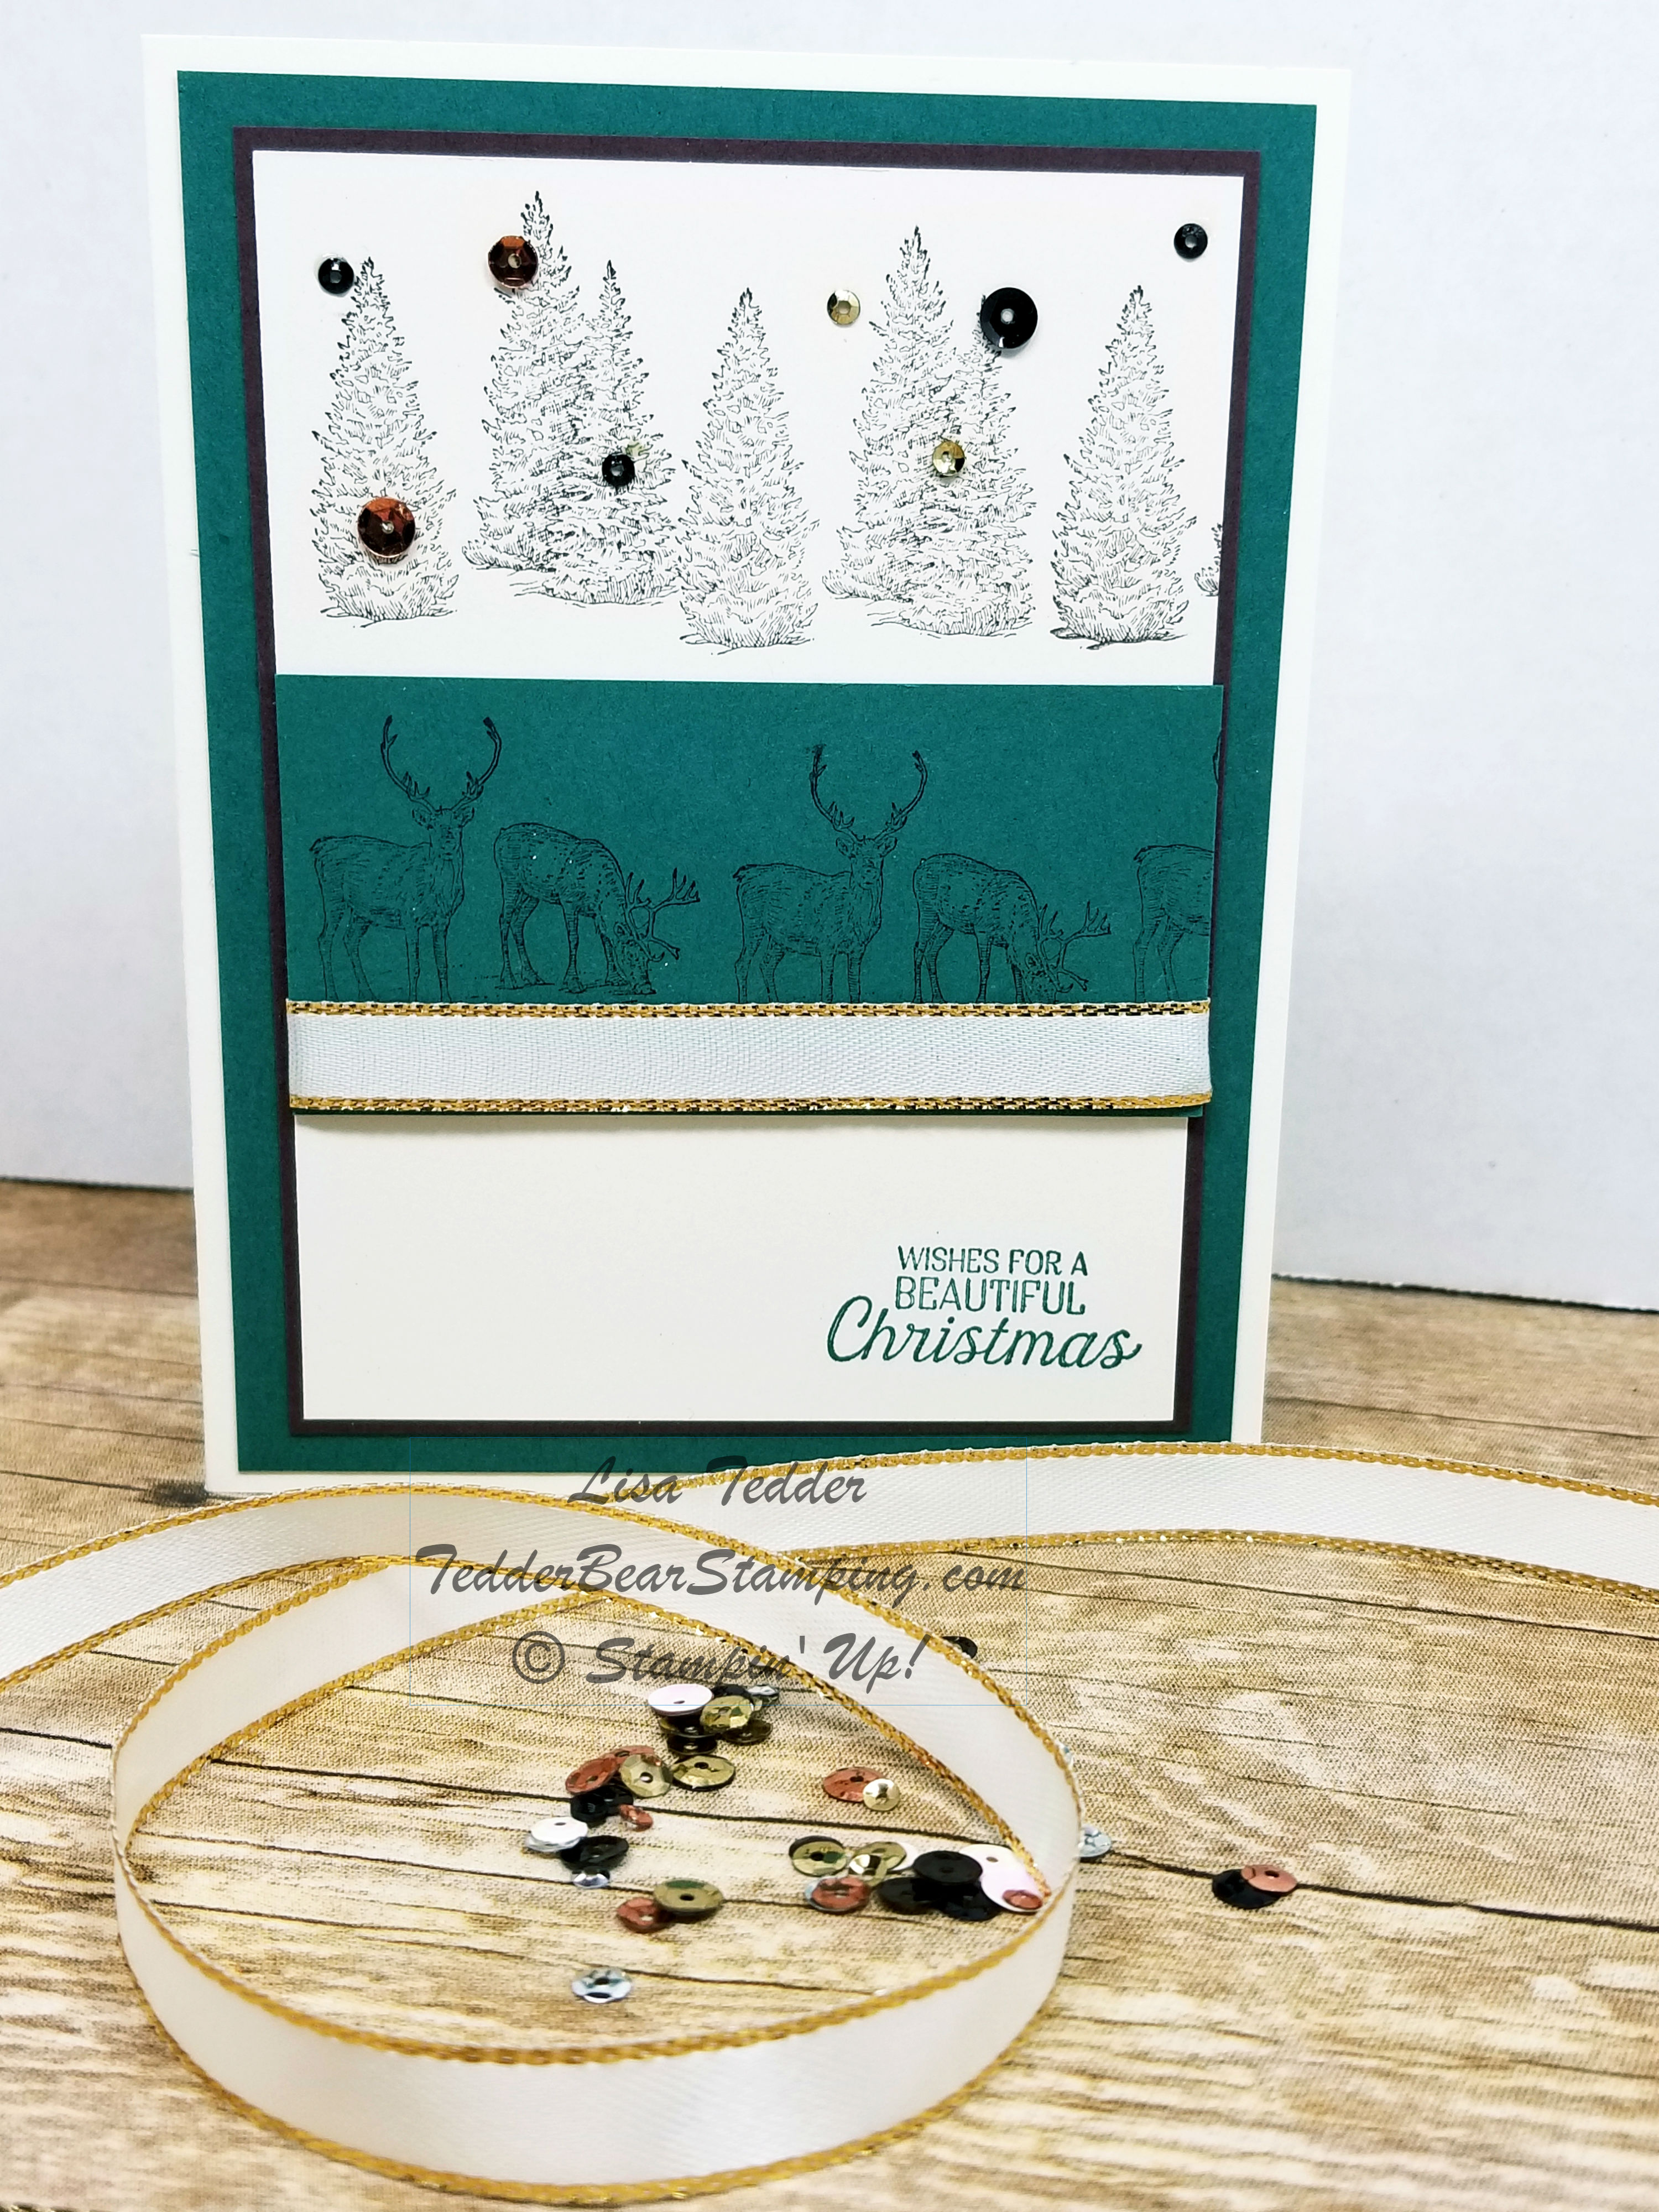
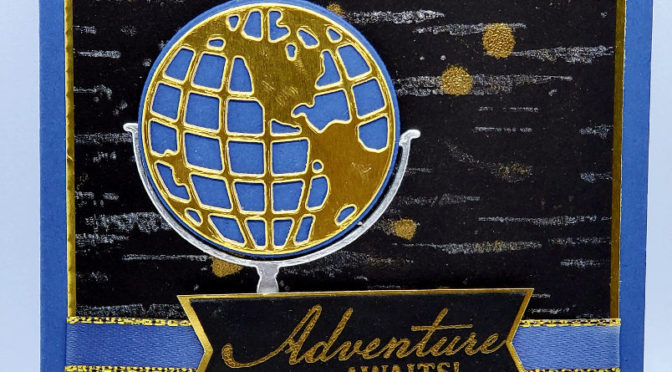
So, of course I HAD to try it with JUST water, and you guessed it……it embossed! You can see the video of this card here. Here is a picture of my project:
To get the ‘silver’ look on the background, I used a Sponge Brayer and the Frost White Shimmer Paint and applied it to the Birch Background stamp from Stampin’ Up! On black the ‘white’ looks more silver, therefore this card has both Silver & Gold! Every time I say that, I want to break into song singing “Silver & Gold, Silver & Gold”! I ‘think’ it’s from Rudolph the cartoon, do you know?
I also embossed the tag with Gold and used the Banners Pick a Punch to get the tag perfect! For the Stamp set, I used the Beautiful World Bundle. LOVE this set!
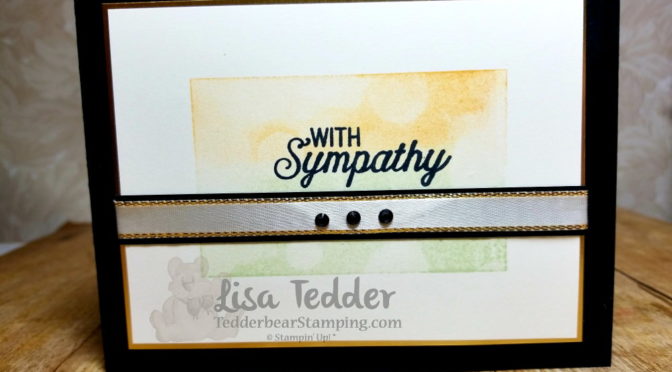
If you would like to see another embossing technique you can check it out here!
As always, here are the specifics for this card:
Stamps:
Beautiful World Bundle
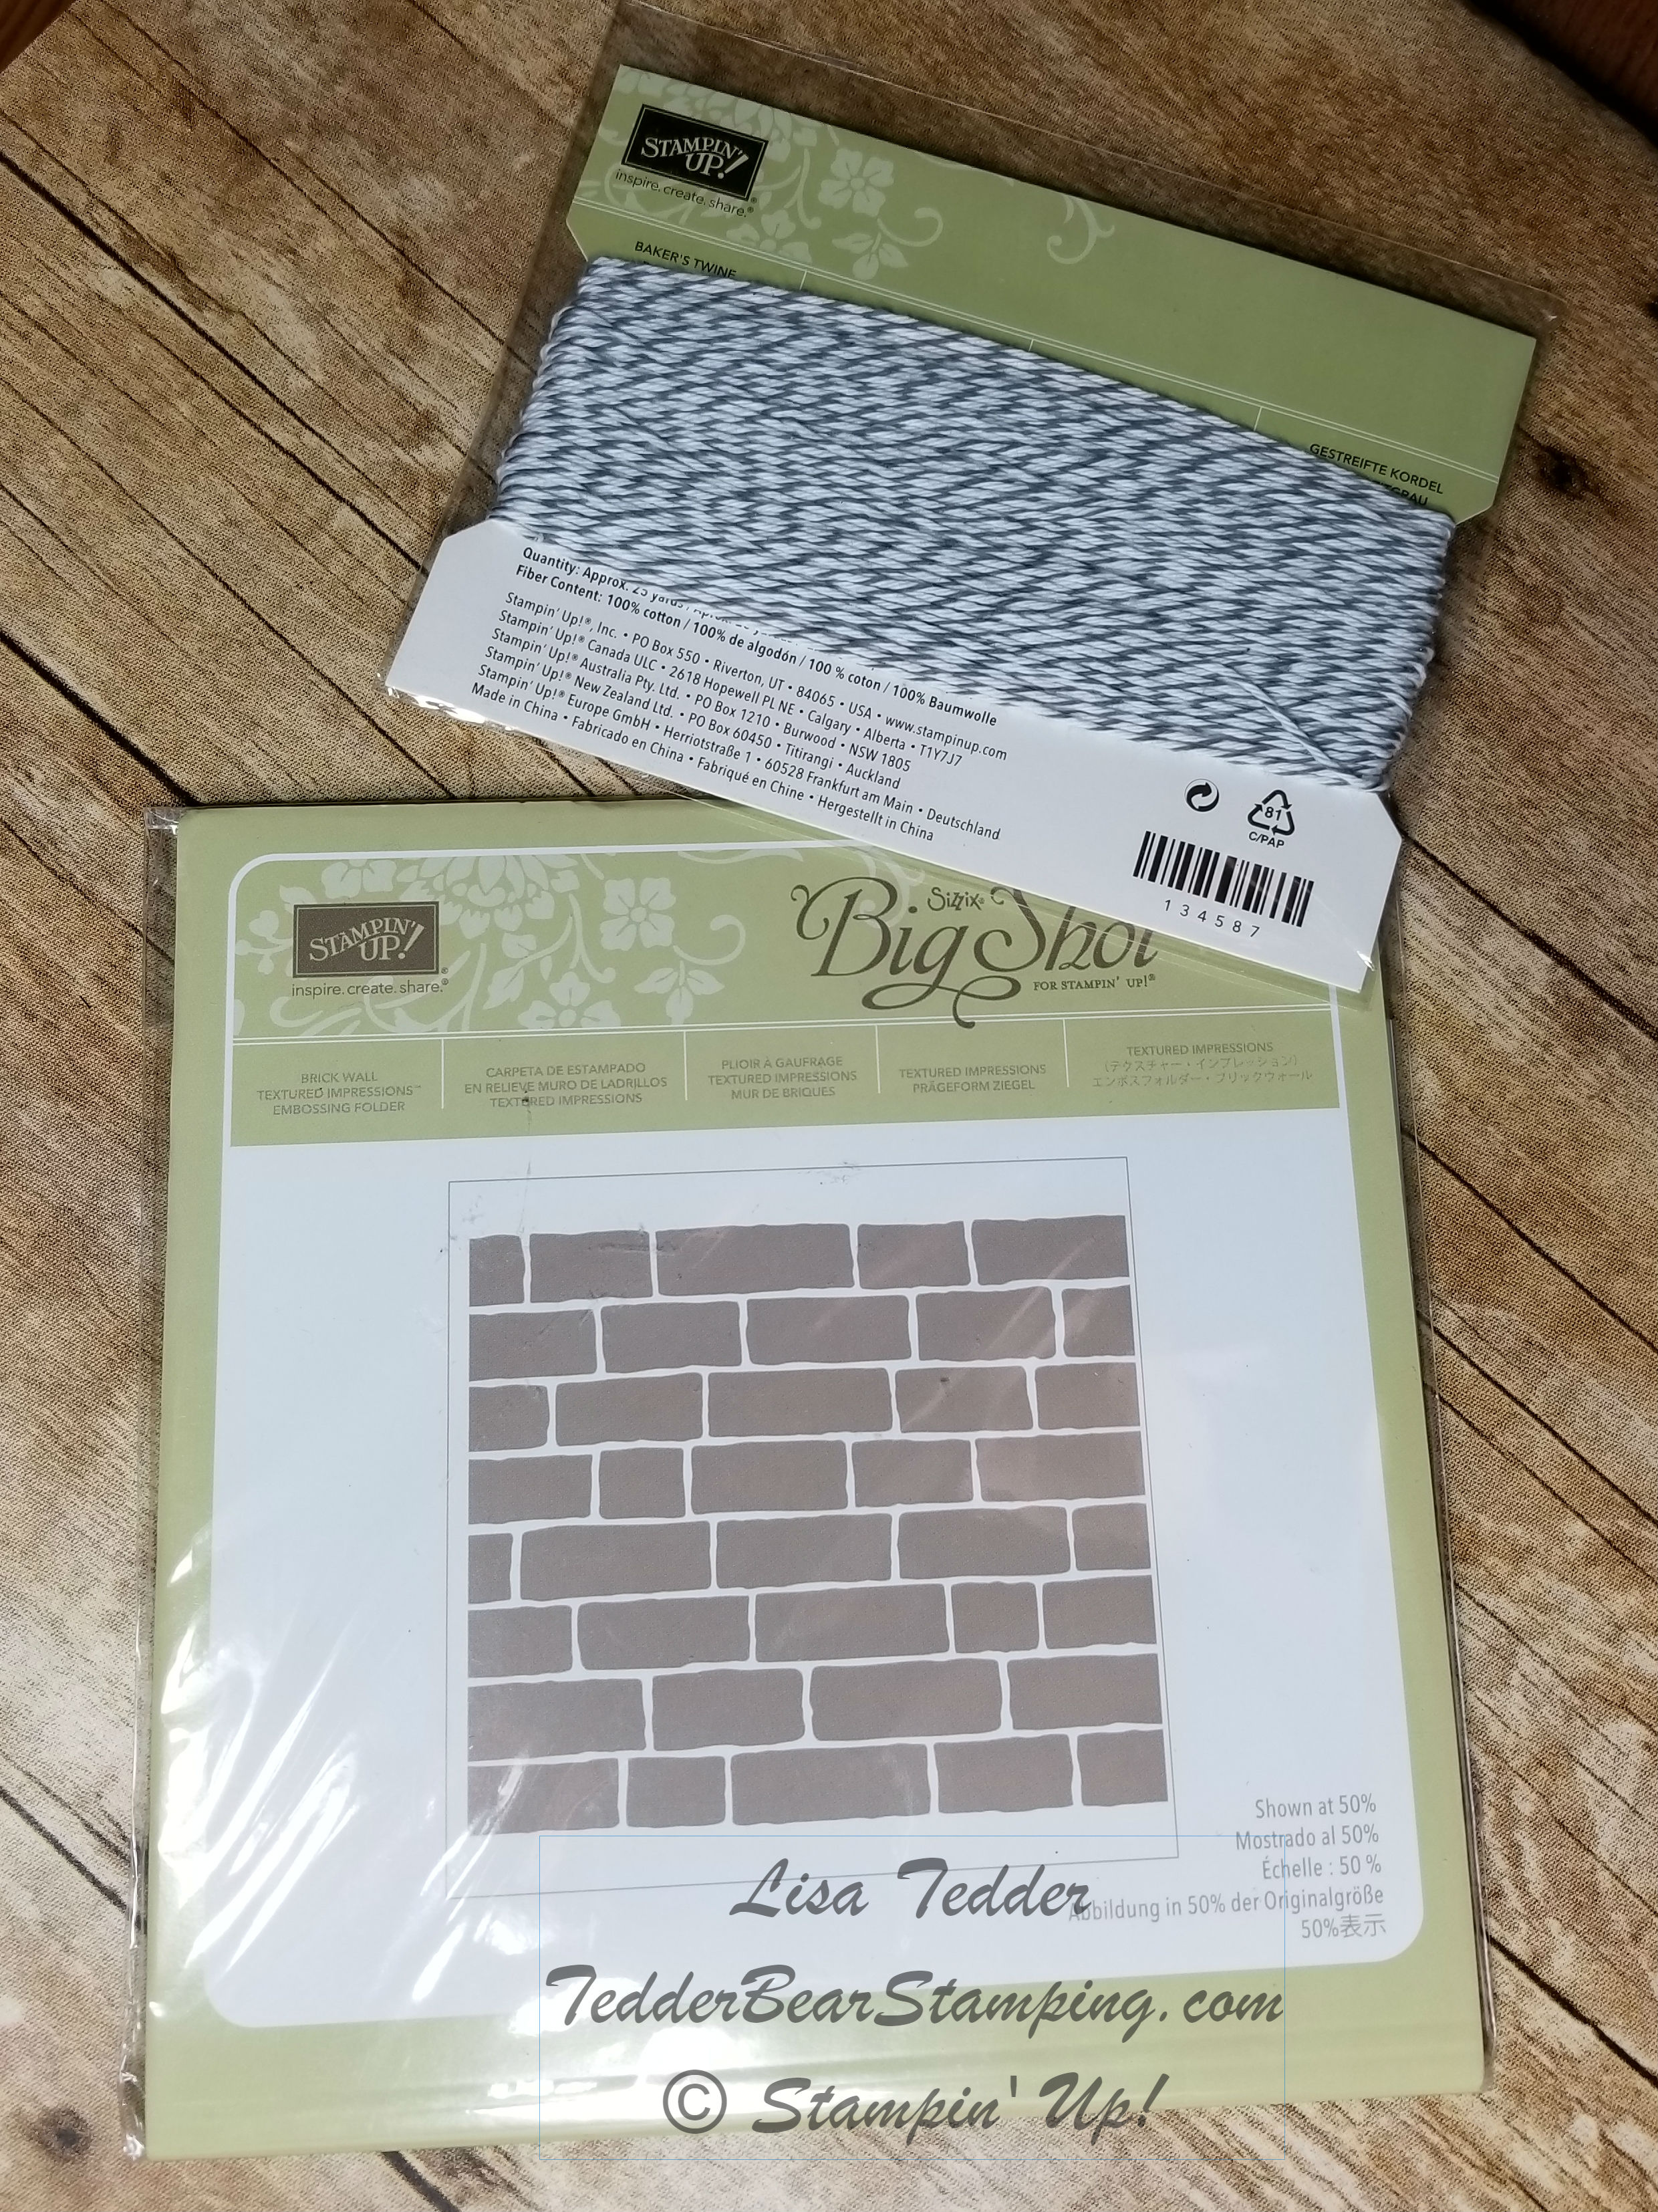
Birch
Inks:
Versamark
Misty Moonlight
Blends: Misty Moonlight (light)
Paper:
Misty Moonlight 8 1/2″ x 5 1/2″, scrap for behind the map
Gold Foil 5 1/8″ x 3 7/8″
Silver Foil
Basic Black 5″ x 3 3/4″ (x2), scrap for map, 2 strips for behind sentiment & behind cut out on the inside
Whisper White 4 3/4″ x 3 1/2″
Misc:
Frost White Shimmer Paint
Dimensionals
Banners Pick a Punch
Sponge Brayer
Gold Embossing Powder
3/8″ Metallic Edge Ribbon (Gold)
Heat Tool
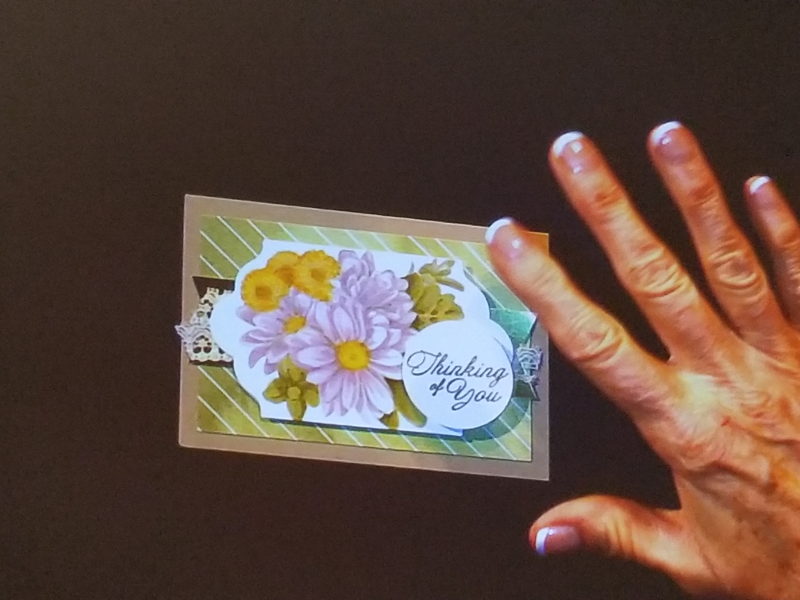
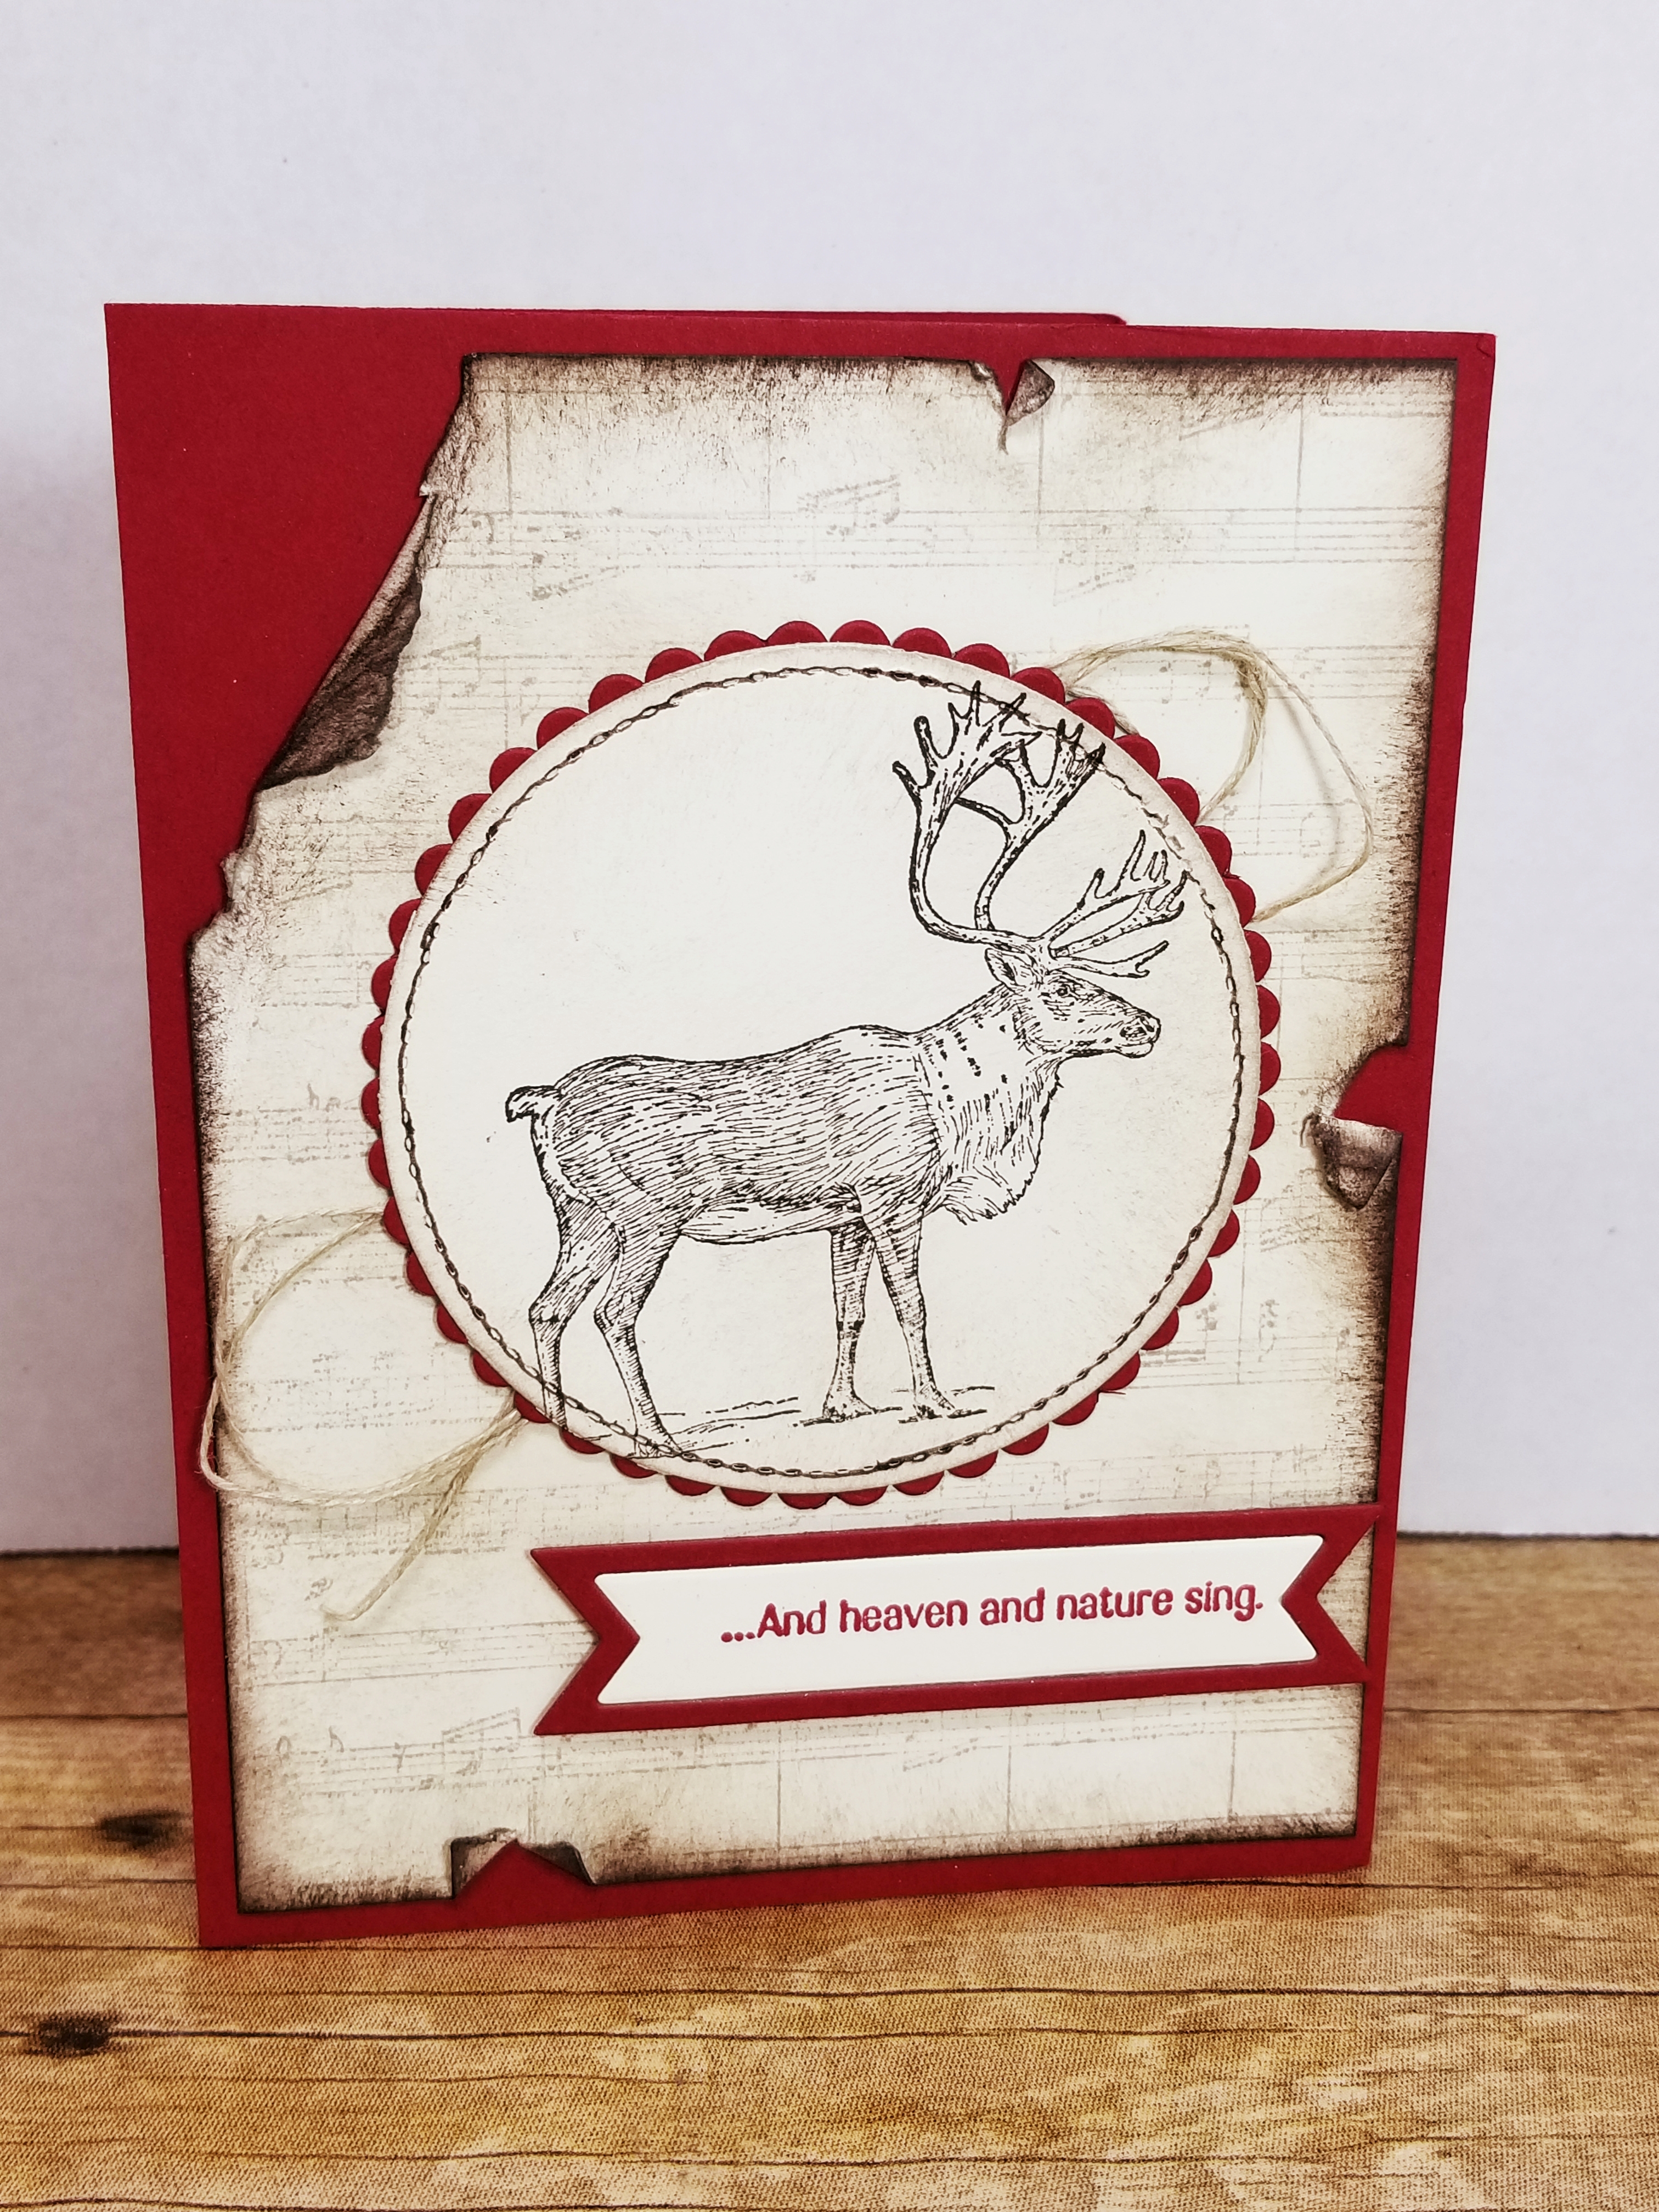
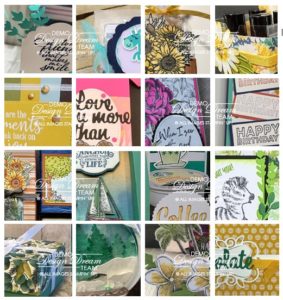
You can click on any of the supplies in picture form below and you will be taken to my OnLine Store! If you decide to purchase from me, any time you spend $35 or more you will receive from me a pdf of 16 projects with pictures and step by step instructions! Here is a sample of what you will get in July:
Finally, what do you think? Did you know that you can emboss with WATER? I sure didn’t! I hope you liked learning something new. Please be sure and come back (subscribe to my blog & Newsletter) so you can see my next project! Thank you for supporting me by visiting! I appreciate you!
Lisa Tedder
A California girl living in North Carolina
Product List
")


")
 Metallic-Edge Ribbon")