Hey Guys!,
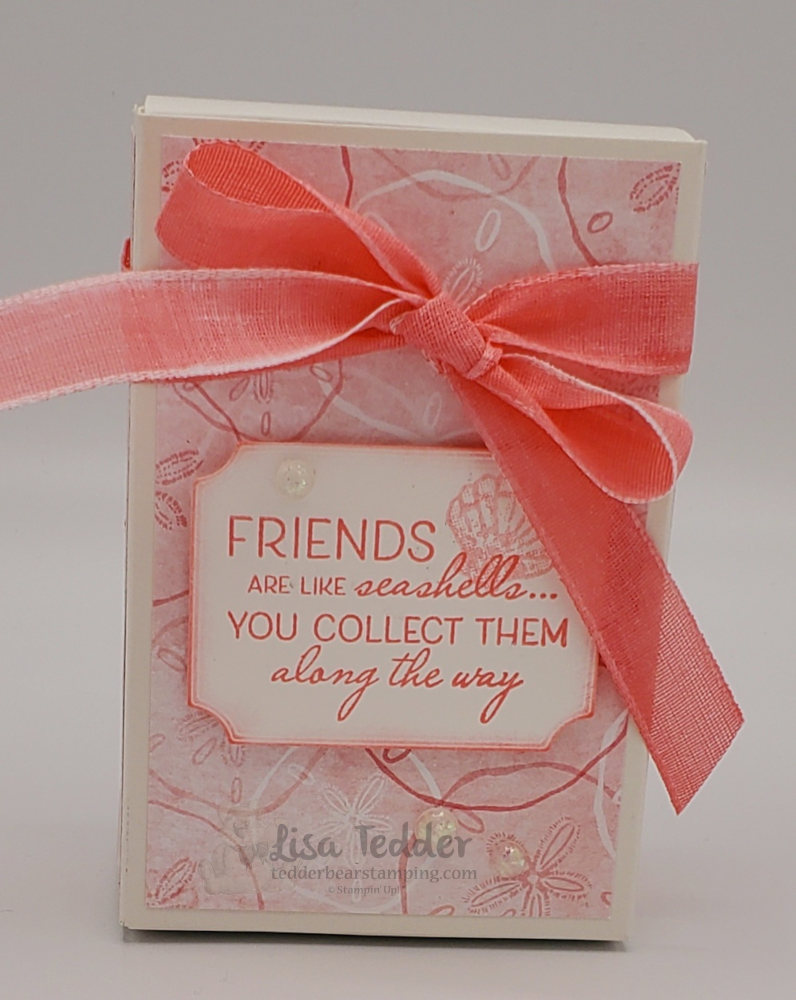
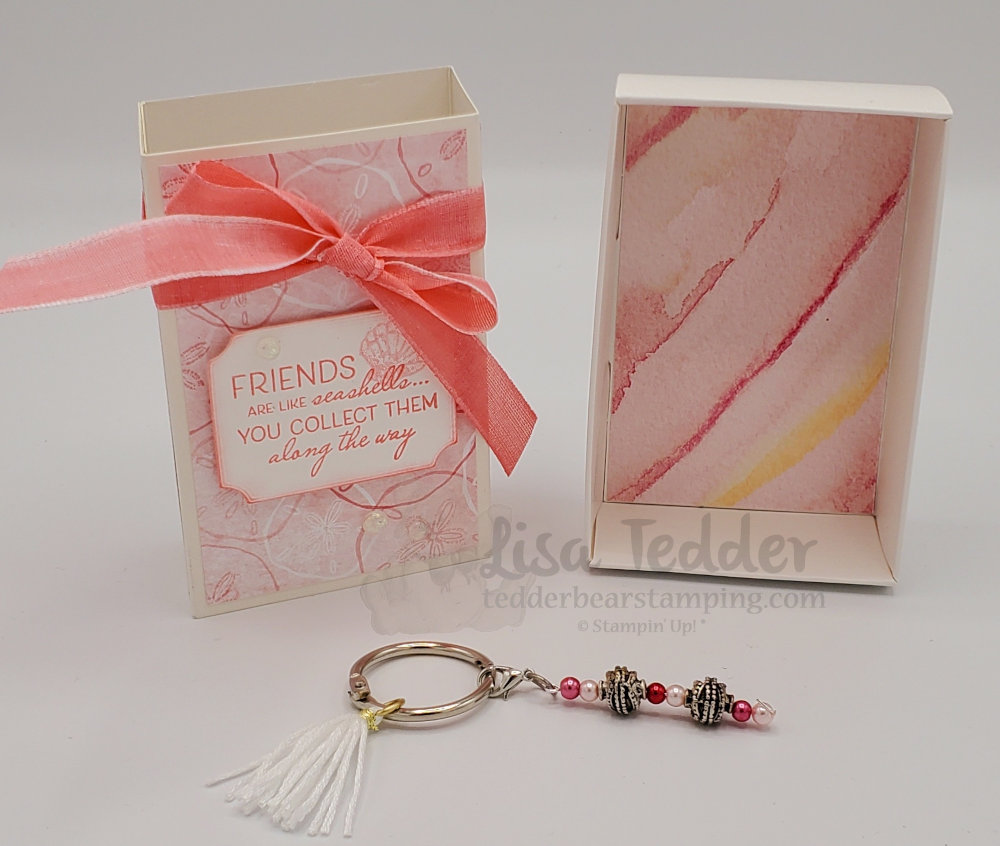
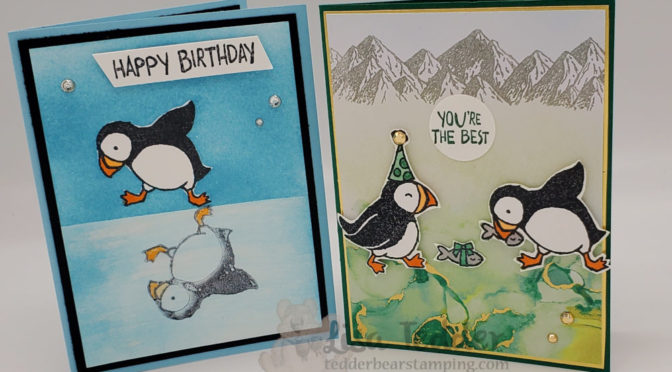
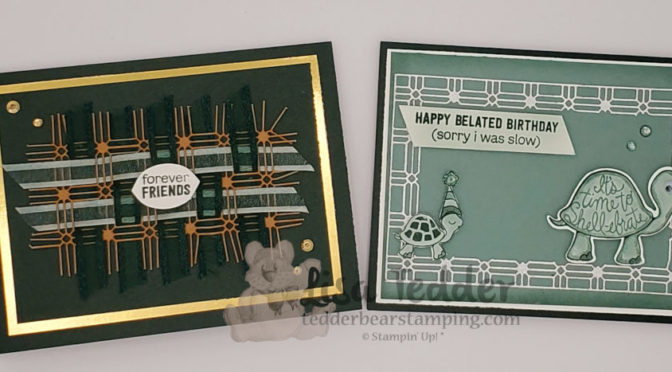
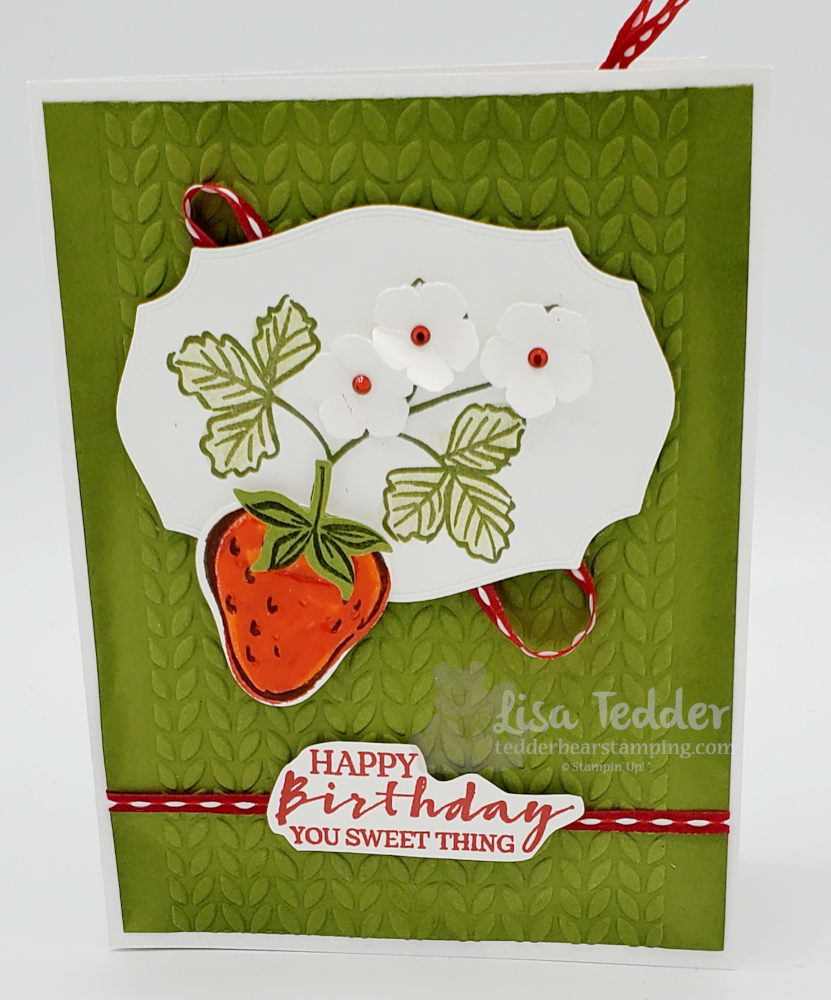
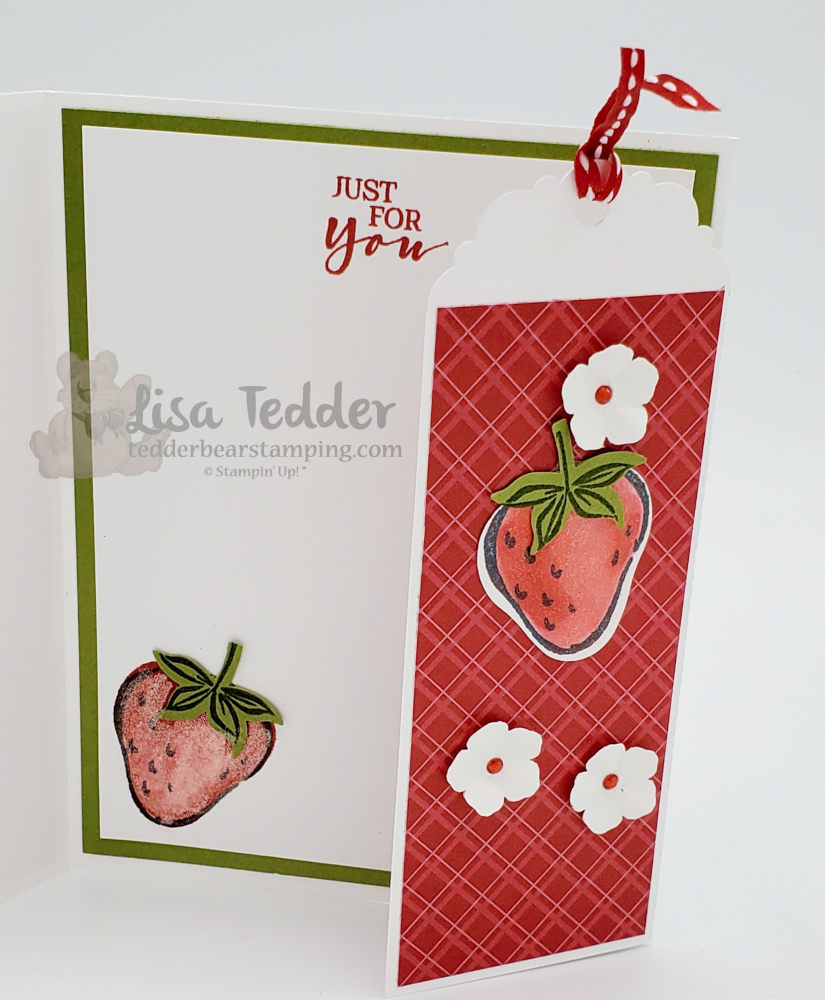
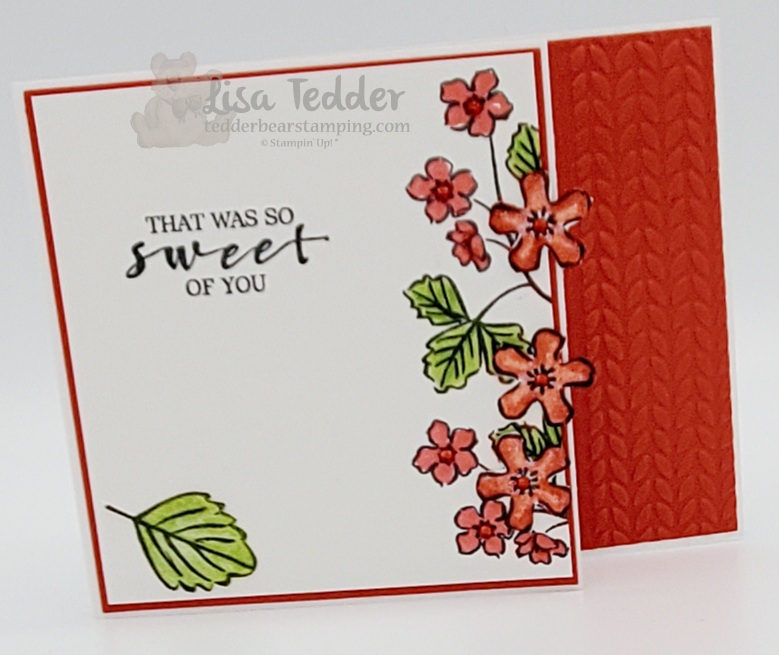
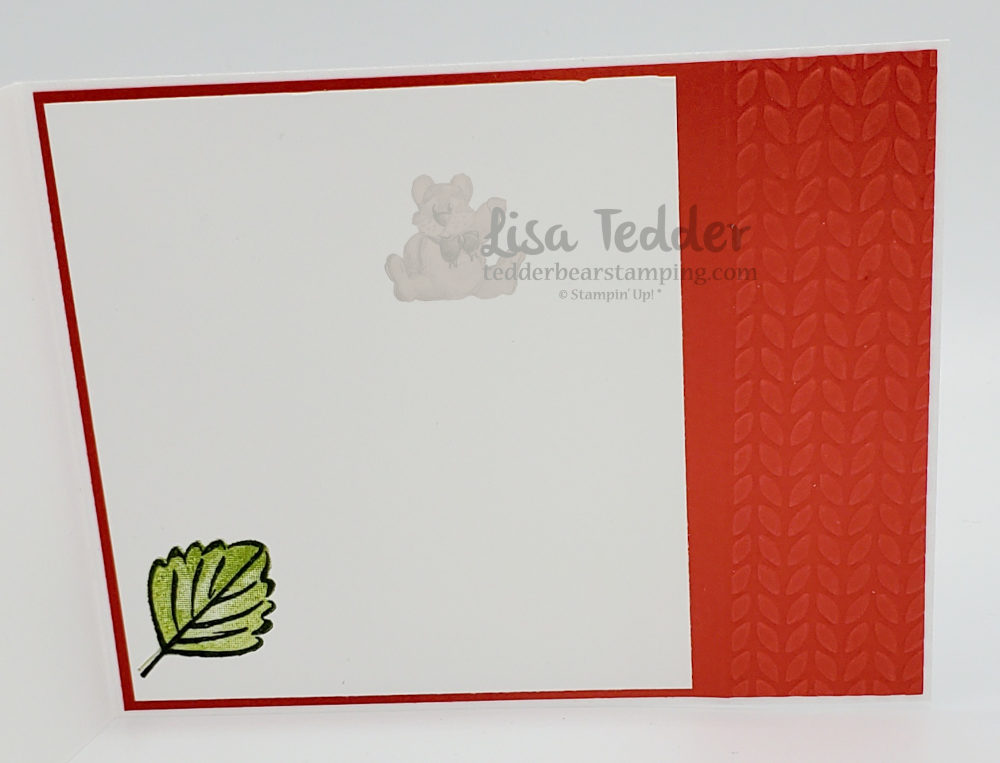
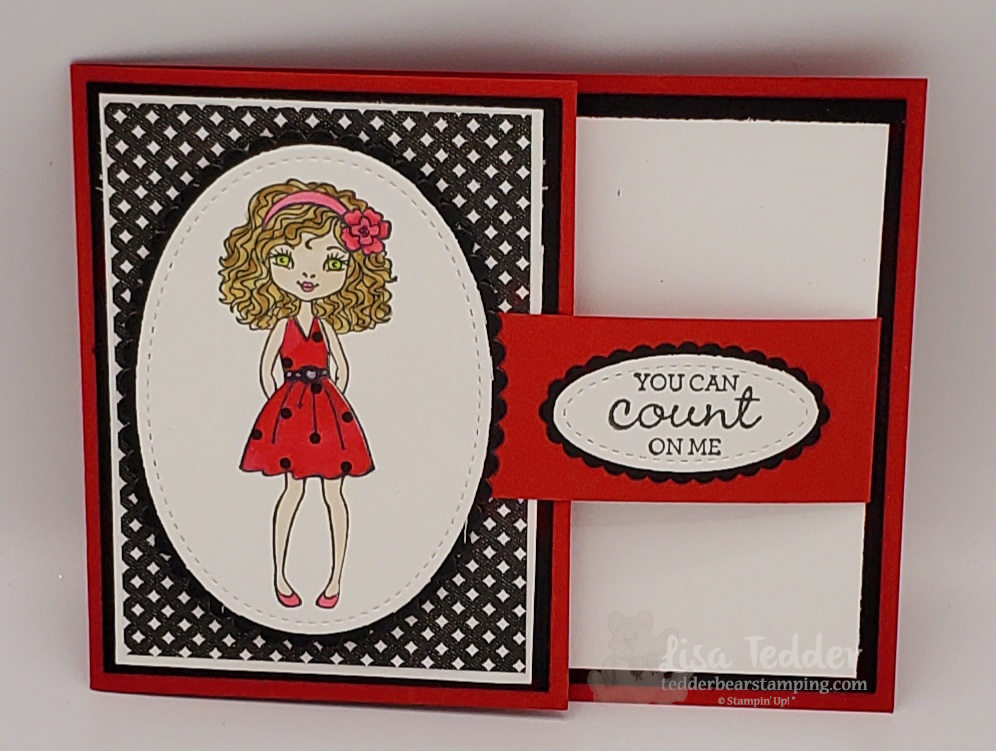
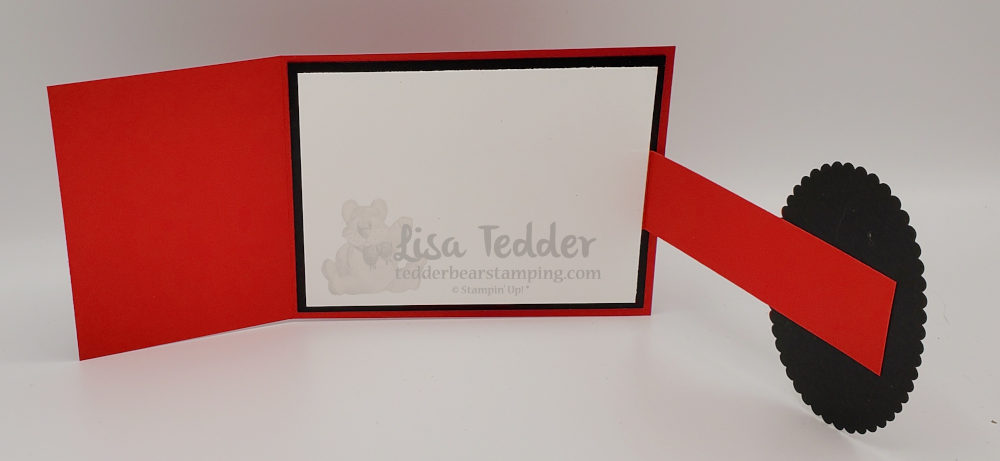
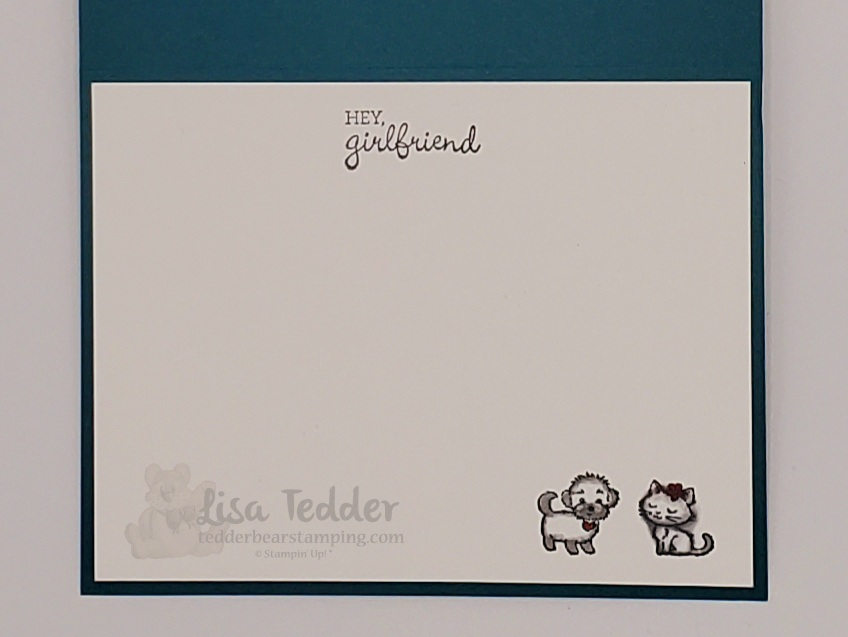
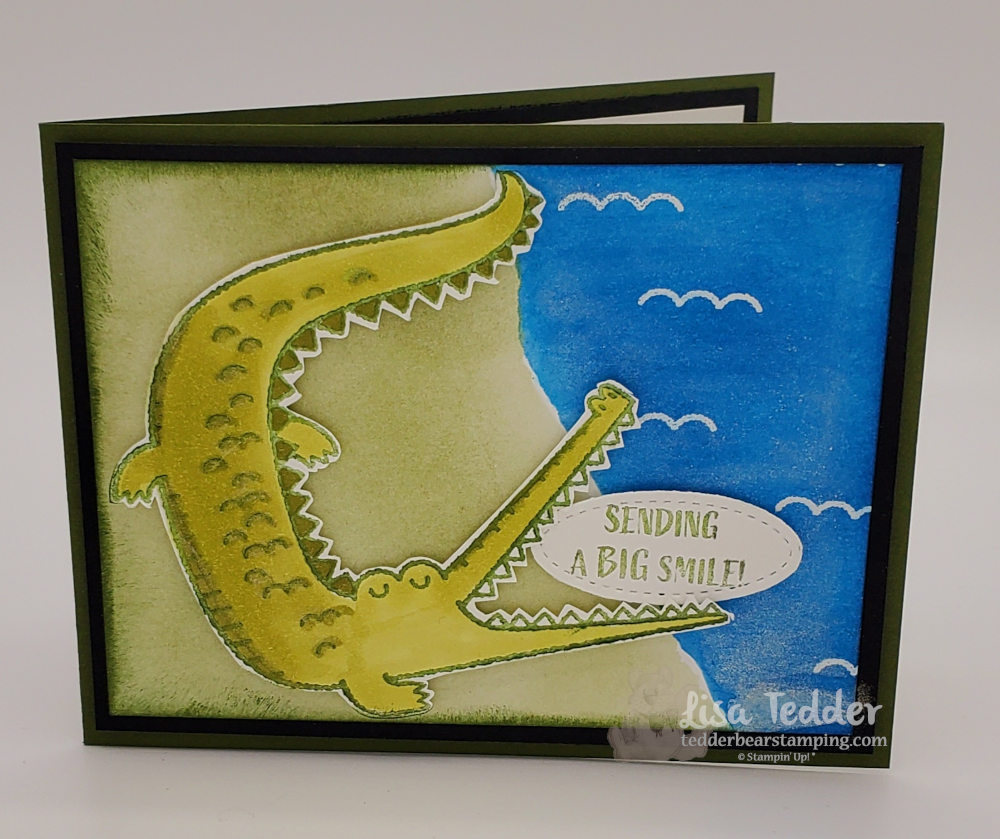
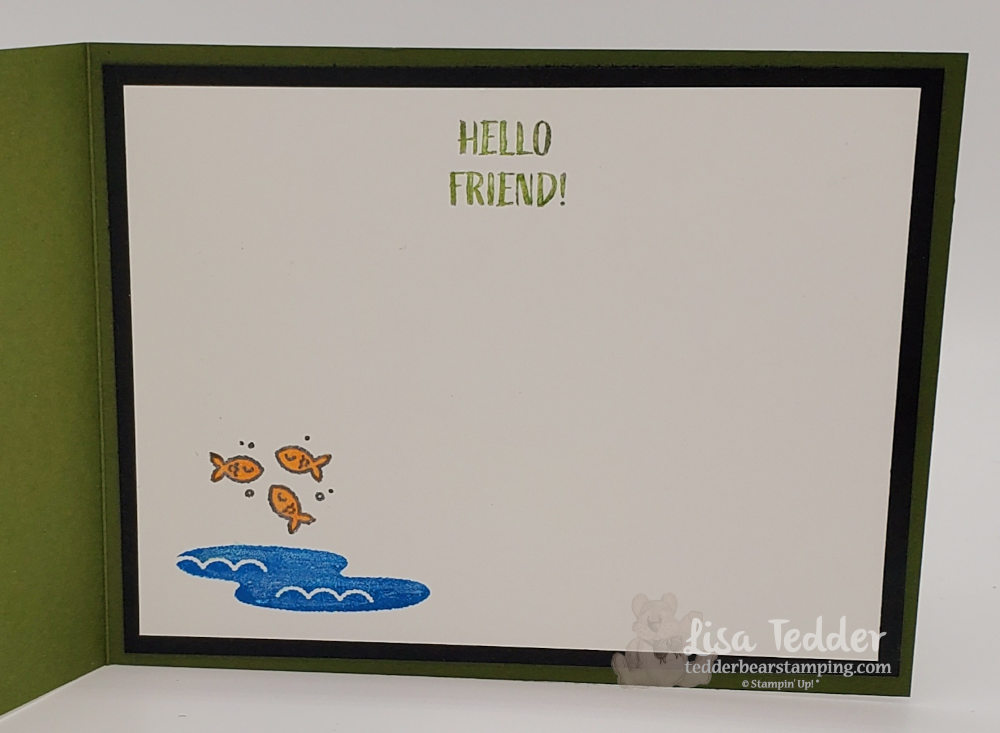
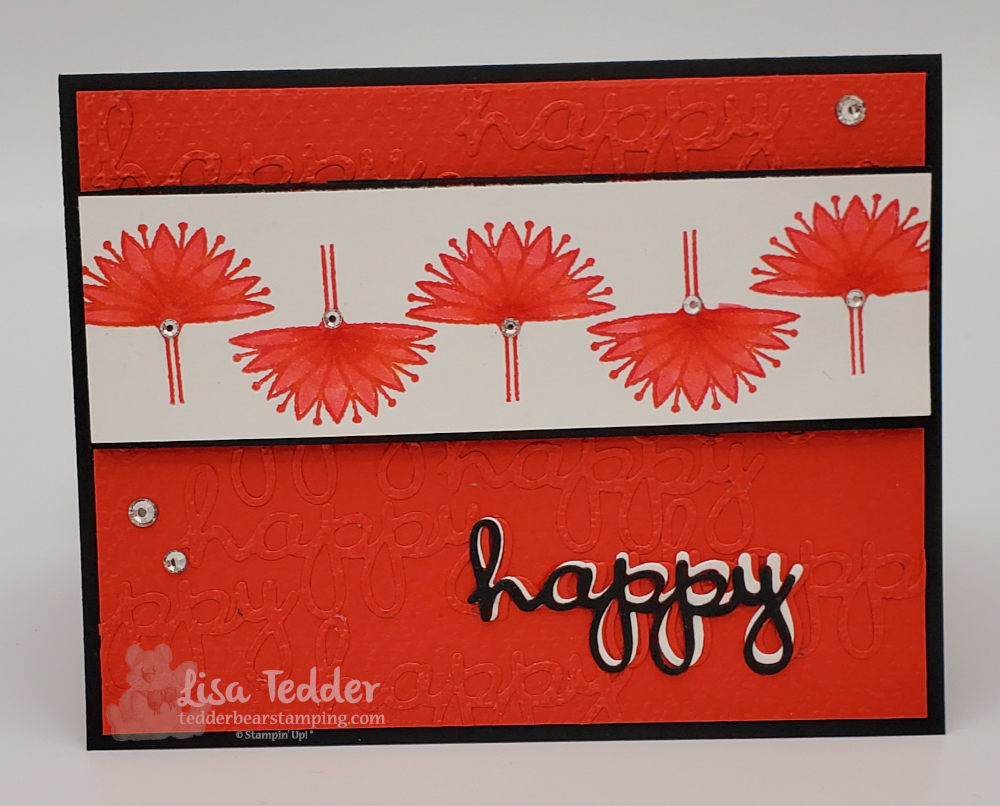
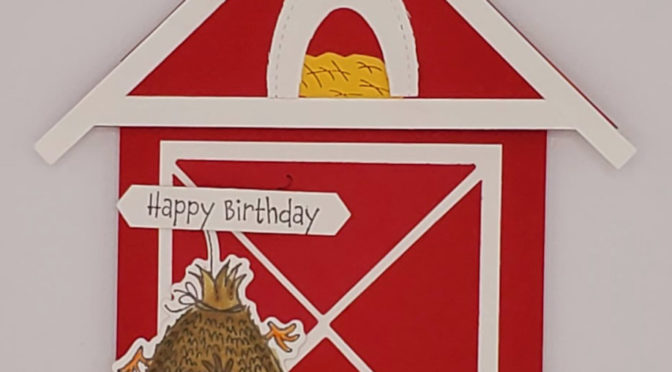
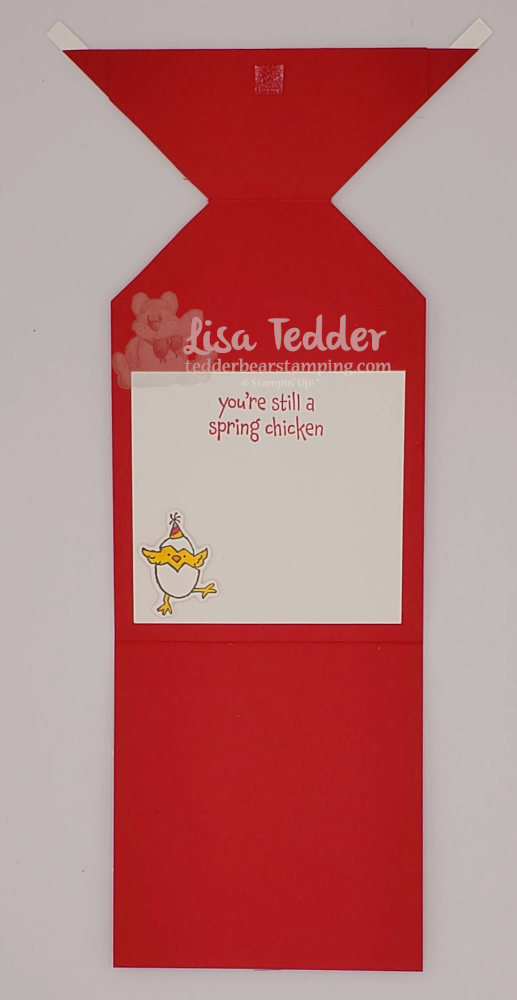
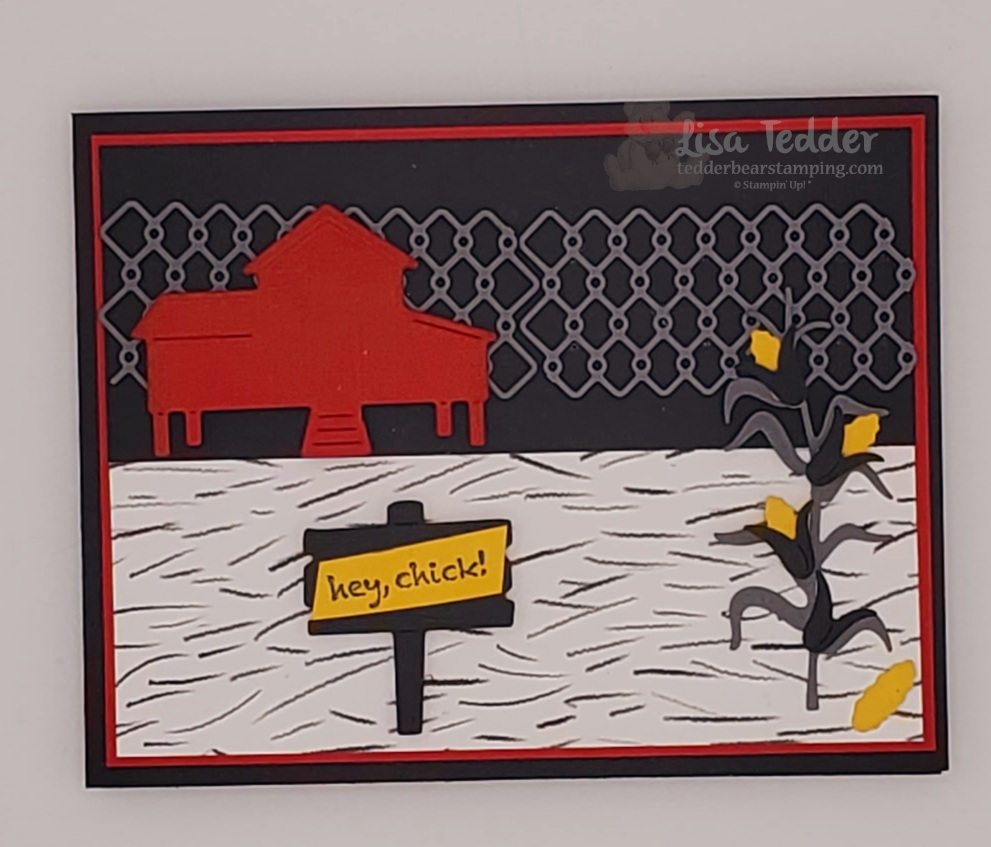
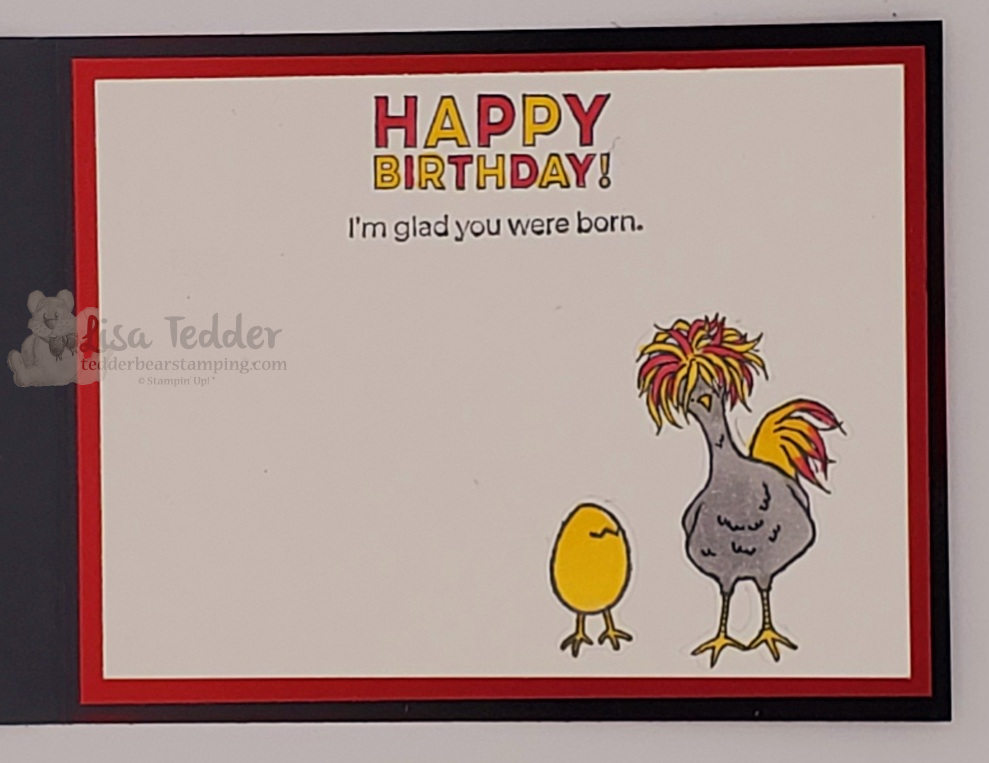
Want to make a reflection card easily?! Today I am showing just how easy it is! You can watch my YouTube Live from today here, anytime! To begin with, I also have another card on this Live that is too darn cute! By the way, I am using the stamp set from Stampin’ Up! called Party Puffins. Incidentally, here are the cards:
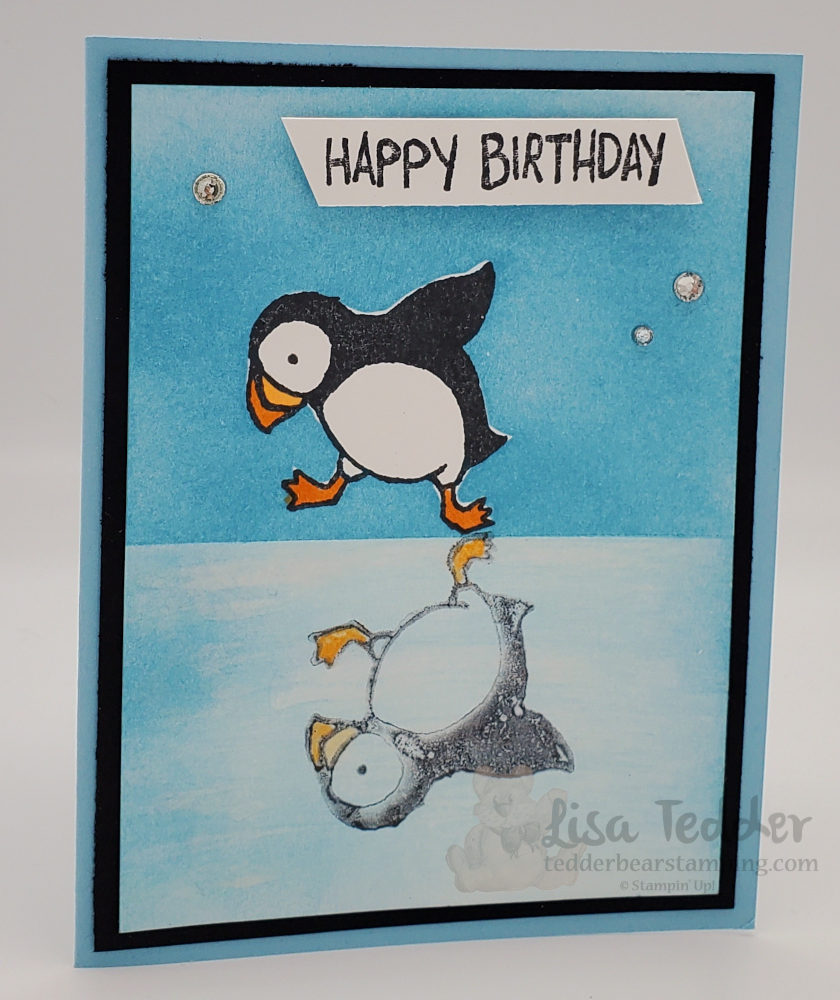
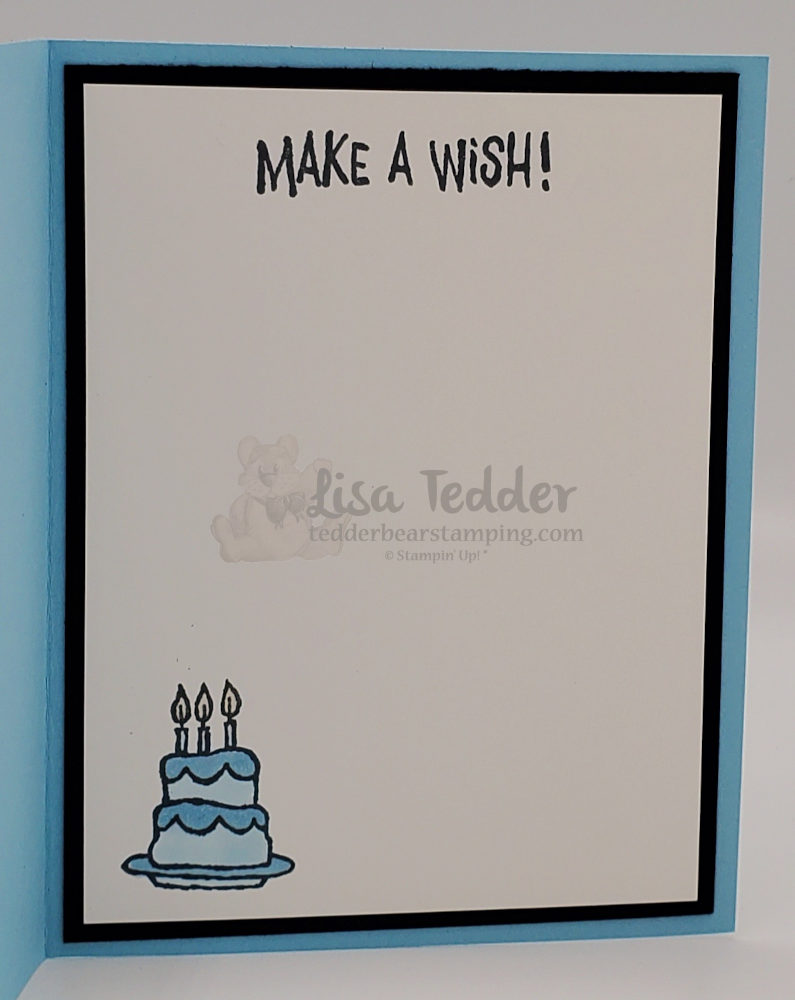

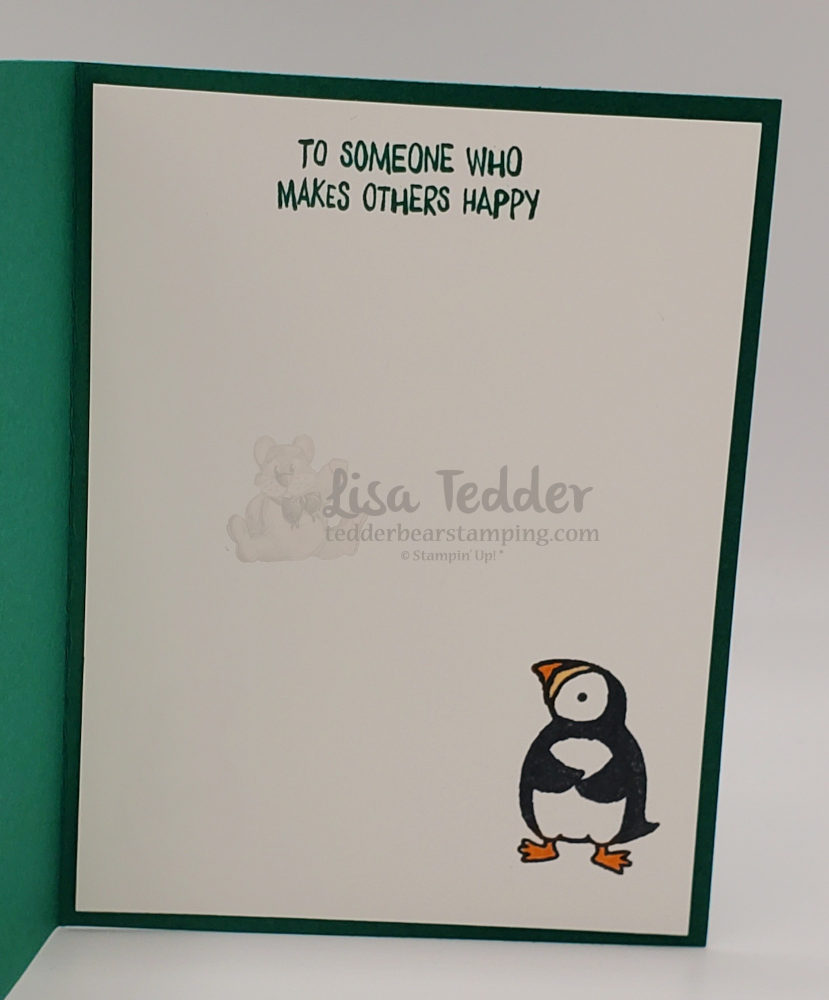
As always, here is the supplies/dimensions for both of these cards:
- Stamps:
- Party Puffins
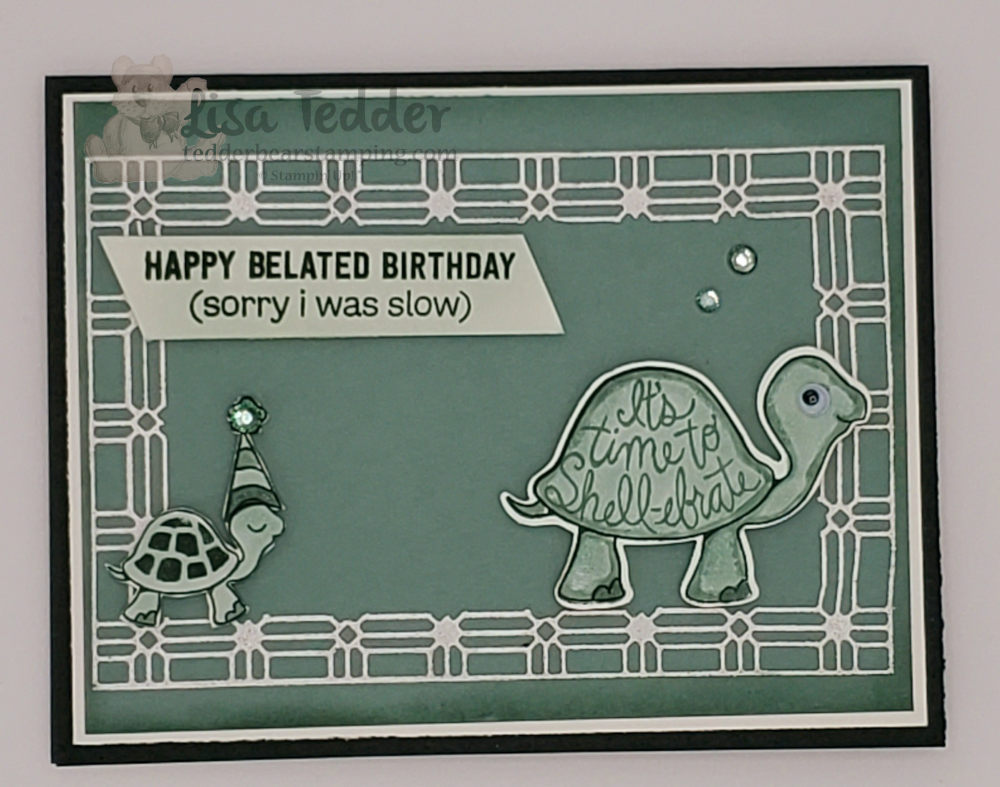
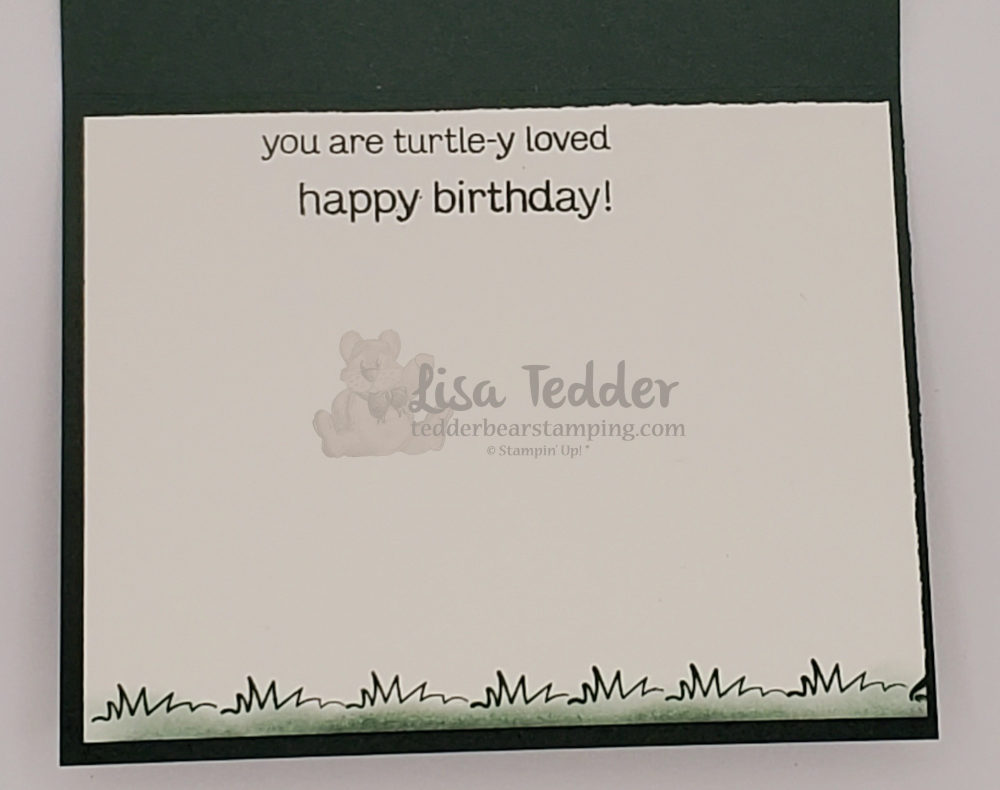
- Mountain Air (card 2)
- Inks:
- Balmy Blue
- Memento Black
- Shaded Spruce
- Soft Sea Foam
- Smoky Slate
- Blends:
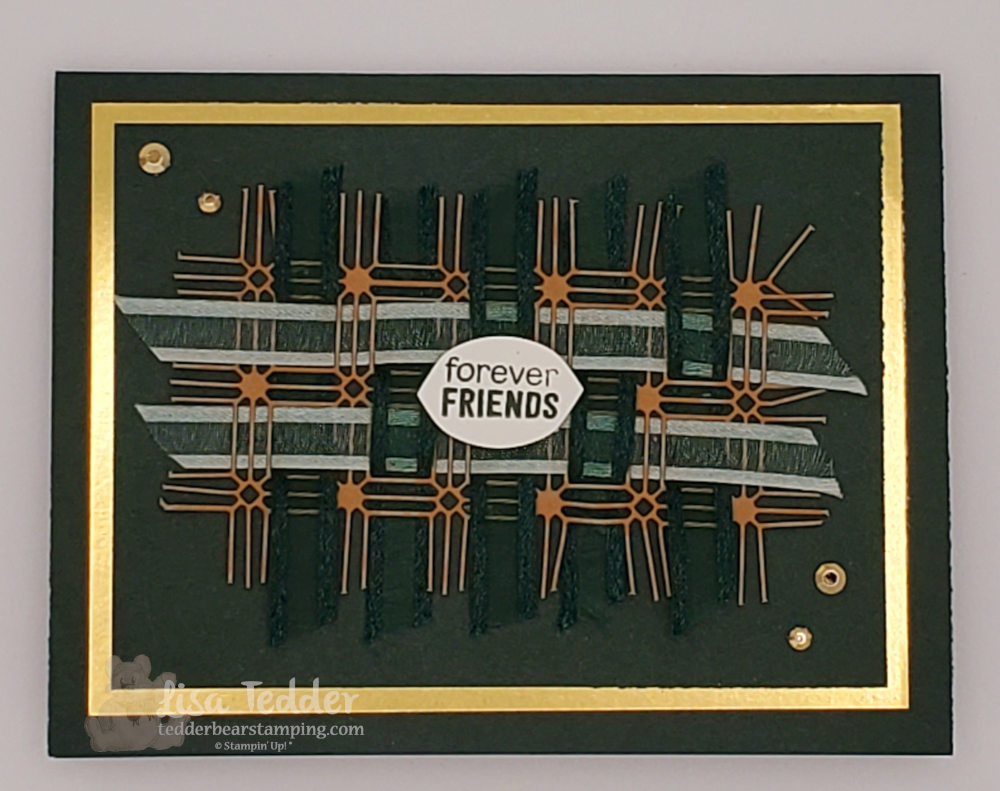
- Pumpkin Pie
- Pale Papaya
- Shaded Spruce
- Smoky Slate
- Paper:
- Card 1:
- Balmy Blue 8 1/2″ x 5 1/2″, scored @ 4 1/4″
- Basic Black 5 1/4″ x 4″ (x2)
- Basic White 5″ x 3 3/4″ (x2) scrap for sentiment
- Card 2:
- Shaded Spruce 8 1/2″ x 5 1/2″, scored @ 4 1/4″
- Gold Foil 5 3/8″ x 4 1/8″, I cut out the center to keep for later
- Expressions in Ink Designer Series Paper (DSP) 5 1/4″ x 4″
- Basic White 5 1/4″ x 4″, scraps for sentiment and Puffins/fish
- Misc:
- Basic Rhinestones
- Water Painters
- Dimensionals
- Wink of Stella
- Gilded Gems
- Glue dots
- Blending Brushes
- Layering Circle Dies
- Silicone Mat
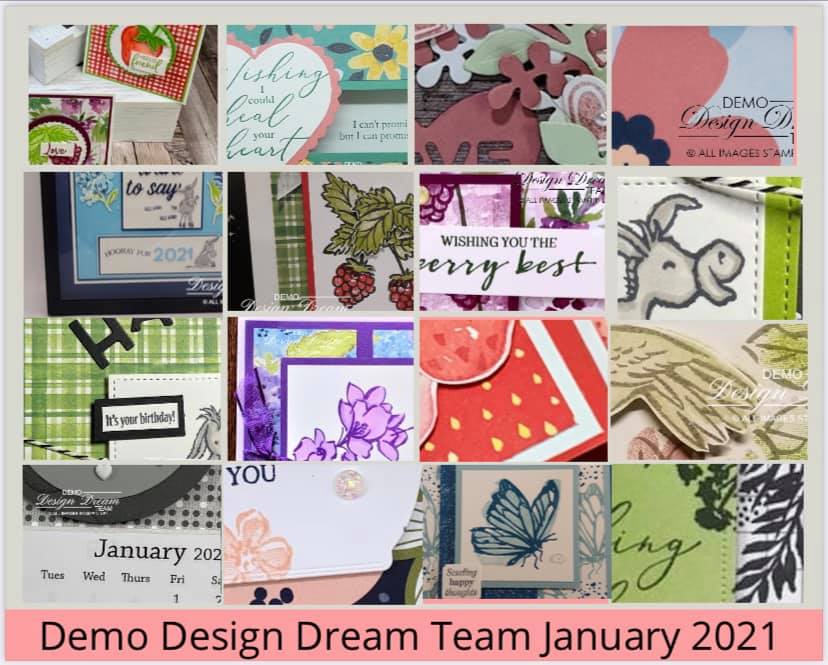
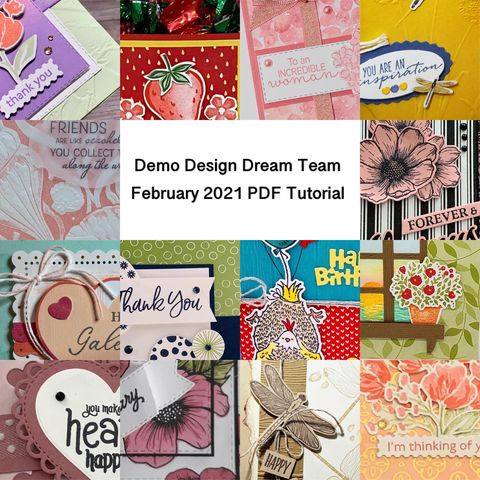
Coupled with the above, the supplies are also listed below in picture form, click on any of them and you will be taken to my OnLine Store! Hence, If you purchase $35 or more you will receive from me the class card packet with the supplies sans the stamps/inks. Also, you will receive a PDF with 16 projects using NEW product from the Catalog, with step by step instructions along with pictures! Below is the snippets of the PDF:
However, if you missed last weeks post, you can click here and see it. That one had a cute one AND an elegant one using the same stamp set!
Lastly, thank you so much for stopping by, I appreciate you supporting my small business!! In conclusion, come back next week and you can go catch all my other videos, I have a LOT that you will learn from and love!
Lisa Tedder
A former California girl living in North Carolina
Product List


 Specialty Designer Series Paper")


")


")
 Chevron Weave Ribbon")
 Open Weave Ribbon")


 Organdy Striped Ribbon")
 Sheer Ribbon")
 Gorgeous Grape Sheer Ribbon")


 Designer Series Paper")


")
")