Tag Archives: Gold Stampin’ Emboss Powder

New Ornate Suite, You can buy now!

Hey Guys!

Today I am sharing with you again, the Ornate Suite that you can get early! Yes, Stampin’ Up! released new product from the upcoming New Catalog (out in June!!, let me know if you want a catalog!). I have made three cards, so far from this suite, and I am sharing with you the first one I came up with! If you missed it, here is another card I made using this set.

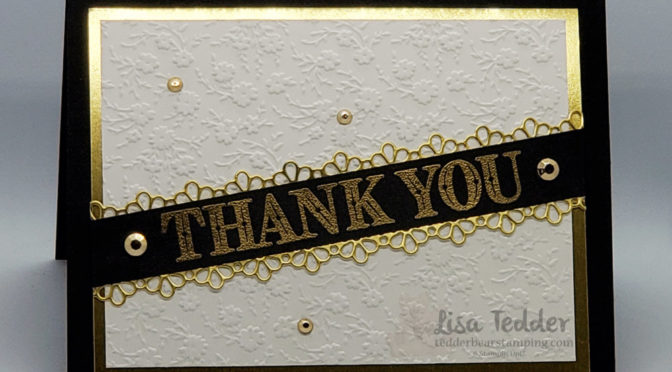
I love it when we get new product! It’s so fun to let your creativeness flow! There aren’t many samples out there, so you need to come up with it on your own……..scary? Yes! But it feels so good when you make something that you want to show off! Here is what I made:
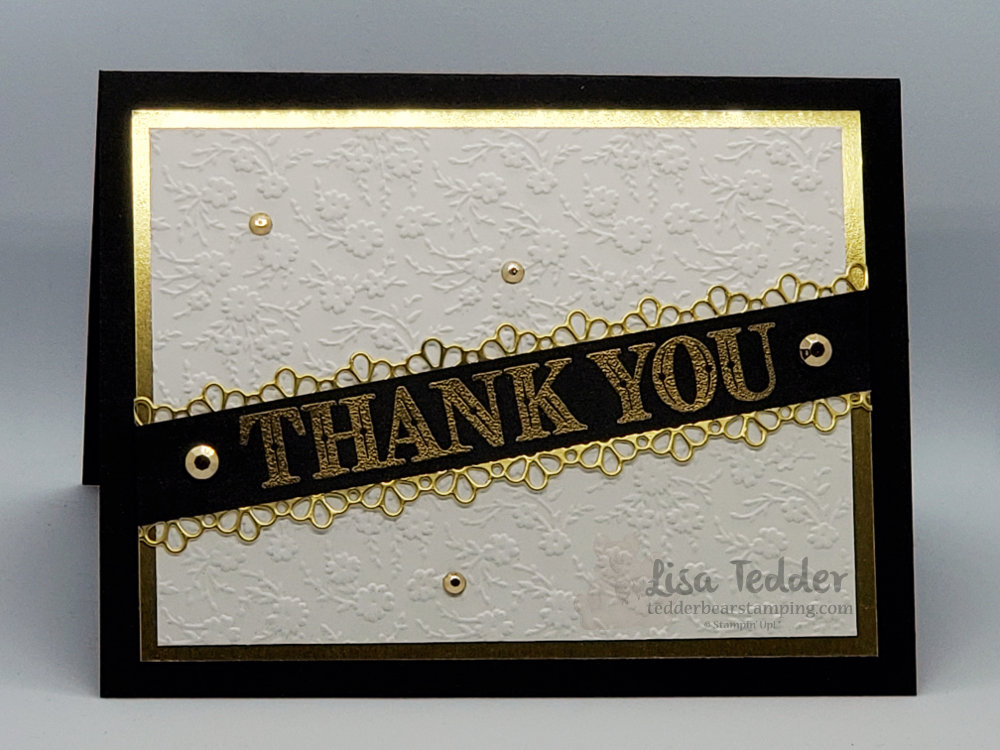
Aren’t the new Rhinestones so pretty?!

This is pretty simple for me, but when you add the Rhinestones, Gold Foil and Embossing (both ways) it really adds up to something very elegant! I am so excited that I get to share this with you!

And the inside:
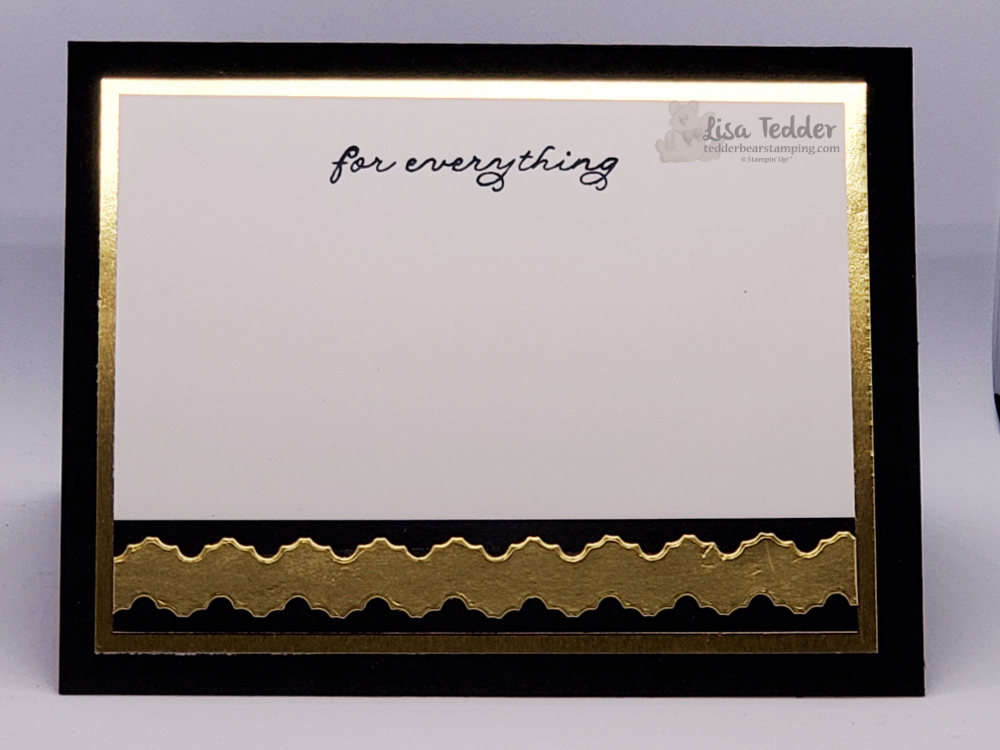
The squiggly gold on bottom is from the two scallops on front (cut them out across from each other to get this)!

As usual, here are the specifics for this card:

Stamps:
Ornate Thanks

Inks:
Versamark
Memento Black

Paper:
Basic Black 8 1/2″ x 5 1/2″, 3/4″ x 4 3/4″ (inside), 5/8″ x 5 1/2″ (trim after you place on front)
Gold Foil 5″ x 3 3/4″ (x2), cut out inside to use on a different project, 5 1/2″ x 1 1/4″ (give or take, depending on how wide you want your squiggly)
Whisper White 4 3/4″ x 3 1/2″ (x2)

Misc:
Ornate Borders Dies
Gilded Gems
Ornate Floral 3D Embossing Folder

Below you will see these same supplies listed in picture form, click on any of them to be taken to my OnLine Store so you can purchase any or all of them! If you purchase from me, you will receive not only one but two tutorials each made up of fabulous ideas with pictures & measurements! These have over 50 ideas each month for you, you only need to purchase $35 from me to have these sent to you! Don’t wait for the New Catalog, get this early release product and the tutorials. It’s a great deal and fun to create with something new!

Thank you so much for stopping by! I hope you are staying safe and that you are getting some crafting done in this time of Social Distancing. Believe me, crafting really helps keep you sane!

Lisa Tedder
A California girl living in North Carolina

Product List

Humming Along Glitter

Hey Guys!

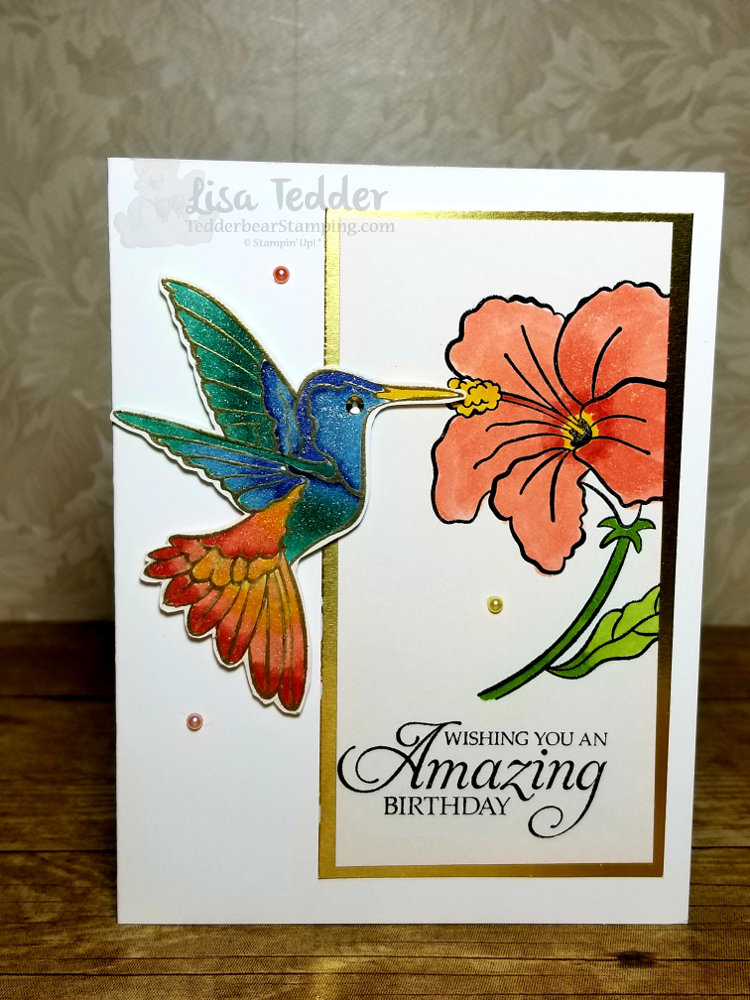
Here is another card that I saw on Pinterest that I decided to CASE.

This was done by Mikaela Titheredge, absolutely stunning but I wanted mine to be a standard size.  Here is what I came up with:

If you look close, you can see all the glimmer on the bird.  I did this with blends and then went over with the Wink of Stella.  I LOVE the colors used on this gorgeous hummingbird!

Here are the specifics for this card:

PROJECT 1: Humming Bird
Stamp Sets Pg #
Humming Along  Occasions Bundle
Itty Bitty Birthdays Occasions
Paper
Thick White 8 1/2″ x 5 1/2
White 3 3/4″ x 5″
Shimmer White 2 3/8″ x 4 5/8″, 3″ x 4″
Calypso Coral 5 1/4″ x 4″
Gold Foil 2 5/8″ x 4 7/8″
Inks
Momento Black
Blends: Granny Apple Green, Calypso Coral,
Night of Navy, Bermuda Bay, Dk Daffodil Delight
Accessories
Wink of Stella
Share What you Love Artisan pearls
Dimensionals
Big Shot

I LOVE when I can find a card that other than size I don’t have to change anything!

Below are the supplies in picture form.  Click on any of the pictures to be taken to my OnLine Store.  If you choose me as your SU! Demo I will send you a small gift as a thank you!

Lisa Tedder
A California Girl living in North Carolina
Product List
 

Beauty Abounds-STUNNING

Hey Guys,

Sorry it’s been a while!  But, I am back and hopefully you are happy with it!  LOL

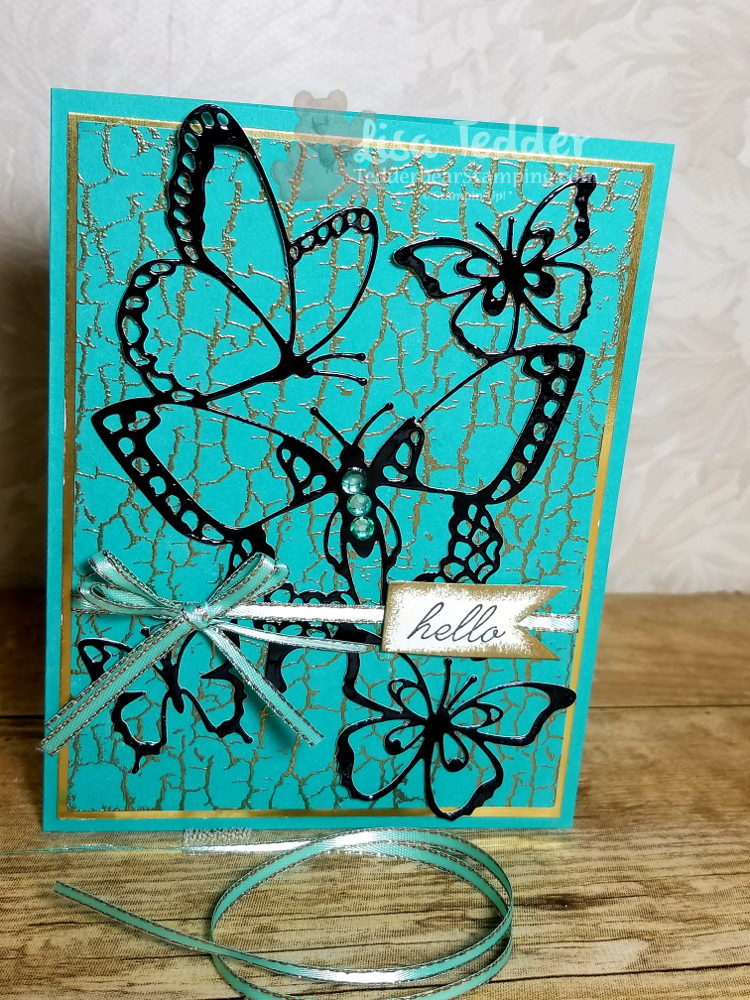
Today I am showing you a CASE I got from Liz Yuille, you can see her video here.  I bought the Crackle Paint stamp JUST to do this card!  But, of course now I am in love with it!

Here is my card:

The only thing I changed from hers is the Rhinestones and the sentiment.  I love adding the gold Embossing powder to the sides of the Sentiment.  Take out your Versamark, touch each side of the Sentiment to it, then dip into the powder heat and you are all set!

Here are the specifics to make this card:

PROJECT 3: Hello
Stamp Sets Pg #
Crackle Paint Occasions 44
Beauty Abounds Bundle 13
Paper
Bermuda Bay 8 1/2″ x 5 1/2″, 5 1/8″ x 3 7/8″ (x2)
Gold Foil 5 1/4″ x 4″
Black 5 1/4″ x 4″
Very Vanilla scrap
Black Foil 5 1/2″ x 4″
Inks
Memento Black
Versamark
Blend: Bermuda Bay Dk
Accessories
Tea Room Ribbon
Rhinestones
Dimensionals
Embossing buddy/Gold Embossing powder/heat tool
Fine tip Glue Pen OR Green Glue (Tombo)
Glue Dots

As Always, if you purchase from me, you will get a gift!  I would LOVE to be your Demonstrator, if you would like to see what I do……you can check out my YouTube Channel and see if we are a good fit!

Below are pictures of each of the supplies used for this project, click on any photo to be taken to my OnLine Store!

Thank you for stopping by!

Lisa Tedder
A California Girl living in North Carolina

Product List

Sneak Peek!! Amazing Life

Hey Guys!

Sorry it’s been a couple weeks, ok maybe longer…… I went to Orlando to attend the Stampin’ Up! ON Stage get together that SU! Demo’s attend.  I had such a great time! It was great rooming with my ‘SU! Besties’ (my girl friends and I only meet up at SU! functions) and learning/seeing all the new things coming out in January!!  I then spent a week with my Husband in Orlando for our 30th Anniversary!  The bummer is that I got sick the day after he got there. 🙁  I am STILL sick, and it’s been a MONTH!  Hence the reason why I haven’t been posting!

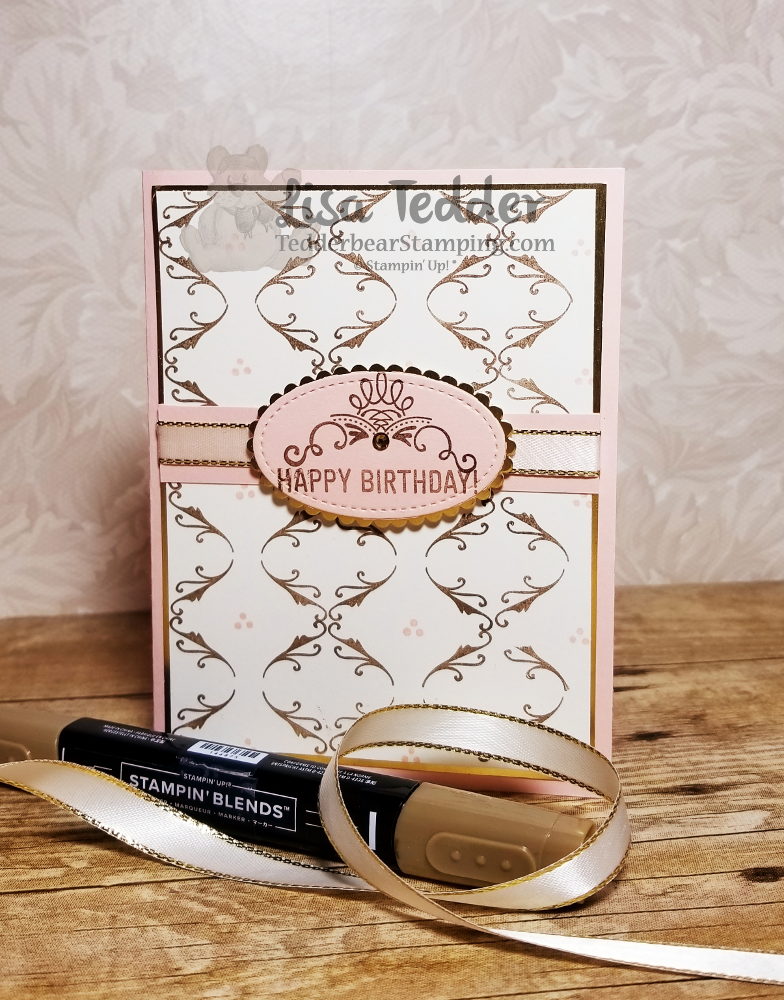
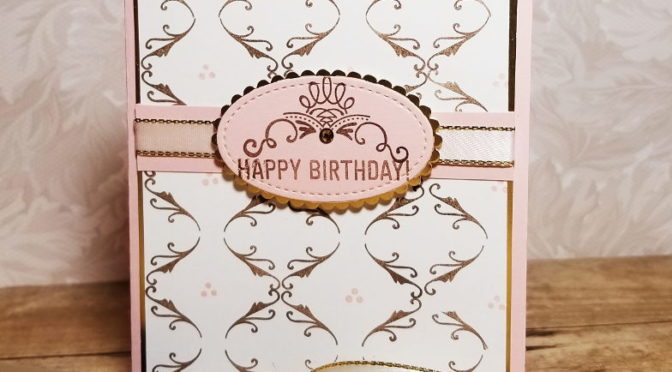
The card I am sharing with you today is from a stamp (Amazing Life) that we got for FREE while at OnStage!   I came up with this all on my own!!  I LOVE making my own designs, but time allowances don’t always make it to where I can do it.

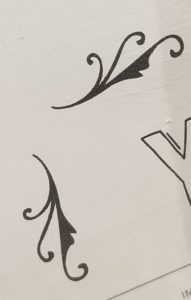
I used this stamp from the set:

Doesn’t look like much right?

Well, I stamped it along the bottom with the two swirls going down, in Soft Suede ink. Repeated it along the bottom, lining up the swirls so they touched, then flipped the stamp over and lined up the two lines that are in the middle of the stamp.  I repeated this on top of the ones I stamped along the bottom and then flipped the stamp so the swirls were on the bottom again, and started all over to make a pattern!

After making the pattern, I stamped the 3 dot stamp in Petal Pink between the stamped pattern.  Don’t you LOVE how it came out!?  I was so tickled to see the beautiful pattern that this stamp made!!  If you watch the video I made you can see how It was done, if this doesn’t make sense.  I used other stamps for other designs, so be sure and check it out!

Here are the particulars for this card:

Paper
Petal Pink 8 1/2″ x 5 1/2″, 3/4″ x 3 7/8″, scrap
Gold Foil 4″ x 5 1/4″ (x2), scrap
Vanilla 5 1/8″ x 3 7/8″ (x2)
Inks
Soft Suede
Petal Pink
Versamark
Blend: Soft Suede dk, Petal Pink light
Accessories
Big Shot
Layering Ovals
Stitched Shapes
3/8″ Gold edged ribbon
Rhinestones
Gold EP/ embossing buddy/heat tool

If you live in the US and are in need of a Demonstrator with Stampin’ Up! I would love to be yours!  If you are looking into joining SU!, join my team!  We have a lot of fun and I would love to have you be part of my SU! family!

I hope you enjoyed this post, please leave me a comment below and let me know what you thought!

Check back, now that I am getting better I will be posting more!

Below are pictures of everything I used in the card, click on any of the pictures and you will be taken to my OnLine Store!

Lisa Tedder
A California Girl living in North Carolina

Product List

Christmas Card #8 Dashing Deer Holiday Catalog

Hey Guys!,

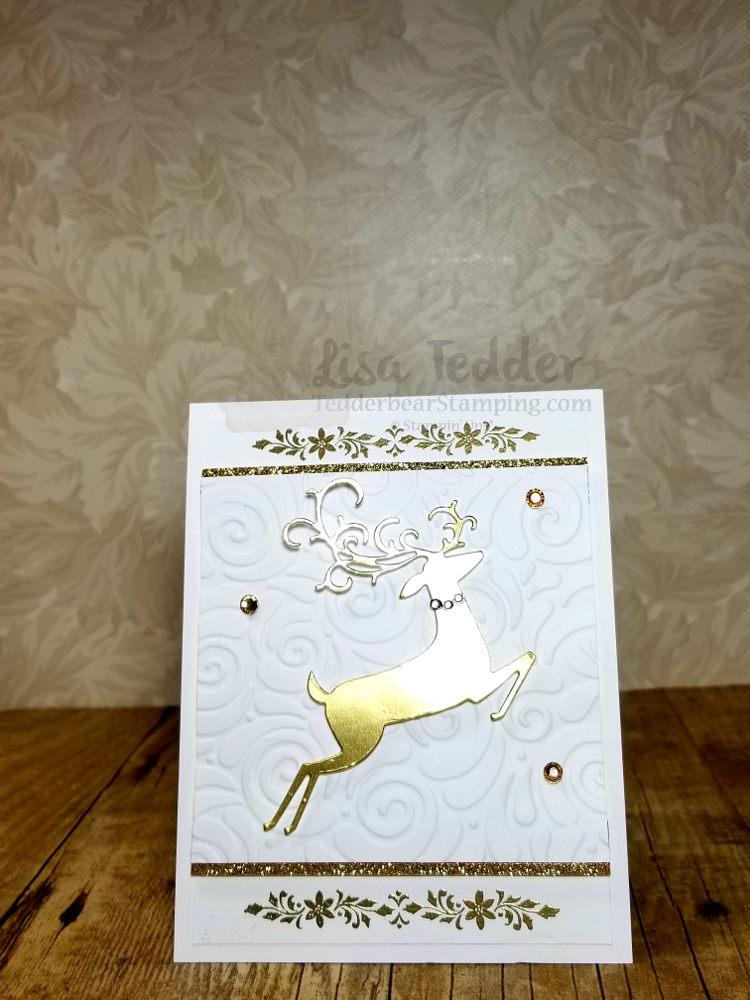
When I got the Holiday Catalog by Stampin’ Up!, the first card I wanted to do was this one!  It is soooooo pretty!!

I used once again the Embossing Folder Swirls & Curls.  I didn’t think I wanted this folder, but once I saw it, I HAD to have it!  This folder is one that does the deeper impressions, and it is stunning!

I’m not sure if you know this, but SU! Blends color our Rhinestones and you can have your jewels match your project now!

Here are the specifics for this card:

Stamp sets: Dashing Deer
Ink: Versamark
Cardstock: Whisper White Thick 4 ¼” x 11, 3 7/8” x 3 ¾”,
3 7/8” x 5 1/8” (x2), Gold Glimmer ½” x 3 7/8” (x2)
Misc: Gold Embossing Powder, Embossing Buddy, Heat tool, Rhinestones, Bronze Blend, Dimensionals, Swirls & Curls Embossing Folder

Below are pictures of the supplies used, click on any picture and you will be taken to my Online Store!  I would love to be your SU! Demonstrator if you live in the US!

Lisa Tedder
A California girl living in North Carolina
Product List


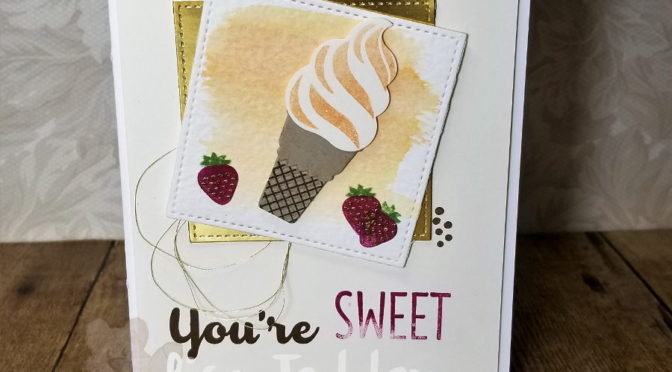
Cool Treats – Get yours before it’s gone!

Hey Guys!

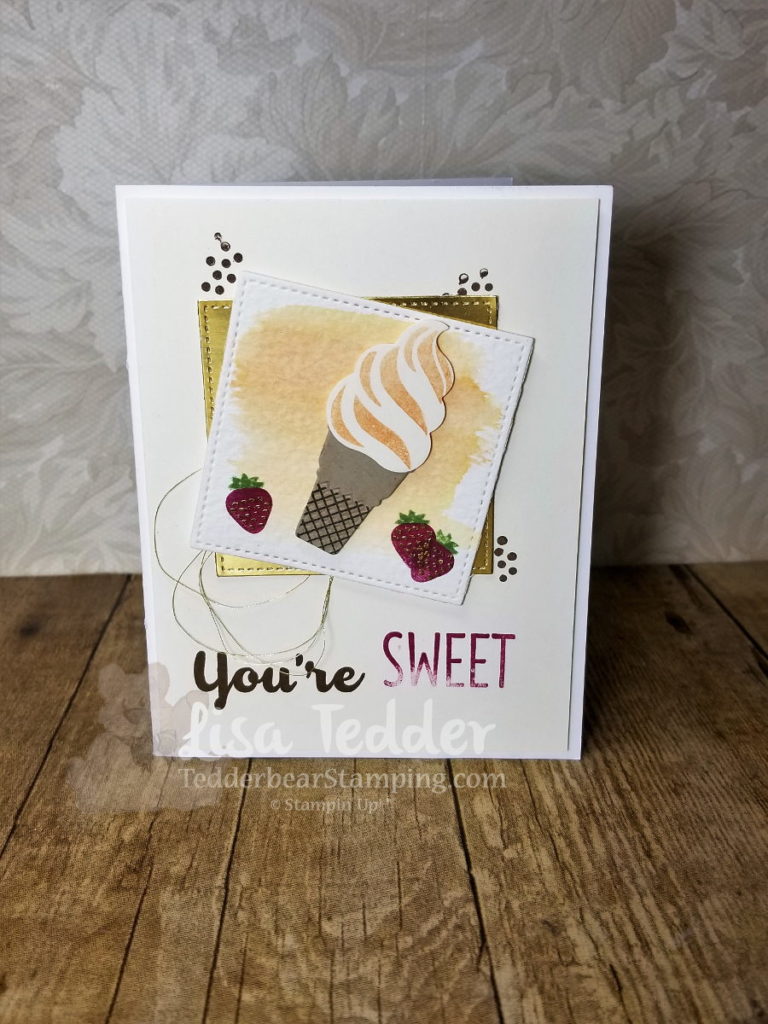
I was perusing Pinterest and saw this Beautiful card by Robin Feicht.  I loved it so much I CASE’d it just like it was!

Here is my card:

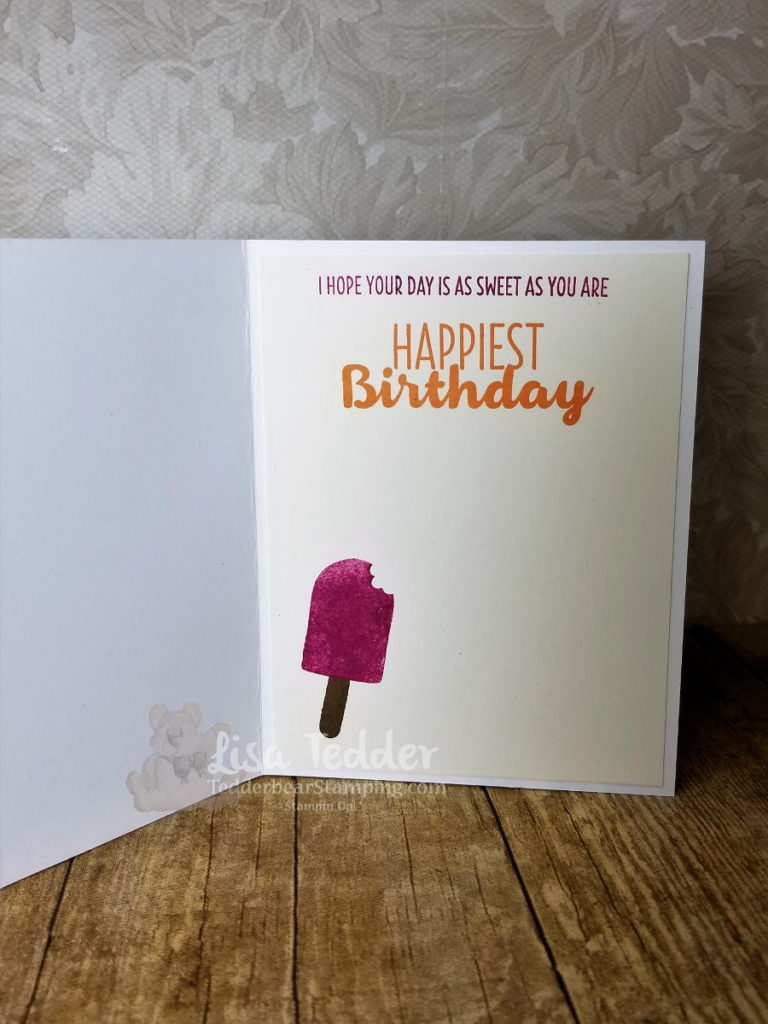
Here is the inside:

She didn’t show her inside, so this is what I came up with.  I LOVE this set and am sad to see it go.  If you want this set, be sure to check out my OnLine Store to get yours!  Just click on any of the pictures below to be taken there!

Dimensions:
Whisper White 8 1/2″ x 5 1/2″
Very Vanilla 5 1/4″ x 4″ (x2)
Watercolor paper 2 3/4″ sq then cut out with biggest Square (stitched shapes)
Gold Foil same as watercolor paper

I hope you enjoyed my card, if you are in the neighborhood of Kernersville NC, come attend a class!

Lisa Tedder
A California girl living in NC
Product List


Painting with Brusho!

Hey Guys!

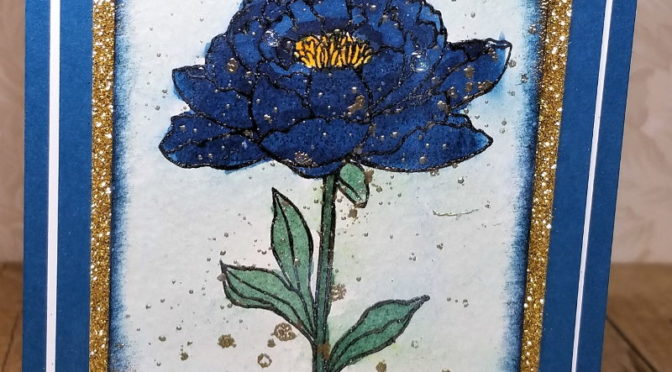
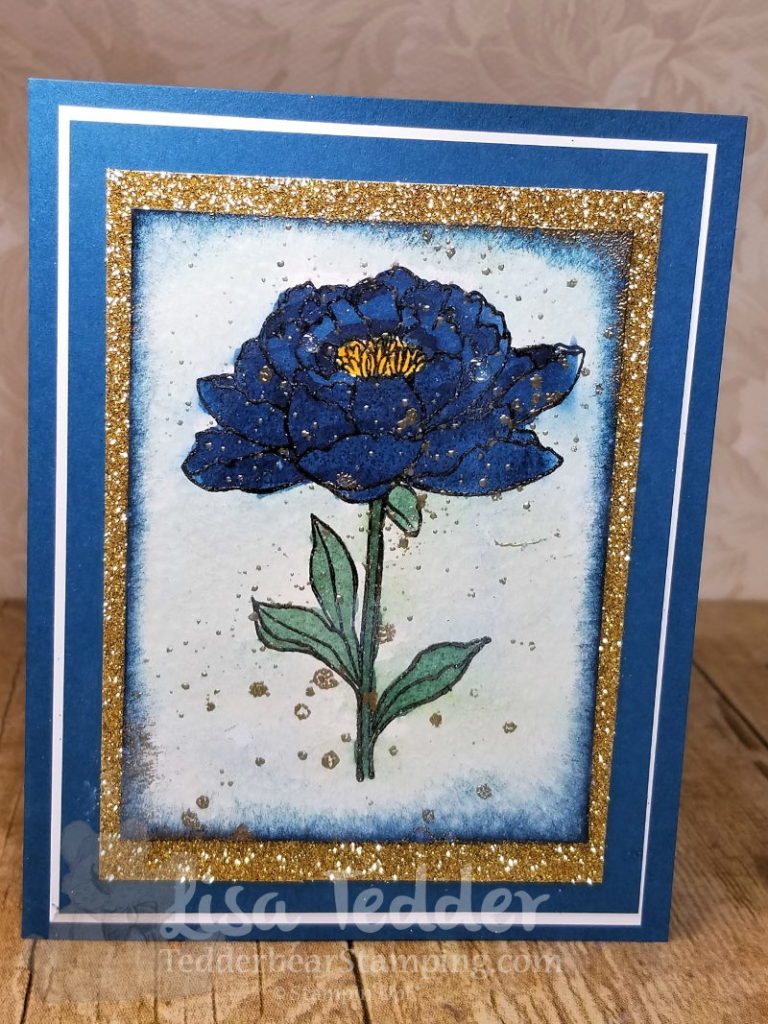
Today is Tuesday so that means I have a new video to offer you!!   I wanted to show how easy it is to paint with Brusho.  Brusho gives you such a vibrant color and I am now asking myself why haven’t I done this before!?

Here is the card I made:

Another great thing is that I can make my own colors!  Just mix the yellow with the blue and get a nice green…..add more of one than the other and the hue changes!  I can’t wait to see what colors I can make!

Here are the dimensions to this card:

Dapper Denim 8 1/2″ x 5 1/2″, 3 3/4″ x 5″
Whisper White 3 7/8″ x 5 1/8″
Gold Glimmer Paper 3 1/4″ x 4 1/4″
Watercolor paper 3″ x 4″

I hope that this card encourages you to  try the Brusho!

Thank you for stopping by, I hope you continue to touch base with me!  I enjoy making handmade cards and I hope that I inspire you to do the same!

Below is pictures of the items used for this project, click on any picture and you will be taken to my OnLine Store!

Lisa Tedder
A California Girl living in North Carolina

Card #6 – Christmas Cards

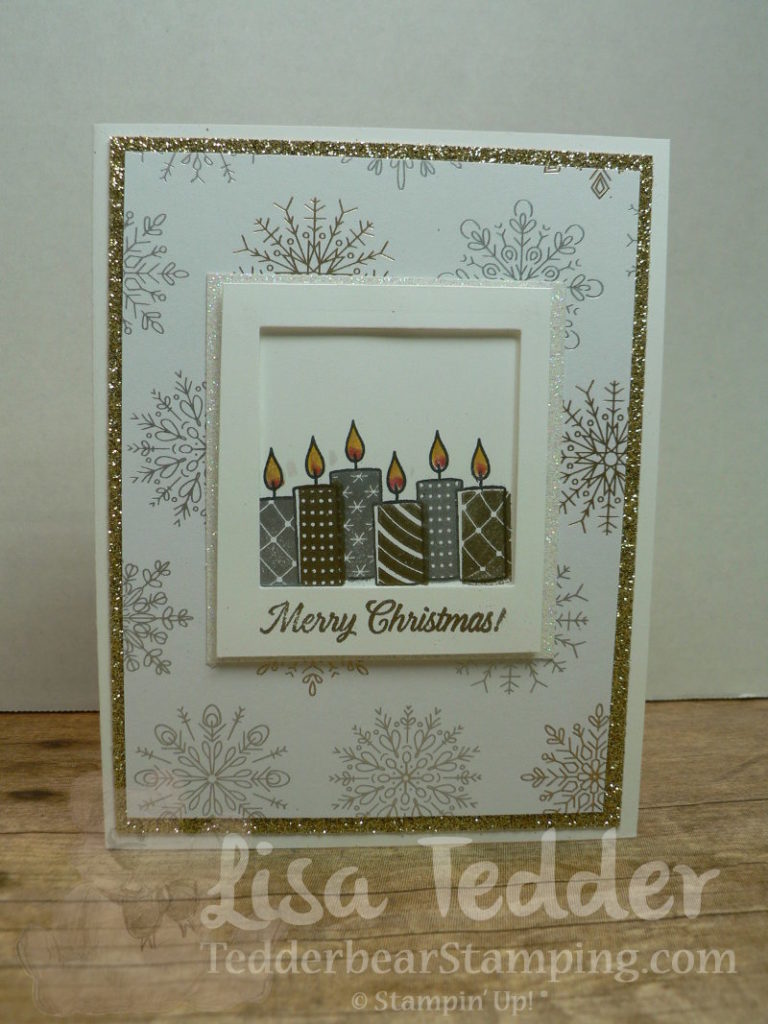
I’m on card # 6, I hope you have enjoyed all the other Christmas cards!


This one like card #1 is very sparkly and Gorgeous in person!  I hope you can see in this picture how pretty it is!!

If you are interested in my 7 page Tutorial for all 6 of my Christmas cards with instructions, dimensions and color photos, you only need to purchase $50 from my OnLine Store and I will email you the pdf for you to enjoy!  Please use hostess code CGCDT6ZJ

The supplies used on this card can be found below, just click on any picture to be taken to my Store!  Unfortunately, the stamp set on this card is no longer available, but you might already have it!  It’s name is: Merry Patterns

‘Work’ is calling to me!  Gotta Run!  Check in next time for my next creation!

Lisa Tedder
A California Girl living in North Carolina
Product List

Tarnished Foil Technique

Hey Guys!

It’s been a while since I was last here!  Sorry, life got a bit busy.  I had my trip to Salt Lake City Utah for Stampin’ Up!’s OnStage event, and WOW I had so much fun! I met up with my SU! Besties and we room together every time!

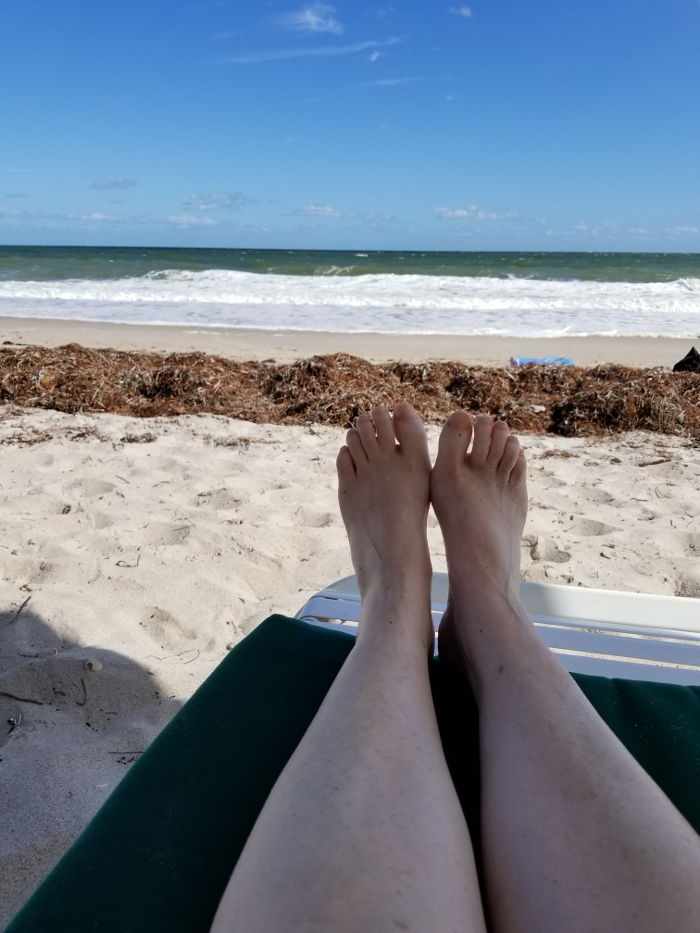
I came home and 4 days later we went to Vero Beach for a much needed break!  It was so nice to sit and read on the beach!!  I was under the umbrella and the only thing that would have totally made it better was to have a Beach Boy bring me some drinks!  hahaha

Now I am home and I jumped right back in to my ‘work’.  I put the apostrophes there because I have so much fun creating it is sometimes hard to remember that I get PAID!  Love my job, if you want to join my team, just let me know!

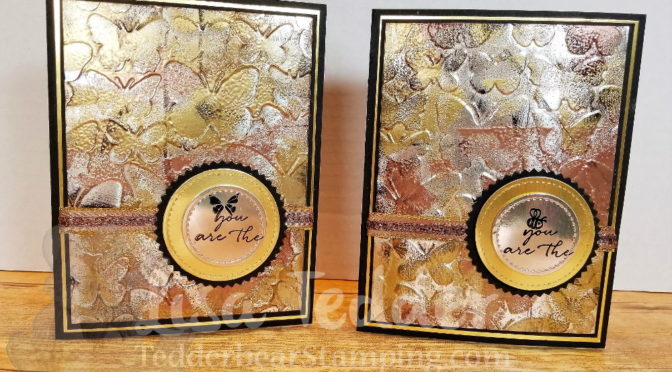
On to the Tarnished Foil technique, thanks to my Besties Carol and Hetty for telling me all about it!  I HAD to come home and try my hand at it!

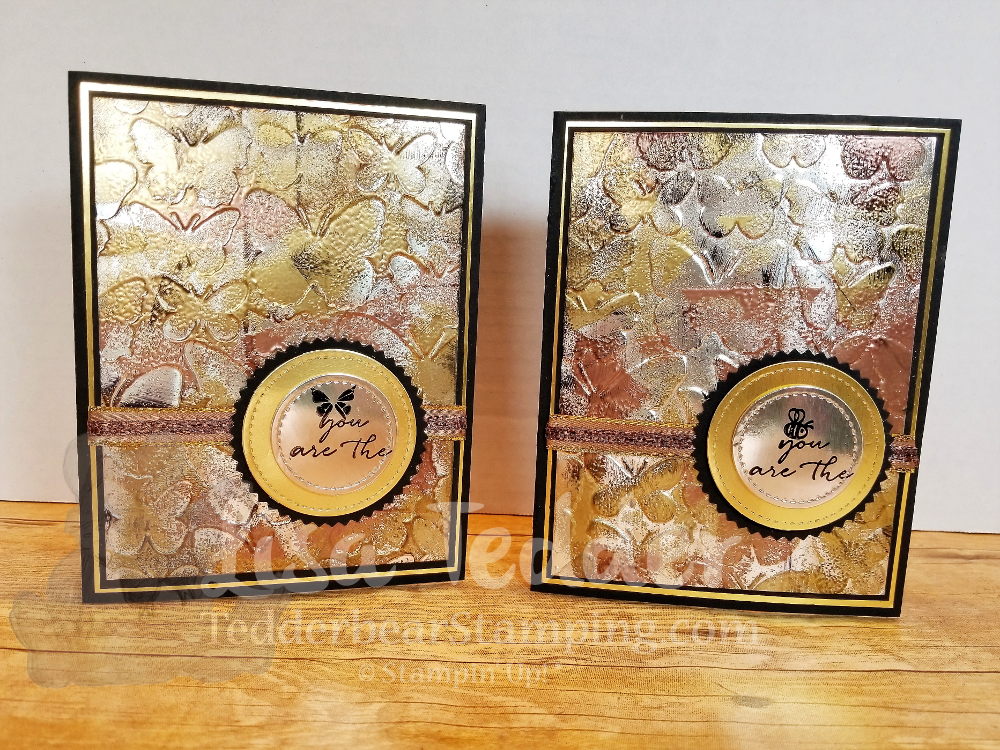
Here are the cards I did on my YouTube video:

Aren’t they stunning?!!  This is a fun and easy technique and no two are alike!  I Love stacking my ribbons, can you see it?  I ‘colored’ my gold edged ribbon with the Bronze Stampin’ Blends so it would go with my project and stacked it with the copper ribbon!  Go check out my video for all the dimensions.

I hope if you live in the States you choose me as your demonstrator!  IF you purchase from me, I will send you one of my cards that I use for my videos!  Shop Now!

As always, the items used for this post are listed below, each picture will link you to my OnLine Store!  I DO have some SAB items for a sneak peek, can’t list them below, but the one I used is called Happy Wishes, and I KNOW you will want it as much as I did!

I’m back to my ‘work’, I am making my Christmas cards, I’ll share those with you next time!!

Lisa Tedder
A California girl living in North Carolina

Product List

Wanna WOW your friends card for Kylie’s July International Blog Hop

It’s that time again!  I’m competing once again in Kylie’s International Blog Hop!  Please go vote for me!!  Click here to vote.  
To vote, click on the heart in my picture #11, and your vote will count!
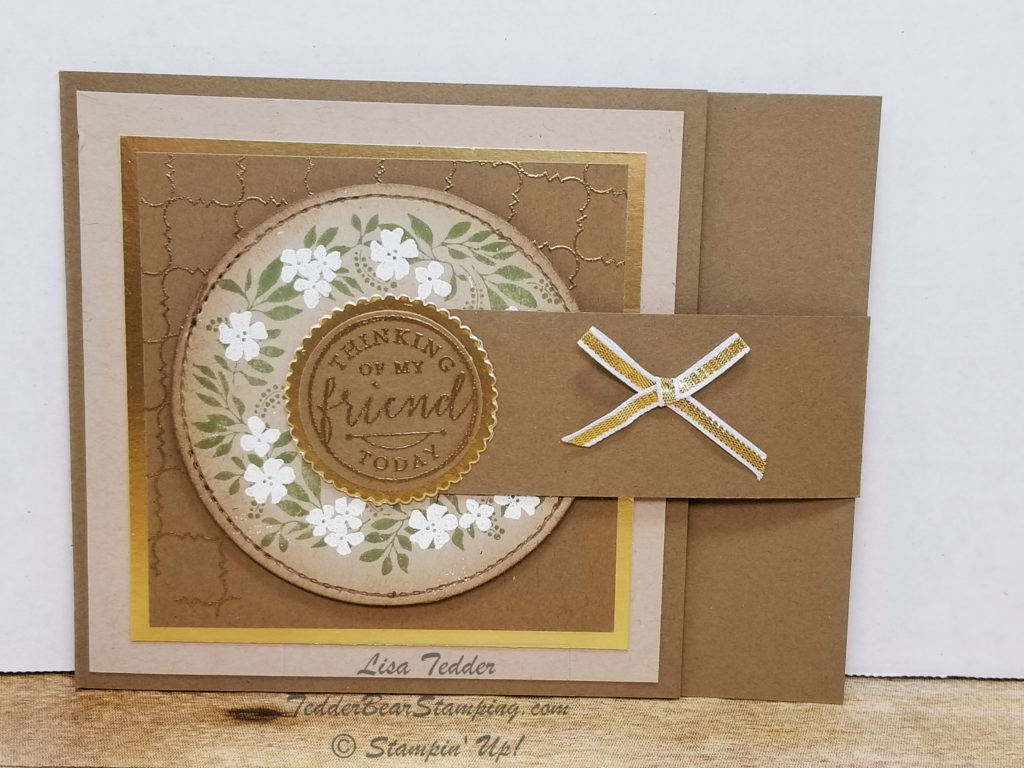
The theme this month is Gratitude!  Here is my card:

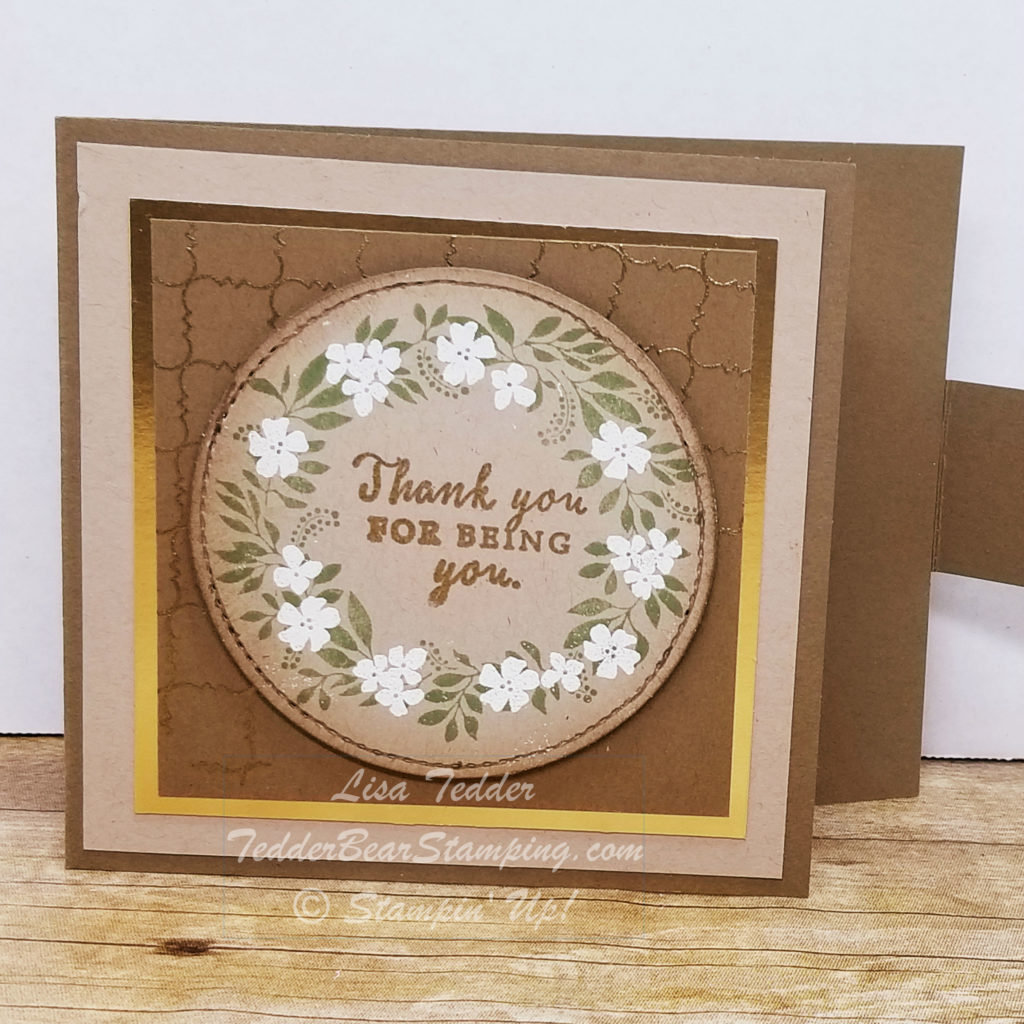
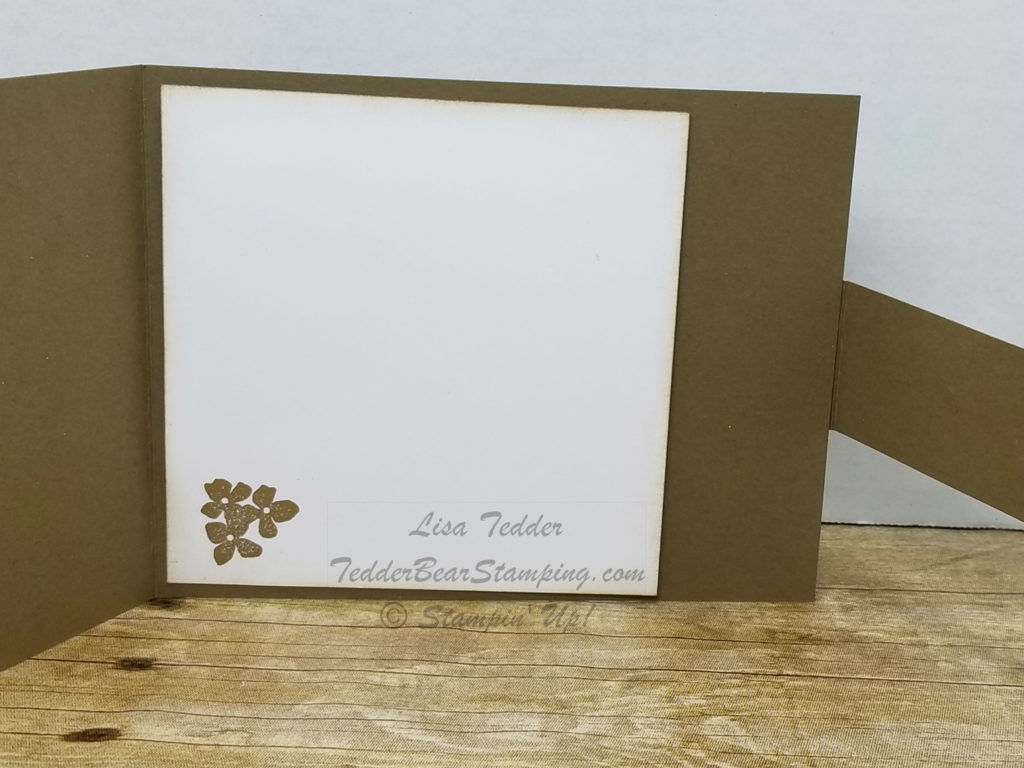
This is a FUN card!  I was inspired by BJ Peters, she used this idea but with Eastern Elegance, you can find her card here.   I was thinking of other stamp sets from Stampin’ Up! that could be used with this idea of the front flap opening to reveal a sentiment.  This is the set that I thought of!   Once you pull back the flap, here is what you see:

The inside is a simple piece of cardstock:

What do you think?  Like it?  Here are the details so you can make it if you want!!

***********
Cardstock:
Soft Suede 4 1/4″ X 9 3/4″ scored at 4 1/4″, flap is: 1 1/4″ x 9″ scored at 5 1/2″, front piece: 3 1/4″ sq., scrap for front sentiment on flap.
Crumb Cake 4″ sq., 3 1/4″ sq. to stamp wreath on, cut with 3″ Stitched Circle Framelit.
Gold Foil 3 1/2″ sq. under Soft Suede, and 1 1/2″ scallop circle from Circle thinlits.
Whisper White 4″ sq. for inside.

Everything else is listed below, just click on the picture to go to my OnLine Store.  When you purchase from my OnLine Store, I will send you a nice Thank you card!

I hope you enjoyed this blog post, I REALLY loved making the card!  I love cards that interact, don’t you?
Please subscribe to my blog so you won’t miss out on any posts!

Lisa Tedder
TedderBearStamping
A California girl living in North Carolina

Product List