
I love going outside the box with Paper Pumpkin
Hey Guys!,
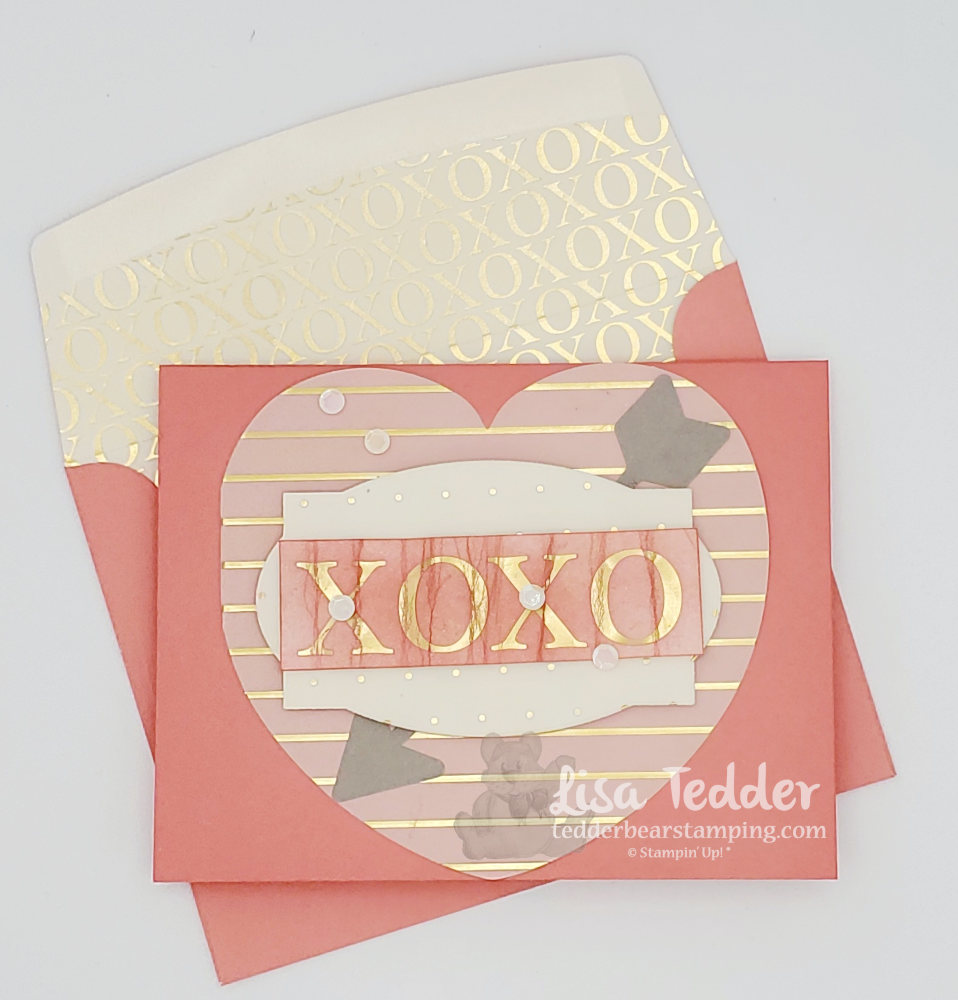
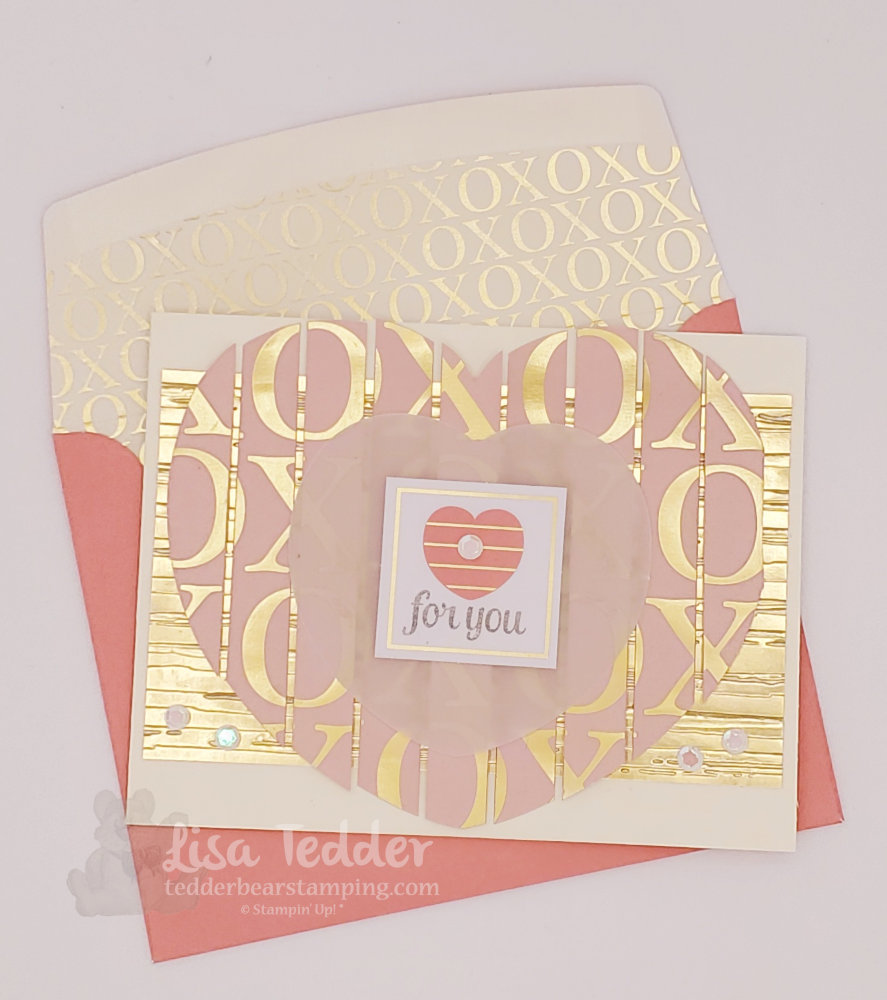
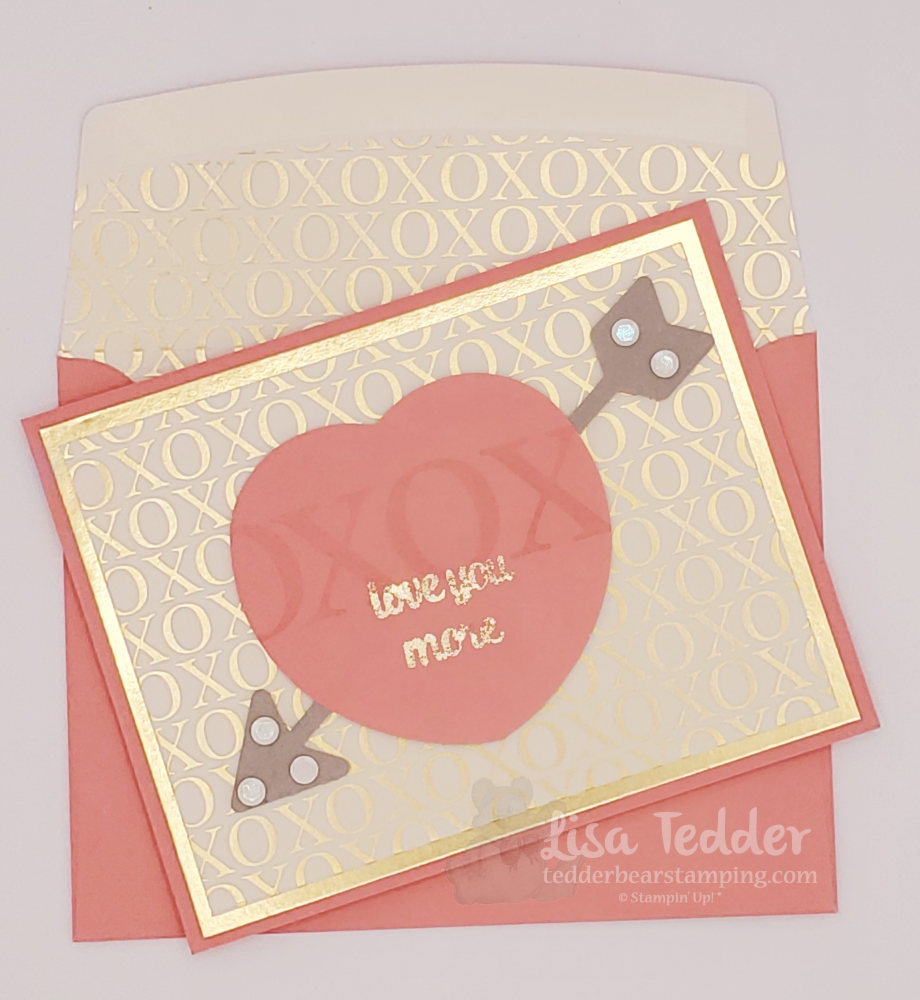
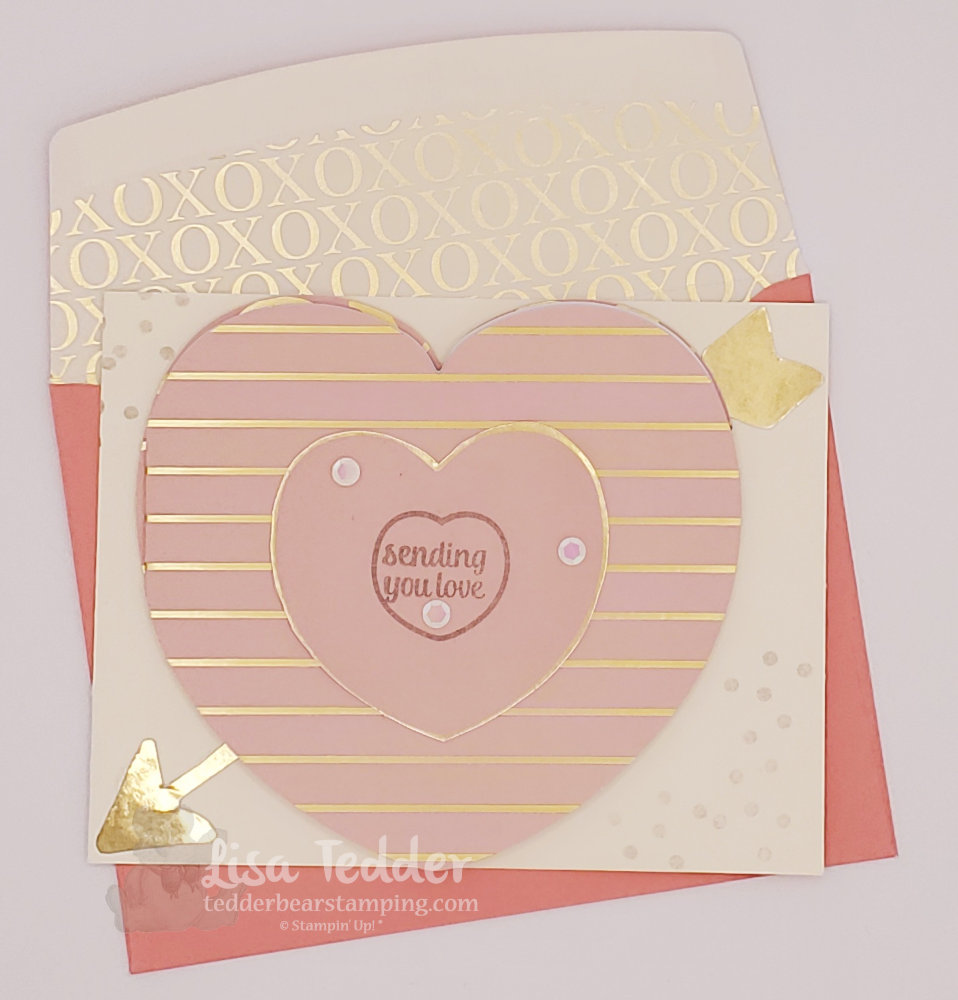
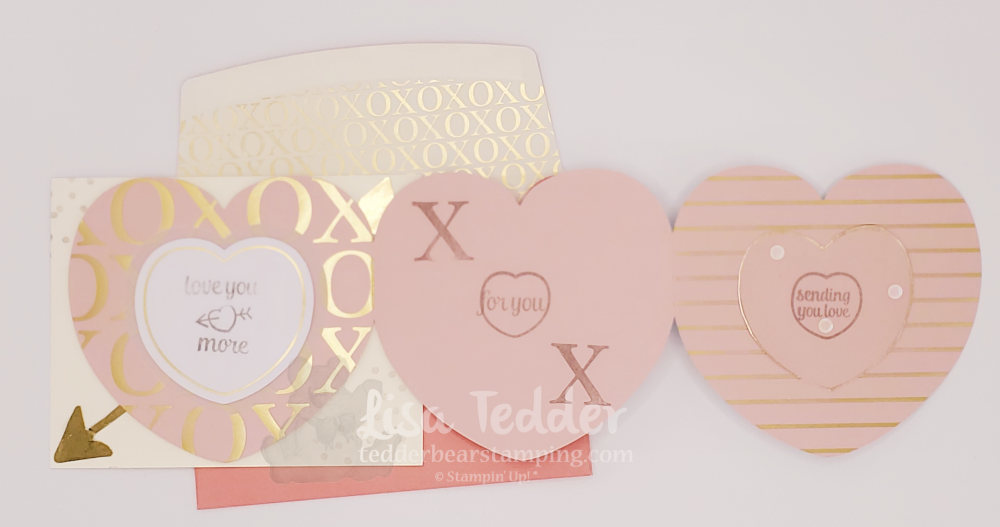
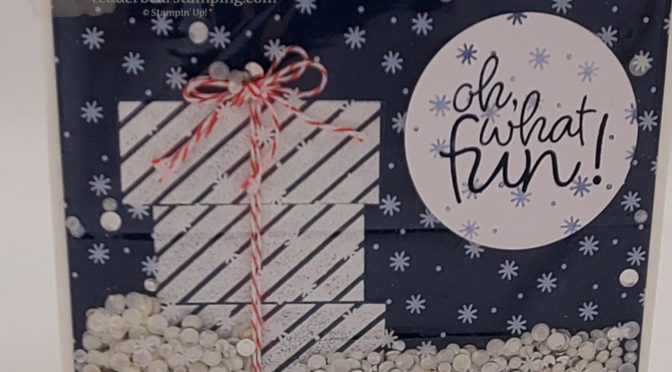
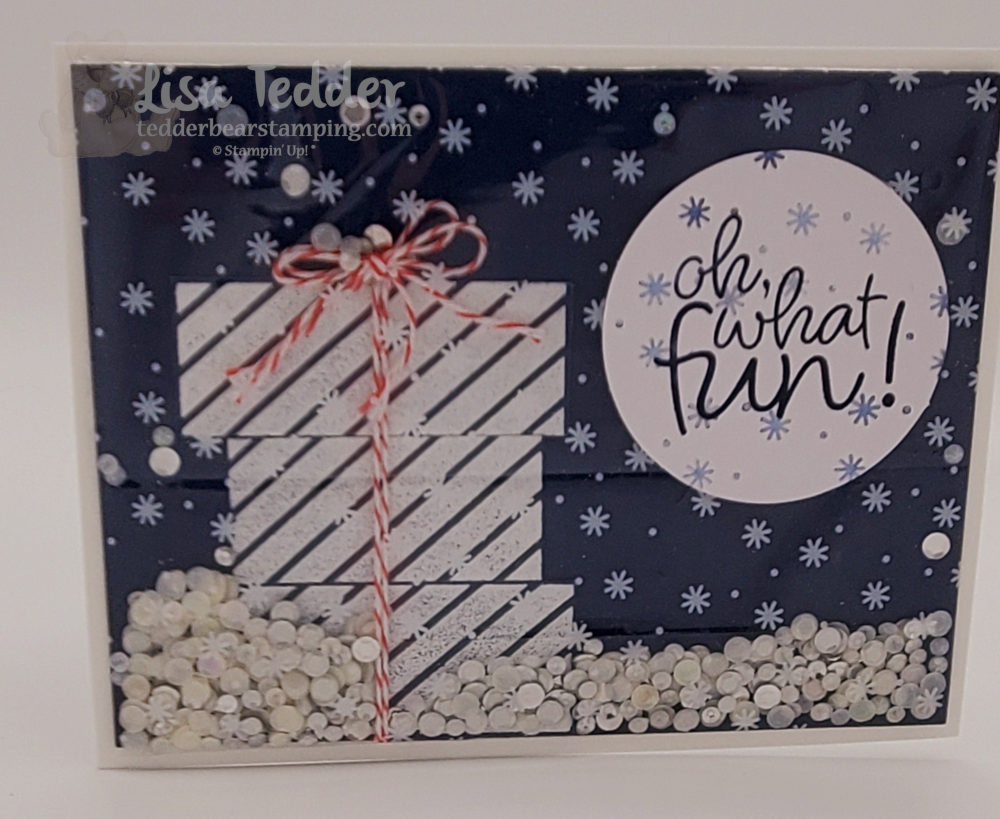
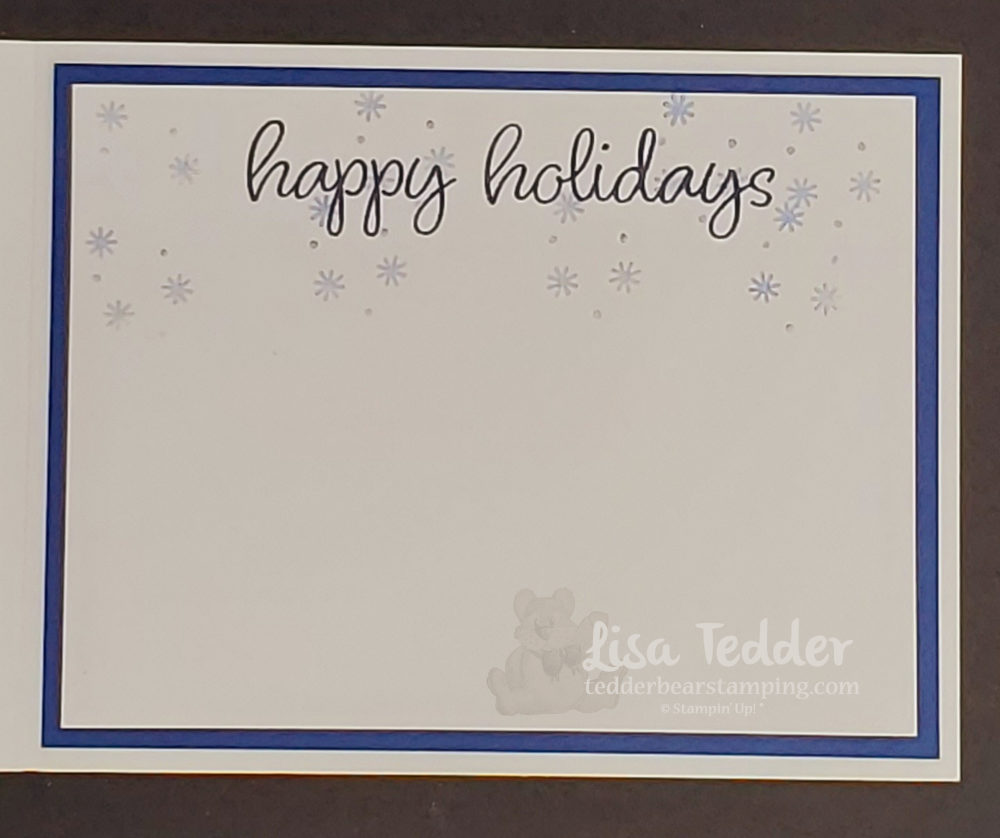
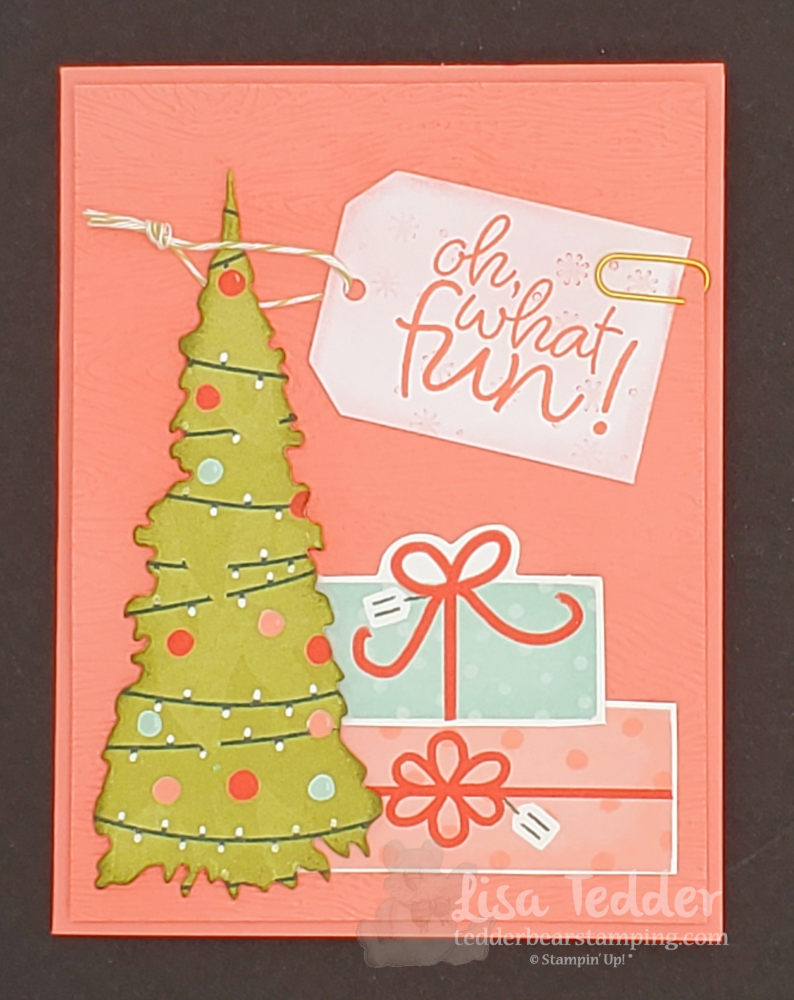
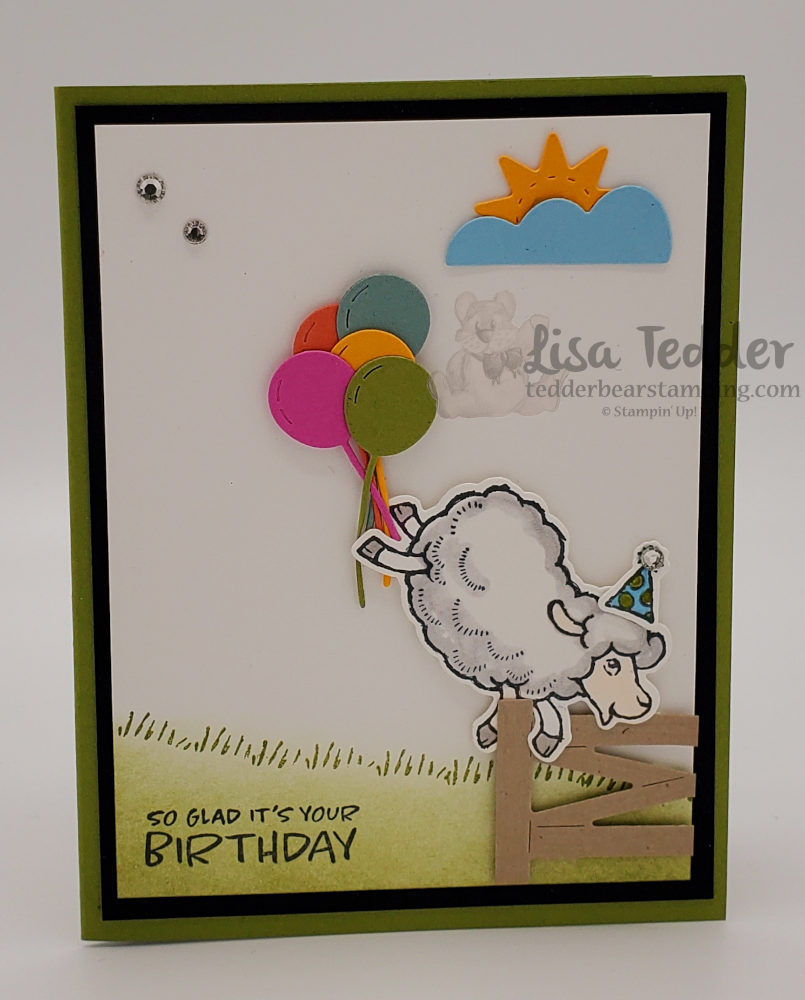
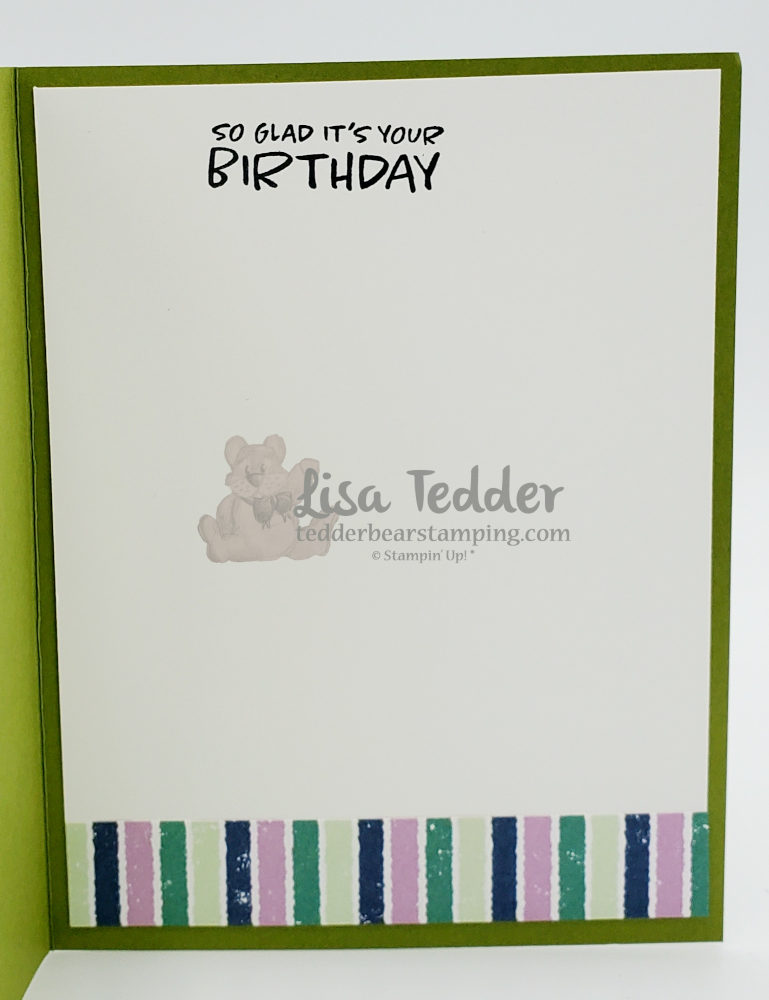
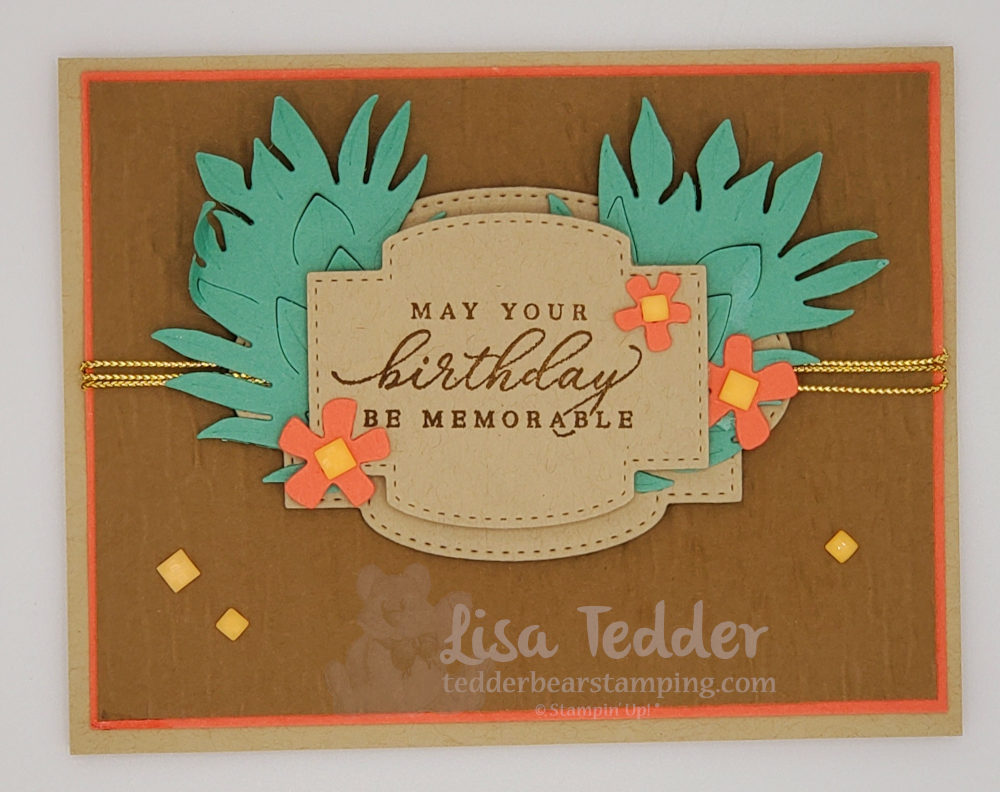
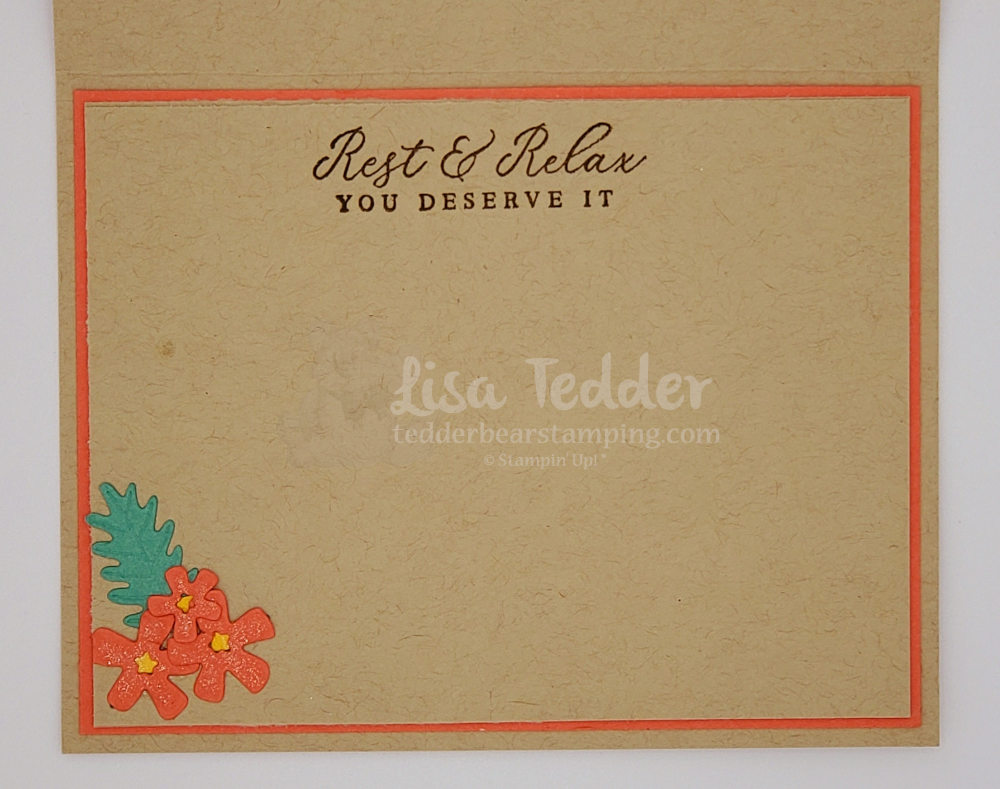
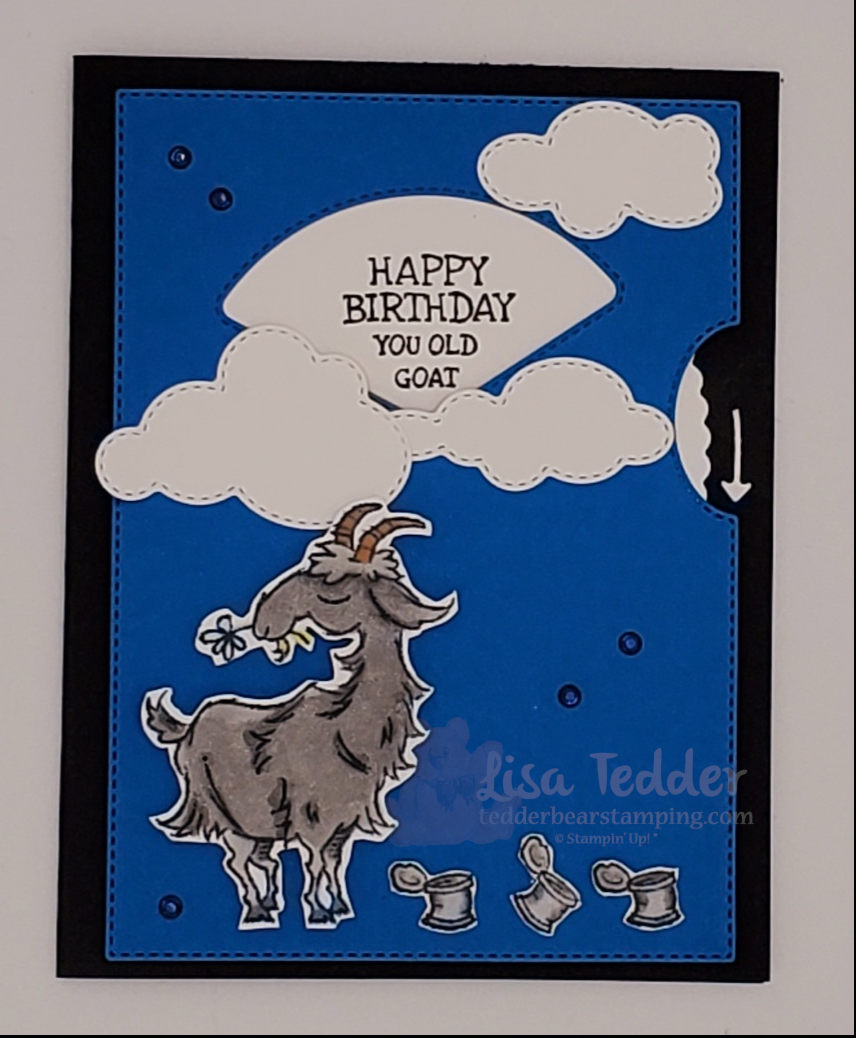
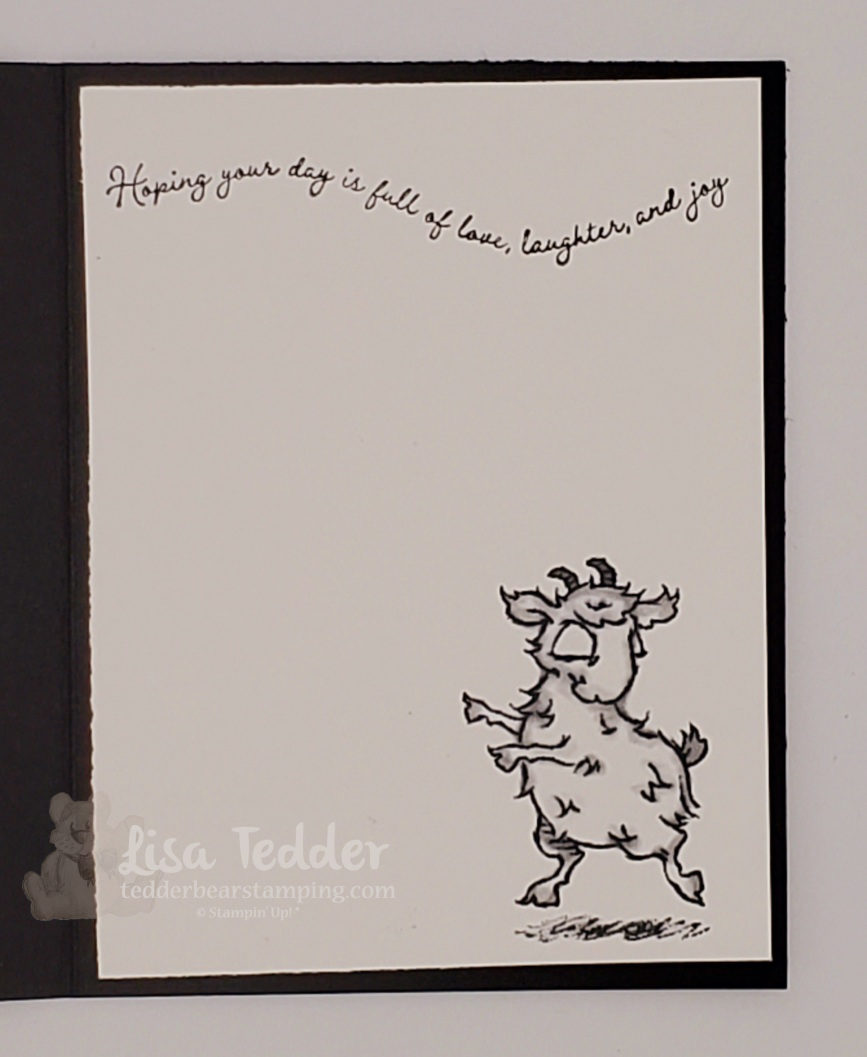
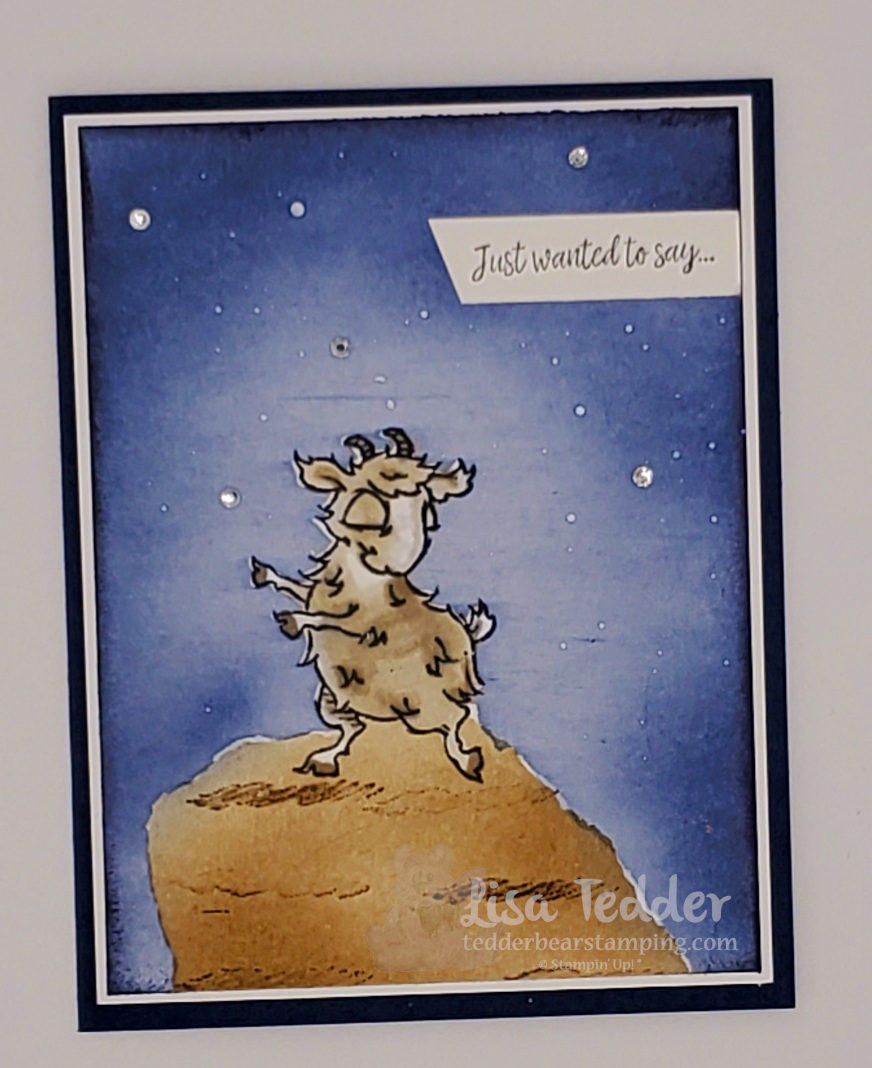
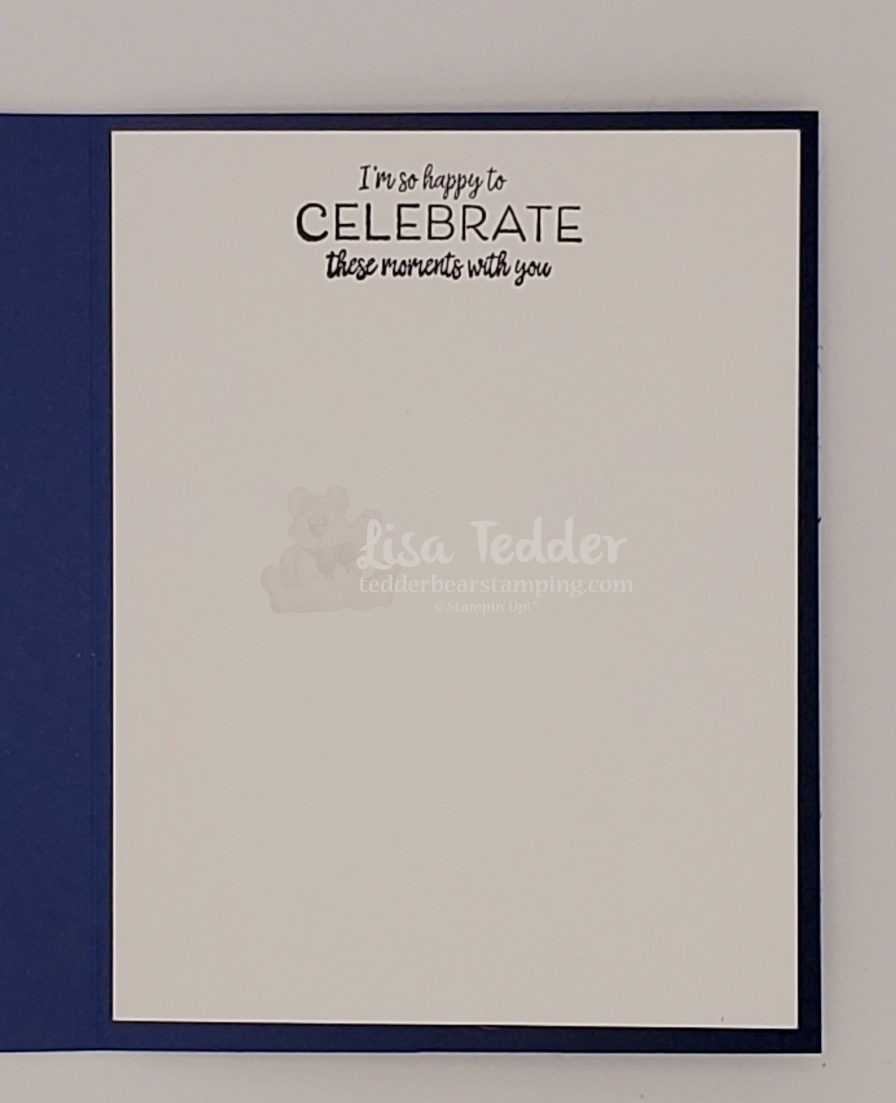
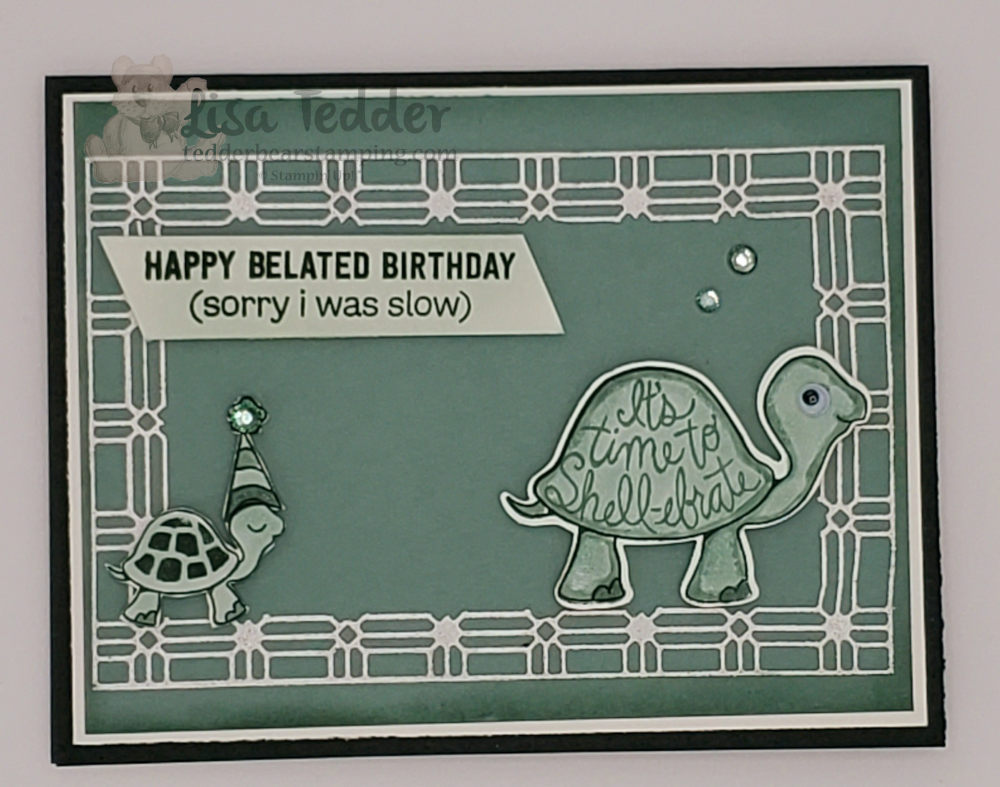
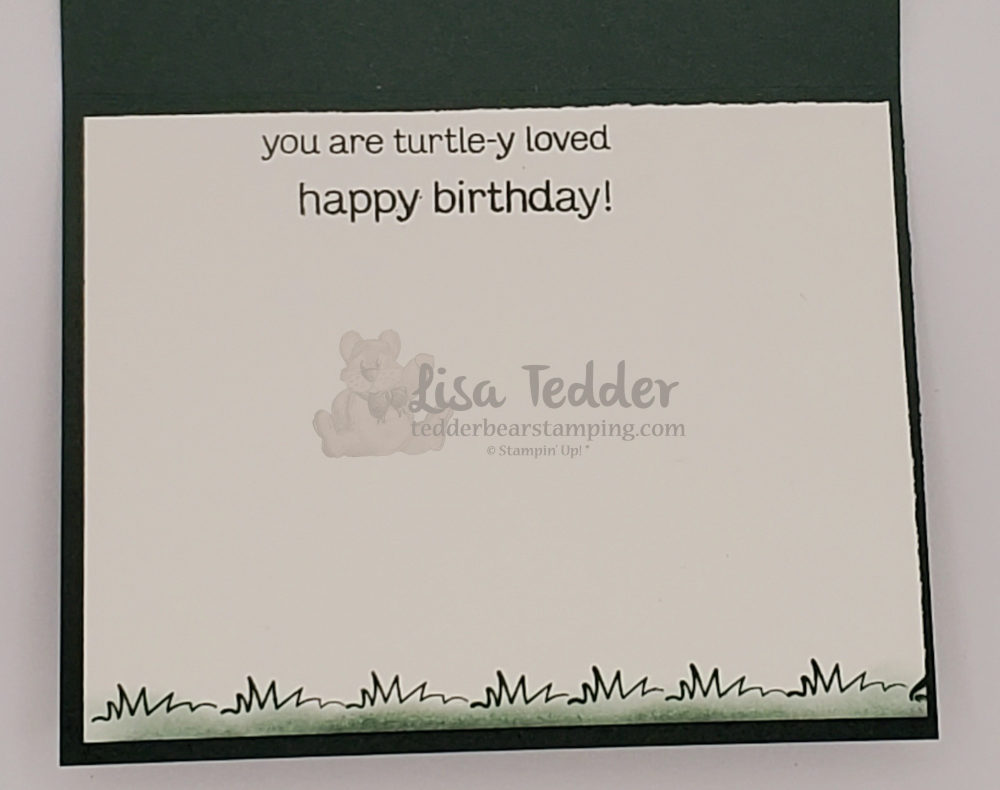
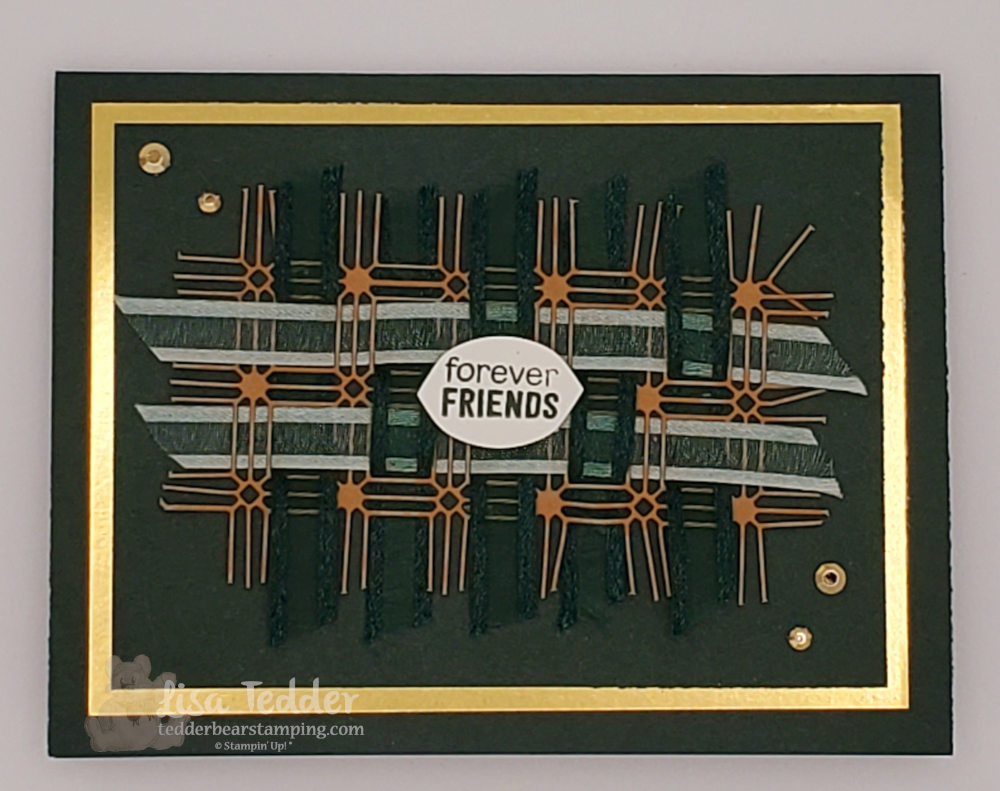
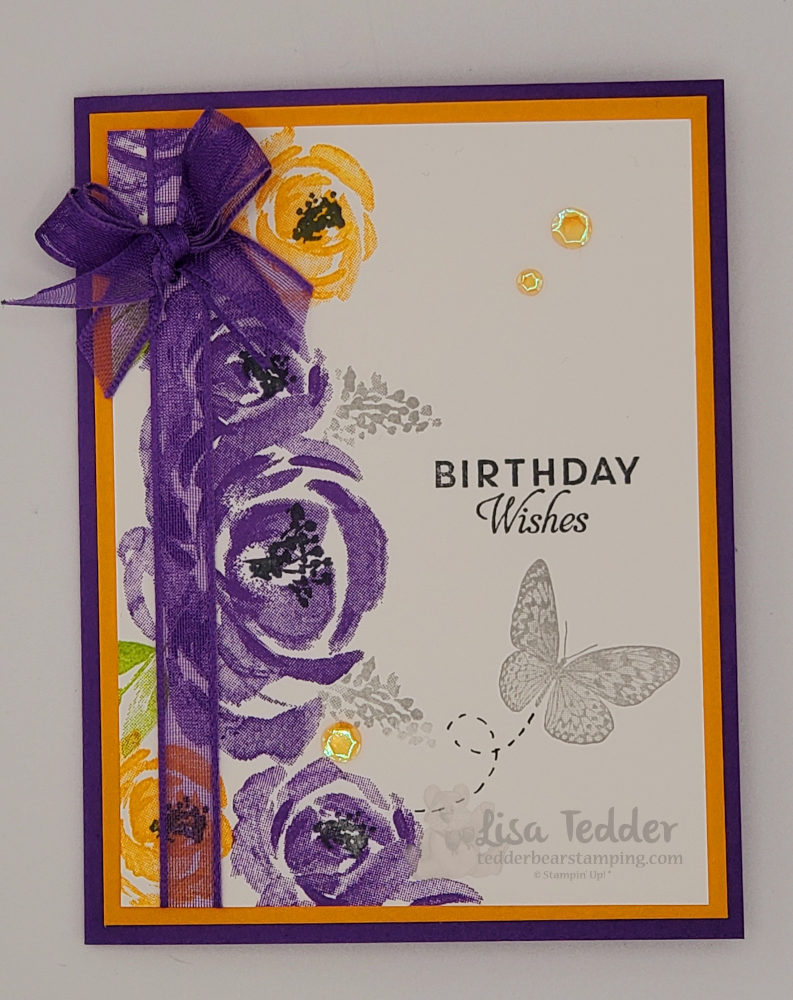
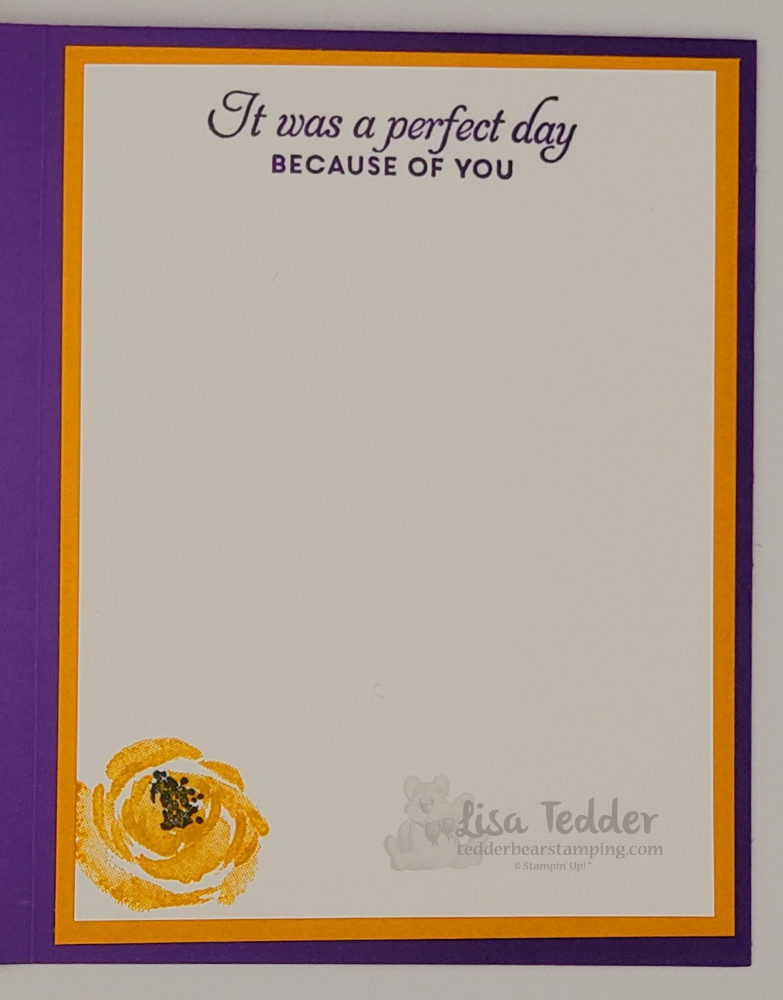
Basically today I am sharing with you Paper Pumpkin outside the box Hugs & Kisses Alternates! Of course I love going outside the box when I make projects using Paper Pumpkin. Consequently, I am excited to share them with you! Undoubtedly I try as hard as I can to make my alternates my own. At times I go onto Pinterest and get some ideas thus I take one or two to create mine, but this time I didn’t go and LOOK, consequently I did what popped in my head! Different from previous months, I came up with four cards, which I am very happy with, overall I hope you love them too! As always, I did a Live video on YouTube, thus while doing my weekly Live I send out two cards for those who watch Live!
As has been noted, I have gone ‘outside the box’ therefore it is time to show you what I have made!
Stamps:
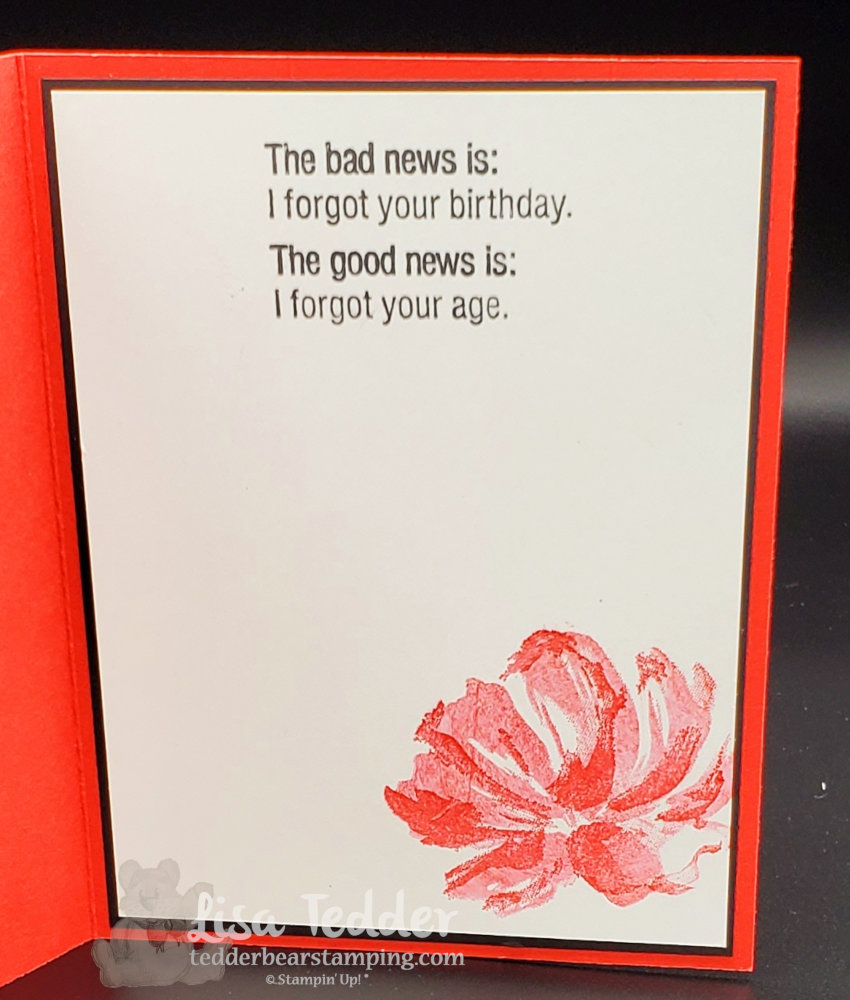
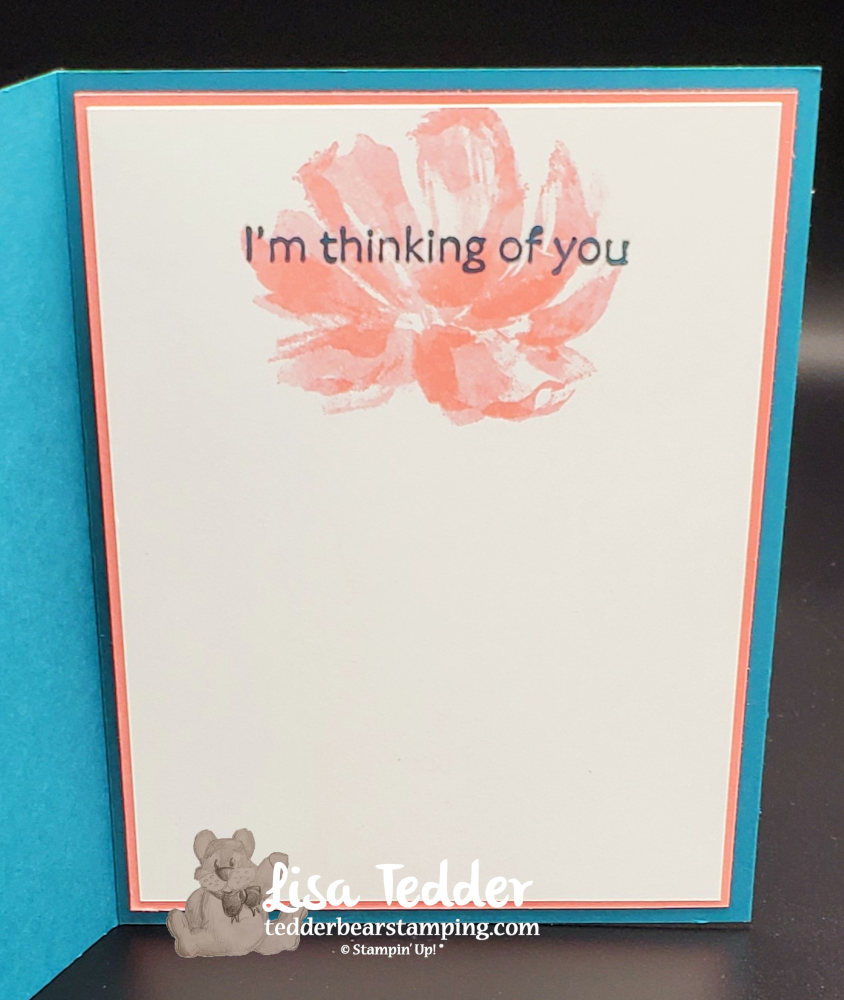
- Hugs & Kisses
Inks:
- Gray Granite (included in Box)
- Flirty Flamingo
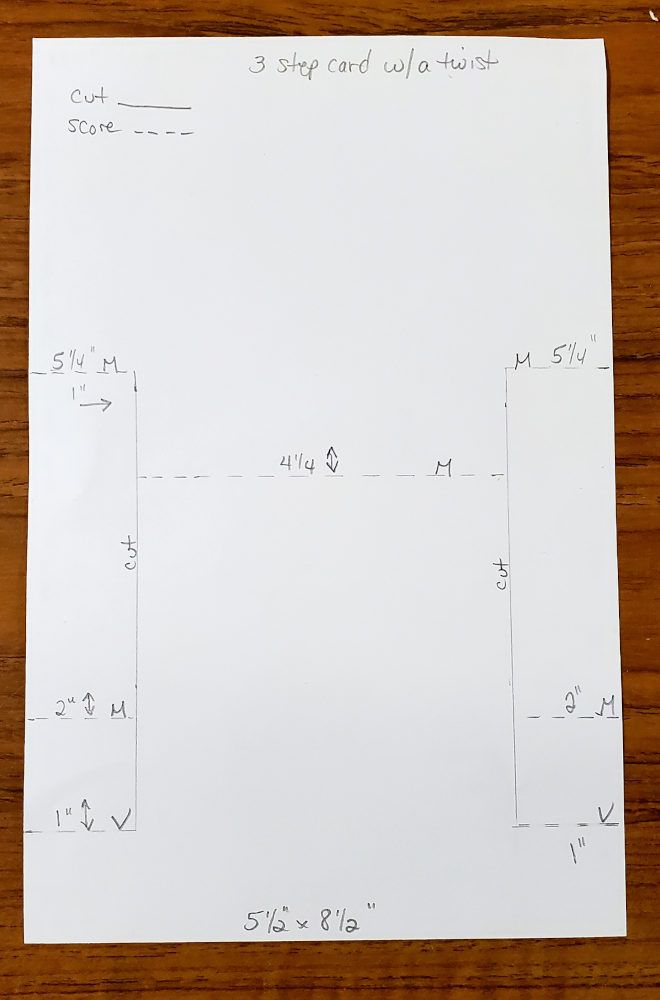
Paper/Card 1(extra that I added)
- Flirty Flamingo 5 1/2″ x 8 1/2″ scored at 4 1/4″
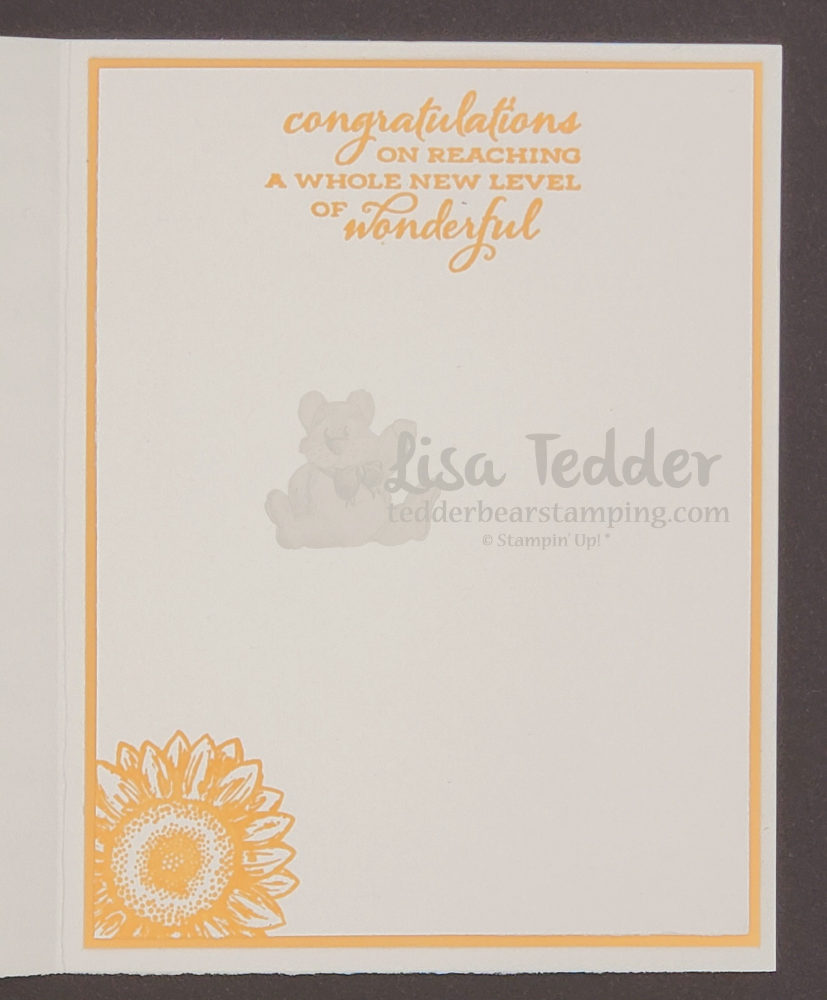
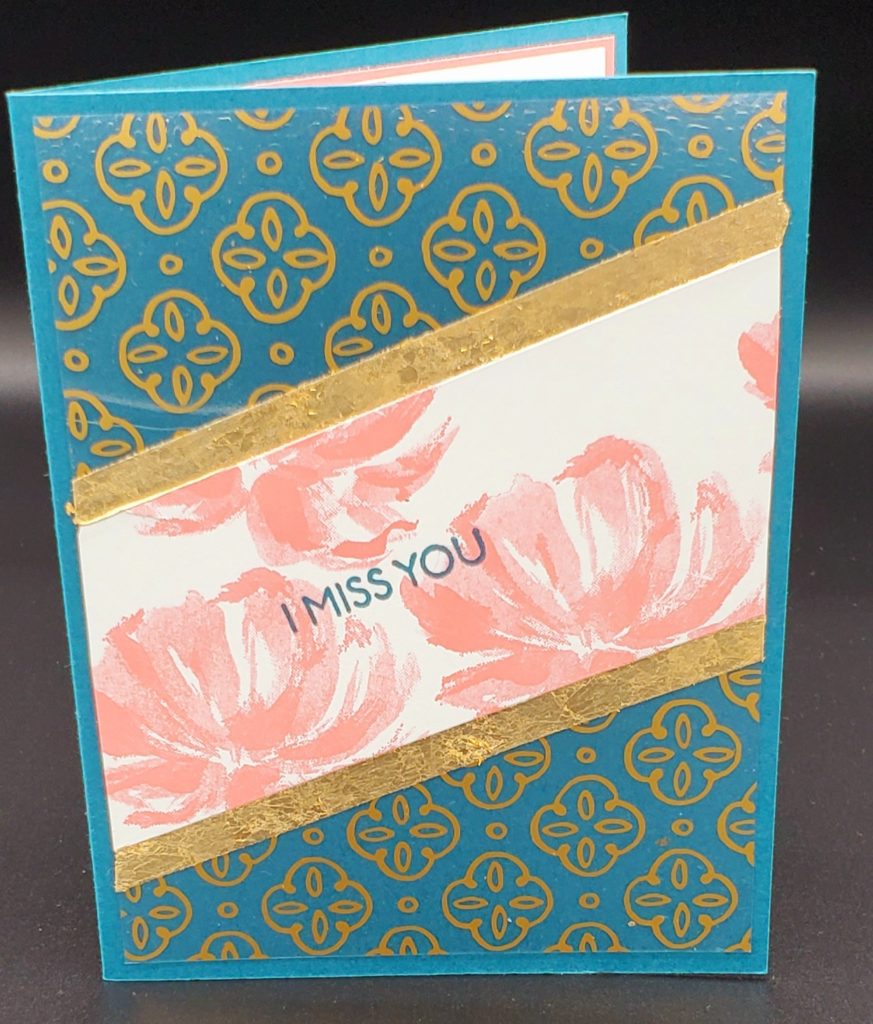
Paper/Card 2
- Very Vanilla 4 1/4″ x 11″ scored at 5 1/2″, however you can use Thick if desired
- Gold Foil 3 1/4″ x 5 1/4″
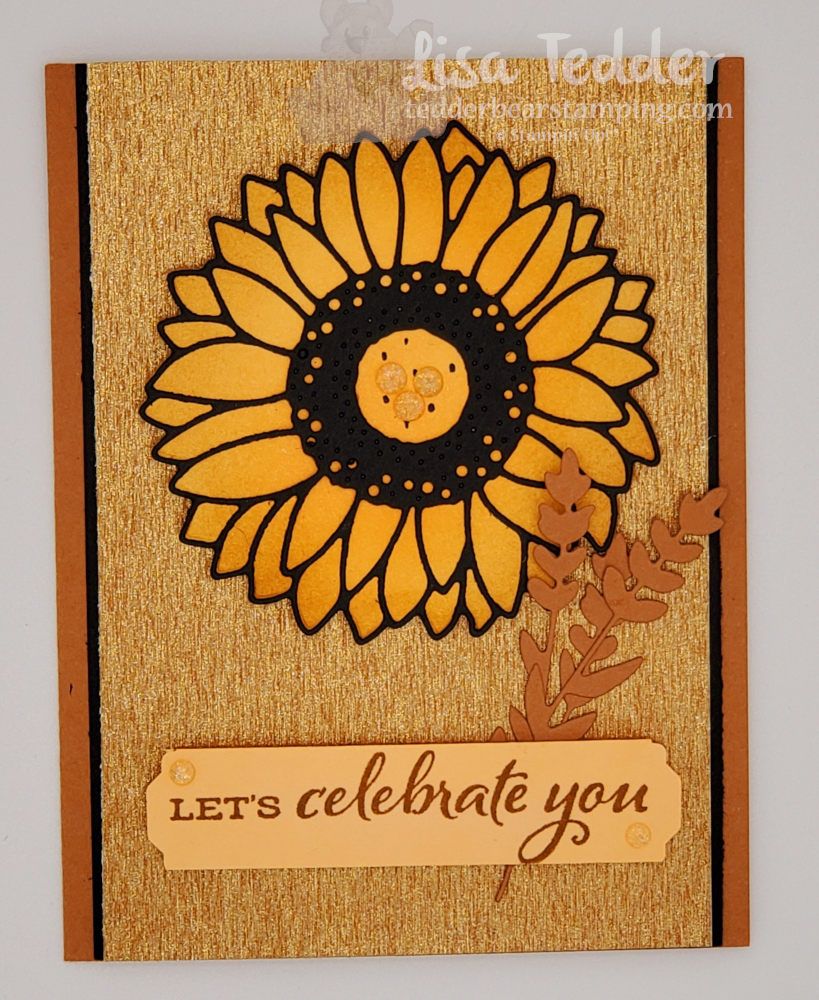
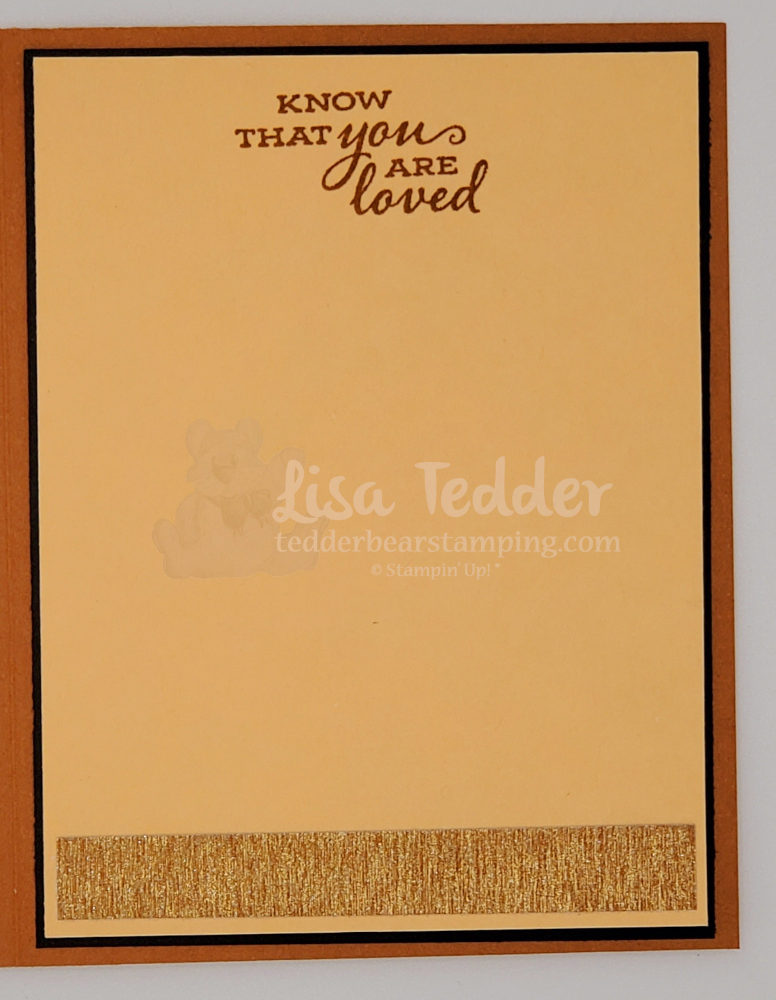
Paper/Card 3
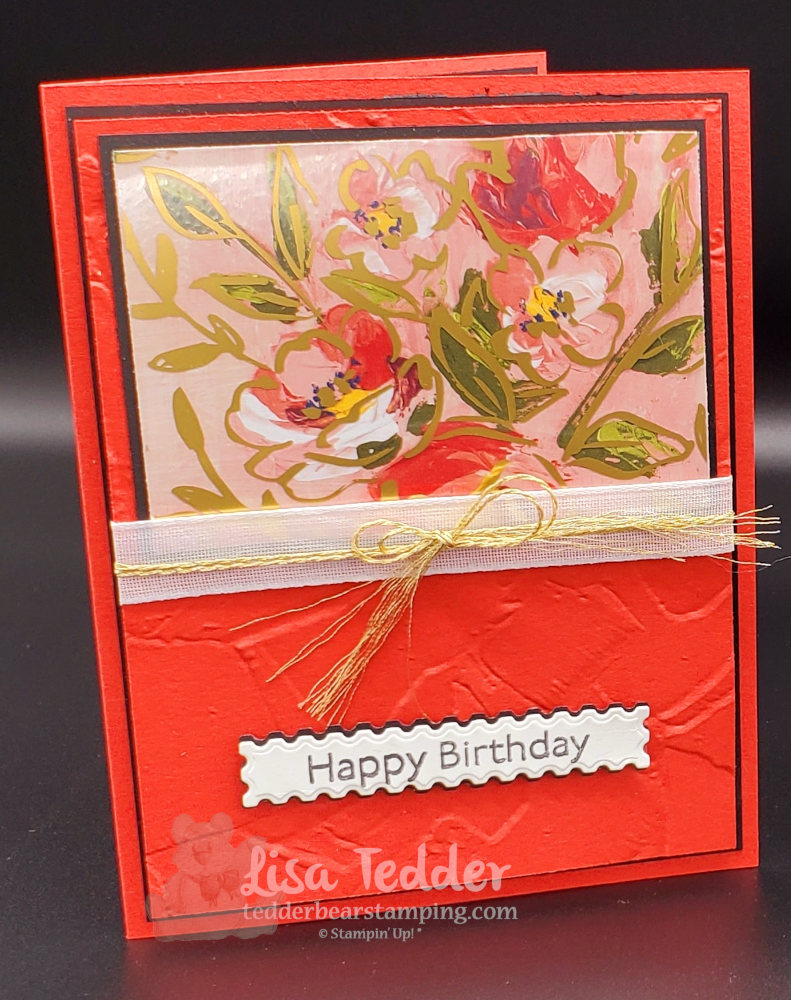
- Flirty Flamingo 5 1/2″ x 8 1/2″ scored at 4 1/4″
- Gold Foil 4″ x 5 1/4″
Paper/Card 4
- Very Vanilla 4 1/4″ x 11″ scored at 5 1/2″, of course you can use Thick if desired
- Gold Foil, I traced outline of arrow and fussy cut out, also cut around heart to layer behind
Misc:
- Dimensionals, I especially love these
- paper snips
- Stripes & Splatters 3D embossing folder
- Stampin’ Cut & Emboss Machine
As can be seen above, I really love this kit! Most important to remember is that life doesn’t have that many surprises left, therefore getting this awesome box delivered to your door is pretty darn cool! Thus if you purchase your Paper Pumpkin through me, indeed I will be giving you extra ideas ‘outside the box’ every month! Meanwhile I also have the supplies listed below in picture form, as has been noted if you click on any of them you will be taken to my Online Store!
For that purpose, click this link to sign up for Paper Pumpkin under me, furthermore the price of Paper Pumpkin is going up in the month of March, buy 3, 6 or 12 months, for this reason lock in the current price before it goes up!! Being that it is Sale a Bration, you can also get free stamps &/or Designer series Paper at the same time locking in your price! Another way to look at this deal is that I will give you a PDF of 16 projects when you spend $35 or more, of course I have a sneak peek of what you will get!!
Another Goody:
Emphatically the above is a good deal, hence I have an even BETTER deal! In short when each new catalog comes out I will have a Sampler for you that you can get if you spend $75 with me, you will really love this one. Unquestionably you will get each picture separately also getting step by step instructions for each square!
Finally I would like to thank you so much for all your support, especially coming here and choosing me to be your demonstrator! Indeed I am humbled that you choose to spend your precious time with me! Lastly, I hope you come back either here or on YouTube!
Lisa Tedder
A former California girl living in North Carolina
Product List


")


 Designer Series Paper")


 Gingham Ribbon")


")
")


 Specialty Designer Series Paper")


")


 Specialty Designer Series Paper")
 Metallic Specialty Paper")


 Open Weave Ribbon")


")


")


 Chevron Weave Ribbon")
 Open Weave Ribbon")


 Organdy Striped Ribbon")
 Sheer Ribbon")
 Gorgeous Grape Sheer Ribbon")


 Designer Series Paper")


