Tag Archives: handmade

Making a Sunset

I LOVE sunsets, don’t you? I wanted to make one that was easy but still be stunning…….at least I think so, hopefully you do too!!

I have a video on YouTube walking you through this technique, I hope you check it out here. You can also shop for the products you see in this post and on my videos at my Online Store!

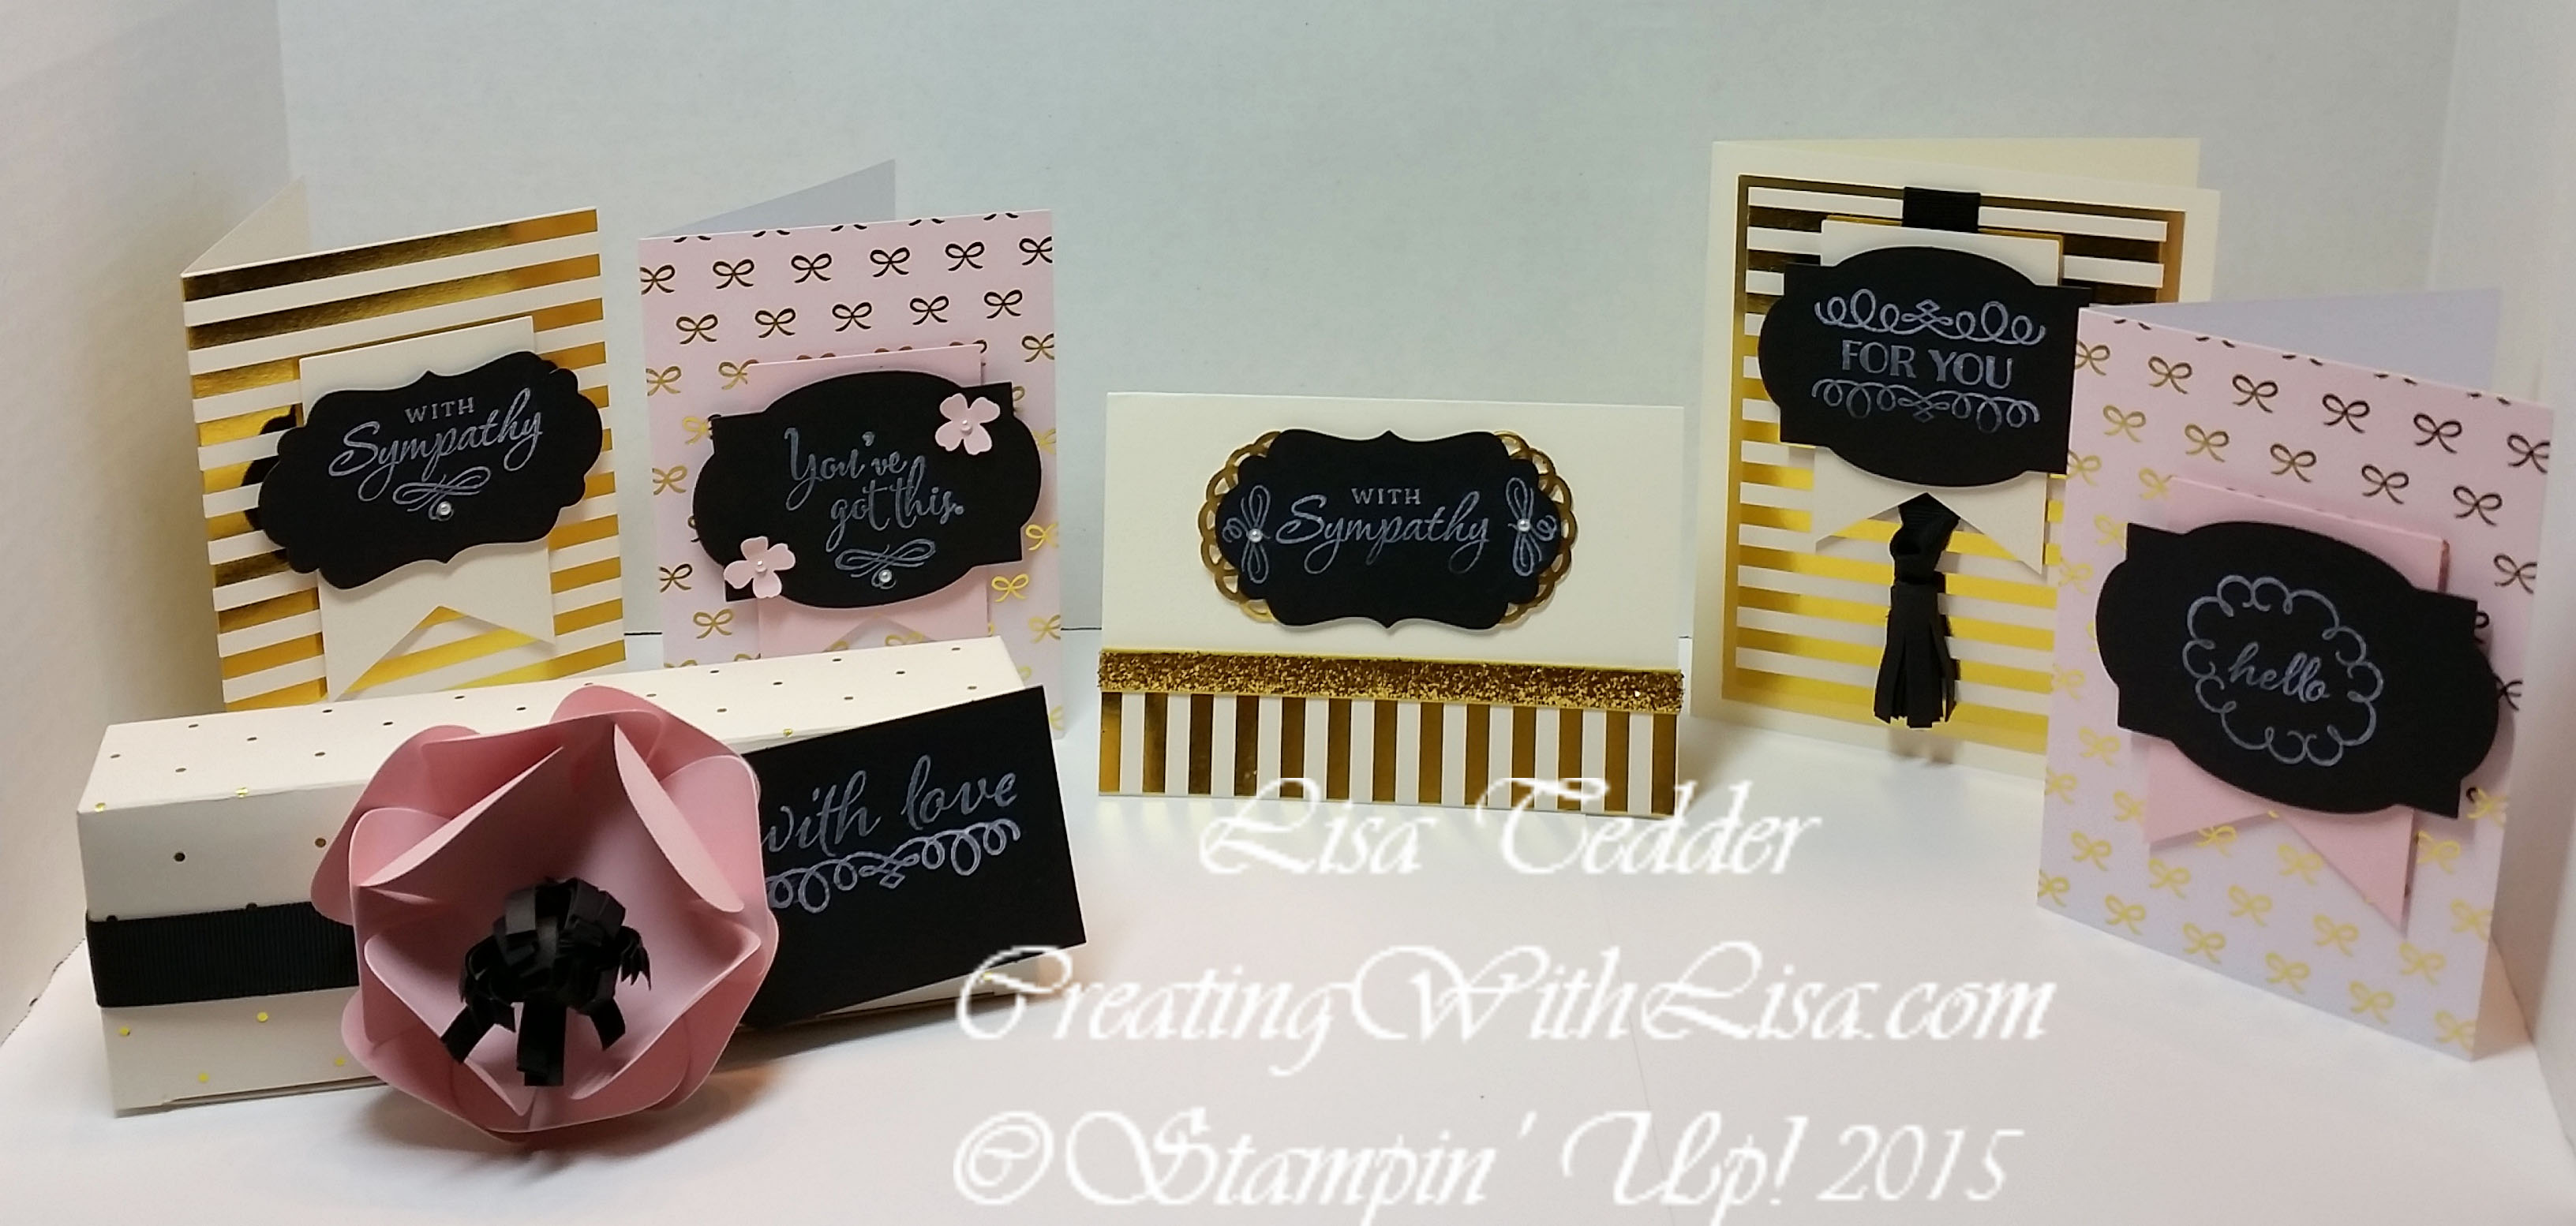
Making a Desert scene was my final one, I had to make FOUR cards with Sunsets! Just couldn’t help myself!

The first one is one I posted on my FaceBook page Let’s Stamp!

It features a lighthouse and this is where my Sunset journey started! I saw a video by Tina Zinck on making sunsets, so off I went!

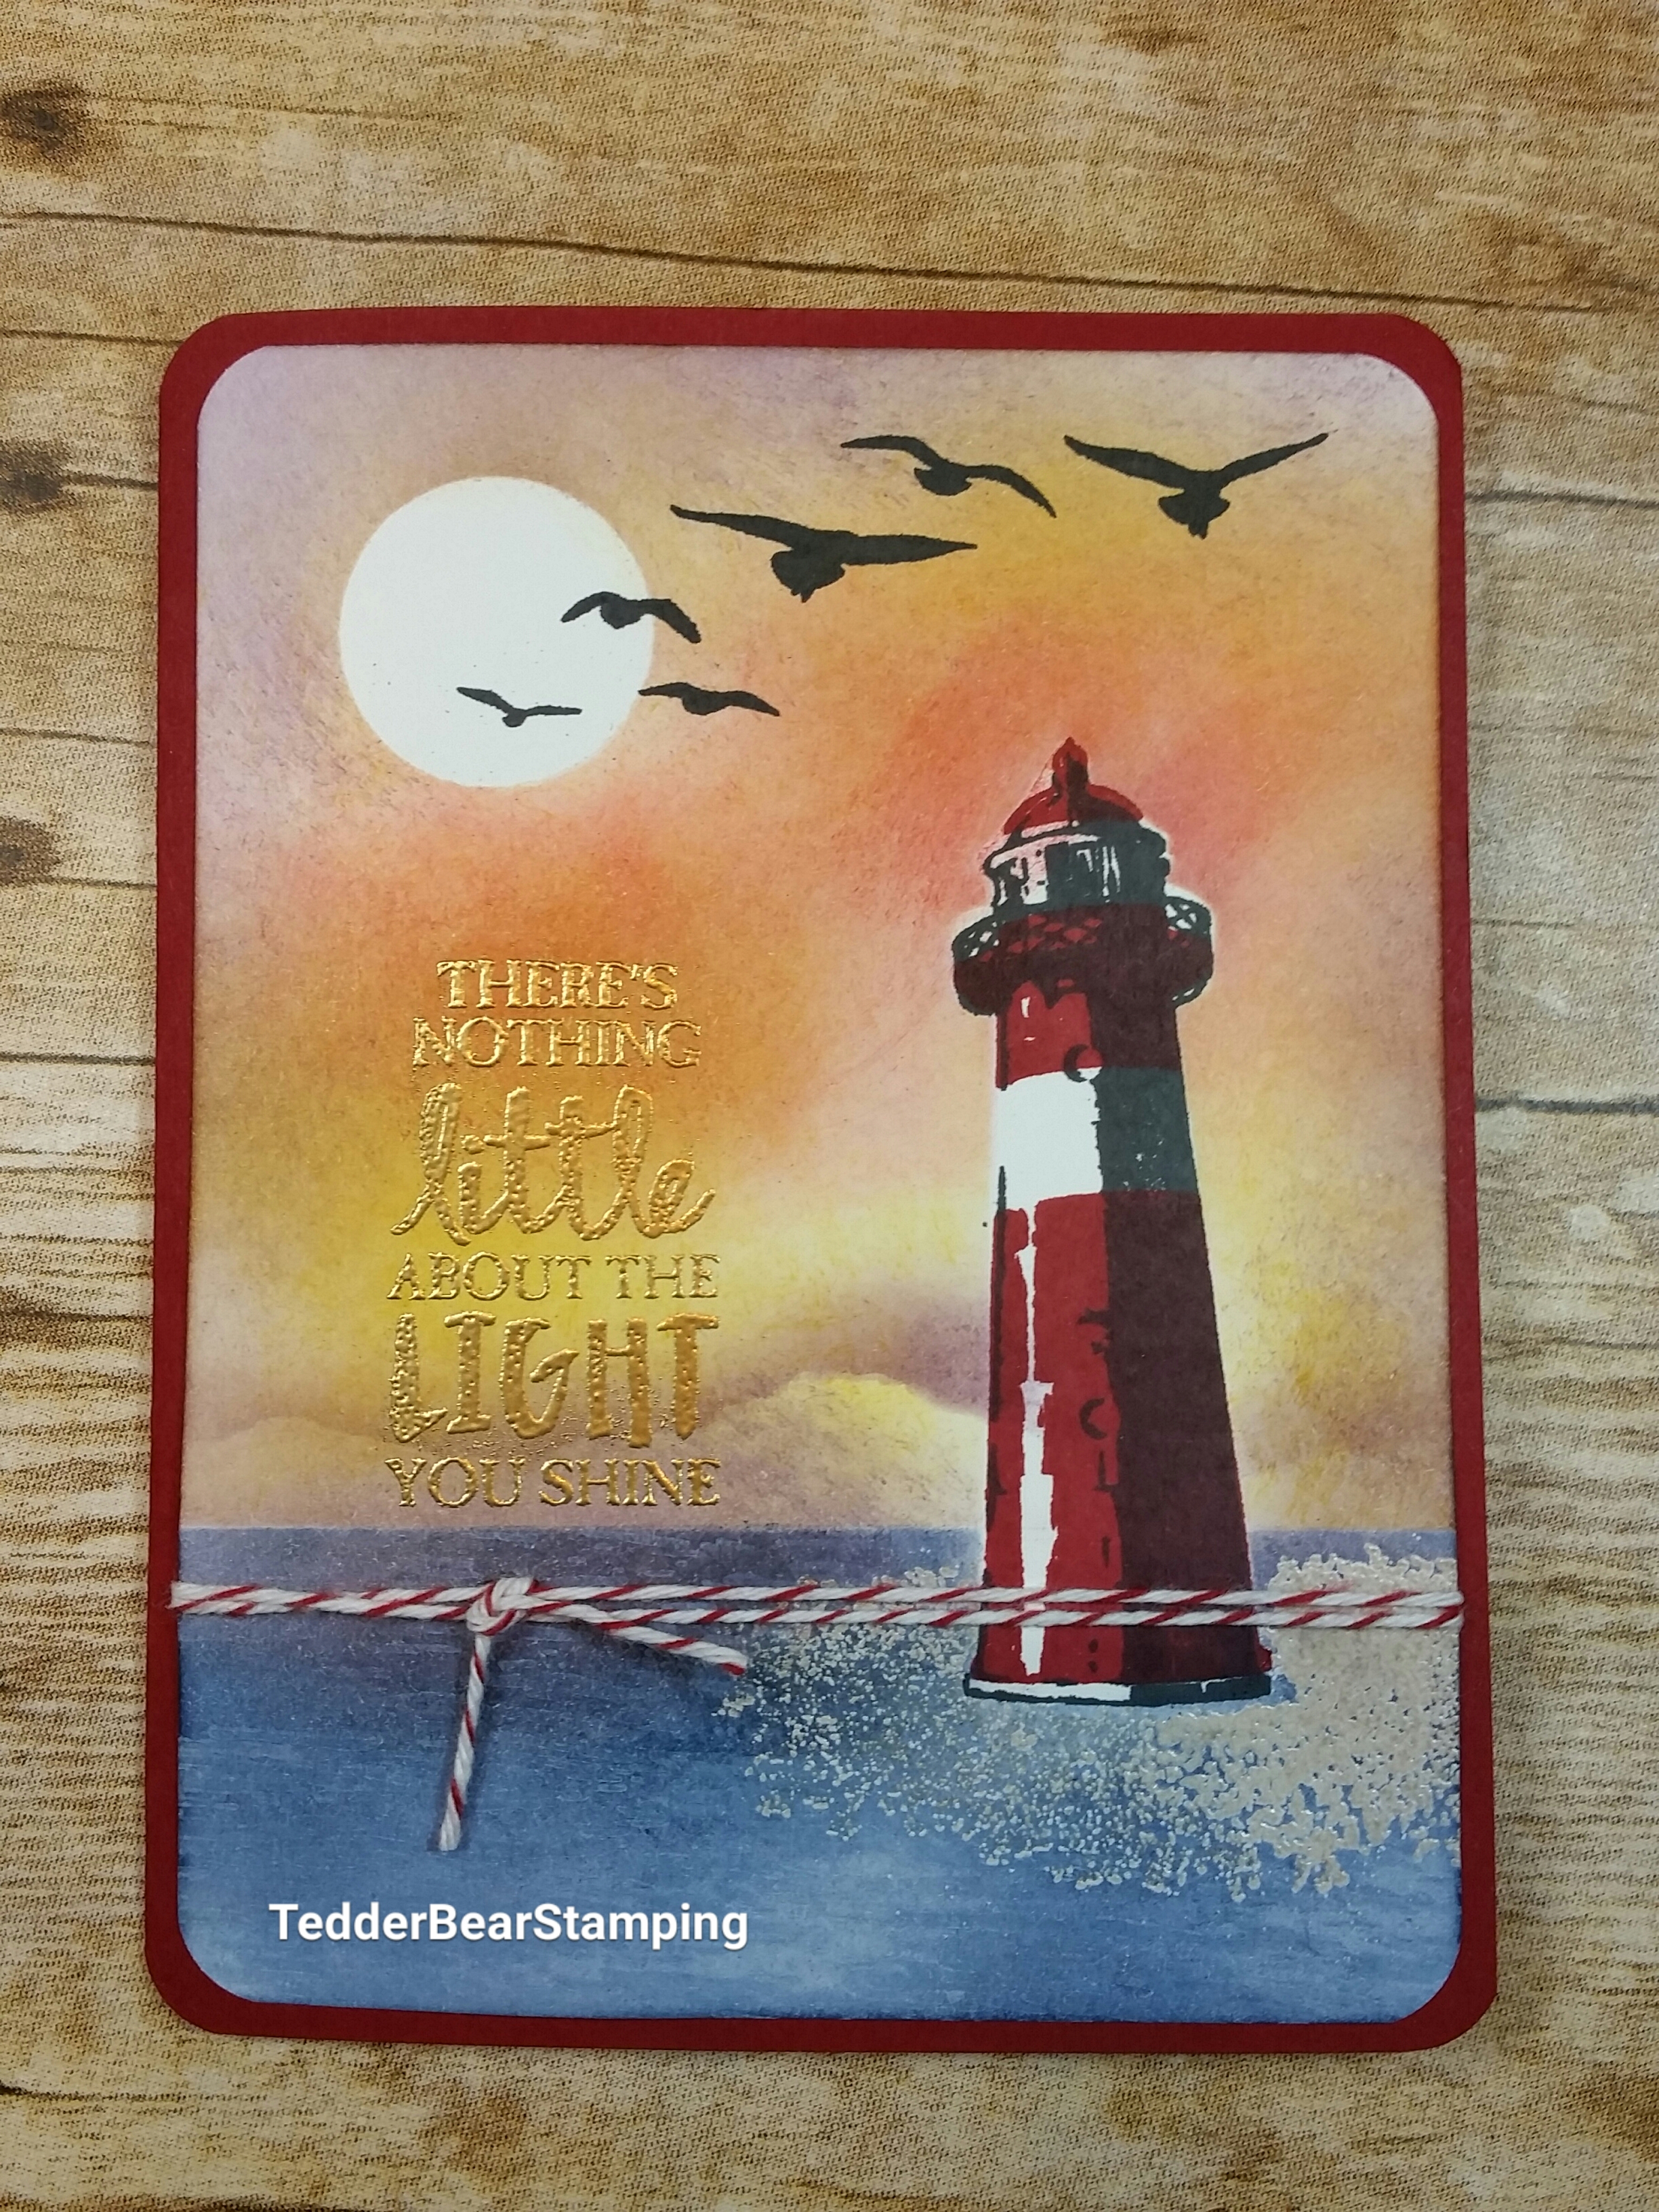
This was so fun and easy (Thanks Tina!!) That I didn’t stop there! But first let me tell you what I used to make this card!

Stamps: High Tide #143006
Inks: Cherry Cobbler #126966, Watermelon Wonder #138323, Night of Navy #126970, Perfect Plum #126963, So Saffron #126957, Crushed Curry #131173, Crumb Cake #126975, Early Espresso #126974, Chocolate Chip #126979, Whisper White #101731, Momento Black #132708, Versamark #102283 and Sahara Sand #126976
Paper: Cherry Cobbler #119685 – 8 1/2″ X 5 1/2″, Whisper White #100730 – 4″ X 5 1/4″
Misc: Project Life Corner Rounder #135346, Cherry Cobbler Baker’s Twine #123125, 1″ circle punch #119868, Gold Embossing Powder #133457

Now, on to the next Sunset Card! This one uses the Lift Me Up Stamp set, but uses the same techniques as on my video.

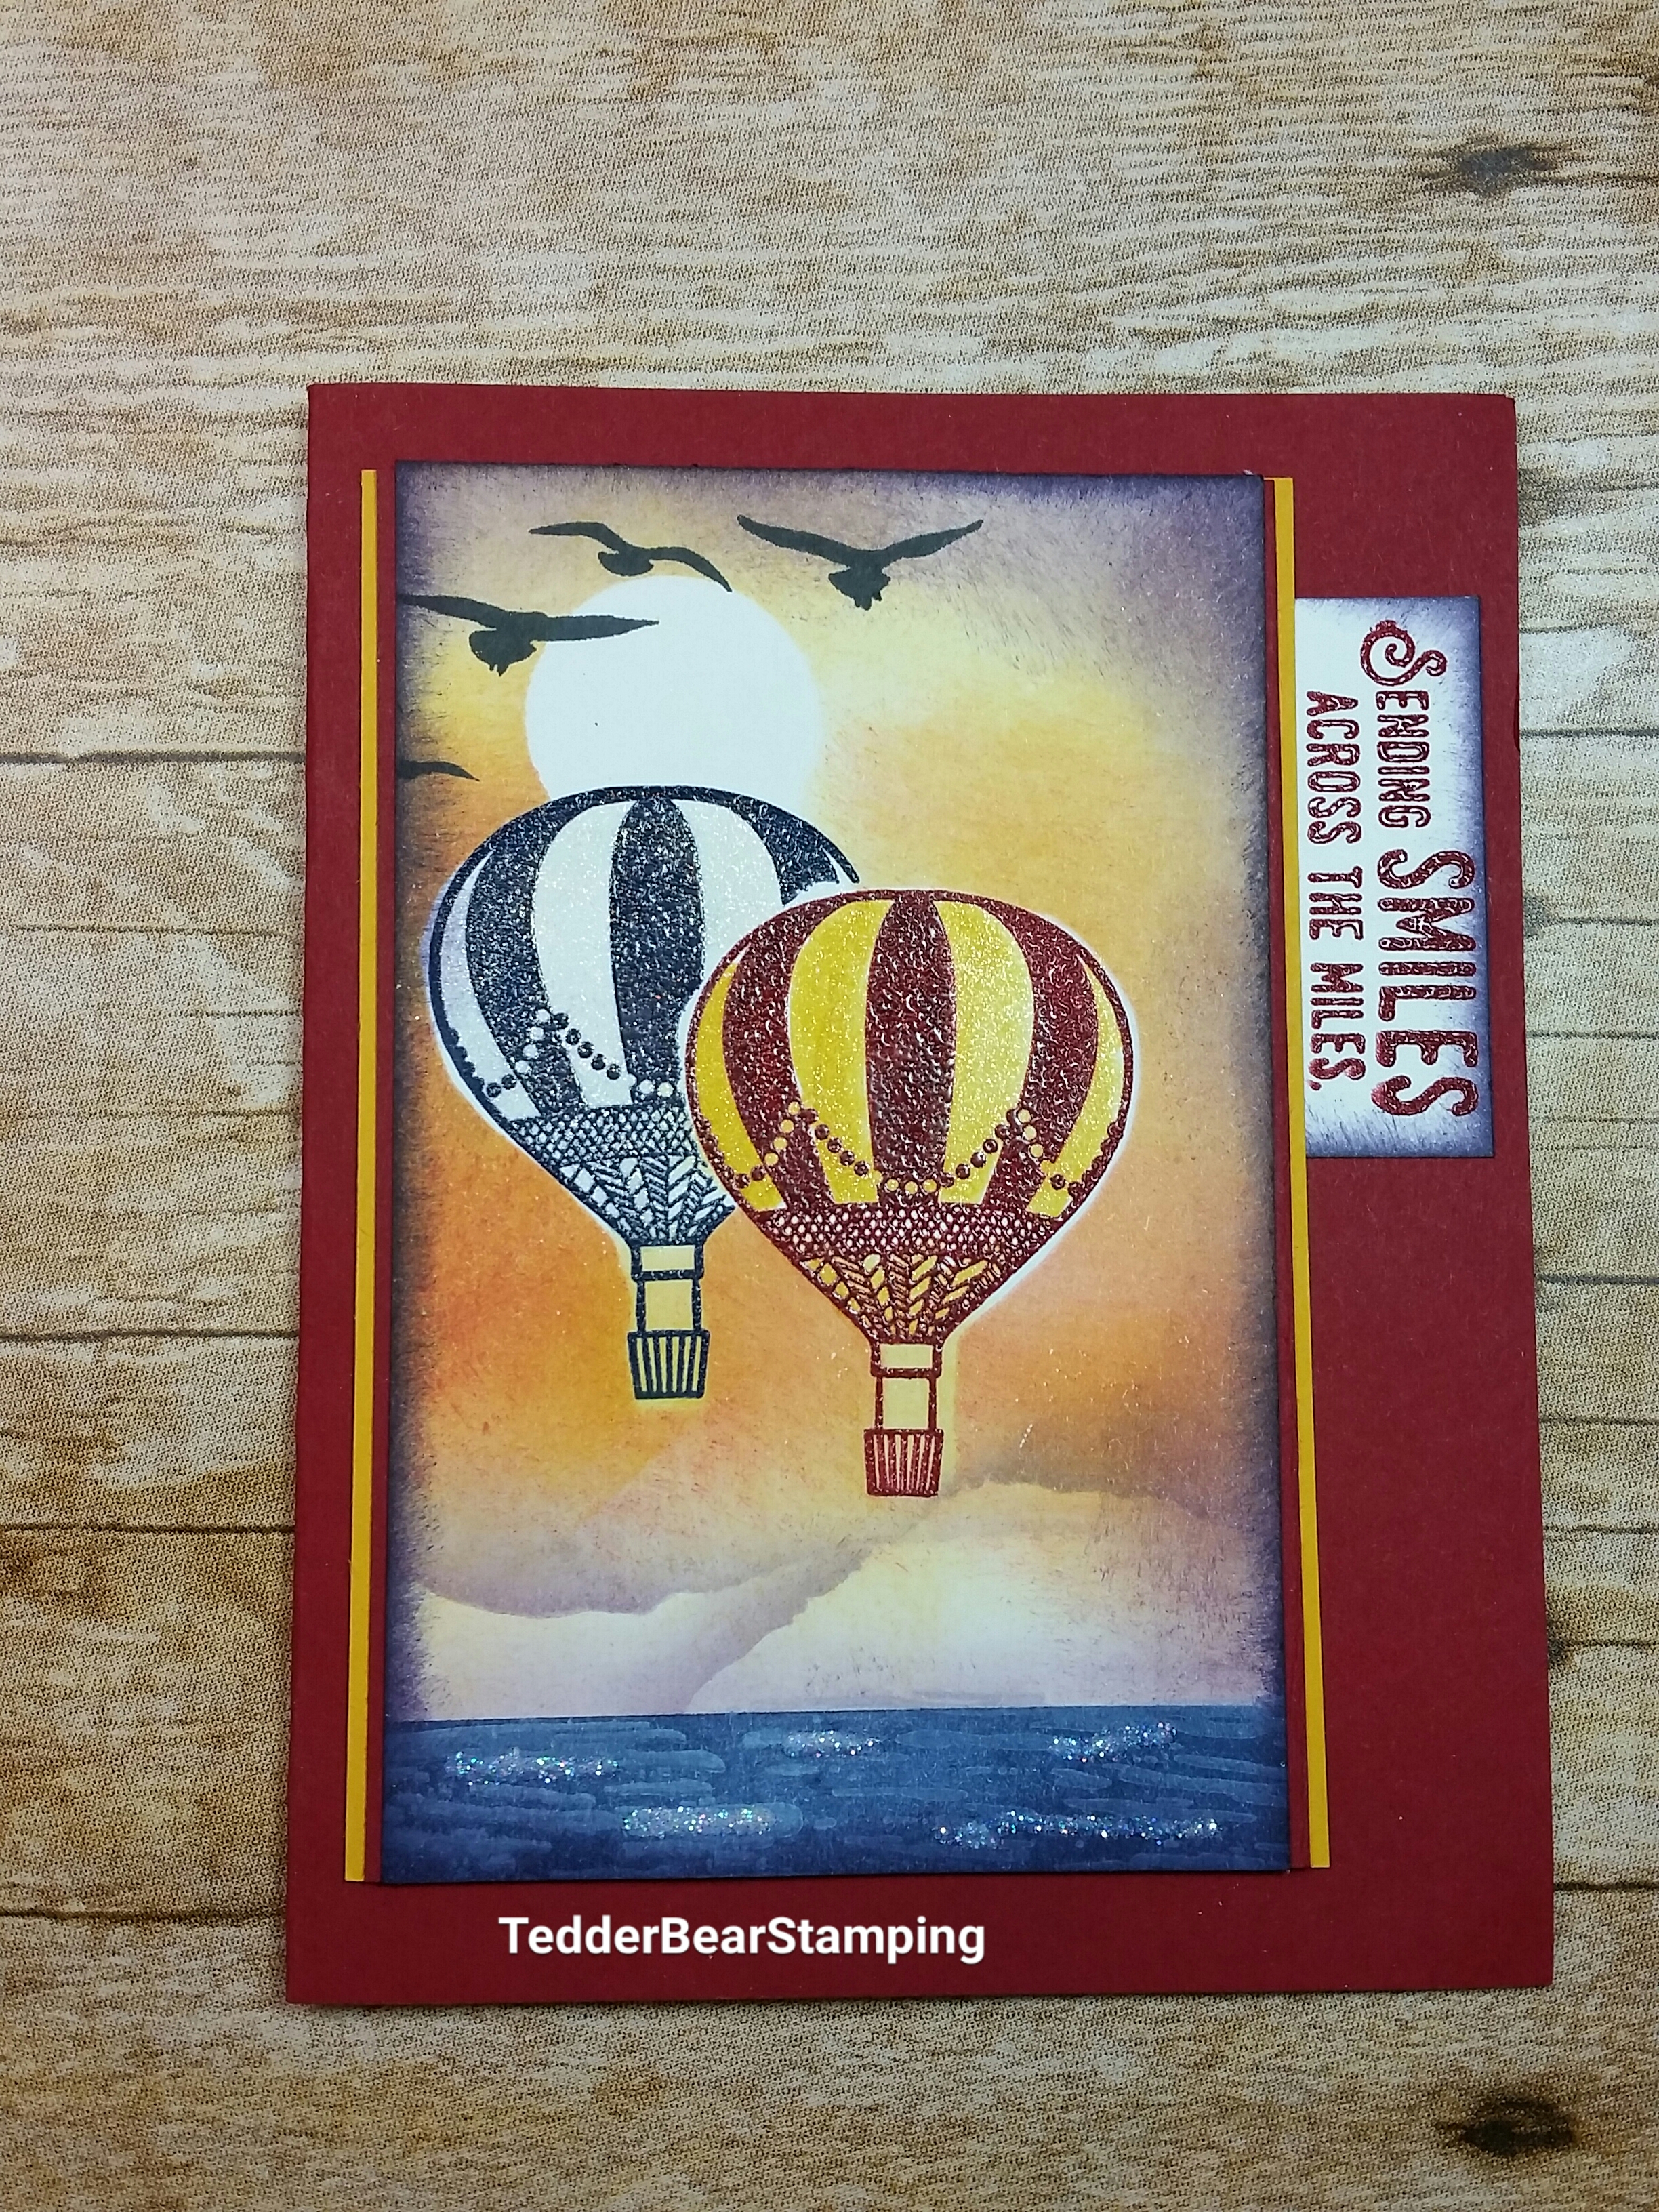
I love how the Ocean/water came out on this one! This uses the same color palate as the card above. Here are the dimensions for the card stock, since everything else is the same:

Cherry Cobbler 8 1/2″ X 5 1/2″, Crushed Curry #131199 – 3 1/4″ X 4 3/4″, Cherry Cobbler- 3 1/8″ X 4 3/4″, Whisper White – 3″ X 4 3/4″ and 2″ X 1 1/2″ (for the sentiment).
I also used Dazzling Diamonds #133751, and Fine Tip Glue to make the Dazzling Diamonds stick #138309

What else can I make with this Sunset? I just HAD to make more!! So I pulled out my Trusty set of Lovely as a Tree!!! Love this set!
Again, I used the same colors, just used the Stamp set Sending Thoughts #142965 from the Occasions Catty 2017 and I also used the FREE with Sale-A-Bration ribbon Metallic Gold #143601!

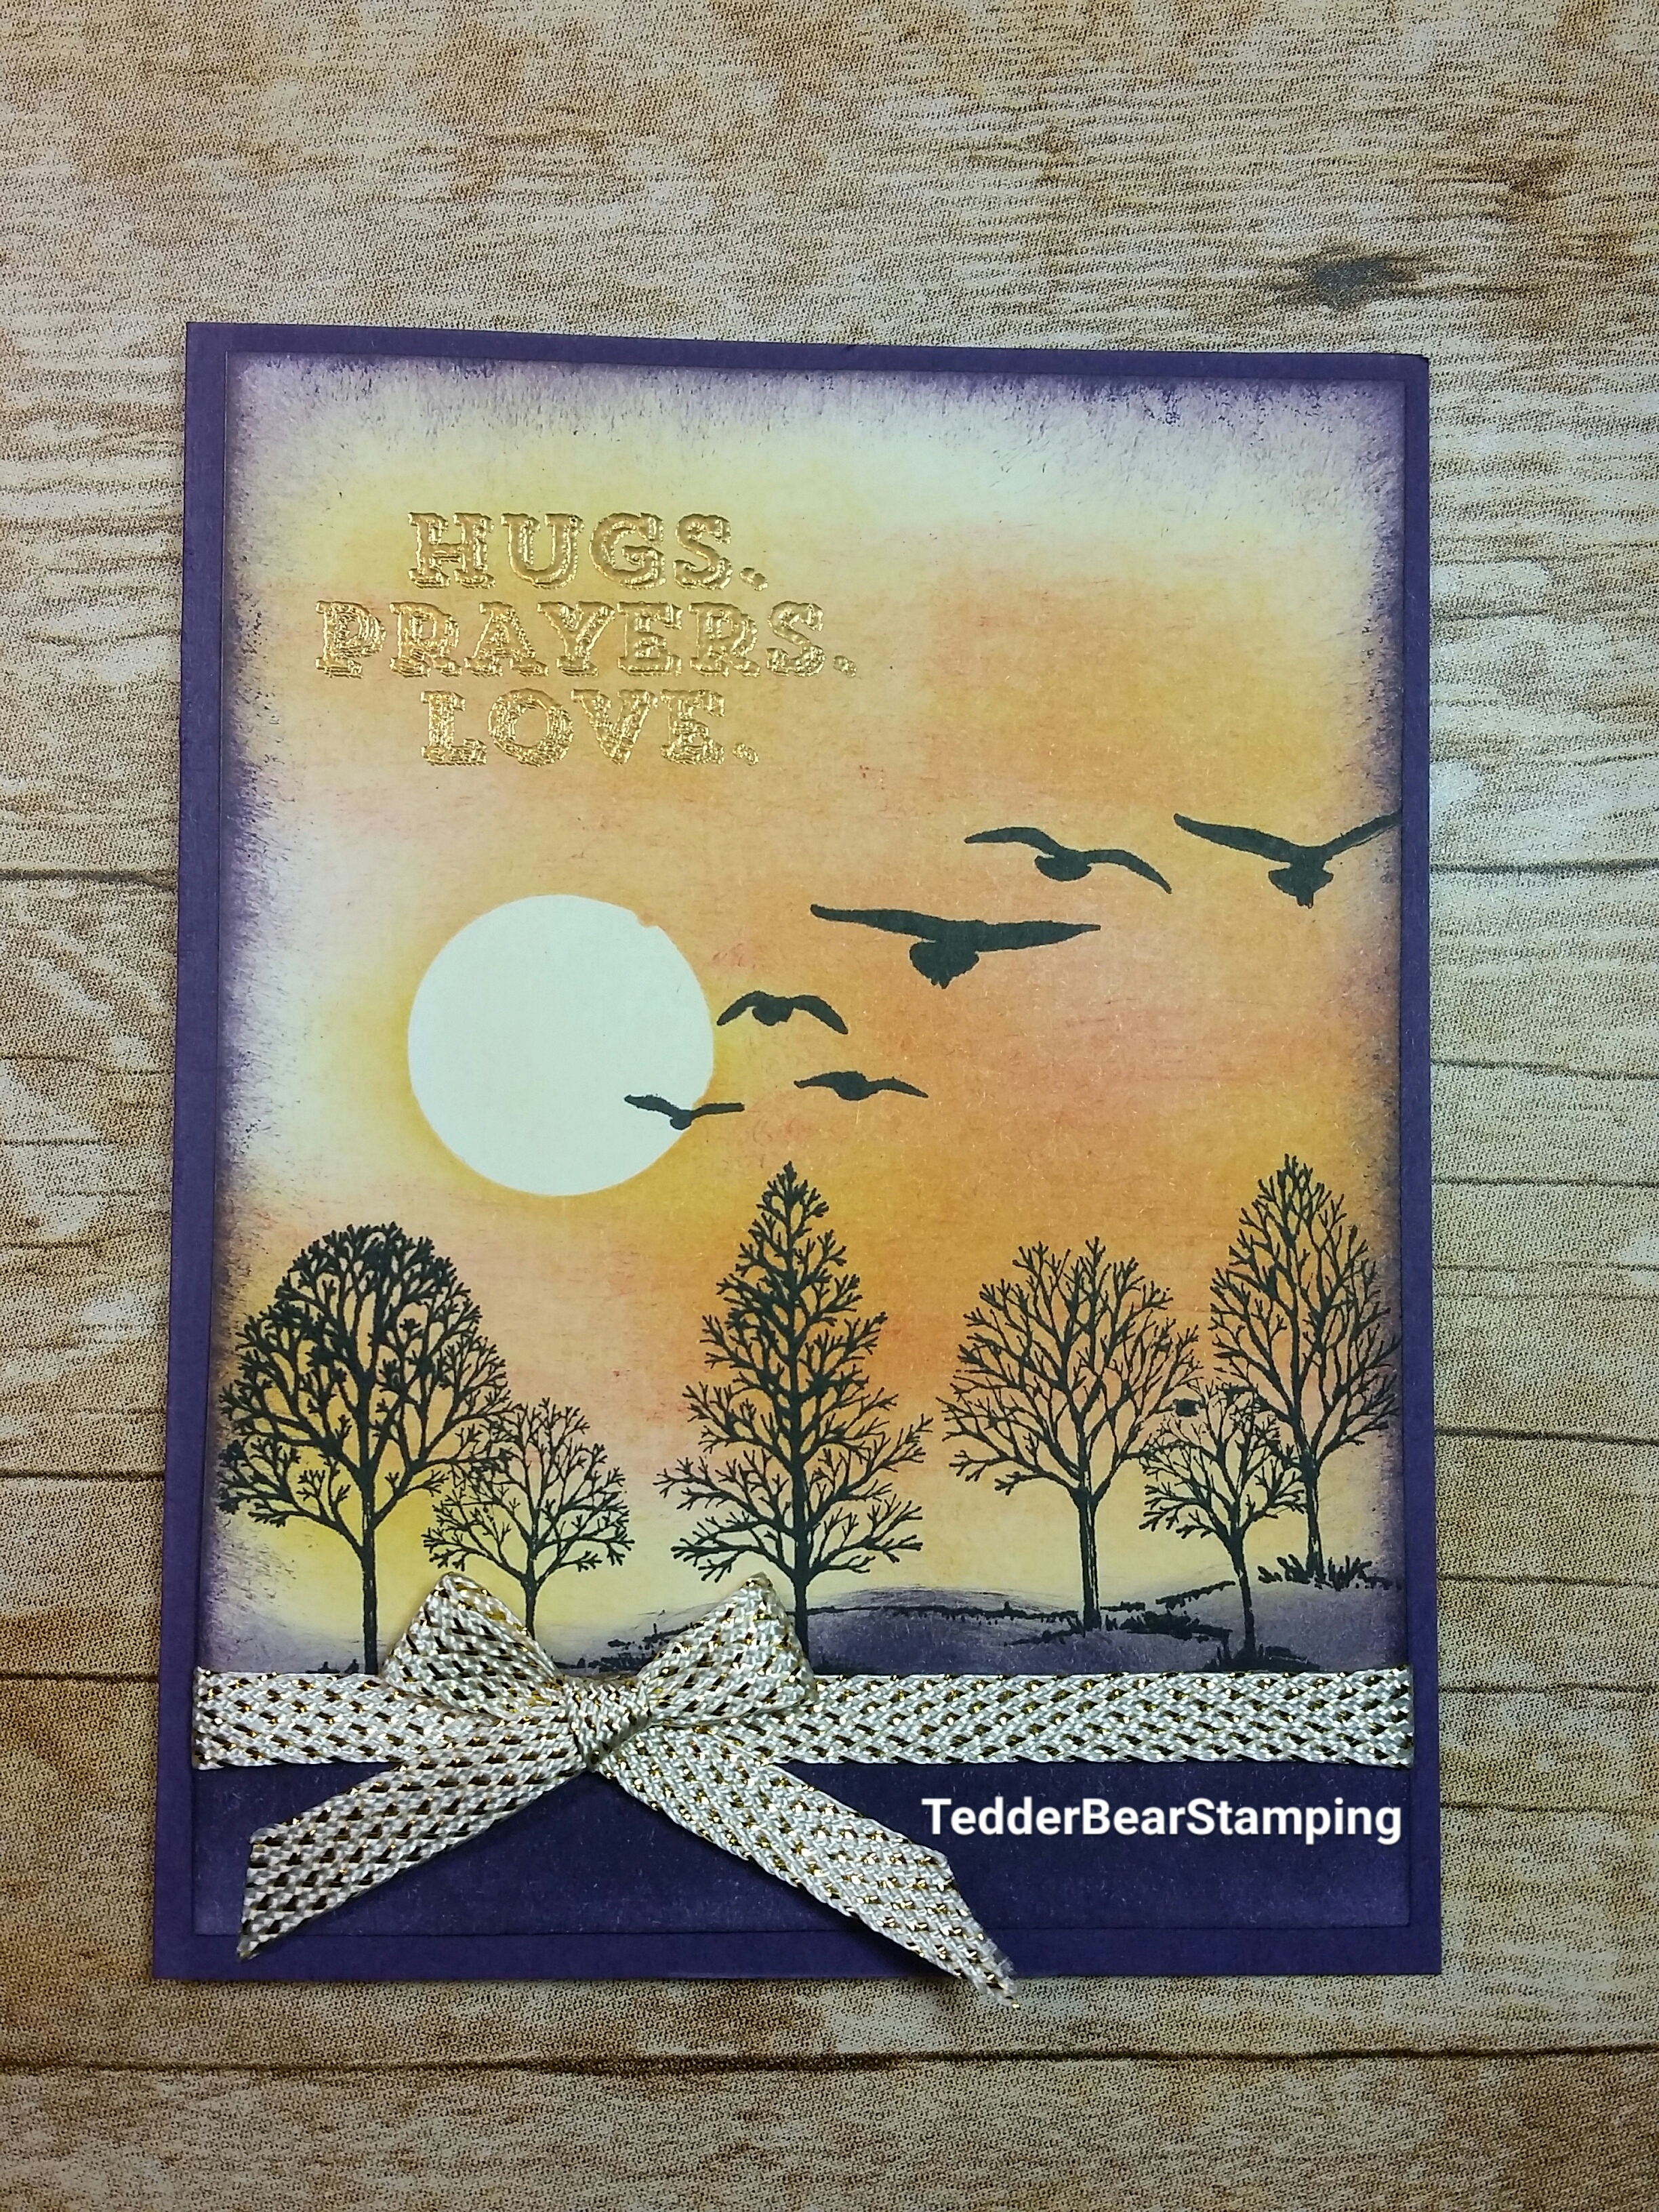
Here are those dimensions:
Elegant Eggplant #105126 – 8 1/2″ X 5 1/2″, Whisper White 5 1/4″ X 4″
The Elegant Eggplant Ink # is 126969, Gold Embossing Powder #133457

And now for the Final Card, this is the one I made the video on!!

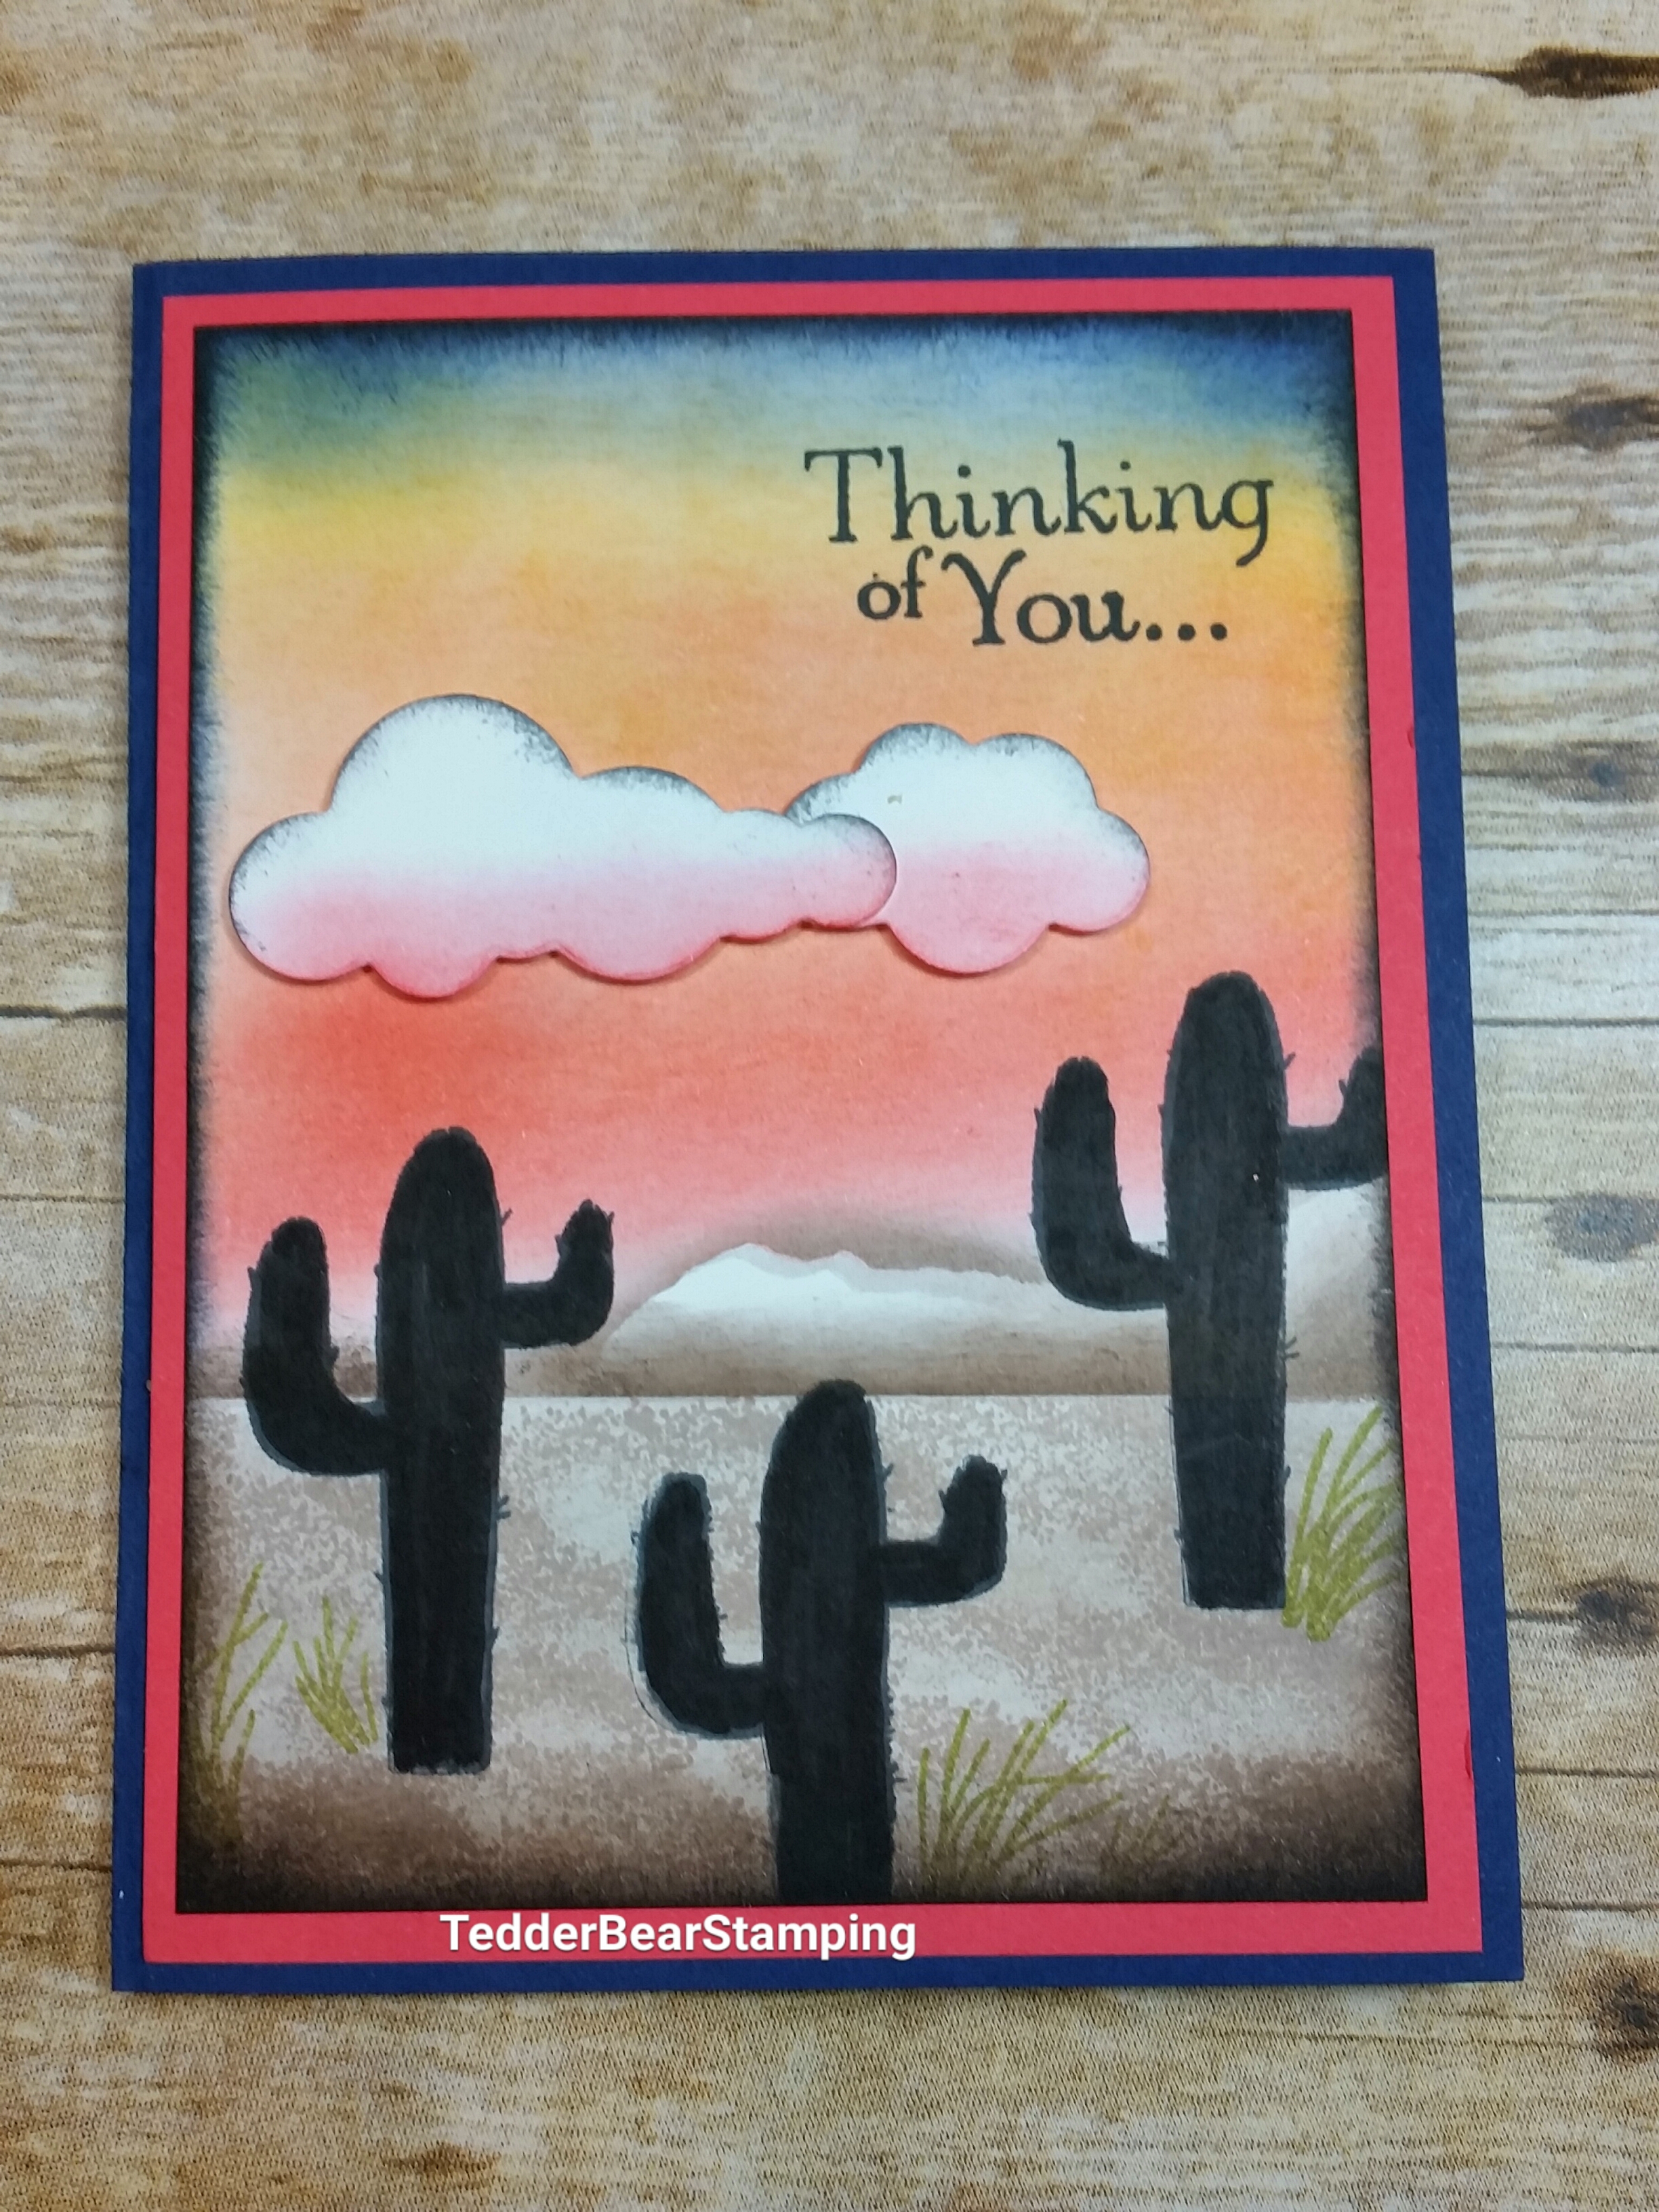
I had so much fun making this one!! Like I said at the Beginning, I LOVE sunsets, by this time you might just believe me! hahahaha

The supplies for this card are:

Stamps: Birthday Fiesta #141500, Thoughts and Prayers #127805, Here for You # 142164
Inks: Watermelon Wonder #138323, Night of Navy #126970, Crushed Curry #131173, Crumb Cake #126975, Early Espresso #126974, Chocolate Chip #126979, Momento Black #132708, Night of Navy #126970, Black Marker
Paper: Night of Navy #100867 – 5 1/2″ X 4 1/2″ , Watermelon Wonder #138334 – 5 1/4″ X 4″, Whisper White #100730 5″ X 3 3/4″
Misc: Sponges #141337, Big Shot #143263, Up & Away thinlits #142748

If you love these colors together, make sure and stock up on Watermelon Wonder!! It’s one of the In Colors that is retiring this year 🙁 This is a GREAT color to make your sunsets with! The other reds are either too red, or too dark. It’s doable, but this one just makes it easy!

I hope you enjoyed all my Sunsets, and that you will want to visit me again! I will be making more videos, I am really enjoying it! Make sure you sign up on my YouTube page to be notified when I have another one coming out!

Also!!! Click on my Newsletter button, you will receive monthly ideas and keep up to date with my schedule!

Now, click on each name to see the rest of the blog Hop from Demo’s from North Carolina!!

Lisa Tedder
CA girl living in NC!

Debra Ballance-Byrd

Tamra Davis

Jo Anne Hewins

Michelle Irinyi

Melissa Kerman

Tracie Evans Langley

Sharon Maranich

Laurie Meier

Lisa Tedder <———–You are Here!

Frances Wagner


NC Demo Blog Hop – Progressing Christmas Page

If you just came from Pam’s page, welcome to my page! If you started at mine, click on the names below to see what others have done for the Holidays!  Enjoy!

Today I am showing you how I go about doing a Scrapbook Page by showing that you can make ANY size page depending what you like.  I started off making a 6 X 6 page:

6x6page

The red block is for putting your picture in.  I LOVE handmade scrapbook pages!  And the Stamp set from Stampin’ Up! called Christmas Magic is one of my FAVES!  It’s so pretty and versatile!  I made tags too with the sets I used for this page, check it out at the end of this post!

For the next part of the page I made an 8 1/2″ x 11″ page and placed the 6 x 6 on that one.

middlepage

The White under the Santa and next to the snowman is where You put the picture on this part!  I used the Santa from the Stamp set Cookie Cutter Christmas.  This was so much fun to do! I stamped it on Vellum using Black ink and embossed it with clear.  I then turned it over and colored the back, making sure I shadowed it.  I put it on my Stampin’ Pierce Mat and with my embossing tool from the Simply Scored Scoring Tool upside down (embossed side down) and rubbed the embossing tool over all the white pieces.  This raises the vellum and makes it white.  REALLY WHITE!  It is so much fun to do this technique and looks great on sails and other stamped images that need to be white and fluffy.

santainside

This is what it looks like before you turn it over.

santafinal

Once you turn it over you can really see the white is white!  I did NOT use ANY ink on the white parts, that is all because the vellum changes to white when you press on it with the embossing tool.

Now, here is the finished page on 12 x 12 :

beckypagedone

I die cut the ‘Merry’ from the Christmas Greetings Thinlits.  I also stamped the bells from the Christmas Magic stamp set and embossed it with Silver Embossing Powder, then using my blender pen colored in Smoky Slate to ‘look like’ silver.  But first I stamped the Swirl from Star of Light and ‘hung’ my bells from that.

If you notice under the snowman, I have three bells on white bakers twine, this is so they won’t fall off (my daughter is going to frame this with her Christmas pictures on the wall), and I wanted to make sure that no matter what they wouldn’t fall off.  I made the white twine go through the paper and I tied a  knot in the back.

This page, in person, is so pretty!!  Have you ever made something and are impressed with how much better it came out than you thought it would when you started?!!   That’s how I feel, I hope you like it too!!

Now, here are the tags that I made to go along with this gift:

p1120035

I love the simple yet elegant feel of these!  Which is perfect for something that you will want to make a lot of!  I used the Scallop Tag Topper for all of these, the middle one is just a little bit shorter than the other two.

Here is the details that you might want to know!

Stamp sets:
Christmas Magic #142119
Star of Light # 142110
Merriest Wishes # 142066

Inks:
Versamark
Real Red
Basic Black
Old Olive

Cardstock:
Whisper White 8 1/2″ x 11″, 4″ x 6″, 6″ x 6″, 1 1/2″ x 2 1/2, scrap for ‘merry’  and the bells and 2″ x 5″ for tags
Real Red 12″ x 12″, 3″ x 5 3/4″, 8 1/4″ x 10 3/4
Dapper Denim 2″ x 4 1/4″ for tag

Accessories:
White embossing powder #109132
Silver Embossing powder #109131
Scalloped Tag Topper Punch #133324
Classic Label punch #141491
Mini Jingle Bells #142002
Simply Scored Scoring Tool #122334
3/8″ Ruched Ribbon – Dapper Denim #141424
3/8″ Stitched Satin Ribbon – Real Red #141693
Dazzling Diamonds #133751
Blender Pens #102845
Dazzling Diamonds Glimmer Paper #135315
Christmas Greetings Thinlits #139659

So?  That is what I am presenting  for you on this blog hop!  I hope you love them as much as I do!  I would love to hear from you!!

Jo Anne Hewins
Michelle Irinyi

Tracie Evans Langley

Laurie Meier
Sue Root
Pam Staples
Lisa Tedder
Frances Wagner

Lisa Tedder

TedderBearStamping

12642618_10208338697962909_6250260198526436679_n


August Paper Pumpkin

August 2015 PP

I played with my Paper Pumpkin today!!  It was so much fun, I just went to the Pinterest Paper Pumpkin site after I did the handmade cards and box straight from the PP directions, I wanted to do some different ones, and this site helped me pick out what I wanted to do!

The SU! card in the middle uses the new Gold 3/8″ glitter ribbon #139614 from the Holiday Catalog (2015) .  I cut up one of the cards with the stripes so I could get more from that one sheet (since it is printed front and back, I can make a lot of cards by piecing it.)

I also paired the saying with the Metallic Foil Doilies #138392 behind it to make it POP!  Adding dimensionals underneath really made it stand out!

The card to the right of the middle I used the cut up piece (from the middle card) and layered it onto Gold Foil Sheets #132622, and used the ribbon from the kit I was inspired by one of the cards on the site listed above.

Don’t forget to take advantage of the 1/2 off deal that Stampin’ Up! is offering now until the 10th of September, you get TWO months for the price of one!!  Just go to PaperPumpkin.com site and sign up!  Just remember to put me down as your Demonstrator!

Lisa Tedder

Kernersville, NC