Tag Archives: Night Of Navy 8-1/2" X 11" Cardstock

Over the Top Christmas Card

Hey Guys!,

Today I am sharing with you a YouTube Live project that featured an Over the Top Christmas card. Of course, since this is part of a Mini Class, I am also showing you another Christmas card! One more thing, if you purchase $35 or more at my Online Store you will receive a Pillow Gift that you will really love!! Here is a link for you to use.

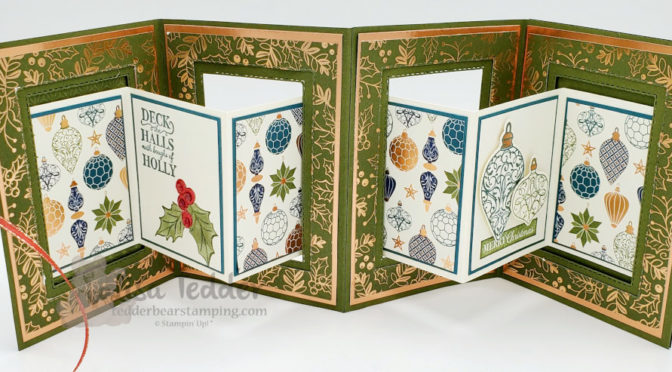
So, are you ready to see the Over the Top card?! I got this idea from Sara Levin, but used my own design!

Over the Top Christmas card!
Closed Over the Top Christmas card

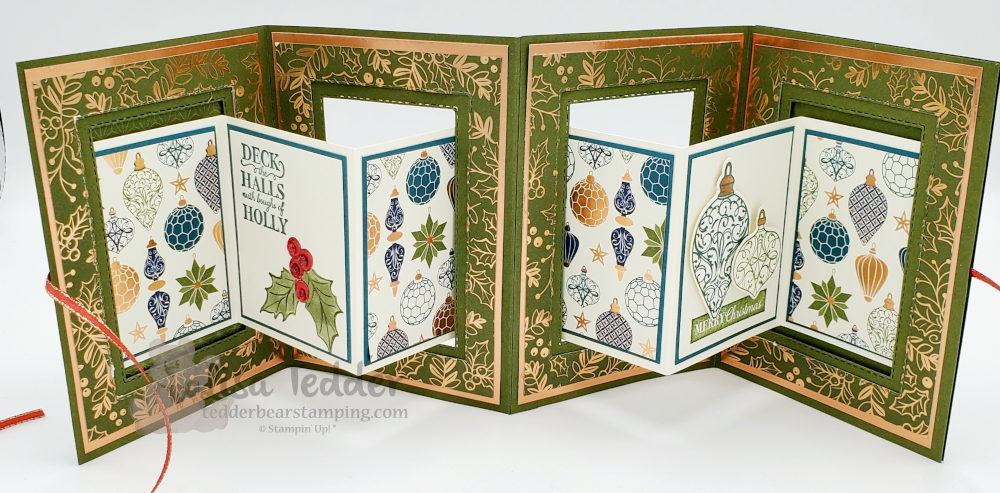
As always, here are the specifics for this card:

  • Stamps:
  • Christmas Gleaming
  • Inks:
  • Pretty Peacock
  • Old Olive
  • Mossy Meadow
  • Real Red Marker
  • Mossy Meadow Marker
  • Blends:
  • Real Red Dk
  • Cinnamon Cider Dk
  • Mossy Meadow Lt
  • Paper:
  • Mossy Meadow 5 1/2″ x 8, 5 1/2″ x 8 1/2″ Score at 1/2″ on the 8 1/2″ piece landscape, watch video to see how to put together, then score @ 4″ & 12″
  • Very Vanilla 8 1/2″ x 3 1/4″, 9″ x 3 1/4″ Score @ 1/2″ on the 9″ piece landscape, watch video to see how to put together, then score @ 2 3/4″, 5 1/2″, 11 1/2″, 14 1/4″
  • Very Vanilla 5 1/4″ x 3 3/4″ (for back side), 2 7/8″ x 2 3/8″ (x2), scraps for stamping
  • Pretty Peacock 3″ x 2 1/2″ (x6)
  • Brightly Gleaming Specialty Designer Paper 2 1/8″ x 2 3/8″ (x4), 5″ x 3 1/2″
  • Copper Foil 5 1/4″ x 3 3/4″ (x5)
  • Misc:
  • Rectangle Stitched Dies sizes: #4 & #5 from biggest
  • Detailed Bands Dies
  • Wonderful Gems
  • All the Trimmings ribbon 27″ of either red or green
  • Dimensionals
  • Foam Adhesive Strips
  • Stampin’ Cut & Emboss Machine
  • Tear & Tape
  • Stampin’ Seal+
  • Gleaming Ornaments Punch Pack

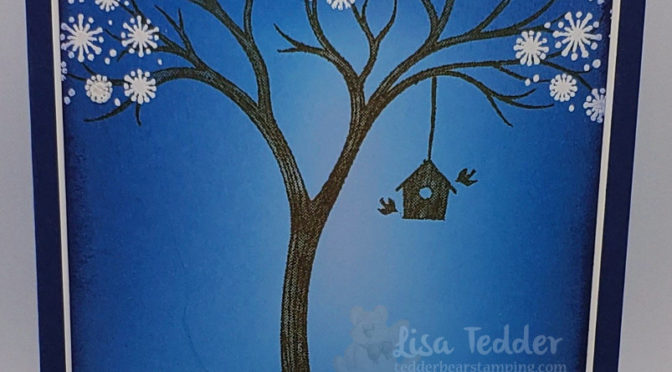
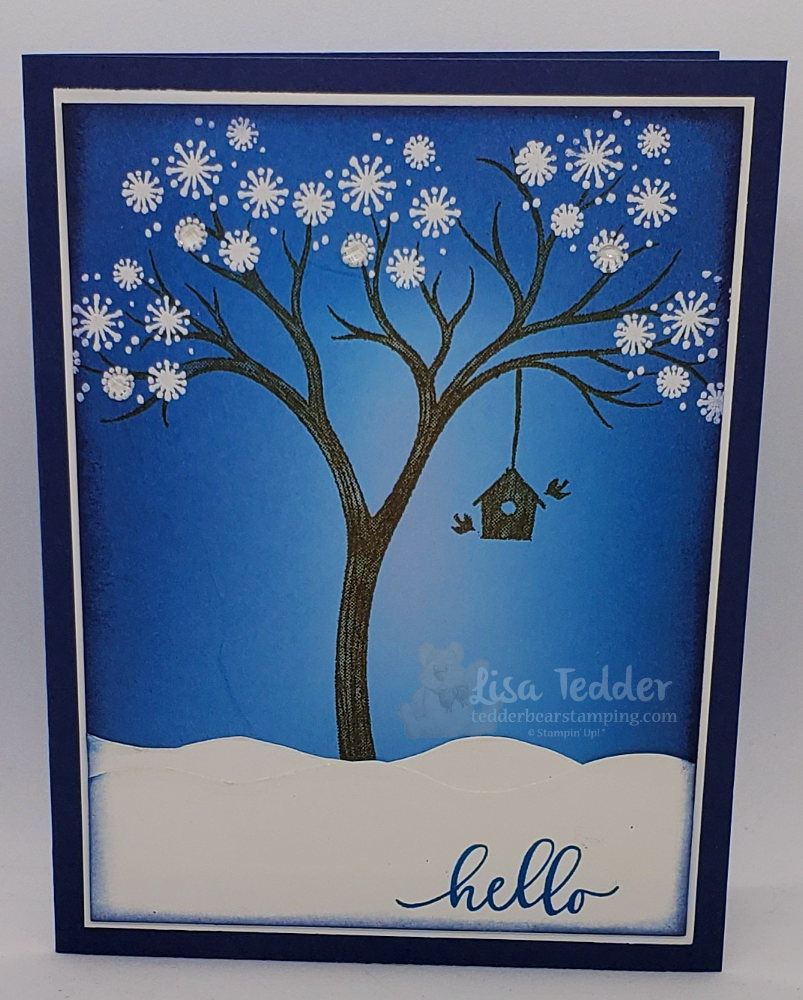
Now, for the 2nd project! This one also uses Christmas Gleaming stamp set from Stampin’ Up!, because I want you to have as many choices for your stamp sets so you can get more for your money!

This one isn’t Over the Top but it’s so pretty!
Inside

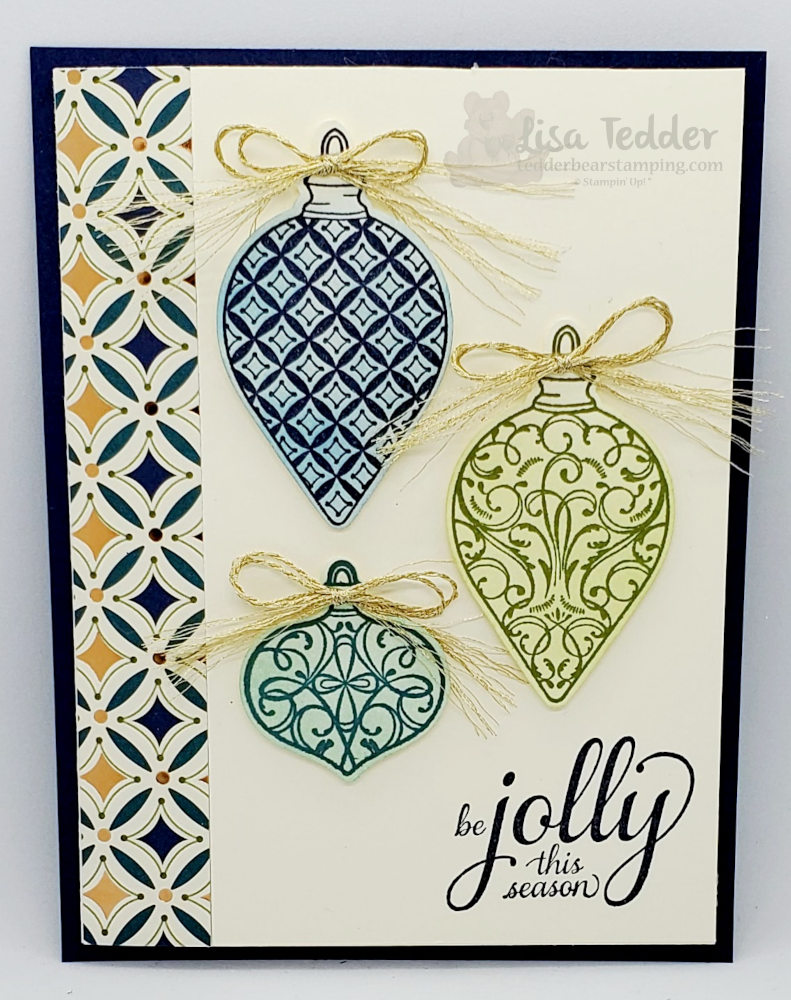
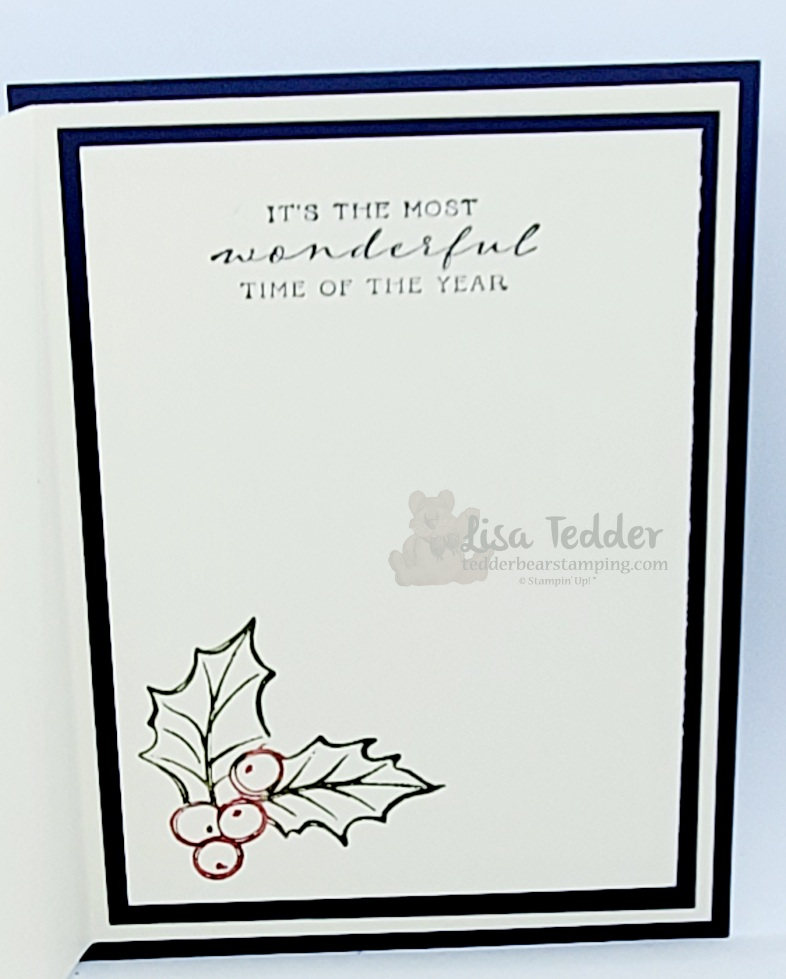
Again, here are the specifics for THIS card:

  • Stamps:
  • Christmas Gleaming
  • Wrapped in Christmas
  • Inks:
  • Night of Navy
  • Balmy Blue
  • Old Olive
  • Soft Sea Foam
  • Pretty Peacock
  • Pool Party
  • Mossy Meadow Marker
  • Real Red Marker
  • Paper:
  • Night of Navy 5 1/2″ x 4 1/4″, 5″ x 3 3/4″
  • Very Vanilla 8″ x 5 1/4″ scored at 4″, 4 3/4″ x 3 1/2″, scraps for ornaments
  • Brightly Gleaming Specialty Designer Series Paper 5 1/4″ x 3/4″
  • Misc:
  • Gleaming Ornaments Punch Pack
  • Forever Greenery Trim Combo Pack
  • Dimensionals
  • Glue Dots

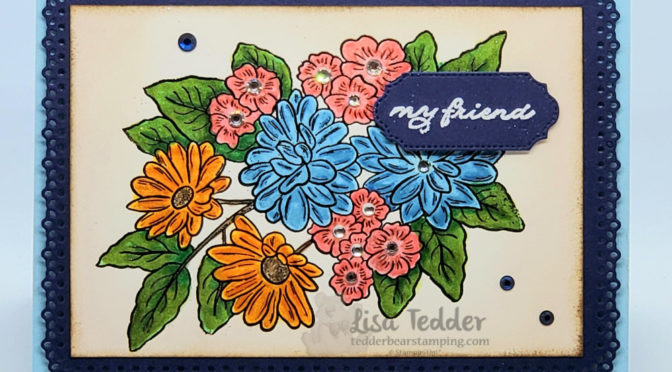
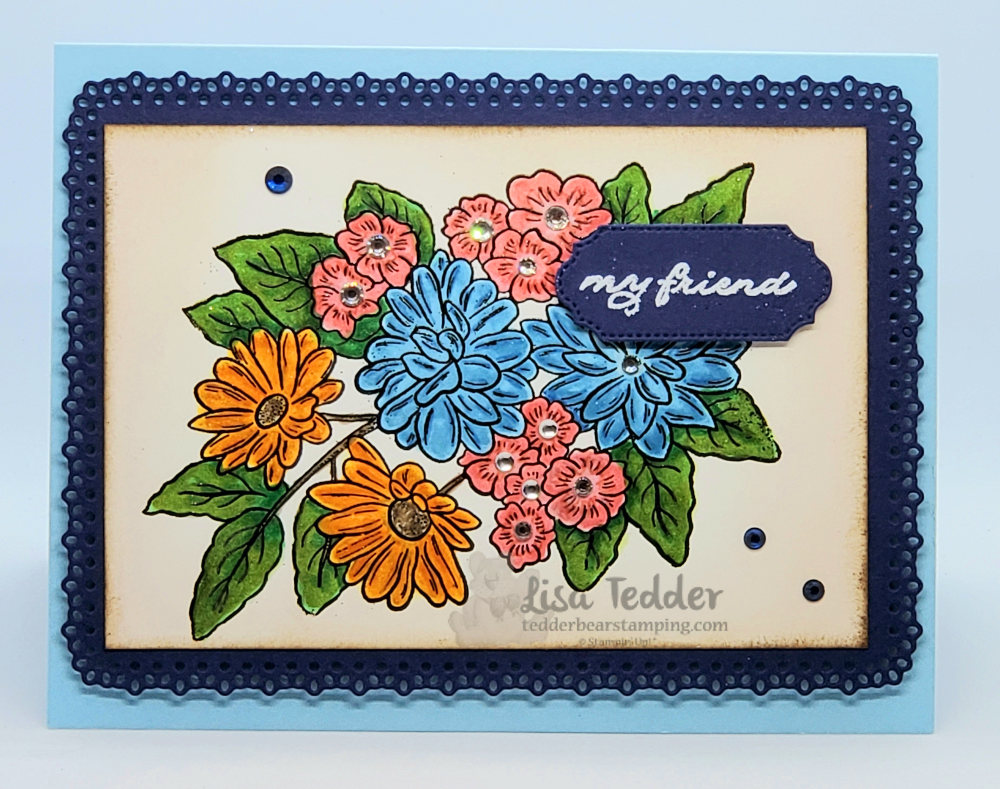
NOW onto the Very Pretty Pillow Gift that I featured on my video!

Pillow Gift for all Qualified Orders
Pillow Gift inside

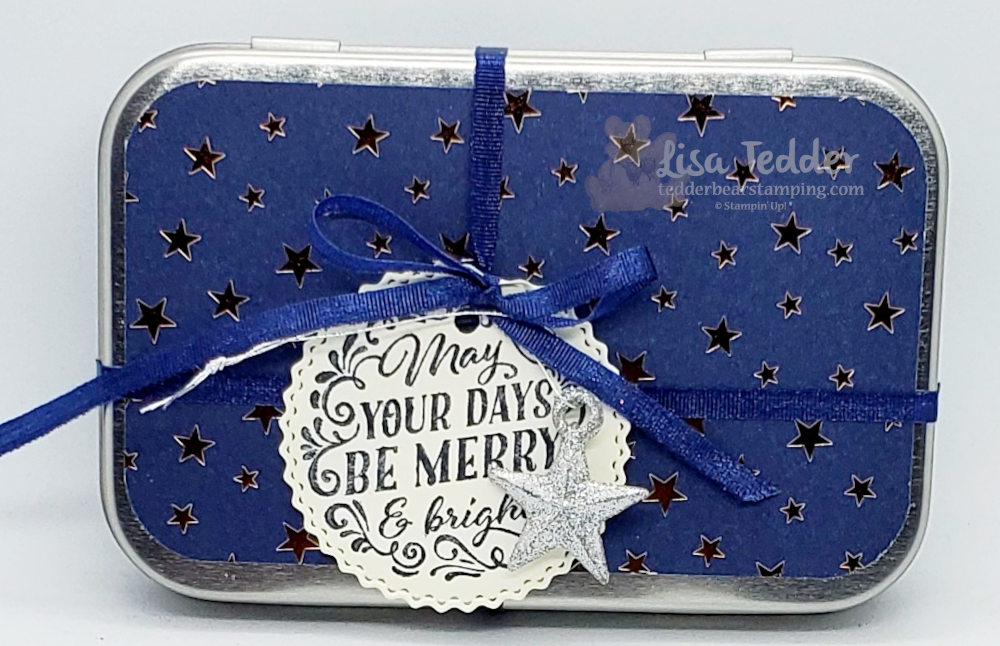
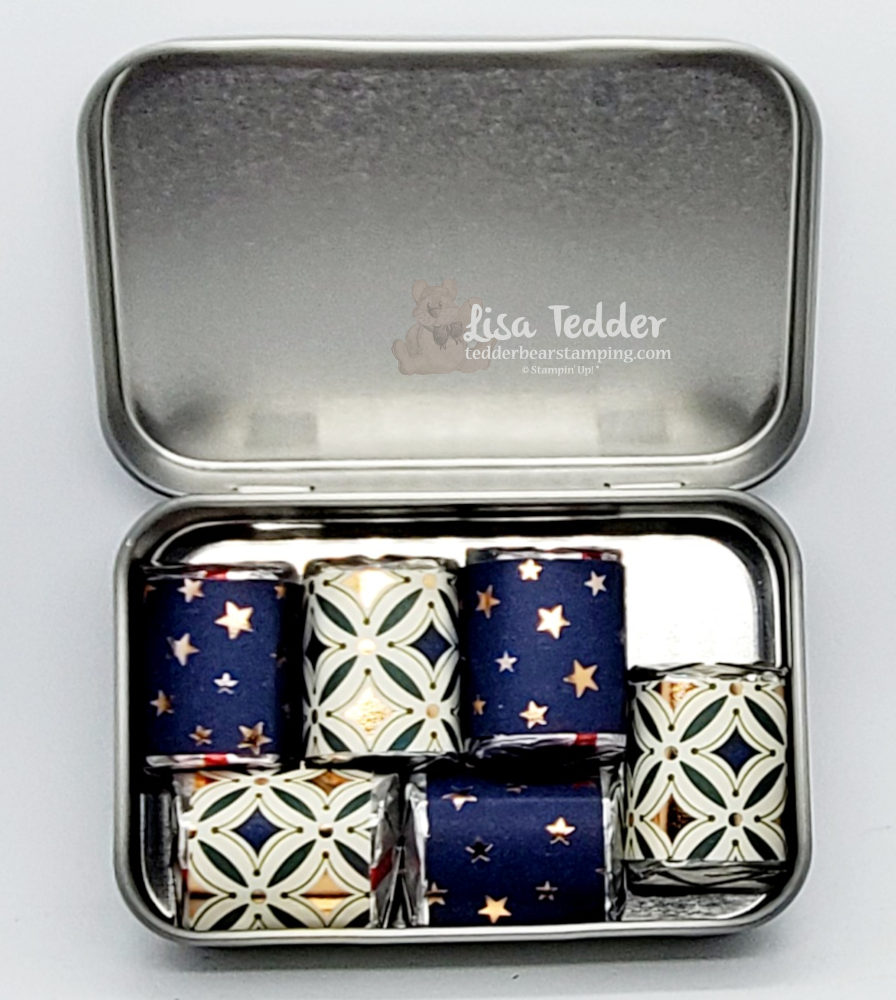
Incidentally, to get the Pillow Gift and All the supplies (sans stamps) to make both cards, you only need to purchase a *Qualifying order to get it all, while supplies last! Of course there is a time limit for this, you must purchase by next Tuesday (December 8th) so I can mail it out on Wednesday!

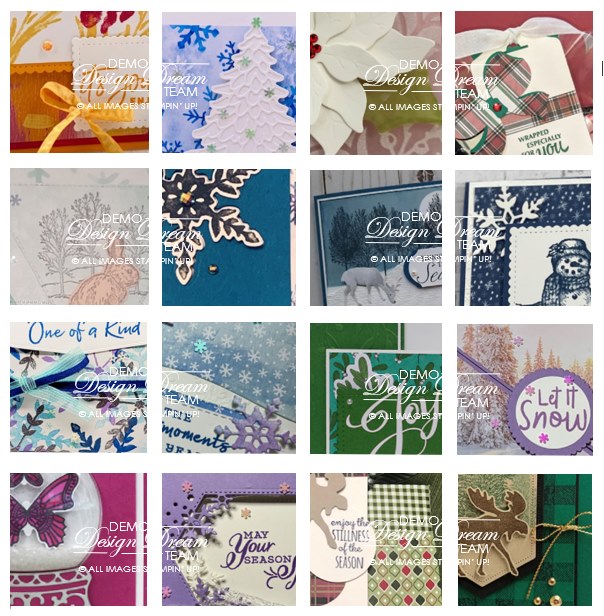
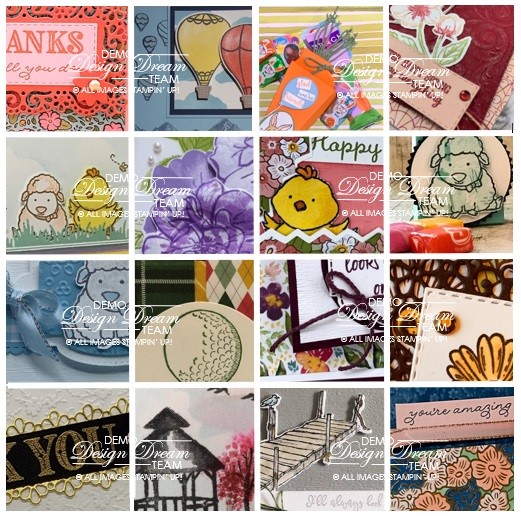
But wait, there’s more! heehee LOVE saying that! If you purchase the *Qualifying order amount you also get 16 project ideas with step by step instructions plus pictures! Here is a sneak peek to the projects:

If you tuned into my Over the Top Live today you will get to see my project for this!

Finally, all supplies are listed below in picture form, click on any of the pictures and you will be taken to my OnLine Store, remember to get all of the above you will need to purchase a *Qualifying order of $35 or more!

Thank you so much for stopping by! Consequently, when I go Live next time, every Thursday at 4:00 eastern, I hope you can join me! I really love talking to you during my Live.

Lisa Tedder
A North Carolina girl who still loves California

*Qualifying purchase is $35 or more

Product List

Seamless Blending of colors that draw your eye

Hey Guys!

Oh my Gosh you guys I LOVE how this card came out! Especially since I sent them out to my direct Team members, they loved them and wanted me to make a video so they could learn how to make it! Namely, how to Seamlessly blend the colors to draw your eye to the center. Subsequently you can find the video here. As you will see in the video it’s pretty simple if you follow one rule: Start OFF your paper first! It also helps if you rub either your sponge or brush, a little after inking up on a scratch paper before touching your project. First off, take a look at my card, can you see that I have 2 different ink colors PLUS the color of the cardstock?

See how you can blend colors to create a scene that draws your eye to the subject, seamlessly!?

To start with I began with a piece of Seaside Spray cardstock, I then sponged with a make-up brush Pacific Point around the edges leaving the middle un-inked. Second, I came in on top of the Pacific Point and went over the cardstock with Night of Navy, not quite going as far as I did with the Pacific Point. Thirdly, I stamped the tree from Life Is Beautiful in the center using Soft Suede ink. Lastly I sponged the sides with Night of Navy to make it really dark on the edges and fade to the light color in the middle. Can you see how seamless the blending is and how it really draws your eye in towards the tree in the center? Now, I DID emboss the snowflakes before I sponged the edges but it doesn’t matter if you do the sponging first.

As always here are the specifics for my card:

  • Stamps: Life is Beautiful
  • Inks: Night of Navy, Pacific Point, Soft Suede, Versamark
  • Paper: Night of Navy 8 1/2″ x 5 1/2″ (scored @ 4 1/4″), Whisper White 5 1/8″ x 3 7/8″ (x2) & 2″ x 3 3/4″, Seaside Spray 5″ x 3 3/8″
  • Misc: Elegant Faceted Gems, Paper Trimmer, Take your Pick tool, stamping sponges & make-up brushes

For the most part EVERYTHING listed above, excluding the make-up brushes, can be found on my OnLine Store. As a result of you ordering $35 or more from my Store you will receive from me SIXTEEN project designs with step by step instructions WITH pictures, in a pdf! Finally, you can click on any of the supplies in picture form below to be taken to my site so you can Shop with me!

Incidentally, I have another sponged scene that I did in the past, but for that one I only used sponges, you can see it here. Therefore, sponging doesn’t HAVE to be done using the make-up brushes, it makes it easier, but sponging can get the same result.

Lastly, I hope you know how much you mean to me! Just the fact that you come here and read what I wrote and watch my video means a lot to me. In brief, please come back again, and leave comments even if it’s to say you enjoyed my post.

Lisa Tedder
A California girl living in North Carolina

Product List

A new way to Color!

Hey Guys!

Today I am sharing with you a New (to me) way to color, I have really never liked to color using Markers, it always seemed too…….much. I love to color straight onto my stamp sets using markers, but not to actually color an image once stamped. Stampin’ Blends are my go-to for coloring because they are easy. Moreover, they let you shadow really well, the only problem with Blends is when you use Embossing Powder on your project. For some reason they get muddy when they touch the embossed part. Even though I try to NOT touch the embossed part, inevitably I always do. Here is my card so you can see why I had problems with Blends.

Colored with Markers

As you can see, this is a pretty busy stamp, It’s called Ornate Style, the embossed parts are close together. Now, I could have stamped and not embossed, but I love the way the embossing is shiny and really lets the image stand out. Furthermore, I never thought of blending with markers! So, I used two different colors to make it look like it did when I used Blends. It came out MUCH better than I thought it would, in fact I love it! Now I will have to do this more often! I then sponged the white cardstock with Crumb Cake and then the edges were sponged with Early Espresso.

Also, I used other items from the Suite in the upcoming 2020-2021 Annual Catalog from Stampin’ Up! The dies I used are called Ornate Layers and the other stamp set is called Ornate Thanks & I am in love! Doesn’t everyone like playing with new goodies?! The great thing about this Suite is that you can get it now, (some of the dies are on backorder) and it will be good until the end of the Upcoming catty and possible longer! For those of you who like getting the discount when you order bundles, I will honor the bundle price and give you 10% off your dies when you can order them. Since it will be around a long time, there will be lots of time to create projects using it! Plus, there are a TON of project ideas on Pinterest, you will be kept busy for sure!!

As usual, here are the specifics for this card:

Stamps:
Ornate Style
Ornate Thanks

Inks:
Versamark
Crumb Cake/Early Espresso for sponging edges
Markers: Balmy Blue/Pacific Point, Mango Melody/Pumpkin Pie, Calypso Coral/Flirty Flamingo, Old Olive/Mossy Meadow & Soft Suede for stems

Paper:
Balmy Blue 8 1/2″ x 5 1/2″
Night of Navy 5 1/2″ x 4″, scrap for sentiment
Whisper White 4 3/4″ x 3 1/4″

Misc:
Embossing Buddy
Heat tool
Black Embossing Powder
White Embossing Powder
Ornate Layers Dies
Ornate Frames Dies
Noble Peacock Rhinestones
Basic Rhinestones
Wink of Stella
Dimensionals
Stampin’ Sponges

Also, you will find the same supplies listed below in picture form, click on any of them to be taken to my OnLine Store! Purchase $35 or more from me and you will Receive not one but TWO sets of project files with over 50 (combined) tutorials with pictures! Here is a sneak peek of just one set:

Tutorials with pictures/supplies

I really hope you are taking this ‘down time’ at home and are playing with your stamps. When I woke up this morning I felt down…….I told myself to go down to my office and make something pretty, THAT always makes me happy. I hope that you are taking care of yourselves and making pretty things too!

Please stay safe, do something creative and send some Happy Mail! Come back soon!

Lisa Tedder
A California girl living in North Carolina

Product List

Here’s a GREAT Masculine card!

Hey Guys!

I know that you must think that I have backslid from my promise that I would continue posting. Two weeks ago, I went to Disney World with my family and near the end of our trip, I got sick. 🙁 Ends up, that my husband and Son got the flu, thankfully I ‘think’ I just got a cold. I’ve been trying to catch up on making cards so I can show them to you!

Here is the first card I made when I came back……. I was thinking that I wanted to play with the NEW stamp set from Stampin’ Up! called By the Dock…..but I also thought that the dimensions of the set would work great with the set Best Catch. And it did! It totally looks like they are from the same set! Ya think?

Don’t you think the little fish peaking out at the fisherman is so cute?! I had to chuckle when I decided to put him in. Water scenes are one of my favorite things to stamp. Not sure if it’s because I was brought up fishing with my dad, or any kind of water just makes me calm and happy.

Here are the specifics for this card:

Stamps:
By the Dock
A Good Man (for the sentiment)
Best Catch

Inks:
Night of Navy
Pacific Point
Early Espresso (all stamps were inked with this ink)
Blends: Dark/Light Crumb Cake, Ivory, Balmy Blue for rings around man/fish
White Gel pen

Paper:
Night of Navy 8 1/2″ x 5 1/2″
Whisper White 5 1/8″ x 3 7/8″
Seaside Spray 5″ x 3 3/4″, scrap for sentiment

Misc:
Classic Label punch
1″ circle punch (for moon)
Sponges
Post-It Removable Labeling Tape (for making horizon and moon)
Mini Dimensionals
Wink of Stella

All of the SU! supplies will be in picture form below, click on any to be taken to my OnLine Store! For any purchase you make I will send you a handmade card AND a file full of 35+ tutorials! Every month I have new tutorials, so every time you order you will get this gift from me! I love that you follow me and definitely want you to know that I appreciate it! If there is anything I can do for you, or help you in any way, please let me know!

Thanks for stopping by!

Lisa Tedder
A California Girl living in North Carolina

Product List