Tag Archives: hand made

Star Wars Birthday card-Punch Art

Hey Guys!

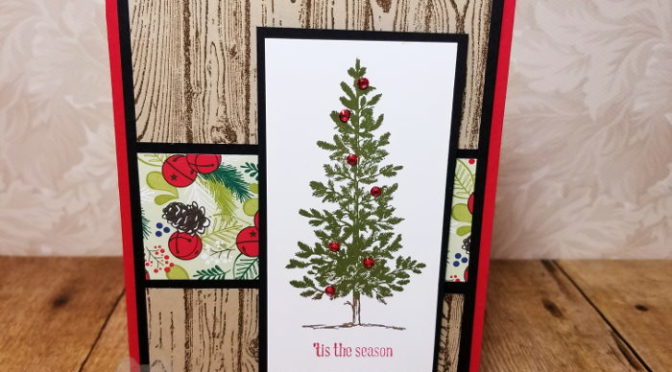
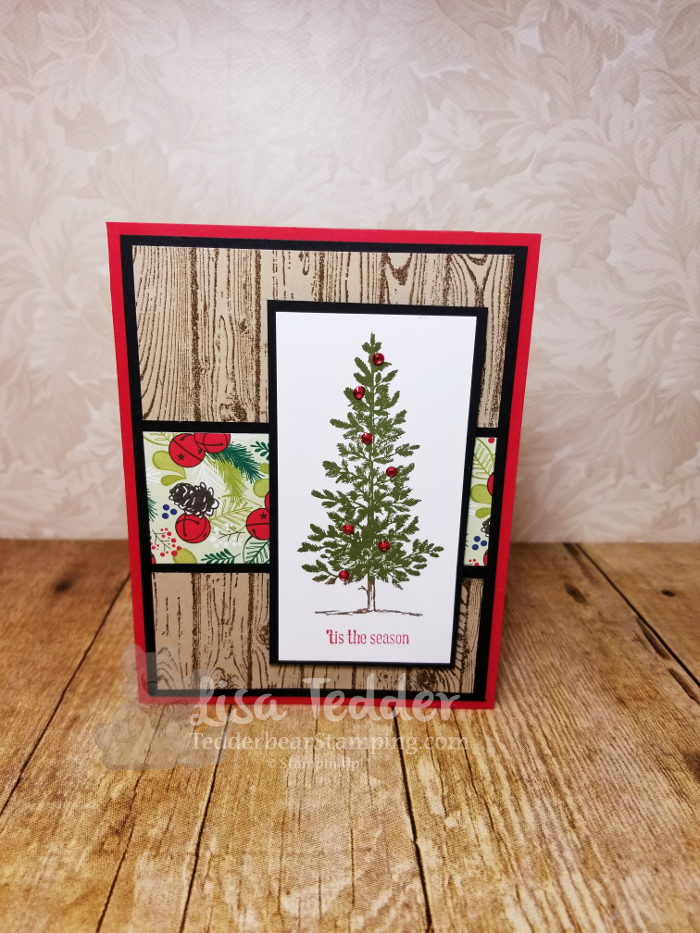
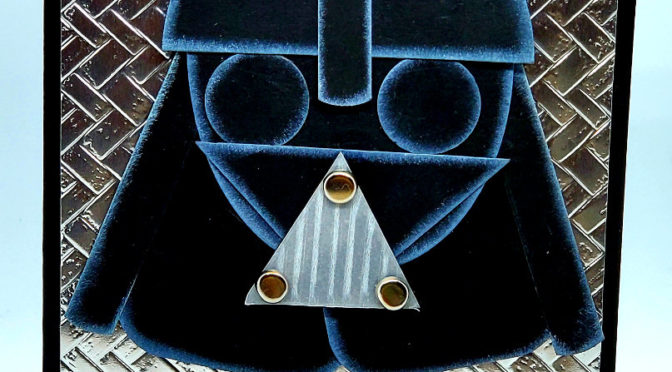
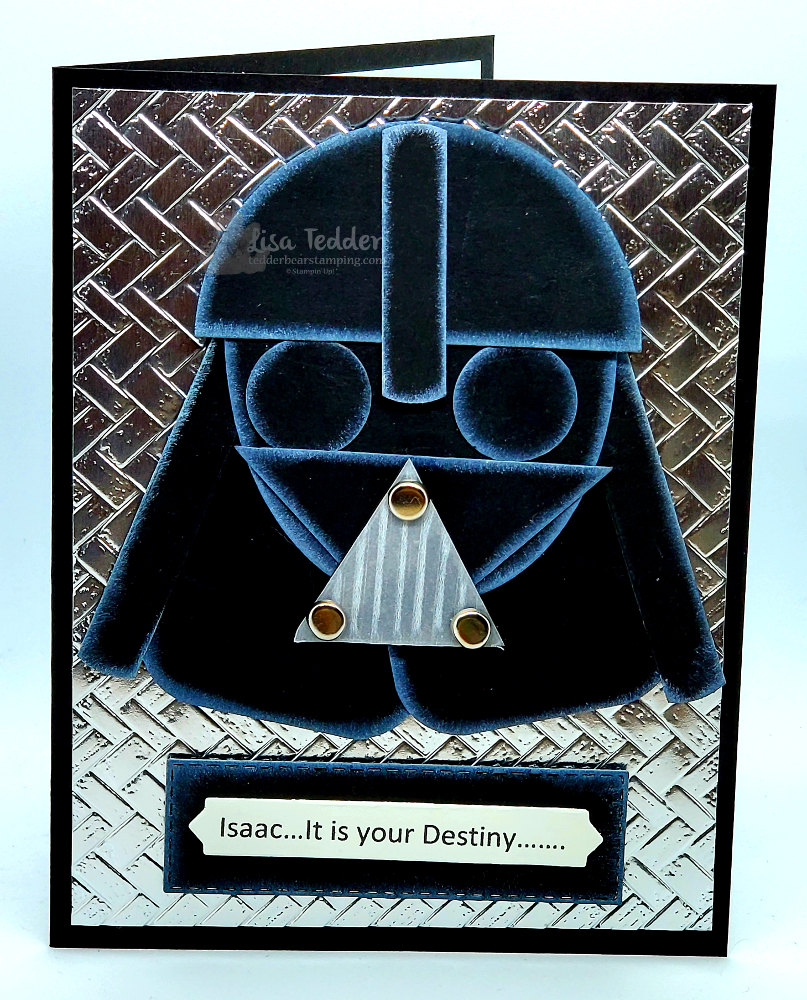
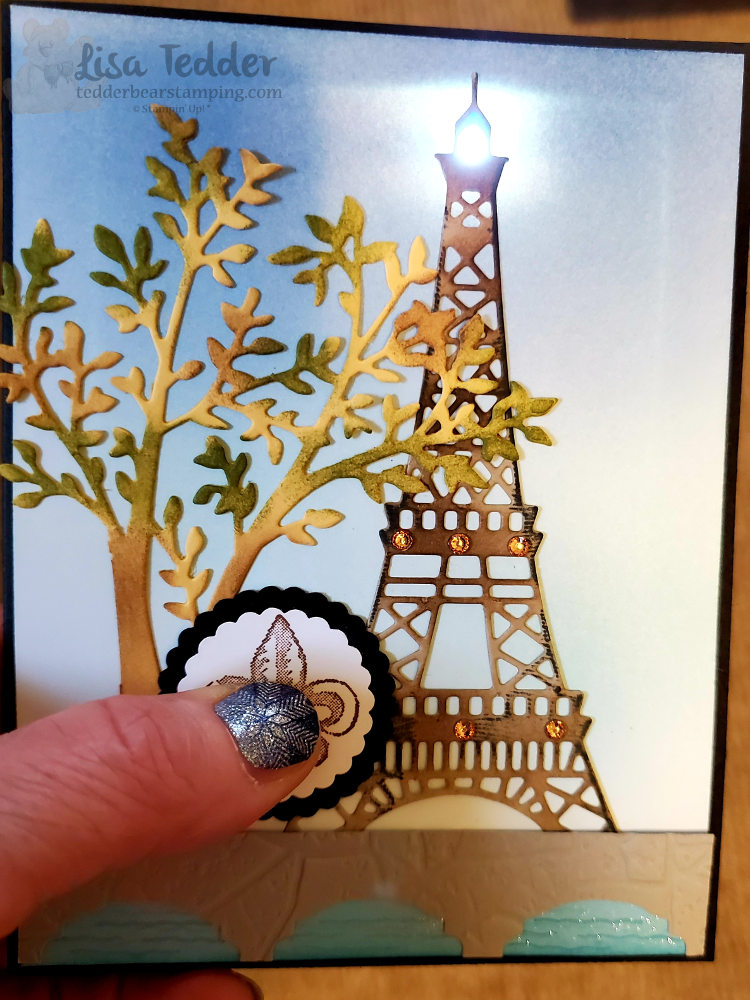
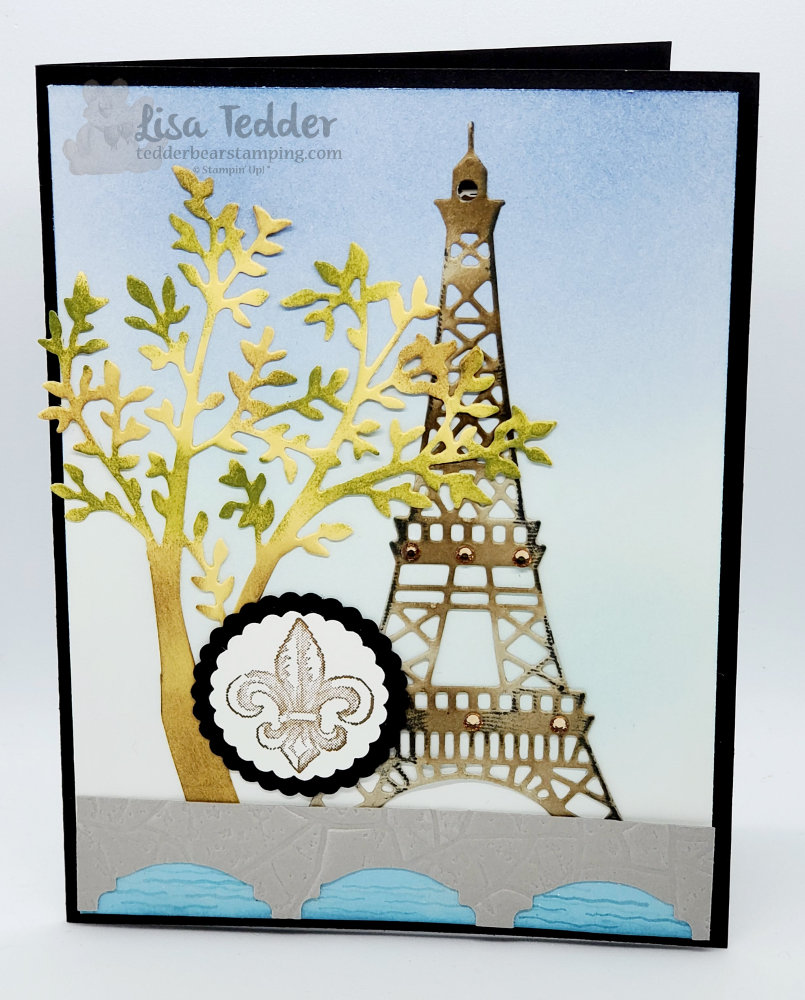
Ever year I make a Star Wars Themed Birthday card, you can see one here, here and here. So, after MUCH thought and stress……(I am NOT a Star War fan myself) this is the card I made this year:
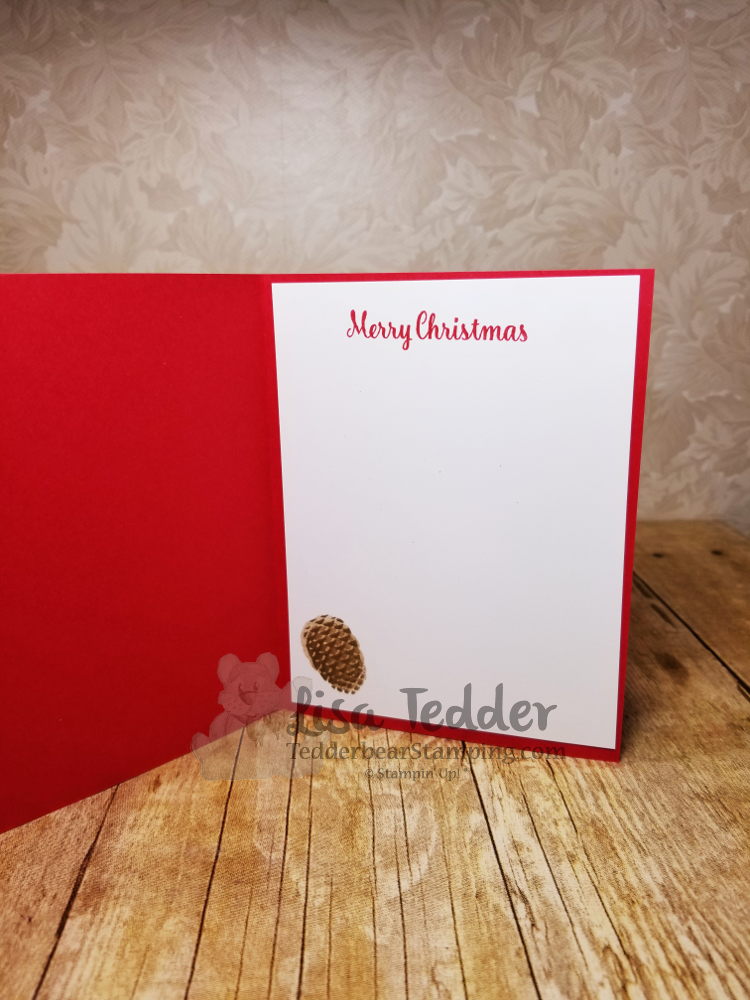
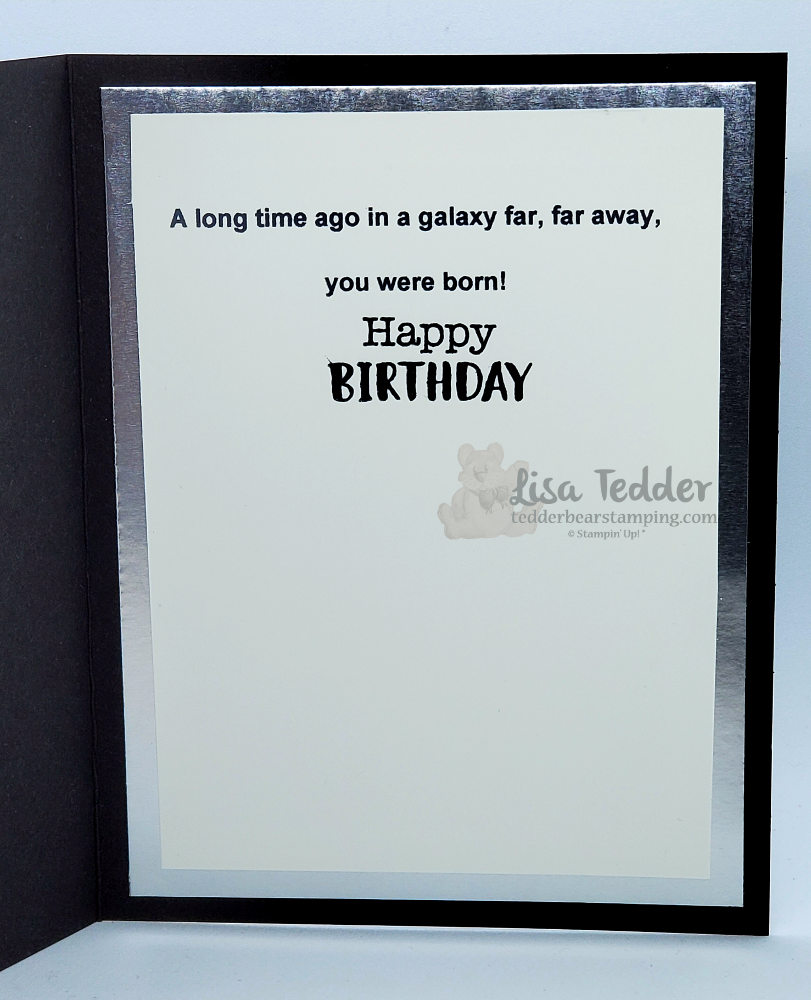
And the inside:

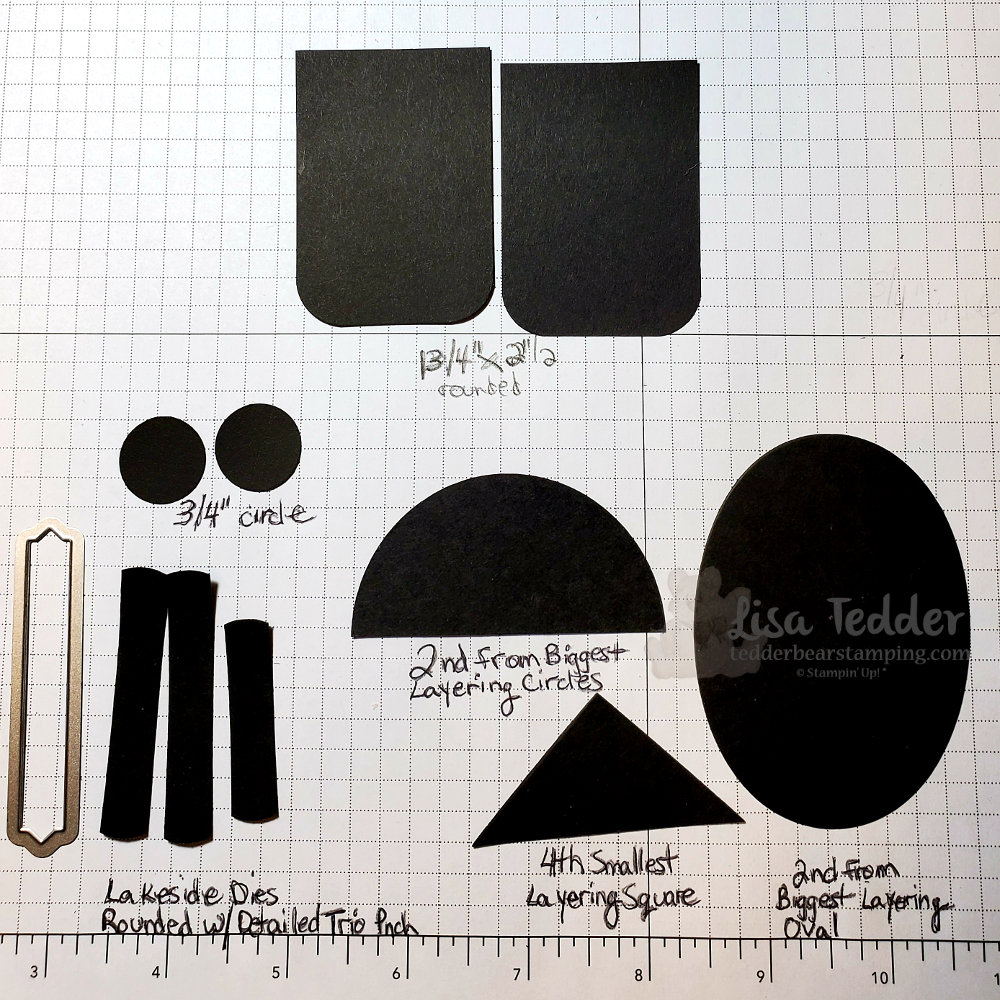
To make this card I used only current supplies from Stampin’ Up!, I took a picture of all the dies all ready to go (except for one triangle that I had to fussy cut to get it the right way).


Funny how this goes each and every year……
I think for MONTHS trying to think which Character I can make, then it gets down to the wire. So, after a lot of research, I finally pick which one I’ll do. It’s trial and error, but it ends up a labor of love. My daughter is going to frame all of them at some point, so I want them to be worthy!
Of course, when Isaac goes to open the card, he BARELY pays attention to the card at all! He is just too excited about the $5.00 I always put inside. Then, my daughter calls him back after he runs off with the cash, and makes him look at the card! hahahaha Eventually, I figure that he will appreciate the effort taken for the cards, but for now I know that MY baby girl loves them! 🙂
Any ideas for me for NEXT year? It’s never too early to start planning!

As usual, here are the specifics for this card:

Stamps:
Wiggle Worm (for Happy Birthday)

Inks:
Memento Black
White Craft

Paper:
Basic Black 8 1/2″ x 5 1/2″, scraps for all the pieces
Silver Foil 5 1/4″ x 4″, 5 1/8″ x 3 7/8″
Vellum scrap for lined piece on face (black behind it)
Whisper White scraps (I printed the sayings), 3 1/2″ x 4 3/4″

Misc:
Layering Circle Dies – 2nd from Biggest
Layering Square Dies – 4th smallest
Layering Oval Dies – 2nd from Biggest
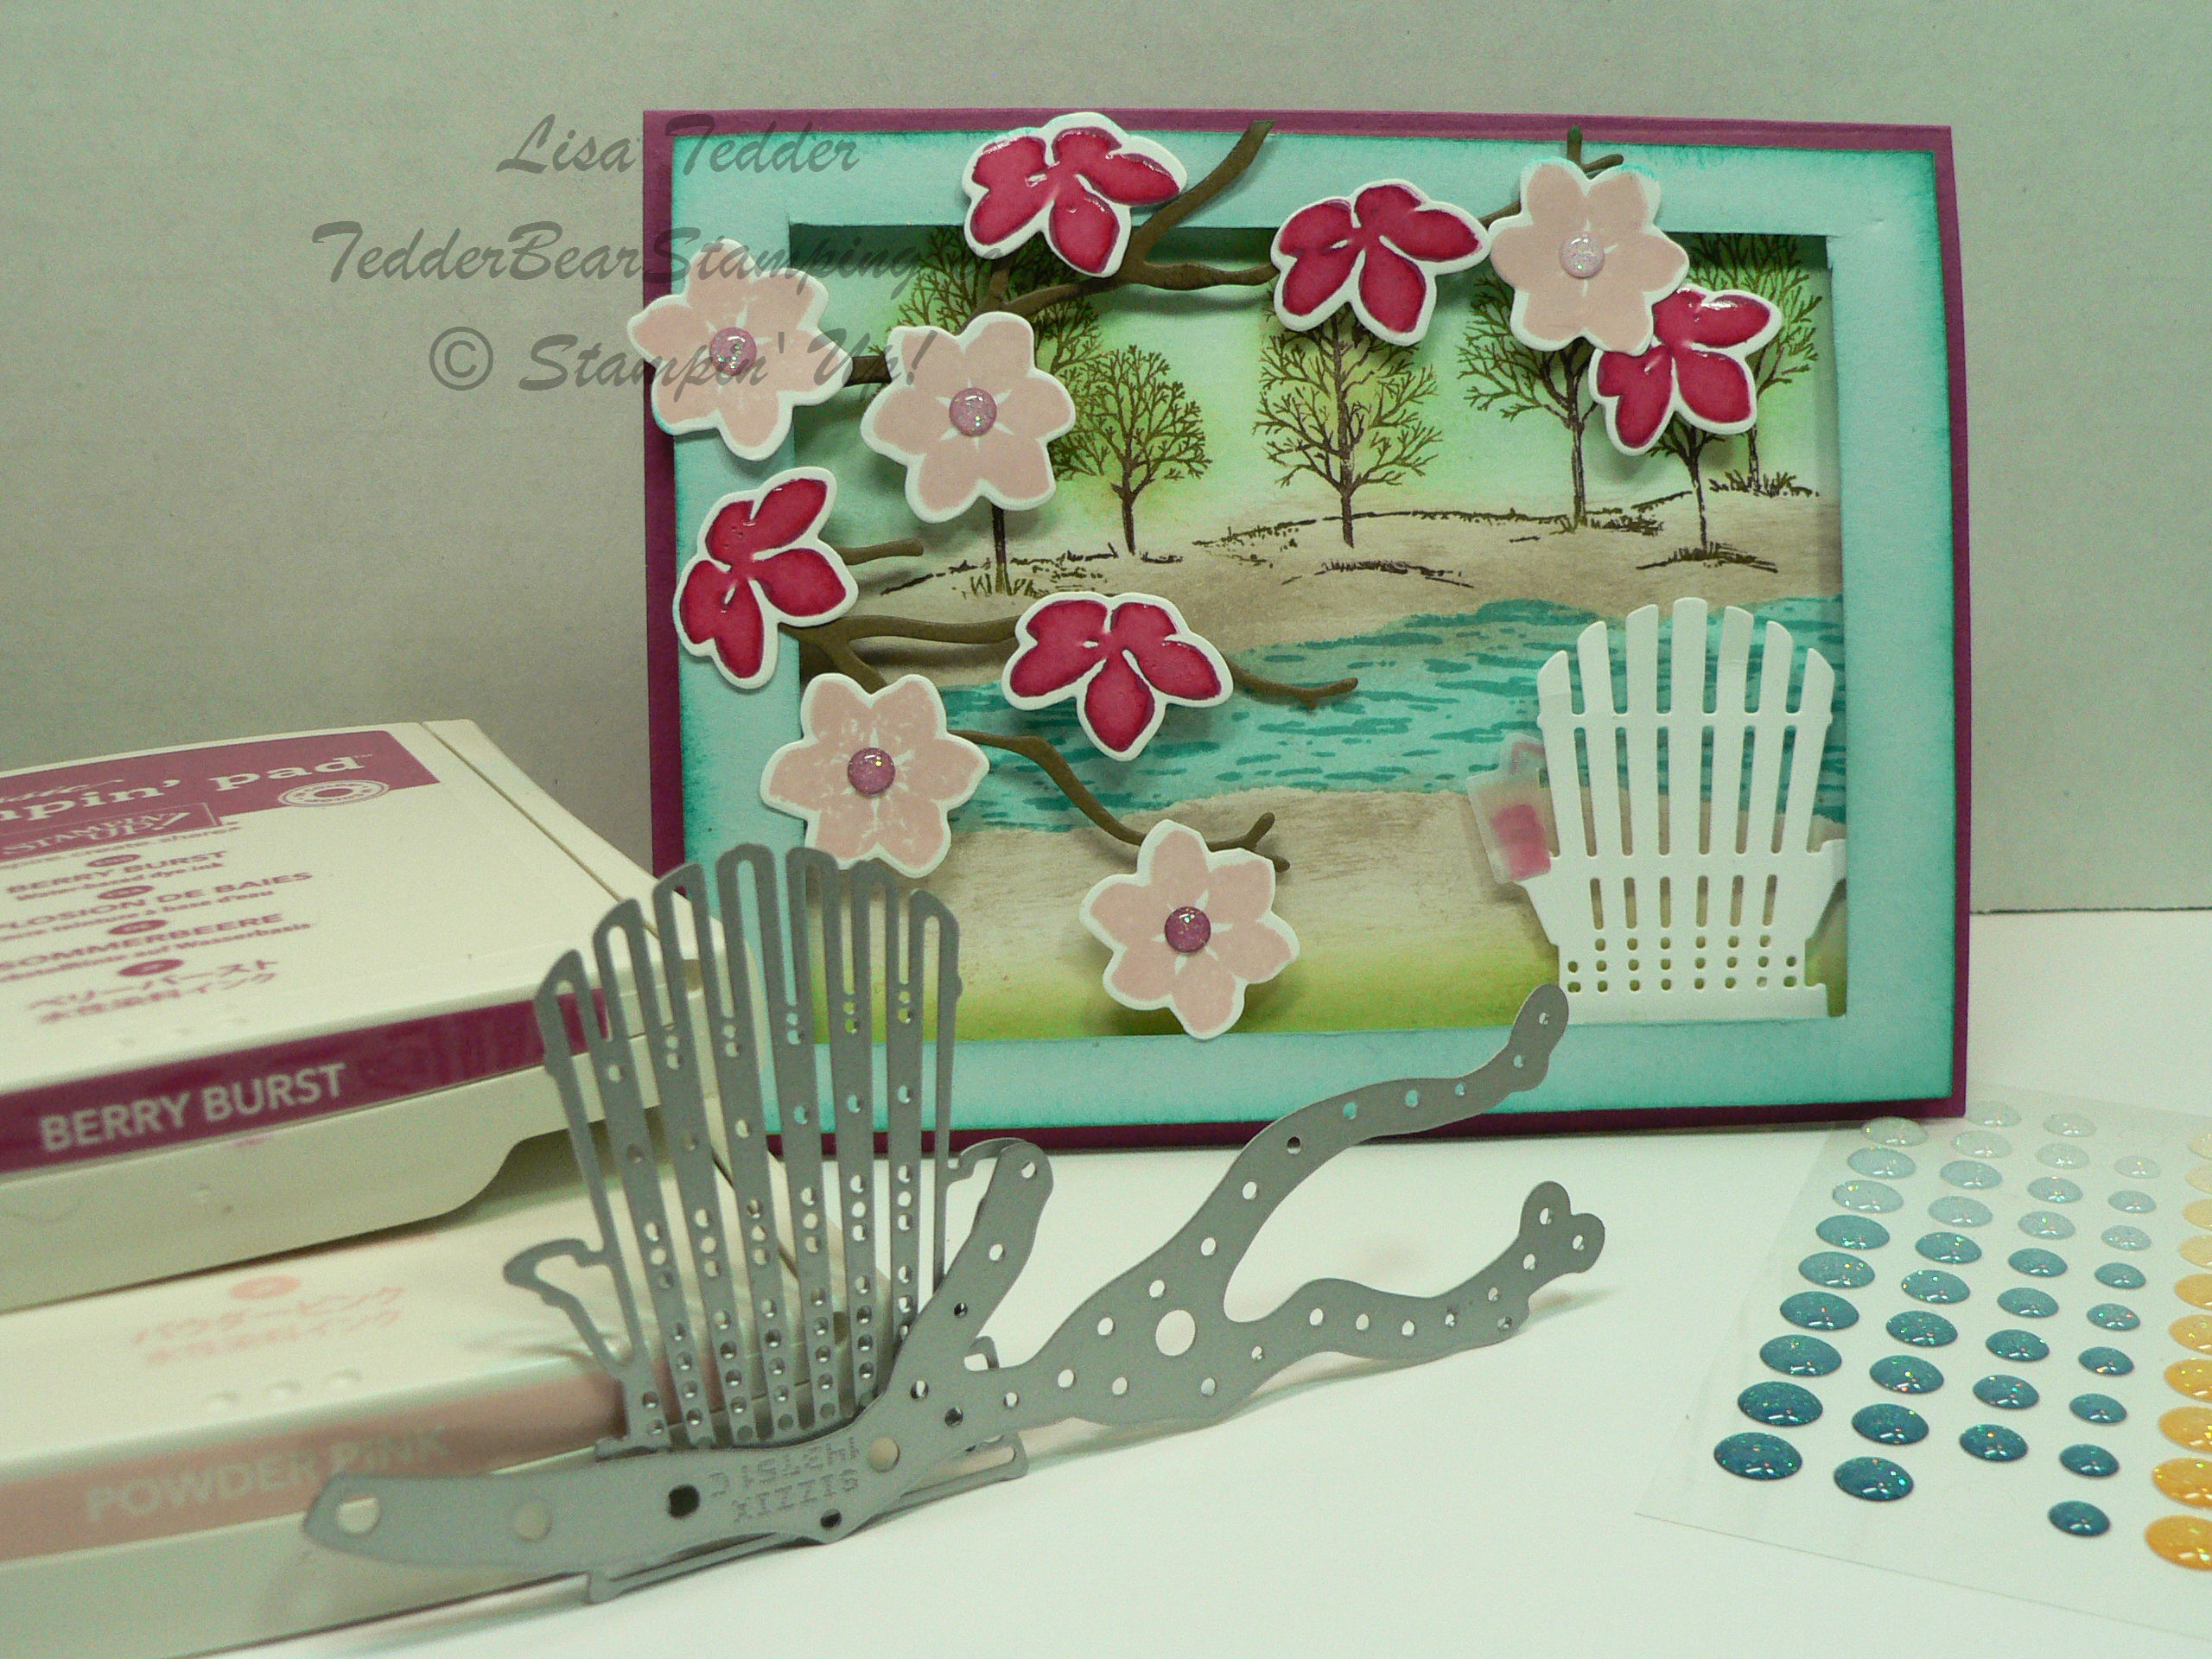
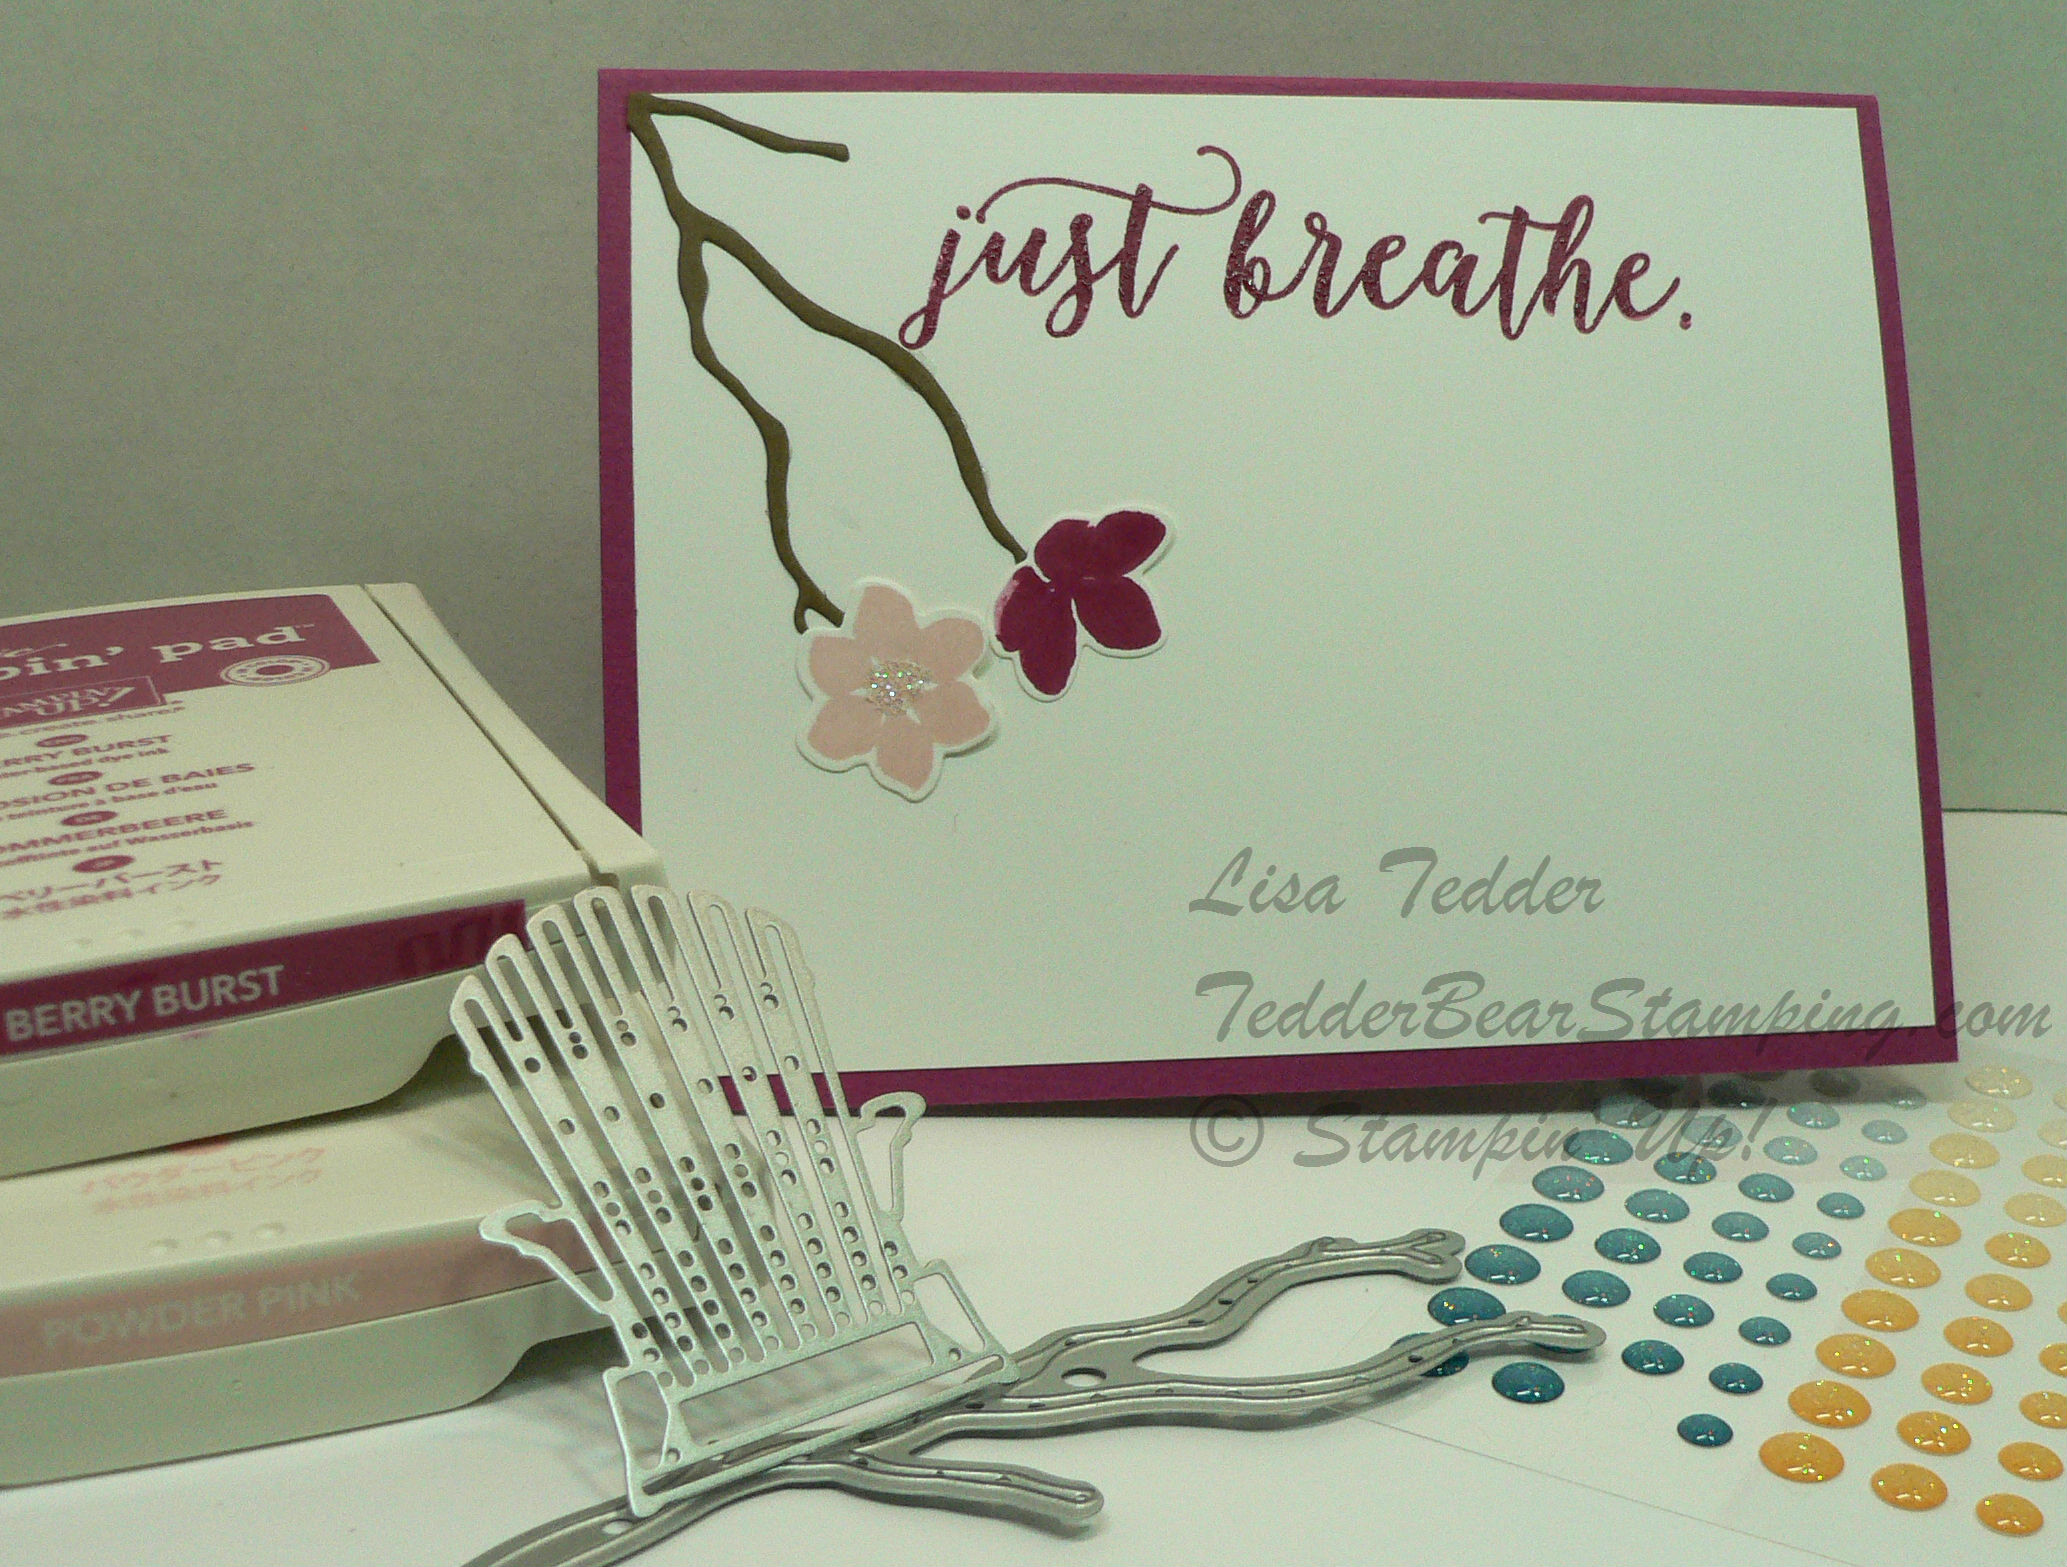
Lakeside Dies
3/4″ circle punch
Detailed Trio Punch
Coastal Weave 3D Embossing Folder
Metallic Brads
Dimensionals
Sponges

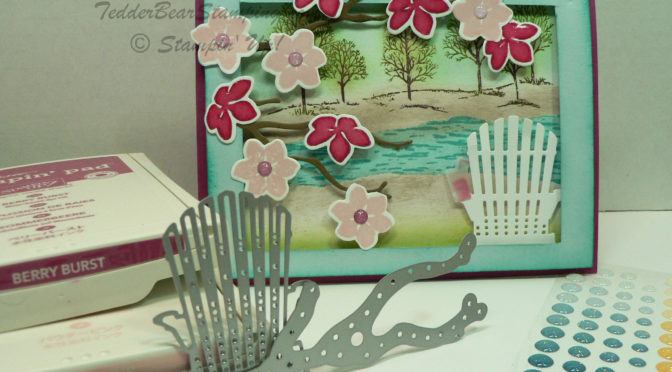
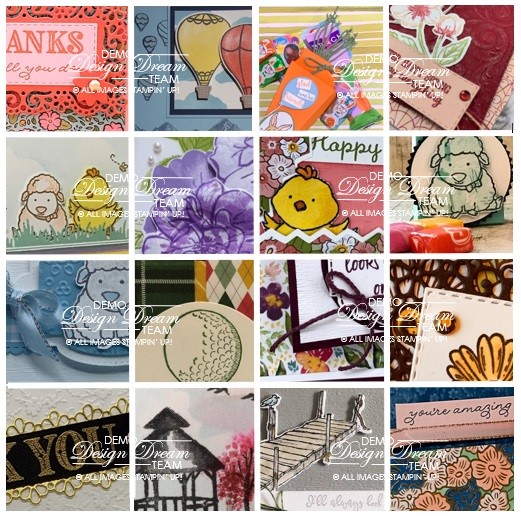
Below you will see these same supplies in picture form, click on any of them and you will be taken to my OnLine Store. IF you purchase $35 or more from me, you will get a special treat from me!! Not only will I mail you a handmade card, BUT you will get not 1 but 2 sets of Tutorials for making over 60 cards!! Can’t beat a deal like that!! Every month is the same deal, the tutorials change every month! Here is a sneak peek of just ONE of the tutorials:

16 Tutorials!

I really hope you are staying healthy and safe! Sheltering in place is a great opportunity to get your crafting in! Also, if you want me to send you a NEW Catalog from Stampin’ Up! come June, please let me know! I would love to help you find your creative outlet!

Lisa Tedder
A California girl living in North Carolina

Product List

Eiffel Tower all lit up!

Hey Guys!

Today I am sharing with you a light up card! I love these! They are so much fun! Next year, I am planning on going to see the Eiffel Tower (thank God it’s not THIS year!). I saw this card where someone made a bridge with water under it, and the Tower is in the background. I am not sure that they used Stampin’ Up! stamps, so decided to make one using Parisian Beauty. Here is my card lit up:

Not only did I use the Parisian Beauty stamp set, but I used the punch Label Me Fancy! This is what I used to make the bridge. I tried so hard to make them evenly spaced, this is as close as I could get. Also, I used Wink of Stella to highlight the water to give it that bit of sparkle!! If you lay the Smoky Slate piece of cardstock onto a grid sheet or against a ruler, make marks at these spots: 5/8″, 2″ and 3 5/16, then put the punch into these spots and only go part way up (look at picture to see how far) making the marks in the middle of the punch. This way it will make your waterway!

In the light of sharing with you the lit up version, I HAD to show you the card (a little more professional pic) when it’s NOT lit up:

Of course, I used a lot of bling by using Champagne Rhinestones, because you are not always going to have it turned on! The tree came from the die Sweet Silhouettes. Sponging the So Saffron cardstock after it was die-cut with Soft Suede and Garden Green, really makes this ‘tree’ look like the sun is hitting it in spots! Make sure you leave some yellow to give it that sun kissed look!

Furthermore, I also sponged the Eiffel Tower with Soft Suede and then ran the Memento Black pad itself over parts of the sides. This was to make it look like it was antiqued. What do you think? Did I hit it, or is it a miss? For those of you who love light up cards, we are going to be making this card next week! Let me know if you want to attend!

As always, here are the specifics for this card:

Stamps:
Parisian Beauty

Inks:
Soft Suede
Garden Green
Balmy Blue
Memento Black

Paper:
Basic Black 8 1/2″ x 5 1/2″, scraps
Whisper White 5 1/4″ x 4″, scraps
Whisper White Thick 5 1/4″ x 4″
So Saffron scraps (to fit tree)
Crumb Cake to fit Tower
Balmy Blue 4 ” x 1/2″ (for water)
Smoky Slate 5/8″ x 4″

Misc:
1 1/8″ & 1 3/8″ circle punches
Sweet Silhouettes Dies
Champagne Rhinestones
Stone 3d Folder
Foam Adhesive Strips
Tombo Liquid Glue
Batteries/Lights
Label Me Fancy punch

Furthermore, below you will see all the supplies in picture form. Click on any picture and you will be taken to my OnLine Store! If you purchase $35 or more from me, you will receive a handmade thank you card AND two sets of files with 16 tutorials in one and the other has over 40 tutorials! Every month you will get different tutorials with each purchase, I hope you take me up on it!

Thank you for stopping by, please come again!

Lisa Tedder
A California Girl living in North Carolina

Product List

Bees, don’t you just love bees?!

Hey Guys!

Today I am sharing with you a card that I saw on Pinterest by Monica Gale.  I only changed up the yellow behind the ‘HI’, so technically I CASE’d it (Copy and Share Everything).

I fell in love with it as soon as I saw it and HAD to make it!  LOVE when that happens, it really gets my creative juices flowing!

I used the Large Letter framelits to cut out the HI, then placed some of the Delightfully Detailed Laser cut behind the panel, added dimensionals and then had the Mango Melody behind.  Colored the Bee  using the Mango Melody  Blend!

Here are the particulars for this card:

PROJECT 3: Hi
Stamp Sets Pg #
Dragonfly Dreams
Paper
Whisper White Thick 8 1/2″ x 5 1/2″
Whisper White 5 1/4″ x 4″ (x2), scrap
Mango Melody 5″ x 3 3/4″ (x2)
Inks
Memento Black
Blends: Mint Macaron light, Mango Melody Dark
Accessories
Large Letter Dies
Delightfully Detailed Laser Cut DSP
Classic Label Punch
Black Bakers Twine
Dimensionals
Wink of Stella/Whisper White Polka Dot Ribbon

Dazzling Diamonds with glue on wings

I was very happy with how it came out, can’t wait to see what my girls think when we do it in class!

Below are pictures of all the supplies used for this card, click on any of them and you will be taken to my OnLine Store!  Every Online order receives a gift from me!

If you are in the market for a Stampin’ Up! Demonstrator, I would love to be her!  Or you could join my Team and become a part of my SU! family!

Thanks for stopping by, hope you come back soon!

Lisa Tedder
A California Girl living in North Carolina

Product List

Dragonfly Dreams Photopolymer Stamp Set

Large Letters Framelits Dies

Delightfully Detailed Laser-Cut Specialty Paper

Whisper White 5/8" (1.6 Cm) Polka Dot Tulle Ribbon

Dazzling Diamonds Stampin' Glitter

Fine-Tip Glue Pen

Stampin' Dimensionals

Classic Label Punch

Whisper White 8-1/2" X 11" Thick Cardstock

Whisper White 8-1/2" X 11" Card Stock

Mango Melody Classic Stampin' Pad

Mango Melody Dark Stampin' Blends

Light Mint Macaron Stampin' Blends Marker

Big Shot

Basic Black Solid Baker's Twine

Christmas in July Card #5

Hey Guys,

Today I am sharing with you my Christmas in July card #5.  I’ve been sharing, so if you missed it-click on my header and you can find the others.

Today’s card uses the Greatest Stamp set, Lovely as a Tree by Stampin’ Up!  This stamp has been around for a long time, but it is very beloved!  I also used the Hardwood stamp set to get the wood look and some Designer Series Paper.  Check out my pictures below for the supplies and click on any picture to be taken to my Online Store.

Here is the card:

Here is the inside:

This is another easy, but fun card!

Come back for #6!  This is the one that I used for a ‘Bonus Card’, i didn’t have enough of the DSP to make three each for 10 people!

Thank you for joining me today!  I appreciate your support!

Lisa Tedder
A California girl living in North Carolina
Product List


Sneak Peek of Stampin’ Up! NEW stamps!

Today I am sharing a NEW stamp set due out in June from SU!, called Colorful Seasons!  I also used the Seasonal Layers Thinlits with it!

Here is what I made:

I want to be sitting in that chair drinking some tea and watching the water go by!  Don’t you?   To make this card look like it was in a frame, I made my own frame out of Soft Sky cardstock from Stampin’ Up!

I also used the stamp set Lovely as a Tree to give the scene some dimension!  I had this card in my head since Friday and I just HAD to try and see if I could get it to come out of my head onto card stock and look just as pretty!  I think I did, what do you think?

Here is a closeup of the flowers in the tree:

I cut out the stamped images using the Thinlit and then with the Berry Blast inked flower I added some of SU!’s Fine Tip Glue so it would make it look puffy and shiny!  Love these new Colors! For the light pink I used the NEW In Color Powder Pink!

Here is a side view of the card so you can see how I made it look framed:

All of the flowers and the branches come off the framed Soft Sky piece of card stock!  I DID add pieces of the Foam Adhesive Strips onto the back of not only the Soft Sky but also each flower, so they wouldn’t get squished down with mailing.  I wanted more space than what the Dimensionals would give me so that’s why I used it.

That adirondack (spelling?) chair is so stinkin’ cute!  Right?  Do you see the glass of ‘tea’ I have sitting there?

Here’s the inside of the card:

I hope to have more ideas for you in the near future, so be sure and subscribe to my blog to not miss out!

I’ve got some NEW Blog Candy to give away!!

It’s the Happy Heart Embossing Folder by SU!   I absolutely love embossing folders, hope you do too!  I will be holding the drawing on May 15th!  How do you get this for FREE!?  You either place a comment here (no limit to how many times) on my blog, or on my Facebook Page (no limit there either!),  That’s it!  How else can you get a Stamp set for FREE!?

Hope you enjoyed my post today and my Sneak Peek!!

Lisa Tedder
TedderBearStamping.com
A California Girl living in North Carolina

Product List