Tag Archives: Lemon Lime Twist 8-1/2″ X 11″ Cardstock

Show-Off Frog

Hey Guys!

I have always loved frogs.  As a Child I had an Aunt who made a HUGE deal everytime I tried showing her a frog in my hand……I would say “Guess what I have” she would not be able to guess so I opened my hands and there was a frog.  She would run away and act scared!  No matter how many times I would ask her she NEVER could guess what was in my hands!  LOL  Looking back of COURSE she knew what was in there, she was the BEST Aunt and I have VERY fond memories of her!

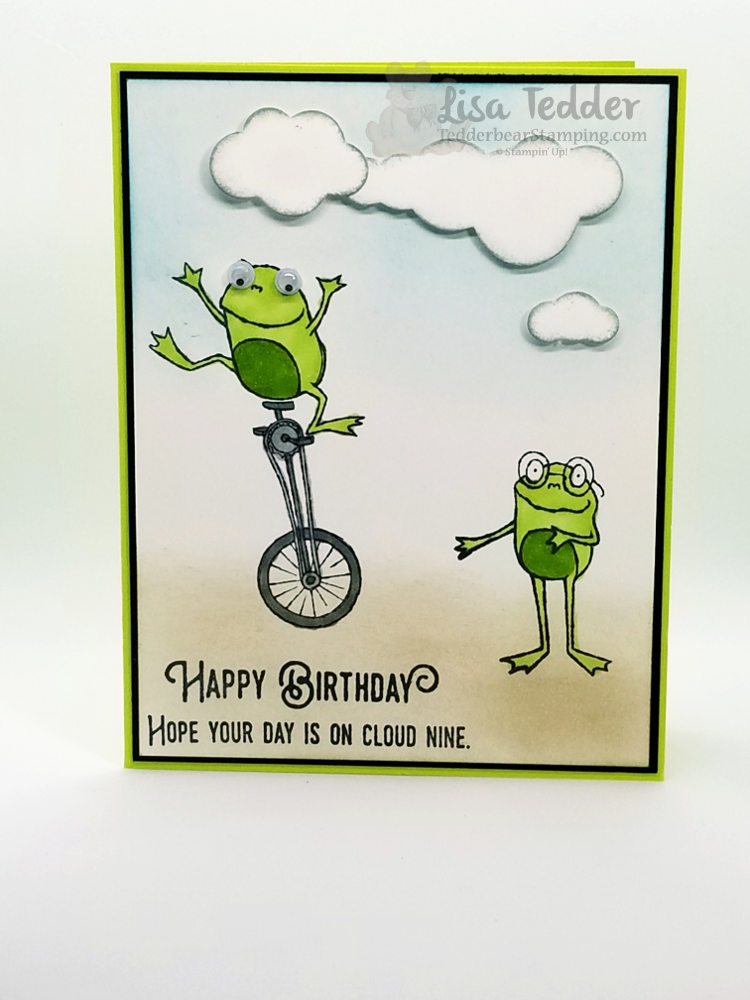
Here is my card:


So, when I saw this So Hoppy Together stamp set by Stampin’ Up! it brought back these fun memories and this was first on my list to get for free!  Free?!  What?!  Yes, for the first three months every year SU! has a Sale a Bration catalog that you can earn FREE stamps! But, time is almost out, you can only get this stamp set while supplies last or the end of March.  Go check out Pinterest and see how many ideas you can get using this set!

I love how it looks like this frog is almost falling off this bike and his buddy is cheering him on.  This is for my Kids card class coming up!  Too cute!

Here are the specifics for this card:

Project 2: Frogs
Stamp Sets Pg #
Hoppy Together
Lift Me Up
Paper
Lemon Lime Twist 8 1/2″ x 5 1/2″
Basic Black 5 3/8″ x 4 1/8″ (x2)
White 5 1/4″ x 4″(x2) scraps
Inks
Memento black
Blends: Granny Apple Green, smoky Slate
Balmy Blue
Crumb Cake
Smoky Slate
Accessories
Googley eyes
Up & Away thinlits
Vegas Gold Shimmer Paint
Dimensionals

Sponging the sky and ground make this scene come to life. I added clouds from Up & Away framelits after sponging them with Smoky Slate and then going over the sponged edges with Wink of Stella. This makes the clouds look like they have a silver lining!

Below are pictures of the supplies used, click on any of them to be taken straight to my OnLine Store!  If you purchase from me, I will send you a small gift to thank you!

I hope you enjoyed my post!

Lisa Tedder
A California girl living in North Carolina
Product List

<!——– TAMS End ———-

It’s a Sloth!!

Hey Guys,

My family has a very funny story about Sloths.  Since this time I have always had a special place in my heart for Sloths.  If you want to hear the story, just send me a msg and I will tell you.  I don’t want to bore everyone!  HA!

I was inspired by a card on Pinterest by Melissa Davies, you can see the card here.  I changed up SOME of the card, but the general idea was hers!  Thanks Melissa!

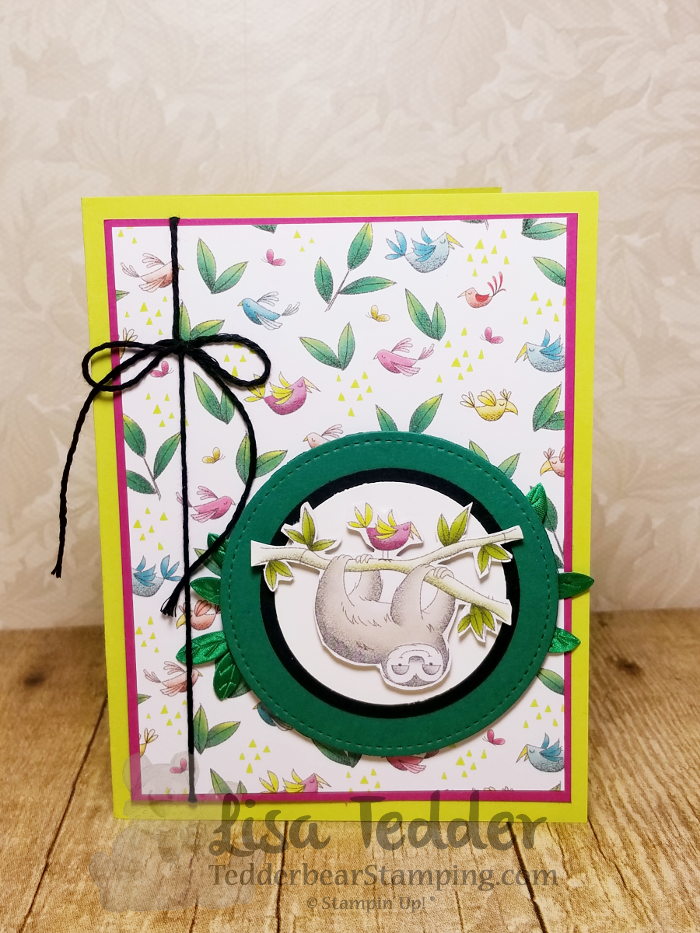
As soon as I saw the Designer Paper Animal Expedition I HAD to get it only because of this stinkin’ cute Sloth!  I wish it was a stamp, but he’s pretty easy to cut out, so I’ll take what I can get!

I used the Leaf ribbon because not only does it look awesome, but it’s so easy to adhere to the back!!

The supplies for this card are listed below, click on any picture to be sent to my OnLine Store!

Thanks for stopping by!!  I appreciate you supporting me!

Lisa Tedder
A California girl living in North Carolina
Product List

Technique Tuesday! Add a 3D element to any project!

Today I am going to show you how to make a 3D element using Mod Podge!  If you would like to see this in action, go to my YouTube video where I SHOW you how!

First, you will need to pick a shape you want to transform!  I chose two, the Pansy Punch and the flower from Eastern Medallions Thinlits.  I punched out 3-4 of each image with another one from DSP.  I chose the Eastern Palace since it was so pretty.

Take your Silicone Craft Sheet, a foam brush, Mod Podge and your cut outs.  Starting with the colored images, not your one cut from the DSP, spread a thin layer of ModPodge over entire surface with your Foam brush.  Then lay another layer of the image on top of that and repeat.  You will do this 3 – 4 times ending with the one you cut out of the DSP (do not put ModPodge on top).  Then you can cut into all layers if you want to manipulate the paper more than the design allows.  Keep working at it until you are happy with the shape.  Once done, you will spread Fine Tip Glue over entire surface, set aside to dry.

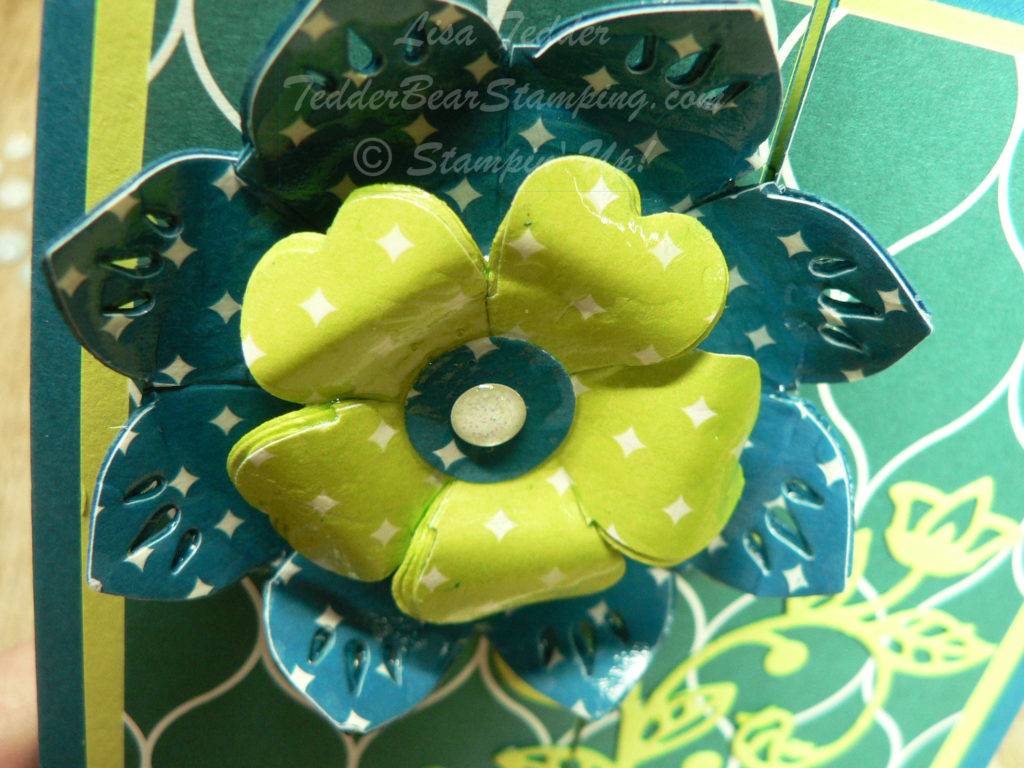
When dry, put your two pieces together as shown:

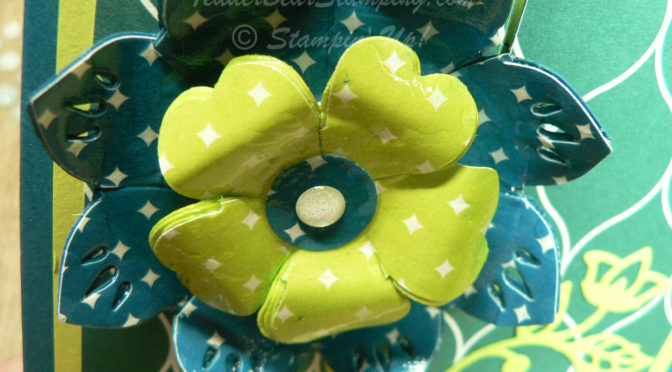
This is already attached to my card, but this gives you a close-up of what it looks like when dry.

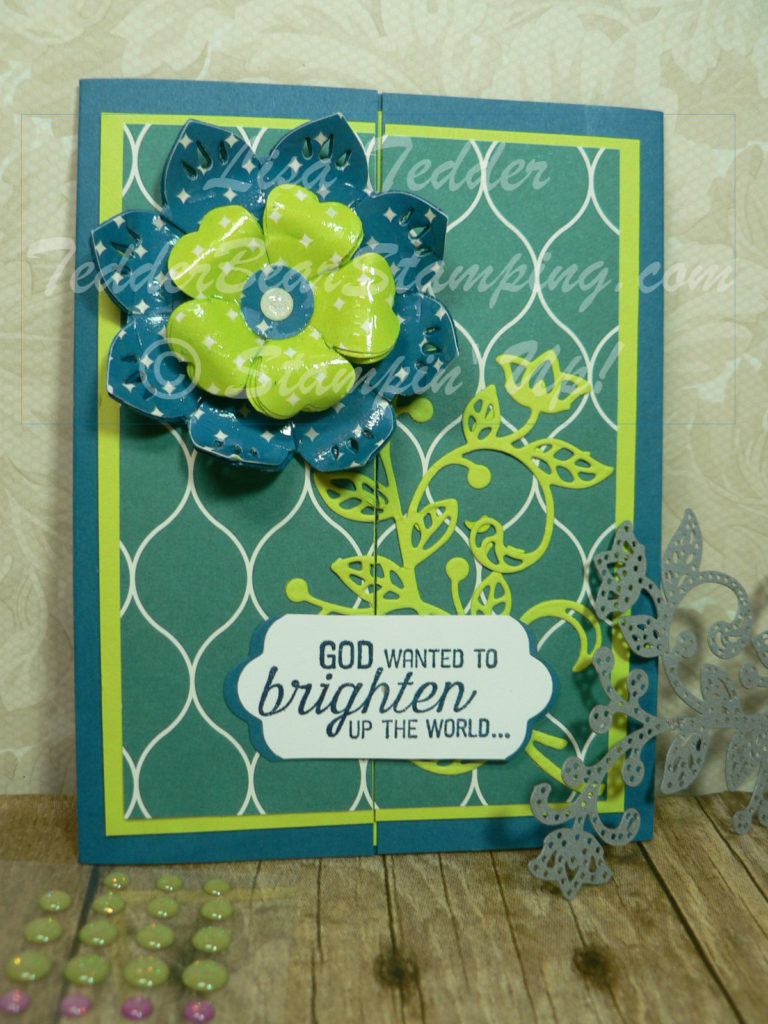
Here is a picture of the closed card:

In the video I show you how to apply the Flourish Thinlits and how to adhere it to the card!

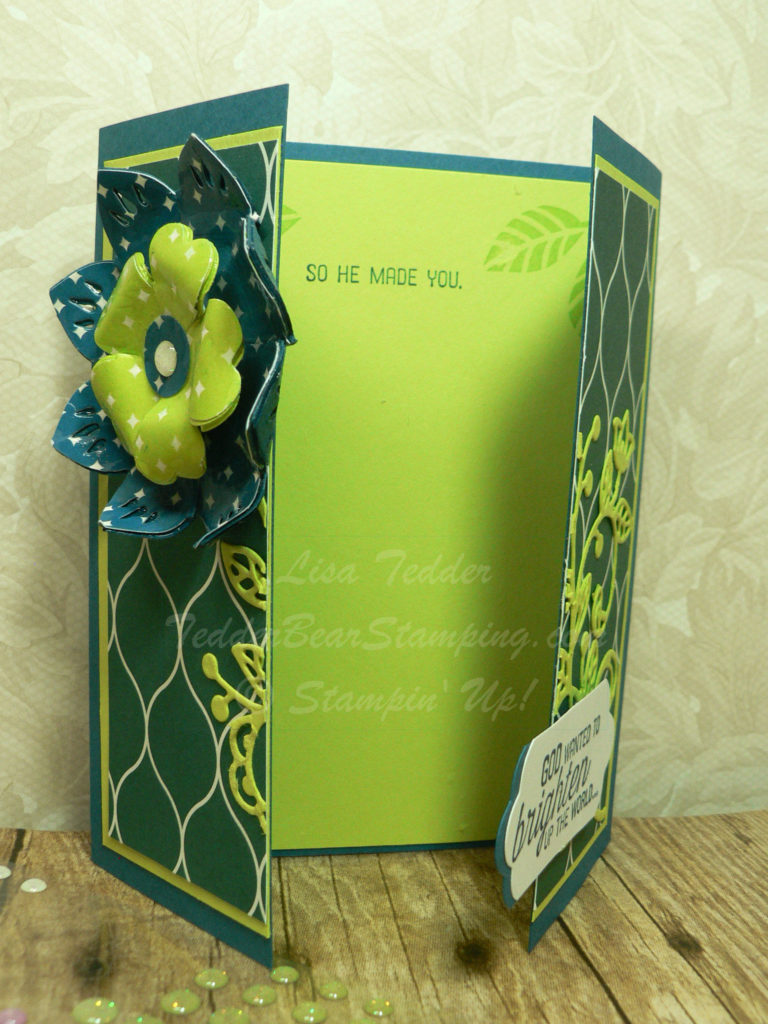
This is a Fancy Fold card, here it is open:

If you wanted, you could attach the flower on front with a Pin, and then mail it to someone who loves to wear brooches, or use it for a headband!  I have done in the past a 3d Rose, and that was gorgeous!

Please subscribe to my YouTube channel to be informed when a New Technique video is ready!  Tuesday is the day I chose, since Technique Tuesday has a certain ring to it, don’t you think?

And don’t forget to subscribe to my blog so you won’t miss out on anything here.

TOMORROW I have the drawing for this card:

Today is your last chance to either leave me a message on here, or on my YouTube page, if you click on that link you will be taken to the video where I made this card.  You will be AMAZED how much MORE prettier this card is in person!

I am off for now, until next time!!  As always I will have the list of the supplies used (below) for the card today, just click on any of the pictures to be taken to my OnLine Store!

Lisa Tedder
TedderBearStamping
A California Girl living in North Carolina

Product List