Tag Archives: Painted Glass Clear-Mount Bundle

Shadow Box using NEW 2018 Annual Catalog

Hey Guys!,

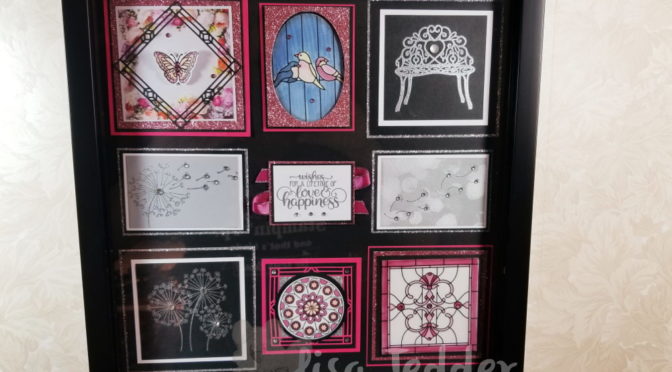
I made a video  and at the end I showed this Shadow Box. I promised I would have the measurements here on my blog so if you want to make it you can!!  It took a little longer than I promised, but at least I got it done!  Here is a picture of the Shadow Box:

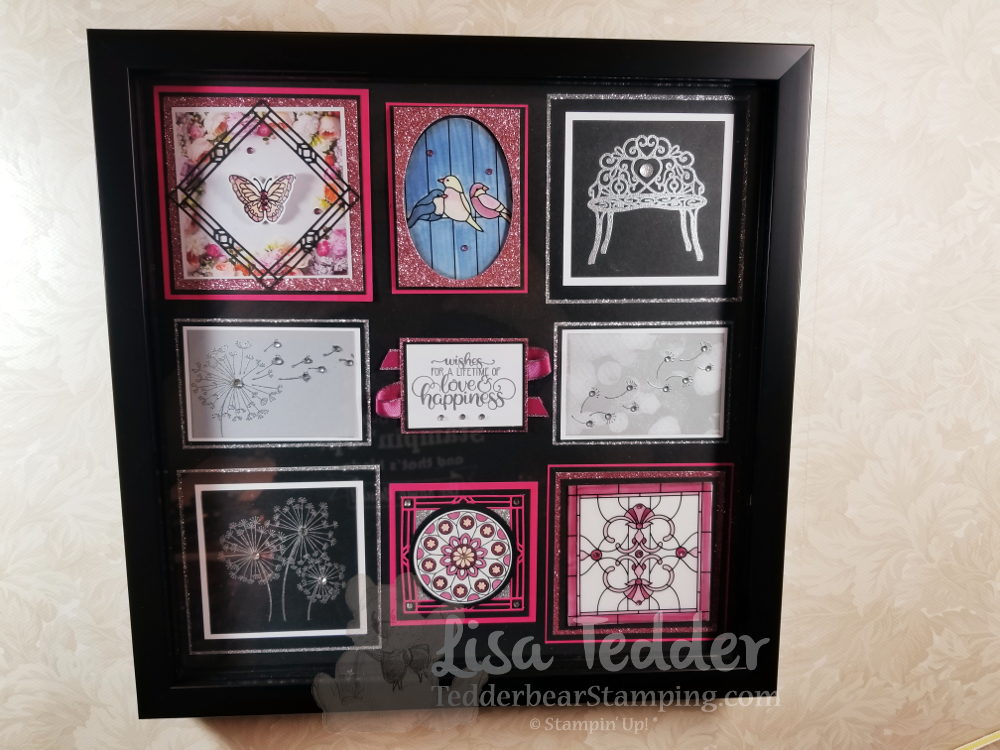
Here are all the Measurements:

Shadow Box Instructions:

Top Left:

Melon Mambo 3 7/8”sq, Black 3 5/8” sq, Rose Glimmer 3 ½” sq, DSP Petal Promenade 3 1/8”, black die cut 3” sq, Butterfly die cut colored w/blends add Wink of Stella. Add colored rhinestones.

Top Middle:

Melon Mambo 2 5/8” x 3 9/16”, Black 2 ½” x 3 7/16”, Rose Glimmer 3 ¼” x 2 3/8”, Vellum DSP cut out with oval framelit, colored on back with Blends, Foam adhesive on back of Glimmer.

Top Right:

Silver Glimmer 4” sq, Black 3 ¾” sq, White 3 ¼” sq, Black 2 7/8” sq, stamp bench in Versamark and emboss with Silver EP, add Clear Faceted Gem in heart.

Left Center:

Silver Glimmer 3 5/8” x 2 9/16”, Black 3 1/2” x 2 3/8”, White 3 3/8”, Smoky Slate 3 1/8” x 2 1/8”, Stamp Dandelion in Versamark and emboss with Silver EP. Add Rhinestones
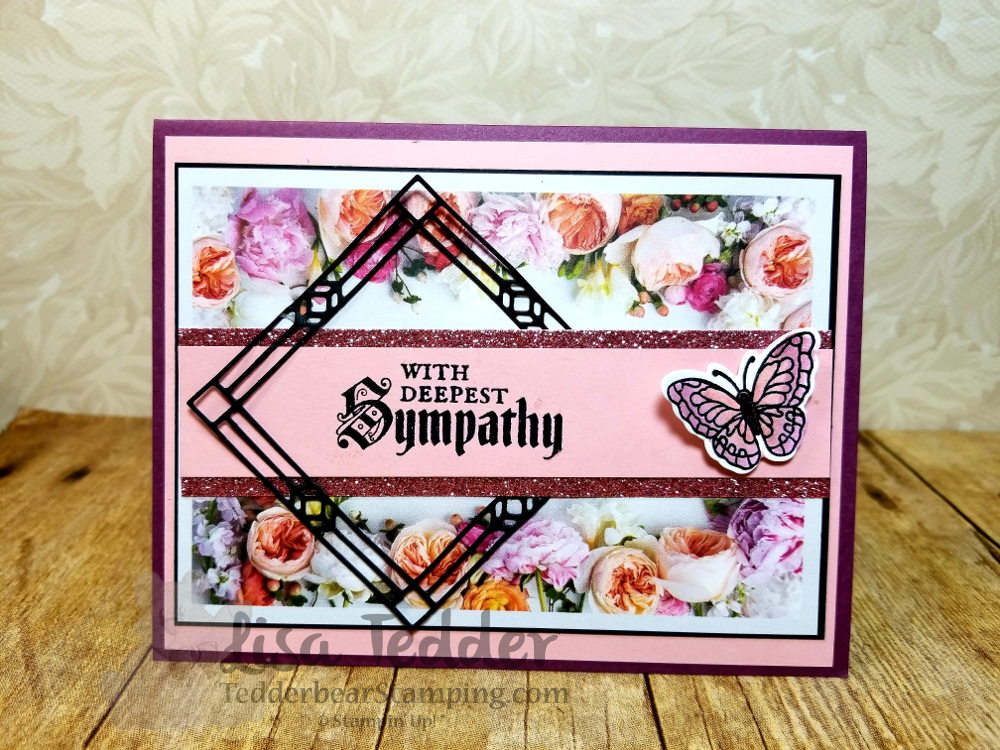
Center:

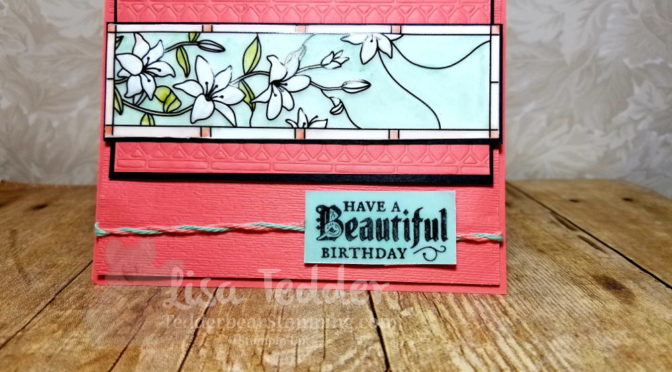
Rose Glimmer 2 ½” x 1 7/8”, Black 2 3/8” x 1 ¾”, White 2 5/16” x 1 11/16, stamp sentiment with Versamark then emboss with silver, add rhinestones.  Under this square crisscross the Berry Burst Metallic Edge Ribbon.

Right Center:

Silver Glimmer 3 5/8” x 2 9/16”, Black 3 1/2” x 2 3/8”, White 3 3/8”, Ink up Bokeh stamp with Smoky Slate, stamp on White. Stamp fly away Dandelions using Versamark emboss with silver.  Add Rhinestones

Left Bottom:

Silver Glimmer 3 7/8” sq, Black 3 ¾” sq, White 3 1/4” sq, Black 3” sq.  Stamp Dandelions in Versamark emboss with Silver, add rhinestones.

Bottom Center:

Melon Mambo 3” sq, Black 2 ¾” sq, Melon Mambo die cut 3” sq, Silver 1 15/16” sq, Black Circle 2 ¼” punch, White Shimmer 2” circle punch STAMP FIRST, THEN PUNCH OUT!!!  Color with Blends, add Rhinestones.

Bottom Right:

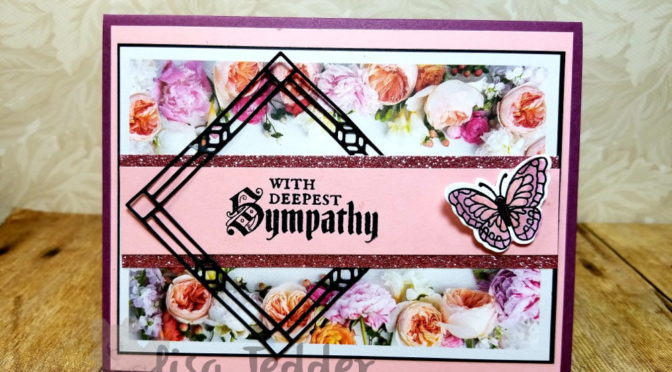
Melon Mambo 3 7/8” sq, Black 3 ¾” sq, Rose Glimmer 3 ½” sq, Black 3 ¼” sq, White 3” sq, Vellum DSP 3” sq.  Add colored Rhinestones.  Color back of Vellum with Blends.

All the Supplies I used are listed below.  Click on any of the pictures  to be taken to my OnLine Store!

Hope you enjoy this project as much as I do!!

Lisa Tedder
A California Girl living in North Carolina
Product List

Painted Glass with Rose Glimmer Paper

Hey Guys,

This card is the Epitome of a Girly Card!!  I used the Petal Promenade Designer Paper, with the die from the Painted Glass bundle.  The butterfly is from the same stamp set!  I used a Fresh Fig ink pad with an aqua painter and the Petal Pink for the middle to color the butterfy.  Then I covered the whole thing with Wink of Stella!  This card is so much fun!

The base is Fresh Fig, next layer is Petal Pink, then black and finally the Designer Paper.  The banner is Petal pink edged with the Rose Glimmer!  HAD to add the sparkle!!

This is a very simple card, just pop out the die, stamp the sentiment and the butterfly.  Color the butterfly and layer  all the cardstock and you are done!  BUT, it is so pretty!!  You would think it took much longer.

I was inspired by Rene Daley, you can see her card here.

Thanks for stopping by!!  I appreciate you!

Lisa Tedder
A California girl living in North Carolina
Product List

Painted Glass Clean and Simple card

Hey Guys,

Today I am sharing with you a Clean and Simple (CAS) card.  I don’t do these very often, but I always ask myself why I don’t when I make things this pretty!

I used the Stained glass Bundle, which is a definite need if you haven’t bought it already!  The center of the image is punched out with the 2″ circle punch!  LOVE when I can use a punch!

Here is the card:

There is a Rhinestone in the center of the medallion that I colored with a Bermuda Bay Blend.  The black outside is from the die, cut twice.  It’s a half circle, but I put them together and hid the seam with the Banner in Petal Pink.  Then the Black Cording.  I also have more Rhinestones colored the same way around the card.  Polka Dot Embossing folder was used also.

Hope you like this as much as I do!!  I’ll be posting again soon!

Thank you for your support!

Lisa Tedder
A California girl living in North Carolina
Product List

<!——– TAMS End ——

August Class Stained Glass Vellum

Hey Guys,

I’m super excited to share this card with you!  I absolutely LOVE to do this technique with Vellum.  I turn the vellum over and using an Impressor and a soft pad I push into the Vellum softly at first and then add more pressure as the paper fibers break down.  You don’t want to push too hard or you will go through the paper, but the more you can press the puffier it will get in the front! This is what makes the vellum white!

Here is a picture:

All the white you see in the lily is the Vellum where it is puffy!  In person this card is stunning! You just want to feel it!  I have a video doing this technique if you want to watch it on YouTube!

I colored it using Blends: Mint Macaron, Old Olive, Calypso Coral.  The ribbon is two colors twisted together, and the sentiment is from Graceful Glass stamped on Vellum and then attached to Mint Macaron cardstock.  The one layer is Calypso Coral run through the Brand New Folder Subtle.  It really gives you a nice texture!

For the background panel, I used the Embossing Mats and the die from this set and just got the impression of the die.  That is so much fun to do!!  When you watch the video all the dimensions will be included.  I saw the background for this card on Pinterest, but can’t remember where!  If you know, please let me know so I can give credit!

Thank you for stopping by!  I appreciate your support!

Below is the list of supplies, just click on any picture to go to my Online Store!

Lisa Tedder
A California Girl living in North Carolina
Product List