Tag Archives: crafts

Mother’s Day Meets Paper Pumpkin!

Welcome to the NCDemo Blog Hop!  We do this on the last Sunday of every month, so be sure to come back!  I know you will love all the Mother’s Day ideas we have for you this month!

Mother’s Day is coming and since my Mom is no longer with us, I usually plan for my own day.  I normally just tell my kids what I want and then they get it…….this year I made my OWN Mother’s Day gift!

My story starts with a conversation I had with my 16 y/o daughter.  Me:  I’m tired of emptying the dishwasher, when it’s your chore!?
Her:  I don’t know when it’s clean or dirty!
Me:  Well, how about I make a sign saying whether it’s clean or dirty?
Her:  Yeah, that would work!

So, the very next day I went to work!  I definitely want her to do her chores, and I had an idea in my head already!!
I LOVE Paper Pumpkin!  It’s a cool kit that has everything needed to make something crafty!

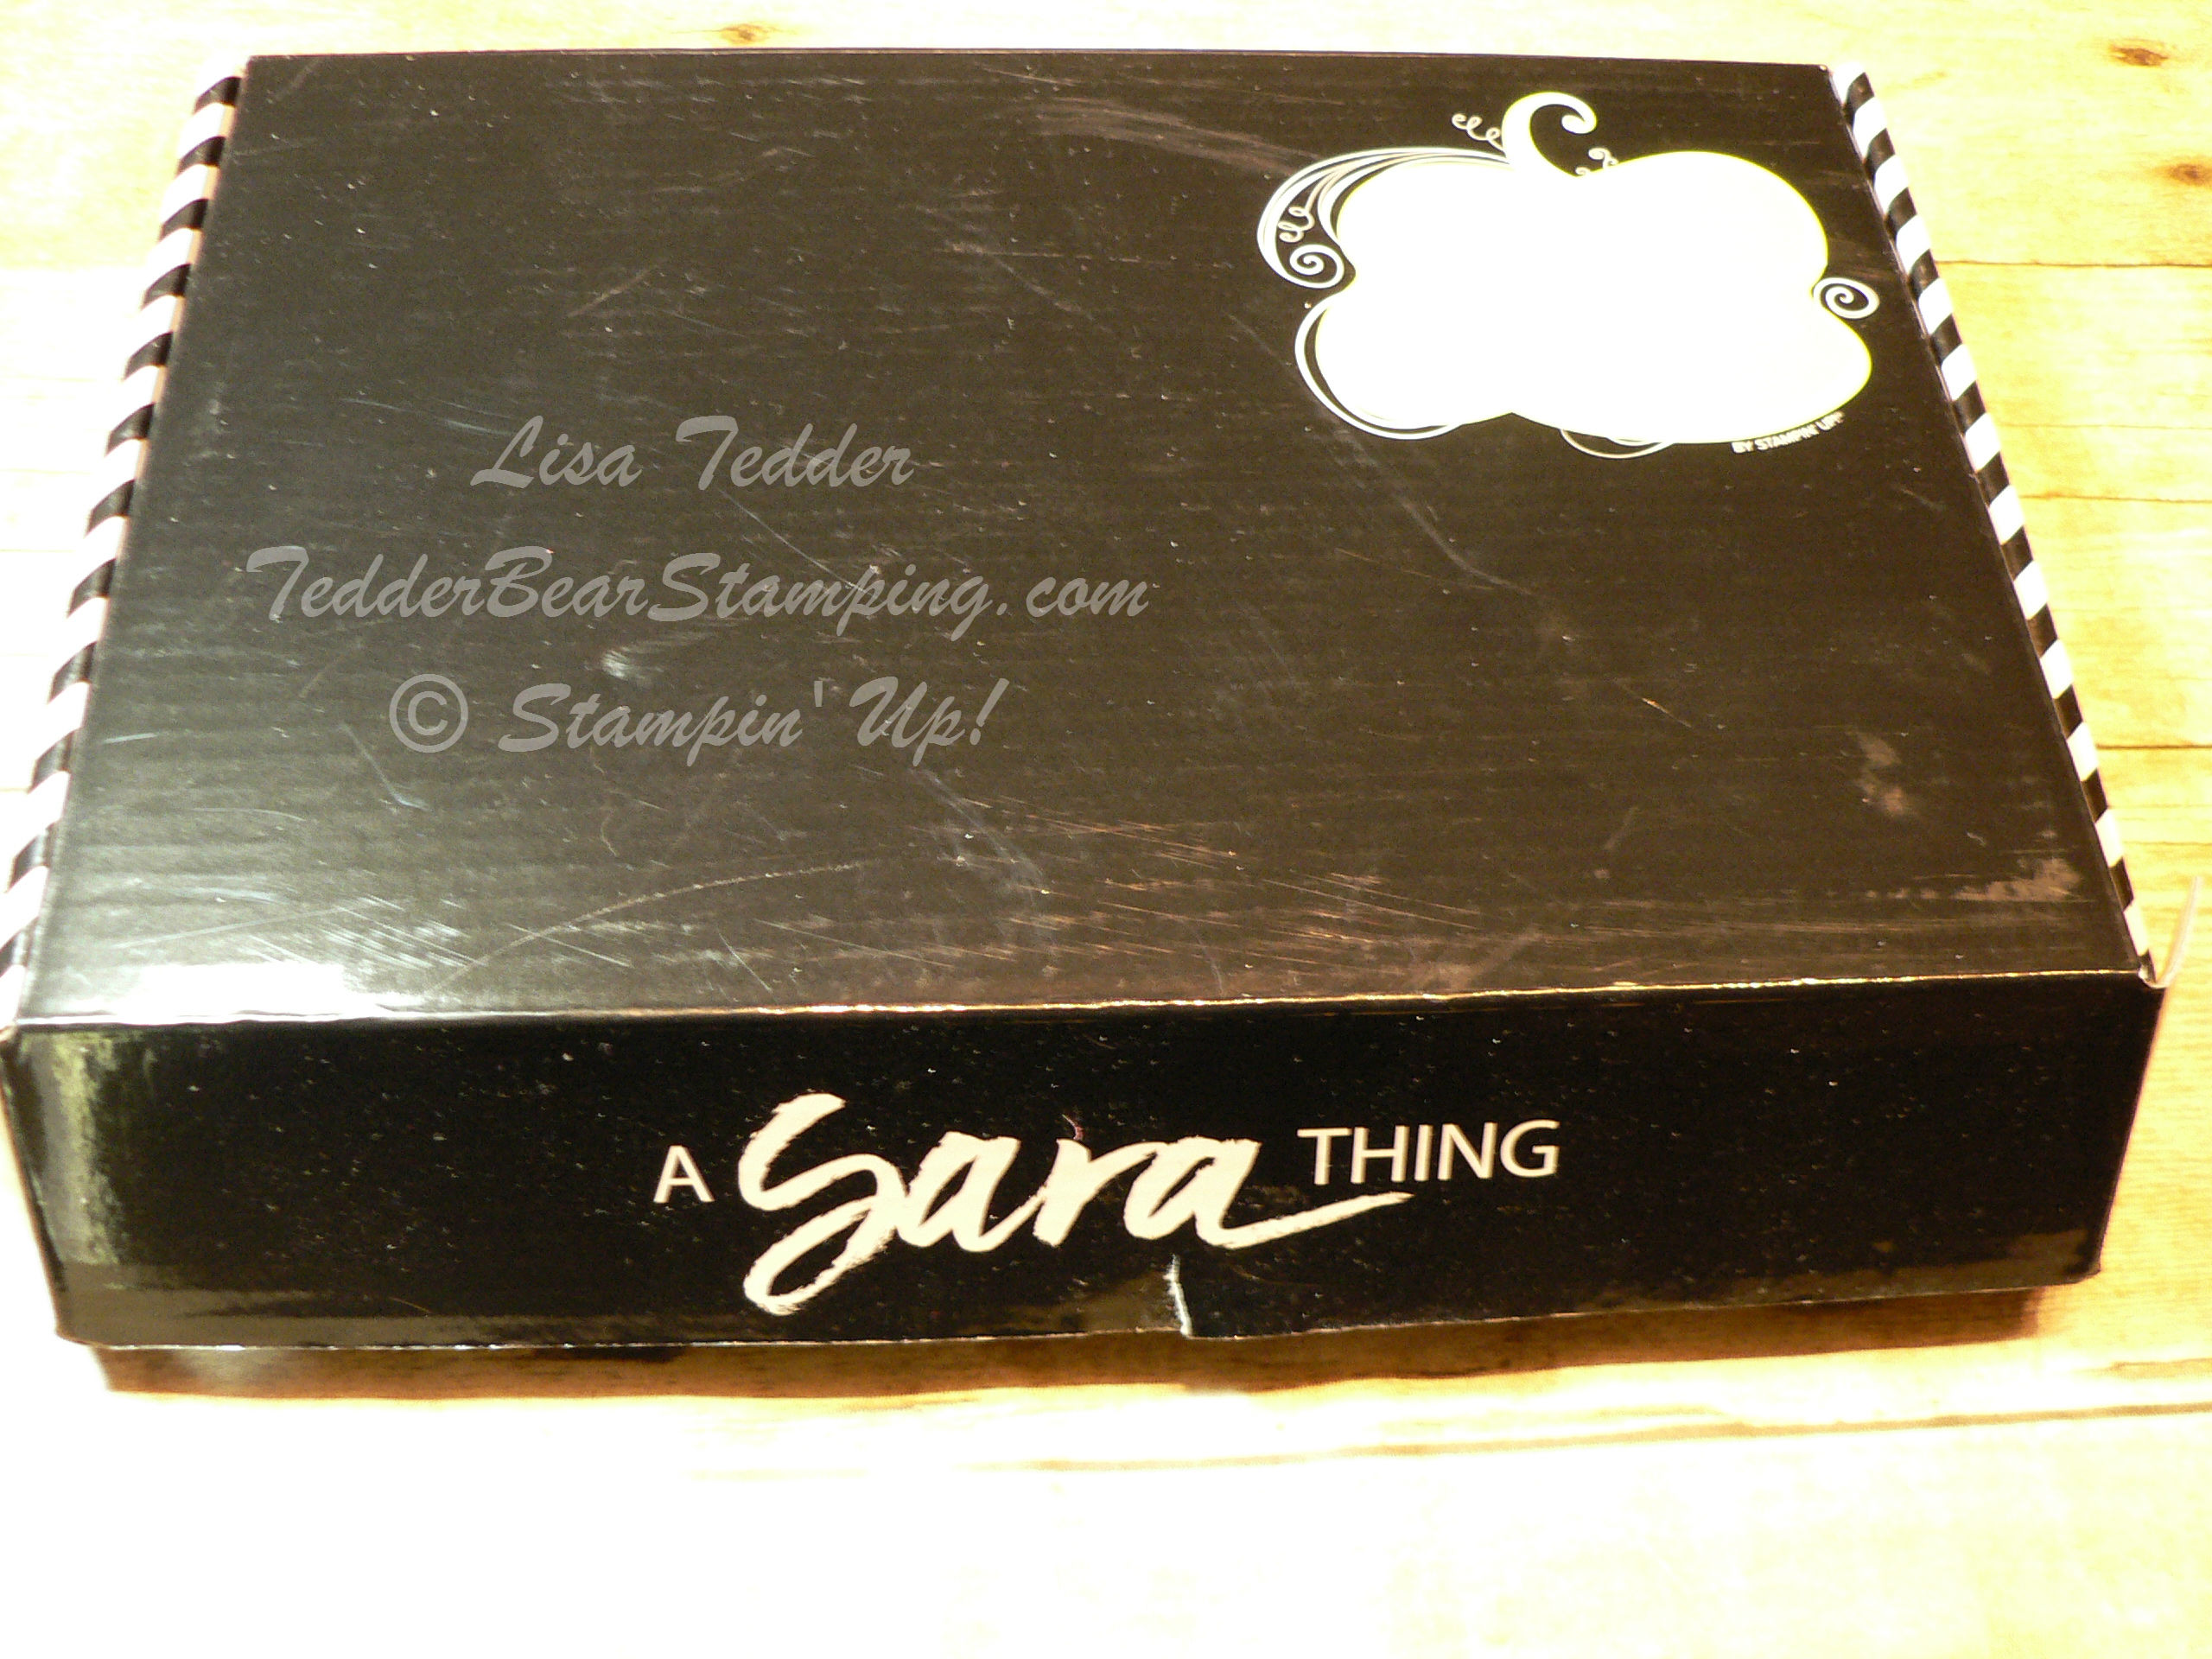
Here is a picture of the box for April:


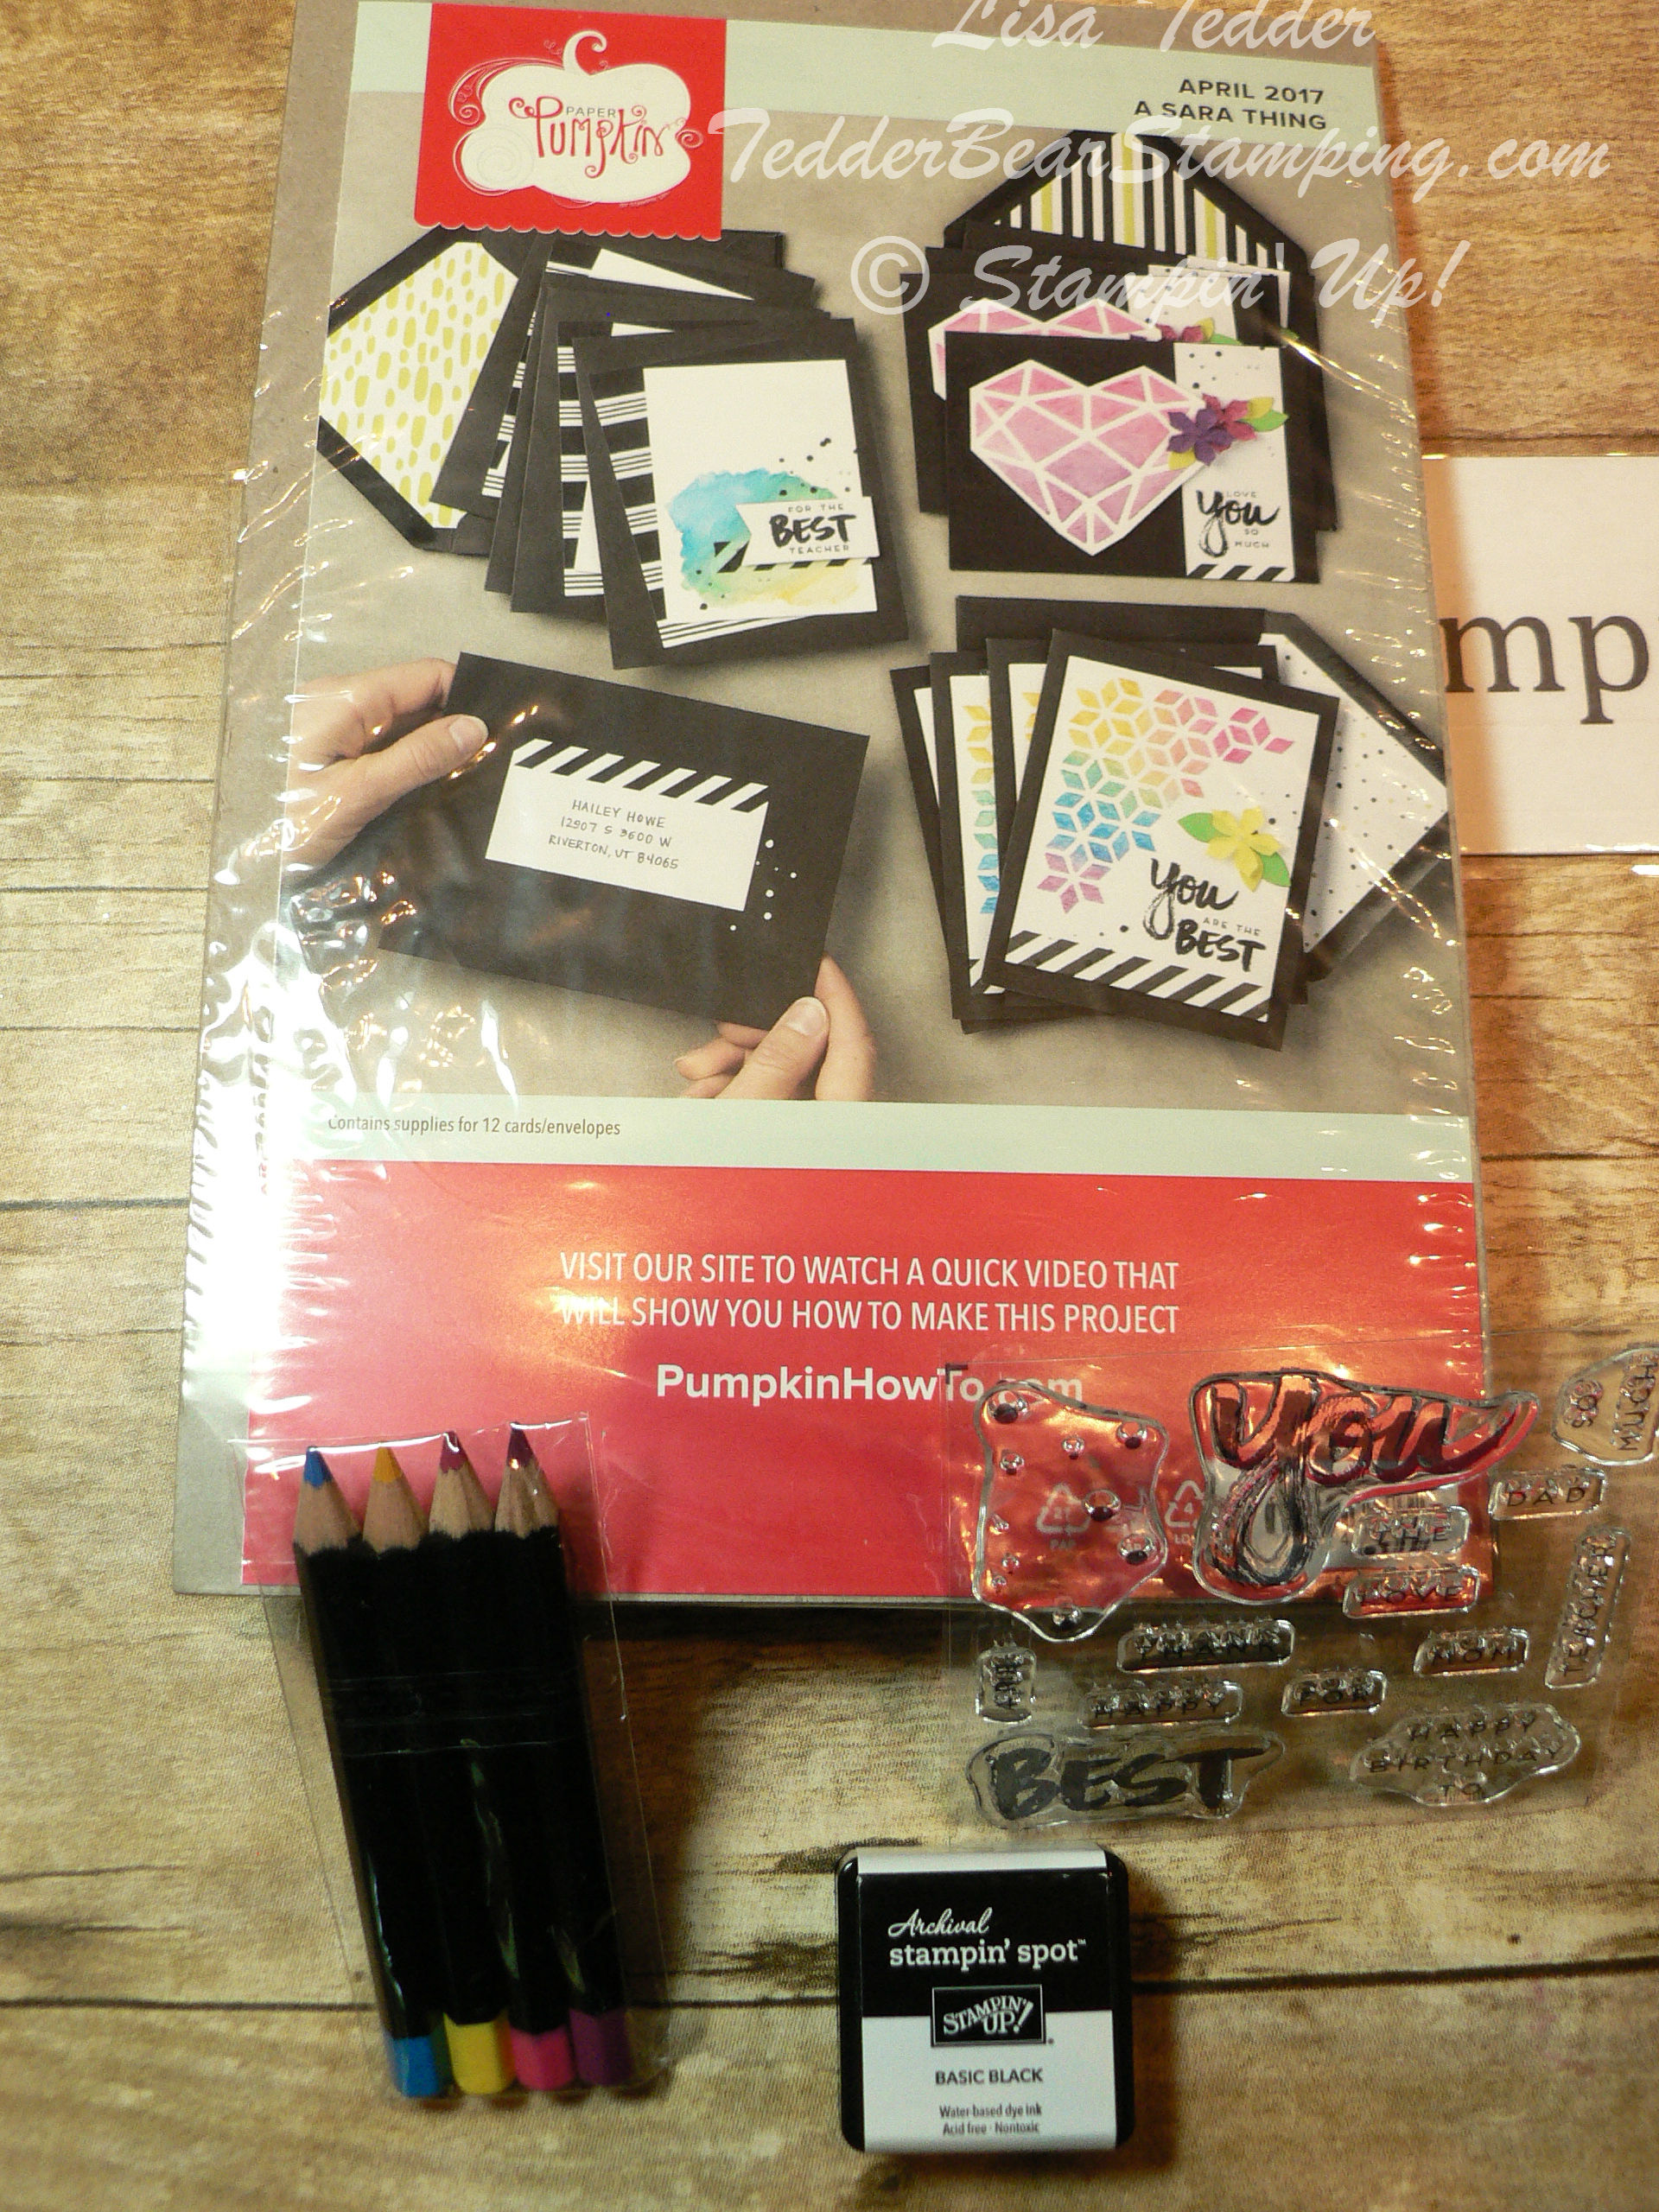
This was what was inside!  Sara gave us a special gift this month…..Watercolor Pencils, with a great brush to use!

Now, here is everything that was in the box!!  Can you believe how much is in that box!!??

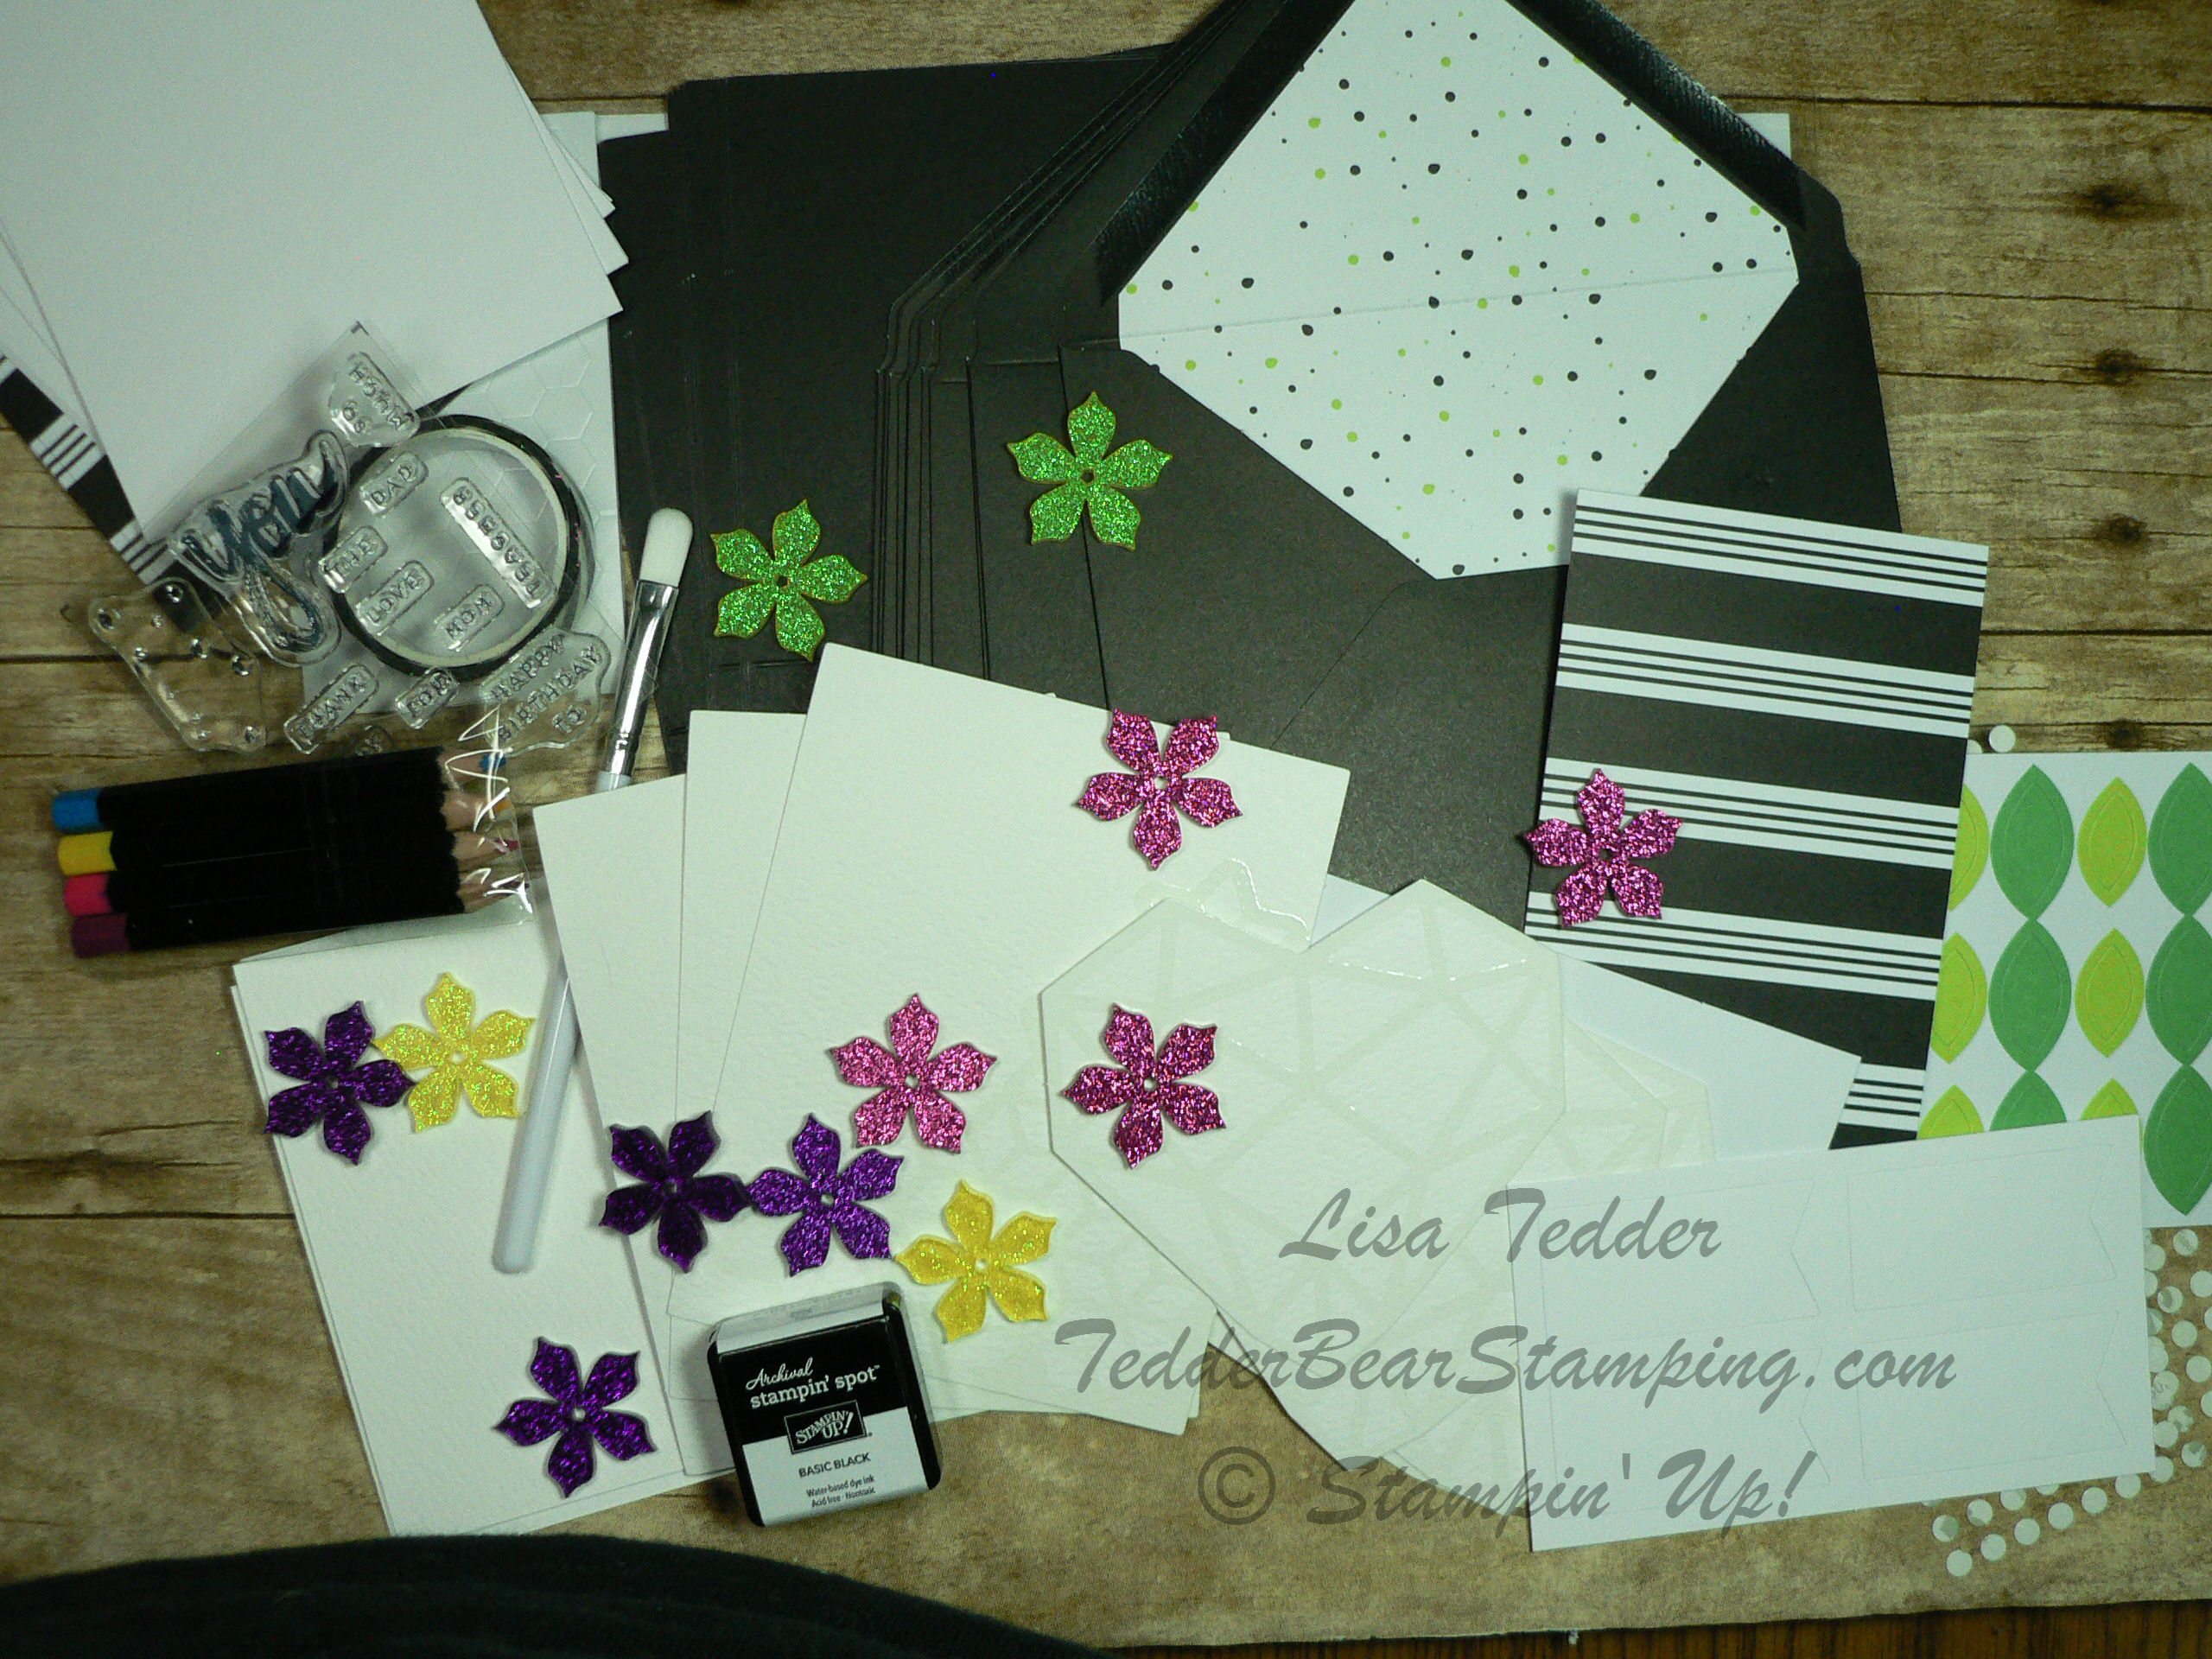
Paper Pumpkin comes every month, and it is always a delicious surprise!!  It always comes with an ink spot, stamp set and everything  needed to have a fun filled afternoon!   And if you go to Pinterest you will find TONS of ideas!  Go ahead, do a search for Paper Pumpkin, April 2017.  There are soooooo many ideas, you can pick as many as you want, or you can follow the directions in the Paper Pumpkin box and make what they planned!   Every month it is like getting a Birthday gift in your mailbox!  If you are interested, and don’t have a demonstrator for Stampin’ Up! I would love to be yours! You can order this to come every month, or you can just get one and test it out!  But, if you are like me…..you won’t want to miss even one!

Continuing my story!  I want my daughter to have NO EXCUSES to empty the dishwasher so I made a magnetic sign to put on the front so she will know when it is ready for her to empty it!  Now, this doesn’t mean that I won’t STILL have to remind her, BUT she won’t have any excuses!  heehee

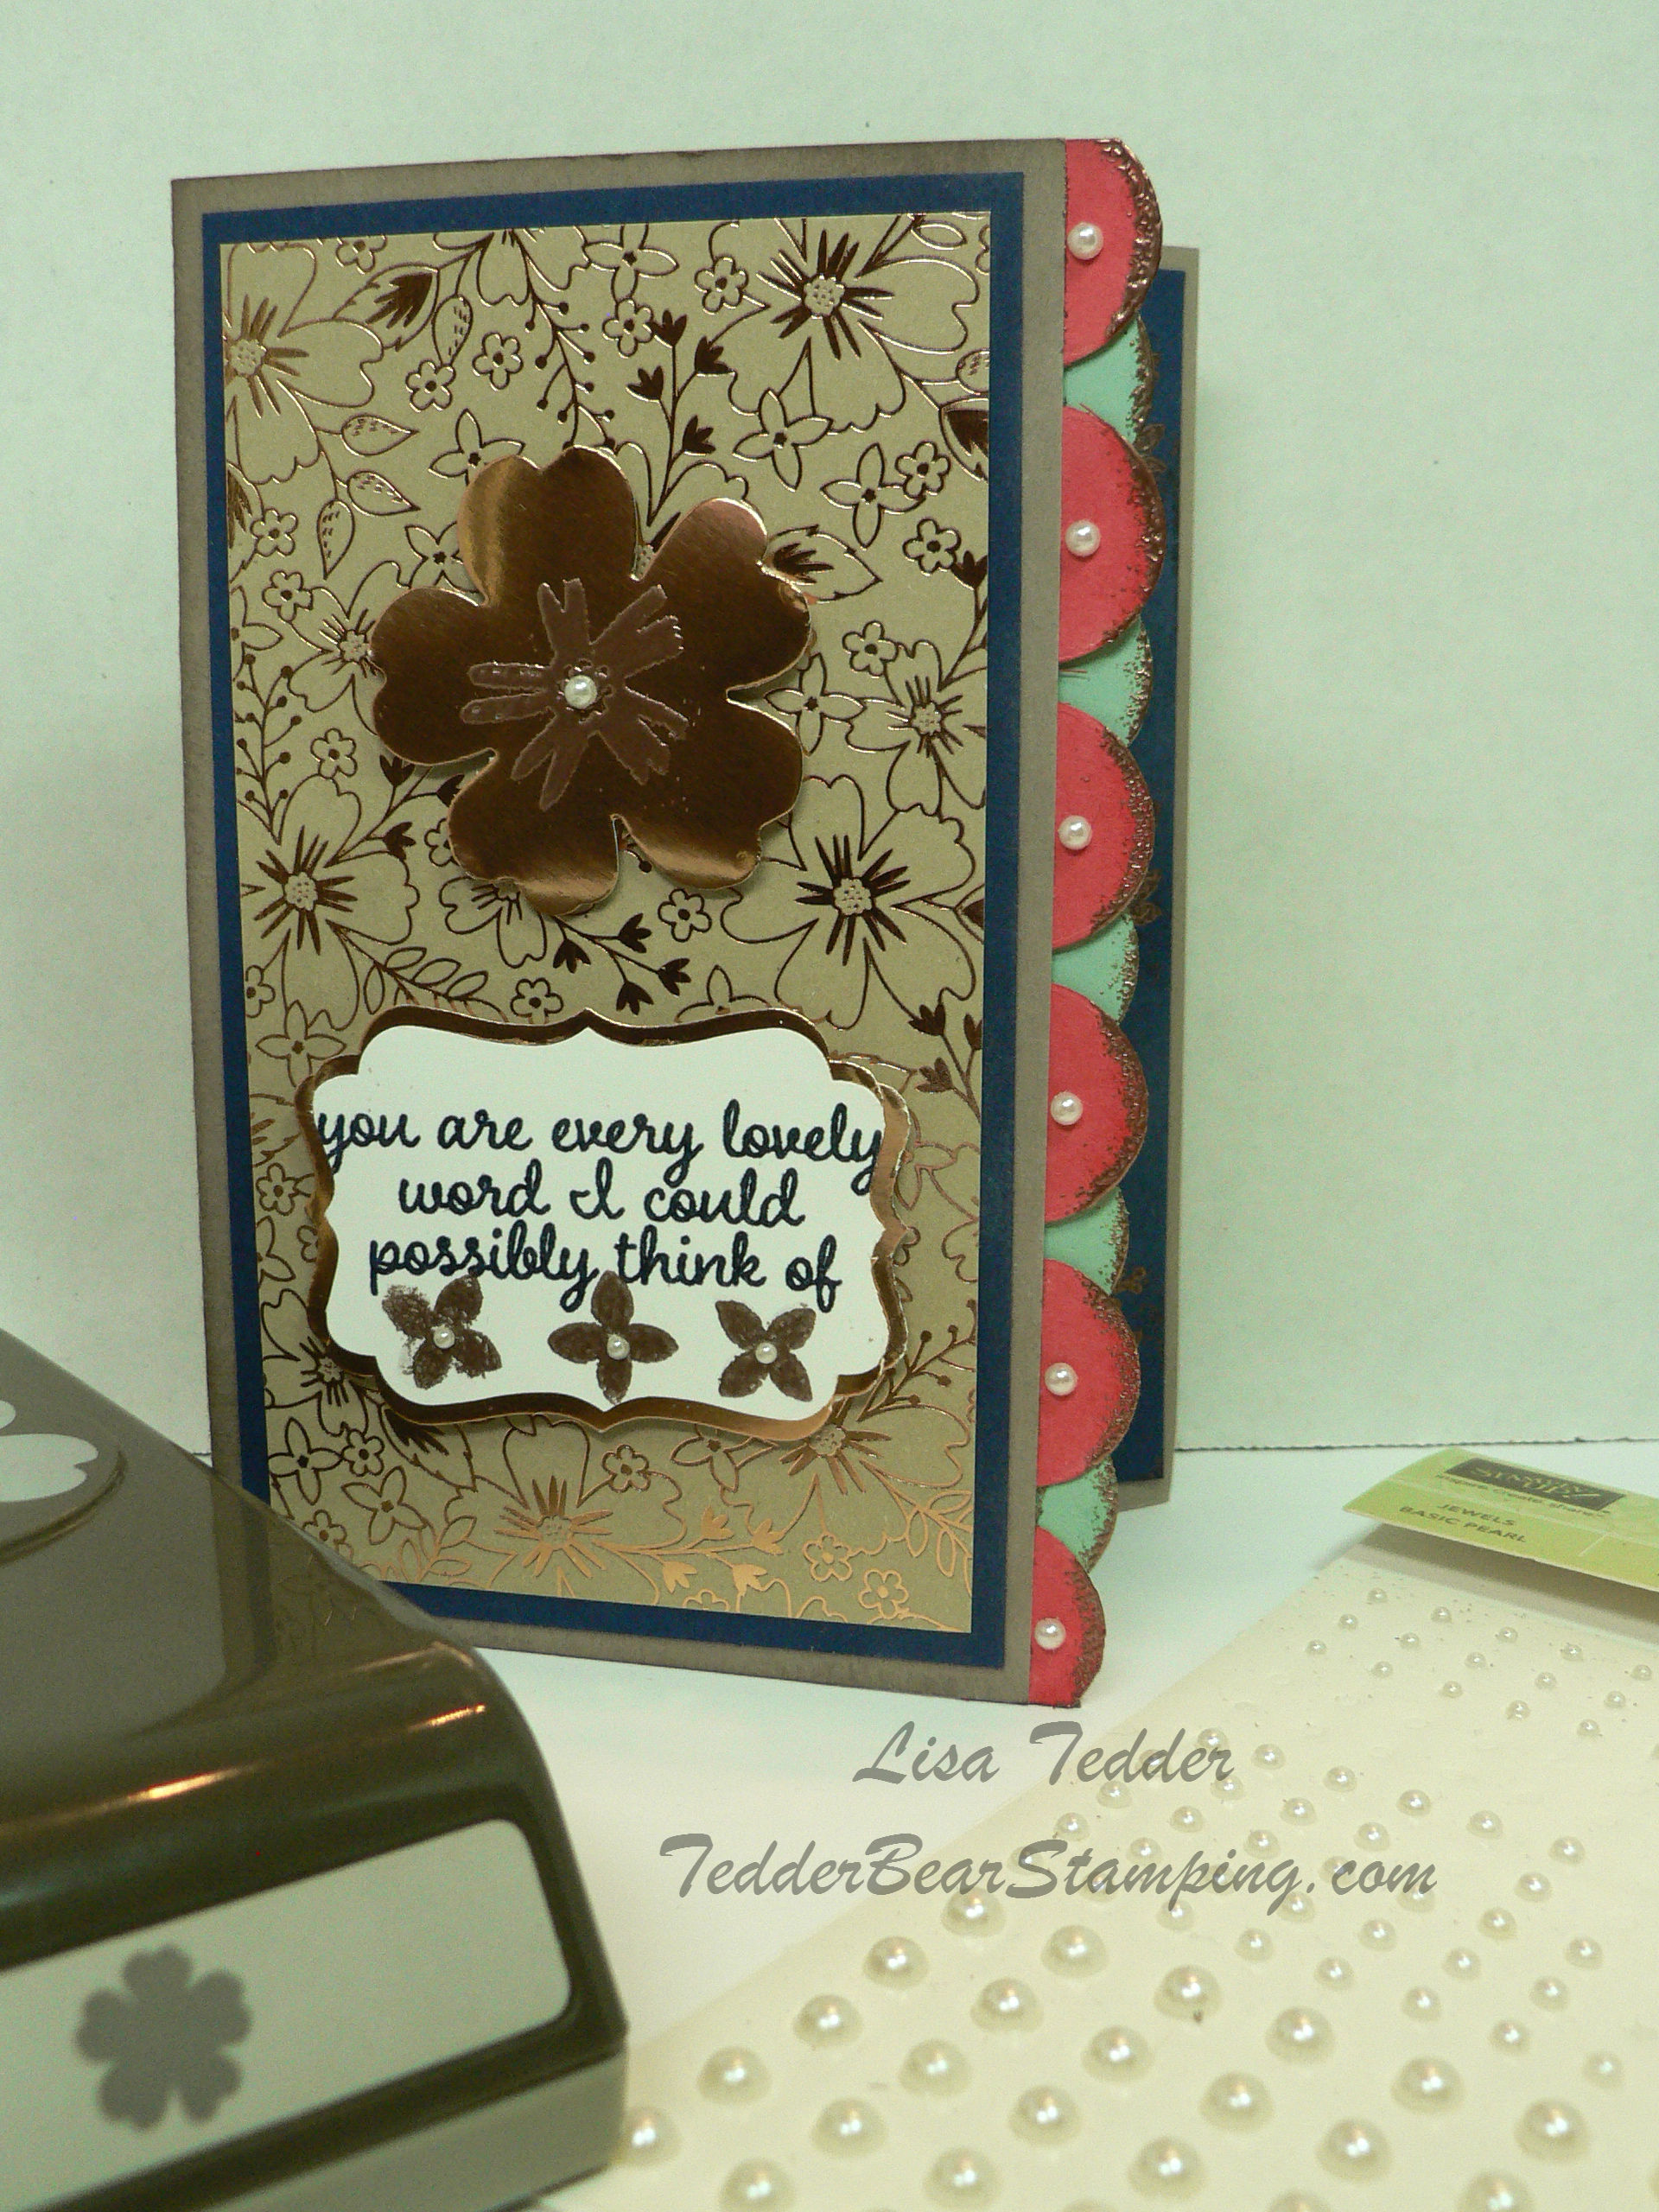
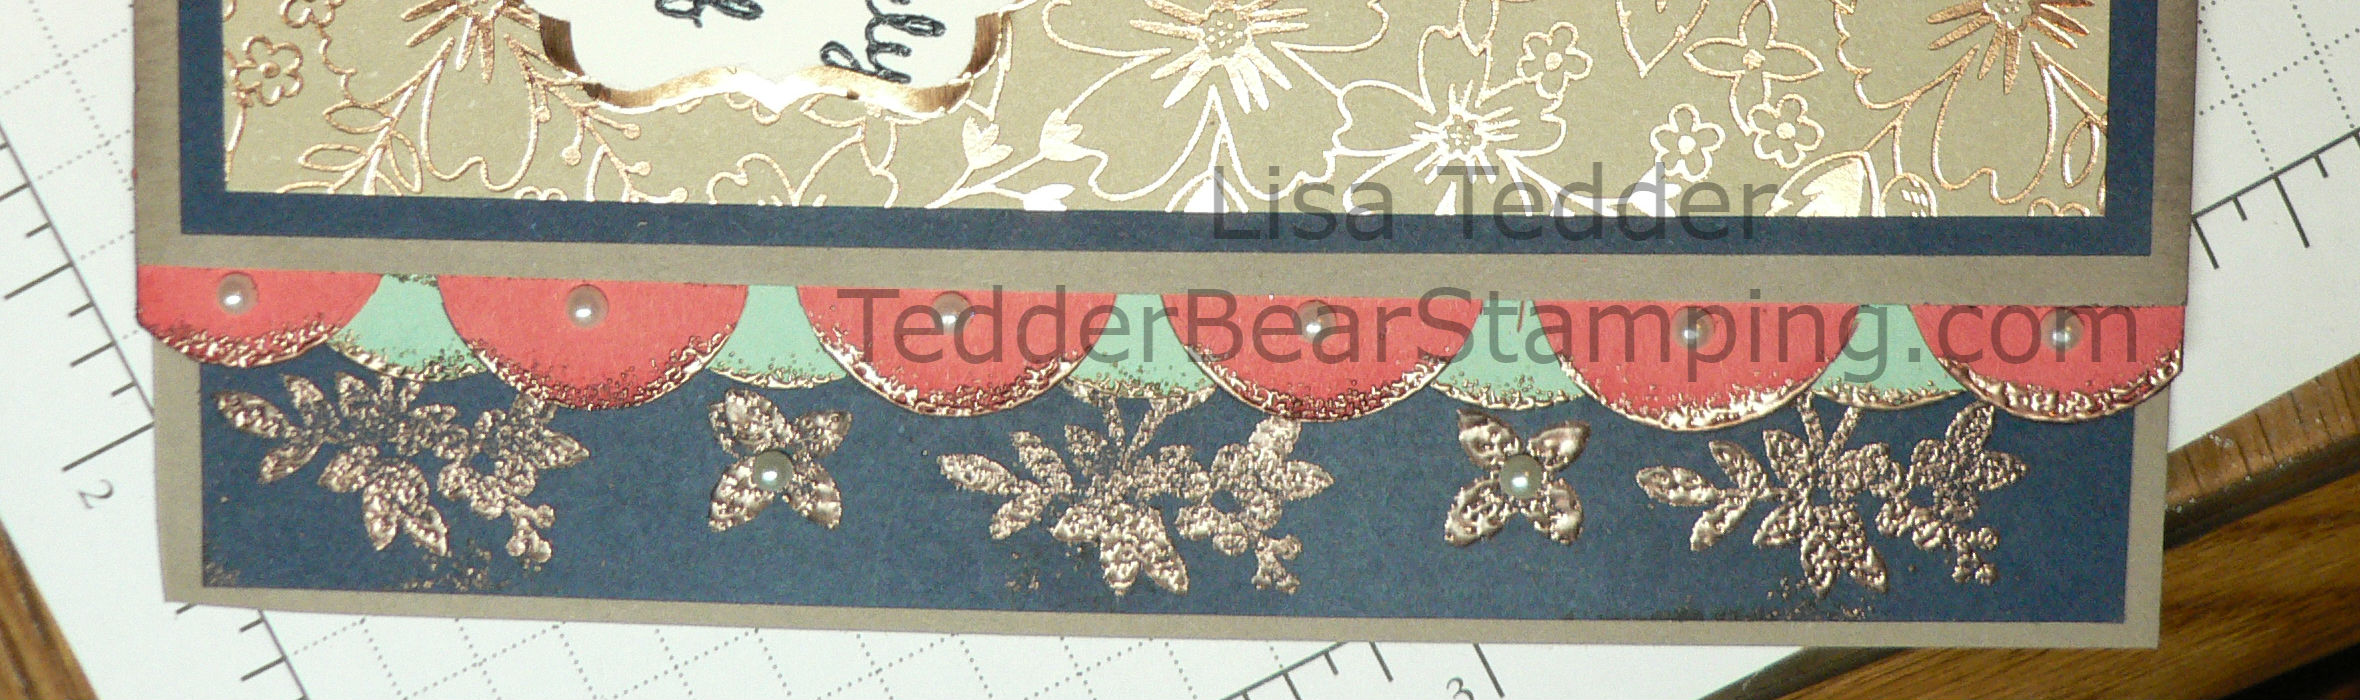
This is what I made:

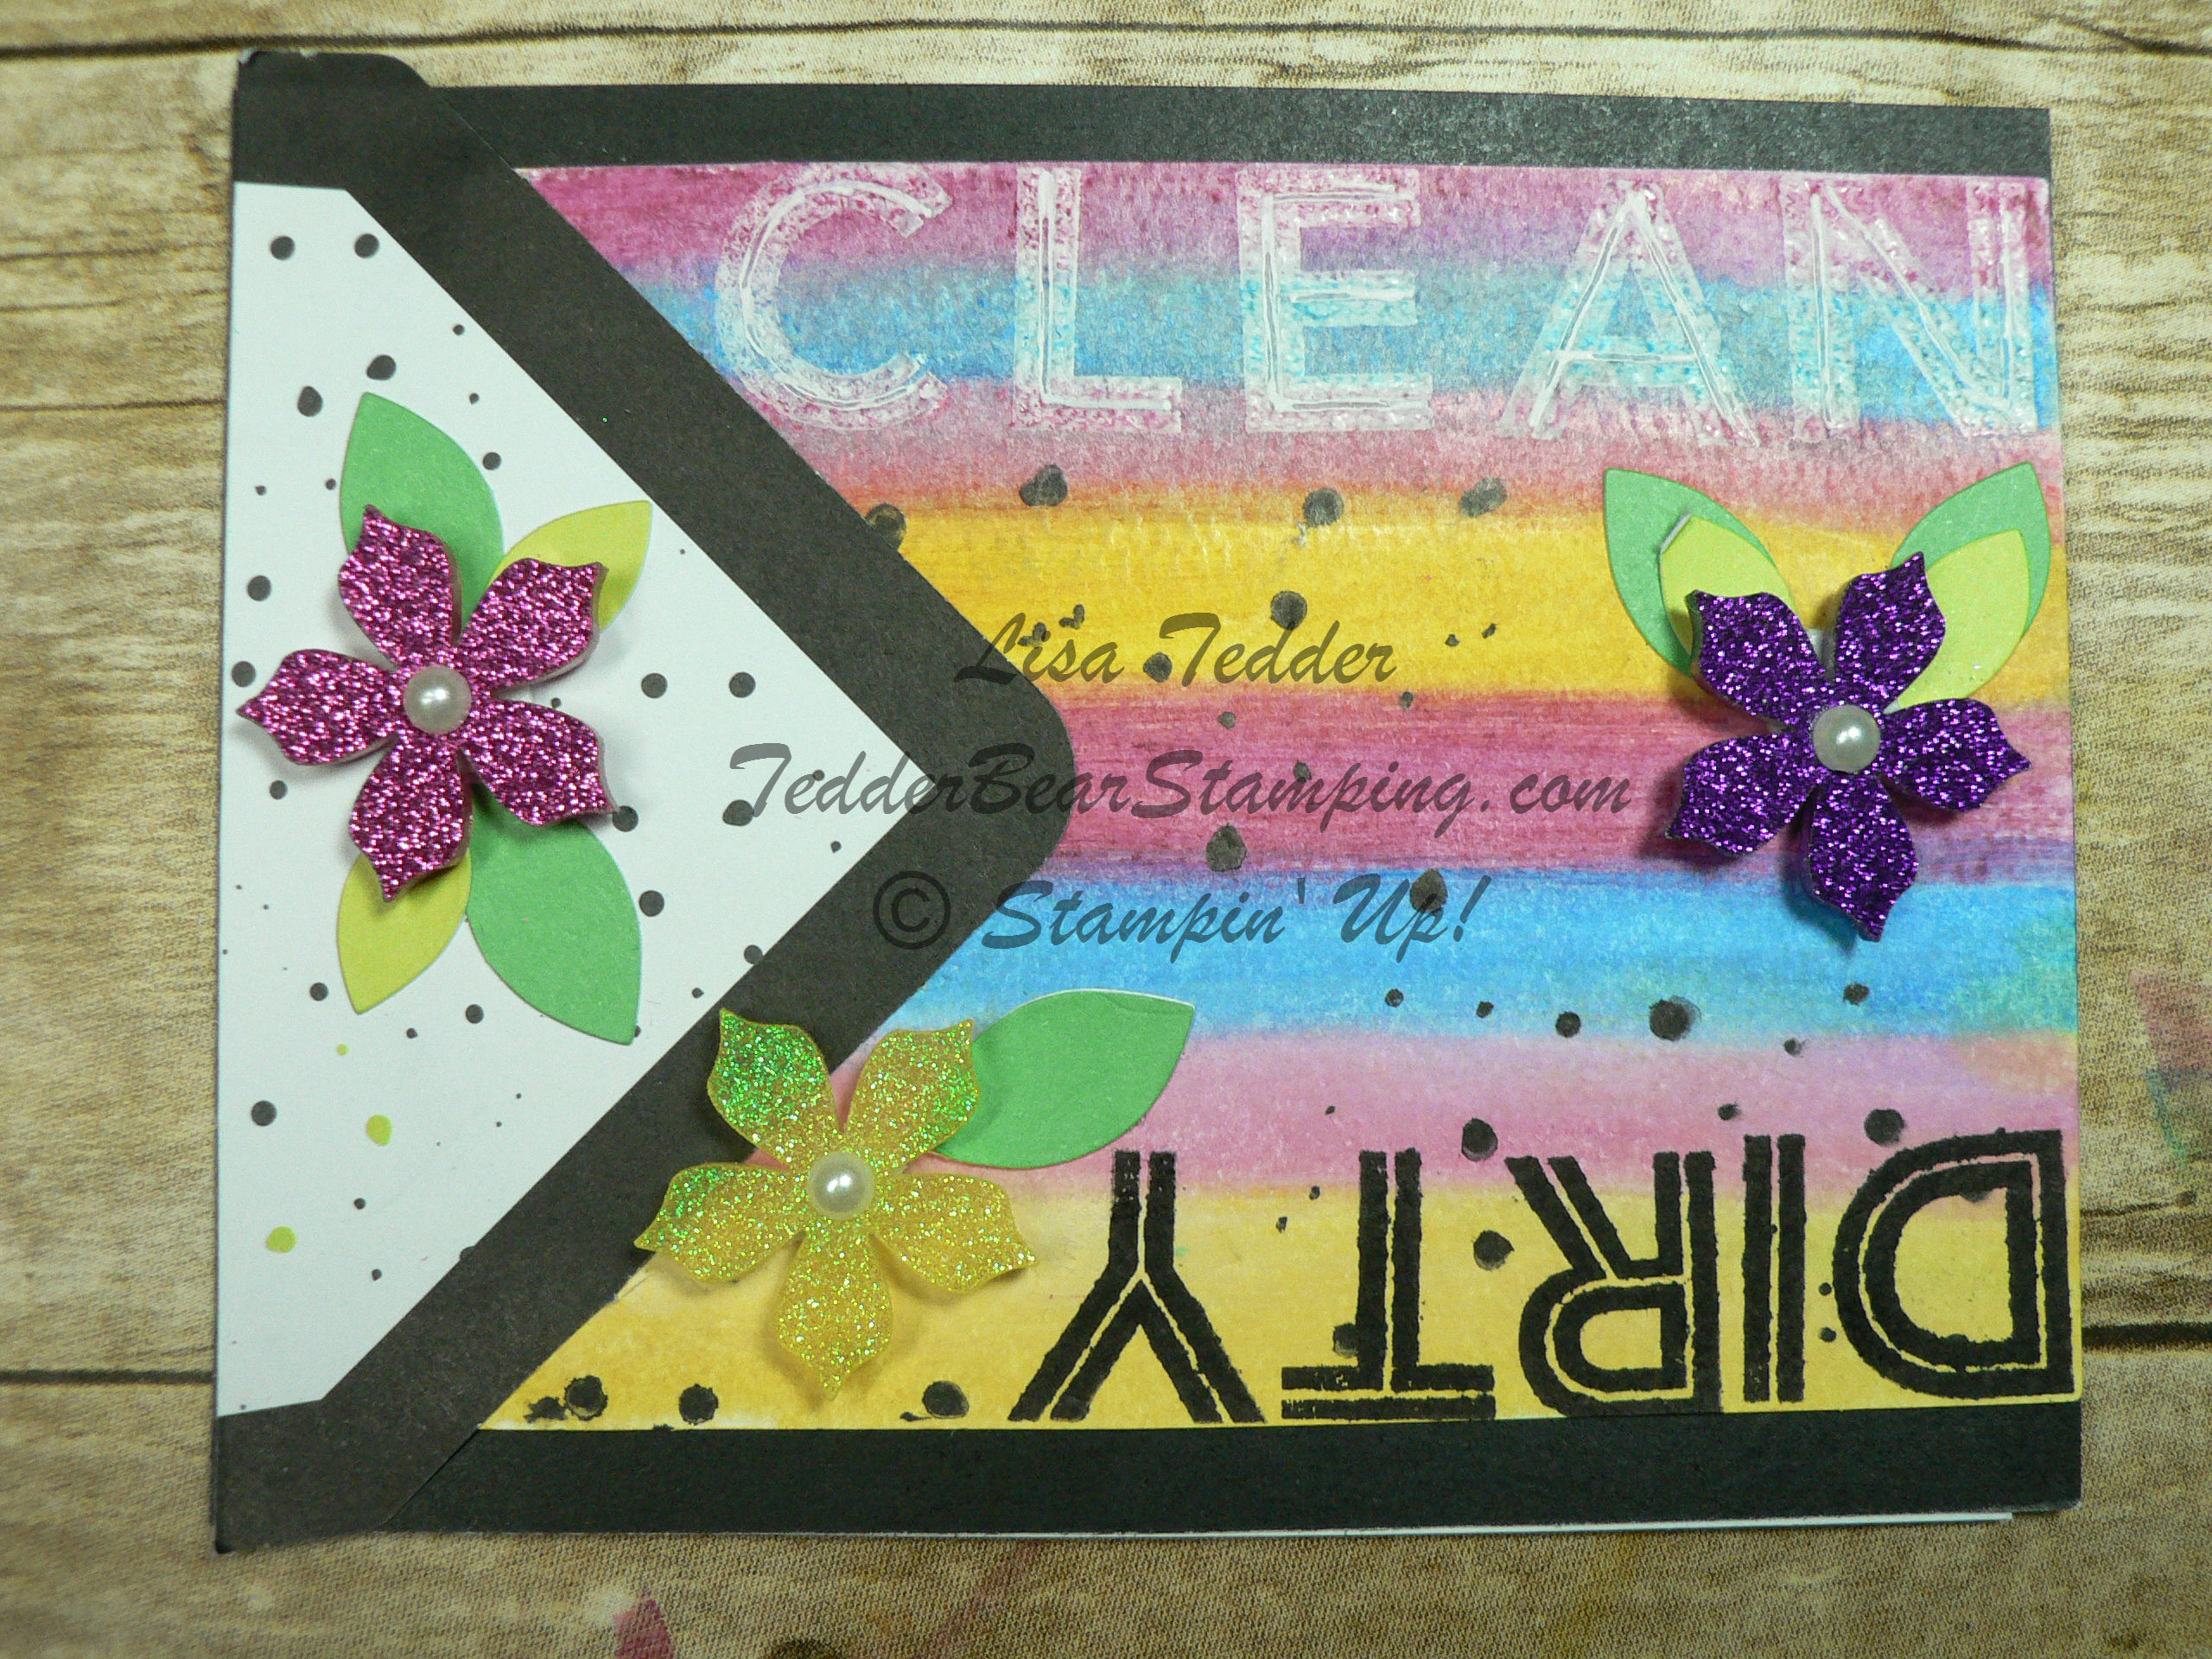
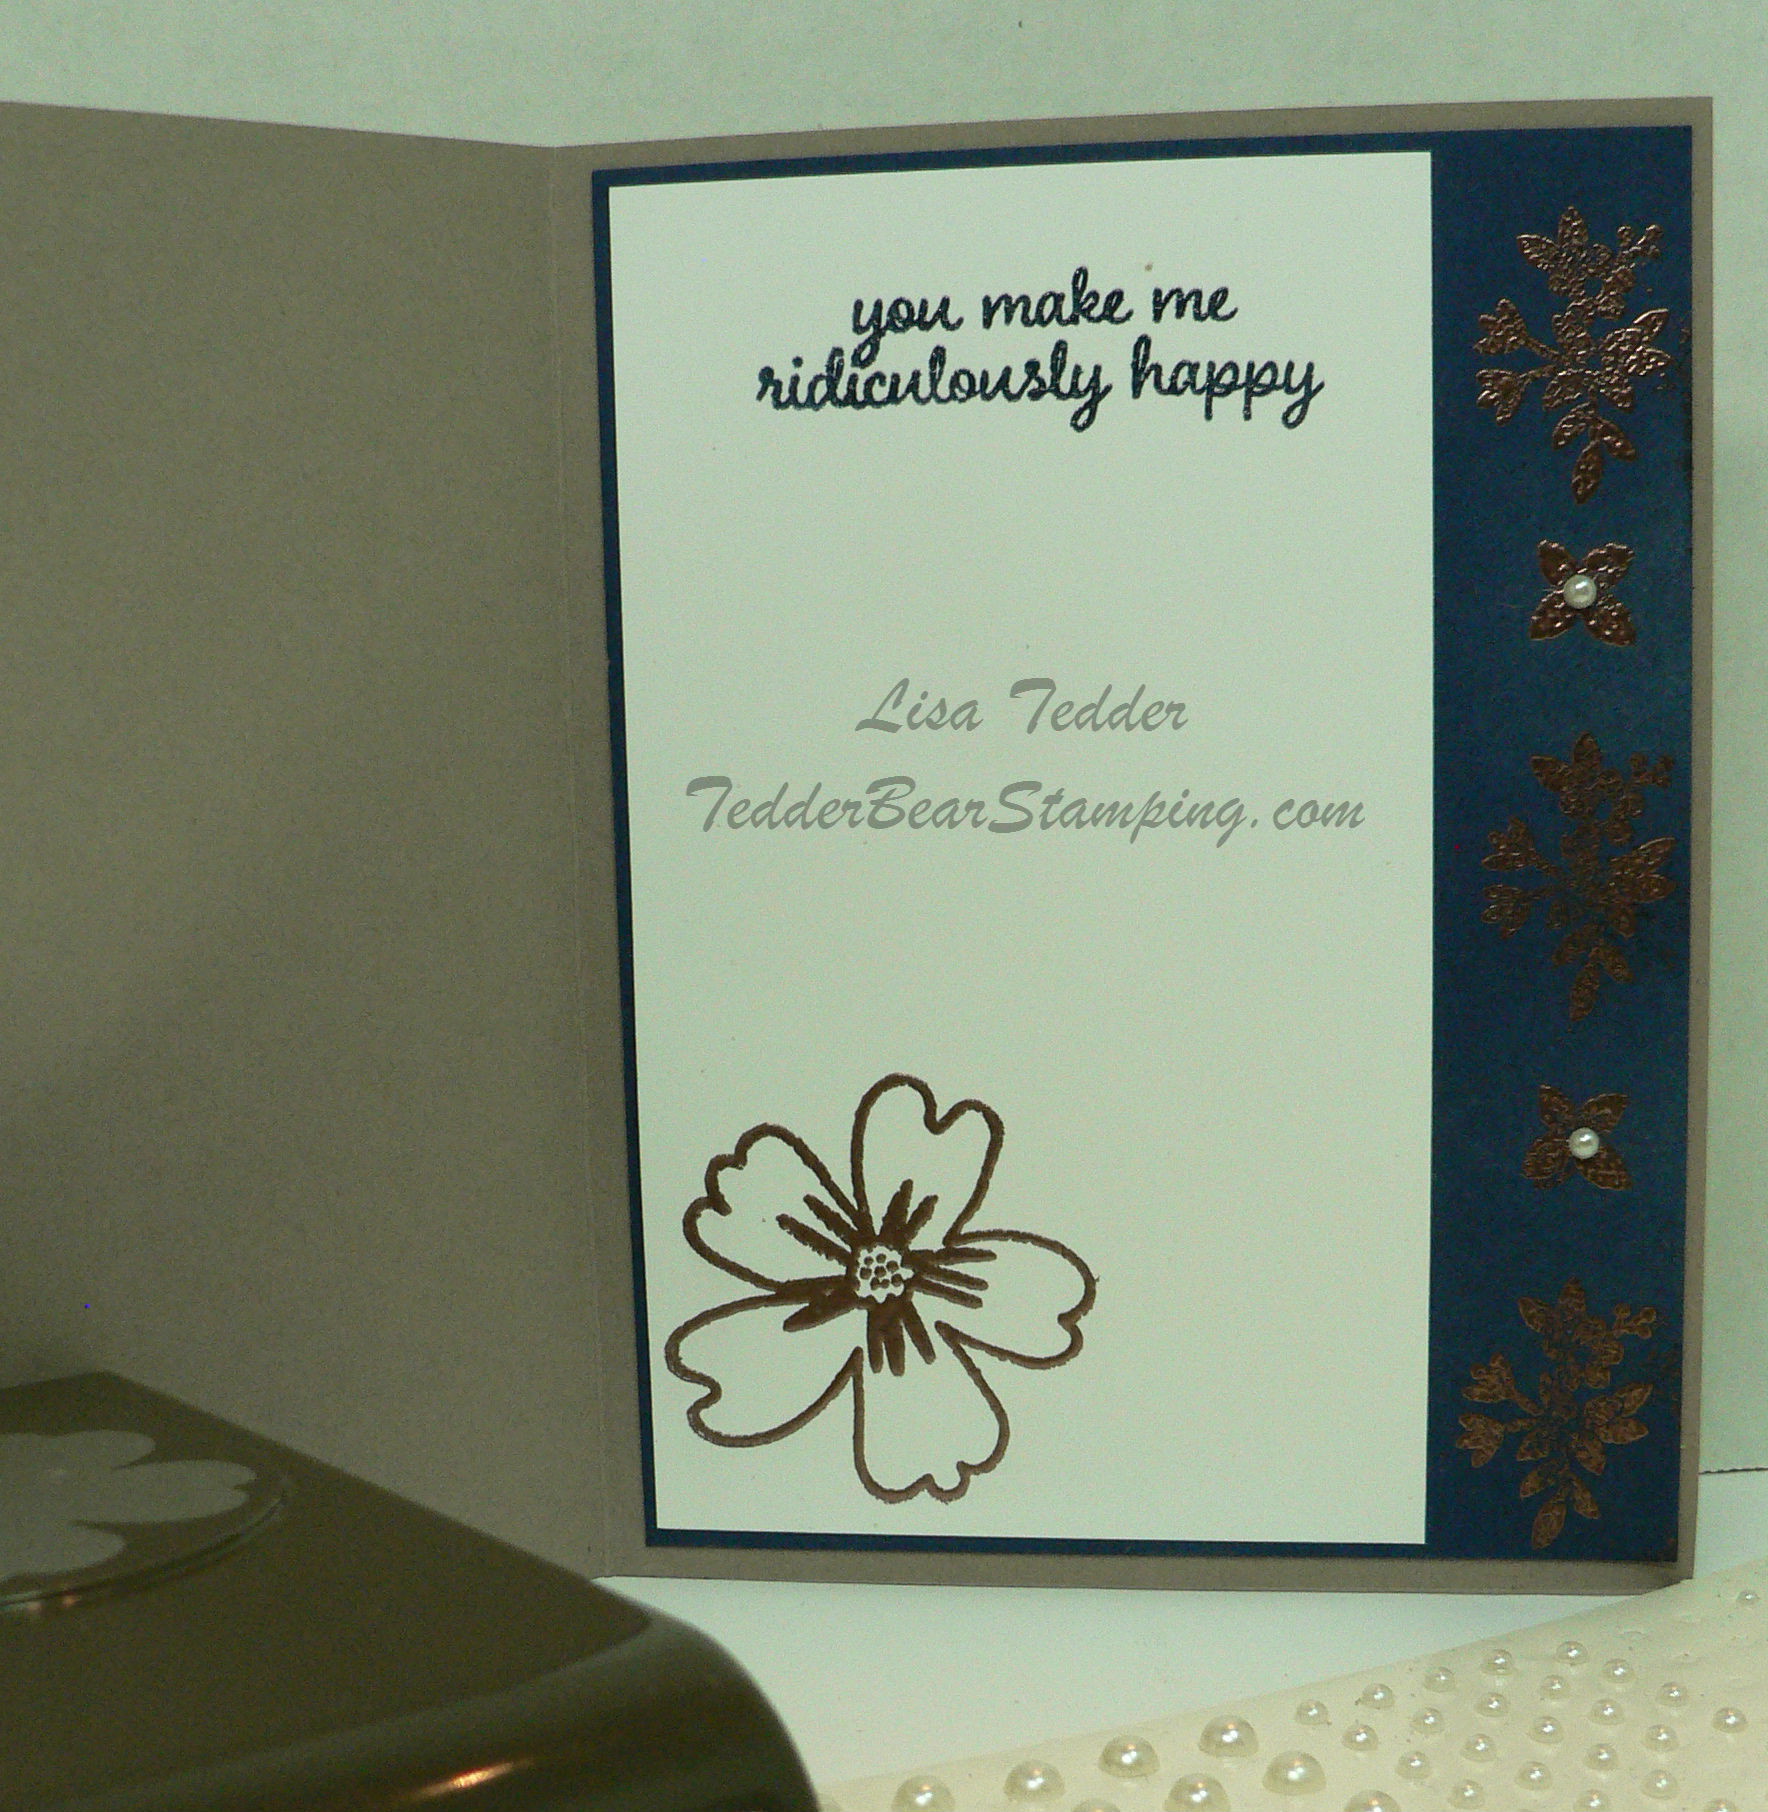
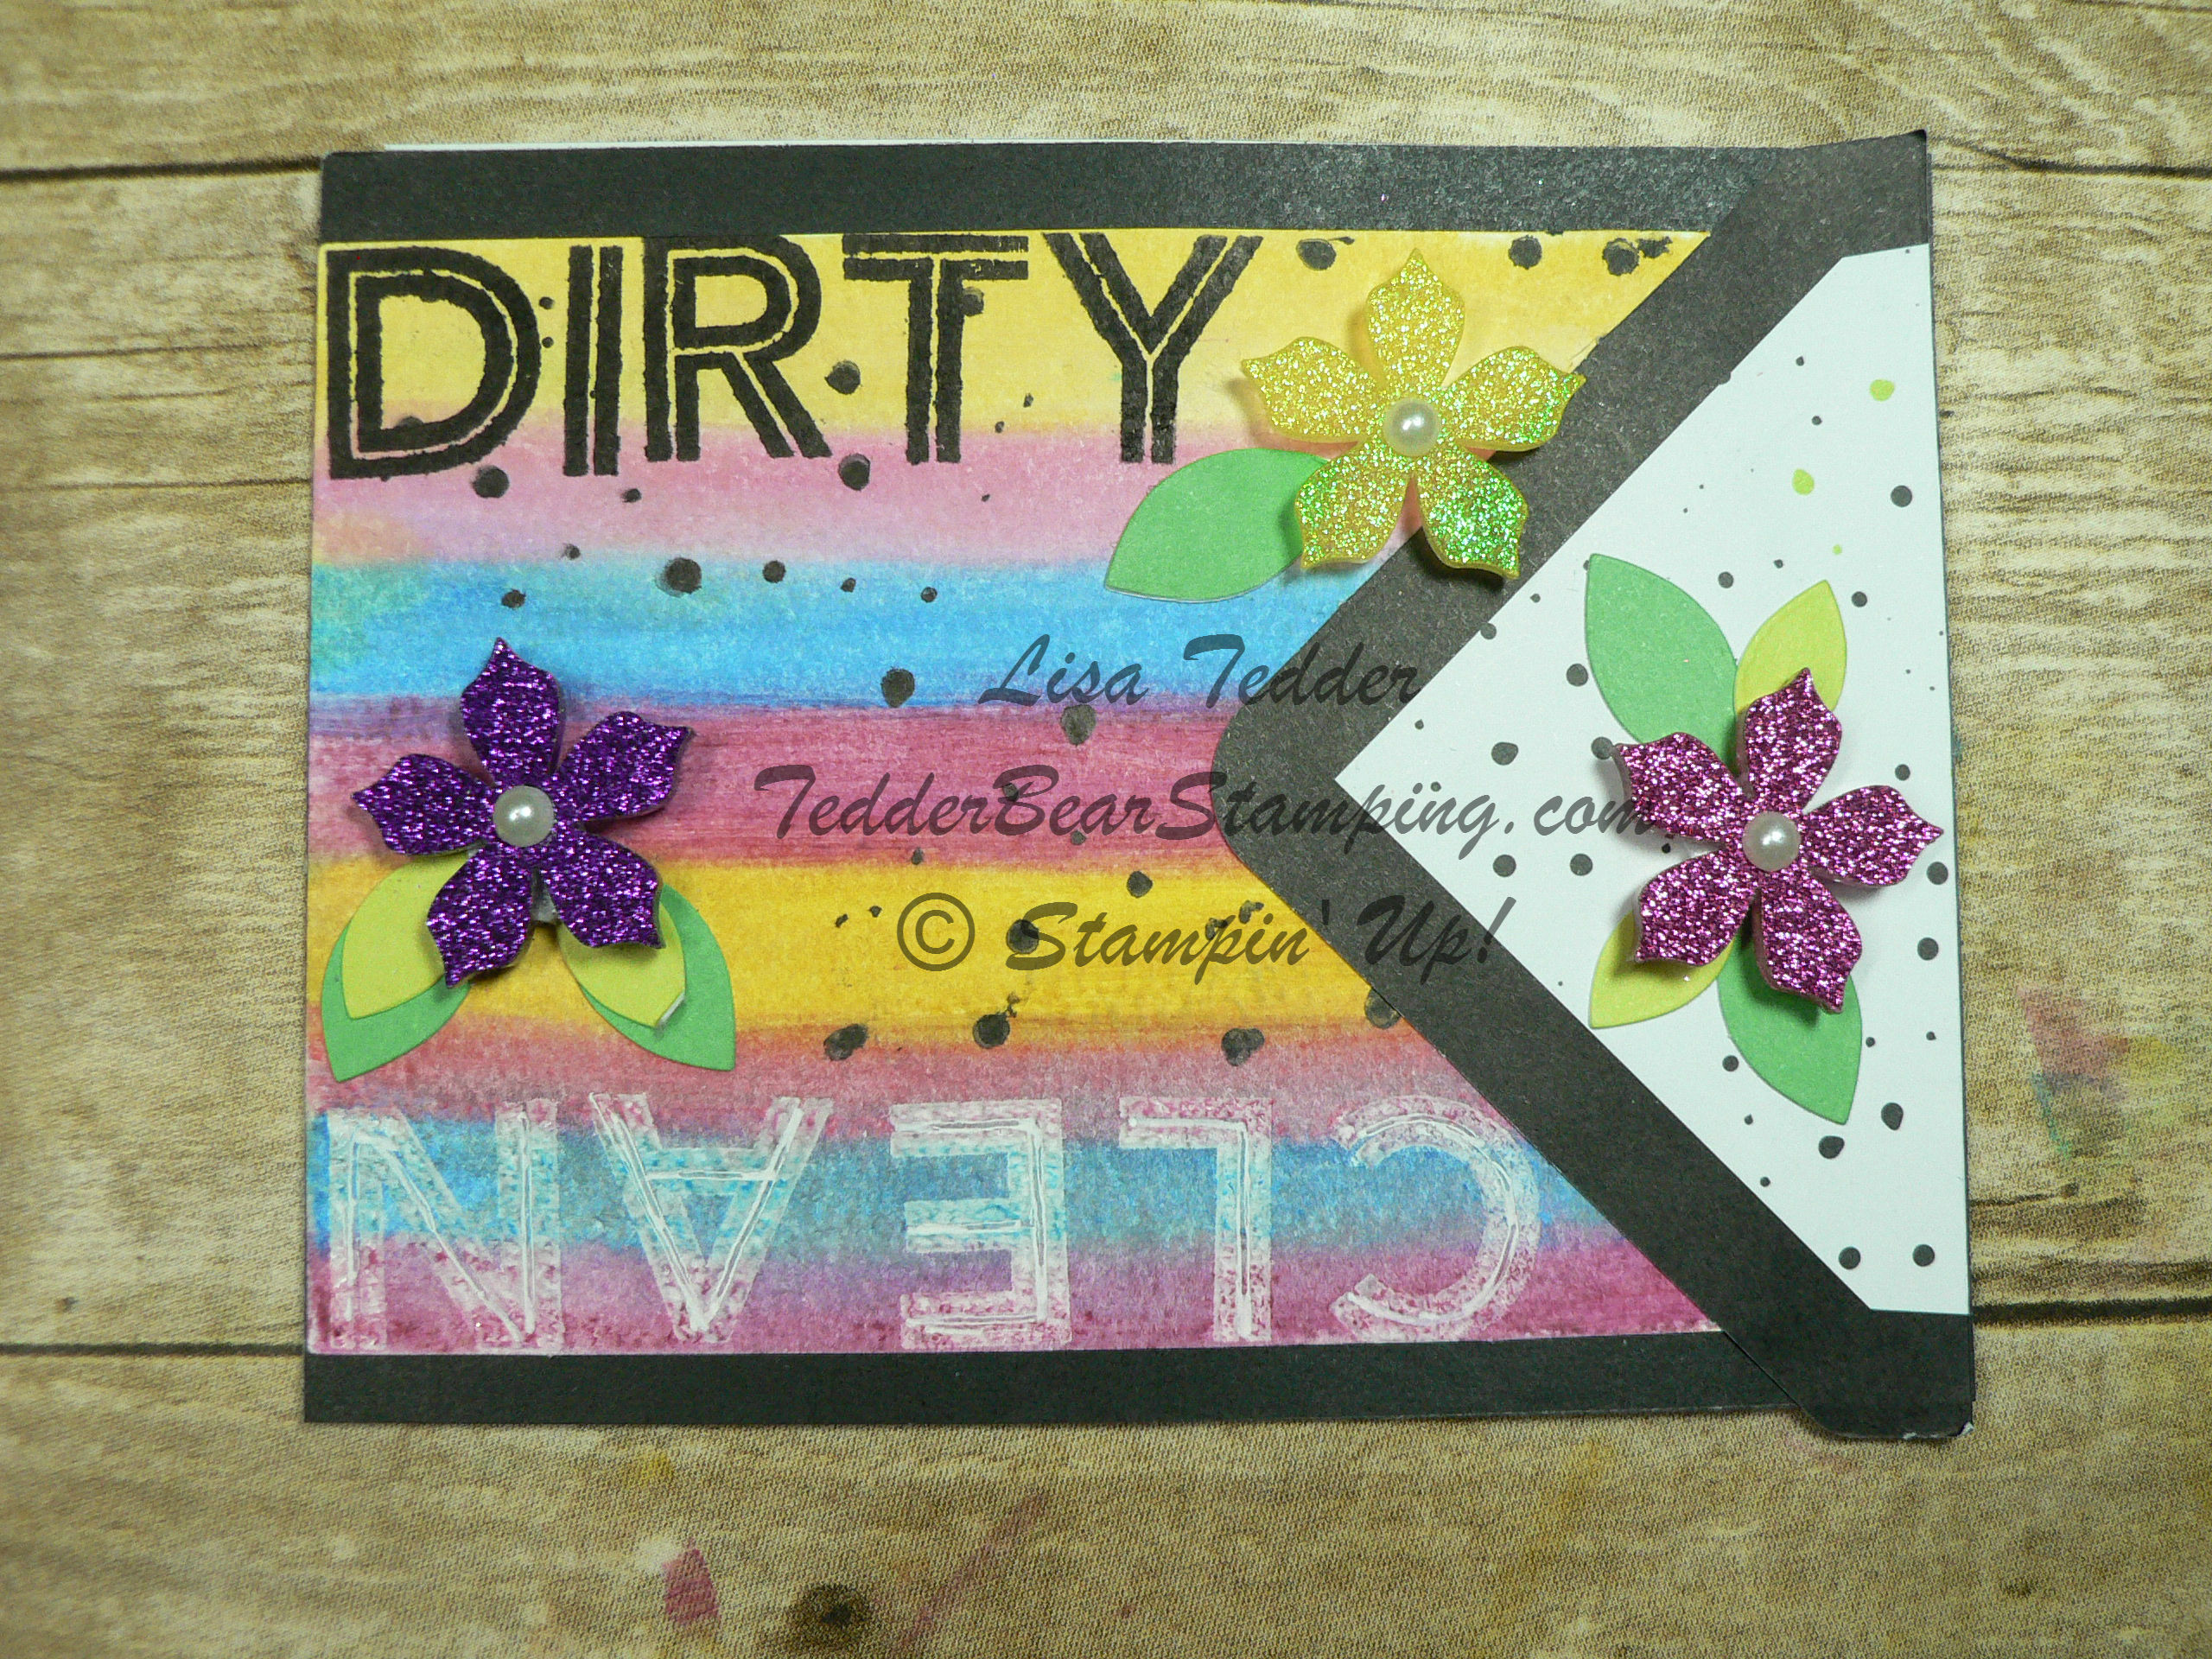
When the dishes are CLEAN, the clean is on top so you can read it, when it’s dirty, it’s the other way around:

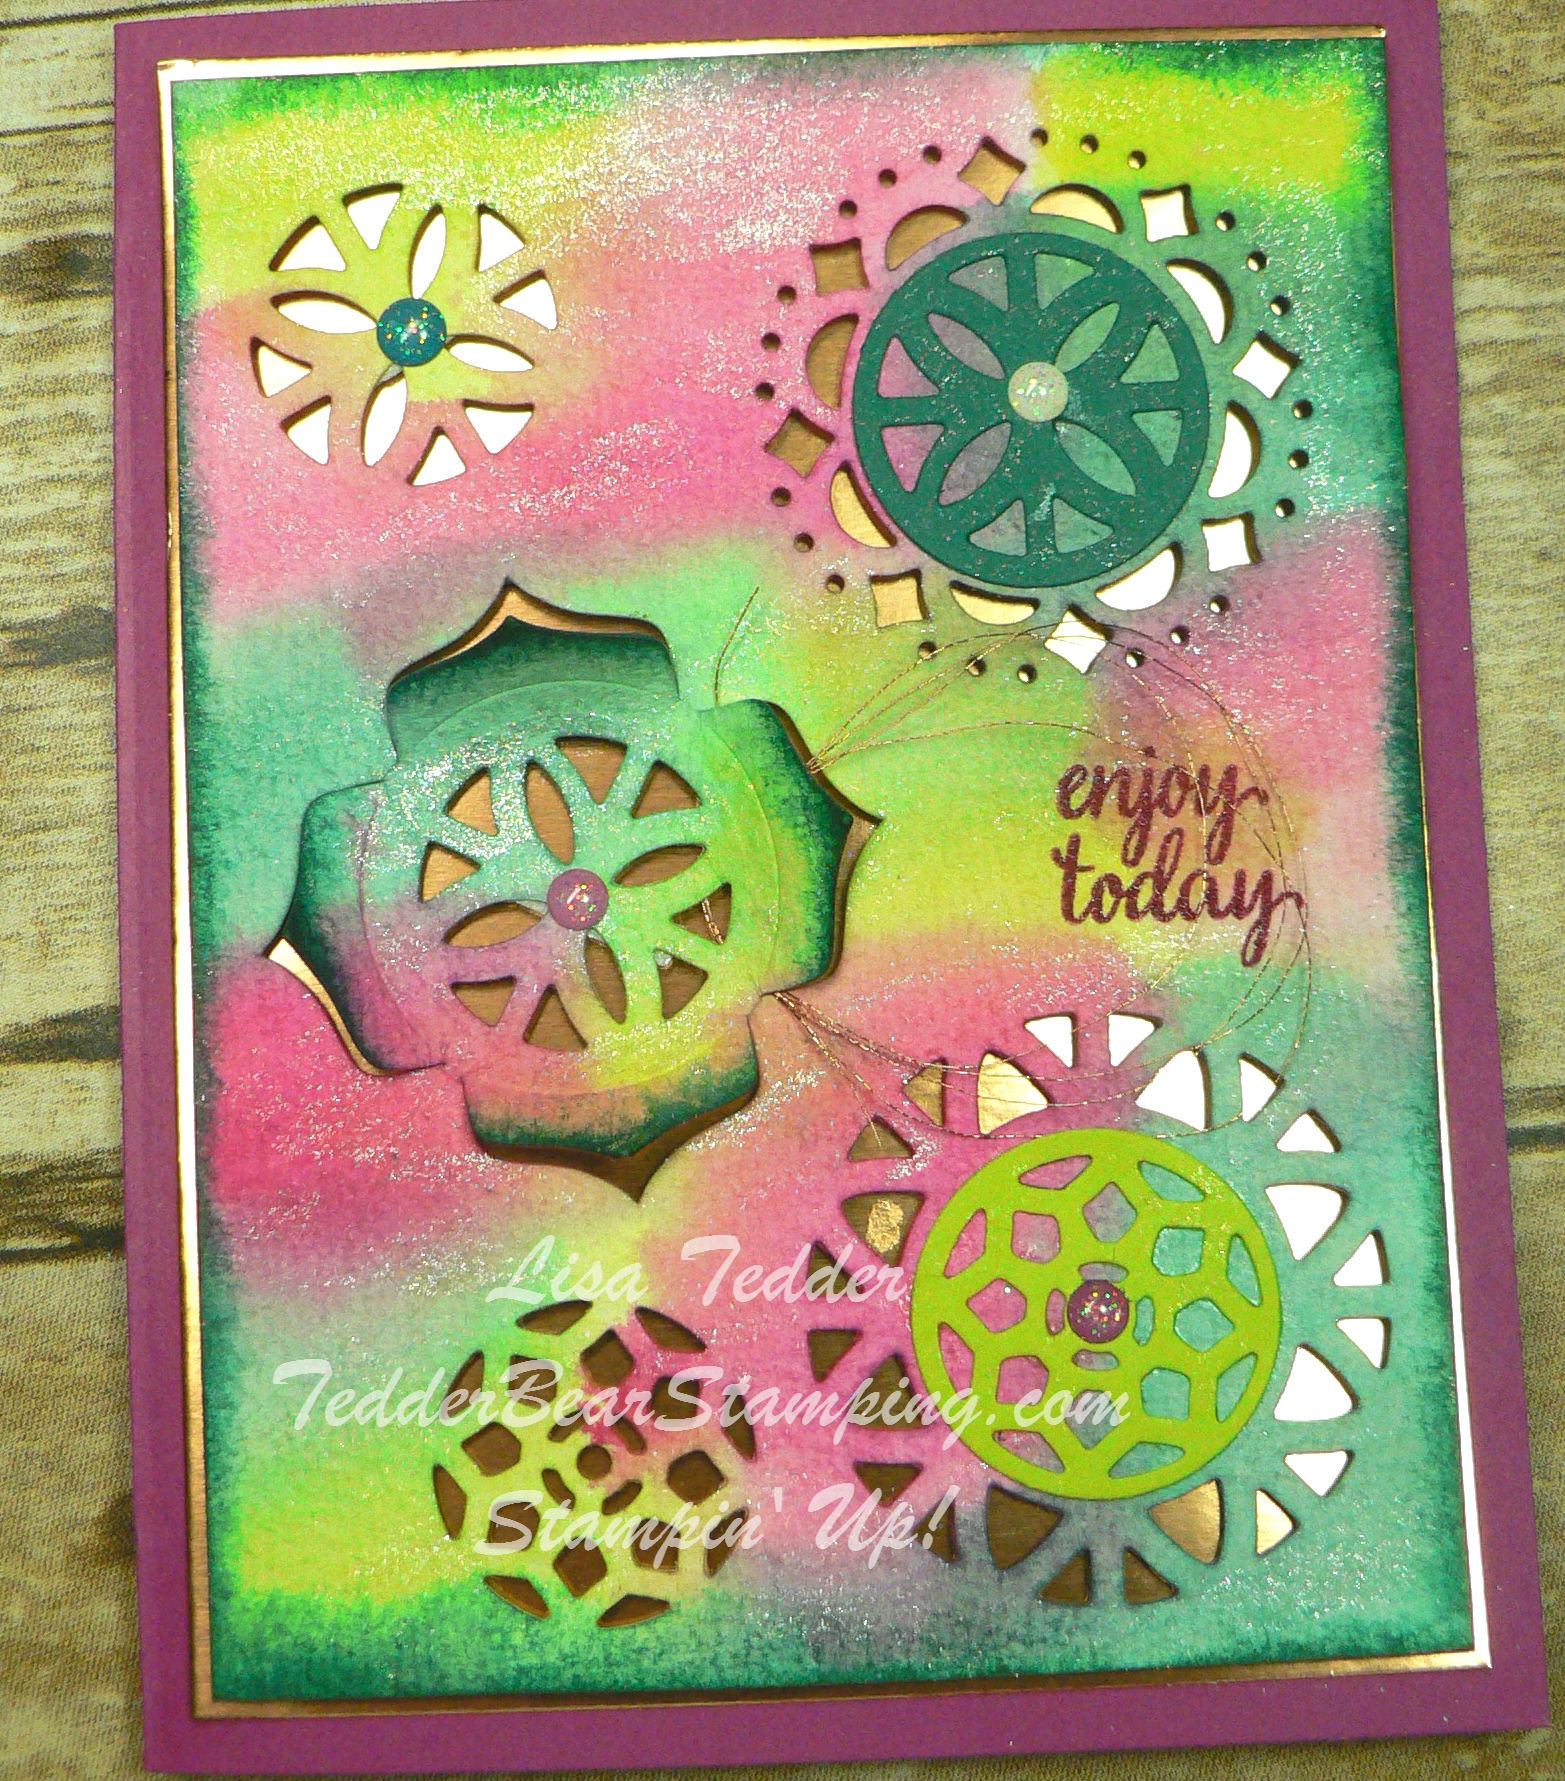
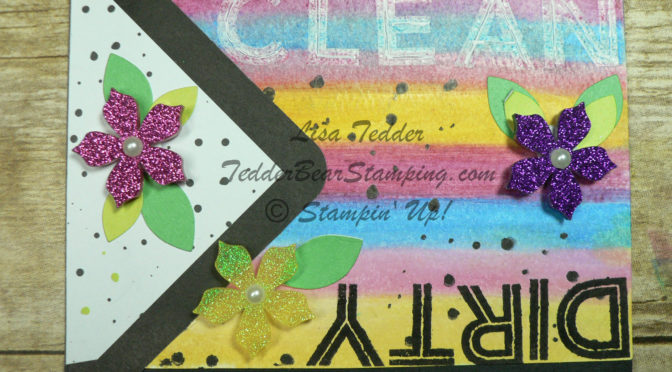
To make this, I stamped  the word Clean from an old alphabet set I have, and stamped it on the Watercolor paper from the kit (totally blank piece) using Versamark and clear Embossing Powder.  You can’t see it since it’s totally clear, but when you go to color over them the Clear EP keeps the color off!  I then used the pencils to scribble across the watercolor paper in stripes, even over the words.  I made sure that I got a good coverage and then went over the pencil with the watercolor brush to make it soft and to have a nice progression between the colors.

I stamped the splotch image all over the Water colored paper, staying away from the ‘Clean’ I stamped.  Then I  used one flap from the envelopes that are inside the kit over the piece I stamped and colored, it’s so pretty with the black splotches on it!  The flowers in the kit are sooooo pretty! They are sparkly on both sides, but one side is smooth, this is the side I placed a dimensional (ALSO in the kit!)  The leaves are in the kit, and go perfect with the flowers!

Have I convinced you yet that Paper Pumpkin is great??!!  My hope is this sign will make my daughter empty the dishwasher!!  LOL  I’m not holding my breath!

I now have this Stinkin’ Cute sign on my dishwasher, and I had fun making it!  Win/Win!

Don’t forget I have Blog Candy!!  Drawing is on May 15th.   Everytime you post a comment on ANY post on my blog or post a comment on my Facebook page, you will be put in a drawing to maybe win this:


I hope you enjoyed my blog post, now onto the next blog!

Tamra Davis
Jo Anne Hewins
Michelle Irinyi
Melissa Kerman
Tracy Evans Langley
Sharon Maranich
Laurie Meier
Lisa Tedder  <———–You Are Here!
Frances Wagner


Lisa Tedder
TedderBearStamping
A California Girl living in North Carolina

Sneak Peek of NEW Stampin’ Up! stamp sets Eastern Beauty, Eastern Madallions and Colorful Seasons

Today I TRIED to do a Facebook Live, and it came out ok, but I REALLY need to practice more!  hahahaha

I wanted to share with you today TWO/Three NEW sets from SU! that is coming out in June!  The reason I say Two/Three is because I am showcasing a set that has a Thinlit that works with it.  Not sure you would say they are separate sets, but they could be used apart.

The one I am sooooo excited about it Eastern Beauty and Eastern Medallions!  This set is so Versatile!  You can use the stamp set to make ALL kinds of great designs!  I have to still work on seeing what it does, so for now I will be sharing the card I made using the Eastern Medallion thinlits and a few of the stamps!!

Here is the card:

VERY pretty colors, right?  This is made with a lot of the framelits.  The cool thing is that you can mix and match them!  The one on the card that has the popped up part, is usually solid in the middle.  I used one of the other thinlits and placed it in the middle and made it so you can see through it!  Here is a sheet showing the one still attached to the cardstock and the other framelits in the set:


If you want to cut out an image to either put in the center. or cut out a center, you can see this piece leaves just the cutouts that you see:

OR if you want to cut out the image, use the smallest circle from the Layering Circles #141705 and t cuts it out perfectly!

Doesn’t Stampin’ Up! think of everything!  🙂

I started with a 3 3/4″ x 5″ piece of Watercolor Paper and placed a lot of the Thinlits on the Watercolor paper, then added to them, to get the look I wanted.   I then got my Aqua Painter and colored some of the new pretty In Colors on the top of the Water Color Paper, making it as bright and pretty as I could!

I used Wink of Stella to make the paper sparkle and then popped up the piece in the center left by making the edges pull up (the piece doesn’t pop out all the way, just the petal edges).  I placed Dimensionals on the bottom of the entire Piece of Paper and then placed it on  5 1/8″ x 3 7/8″ piece of Copper Foil.  It looks so pretty in person, with the copper peeking out!

I stamped the saying from Eastern Beauty “enjoy today” on the right center and then used clear Embossing powder on it to make it more textural (I LOVE that our inks are wet enough to do this!!)

I used the brand new Glitter Enamel Dots that I got from attending OnStage in Savannah GA!!  If you are a demonstrator one of the MANY perks is that you get to see product before anyone else!  AND if you attend OnStage (which is all over the world!) you can pre-buy certain product before other demos that didn’t attend!  Of course I HAVE to go, so I can see/touch and order new goodies……as I’ve said MULTIPLE times, I am NOT  a patient person!  LOL

For the added touch before putting it onto the Berry Burst Cardstock I wrapped some Copper Thread so it peeks out of the side of the lifted petal and goes around the sentiment!

Here is the inside of the card!

Again, I used the stamps from the Eastern Beauty to adorn the inside!  Well?  Do you like it?

On my Facebook Live Video  New Sneak Peek Stamp sets I also showed another card.  I showed how this one was made, so I will show you the picture and if you want to see it made, go see the video…..just ignore how silly I look/sound/act……..this is what happens when you are not super experienced at it!  HAHAHAHA

I won’t show you the one I tried to make better on the video, because in the long run, I liked this one better!

Here is the inside:

I really love the Copper on the Designer Series Paper (DSP), don’t you?!  And the leaf in Copper looks so pretty on the inside!

If you live in the USA, I would LOVE to have you be a part of my Team!  You can sign up under me, get a discount, get to attend SU! functions, order product early and get to meet the BEST people!  What can be better than getting paid to do what you love to do!?

Check back in with me, I’ll be posting more retiring ideas AND new product!  Subscribe both to my blog and to my Newsletter and you won’t miss anything!

Lisa Tedder
TedderBearStamping
A California Girl living in North Carolina

Experimenting and getting more from my SU! embossing folders!

Do you ever see things and wonder how it would look if you used it OUTSIDE of it’s usual purpose?  I do it all the time!  I LOVE to experiment with my SU! products!  Anything that will make my tools/stamps be used more is sooooo worth trying!   And if you do try something and it works, then you are so excited to share it!  That’s what I am doing today!

I have Mod Podge in my cupboard and I never use it!  I don’t even remember WHY I bought it!  I’m sure I used it for the purpose I bought it for, but I have totally forgotten why!  So, what to do?!  I know!  Try an experiment and see if I can come up with something new so I use it!!

I decided to put it on my Brick Wall Embossing Folder by SU!  Believe me, I was very nervous, but figured that it will wash off, and I might like what I make!  I LOOOOOOVE how it came out!  You’ll have to tell me what you think!

First let me show you a picture of this handmade card that could be used for a masculine card or it could be for your Western loving girl!:

Can you see all the texture?!  It is so shiny and it makes me just want to pick it up and move it in the light to catch the beauty!  You can watch my video on YouTube to see what I am talking about!  It’s called “Experimenting and getting more from my SU! embossing folders!”  I thought I would keep the name the same as the blog name to avoid confusing MYSELF!  It doesn’t take much ya know?

Get a piece of Very Vanilla 5″ x 3 3/4″, and sponge it with Sahara Sand, Crumb Cake, Soft Suede and Cajun Craze.  Just sponge spots around the cardstock and go from lightest to darkest!  Then you can go over all the spots with your Cajun Craze to lighten it up a bit.

I poured a little of Mod Podge onto the Embossing Folder and spread it out using a piece of chipboard I had.  Don’t use a lot, you don’t want it to squeeze out onto the Cutting plates, or not too much anyway!  Place your sponged Very Vanilla face down onto the Mod Podge.   Once you have run it through the Big Shot, you will immediately place your plates and folder into water until you can get to it to wash off.  It came off very easy!  I then heat set the embossed/Mod Podged piece, since I am not a patient person and didn’t want to wait!  Once dry, you can sponge over again with the Cajun Craze just to make sure that it is covered.  Set aside.

Now onto the loverly (NOT a typo, I’m just goofy) Boots from the Country Livin’ stamp set!  Stamp the boots onto Watercolor paper using Early Espresso, then add clear Embossing Powder which will make it to where the color won’t smudge and add texture!!  If you ever come to one of my classes you will see right away I love texture! Once you have it heat set, then take your Aqua Painter and go over the entire piece of Watercolor Paper, so it won’t hold too much color and you have more control.  Keep layering your Crumb Cake ink (which is what you start with) until it’s dark enough, then come in with Soft Suede where the artist has the ‘folds’ designed in.  Color the tabs at the top and the part that buckles with a Marina Mist marker, and the bottom of the boots with black.  Once done, color the background with Soft Sky and underneath the boots with Soft Suede……..this is where you will love that you made the cardstock a little wet, it just comes out looking so soft!

Using your Big Shot, place largest oval from the Stitched Framelits over your scene and cut out.  Sponge edges liberally with Marina Mist and then SOFTLY with the Early Espresso.  You will want to watch the technique video to see how to make this card from the beginning!

I looped 5 strands of Linen Thread and knotted it twice, one on each side that the oval scene will be over.  Then place this piece onto a
5 1/4″ x 4″ piece of Marina Mist, and then place that onto a piece of Soft Suede!  The colors go so well together!!

I hope you enjoyed this post, and hope you go check out my Technique video with a SU! Embossing Folder!  Let me know what you think?  Do you want MORE techniques?

Lisa Tedder
TedderBearStamping.com
A California Girl living in North Carolina
Product List


I will miss this!

Today I made a greeting card from a Retiring stamp set from Stampin’ Up! called Love & Affection.  I forgot how much I love this set!  I’ll be sorry to see it go!

I used some of the Designer Series Paper called Affectionately Yours that I have HOARDED!  Yes, I can admit it, I hoard paper!  Sigh……

This isn’t just any Designer paper, oh no!  It has Copper embossed in it!  Yes!  It’s true!  Now do you see why I hoarded it?  This card today is made up by me……I don’t do this very often.  I have been wanting to use the Framelit from the Fiesta Time stamp set!  And that’s how my card started!  Ha!  Funny how that worked!  I cut out two of the strips that are the half circles that are attached together to make a banner, I cut out one from Watermelon Wonder (retiring) and Mint Macaron (also retiring).  This is where I started, I thought these colors looked good with Night of Navy, so that is what the center cardstock will be, since those will be resting on that cardstock.

Pretty together, right?  The colors I used are listed below with a link to my Online Store.  The Hostess Code for this month is:  69EGW4G2   If you purchase from me, I will send you a VERY pretty handmade card!

Here are the measurements of my card if you want to try it!

Tip Top Taupe  5 1/2″ X 7 1/2″ scored at 4 1/4″  landscape
Night of Navy (inside) 4″ x 5 1/4″,  (front) 3″ x 5 1/4″
Affectionately Yours Specialty Designer Series Paper (DSP) 2 – 3/4″X 5″
Whisper White Inside:  3″ x 5 1/8″, scraps for sentiment

Here is the card in all it’s Beauty!

I used the Petite Petals punch (retiring) to make a focal flower on the front in Copper Foil.  And cut out the sentiment using the Decorative Label punch (also retiring), I cut out another two of the Decorative Label from the Copper Foil to give a border around the sentiment.  You cut each piece in half and then layer them on the back!

I sponged VersaMark on the edges of the Fiesta Time Framelits to give a little Copper edging to it!  Also along the edge of the Night of Navy I stamped in VersaMark the flowers from the Stamp set and embossed with Copper!  Added some pearls to each half circle on top, and to the small flowers on the inside flap.

Here is a picture of the inside!

I love how elegant this card is!!  So, STOP hoarding your DSP and use it!  Before you know it you’ll be getting new DSP and will forget all about the ones you’ve been hanging onto for a special day!  The day is NOW!

The side of the inside is peeking out on the front,

I am proud of myself!  It’s a little scary to just go with an idea and not know how it will turn out!  Sometimes it doesn’t, but that’s where you learn!  Remember, it’s just paper!  I tell myself that when I am really scared!  heehee  Are you scared when you try something without any idea on where it is headed?   You might just surprise yourself (like I did!) when you give it a try!

I hope you enjoyed your visit here today!  I would love to hear from you, I will be having another Blog Candy drawing soon, I have to figure out what to give away!  What would you rather…….stamp sets, ribbon, accessories, paper?  I want to give out what YOU want!!  Let me know!

Lisa Tedder
TedderBearStamping
A California Girl living in North Carolina!

Product List