Tag Archives: Versamark

Star Wars handmade Birthday card, PLUS Blog Candy!

How does time get away from me?  I know!  It’s because I get to stamping in my stamp room and time just flies!

As I went to bed last night, I was thinking of what had to be done……….THIS is why it’s so hard to shut my brain off when I go to bed!  I thought I still had plenty of time to come up with a Star Wars birthday card for my Grandson, Isaac.  NOPE!!  I am in North Carolina, he’s in California and his  birthday is in 3 days!  NOT sure it will get there in time, but I’ve been talking and thinking about this card for a MONTH!  🙂  Does that count?

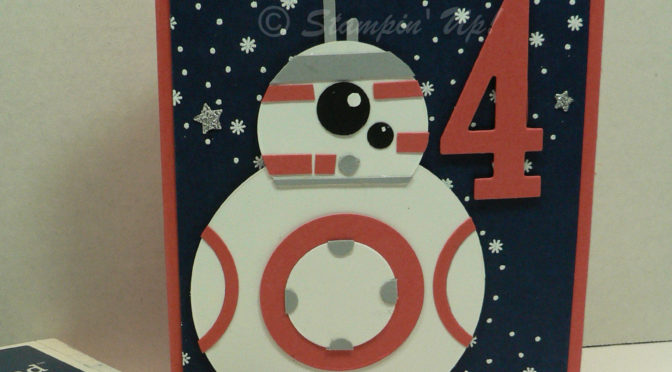
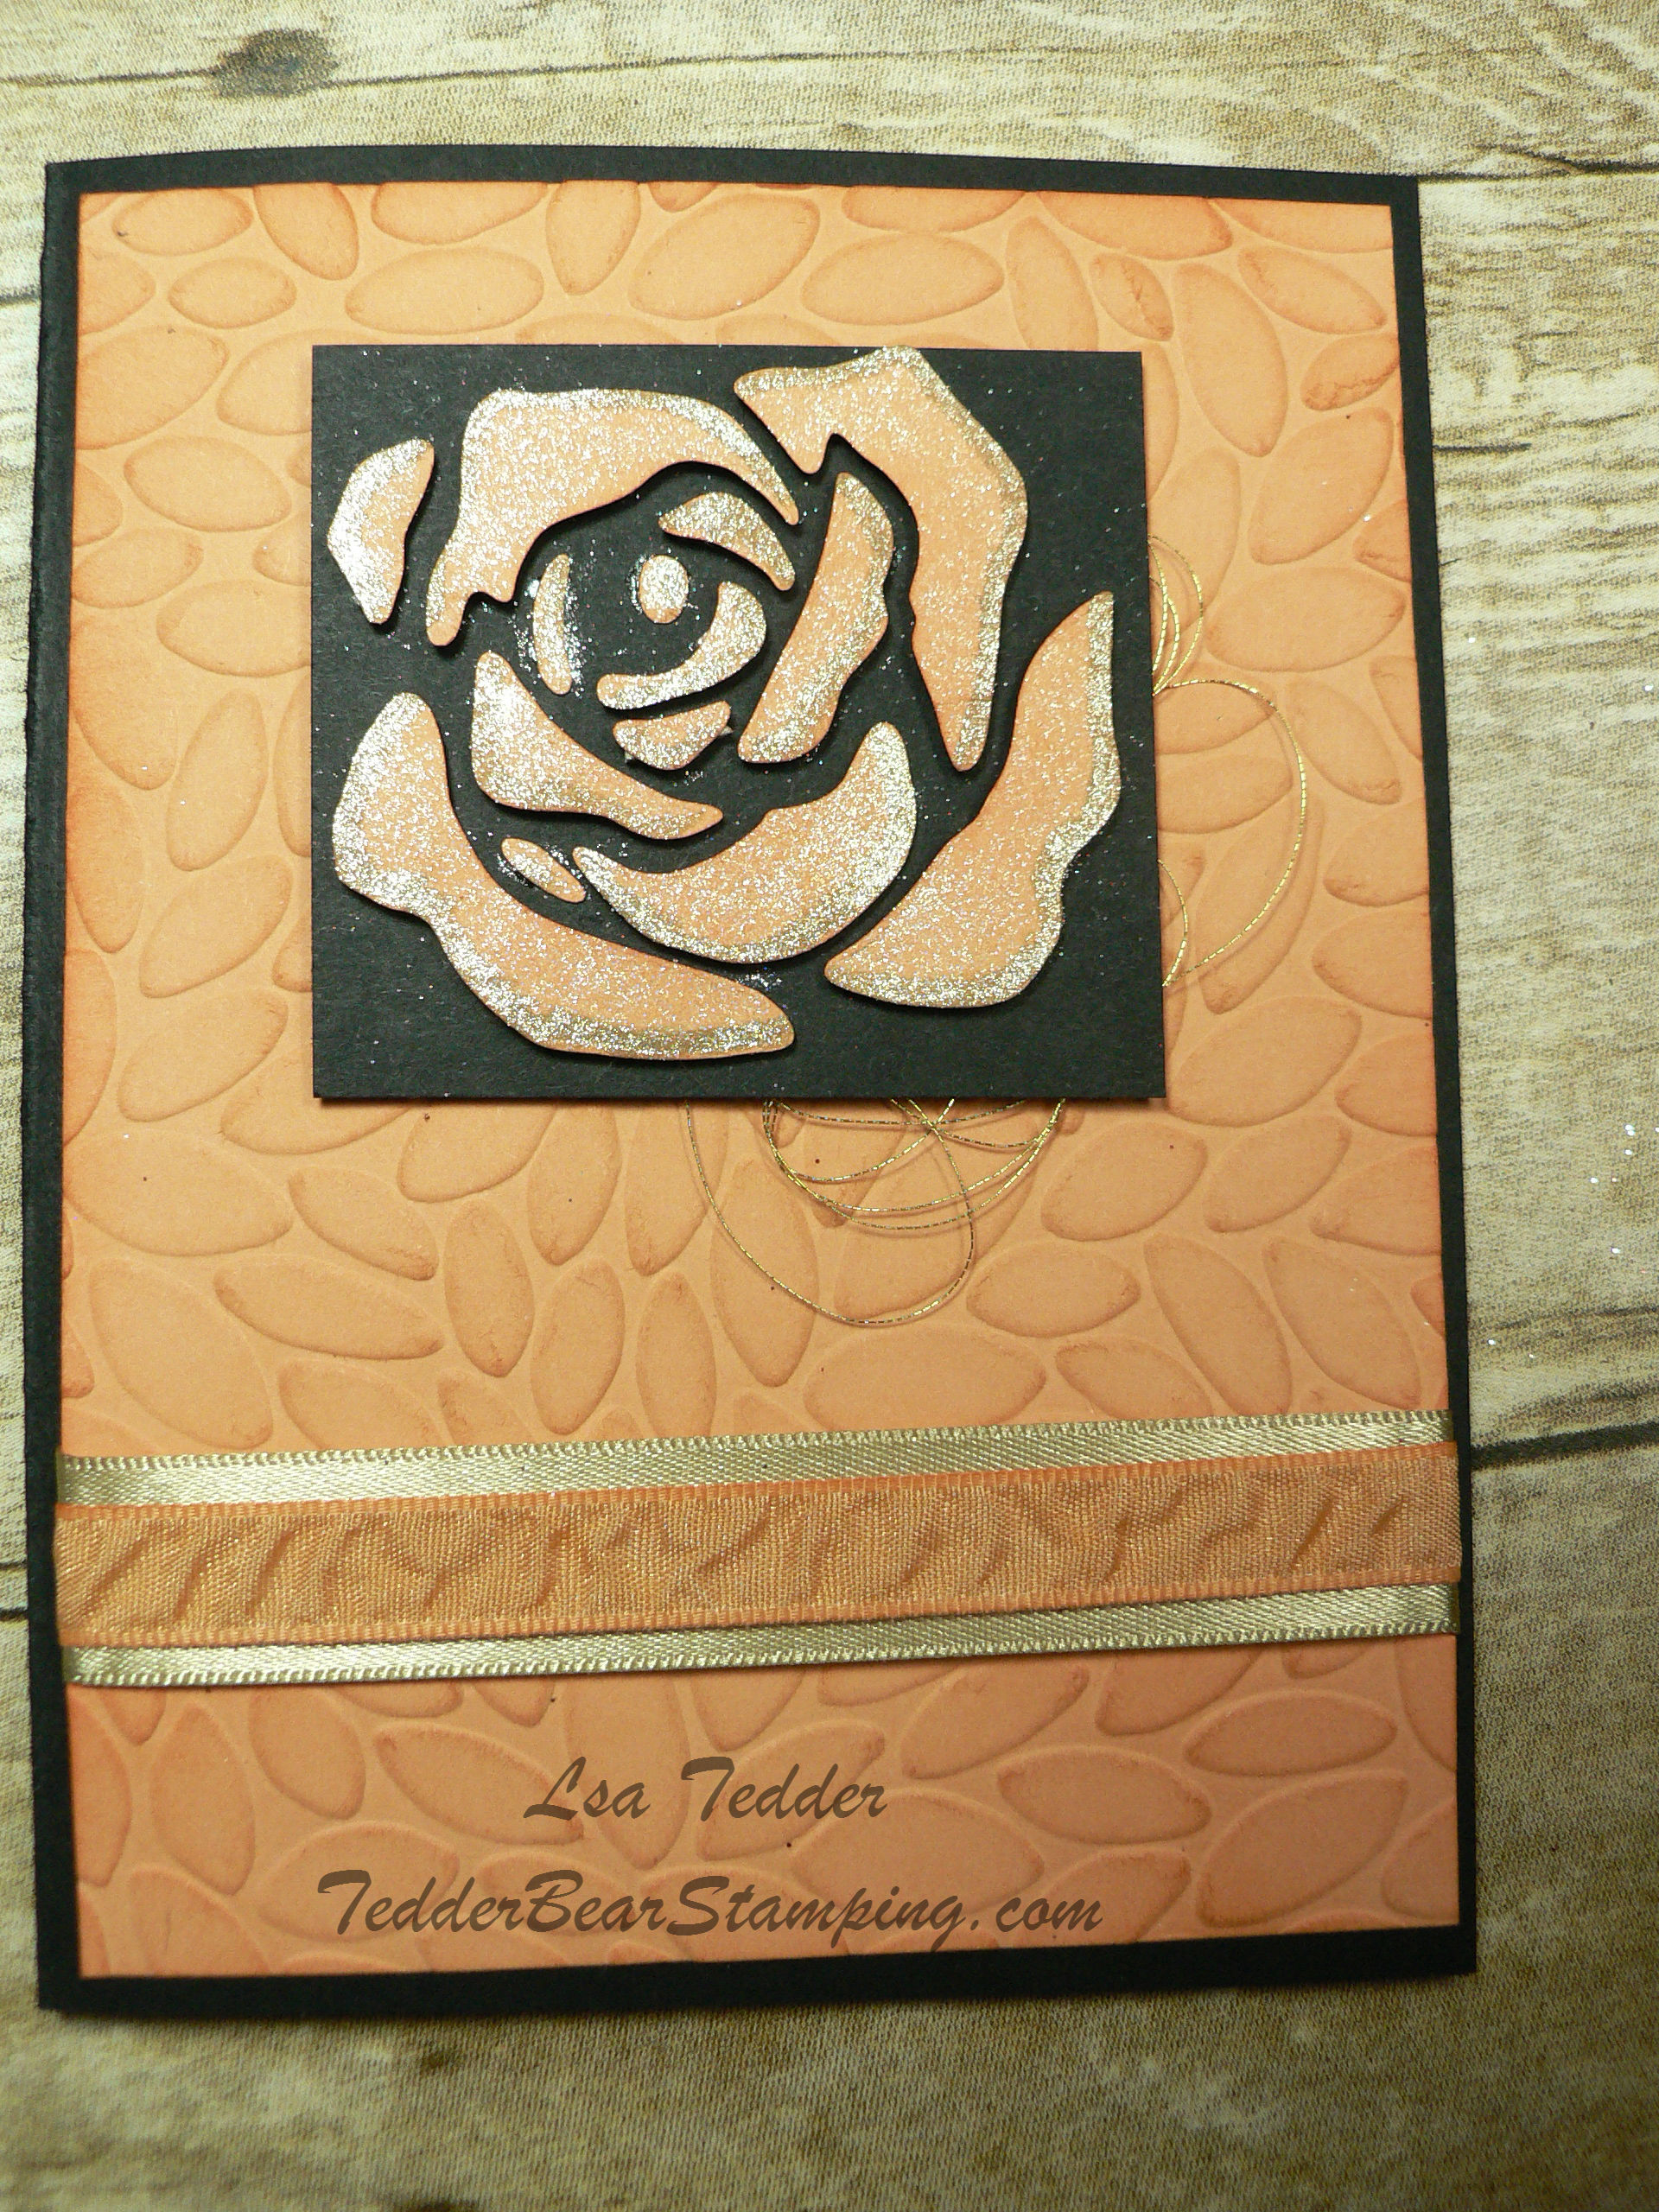
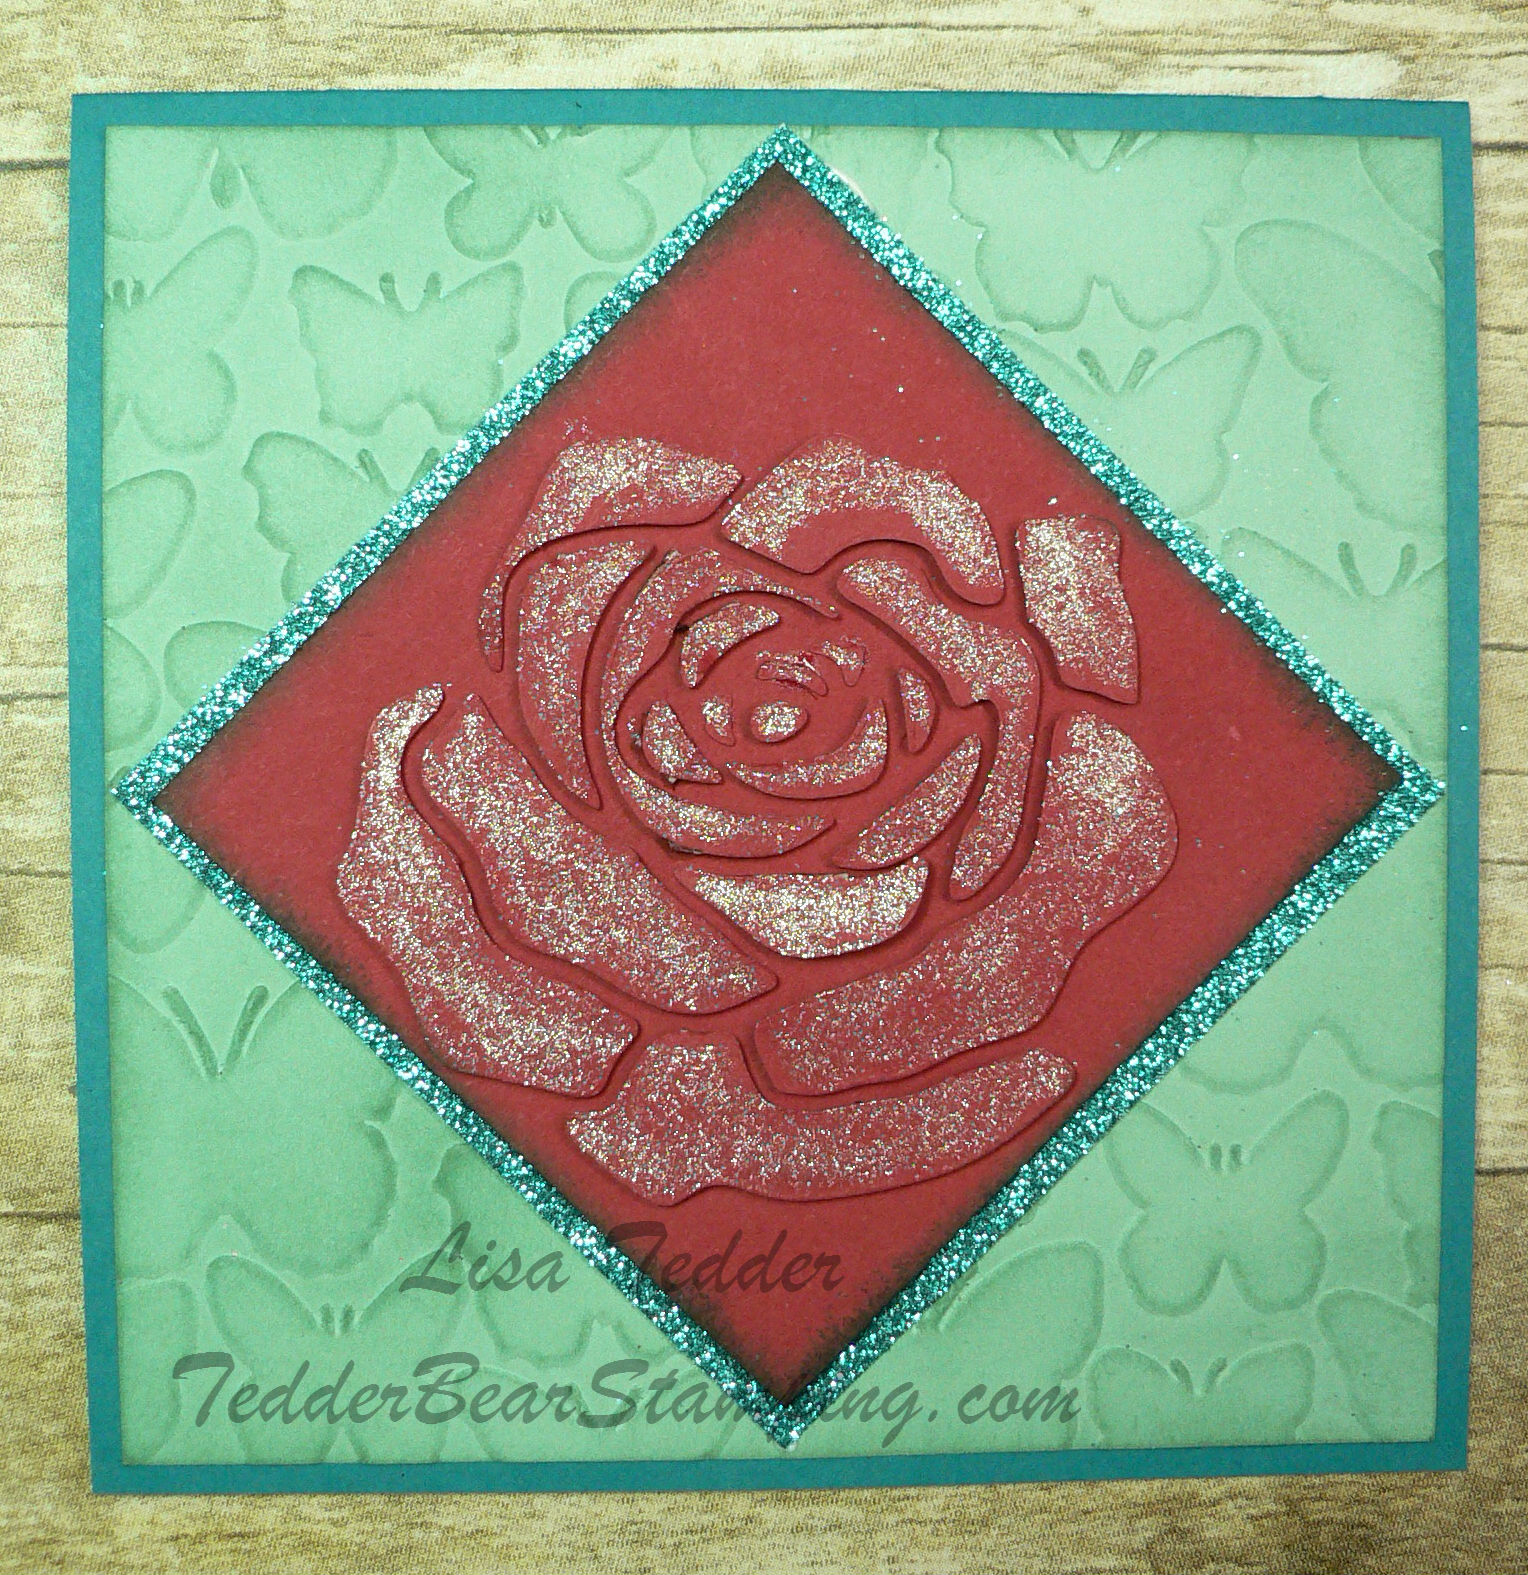
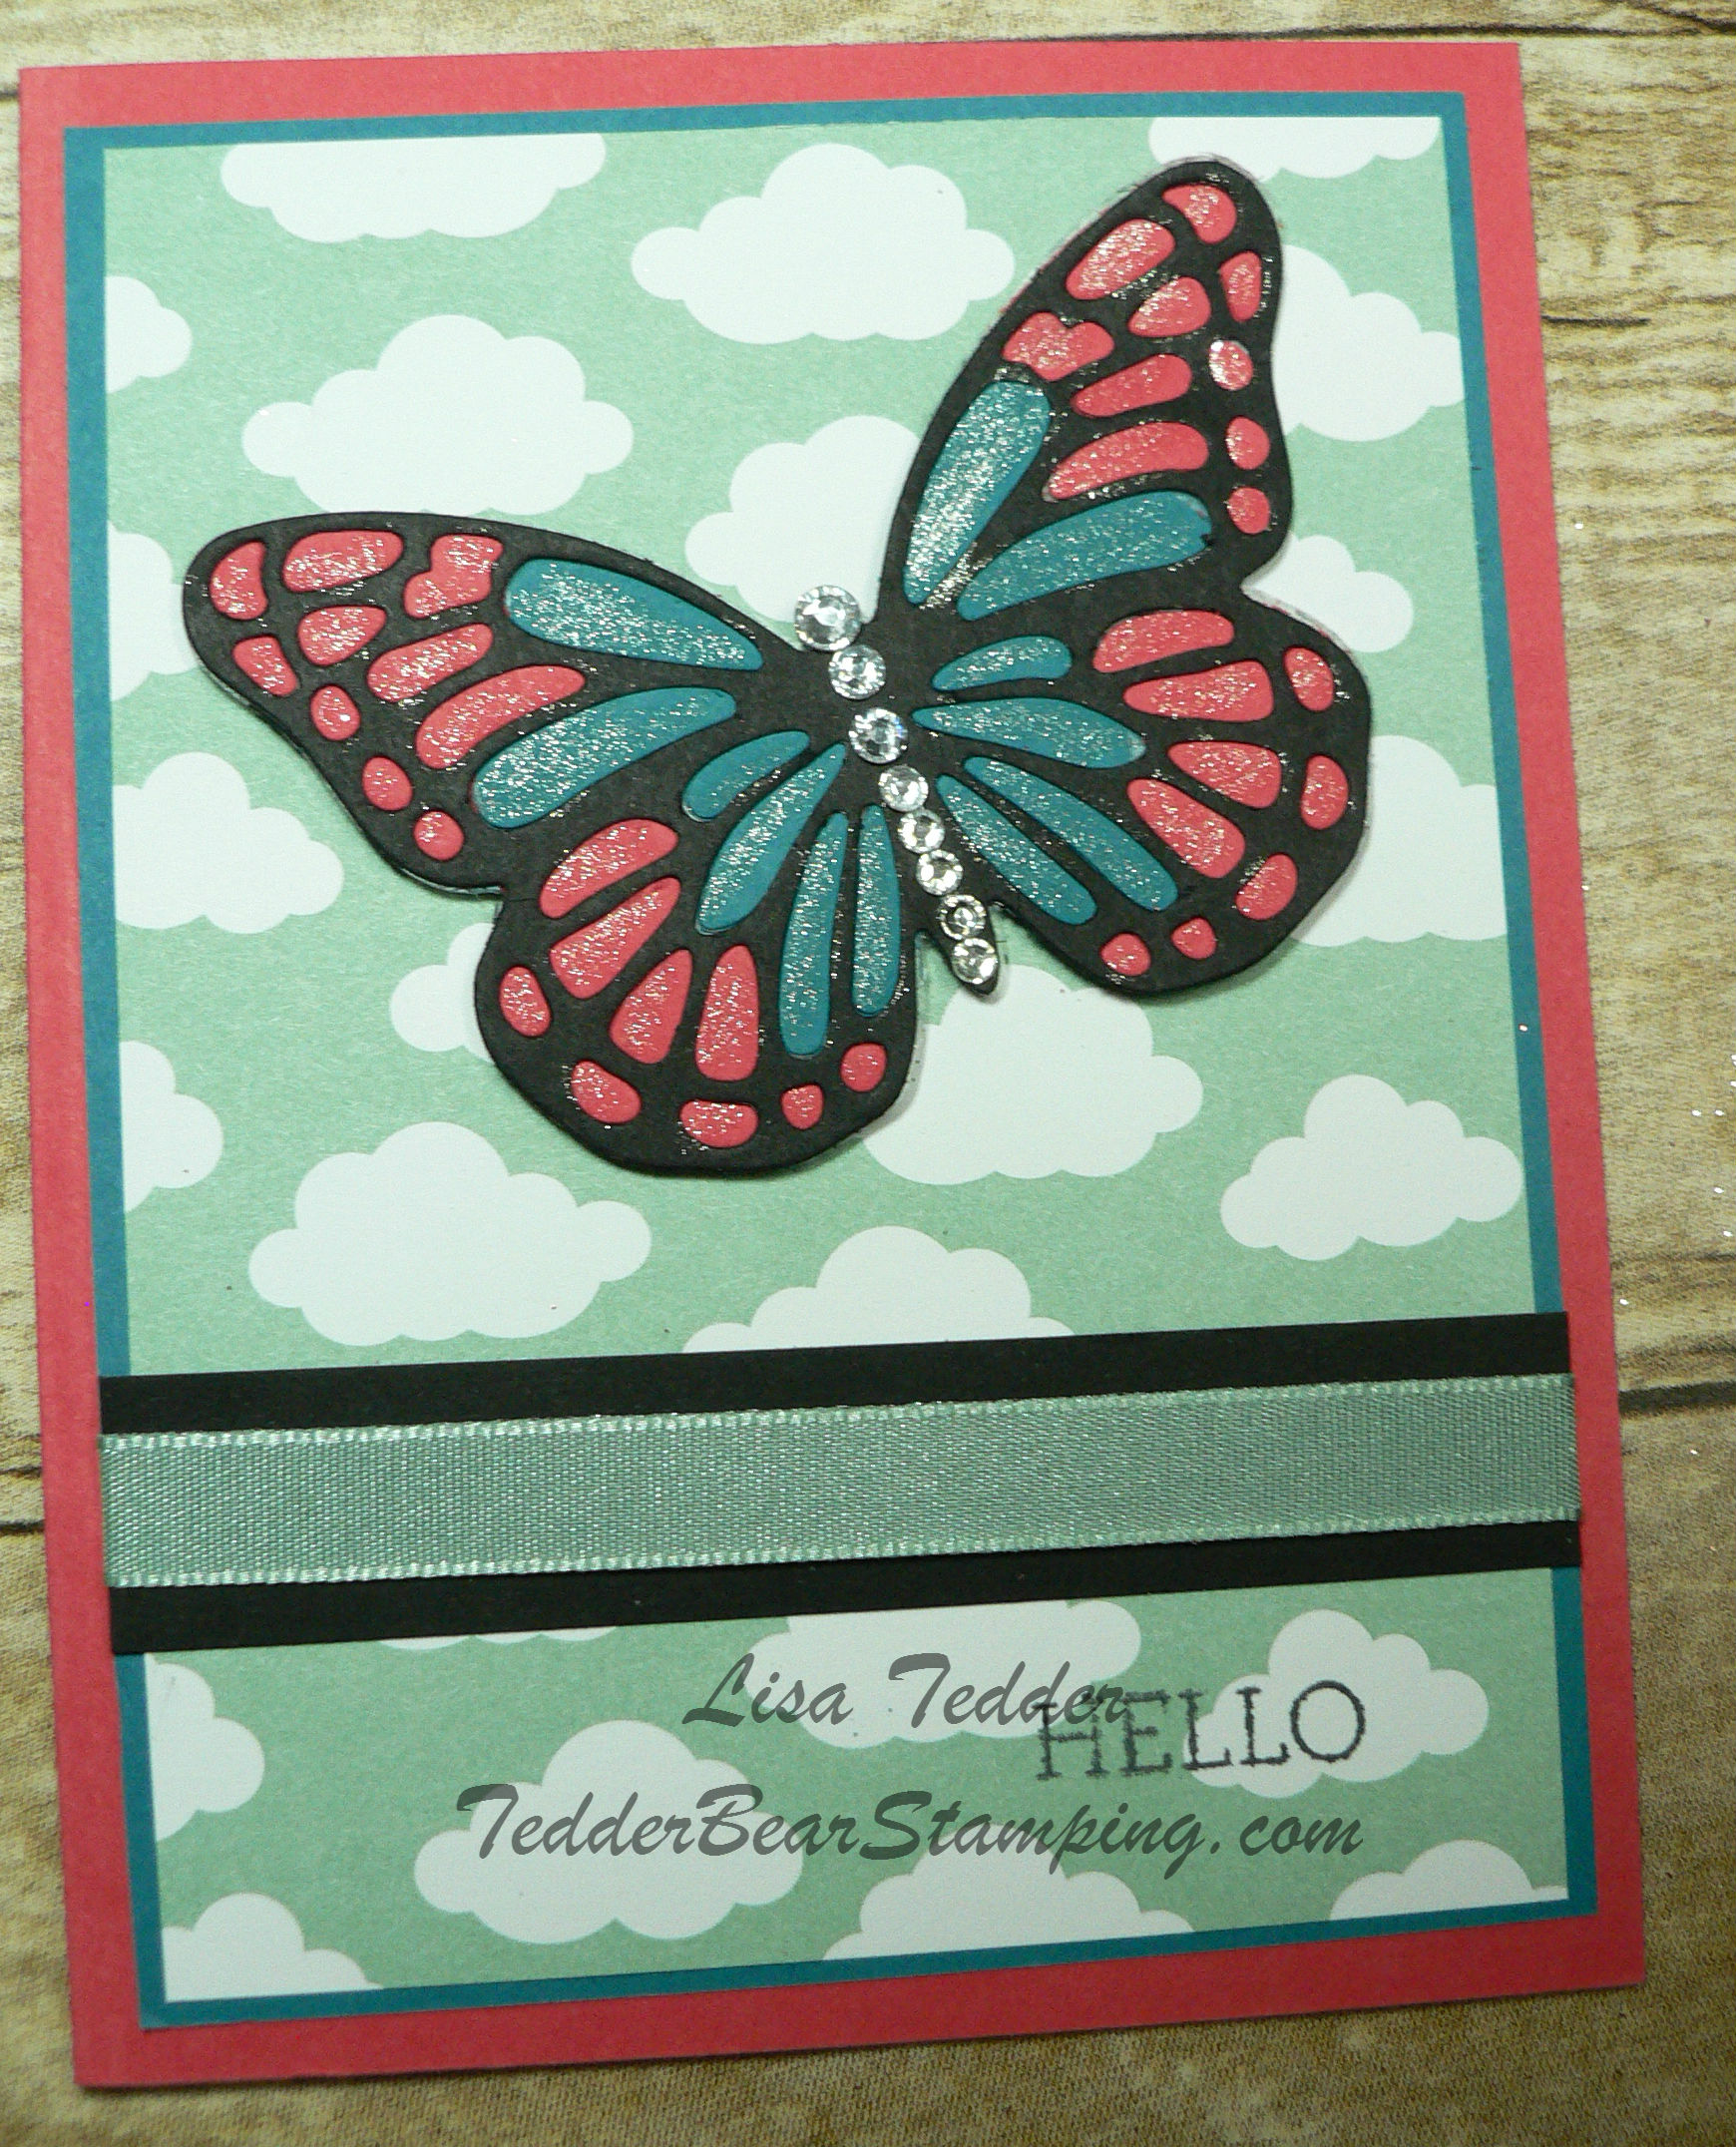
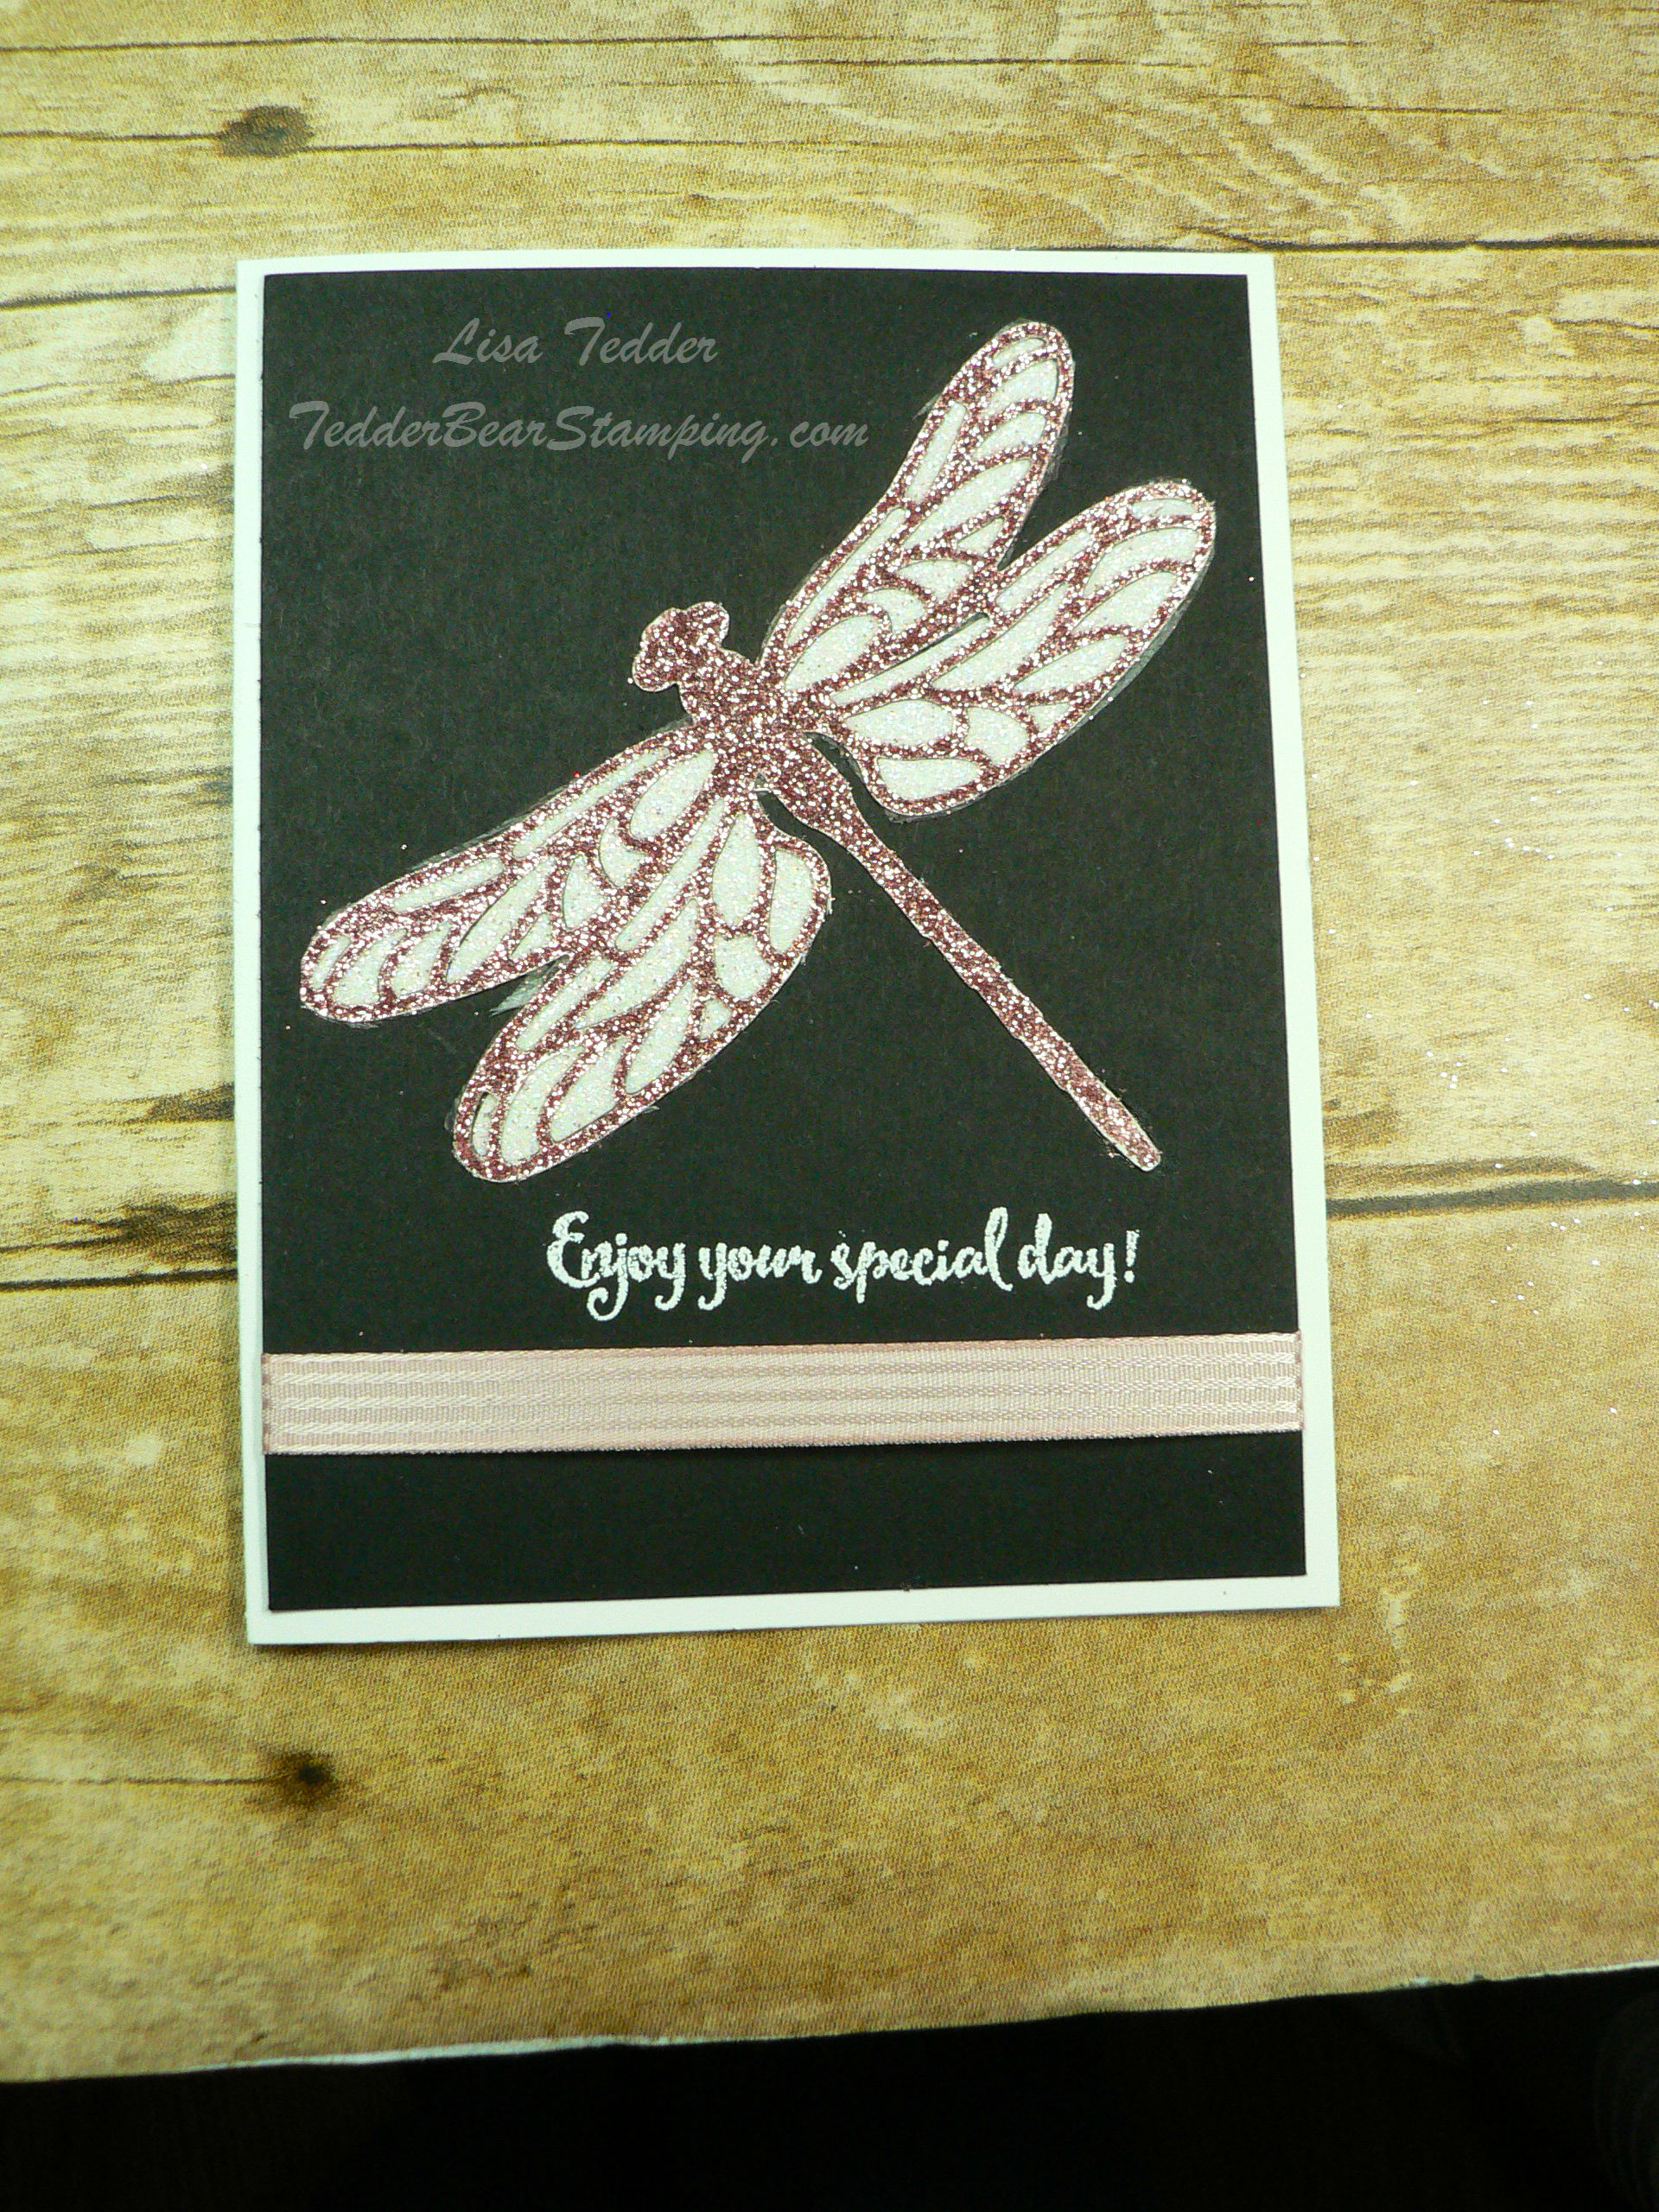
Here is what I came up with (thanks to Pinterest and Carrie Rhodes!):

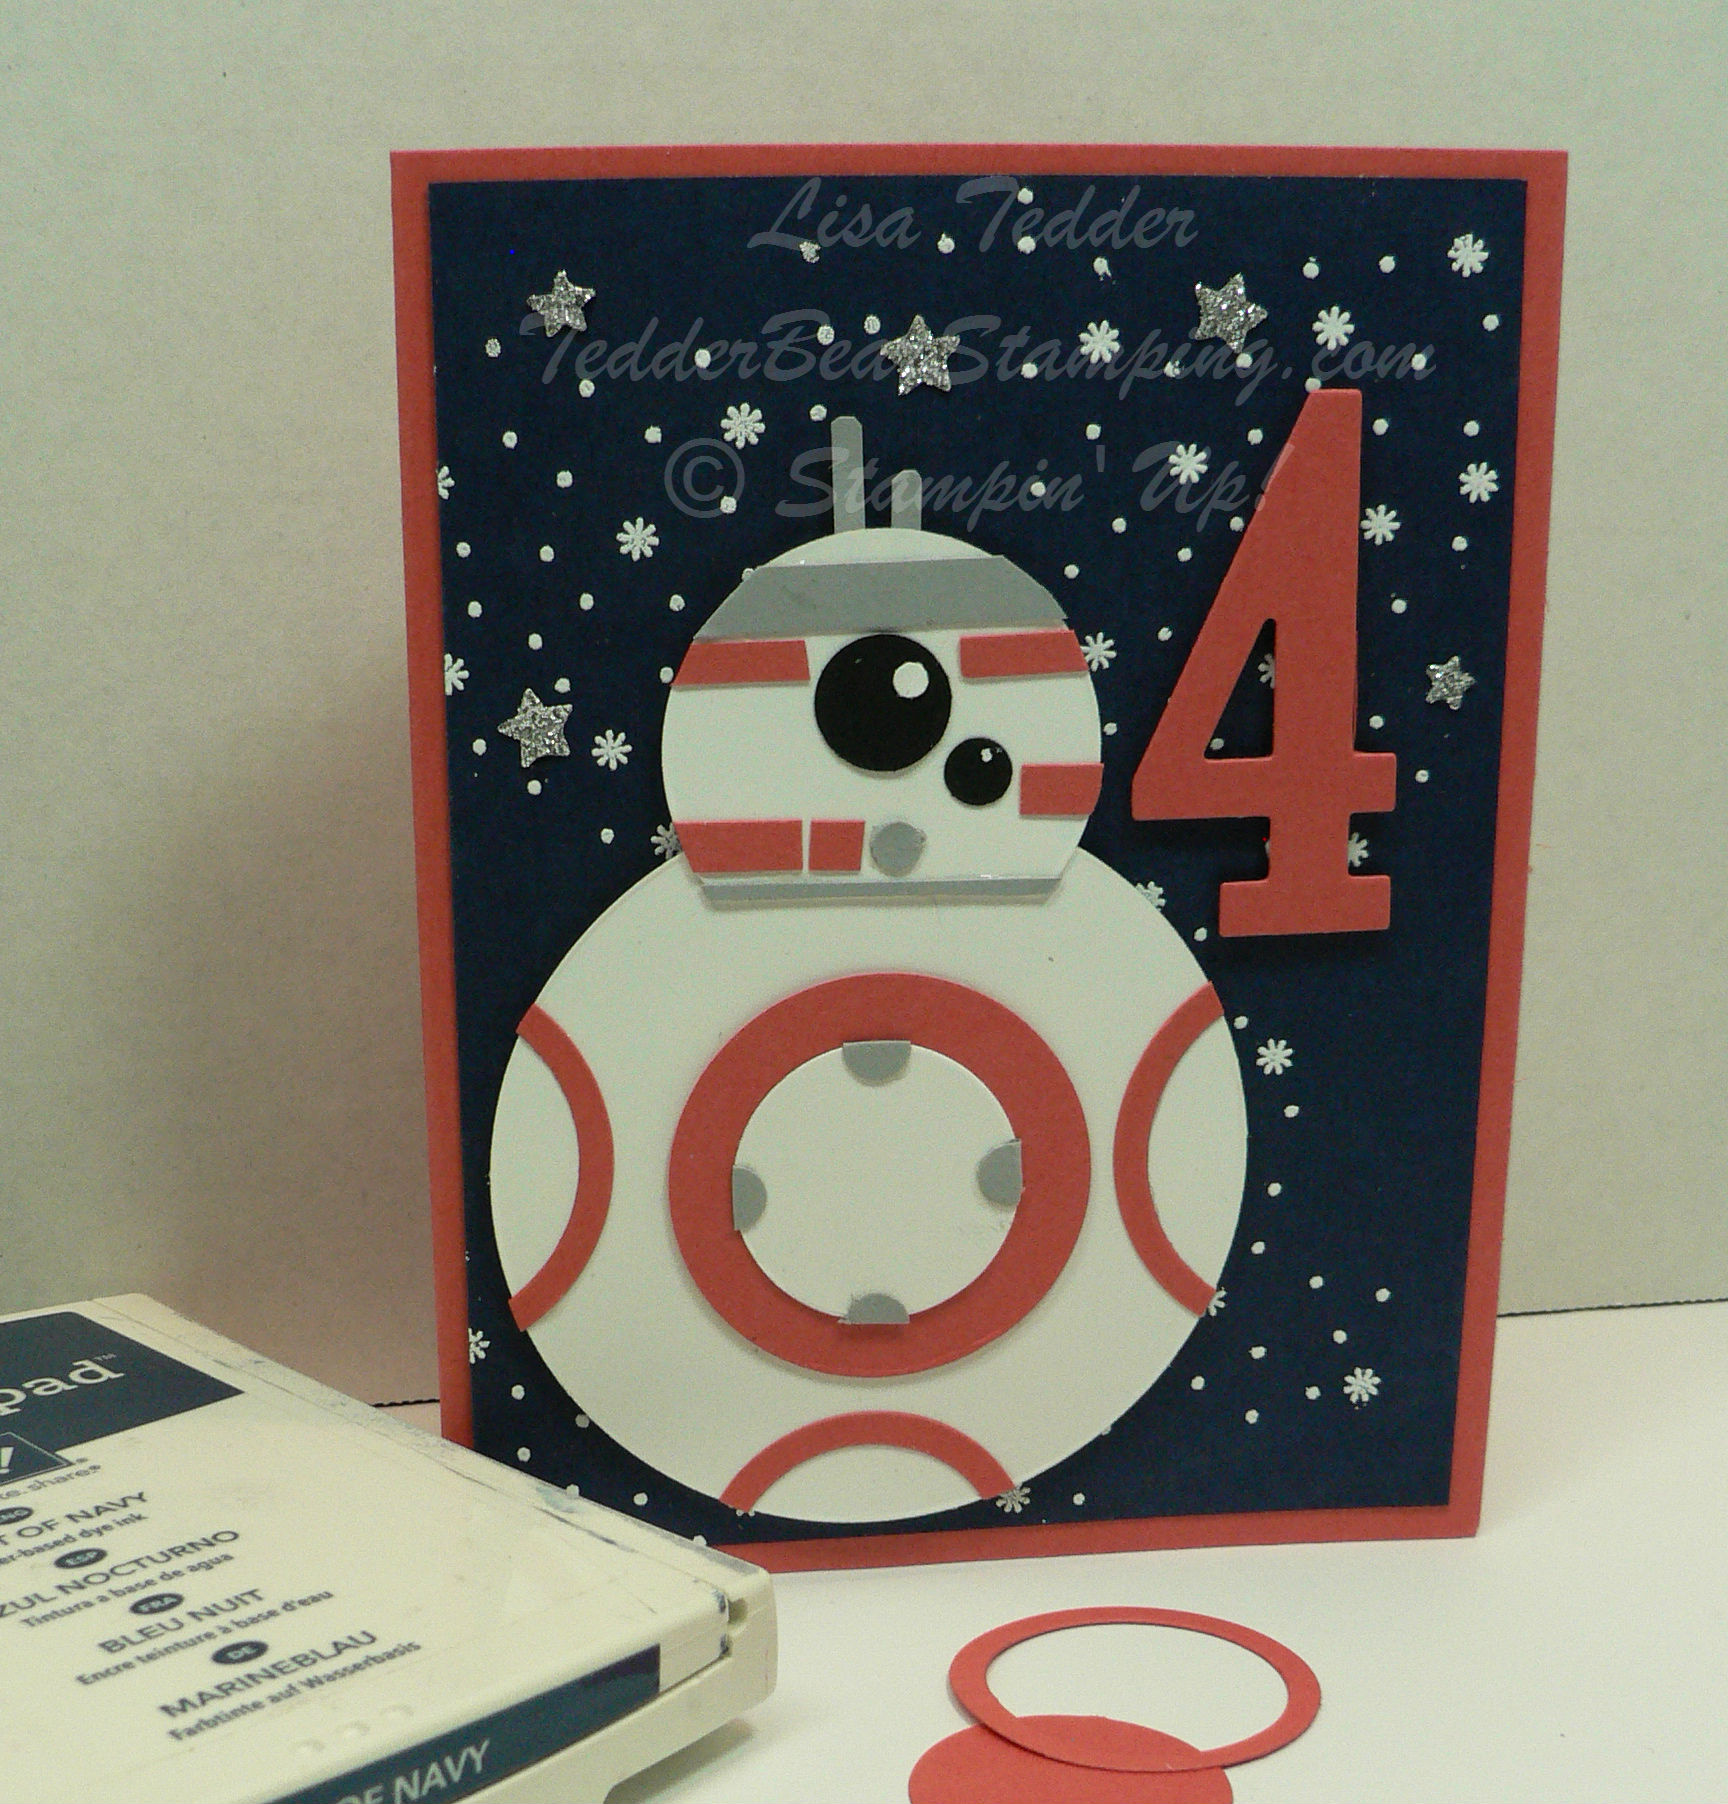
I am NOT a big Star Wars Fan, so thank goodness for Pinterest!  🙂  Now, don’t get me wrong, I like Star Wars, I’m just not a HUGE fan!  I hope he likes it!  My daughter wants me to make one of each Character, I already made Yoda, so anyone have any pictures of anyone who might have  made the other characters?  I have ONE year to plan!  hahaha  Hope I make it on time!

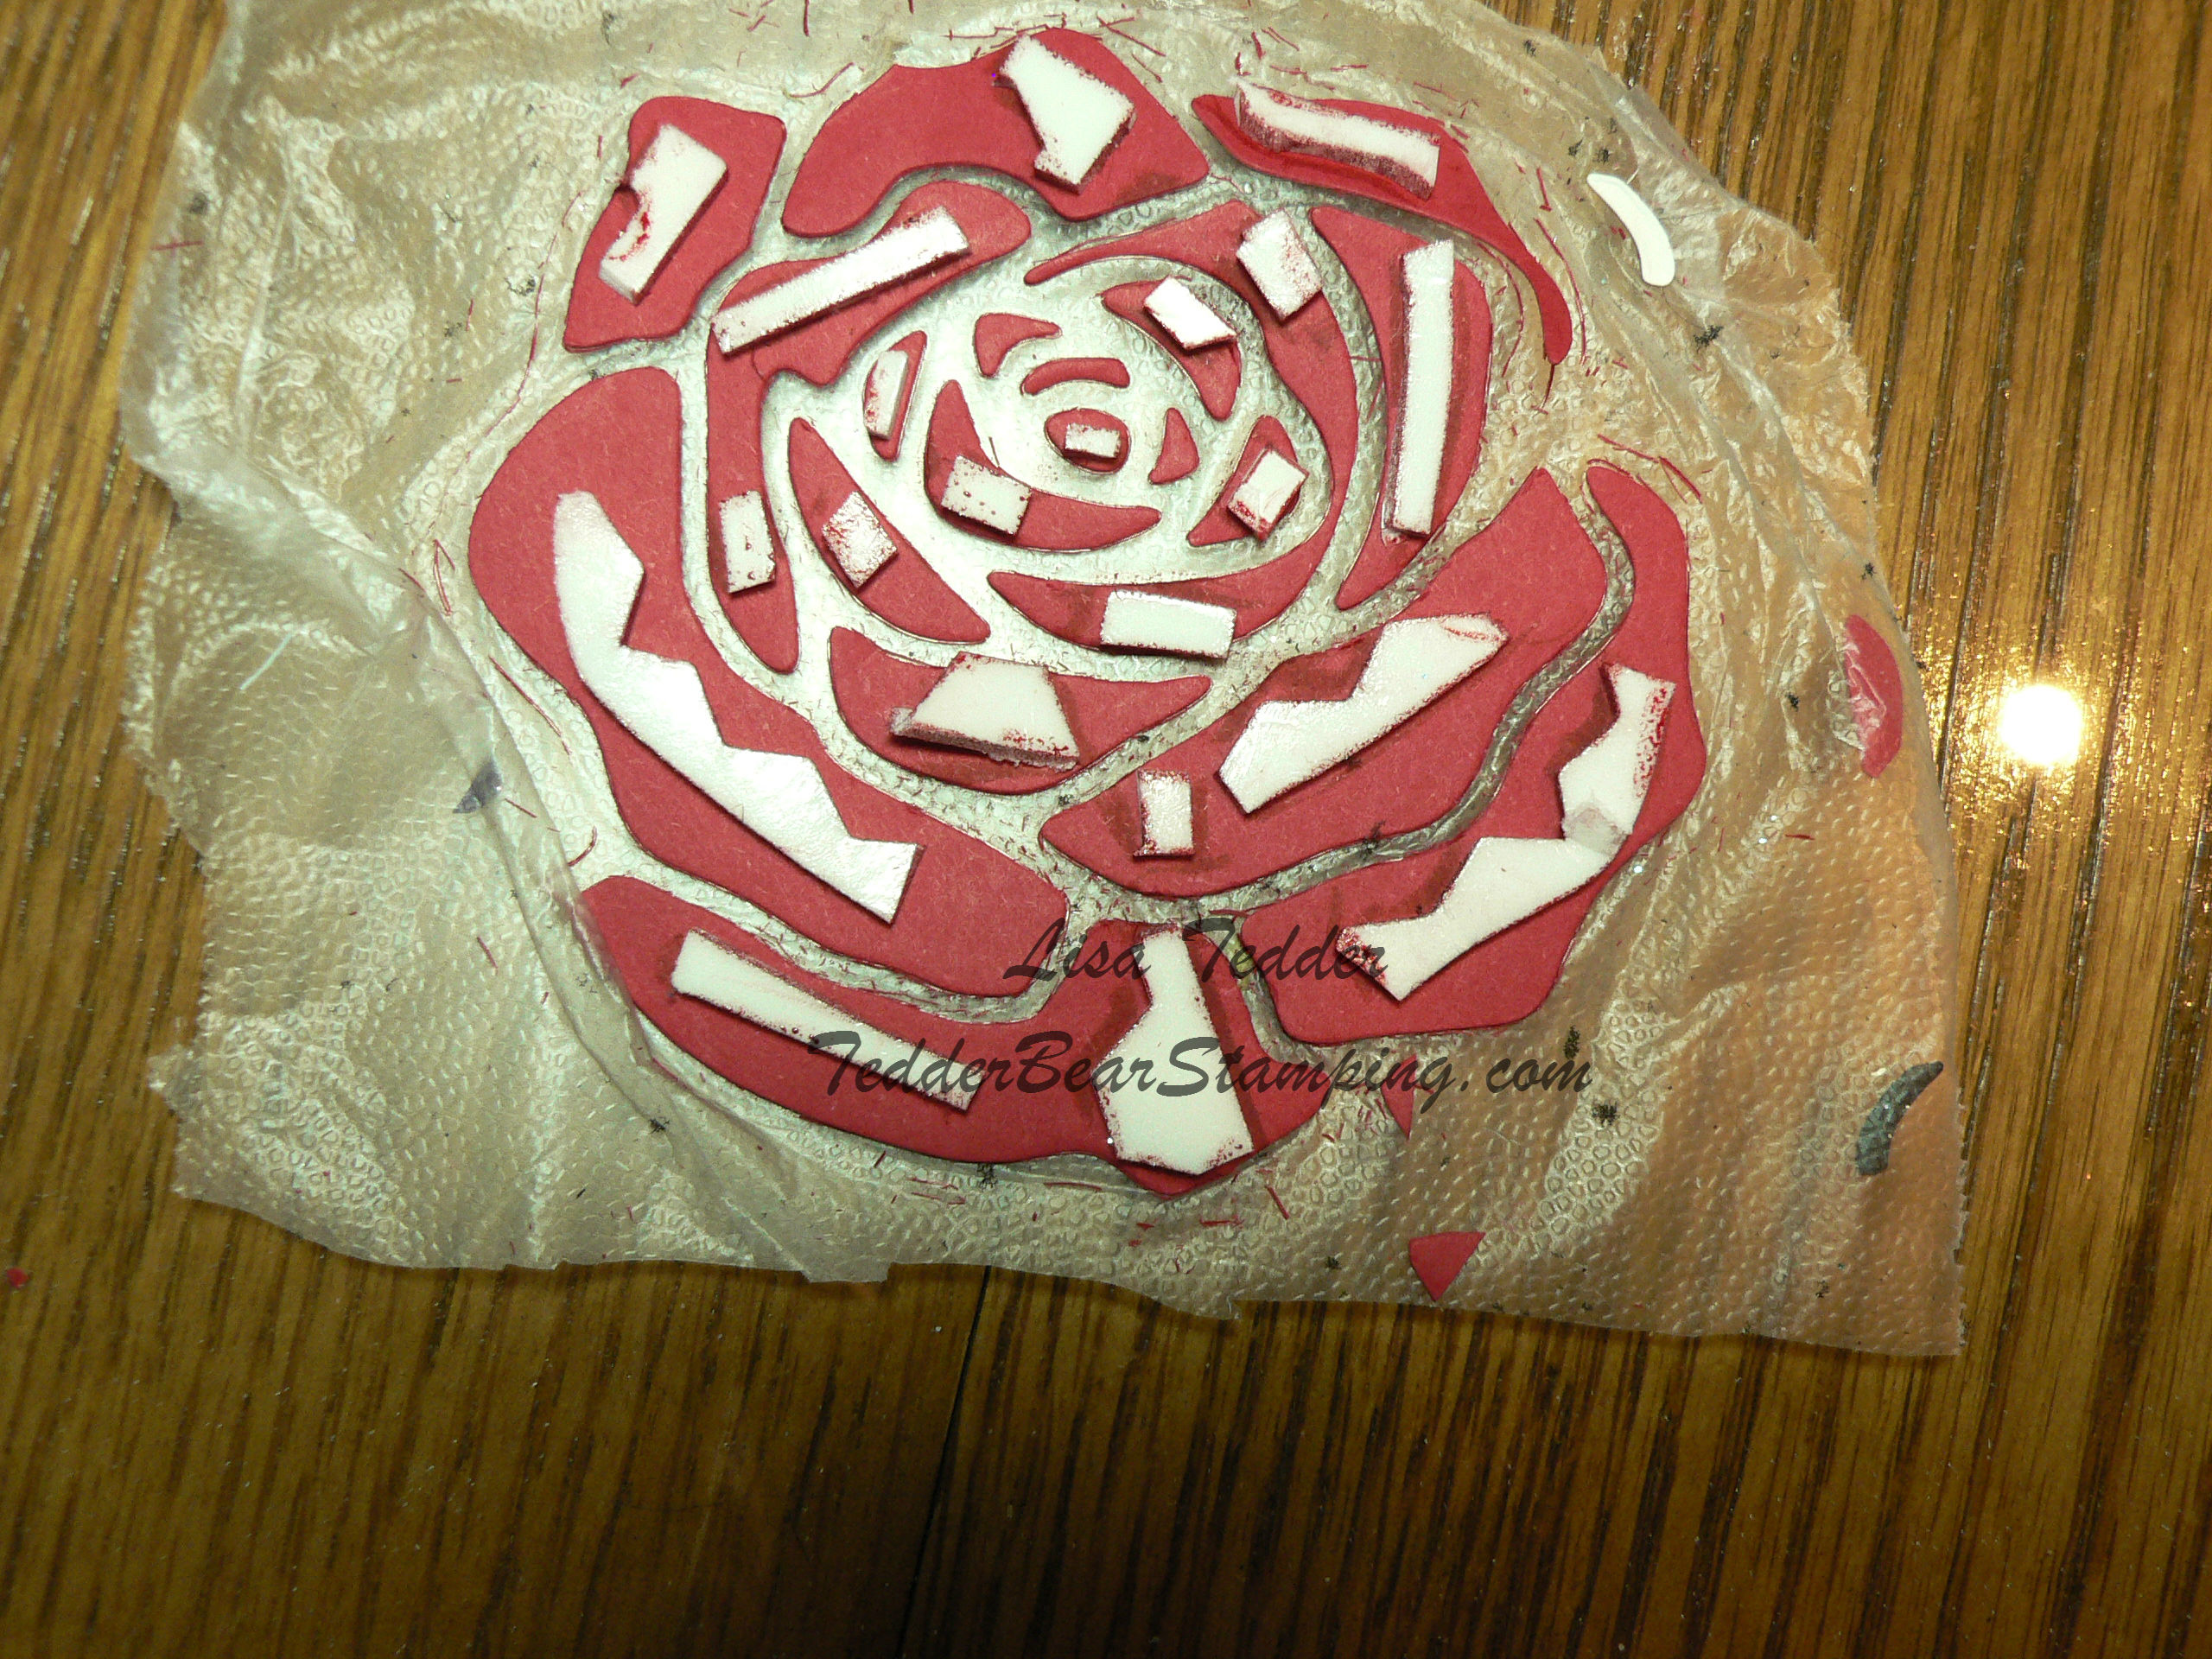
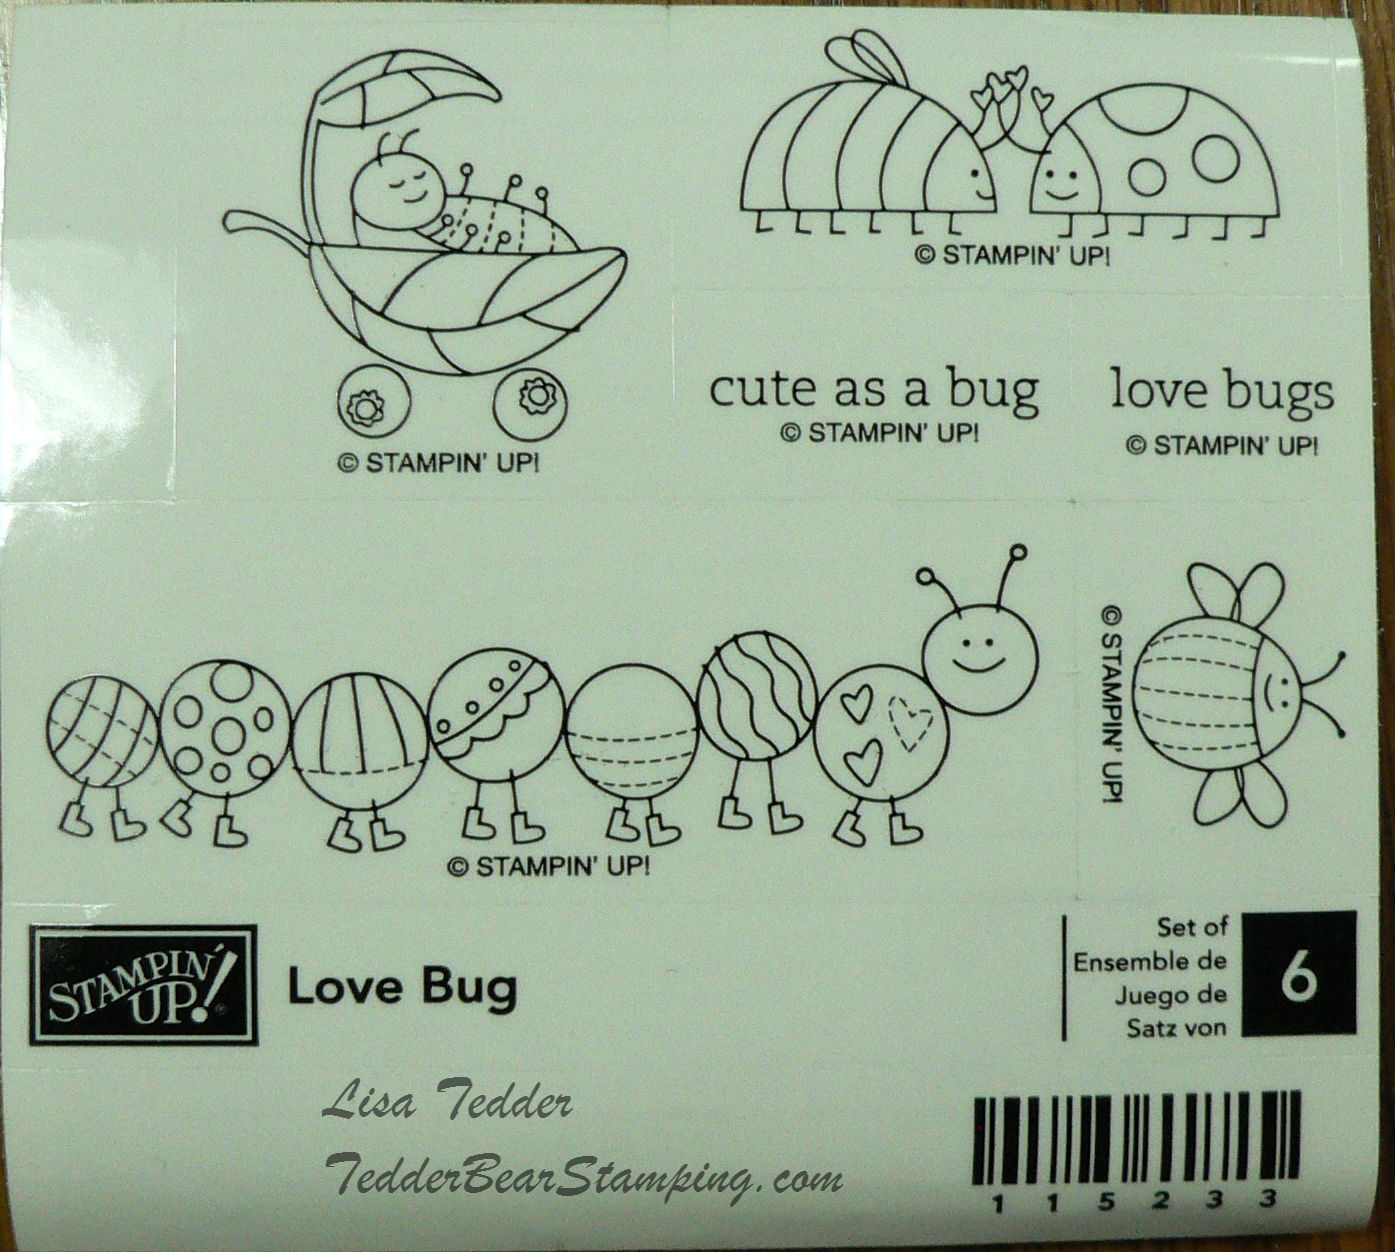
Here is some of the pieces used to make it, some are retired, but all are from Stampin’ Up!,  (see below for all product) glad I held on to them!


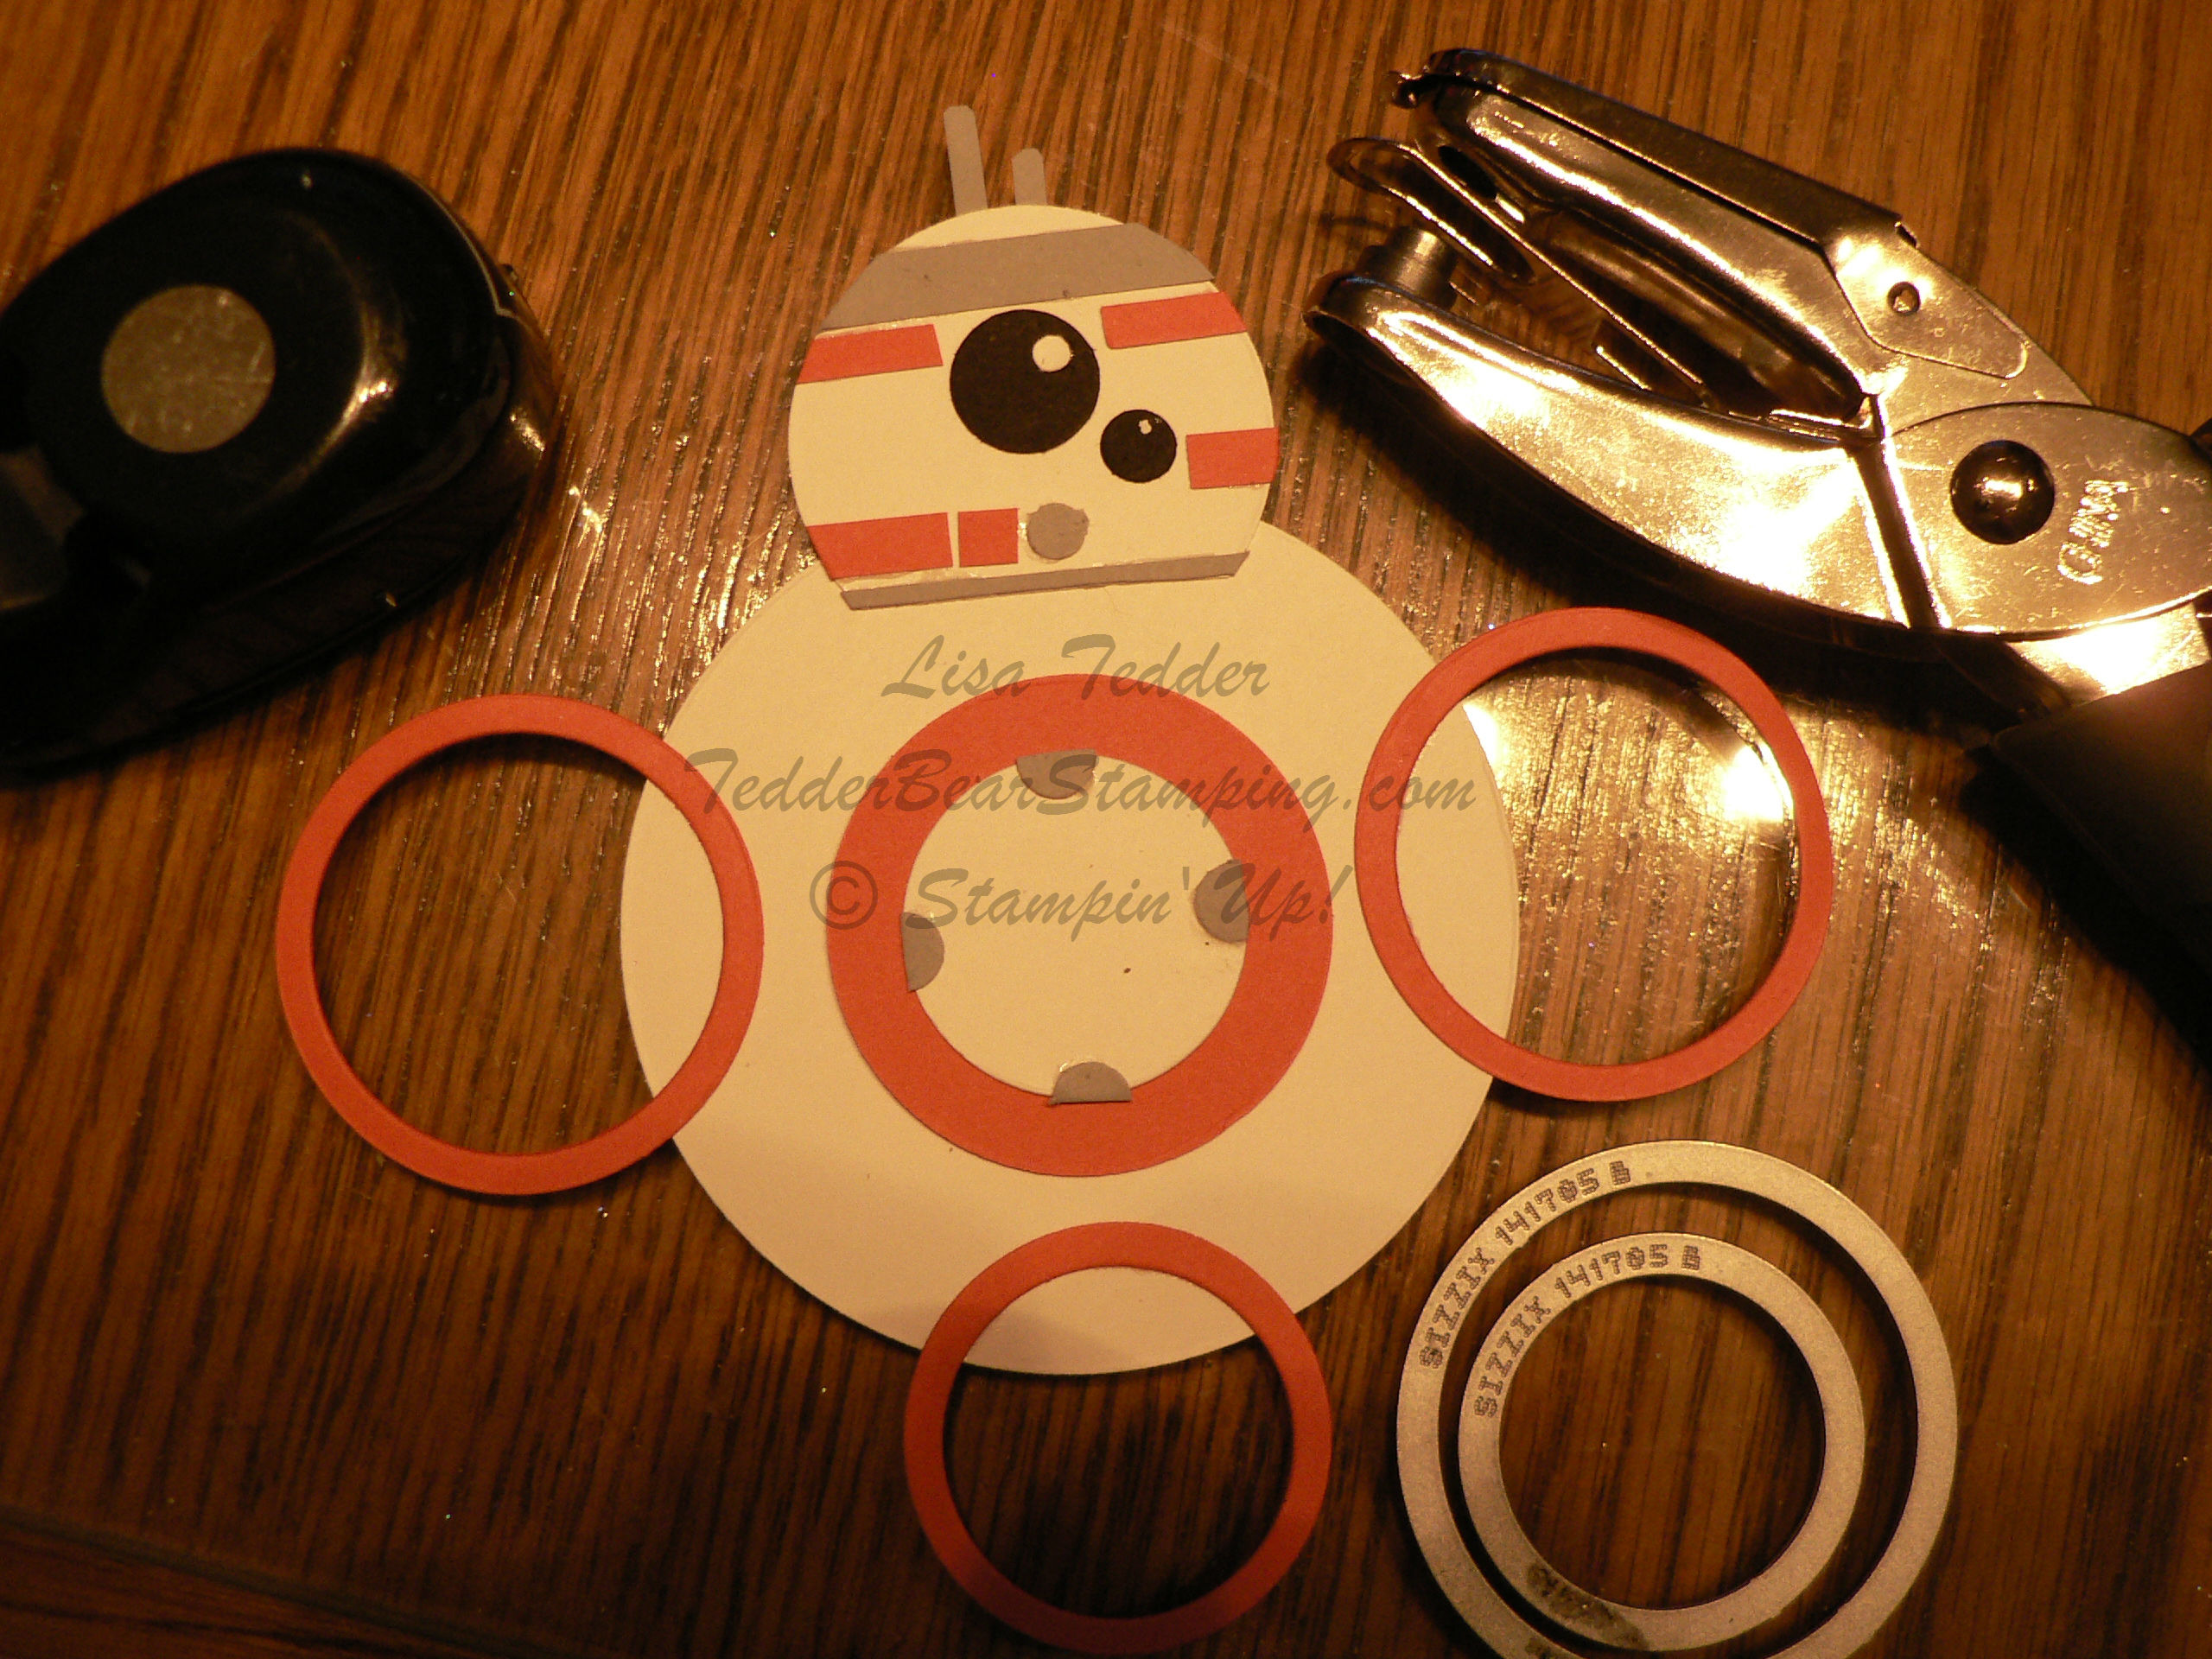
Of course I trimmed all the circles away, BUT you might want to learn from me……..wait until the glue is DRY before doing that!  I had to start over!  Thankfully the mail hadn’t come by the time I finished!

Hope you enjoyed this post, and that you will come to my rescue and send me other Star War cards that I can copy!

If you live in the United States and don’t have a demonstrator I would LOVE to be yours!  Anyone who buys from me will get a handmade card in the mail thanking them for their purchase…..you never know it just might be one you see on my blog!  Also subscribe to my Newsletter and get some great stamping ideas!

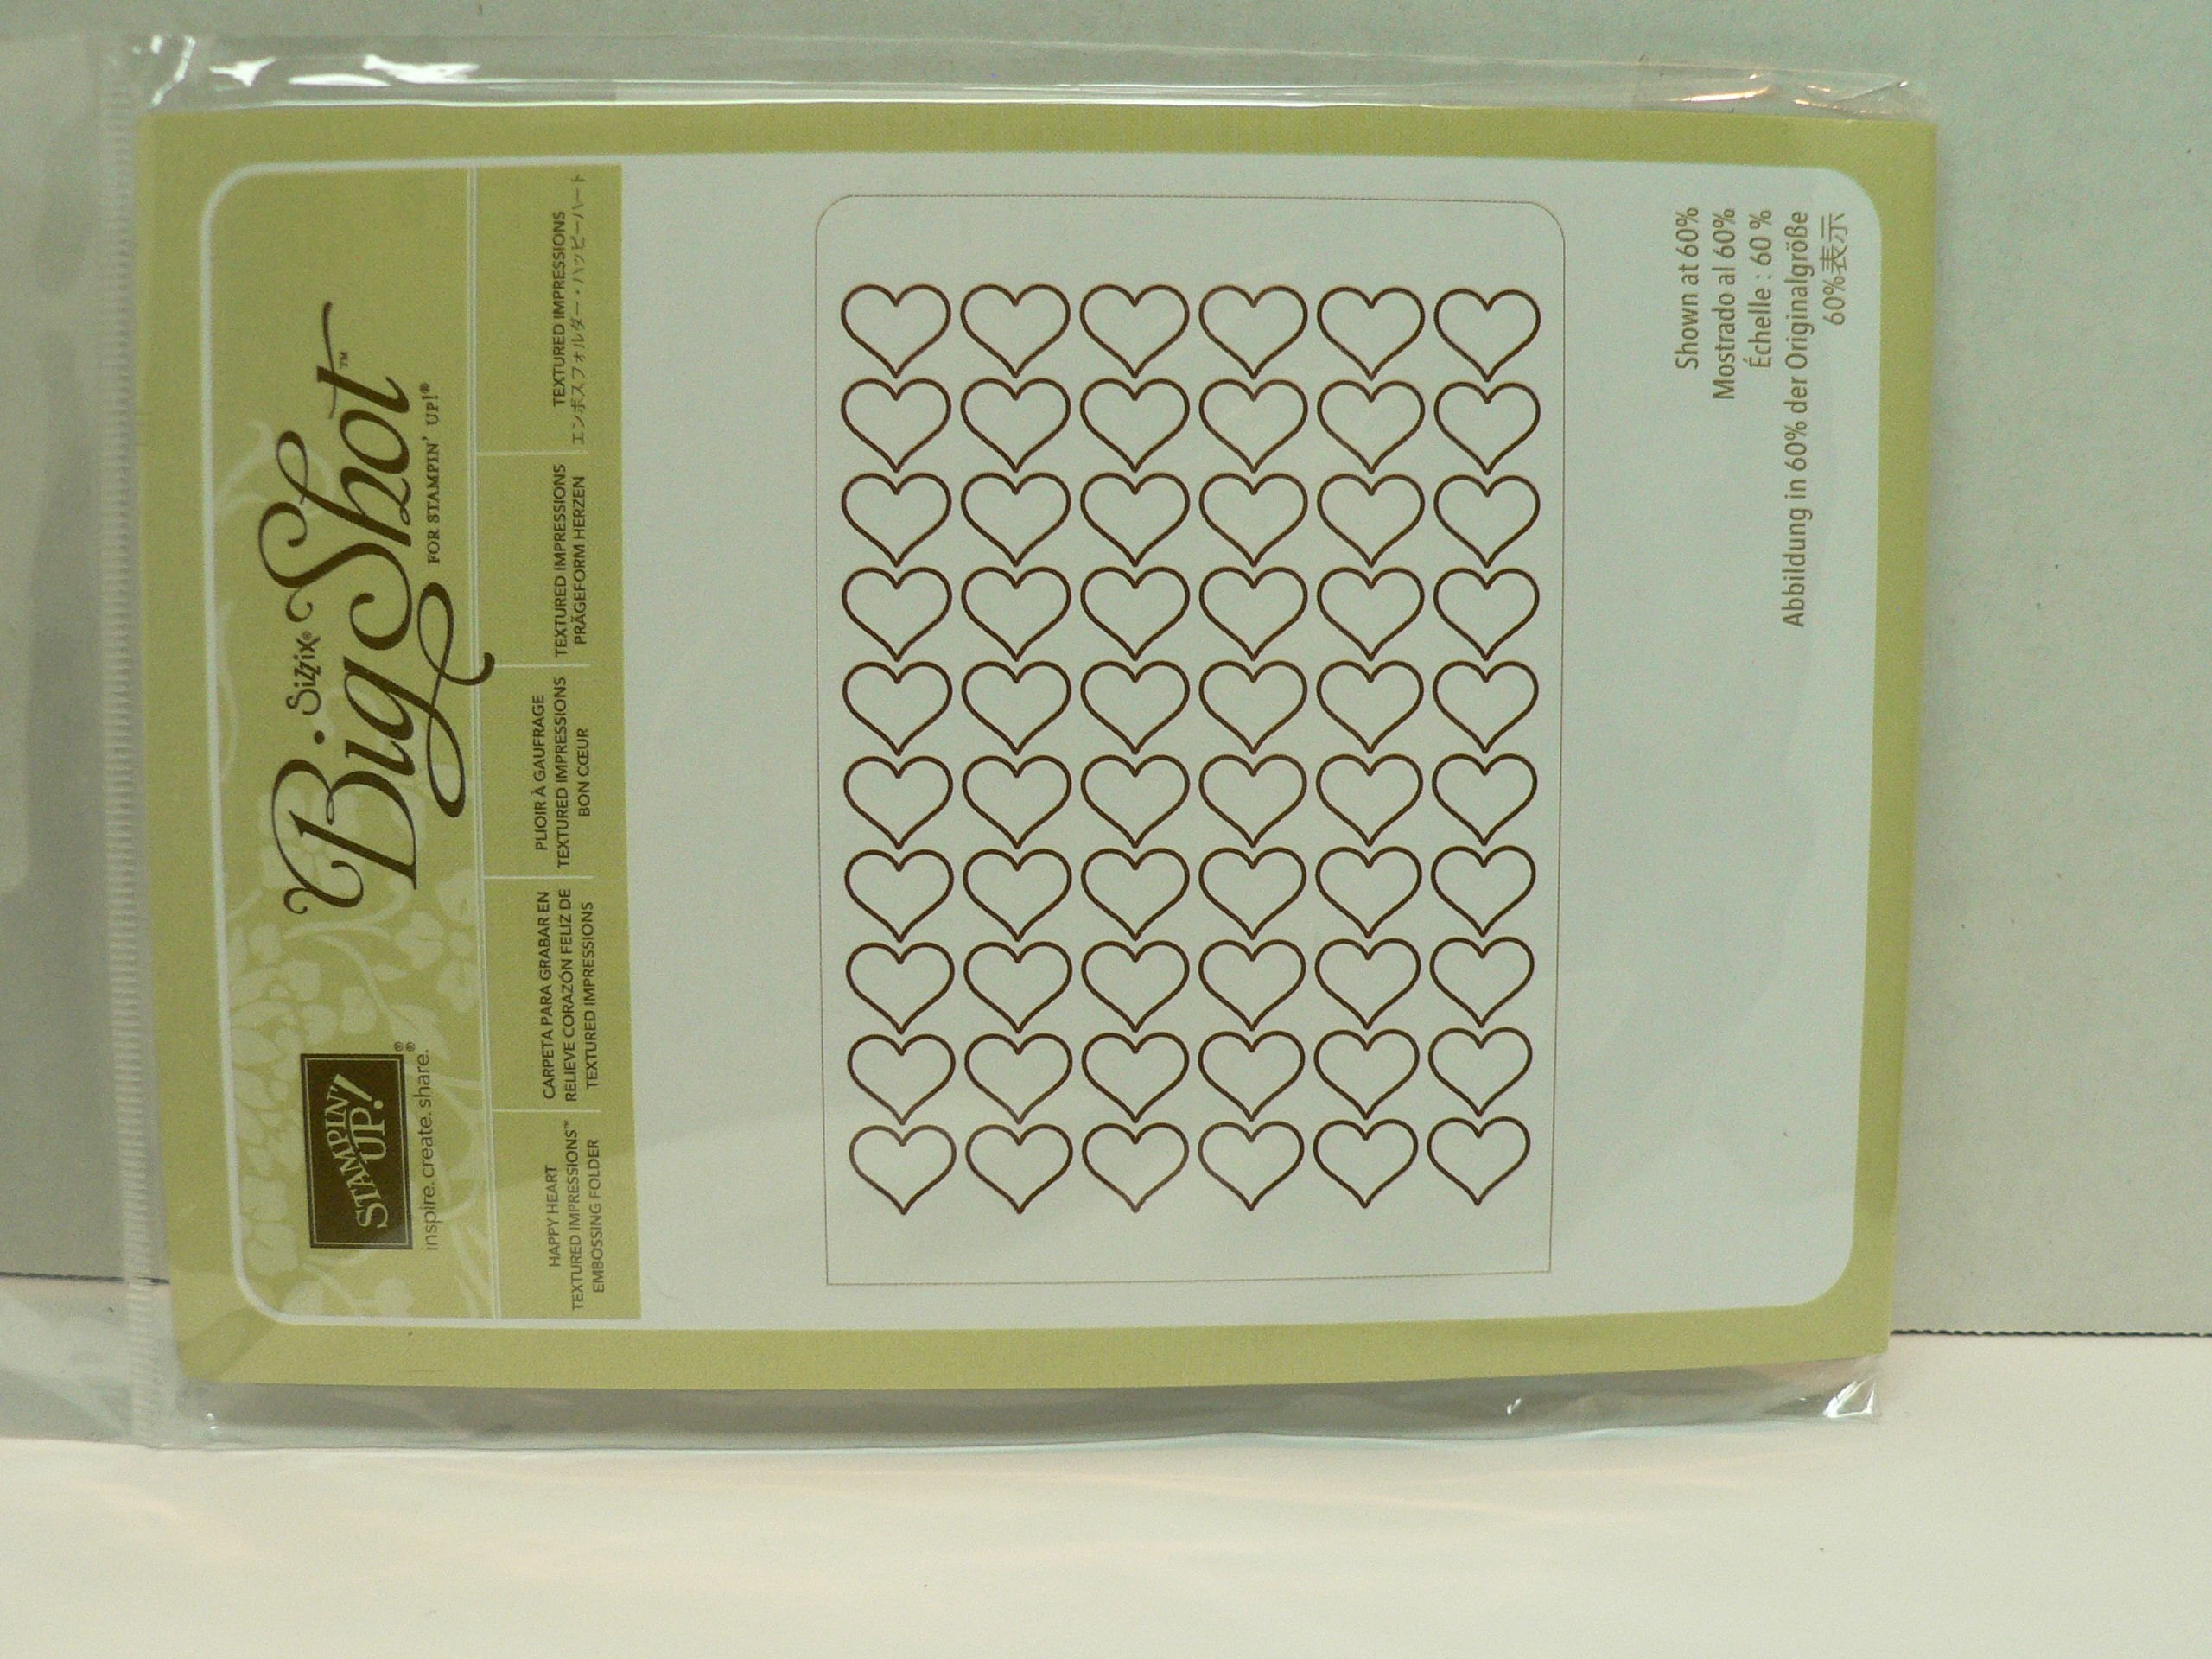
Now, onto the Blog Candy!!  I am GIVING AWAY an Embossing Folder!  What do you have to do to be in the drawing to get it?  You just have to leave me a comment here on my blog, any post until May 15th.  I will put everyone in the drawing who comments here and on my Facebook page TedderBearStamping, That’s it!  No buying anything, just commenting!  You can comment as many times as you want on different posts and it will count!

Here is what you can be in the drawing for!:

Hope you enjoyed my post today!  Make sure and Subscribe to get notices when I post again!

Lisa Tedder
TedderBearStamping
A Girl from California living in North Carolina

Product List

Press’n Seal your thinlits for a beautiful effect

Welcome to the NC Demo Blog Hop!! Happy Spring! I thought these cards looked like Spring has Sprung! Don’t you?

I have seen on other posts where people have taken a thinlit and they pop-up the pieces onto a card and the look is so pretty! The one I went to was Billie Moan and she said in her video that the effect is beautiful but the effort was intense!

I had an idea on how to do this same technique BUT make it much easier!! I made a video showing how to do this very thing! I am not into doing things the hard way and I wanted to figure out an easier way and then share it with you!

Here is the card I made for the YouTube video:

I used the smaller rose thinlit from the Stampin’ Up! thinlit set Rose Garden! I haven’t used that set in a while, but it worked perfectly for this card, don’t you think? I put clear Wink of Stella on the top of each petal and then lined the petals with Gold Wink of Stella. The background is the Petal Burst Embossing Folder, sponged over top with the Peekaboo Peach to make the leaves stand out. I also used the Gold ribbon with the Peekaboo Peach ribbon on top to set it off!

I used the Bigger rose for another card, it took up more room, but still quite stunning!


I put some clear Wink of Stella over the petals to really make them stand out! For the background I used the Embossing Folder Fluttering and sponged the top with Mint Macaron to help the butterflies fly! The glitter paper is from Sale-a-Bration, sorry it isn’t available anymore, but any glitter paper is great!

How did I make this simpler? I worked for HOURS trying to figure out a quick version on how to make this, so it will be easy for everyone!

Have you heard of Press’n Seal? This works miracles!! You cut out your thinlit using the Big Shot and before you take the paper away from the thinlit you put the Press’n Seal over the back (make sure that the sticky part is towards the paper. You can see what I mean when you go to my video on YouTube! It really is quite simple!

Once you have it pressed to the back peal away the parts you don’t want like the excess paper and the outline of the rose. THEN you will leave it on the Press’n Seal but place Dimensionals on the back, put glue on the smaller pieces then remove all the backing on the Dimensionals flip over and push onto your project! Easy Peasy! Here’s a picture before you flip it:

Want to see some more projects using this technique??? Once I started I couldn’t stop!

I moved on to the Butterfly thinlits and made a card using three colors!!

For this one I removed some of the colors, ran it through the Big Shot with another color and when piecing them together on the card, I just laid them on top of each other, you can see the video to get an idea how I did this!

And again, I wasn’t done! I wanted to use the Dragonfly thinlits! Here is what I made with those!

I hope you have enjoyed my cards! I had so much fun making them! You can continue on to the next blog.

Jo Anne Hewins
Michelle Irinyi
Tracie Evans Langley
Sharon Maranich
Laurie Meier
Sue Root
Lisa Tedder <————–You are Here!
Frances Wagner


Don’t forget I have blog candy for those who leave messages on any post on my blog OR on my FaceBook page! The drawing will be on April 4th!


Here is what you can win!

Thanks for stopping by! I would love to hear what you think of these cards!

Lisa Tedder
A California Girl living in North Carolina
Product List