Tag Archives: crazy about you

Press’n Seal your thinlits for a beautiful effect

Welcome to the NC Demo Blog Hop!! Happy Spring! I thought these cards looked like Spring has Sprung! Don’t you?

I have seen on other posts where people have taken a thinlit and they pop-up the pieces onto a card and the look is so pretty! The one I went to was Billie Moan and she said in her video that the effect is beautiful but the effort was intense!

I had an idea on how to do this same technique BUT make it much easier!! I made a video showing how to do this very thing! I am not into doing things the hard way and I wanted to figure out an easier way and then share it with you!

Here is the card I made for the YouTube video:

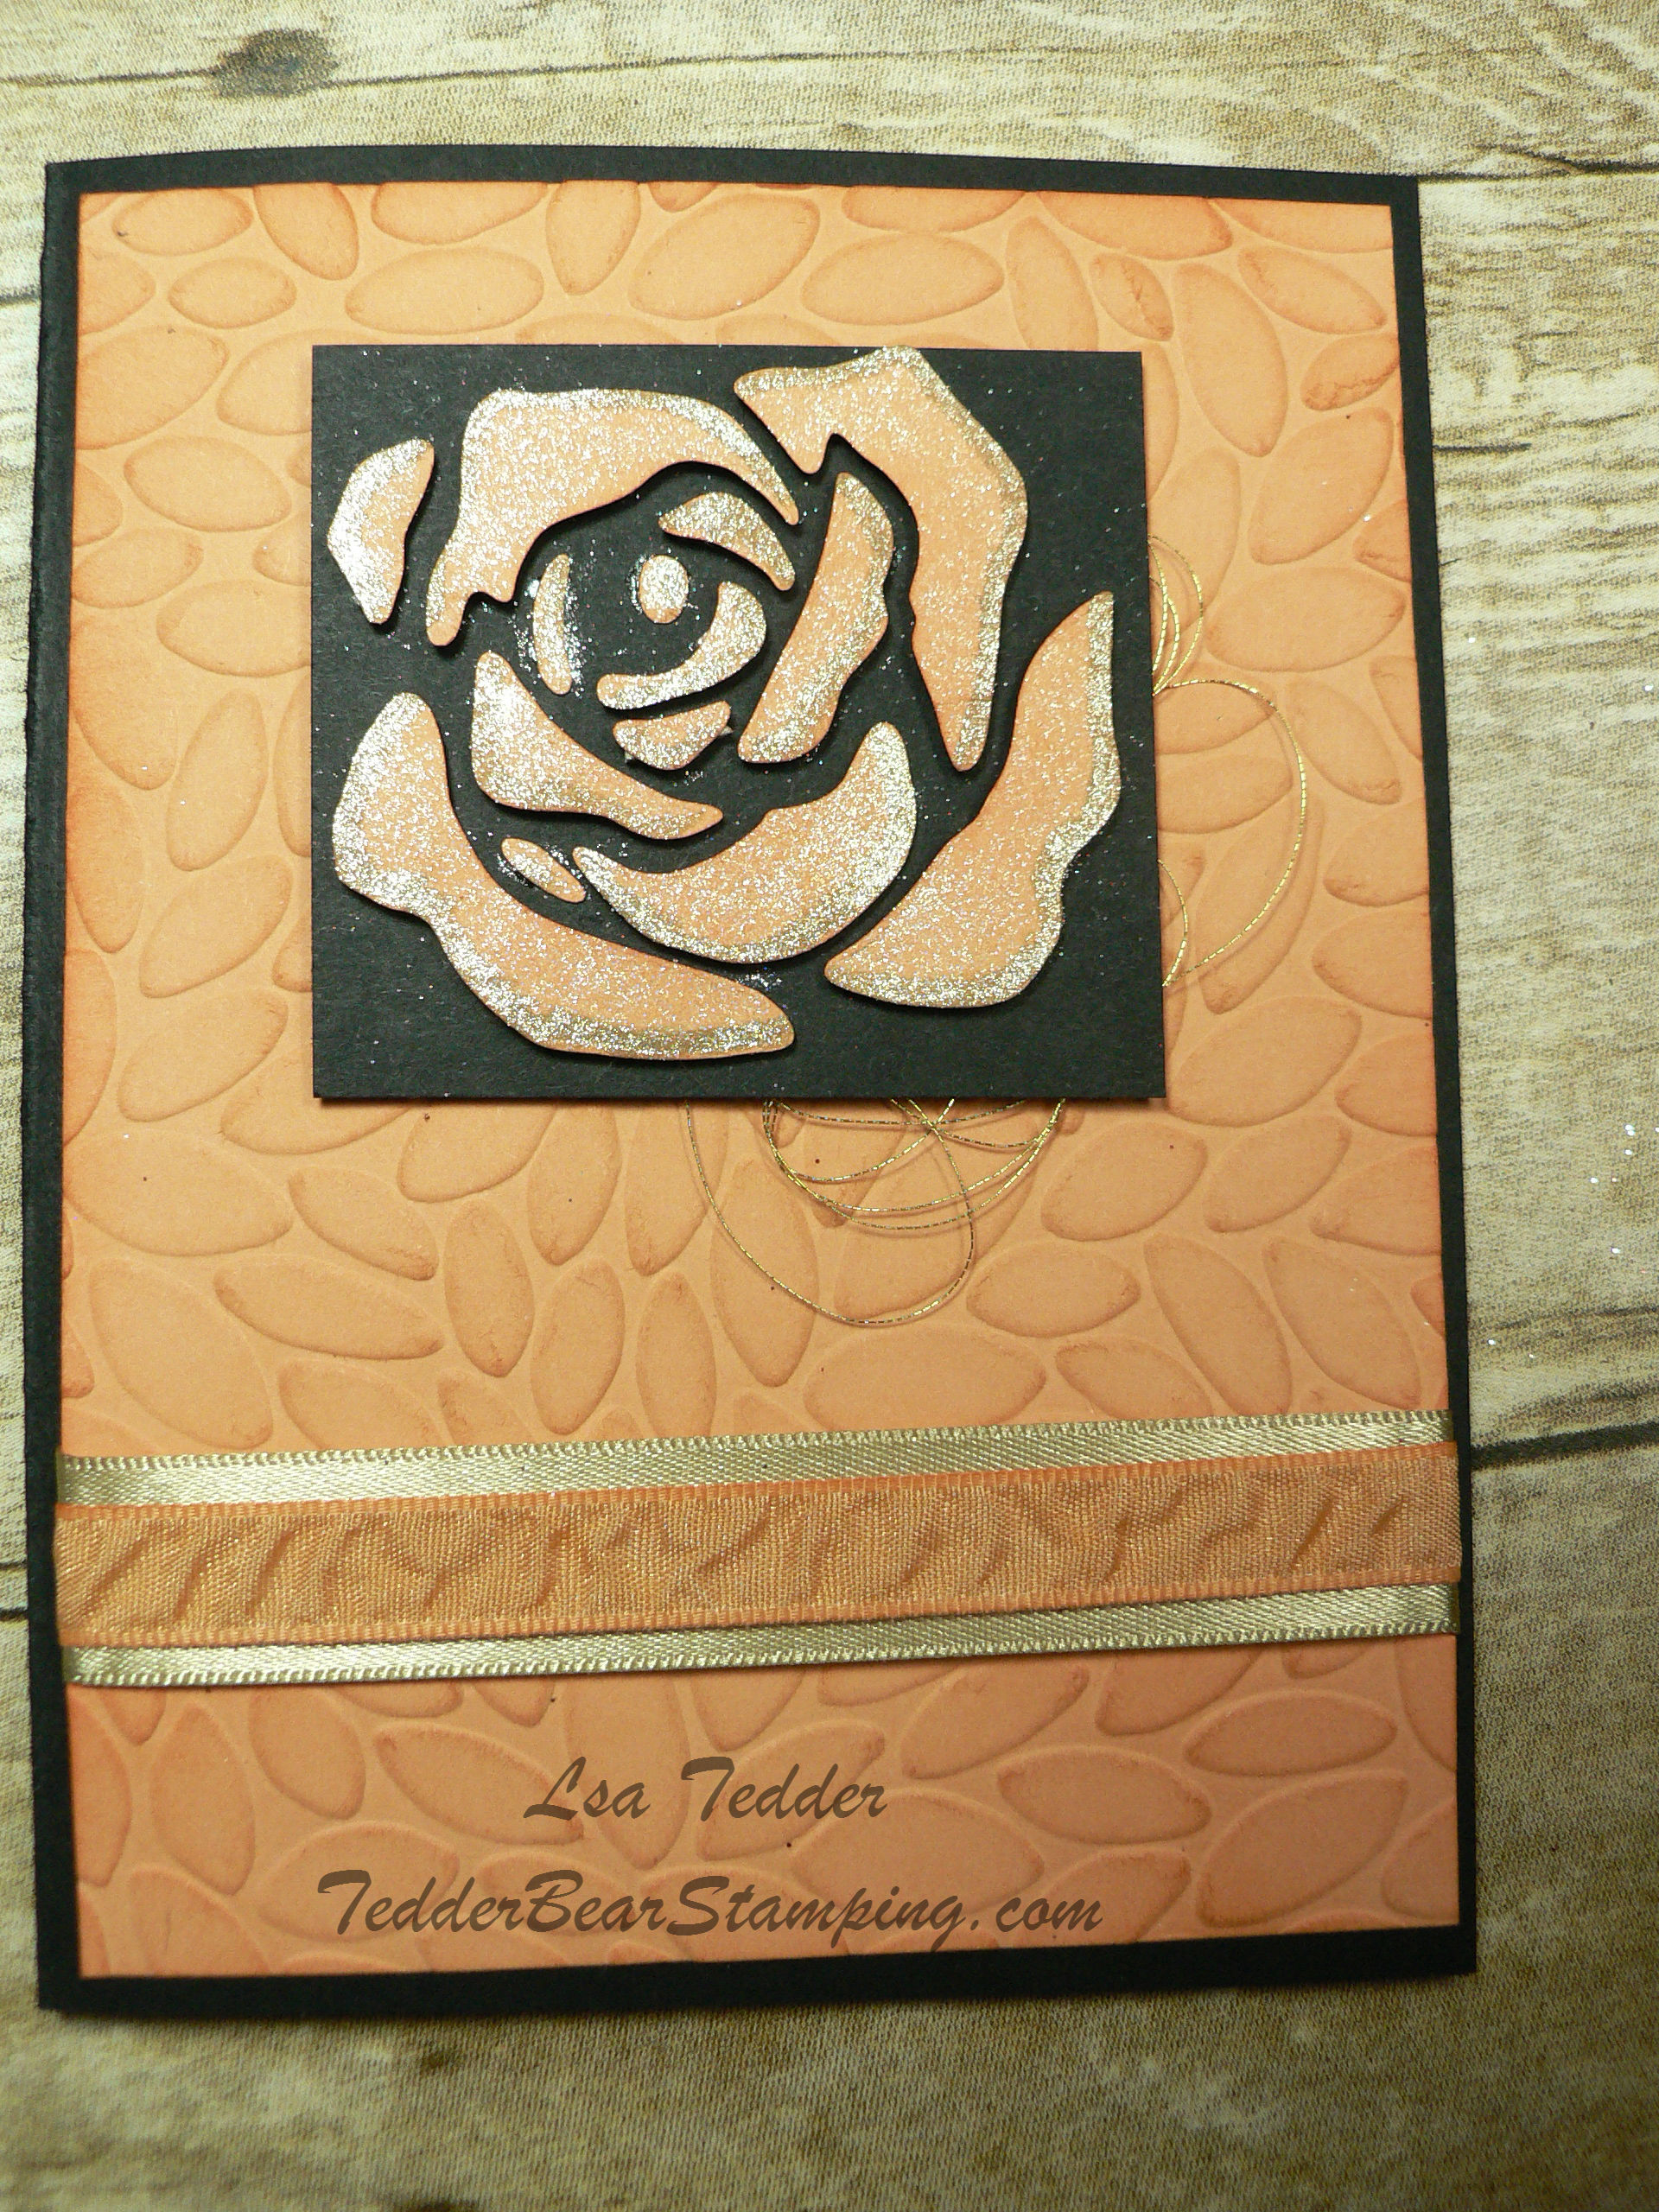
I used the smaller rose thinlit from the Stampin’ Up! thinlit set Rose Garden! I haven’t used that set in a while, but it worked perfectly for this card, don’t you think? I put clear Wink of Stella on the top of each petal and then lined the petals with Gold Wink of Stella. The background is the Petal Burst Embossing Folder, sponged over top with the Peekaboo Peach to make the leaves stand out. I also used the Gold ribbon with the Peekaboo Peach ribbon on top to set it off!

I used the Bigger rose for another card, it took up more room, but still quite stunning!


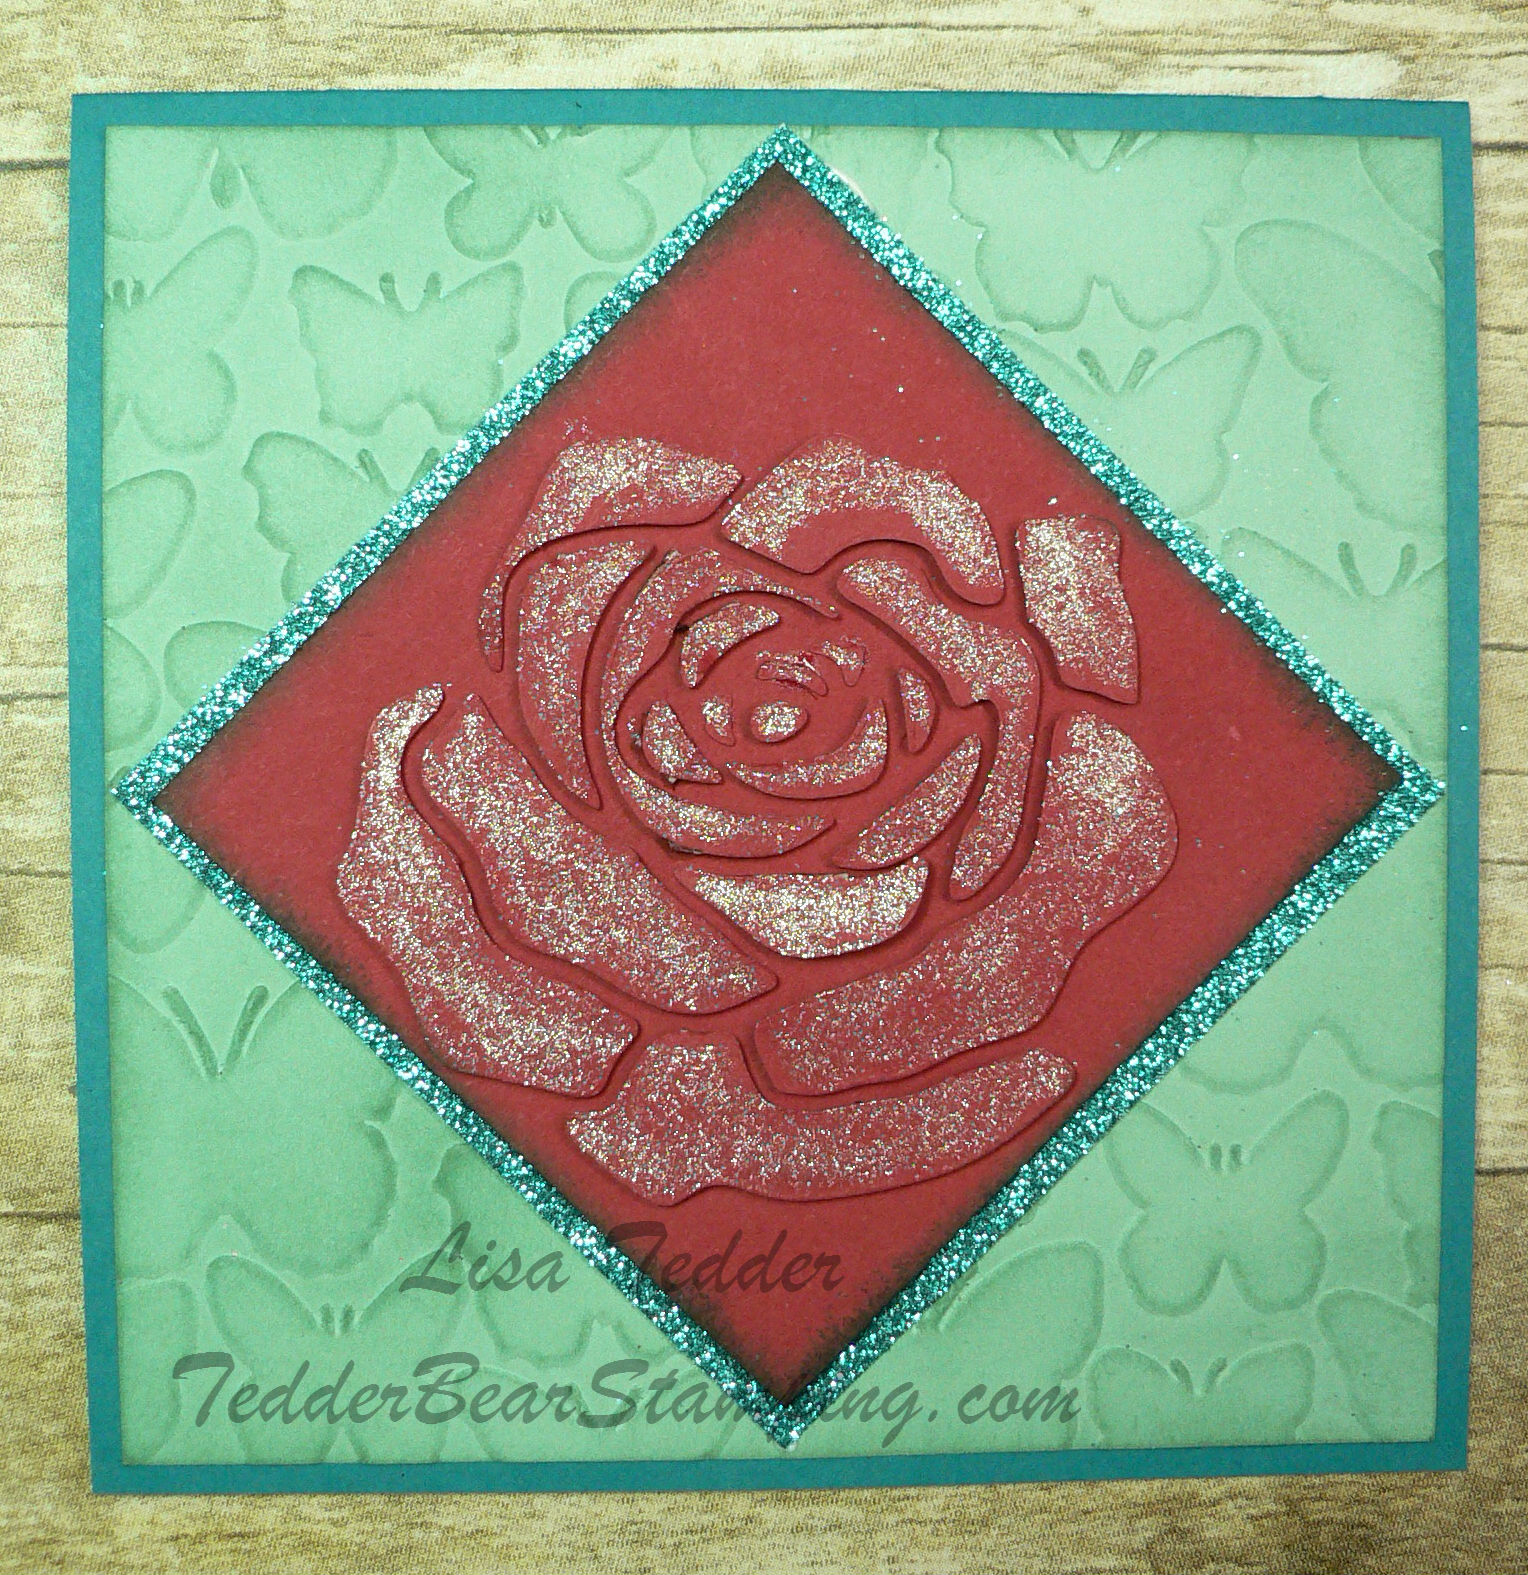
I put some clear Wink of Stella over the petals to really make them stand out! For the background I used the Embossing Folder Fluttering and sponged the top with Mint Macaron to help the butterflies fly! The glitter paper is from Sale-a-Bration, sorry it isn’t available anymore, but any glitter paper is great!

How did I make this simpler? I worked for HOURS trying to figure out a quick version on how to make this, so it will be easy for everyone!

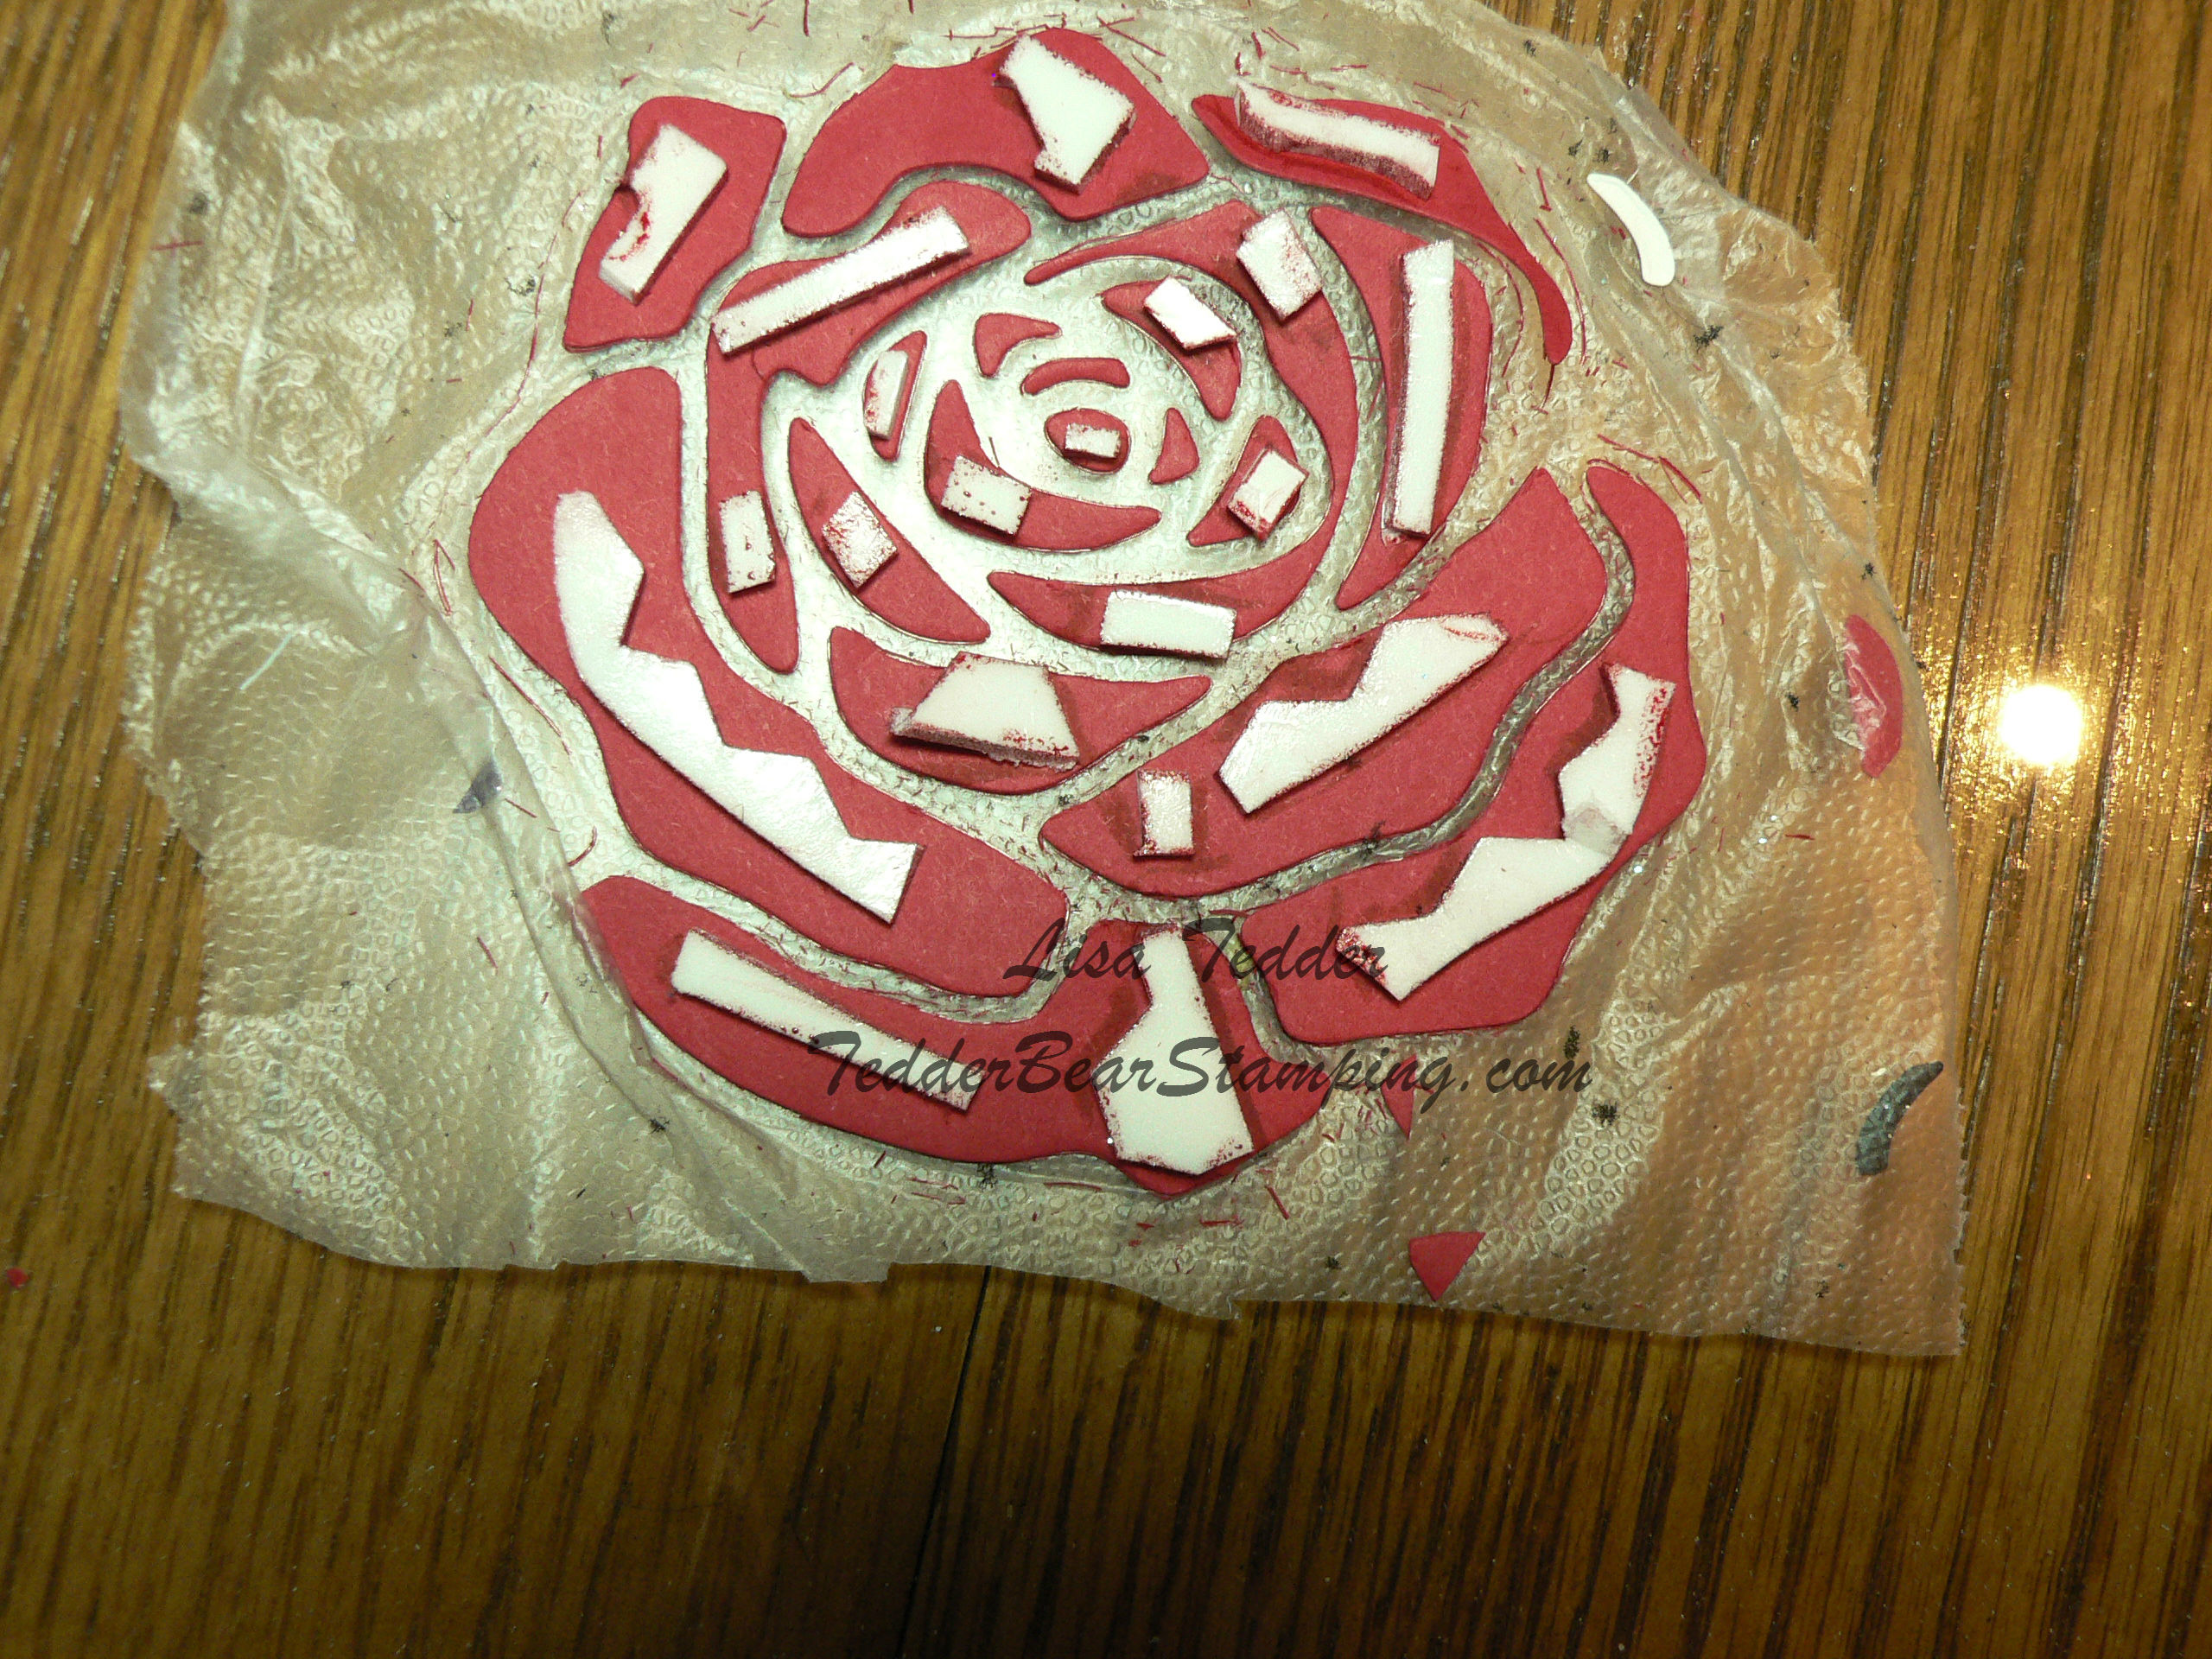
Have you heard of Press’n Seal? This works miracles!! You cut out your thinlit using the Big Shot and before you take the paper away from the thinlit you put the Press’n Seal over the back (make sure that the sticky part is towards the paper. You can see what I mean when you go to my video on YouTube! It really is quite simple!

Once you have it pressed to the back peal away the parts you don’t want like the excess paper and the outline of the rose. THEN you will leave it on the Press’n Seal but place Dimensionals on the back, put glue on the smaller pieces then remove all the backing on the Dimensionals flip over and push onto your project! Easy Peasy! Here’s a picture before you flip it:

Want to see some more projects using this technique??? Once I started I couldn’t stop!

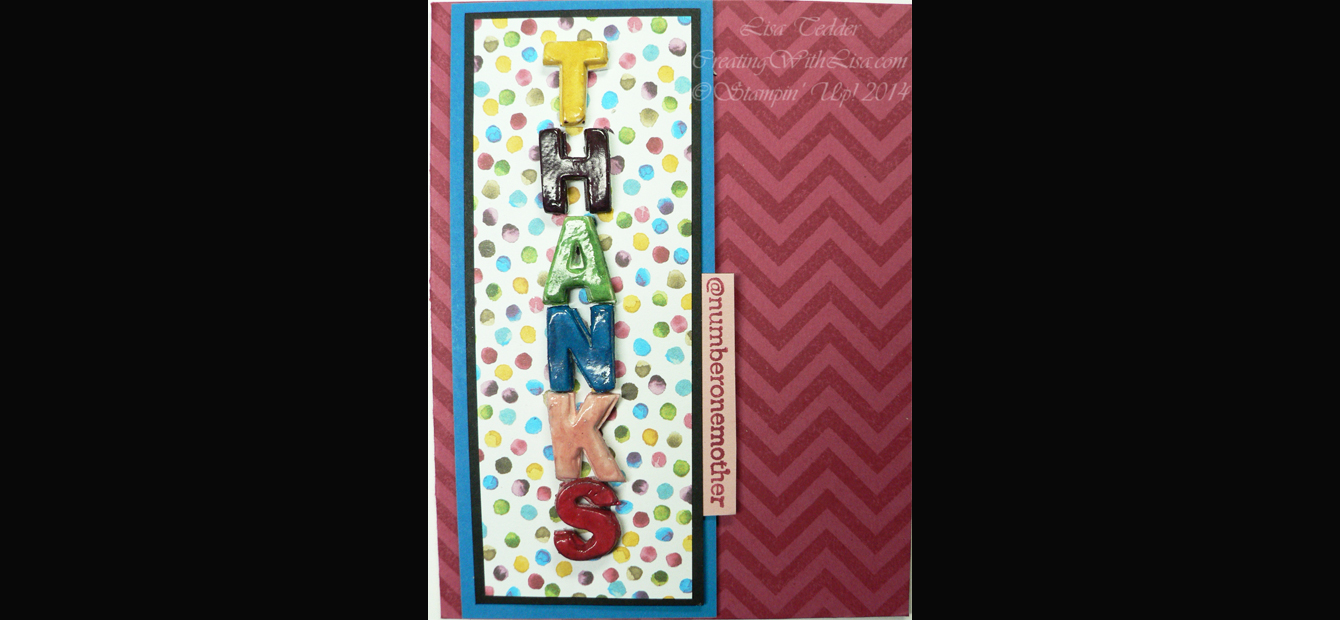
I moved on to the Butterfly thinlits and made a card using three colors!!

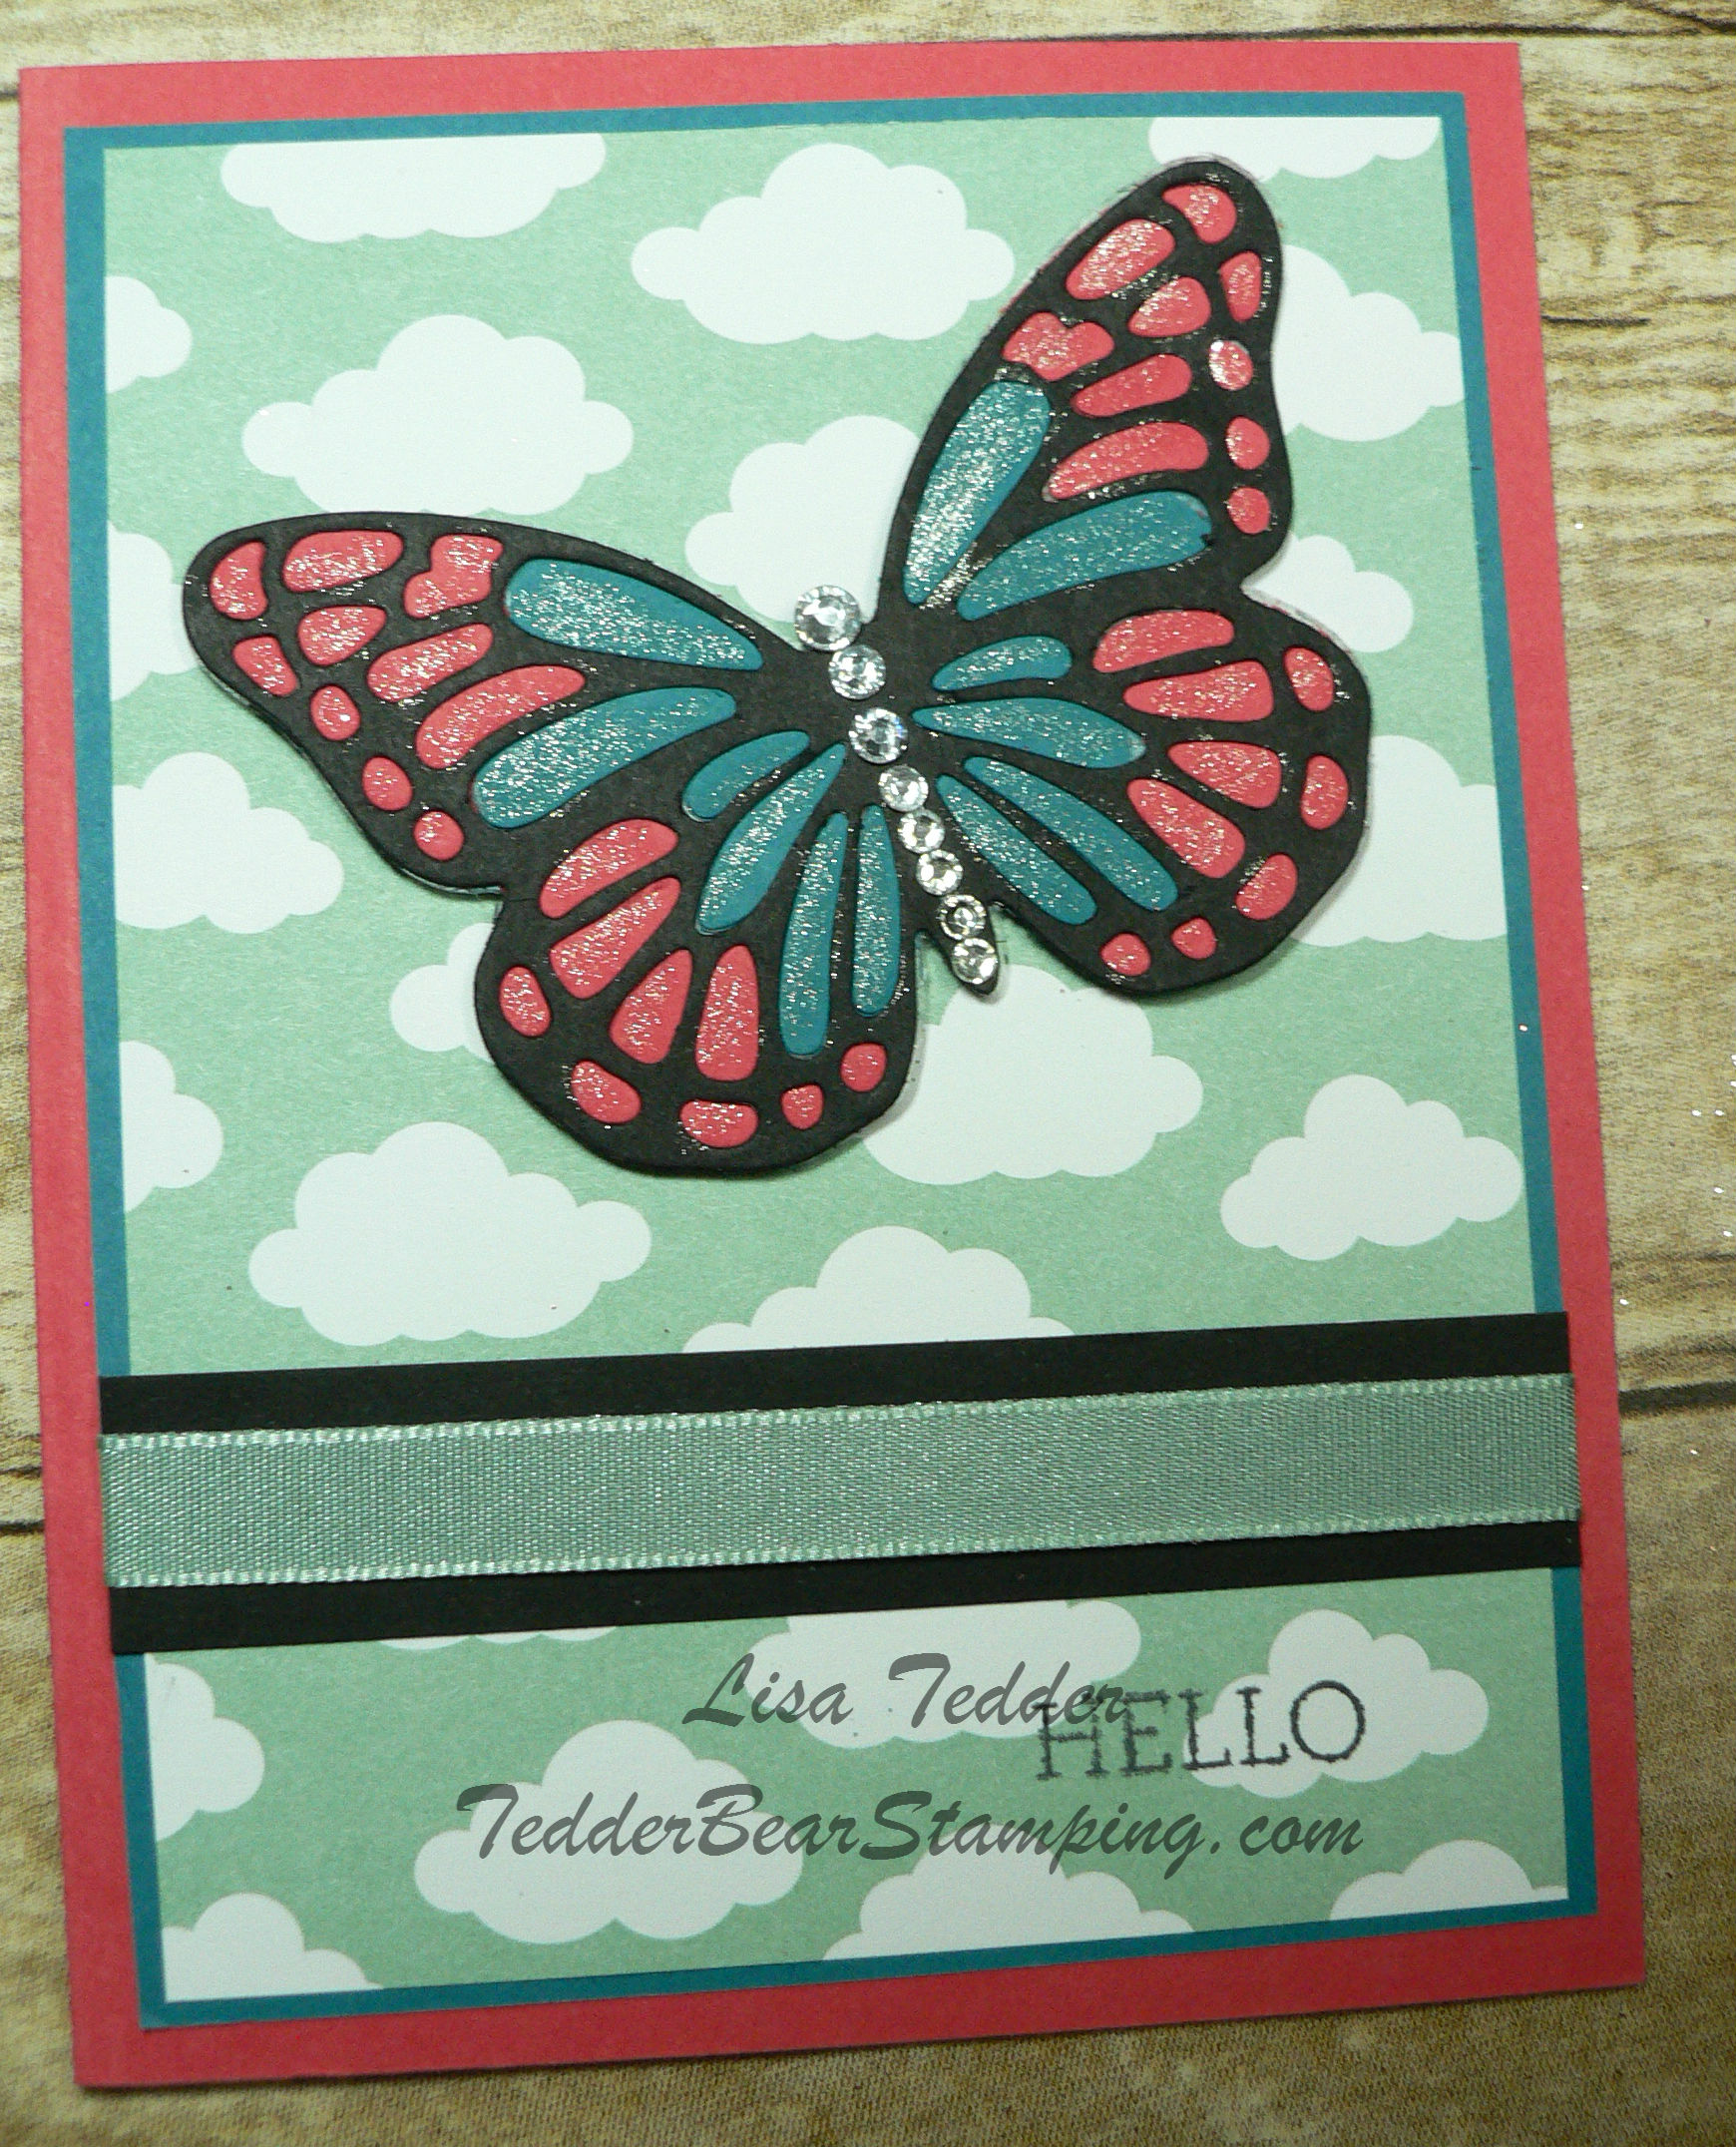
For this one I removed some of the colors, ran it through the Big Shot with another color and when piecing them together on the card, I just laid them on top of each other, you can see the video to get an idea how I did this!

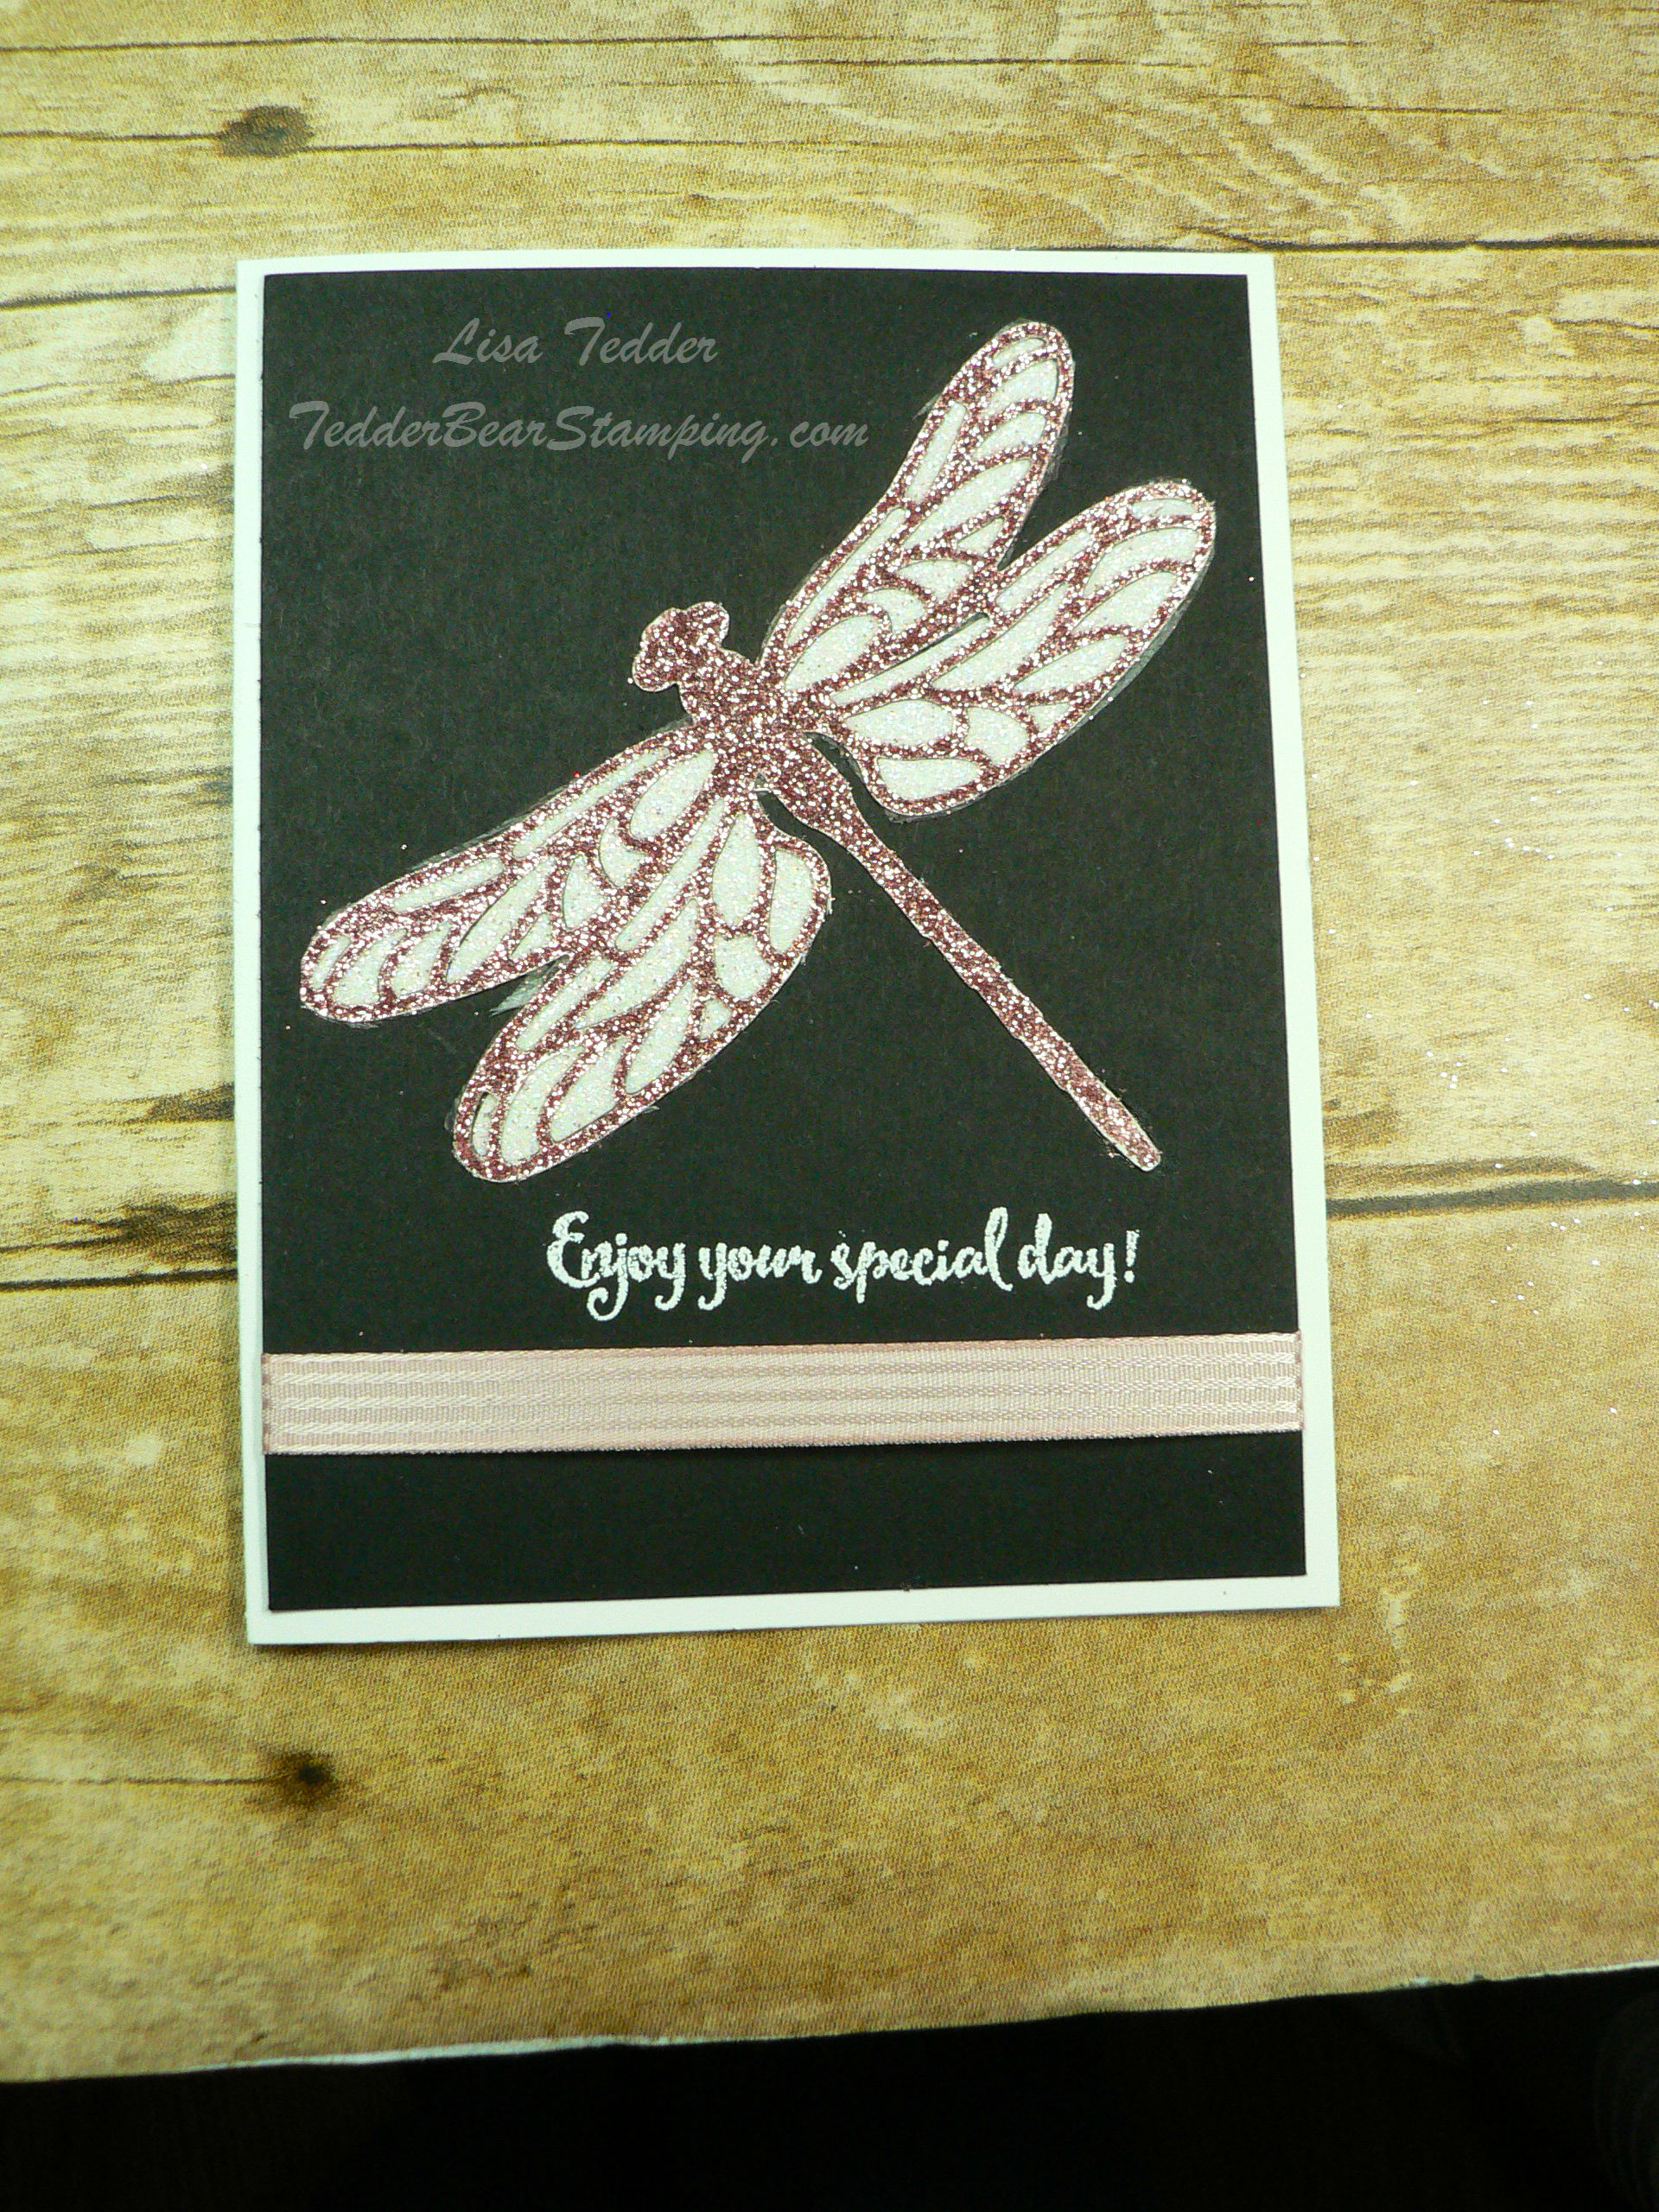
And again, I wasn’t done! I wanted to use the Dragonfly thinlits! Here is what I made with those!

I hope you have enjoyed my cards! I had so much fun making them! You can continue on to the next blog.

Jo Anne Hewins
Michelle Irinyi
Tracie Evans Langley
Sharon Maranich
Laurie Meier
Sue Root
Lisa Tedder <————–You are Here!
Frances Wagner


Don’t forget I have blog candy for those who leave messages on any post on my blog OR on my FaceBook page! The drawing will be on April 4th!


Here is what you can win!

Thanks for stopping by! I would love to hear what you think of these cards!

Lisa Tedder
A California Girl living in North Carolina
Product List


Monday Creative Blog Hop!

Welcome back to the Blog Hop!

Today I am going to be sharing with you two of my SU! handmade cards that I have done this week!

The first one is one using the White Simply Pressed Clay along with the Alphanumeric Mold, the Clay is in the Big Catalog but you’ll find the Alphabet/numeric mold in the seasonal catalog (pg 32 #137854, for only $9.95), My friend had the mold so I let her do the letters for me, and once they were dry I cut them (there is a little clay around the letter if you did it right, that you can cut away the excess so the image is really bold!), then I colored them using our SU! Write Markers in these colors:  Daffodil Delight, Blackberry Bliss, Wild Wasabi, Pacific Point, Blushing Bride and Rose Red.  I used these colors because those are the colors in the DSP I used – Painted Blooms.

This way as usual with Stampin’ Up! everything coordinates!  After I applied the color I used Fast Fuse on the back of each letter and adhered it to my DSP.  If you haven’t used Fast Fuse, you HAVE to try it #129026, page 204 in the Catalog!  It’s the best adhesive that I have tried that works with EVERYTHING!

Once adhered to the Designer Paper, I went over the letters with my Versamark Pad, just pouncing over top of them, saying to myself…..boink, boink, boink……must be watching too may Disney Movies!  🙂

I then sprinkled Crystal Clear Embossing Powder over where I pounced the Versamark and then tipped the card over and flicked off the extra powder, then I heat set it and WOW!, it made the letters look like they were Ceramic!  Hopefully you can see that in the picture

Simply-Pressed-Clay-Alphabetresized

I stamped the saying “@numberonemother” from the SU! set @SoSocial, LOVE this stamp set, it has just about everything you would EVER need to say in it!  I stamped that saying using Rose Red ink onto Blushing Bride paper and then made it pop out of the side between the Black paper and the Pacific Point Paper.  I also stamped the Chevron stamp using Rose Red ink onto Rose Red paper!  All Coordinating, and a very awesome card to send to your Mom, or a Mom to be!!

The next project I did was almost COMPLETELY Cased (Copy And Stamp Everything) from Sandy at:  StampWithSandy.com I really loved the simplicity of this card, plus it has layers, and diamonds (Rhinestones in SU! speak, but I like calling them DIAMONDS!).  the only thing I changed was I stamped my saying “Just Sayin'” from the Crazy About You stamp set onto Baked Brown Sugar (Sandy used Crumb Cake I think) then cut it out with the arrow from On Film thinlits, and topped it off with the Hello You Thinlits.  I love arrows!  They go with this saying perfectly!!

Crazy About you

I stamped the flower in Cherry Cobbler and stamped off the leaves using Baked Brown Sugar, then Put the white and the Bermuda Bay on top of the Base of Baked Brown Sugar!  I wrapped the white Bakers Twine around the white, I don’t like it when the ribbon shows on the inside.  This was a fun simple card that uses my thinlits (which I LOVE!) and I thank Sandy for the inspiration!

That’s it for me today, it was a long week for me!

Hope your day goes great and hopefully I’ll see you back next week…….maybe with some Blog Candy perhaps, hmmmmm?

Come back again!

Lisa Tedder Kernersville, NC

Here are the other people who have posted to this blog hop:

Carol Valentine

Lynn Peters

Deb Paisie

Cindy Fodor

hanniejoy

Anne Matasci

Frances Wagner

A Happy Thing

I just got back from Stampin’ Up’s! Leadership and they had this stamp set EVERYWHERE!  Luckily I had already earned it (it’s a Sale-A-Bration stamp set or SAB, which I got FREE for purchasing $50.00), so I decided to come up with my own card!!

I didn’t CASE anyone!!  I love when my creative juices are flowing!  I used the ‘A Happy Thing’ stamp set (139134) along with ‘Crazy about You’ (137137), which is SO versatile, you can use it on just about EVERY card!!

I am always saying these words “Just Sayin'” so this stamp is  PERFECT for me!  I also used the Daffodil Delight (130998) and Old Olive (130999) Blendabilities (Which you can get for FREE!!) and if you come to my class I will walk you through how to shade this wonderful stamp set!!  I also used the Thinlits “Hello You” (137363).

 AND right now until June 2nd you get the BUNDLE that has the ‘Hello You’ thinlits and the Stamp set ‘Crazy about You’ #139325 (clear) Photopolymer #138873 so you save 15%!!  IF you buy this bundle in the clear or Wood #139324, You can get the ‘A Happy Thing’ stamp set that is used in this card for FREE because it is a SAB set!  If you purchase the Photopolymer, which I LOVE, you will need to add another item to your order to get the FREE ‘A Happy Thing’ stamp set, you need $50 in US.

I used the Daffodil Delight ribbon #125583, the Specialty Designer Series Paper ‘Birthday Bash’ #137783 and some dimensionals #104430 which will give you MORE than enough to get ‘A Happy Thing!

So, are you ready to see the handmade card?

A-Happy-Thing

You will need to zoom in to see what I used at the bottom of the stamped image, I ruffled some plastic from a clear envelope!  THAT was really fun to do!

I hope you like my SU! handmade card!!

Lisa Tedder

Kernersville NC