Tag Archives: easy

Want to make a Reflection card easily?

Hey Guys!,

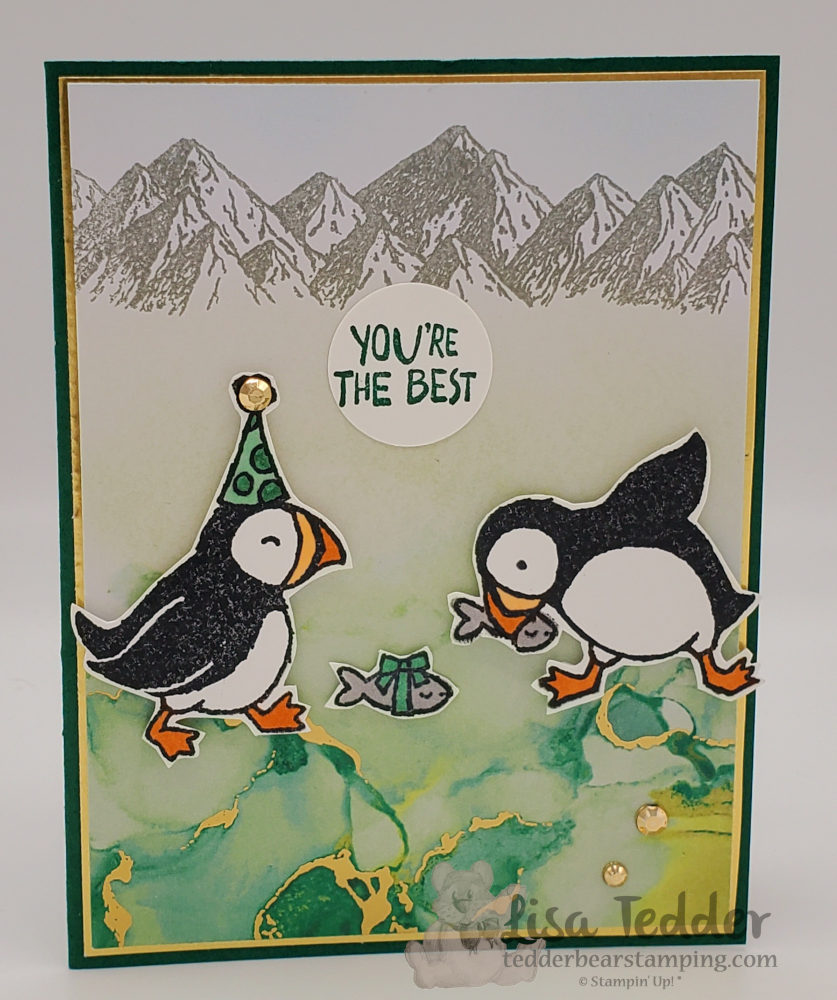
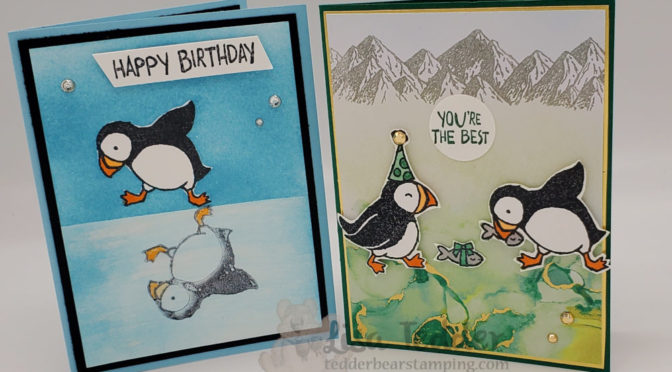
Want to make a reflection card easily?! Today I am showing just how easy it is! You can watch my YouTube Live from today here, anytime! To begin with, I also have another card on this Live that is too darn cute! By the way, I am using the stamp set from Stampin’ Up! called Party Puffins. Incidentally, here are the cards:
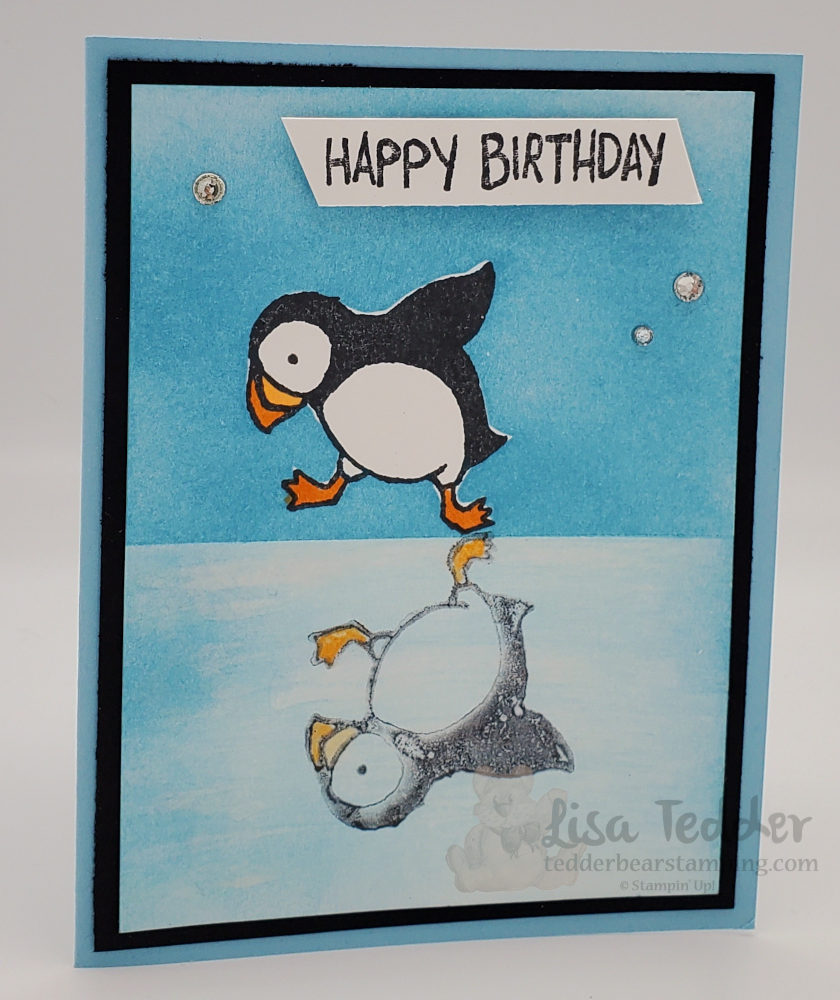
Want to make a reflection card easily? Watch my video in the link above and see just how easy it can be!
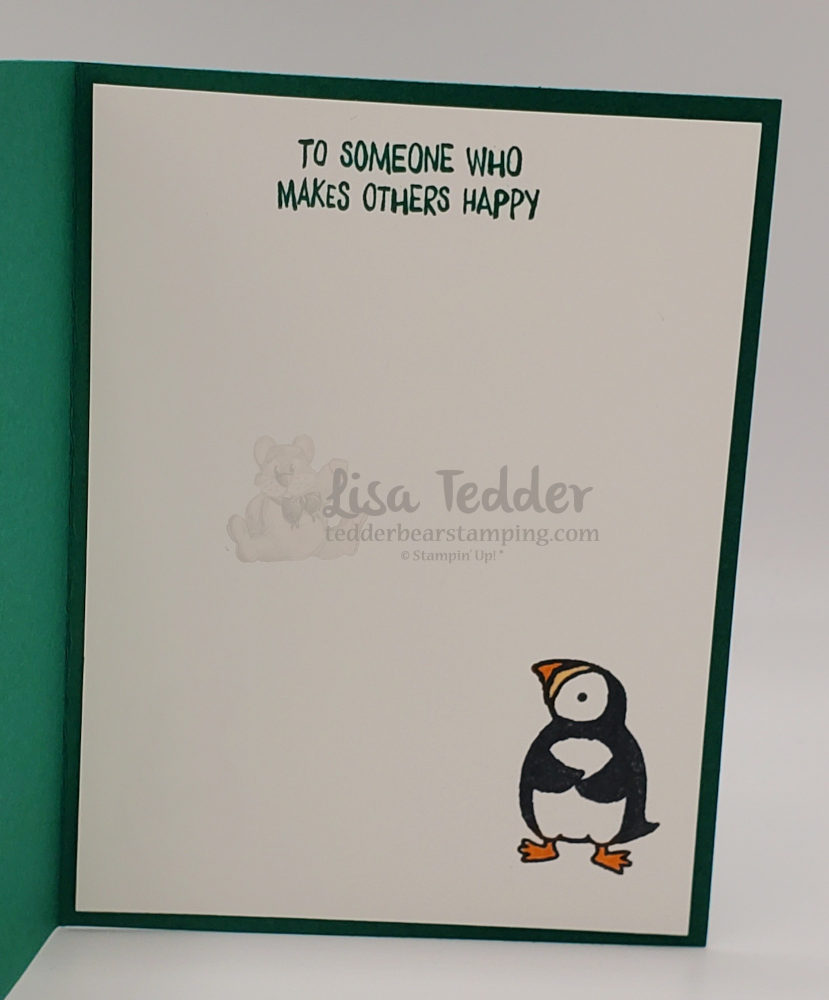
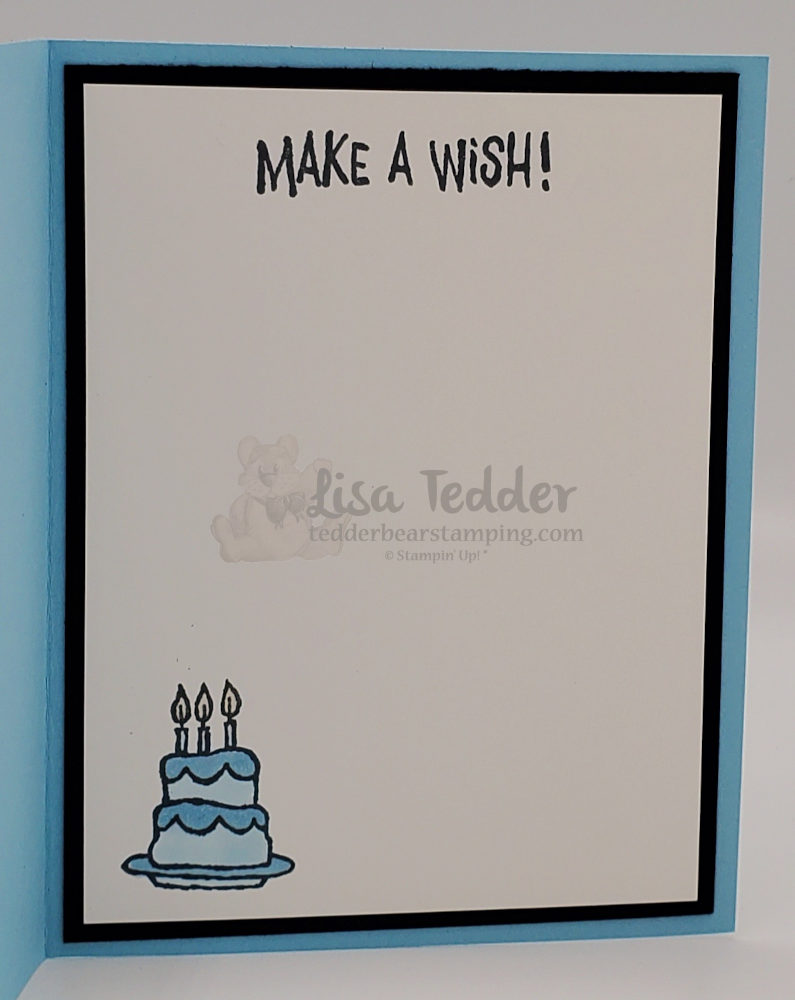
Inside the Reflection card
Don’t you love how I used the Expressions in Ink Designer paper?
I love how this came out!

As always, here is the supplies/dimensions for both of these cards:

  • Stamps:
  • Party Puffins
  • Mountain Air (card 2)
  • Inks:
  • Balmy Blue
  • Memento Black
  • Shaded Spruce
  • Soft Sea Foam
  • Smoky Slate
  • Blends:
  • Pumpkin Pie
  • Pale Papaya
  • Shaded Spruce
  • Smoky Slate
  • Paper:
  • Card 1:
  • Balmy Blue 8 1/2″ x 5 1/2″, scored @ 4 1/4″
  • Basic Black 5 1/4″ x 4″ (x2)
  • Basic White 5″ x 3 3/4″ (x2) scrap for sentiment
  • Card 2:
  • Shaded Spruce 8 1/2″ x 5 1/2″, scored @ 4 1/4″
  • Gold Foil 5 3/8″ x 4 1/8″, I cut out the center to keep for later
  • Expressions in Ink Designer Series Paper (DSP) 5 1/4″ x 4″
  • Basic White 5 1/4″ x 4″, scraps for sentiment and Puffins/fish
  • Misc:
  • Basic Rhinestones
  • Water Painters
  • Dimensionals
  • Wink of Stella
  • Gilded Gems
  • Glue dots
  • Blending Brushes
  • Layering Circle Dies
  • Silicone Mat

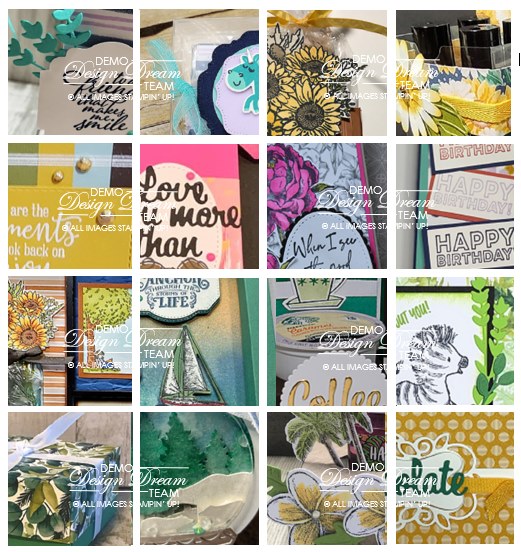
Coupled with the above, the supplies are also listed below in picture form, click on any of them and you will be taken to my OnLine Store! Hence, If you purchase $35 or more you will receive from me the class card packet with the supplies sans the stamps/inks. Also, you will receive a PDF with 16 projects using NEW product from the Catalog, with step by step instructions along with pictures! Below is the snippets of the PDF:
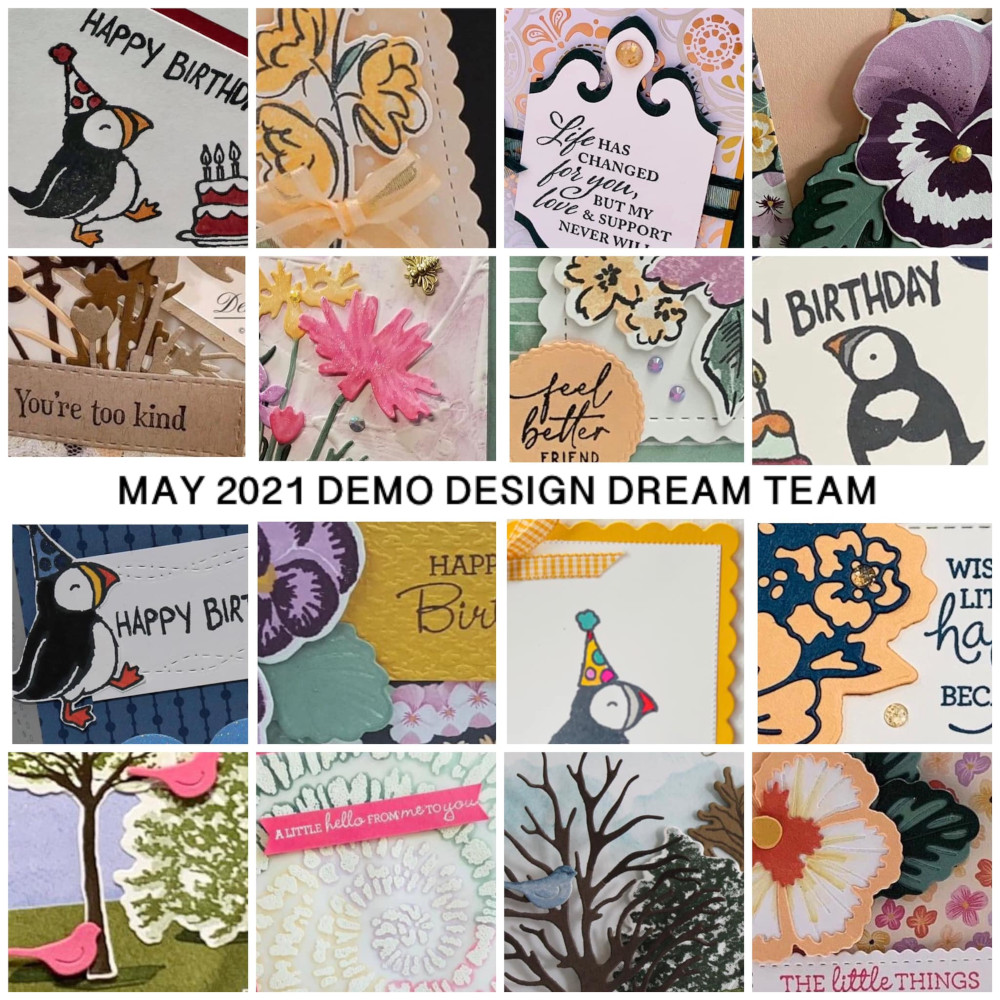
Get this for free with a Qualifying order of $35 or more!

However, if you missed last weeks post, you can click here and see it. That one had a cute one AND an elegant one using the same stamp set!

Lastly, thank you so much for stopping by, I appreciate you supporting my small business!! In conclusion, come back next week and you can go catch all my other videos, I have a LOT that you will learn from and love!

Lisa Tedder
A former California girl living in North Carolina

Product List

Seamless Blending of colors that draw your eye

Hey Guys!

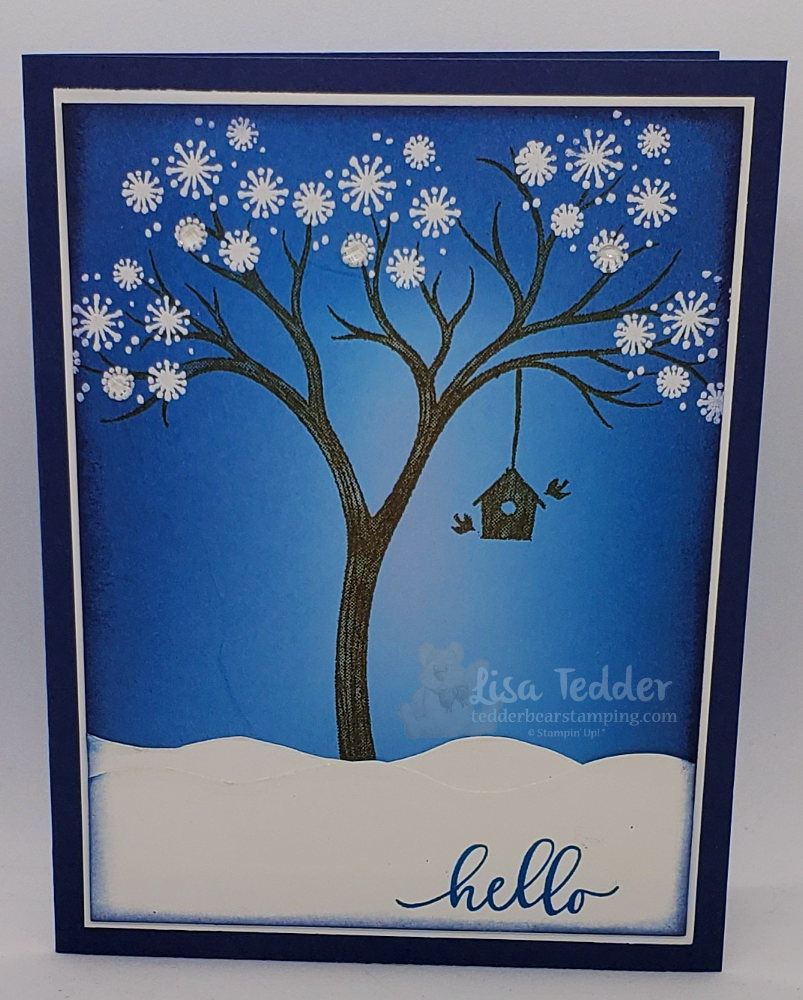
Oh my Gosh you guys I LOVE how this card came out! Especially since I sent them out to my direct Team members, they loved them and wanted me to make a video so they could learn how to make it! Namely, how to Seamlessly blend the colors to draw your eye to the center. Subsequently you can find the video here. As you will see in the video it’s pretty simple if you follow one rule: Start OFF your paper first! It also helps if you rub either your sponge or brush, a little after inking up on a scratch paper before touching your project. First off, take a look at my card, can you see that I have 2 different ink colors PLUS the color of the cardstock?

See how you can blend colors to create a scene that draws your eye to the subject, seamlessly!?

To start with I began with a piece of Seaside Spray cardstock, I then sponged with a make-up brush Pacific Point around the edges leaving the middle un-inked. Second, I came in on top of the Pacific Point and went over the cardstock with Night of Navy, not quite going as far as I did with the Pacific Point. Thirdly, I stamped the tree from Life Is Beautiful in the center using Soft Suede ink. Lastly I sponged the sides with Night of Navy to make it really dark on the edges and fade to the light color in the middle. Can you see how seamless the blending is and how it really draws your eye in towards the tree in the center? Now, I DID emboss the snowflakes before I sponged the edges but it doesn’t matter if you do the sponging first.

As always here are the specifics for my card:

  • Stamps: Life is Beautiful
  • Inks: Night of Navy, Pacific Point, Soft Suede, Versamark
  • Paper: Night of Navy 8 1/2″ x 5 1/2″ (scored @ 4 1/4″), Whisper White 5 1/8″ x 3 7/8″ (x2) & 2″ x 3 3/4″, Seaside Spray 5″ x 3 3/8″
  • Misc: Elegant Faceted Gems, Paper Trimmer, Take your Pick tool, stamping sponges & make-up brushes

For the most part EVERYTHING listed above, excluding the make-up brushes, can be found on my OnLine Store. As a result of you ordering $35 or more from my Store you will receive from me SIXTEEN project designs with step by step instructions WITH pictures, in a pdf! Finally, you can click on any of the supplies in picture form below to be taken to my site so you can Shop with me!

Incidentally, I have another sponged scene that I did in the past, but for that one I only used sponges, you can see it here. Therefore, sponging doesn’t HAVE to be done using the make-up brushes, it makes it easier, but sponging can get the same result.

Lastly, I hope you know how much you mean to me! Just the fact that you come here and read what I wrote and watch my video means a lot to me. In brief, please come back again, and leave comments even if it’s to say you enjoyed my post.

Lisa Tedder
A California girl living in North Carolina

Product List
Olde Tyme Christmas

Hey Guys!

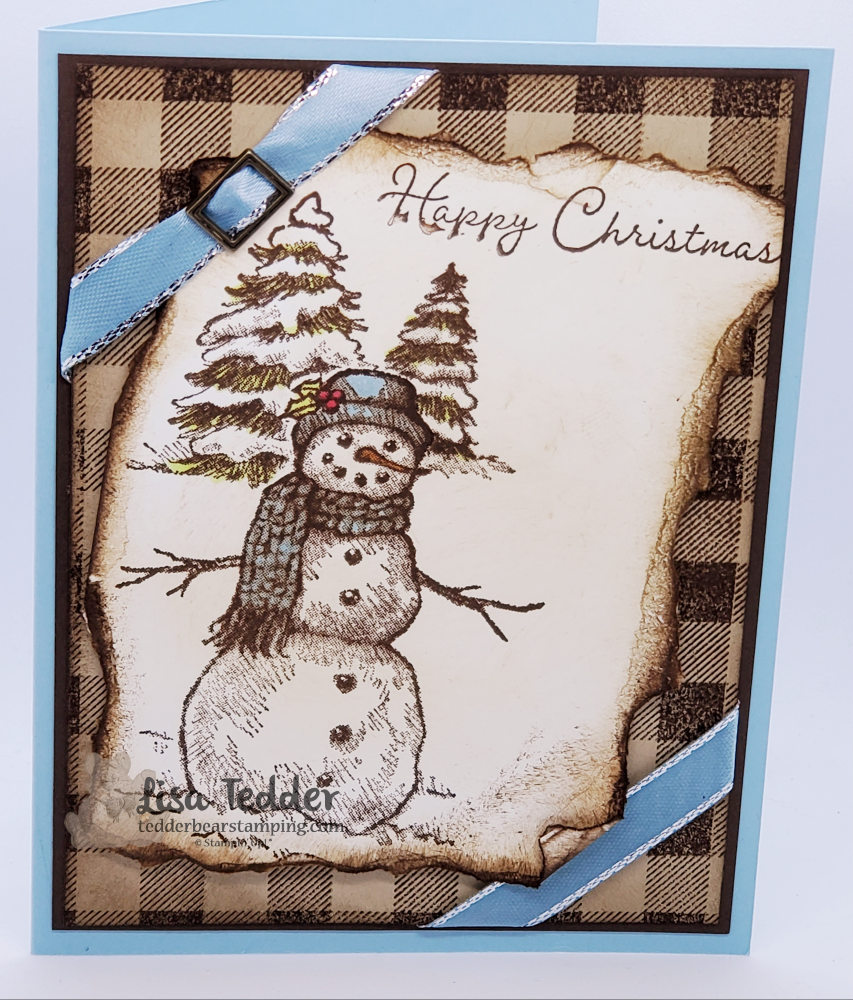
Easy and Fun Olde Tyme Christmas Card to wow your friends and family! Stamping, tearing & sponging is all it takes to make this beautiful card!

Today I am sharing with you an Olde Tyme Christmas Card! This handmade card uses the NEW stamp set from Stampin’ Up! called Snow Wonder. This will wow your friends and family! First, when stamped the image has a lot of hash marks and that, to me, looks like it is an Old Fashioned drawing. Second I tried to emboss it with white and see what it looked like…..not so great! The hash marks made it all bunch up and it had no definition.

As a result, I then tried it in Early Espresso and WOW that looked so good! Colored the carrot, hat and scarf with my Stampin’ Blends, using light colors. As long as I used light colors it didn’t take away from the Olde Tyme Christmas look. Since I was making it look older I tore the paper (after stamping everything else) and sponged Early Espresso on the edges!

EAsy and Fun Olde Tyme Christmas Card
Easy and fun Olde Tyme Christmas Card

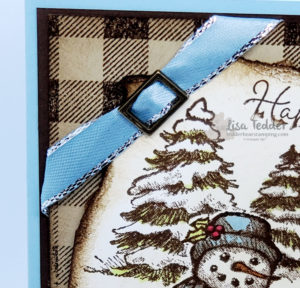
Since I colored the scarf with Bashful Blue, I thought pulling in that color would be pretty on the ribbon in the corners. So, I colored the ribbon with a Bashful Blue Dark Blend, popped up the image on a piece I stamped with Buffalo Check and wrapped it on the corners. In the same vein, did you notice that I used an antique slide on the ribbon at the top?! I think that added a more Olde Tyme feel to it! To sum up, for the base I used more of the Bashful Blue to pull it all together! What do you think?

For those that REALLY love That Olde Tyme Christmas look here is another one that I had done in the past, click here to see it. Likewise, here is another one that is on YouTube! Love this card check it out!

Here are the specifics for this card:

Stamps:
Snow Wonder
Buffalo Check
Ink:
Early Espresso
Crumb Cake
Blends: Granny Apple Green (on the leaves on the hat & on trees), Real Red Dk for the berries in the hat & Balmy Blue on the hat/scarf, Pumpkin Pie dk for nose
Paper:
Balmy Blue 8 1/2″ x 5 1/2″
Early Espresso 5 1/4″ x 4″
Crumb Cake 3 7/8″ x 5 1/8″
Whisper White 4″ x 5 1/4″ then tear around image
Misc:
Antiqued corners & slides elements
3/8″ Metallic edged Ribbon (colored with Balmy Blue Blend)
Dimensionals

As always, the items listed above will be in picture form below. Click on any of them and you will be taken to my OnLine Store so you can purchase what you need to replicate this card! First, If you purchase from me you will receive from me a pdf with 16 projects that includes pictures and step by step instructions! Second, this is my Thank You for working with me in my business! Here is a sneak peek:

pdf tutorials for $35 purchase in my Online Store

I hope you enjoyed this Olde Tyme Christmas! Please leave a comment below to let me know what you think! Also, subscribe to my blog and my Newsletter so you won’t miss any updates from me!

Lisa Tedder
A California girl living in North Carolina

Product List

Card #4 – Christmas Cards

Hey Guys!

Can you believe that I have already shared 3 other Christmas cards with you!?  Check out #3 here.

Here is #4!:

I got this idea from Sandi MacIver, you can see her YouTube video here!

Here is what it looks like on the inside!:

Beautiful card!  Thank you Sandi for the great idea!

If you are interested in my 7 page tutorial for all 6 of my Christmas Cards (get instructions, dimensions and color photos) you can get it just by purchasing $50 from my OnLine StorePlease use hostess code CGCDT6ZJ

All supplies are listed below, just click on any picture to be taken to my Store!

Gotta Run!

Lisa Tedder
A California Girl living in North Carolina
Product List