If you just came from Pam’s page, welcome to my page! If you started at mine, click on the names below to see what others have done for the Holidays! Enjoy!
Today I am showing you how I go about doing a Scrapbook Page by showing that you can make ANY size page depending what you like. I started off making a 6 X 6 page:
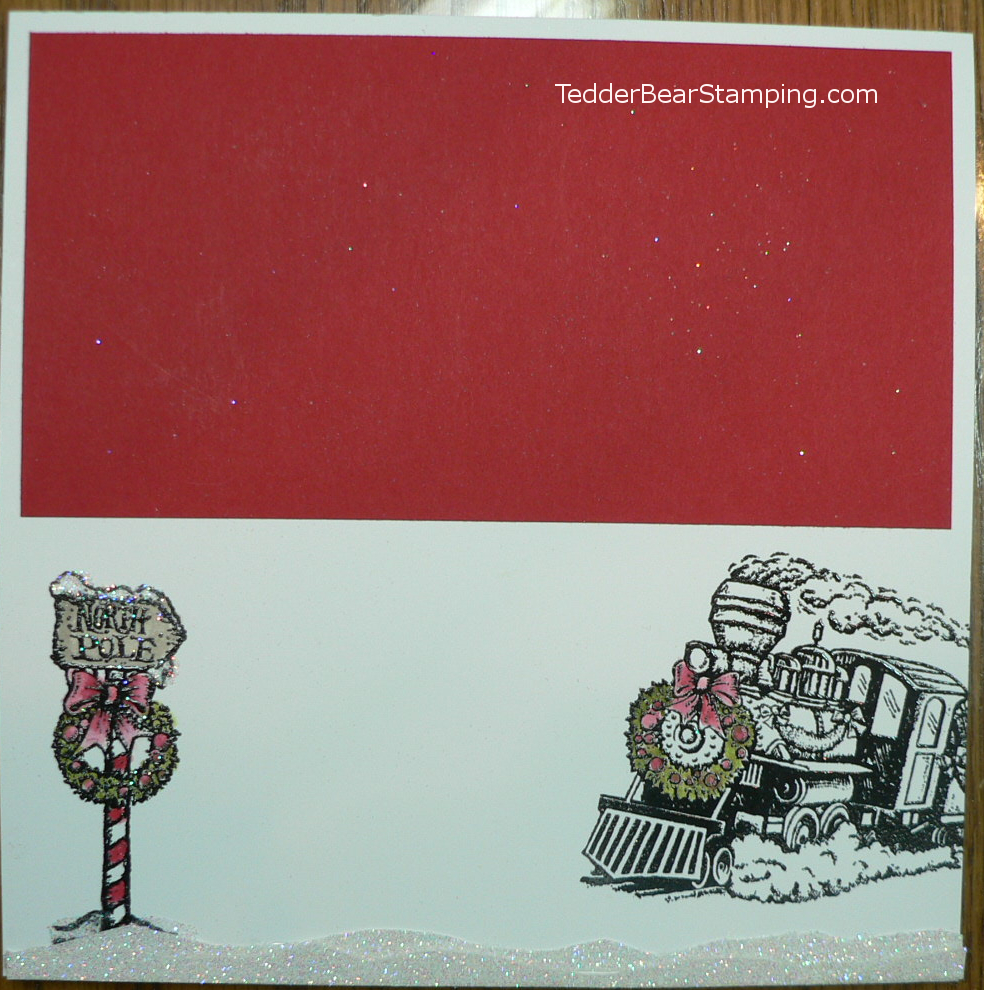
The red block is for putting your picture in. I LOVE handmade scrapbook pages! And the Stamp set from Stampin’ Up! called Christmas Magic is one of my FAVES! It’s so pretty and versatile! I made tags too with the sets I used for this page, check it out at the end of this post!
For the next part of the page I made an 8 1/2″ x 11″ page and placed the 6 x 6 on that one.
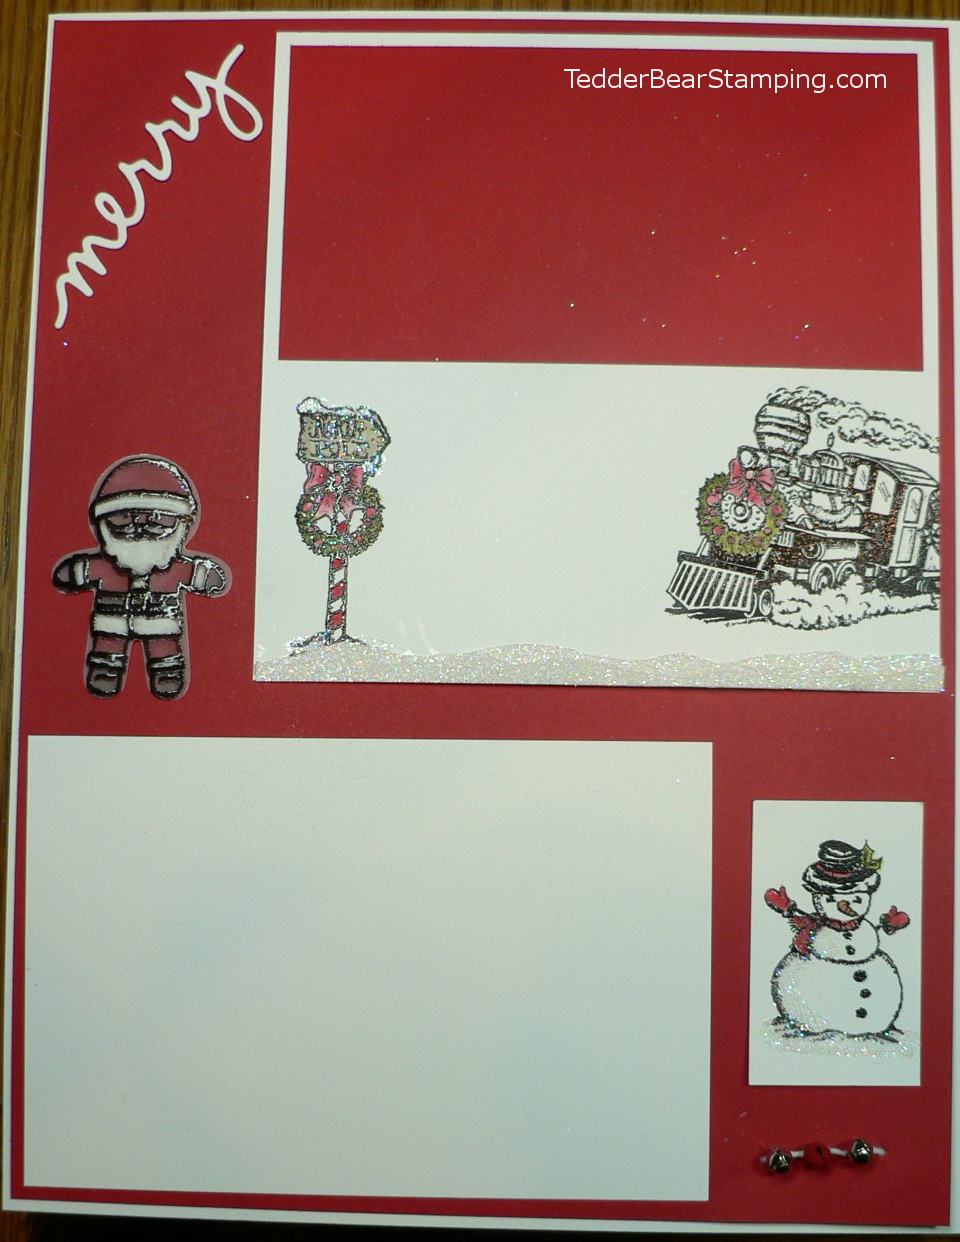
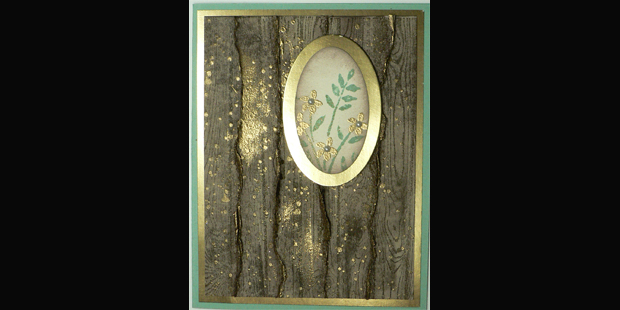
The White under the Santa and next to the snowman is where You put the picture on this part! I used the Santa from the Stamp set Cookie Cutter Christmas. This was so much fun to do! I stamped it on Vellum using Black ink and embossed it with clear. I then turned it over and colored the back, making sure I shadowed it. I put it on my Stampin’ Pierce Mat and with my embossing tool from the Simply Scored Scoring Tool upside down (embossed side down) and rubbed the embossing tool over all the white pieces. This raises the vellum and makes it white. REALLY WHITE! It is so much fun to do this technique and looks great on sails and other stamped images that need to be white and fluffy.
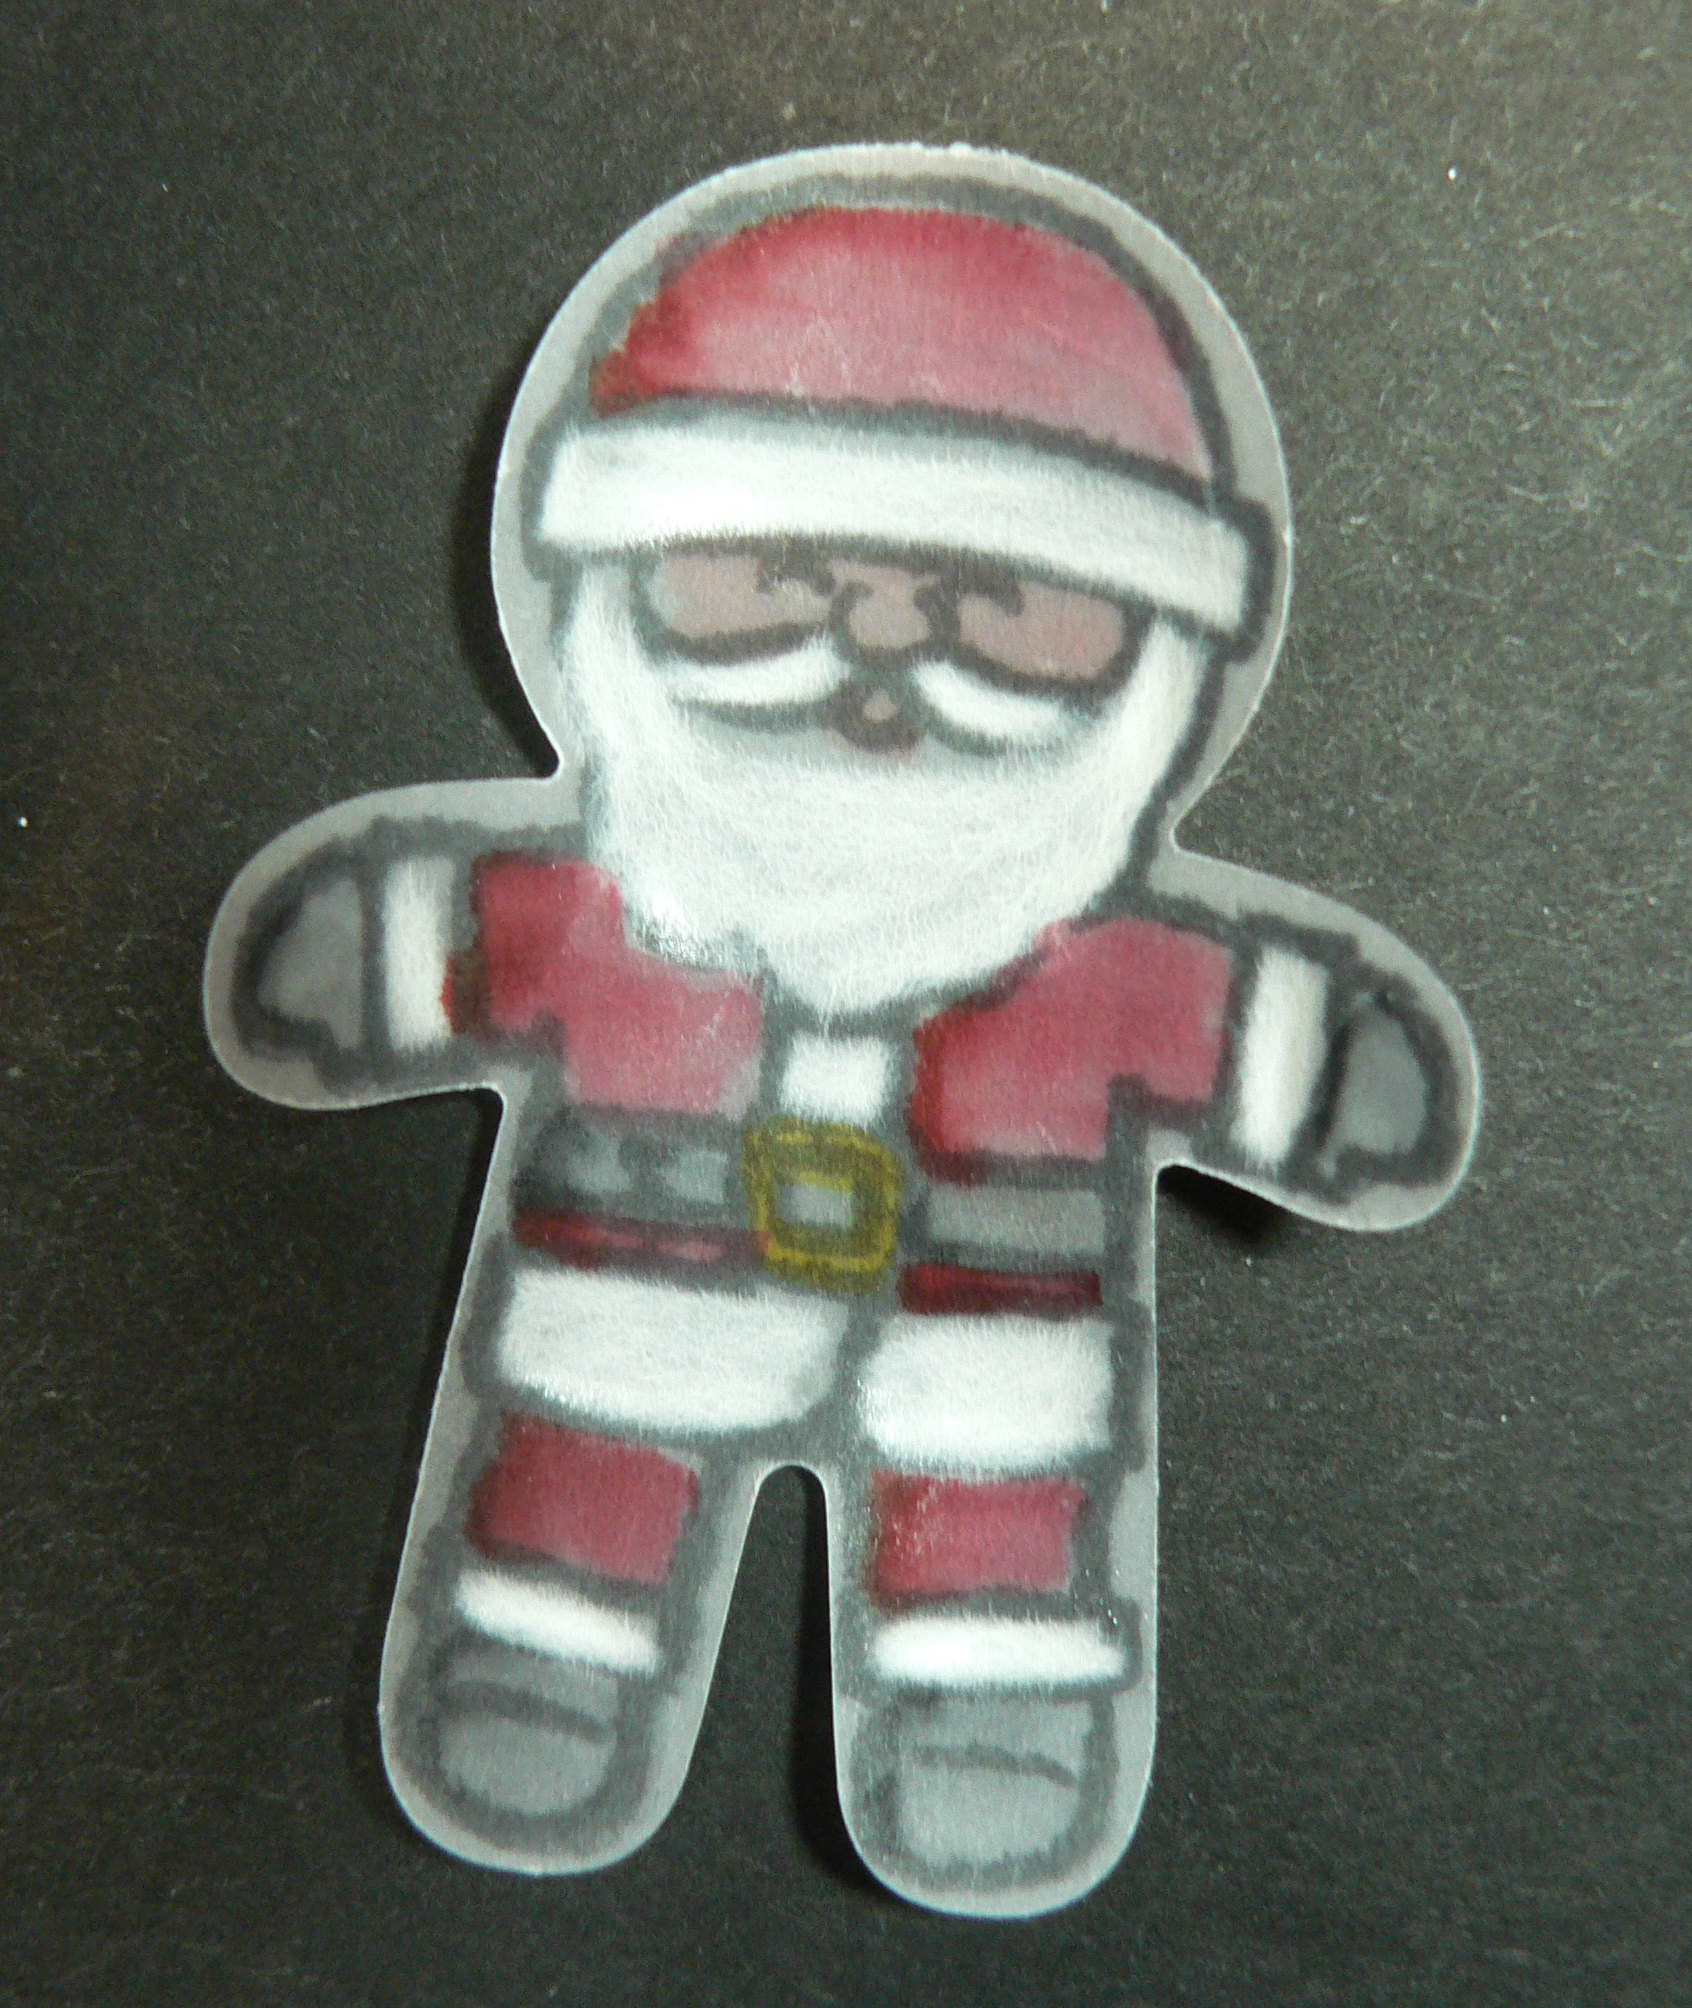
This is what it looks like before you turn it over.

Once you turn it over you can really see the white is white! I did NOT use ANY ink on the white parts, that is all because the vellum changes to white when you press on it with the embossing tool.
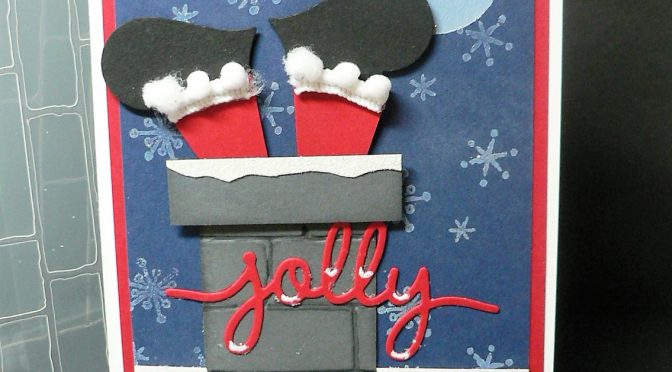
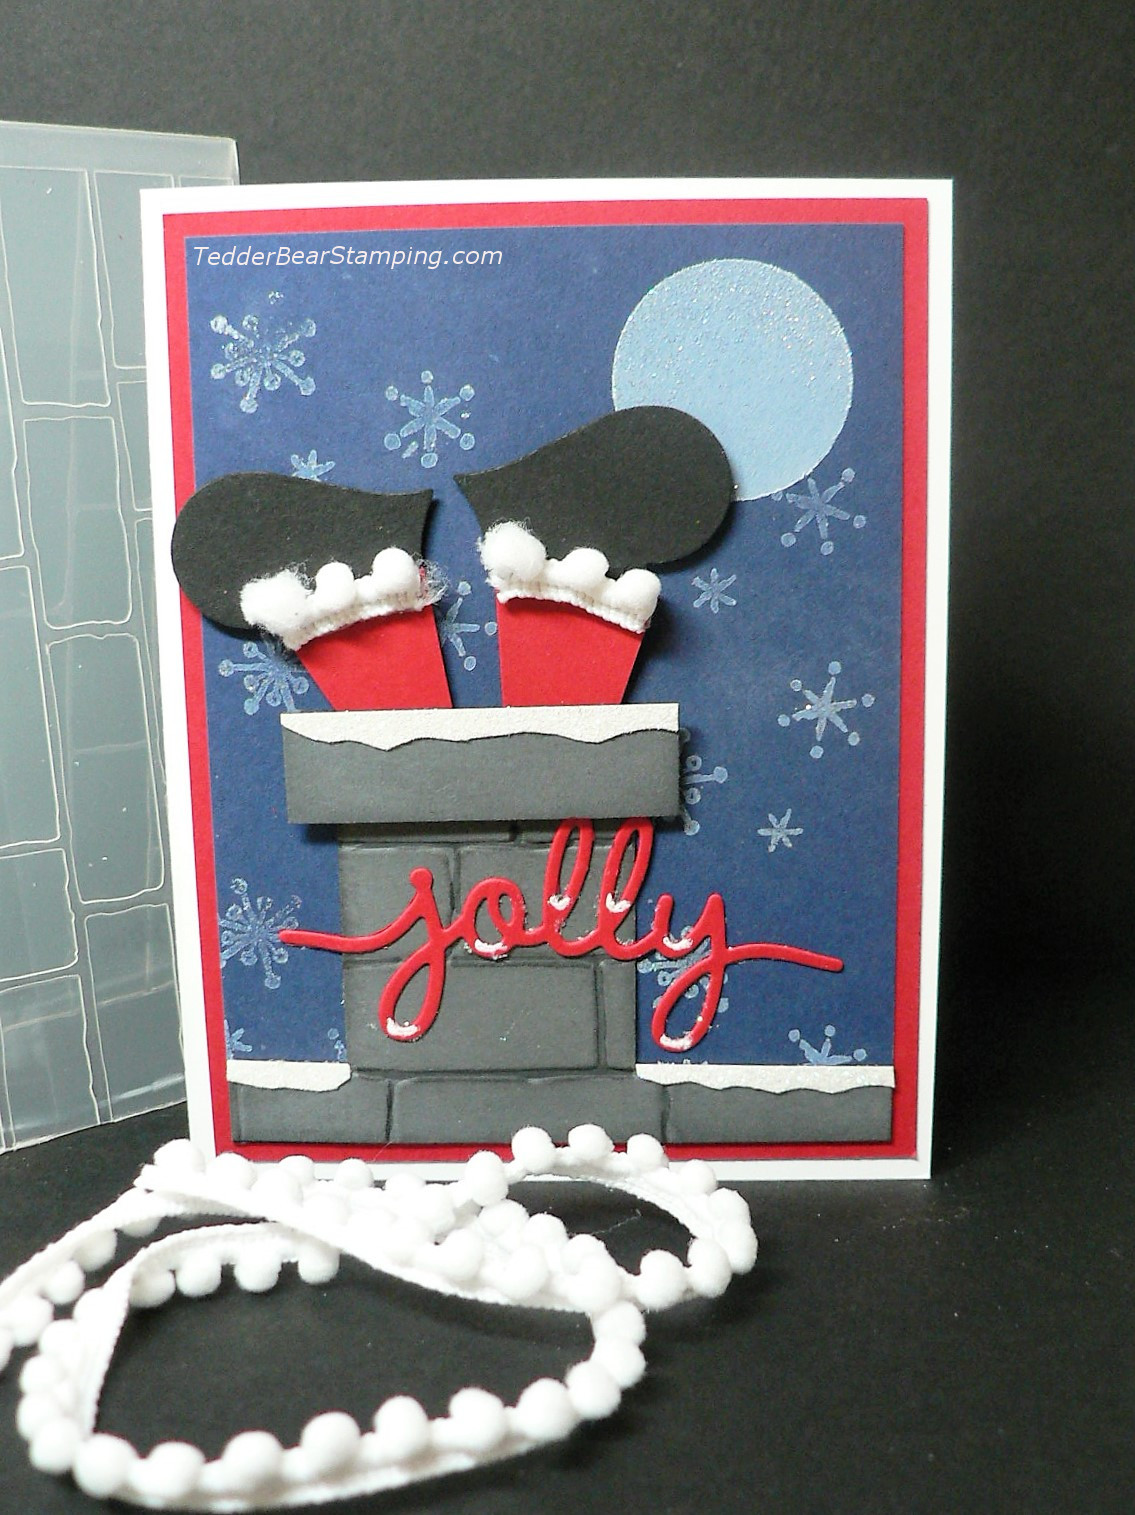
Now, here is the finished page on 12 x 12 :
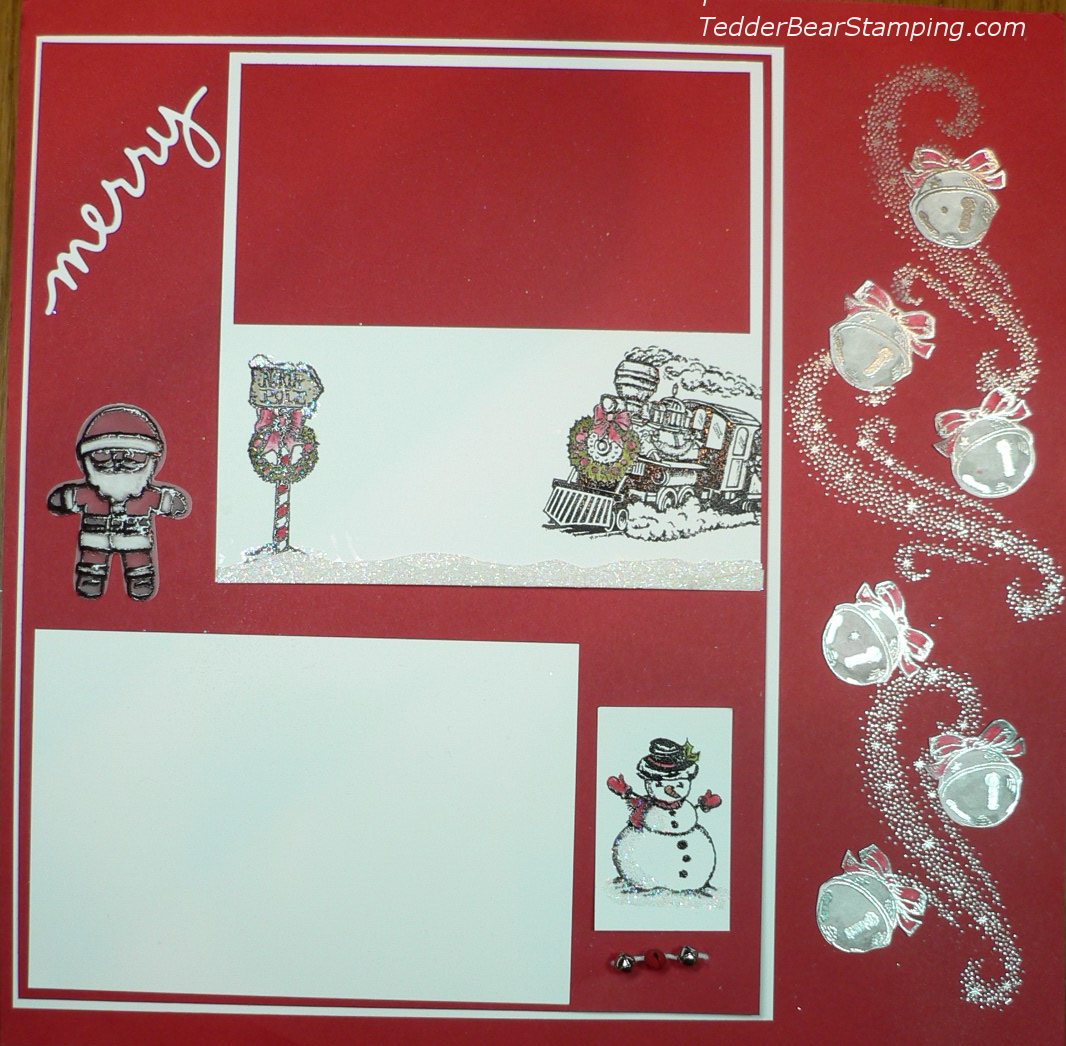
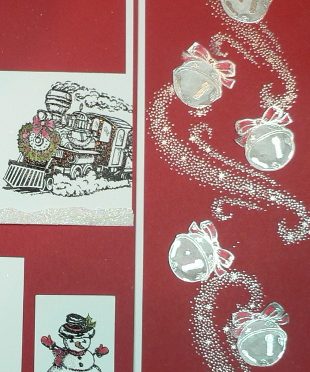
I die cut the ‘Merry’ from the Christmas Greetings Thinlits. I also stamped the bells from the Christmas Magic stamp set and embossed it with Silver Embossing Powder, then using my blender pen colored in Smoky Slate to ‘look like’ silver. But first I stamped the Swirl from Star of Light and ‘hung’ my bells from that.
If you notice under the snowman, I have three bells on white bakers twine, this is so they won’t fall off (my daughter is going to frame this with her Christmas pictures on the wall), and I wanted to make sure that no matter what they wouldn’t fall off. I made the white twine go through the paper and I tied a knot in the back.
This page, in person, is so pretty!! Have you ever made something and are impressed with how much better it came out than you thought it would when you started?!! That’s how I feel, I hope you like it too!!
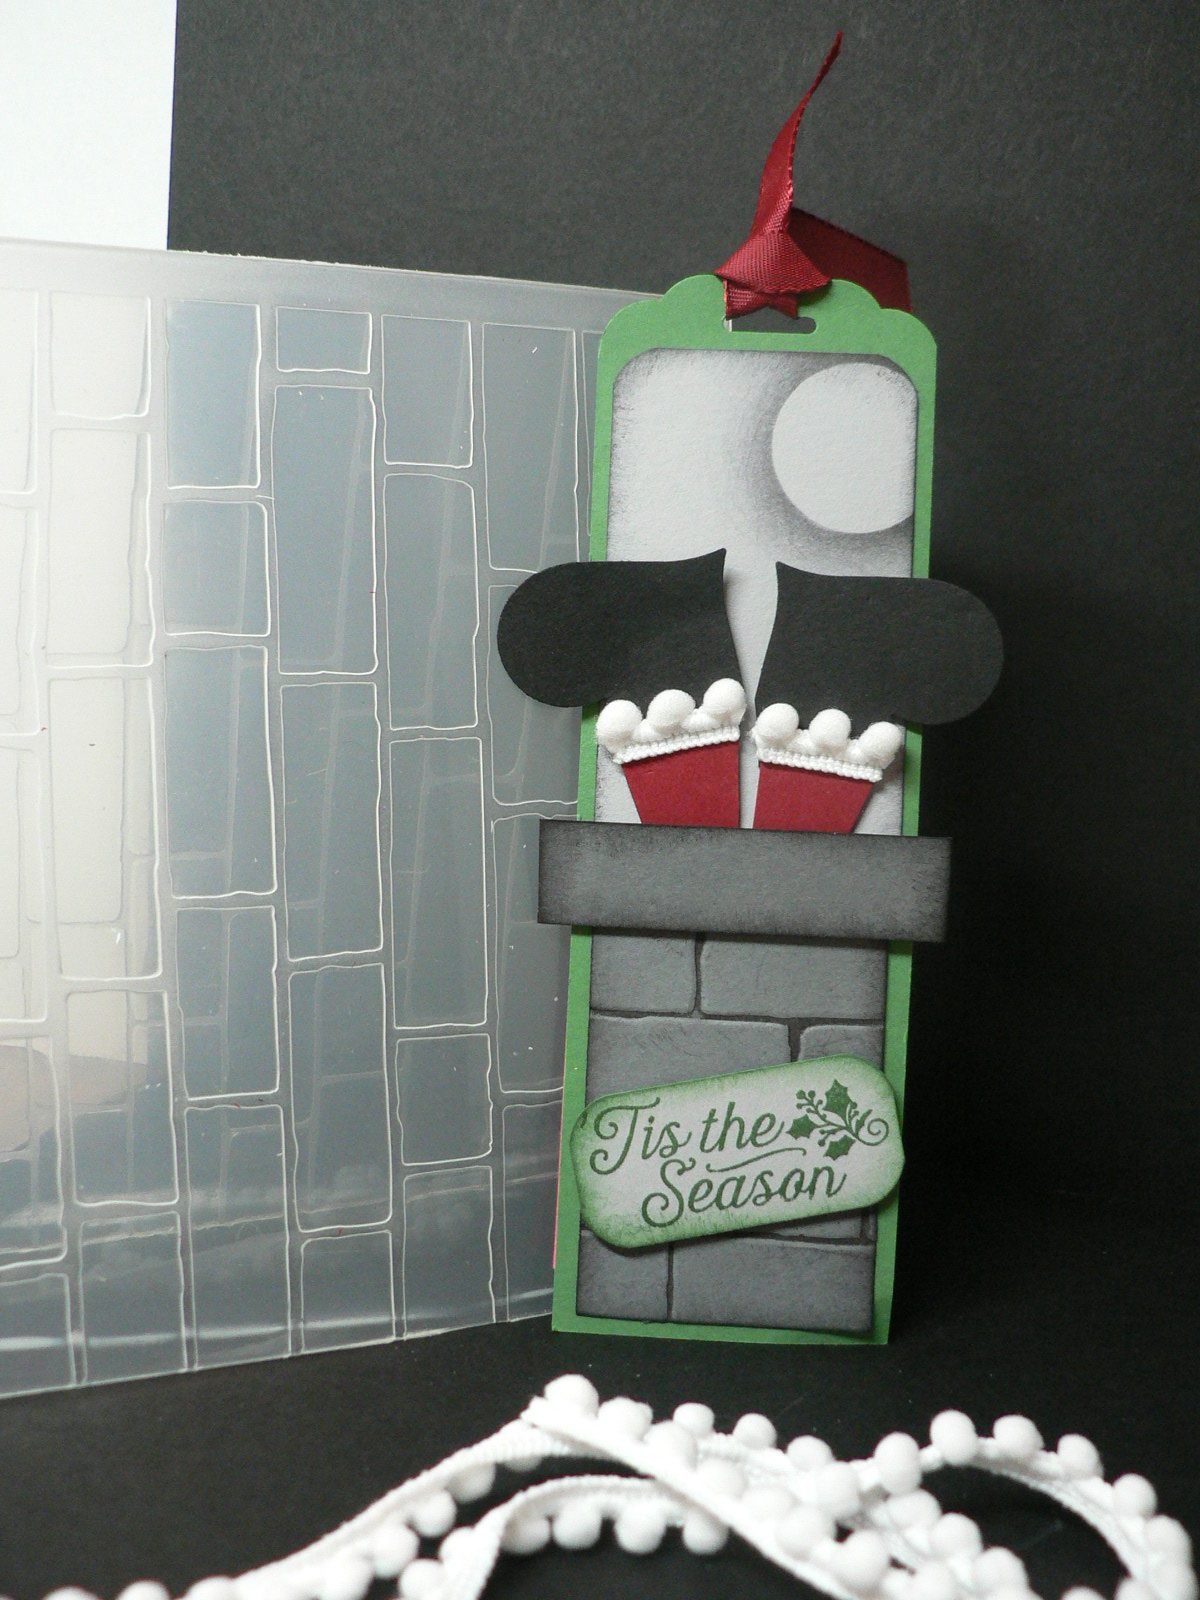
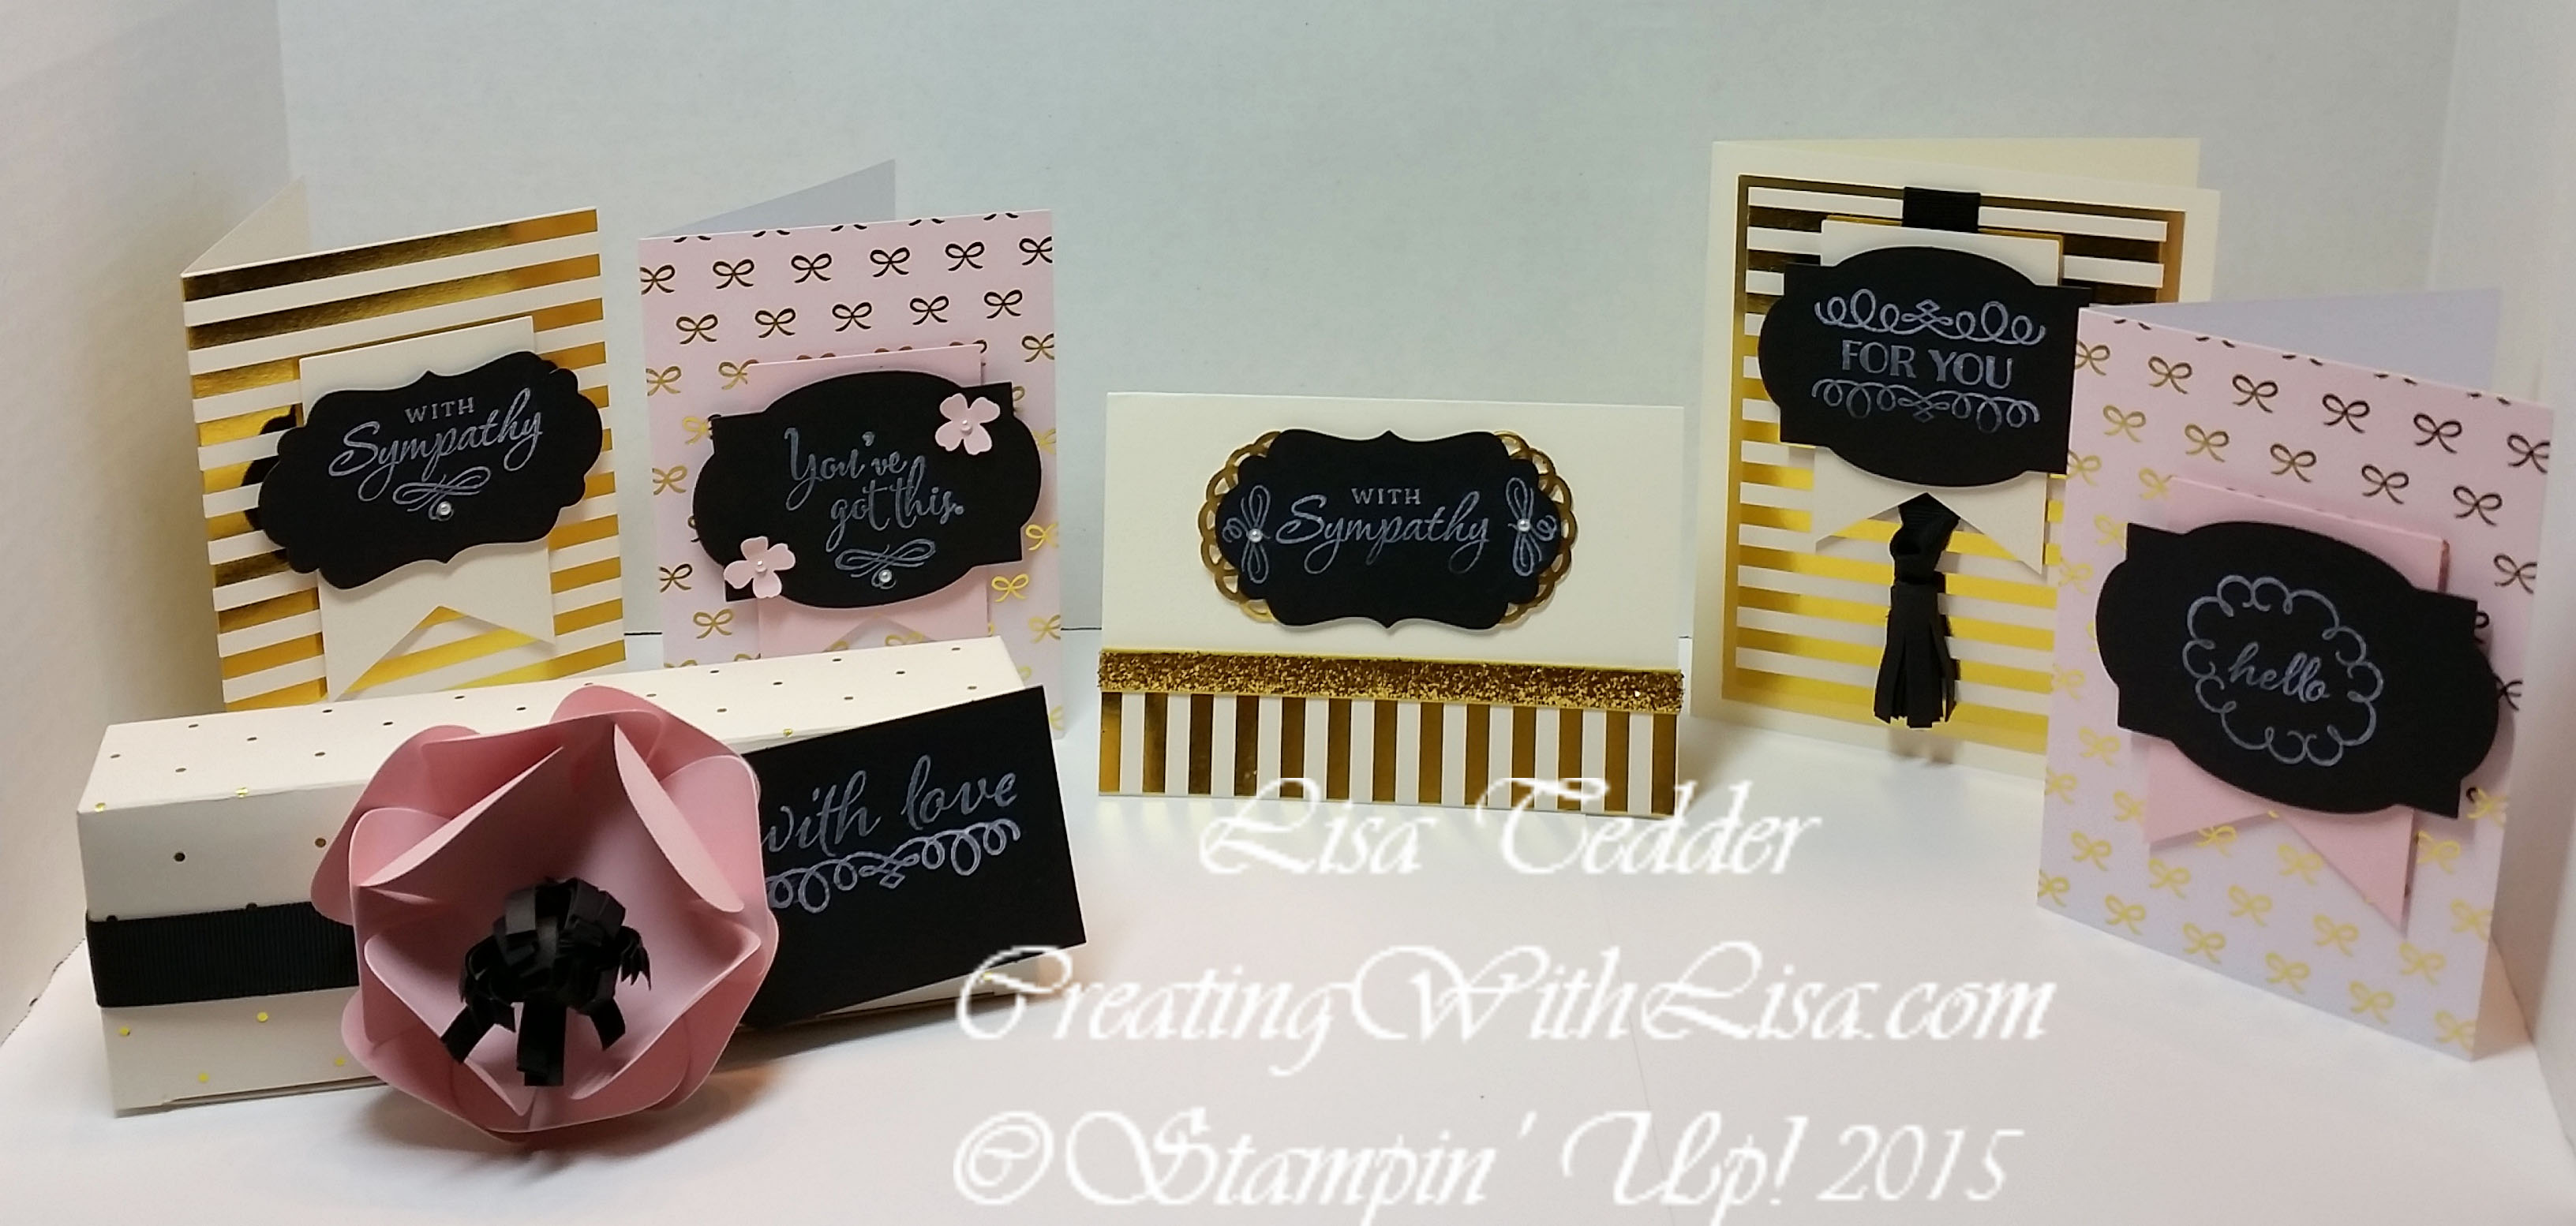
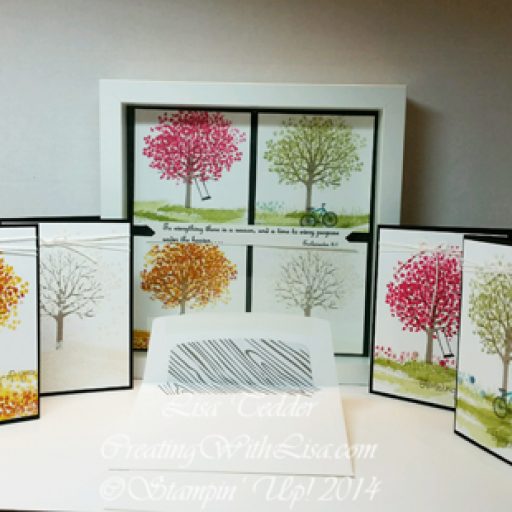
Now, here are the tags that I made to go along with this gift:

I love the simple yet elegant feel of these! Which is perfect for something that you will want to make a lot of! I used the Scallop Tag Topper for all of these, the middle one is just a little bit shorter than the other two.
Here is the details that you might want to know!
Stamp sets:
Christmas Magic #142119
Star of Light # 142110
Merriest Wishes # 142066
Inks:
Versamark
Real Red
Basic Black
Old Olive
Cardstock:
Whisper White 8 1/2″ x 11″, 4″ x 6″, 6″ x 6″, 1 1/2″ x 2 1/2, scrap for ‘merry’ and the bells and 2″ x 5″ for tags
Real Red 12″ x 12″, 3″ x 5 3/4″, 8 1/4″ x 10 3/4
Dapper Denim 2″ x 4 1/4″ for tag
Accessories:
White embossing powder #109132
Silver Embossing powder #109131
Scalloped Tag Topper Punch #133324
Classic Label punch #141491
Mini Jingle Bells #142002
Simply Scored Scoring Tool #122334
3/8″ Ruched Ribbon – Dapper Denim #141424
3/8″ Stitched Satin Ribbon – Real Red #141693
Dazzling Diamonds #133751
Blender Pens #102845
Dazzling Diamonds Glimmer Paper #135315
Christmas Greetings Thinlits #139659
So? That is what I am presenting for you on this blog hop! I hope you love them as much as I do! I would love to hear from you!!
Jo Anne Hewins
Michelle Irinyi
Tracie Evans Langley
Laurie MeierSue Root
Pam Staples
Lisa Tedder
Frances Wagner
Lisa Tedder
TedderBearStamping