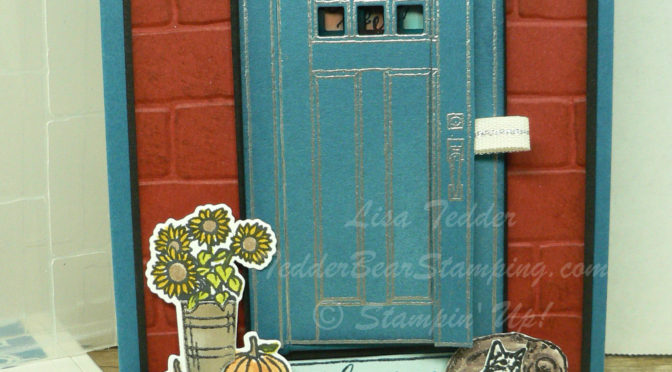
I was inspired by Daniela Hödl when I made this card! She made this stunning card:
Since I had to translate her blog I wasn’t able to see what size the original was. I didn’t do the entire part that she did, but when I do a scrapbook page this is what I want!!
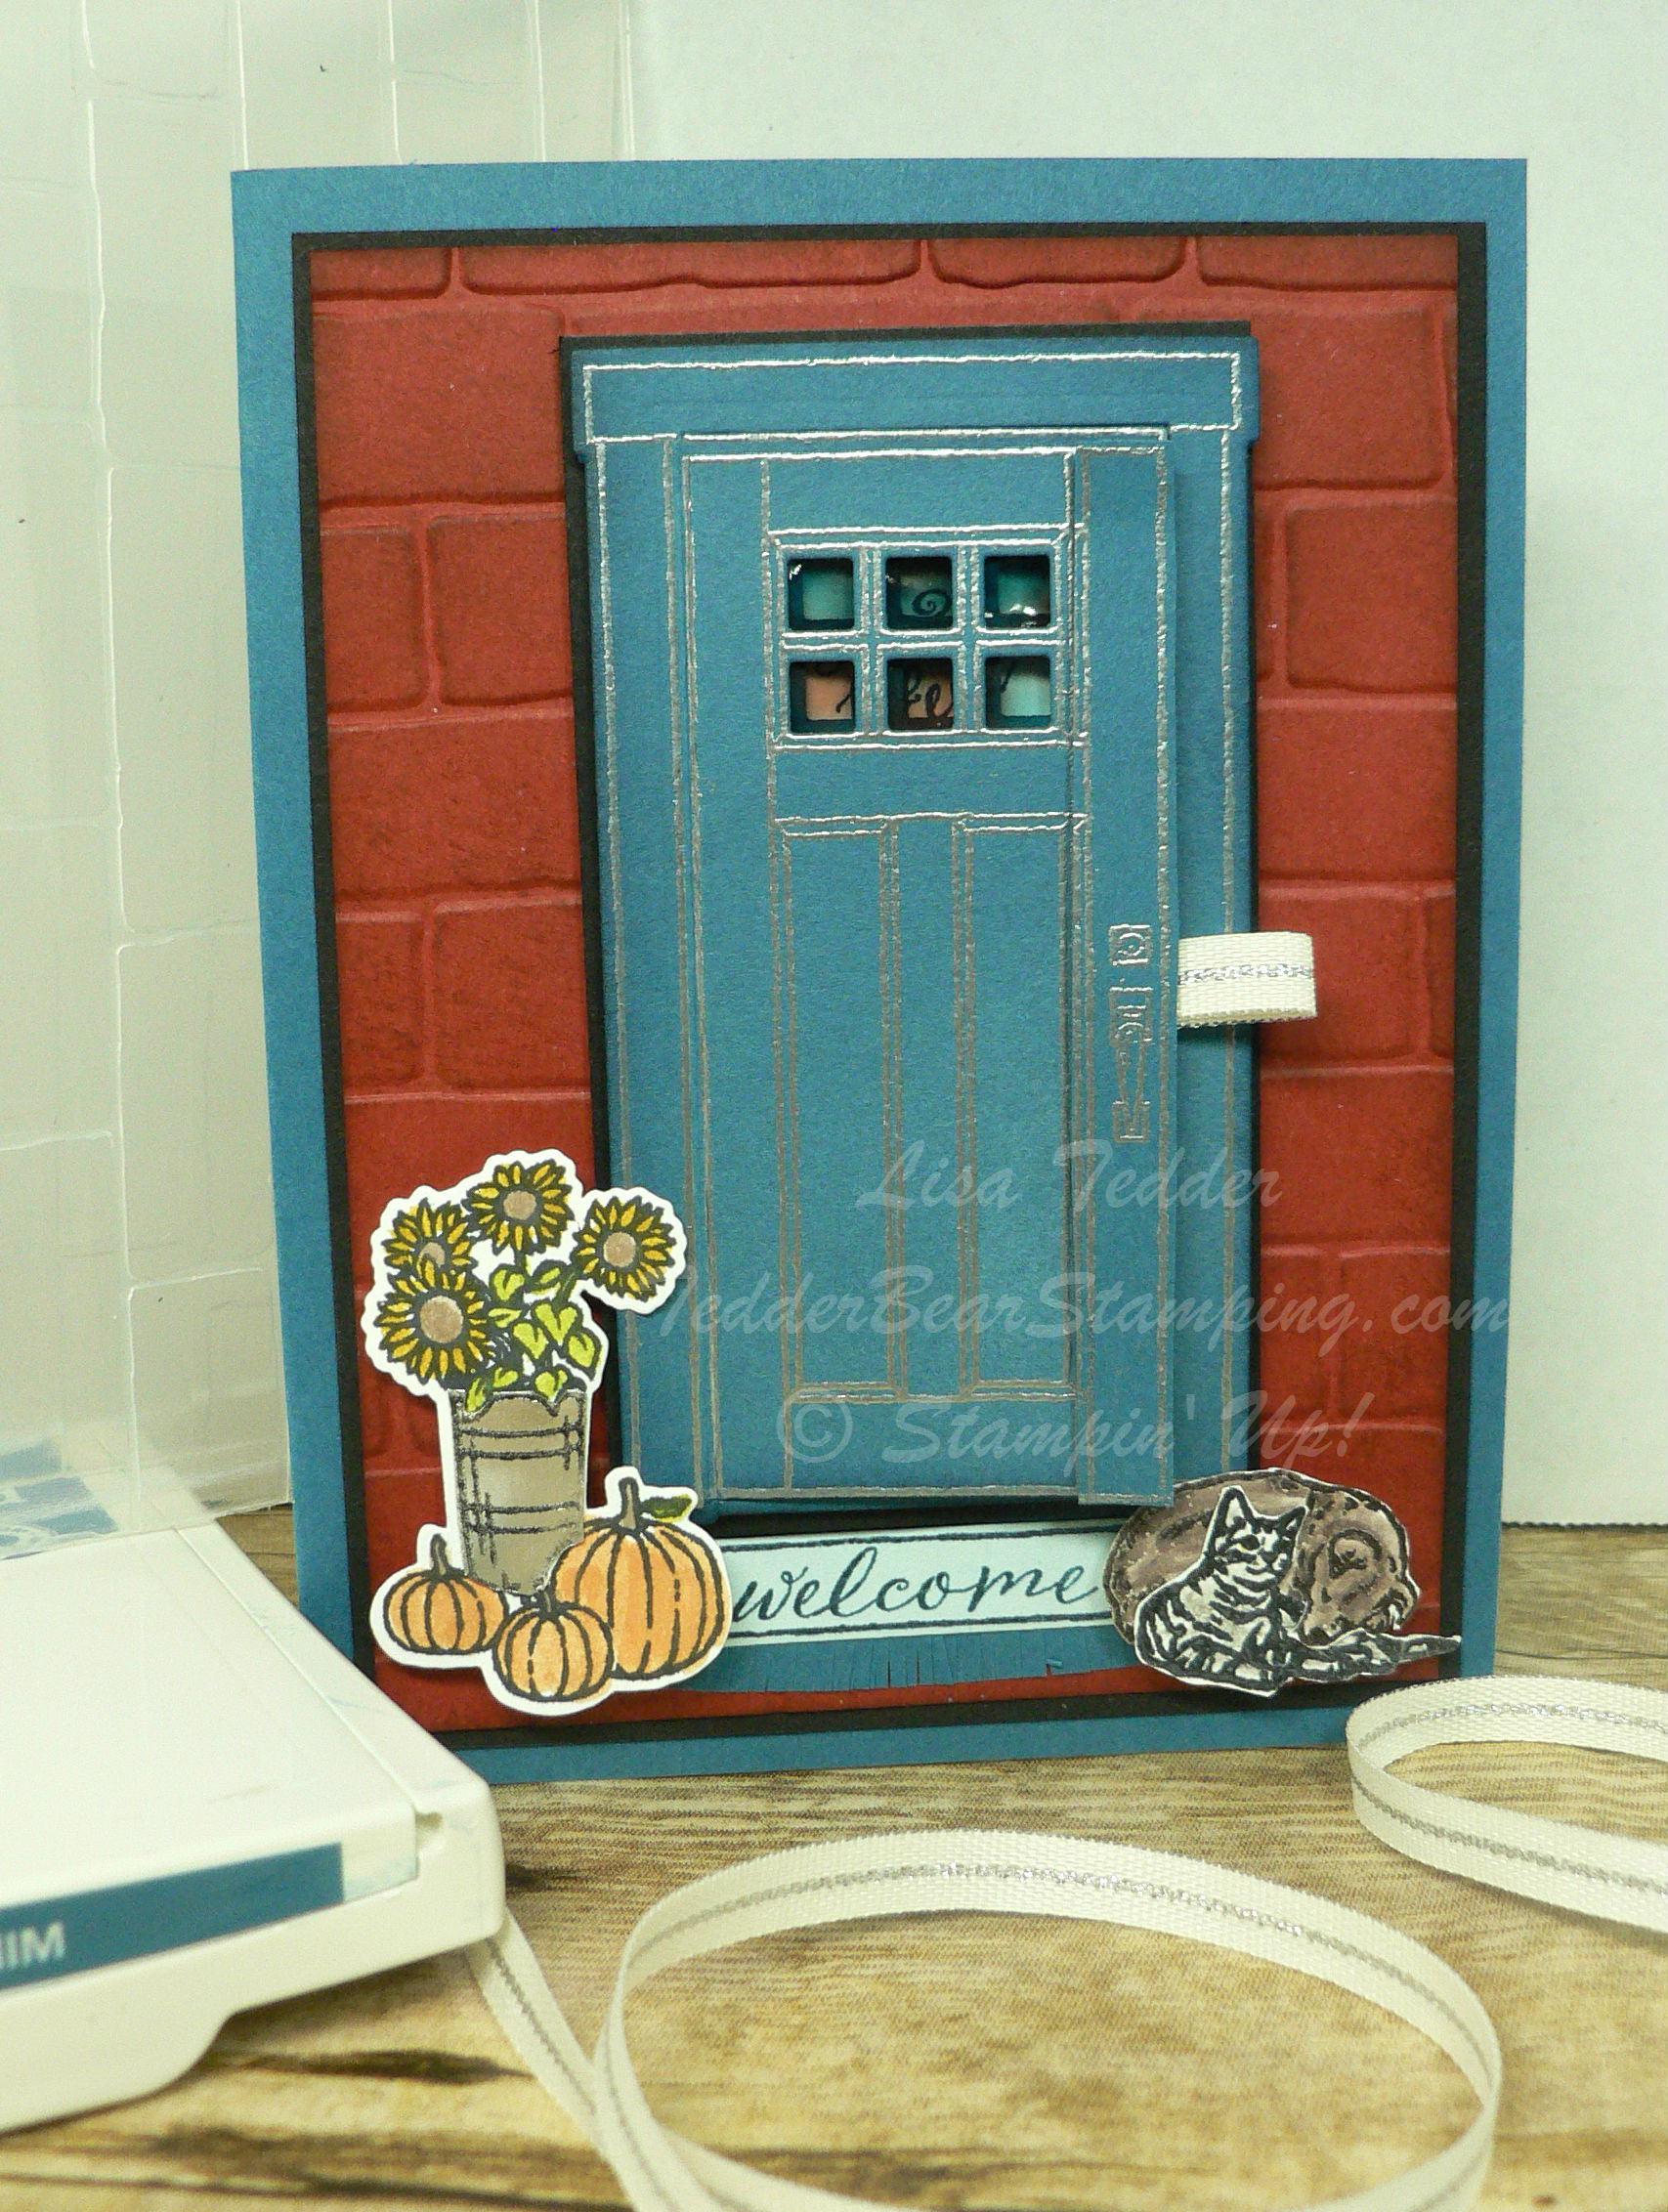
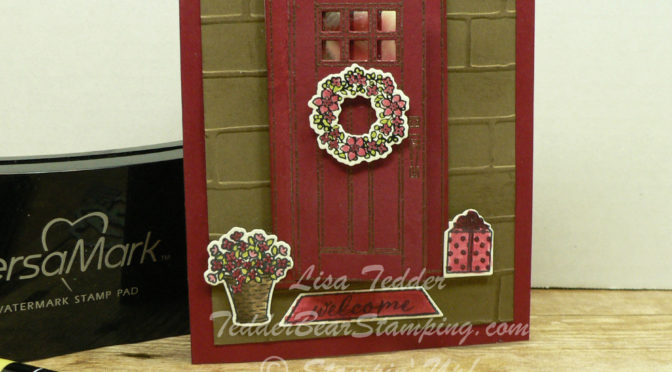
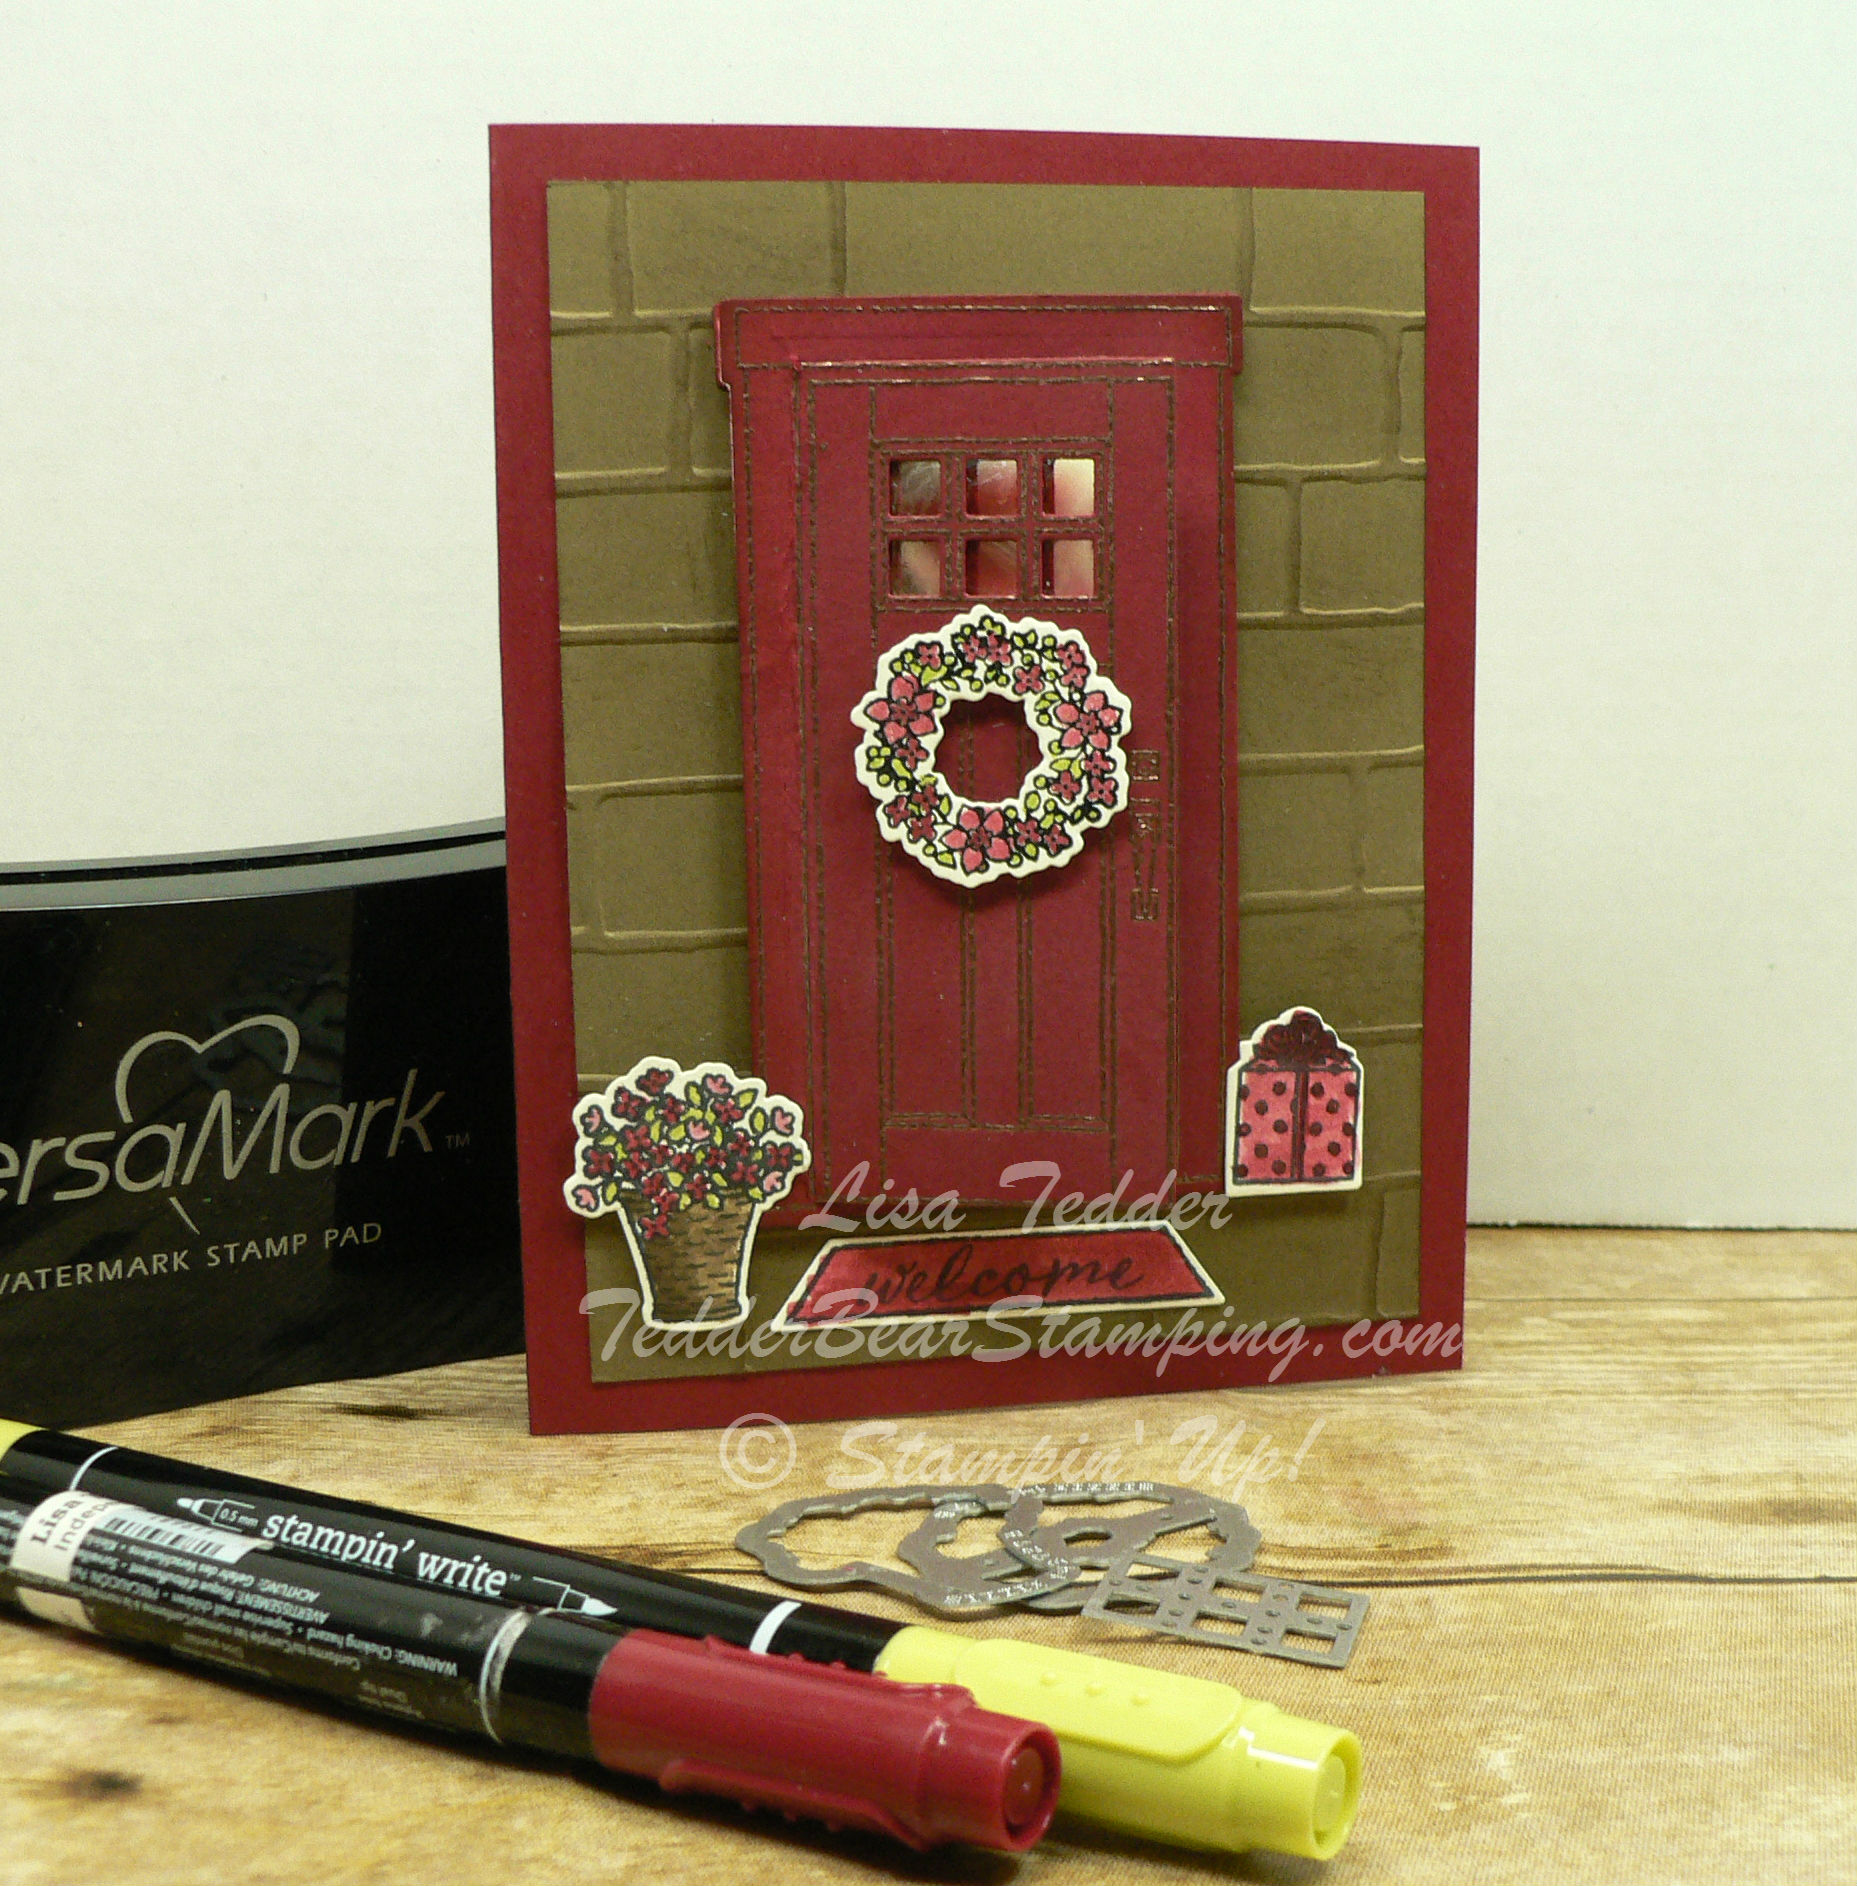
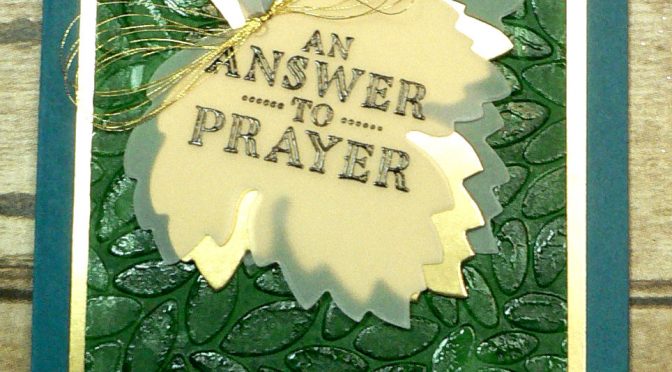
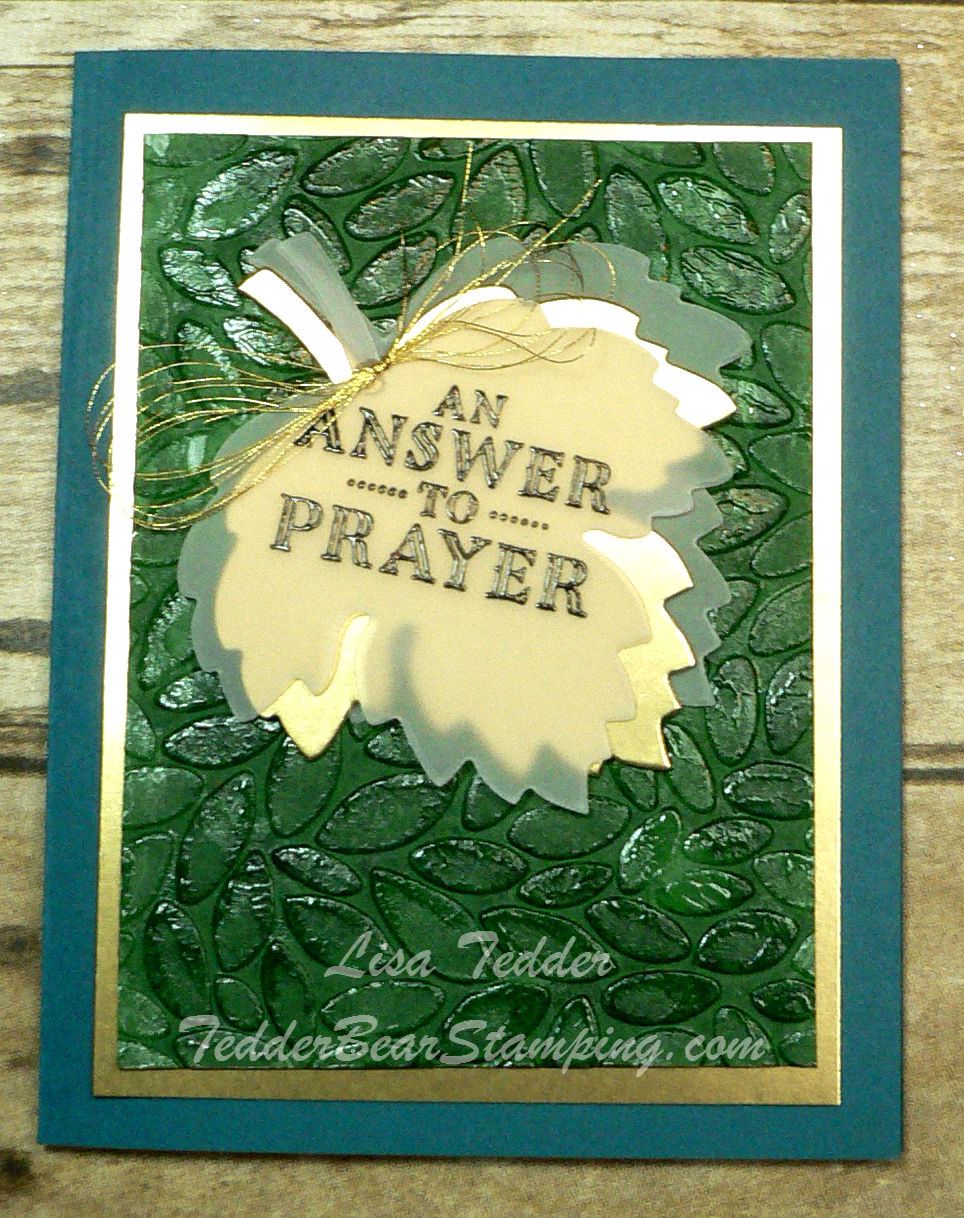
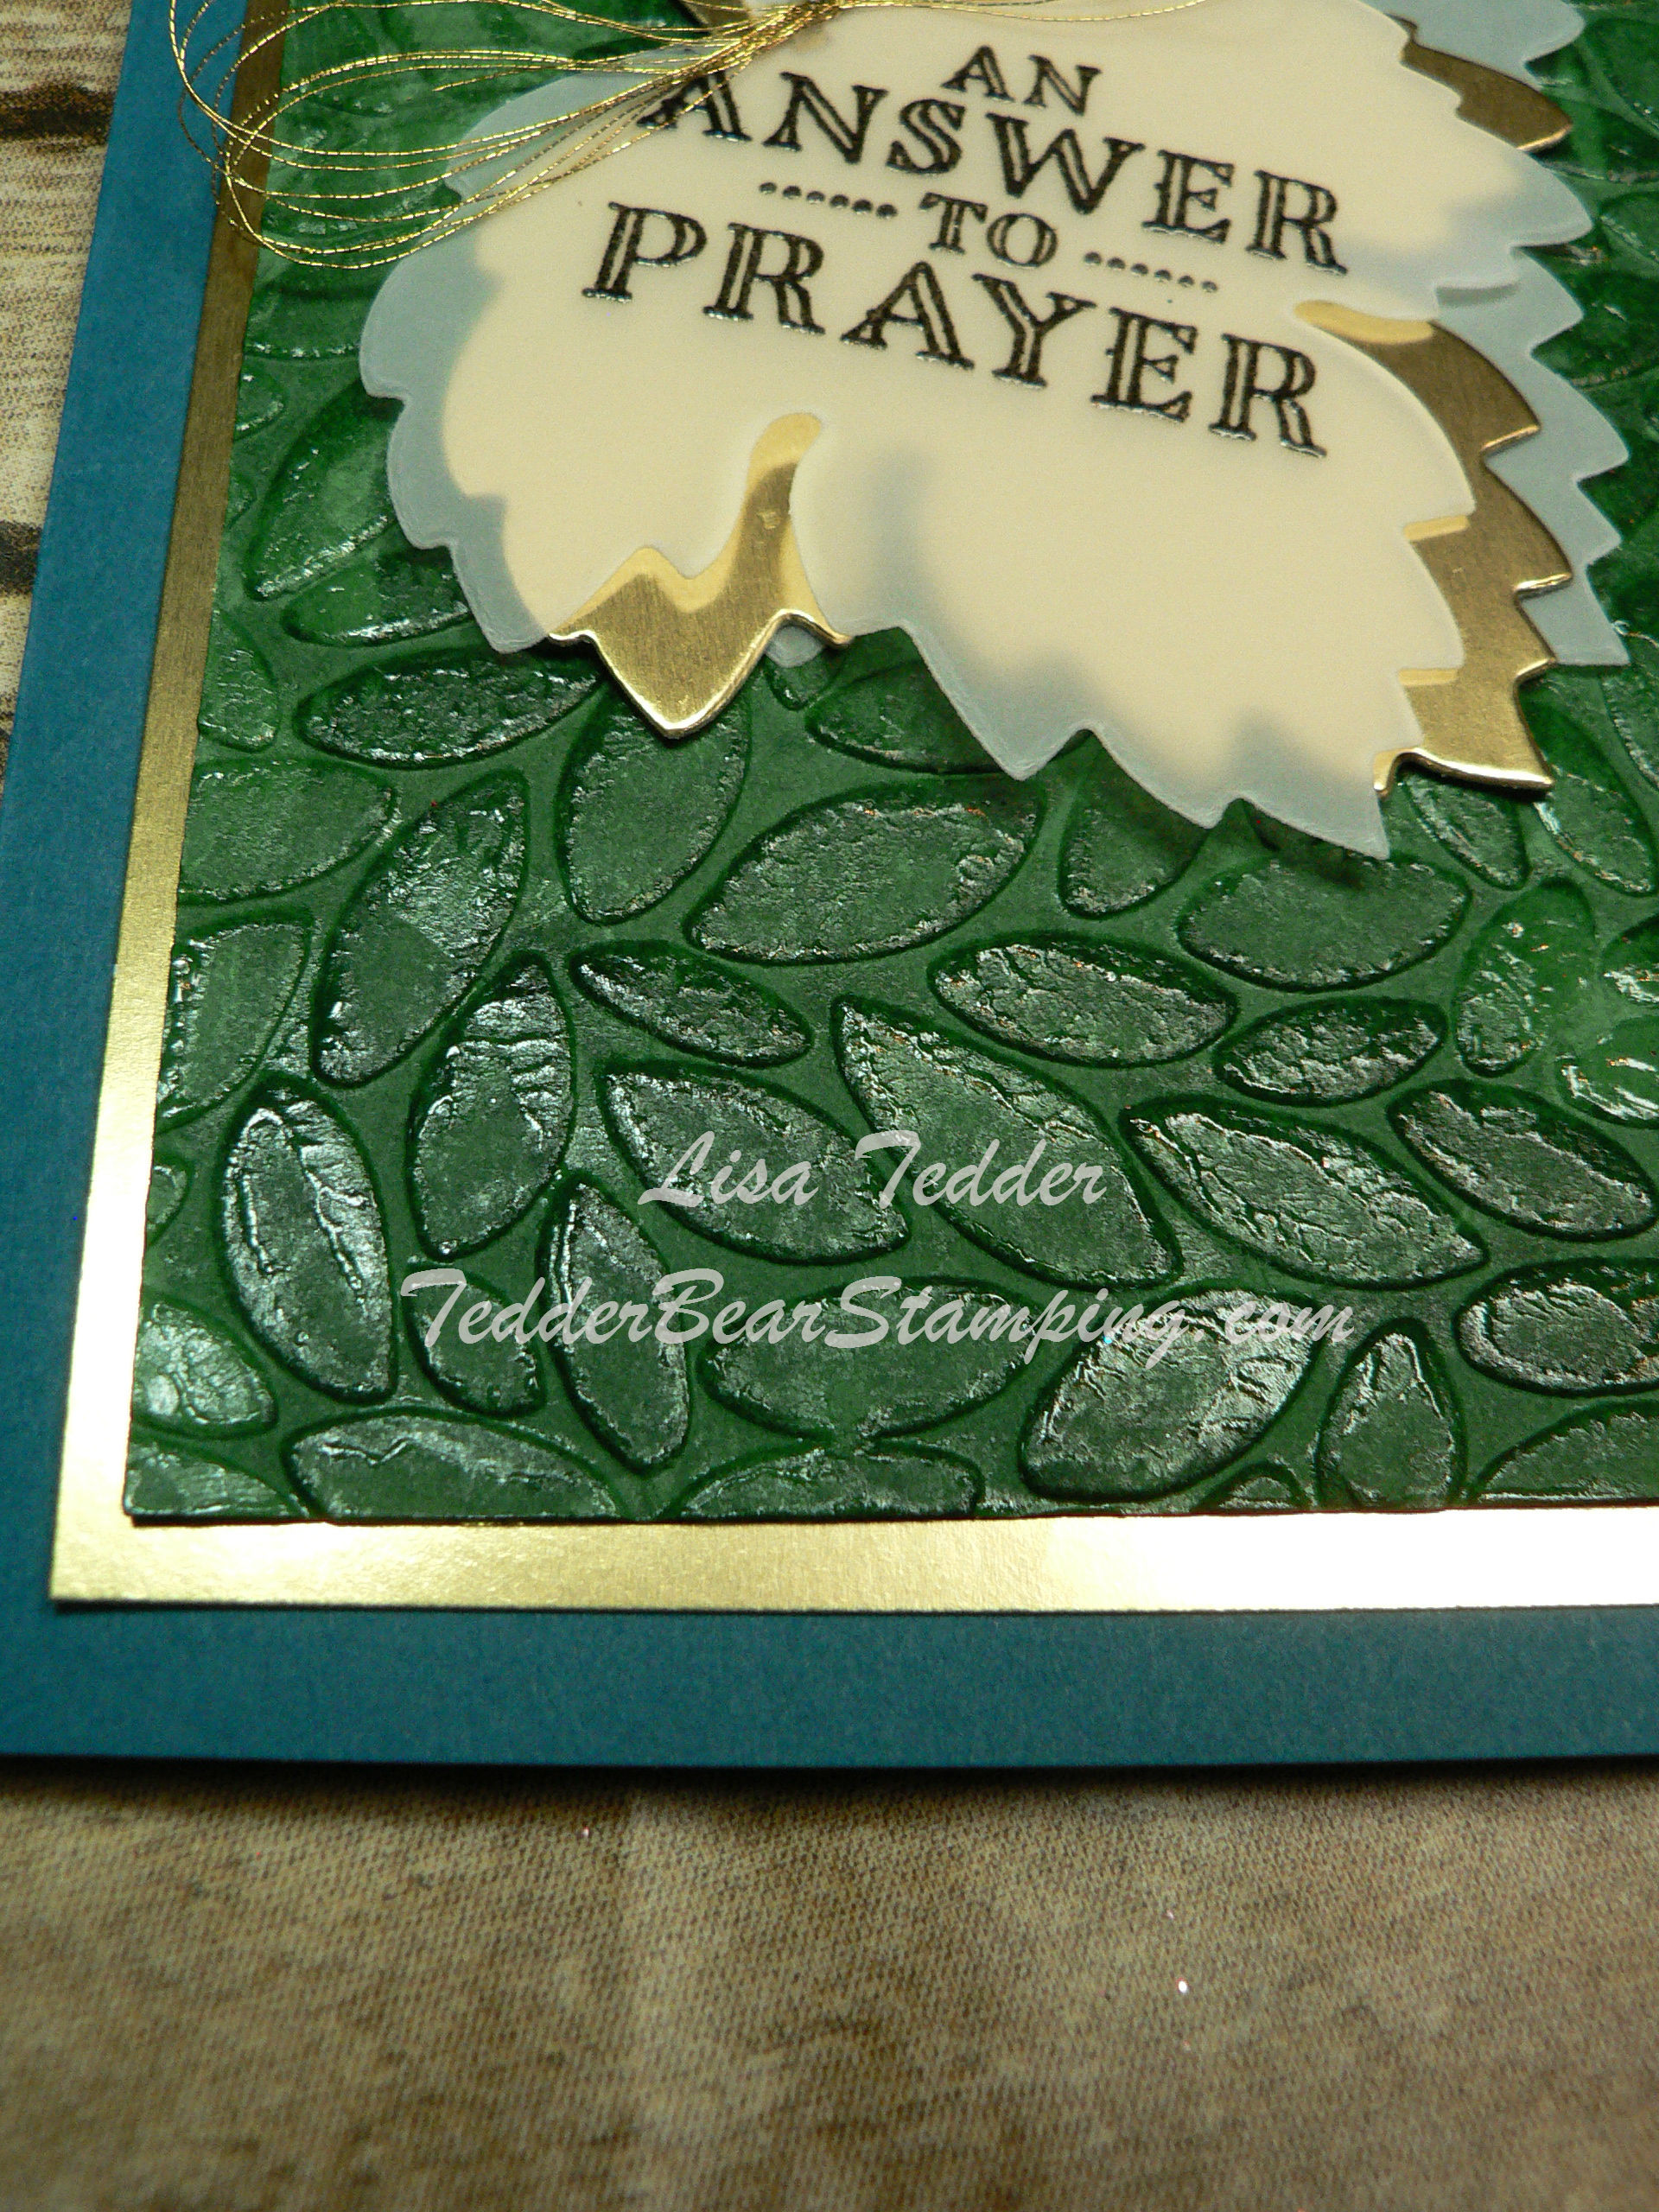
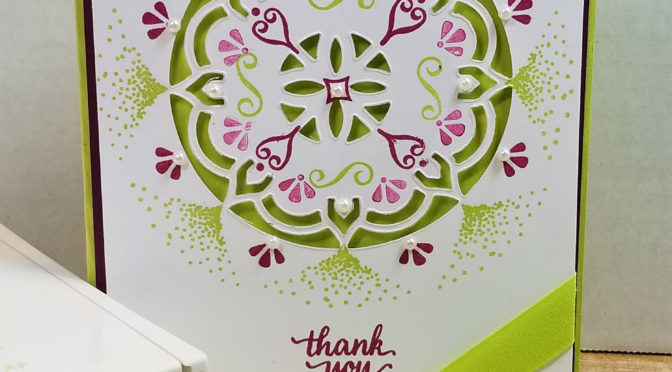
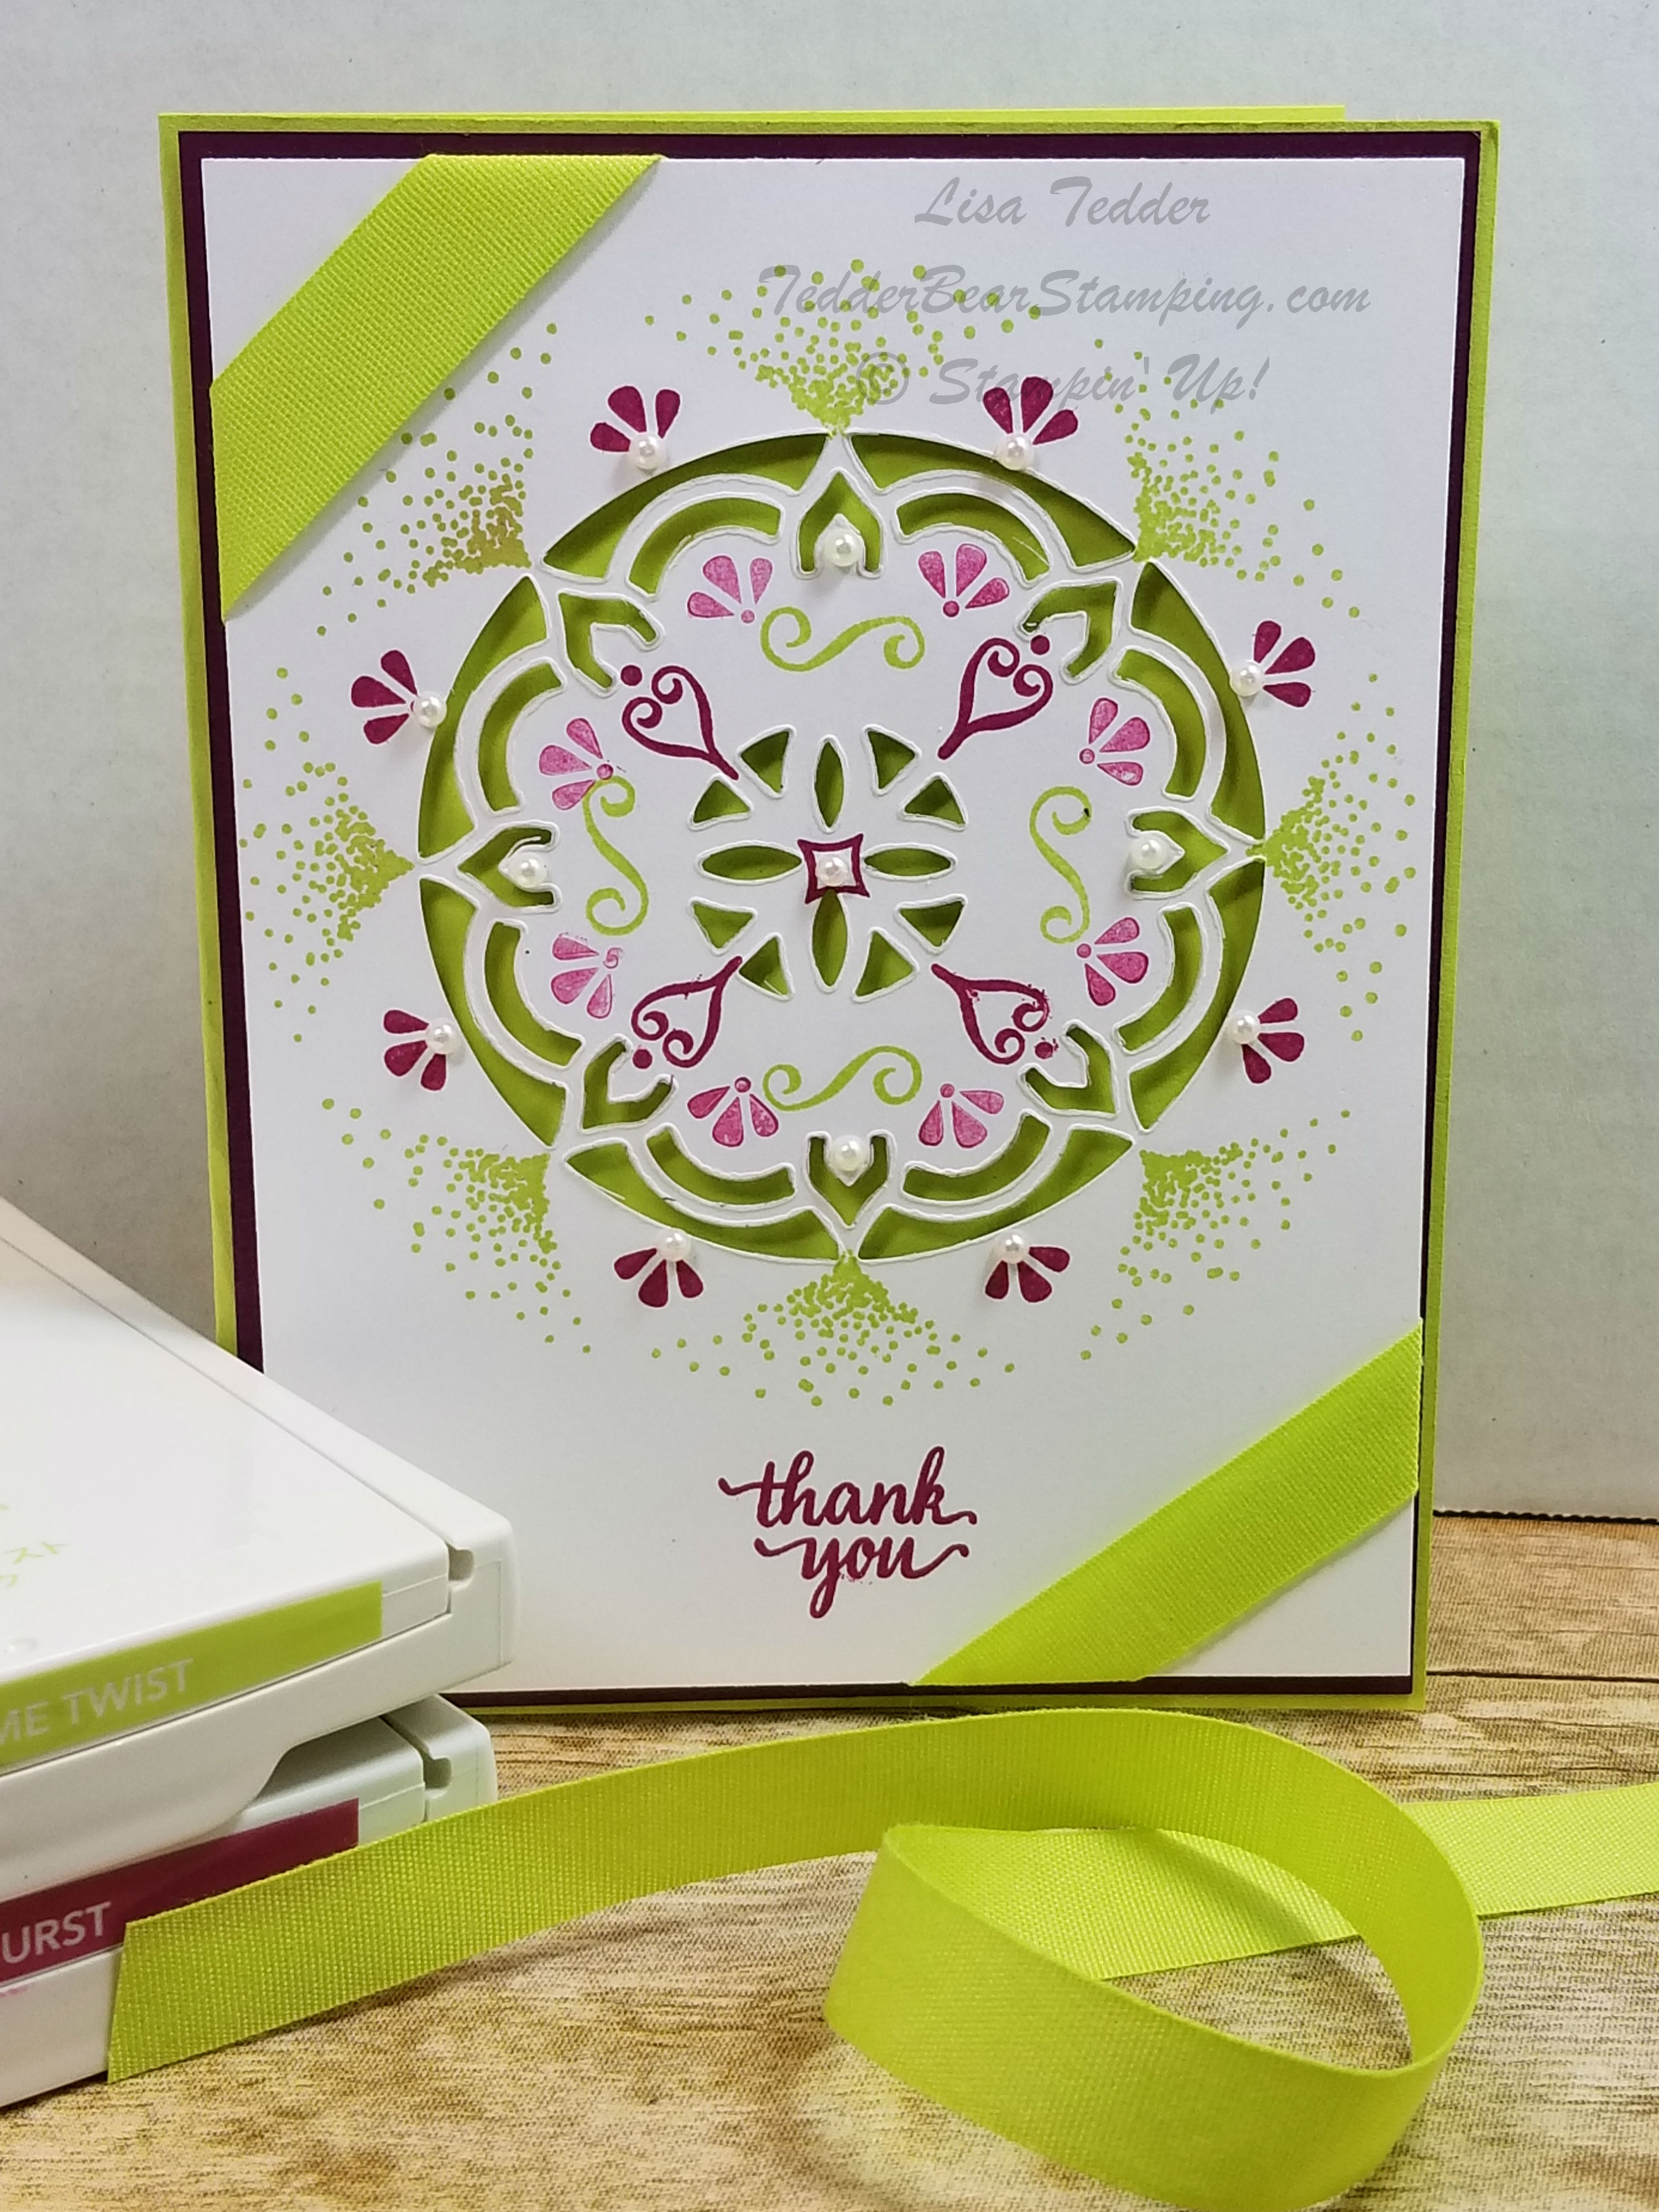
So, here’s mine:
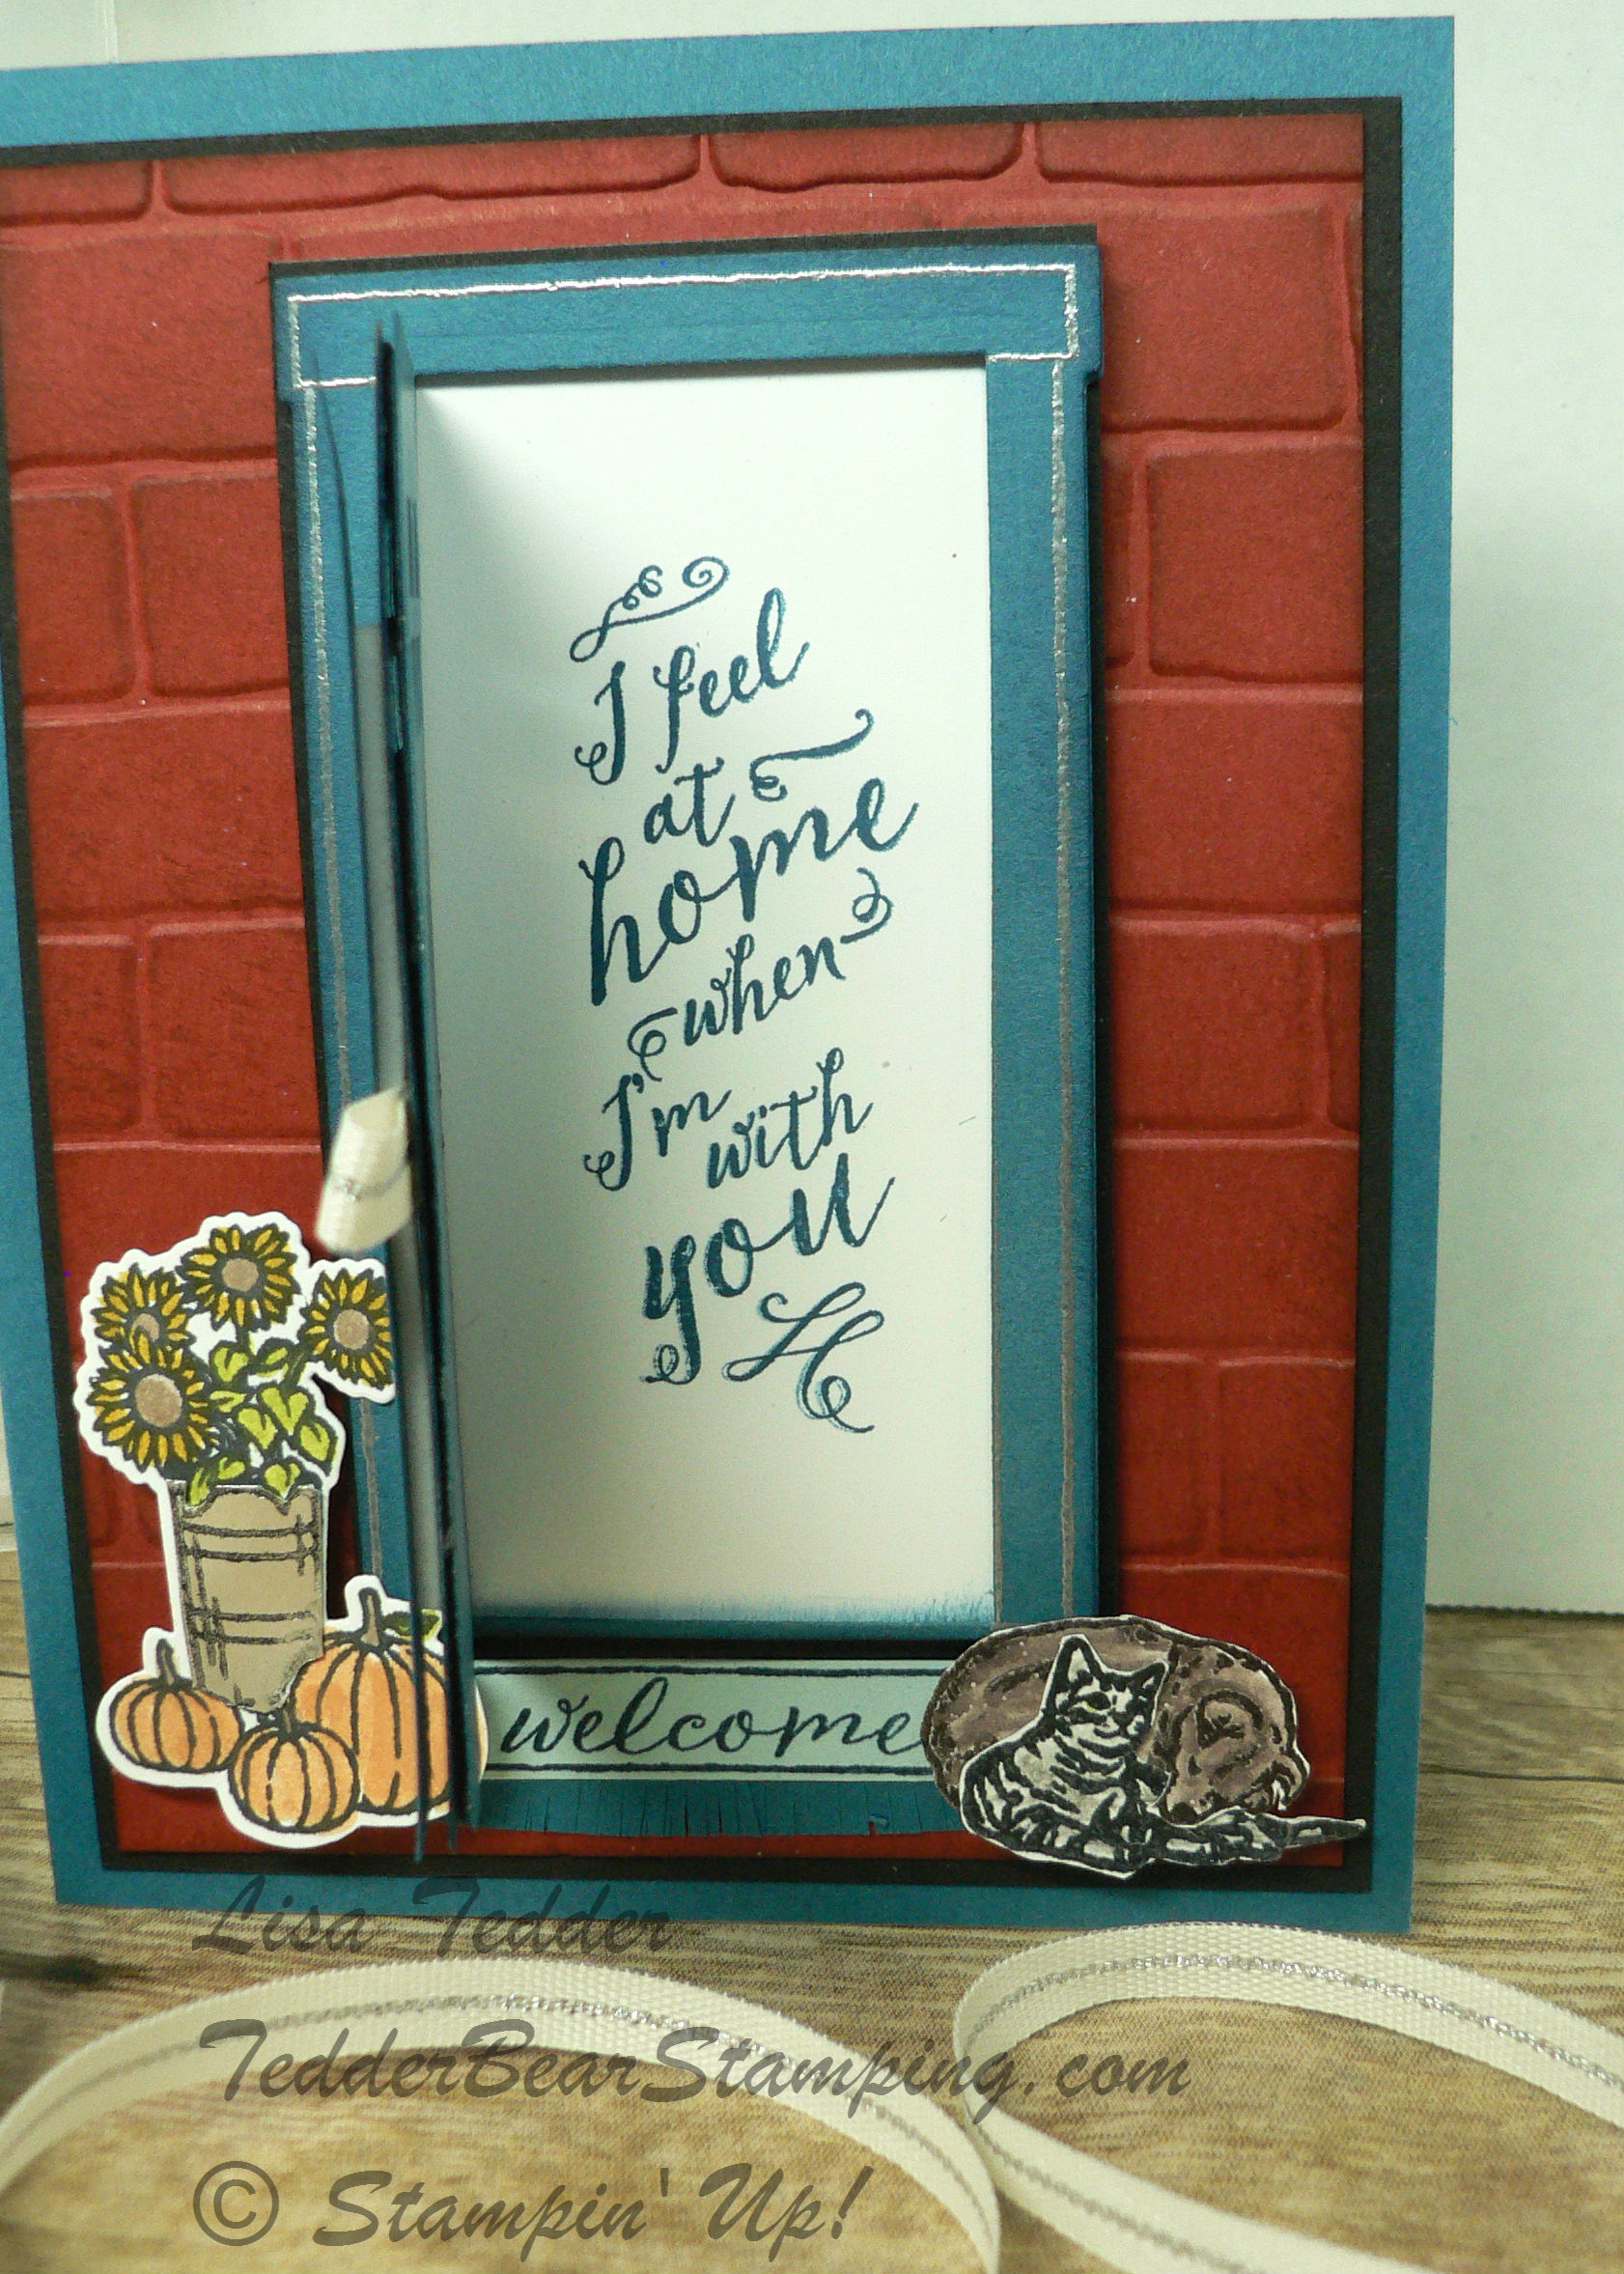
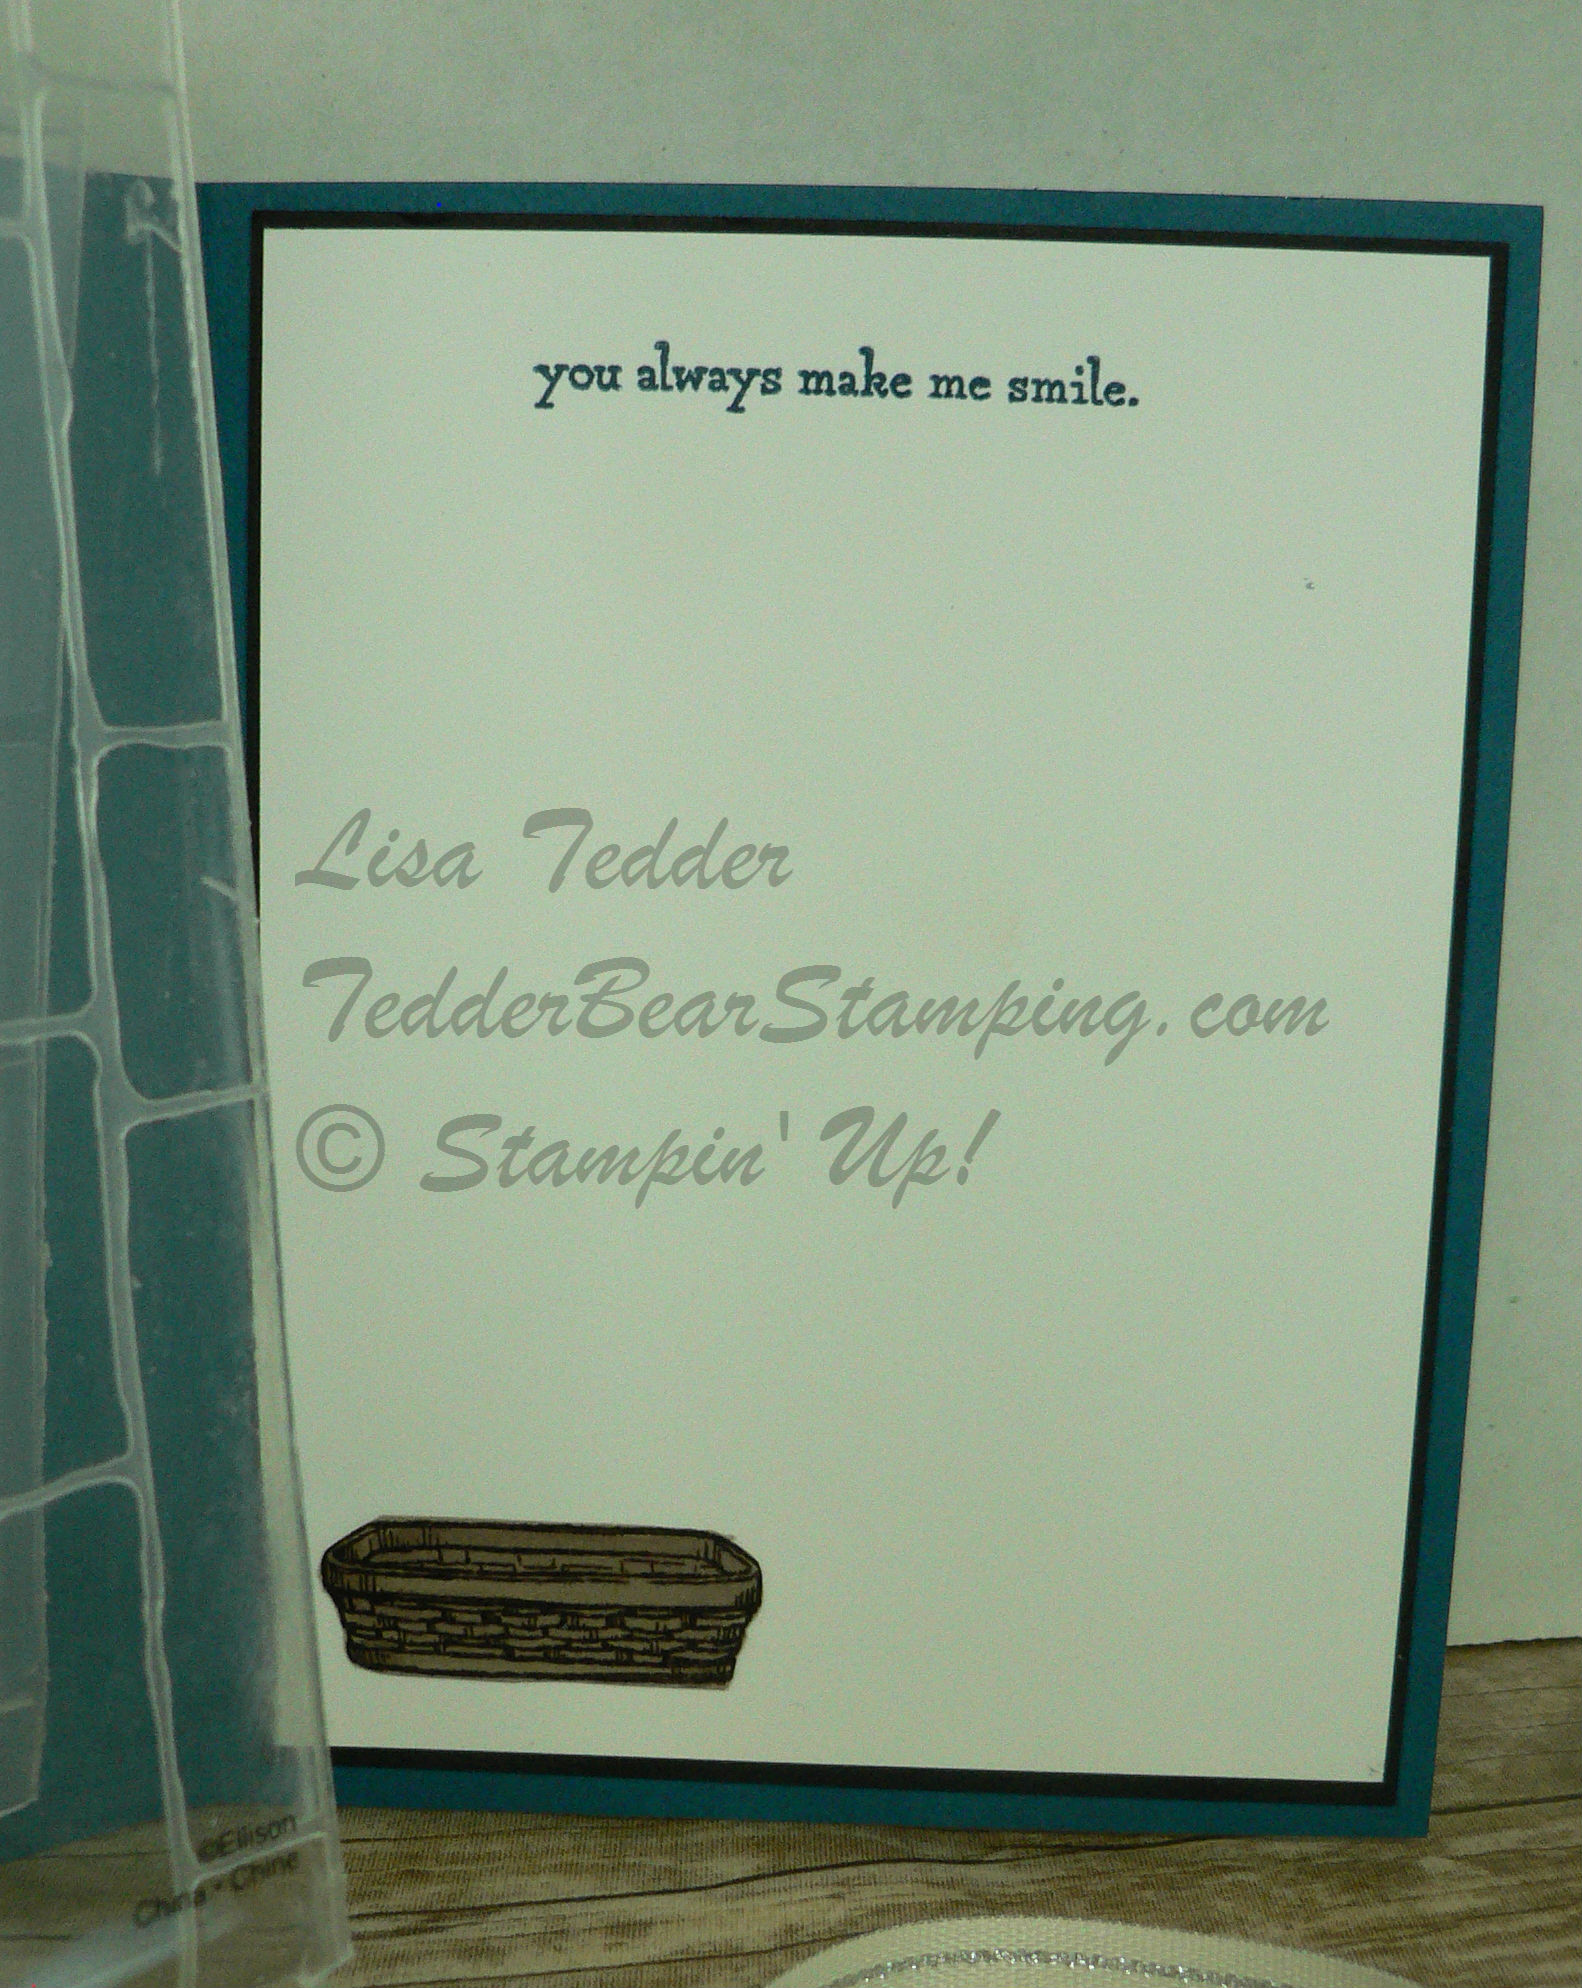
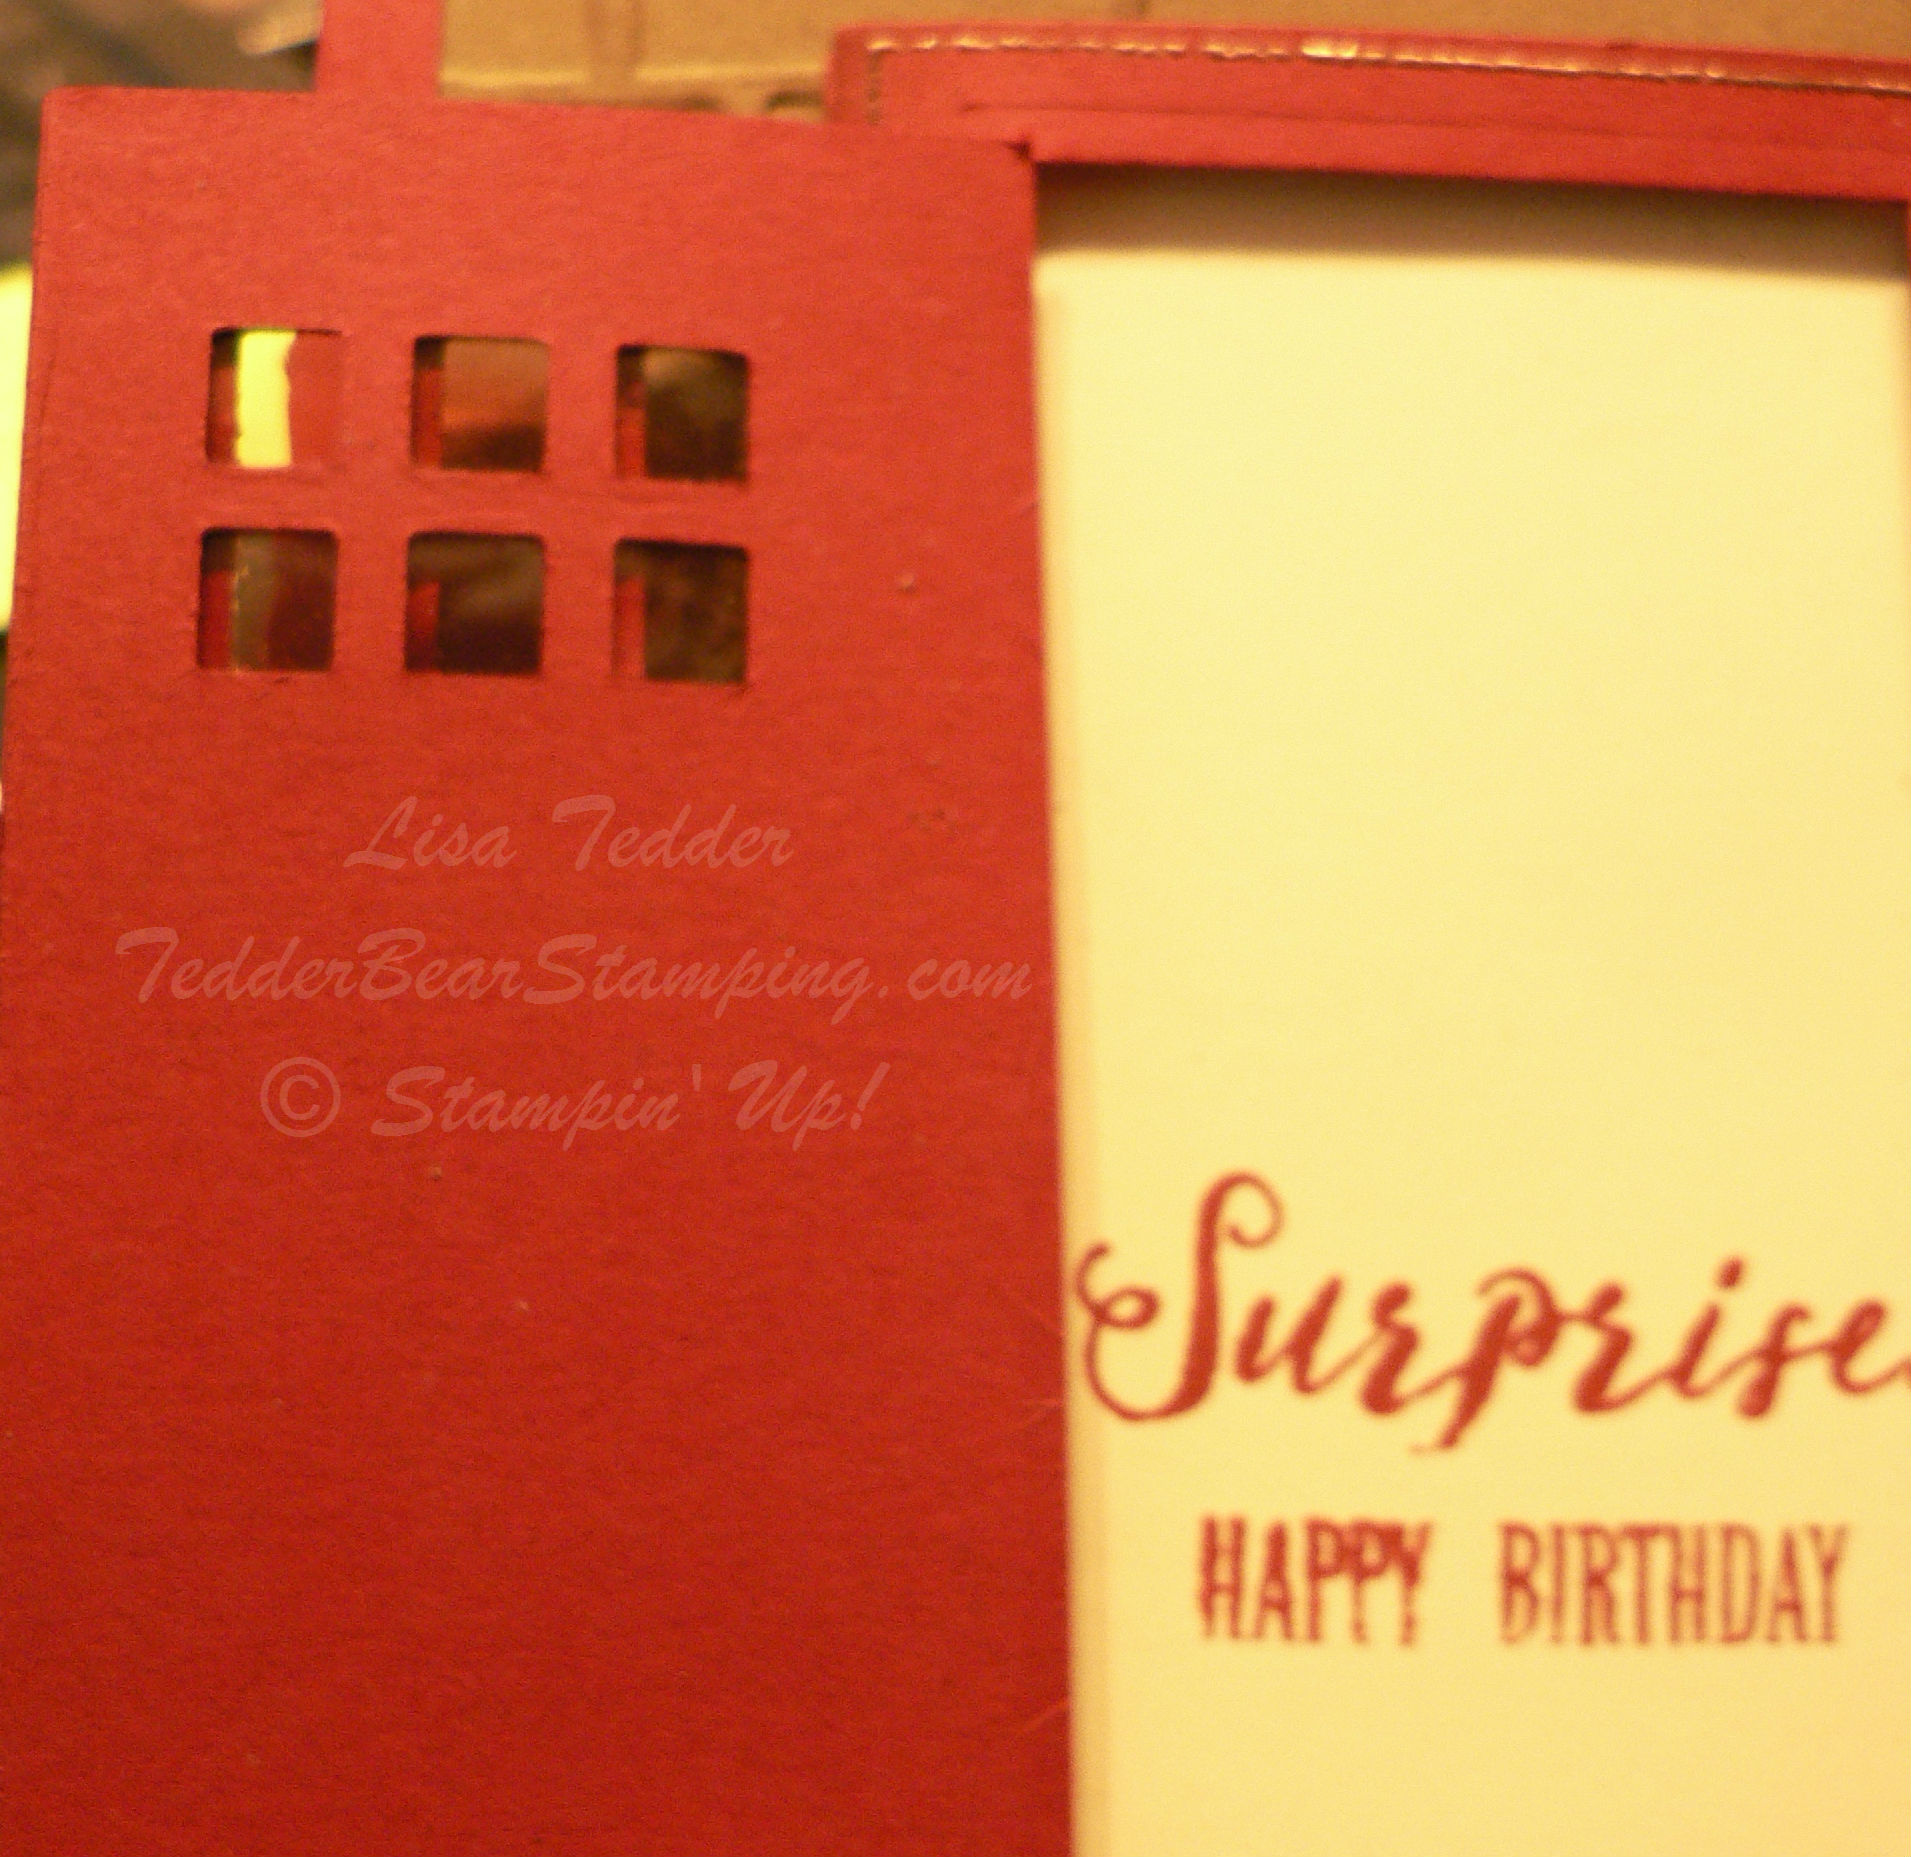
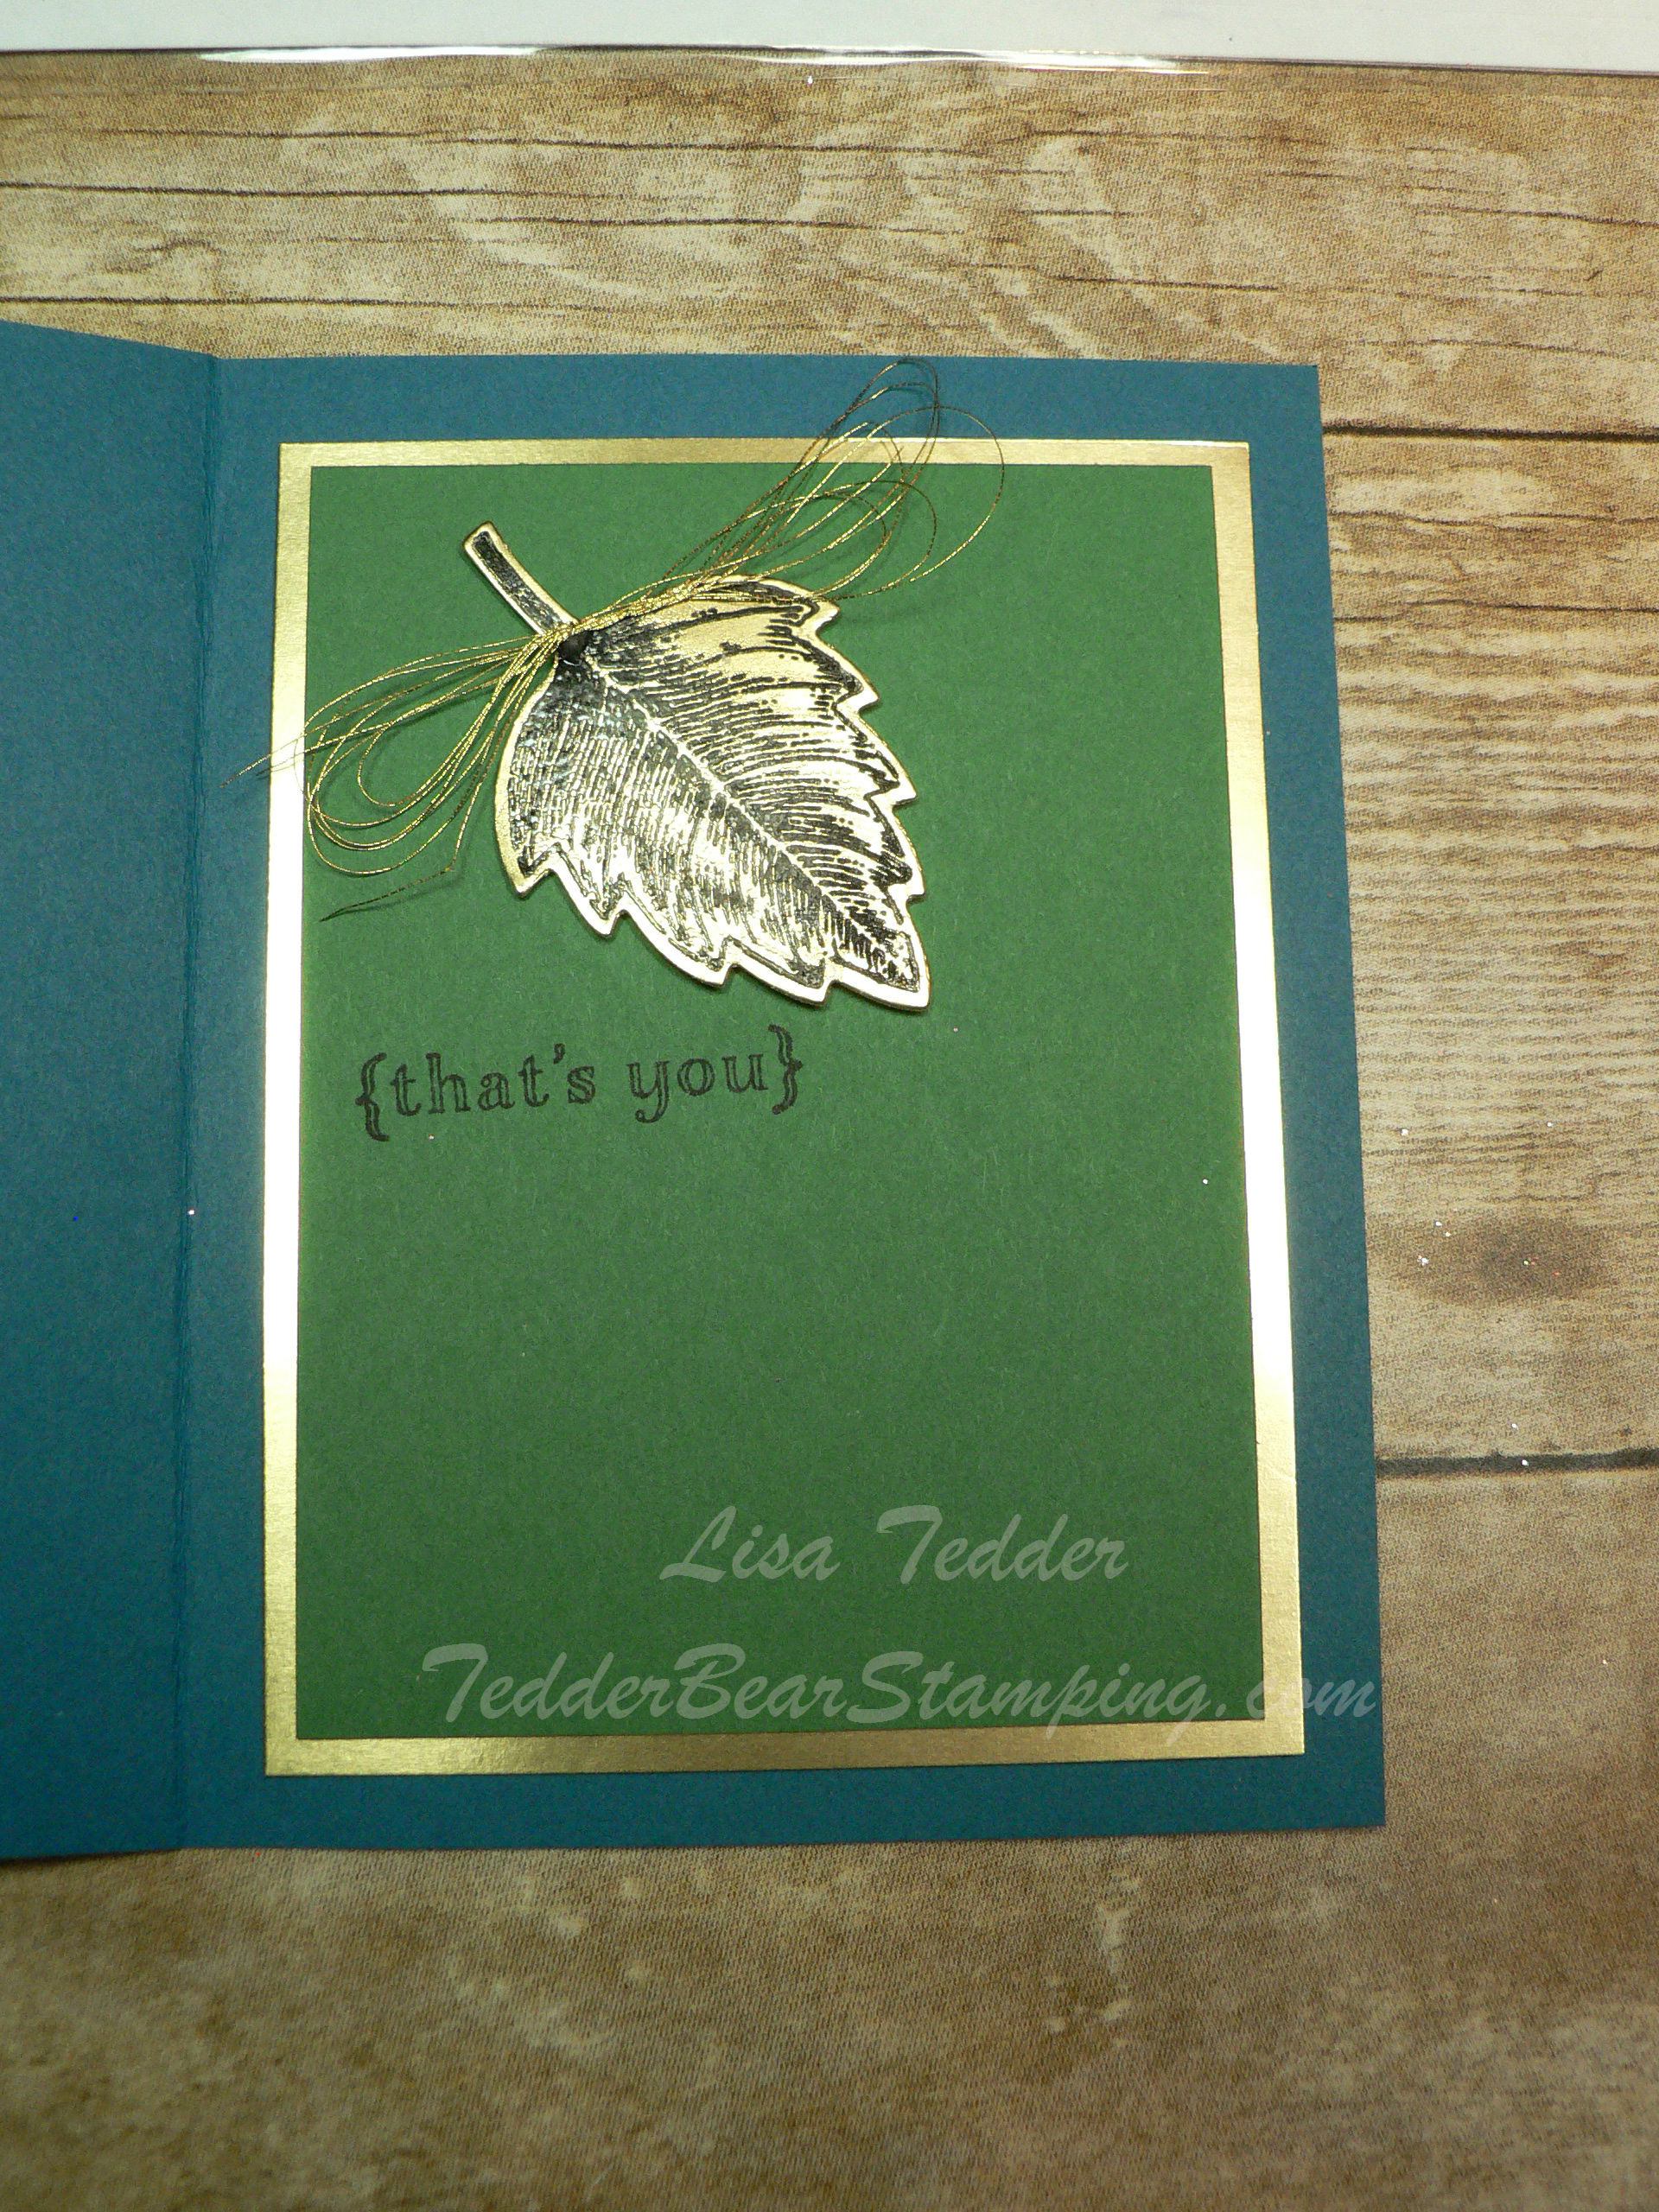
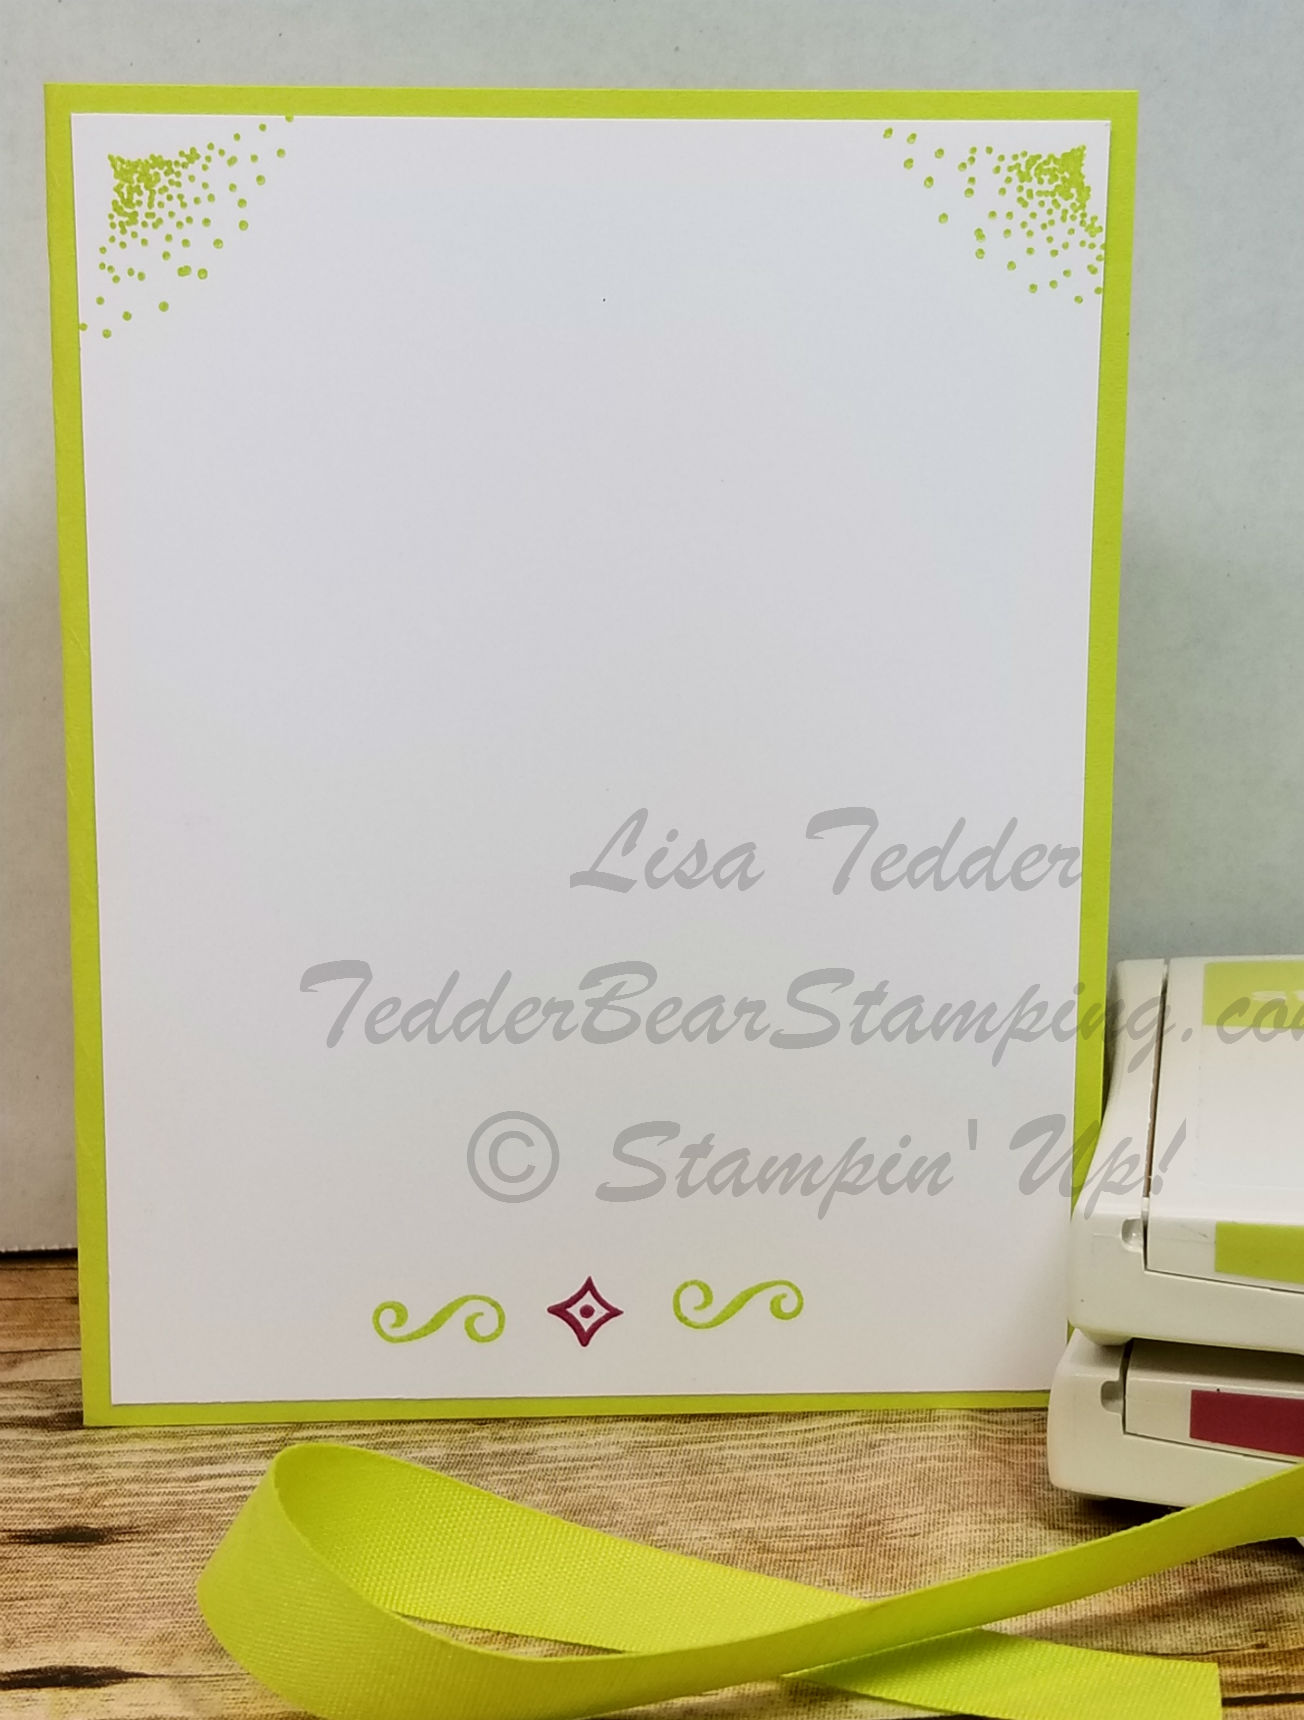
And the inside:
Ok, I said I was inspired, but I ended up doing it totally different! BUT now I have the other one on my computer to do another time! 🙂
I added pearls to some of the front, they are on the outside of the Medallion and in the middle and right smack dab in the center! It’s hard to see in my picture…….
I used 2 of the New In Colors Lemon Lime Twist and Berry Burst. For the Berry Burst, I stamped on scrap THEN on my card (this is called stamped off), this gives the Berry two different hues!
The ribbon is #144135, so on June 1st you can order it! Hostess code for this month is: 97H62RVK IF you order from me, I will send you a NEW Catalog! Only US citizens can order from me, so if you need a recommendation from me, I know of a few that might be around you!
The stamp set is: Eastern Beauty #143675
And the Thinlits are Eastern Medallions #143725
Again, if you order from me, I will send you a free Catty! PLUS a special something in the mail!
Oh! I almost forgot! Did you forget?! I have BLOG CANDY! This is what you can win just be commenting on my blog or Facebook Page-TedderBearStamping :
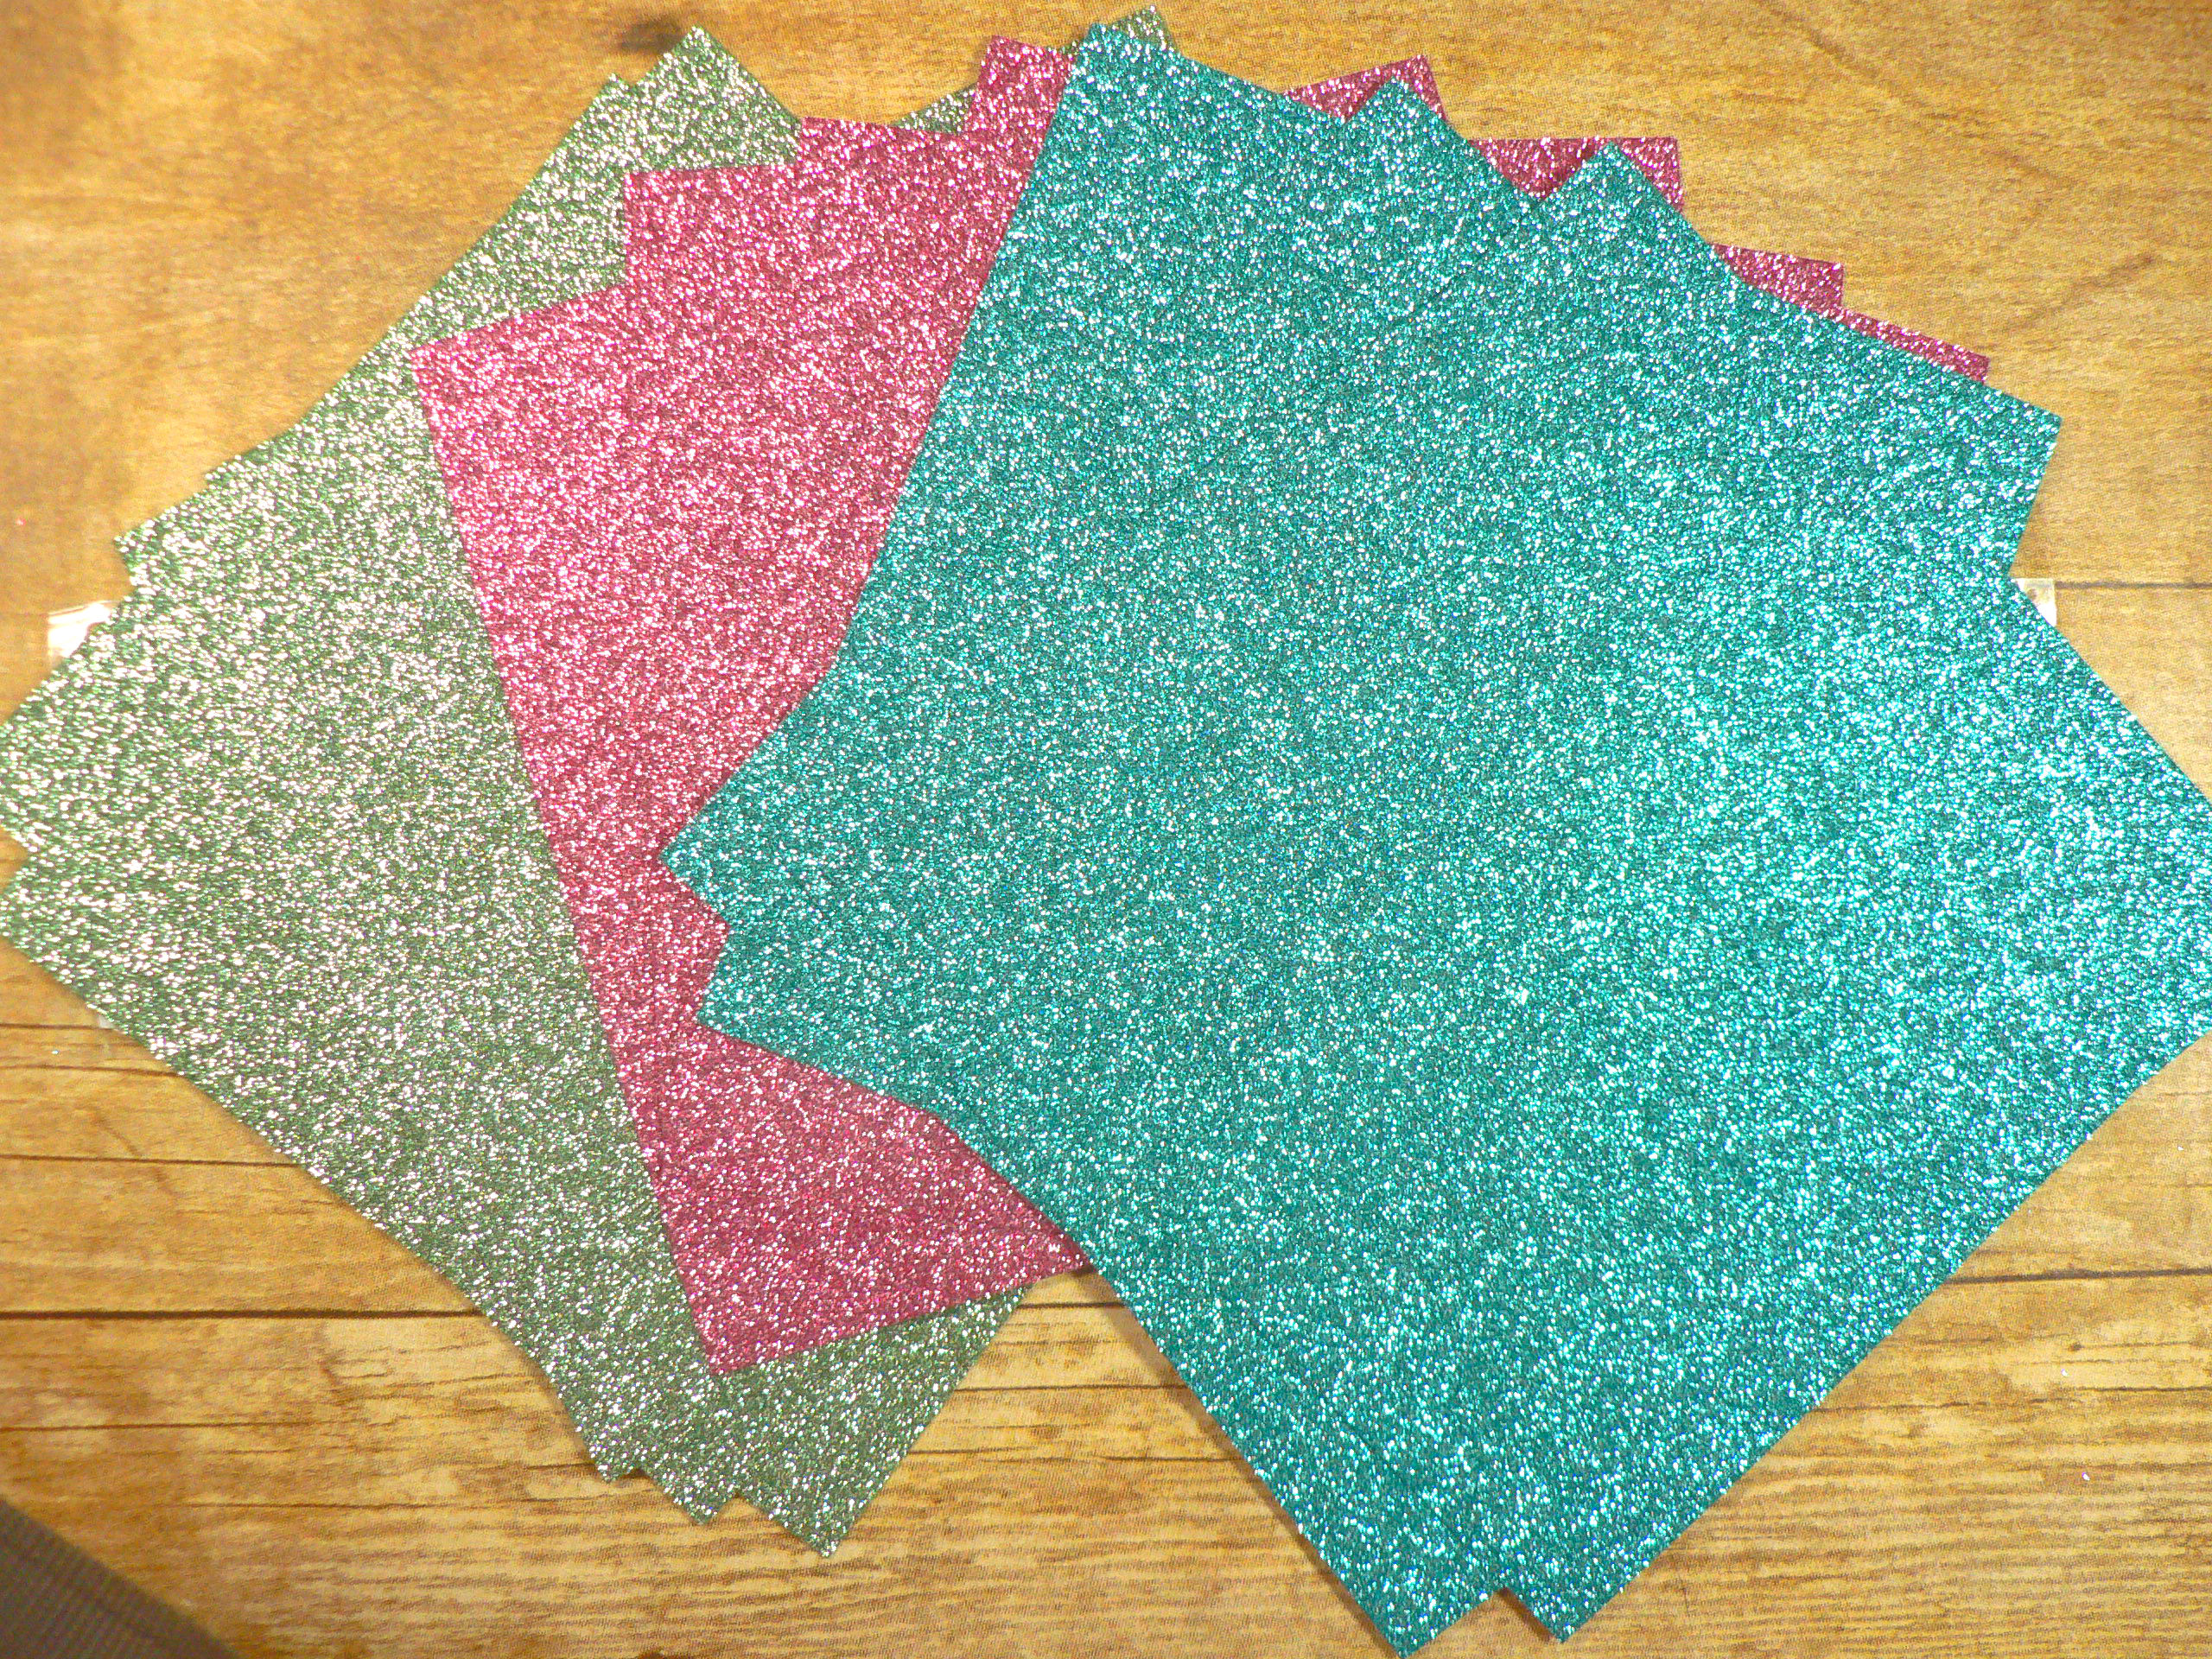
ONE entire package of this Beautiful Glitter Paper, plus MOST of another one! And if that’s not enough, I have some cutouts that I am sending plus a card that I made using this!
Hope you enjoyed my post today!! Subscribe to my blog to be notified when I post again! Remember, the more you comment, the more your name gets put in for the drawing! I will be doing the drawing on June 6th!
Hostess code for this month is: 97H62RVK
Lisa Tedder
TedderBearStamping
A California Girl living in North Carolina