Tag Archives: bling

Make a ladybug into a Bee!

New In Colors too!

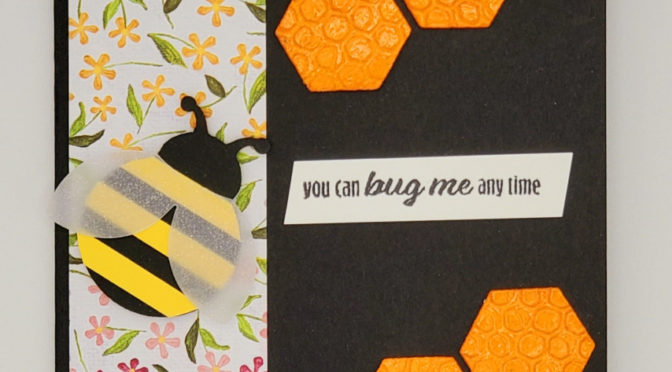
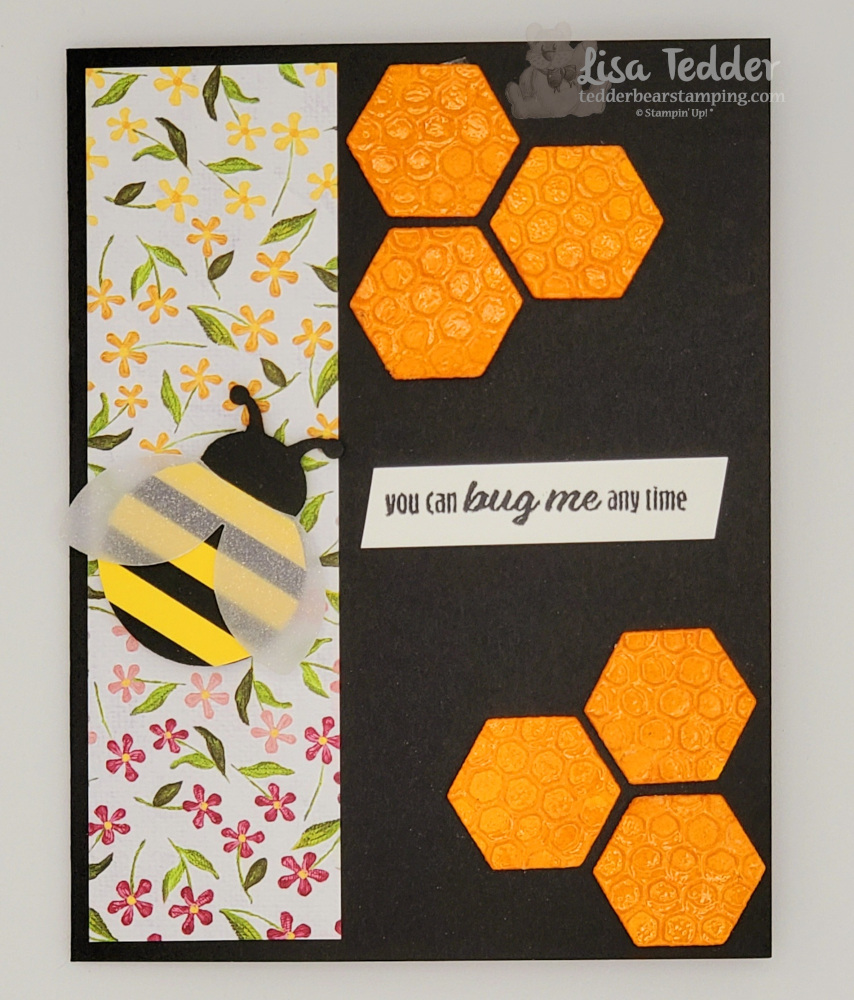
Hey Guys!, for today’s post I am showing you how to make a ladybug into a bee! I’m also using some NEW In Colors! My husband and I are Bee keepers, therefore I am so excited to show you how the ladybug punch was turned into a bee! You can catch the video live or surely watch it here on my YouTube Channel! When you make me your Demonstrator you will receive a handmade thank you card along with a PDF whenever you place a qualified order of $35 or more!

Go ahead, make my day!

Of course, I would be extremely happy if you chose me to be your mentor/stamping teacher! Subsequently if you have anything you would like me to show you, indeed leave a comment and I will undoubtedly do my best to help you! Above all I love interacting with you! Not to mention that teaching others to be crafty in brief makes me very happy. Another point is I would love it if you want to be a Happy shopper! That is what can happen if you join my team and SU! Who doesn’t love getting a deal, of course you will love getting a discount and still buying from the best company! My team has so much fun swapping, making cards together and generally getting together on Zoom or in person! If you are interested, click here and in short you will be taken to my sign up page!

Card 1, make a ladybug into a bee!

Make a ladybug into a Bee!
Isn’t this stinkin’ Cute!?

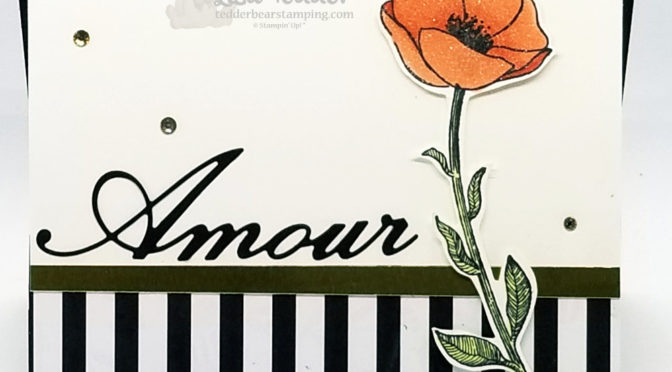
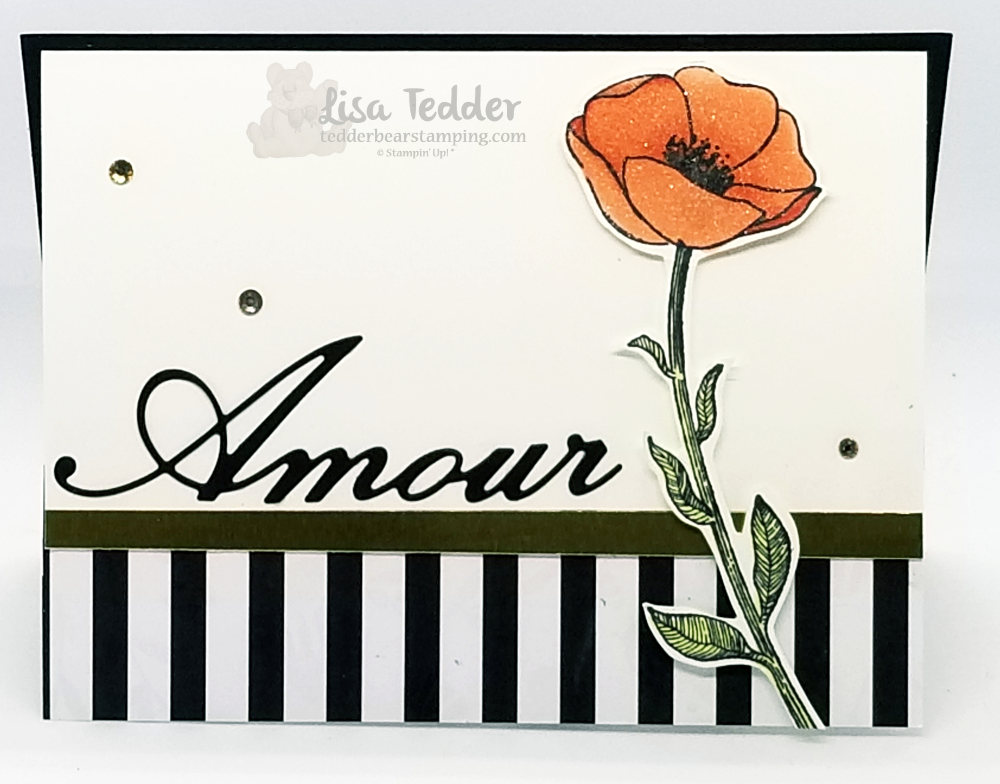
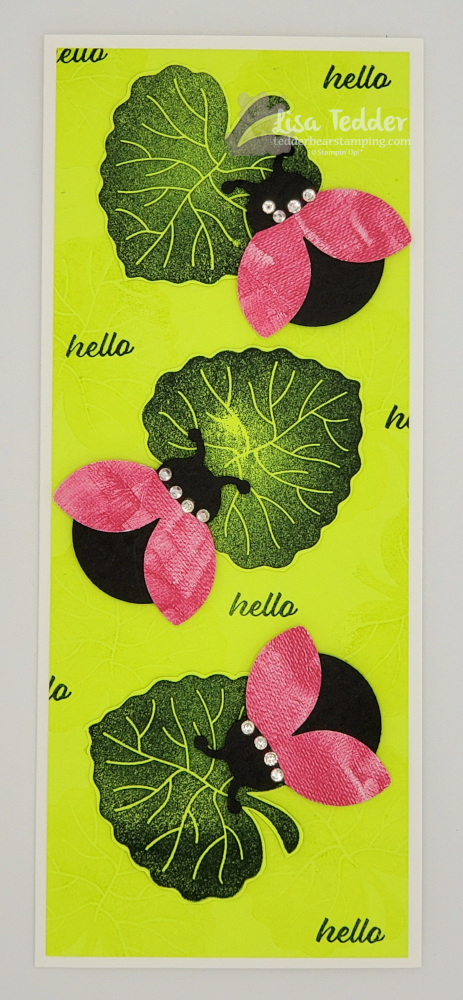
NOT a ladybug made into Bee but a Dressed Up Ladybug
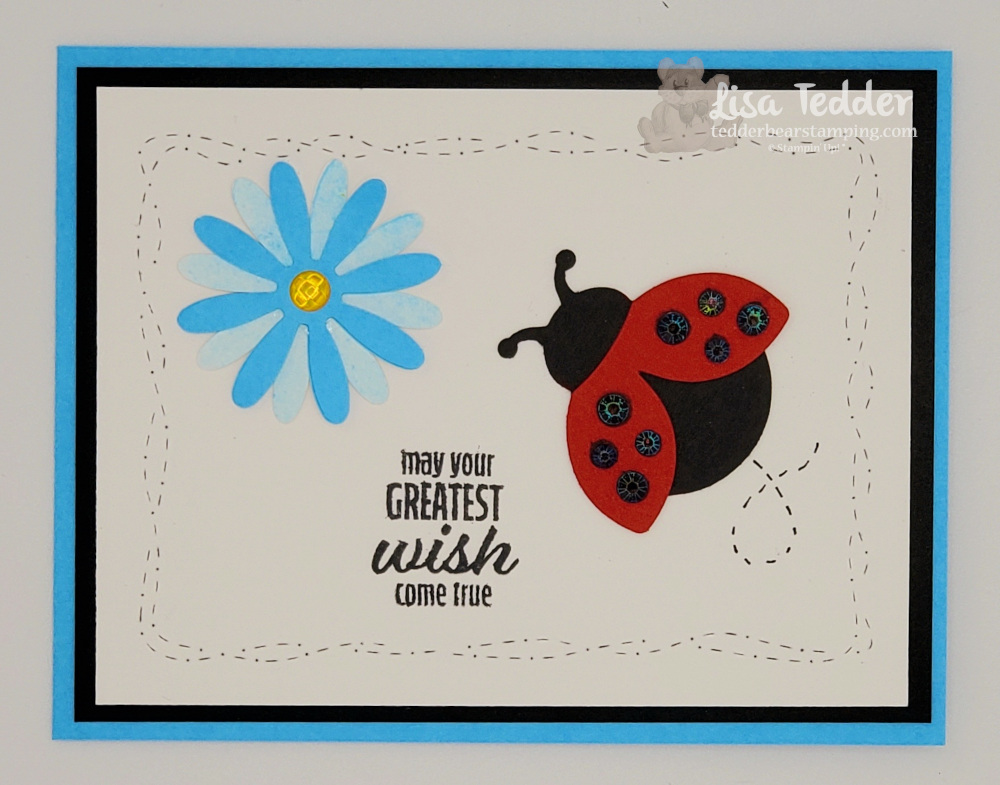
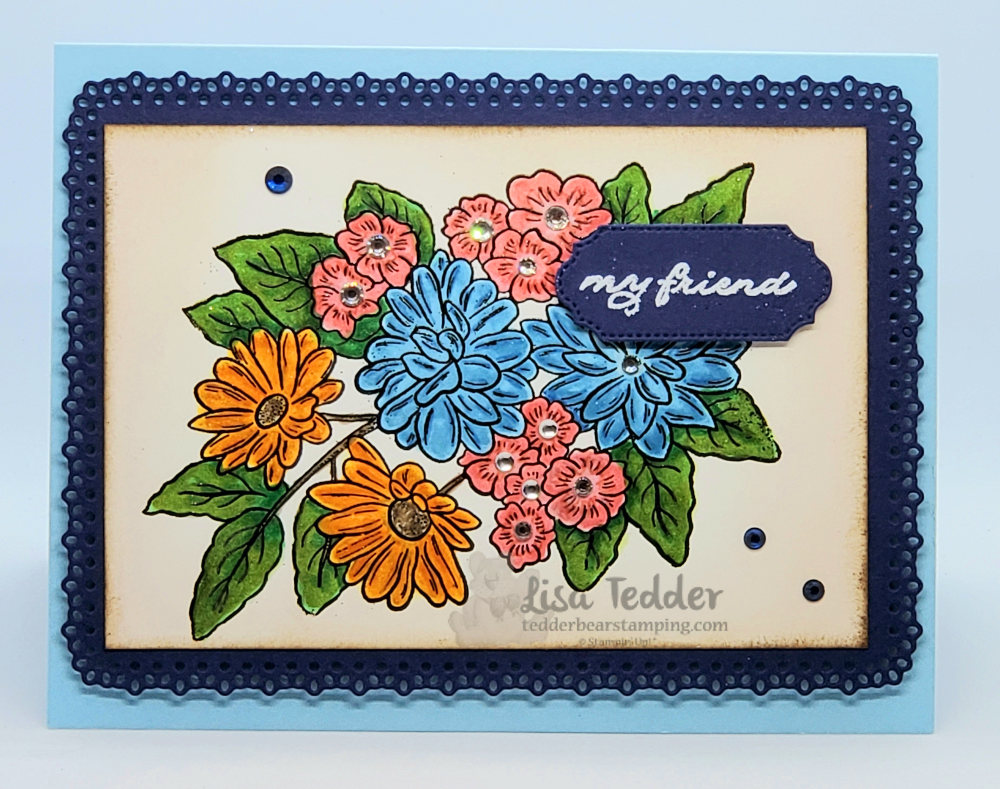
This isn't making a ladybug into a bee, but it IS making a ladybug get dressed up!
New In Colors!

Card 3 Dazzling!

We sure made her Dazzling!
Did you know that this stamp set fits the Medium Daisy Punch?

There’s More!

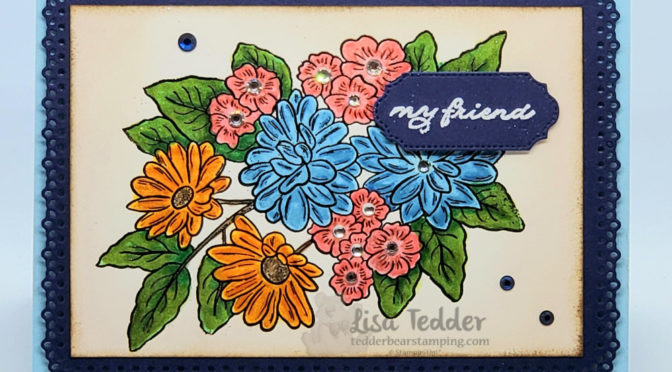
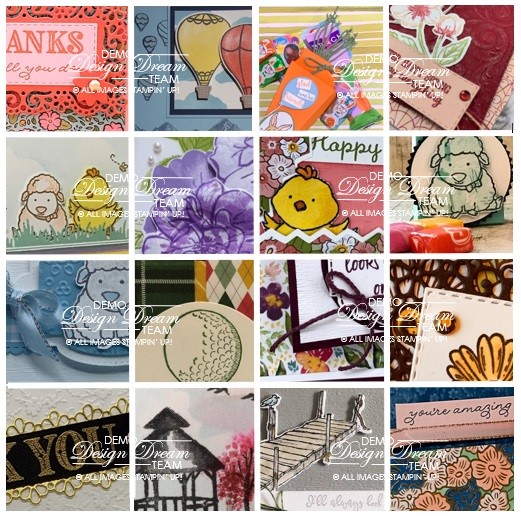
I really hope you like my cards today! This stamp set was so much fun moreover it is going to be in the next Catalog! Especially because it goes live on May 3rd, surprisingly that’s just around the corner! If by chance you would like a Catalog from me, then you can place an order with me and I’ll send you one. If you are not a current client, nevertheless I can send you one for $10, and put a $10 certificate inside that will go towards your next order with me! As has been noted before, if you place a Qualifying order of $35 or more, you will indeed get a PDF with 16 projects! As has been noted this PDF has step by step instructions along with color photos!

To purchase all your goodies in brief click on any of the pictures below OR you can just click here and use my Host code! Besides making my day, of course I hope you will enjoy having me as your Stampin’ Up! demonstrator!

Lastly

Please in any event come back next week! And check out my YouTube channel, given that I have TONS of great ideas on there! Overall, I would love to ‘see’ you on my Live videos, indeed you may win one of my cards just by commenting! I have so much fun in spite of not seeing everyone in person. In summary, I enjoy stamping, but really love to send out my cards! Most important I want to spread the love of stamping! AS has been mentioned, I didn’t know I could be artistic, but what must be remembered is that Stampin’ Up! makes it easy! On the whole that is one of the many reasons I love this company! See you next time!

Lisa Tedder
A former California girl living in North Carolina

Product List

A new way to Color!

Hey Guys!

Today I am sharing with you a New (to me) way to color, I have really never liked to color using Markers, it always seemed too…….much. I love to color straight onto my stamp sets using markers, but not to actually color an image once stamped. Stampin’ Blends are my go-to for coloring because they are easy. Moreover, they let you shadow really well, the only problem with Blends is when you use Embossing Powder on your project. For some reason they get muddy when they touch the embossed part. Even though I try to NOT touch the embossed part, inevitably I always do. Here is my card so you can see why I had problems with Blends.

Colored with Markers

As you can see, this is a pretty busy stamp, It’s called Ornate Style, the embossed parts are close together. Now, I could have stamped and not embossed, but I love the way the embossing is shiny and really lets the image stand out. Furthermore, I never thought of blending with markers! So, I used two different colors to make it look like it did when I used Blends. It came out MUCH better than I thought it would, in fact I love it! Now I will have to do this more often! I then sponged the white cardstock with Crumb Cake and then the edges were sponged with Early Espresso.

Also, I used other items from the Suite in the upcoming 2020-2021 Annual Catalog from Stampin’ Up! The dies I used are called Ornate Layers and the other stamp set is called Ornate Thanks & I am in love! Doesn’t everyone like playing with new goodies?! The great thing about this Suite is that you can get it now, (some of the dies are on backorder) and it will be good until the end of the Upcoming catty and possible longer! For those of you who like getting the discount when you order bundles, I will honor the bundle price and give you 10% off your dies when you can order them. Since it will be around a long time, there will be lots of time to create projects using it! Plus, there are a TON of project ideas on Pinterest, you will be kept busy for sure!!

As usual, here are the specifics for this card:

Stamps:
Ornate Style
Ornate Thanks

Inks:
Versamark
Crumb Cake/Early Espresso for sponging edges
Markers: Balmy Blue/Pacific Point, Mango Melody/Pumpkin Pie, Calypso Coral/Flirty Flamingo, Old Olive/Mossy Meadow & Soft Suede for stems

Paper:
Balmy Blue 8 1/2″ x 5 1/2″
Night of Navy 5 1/2″ x 4″, scrap for sentiment
Whisper White 4 3/4″ x 3 1/4″

Misc:
Embossing Buddy
Heat tool
Black Embossing Powder
White Embossing Powder
Ornate Layers Dies
Ornate Frames Dies
Noble Peacock Rhinestones
Basic Rhinestones
Wink of Stella
Dimensionals
Stampin’ Sponges

Also, you will find the same supplies listed below in picture form, click on any of them to be taken to my OnLine Store! Purchase $35 or more from me and you will Receive not one but TWO sets of project files with over 50 (combined) tutorials with pictures! Here is a sneak peek of just one set:

Tutorials with pictures/supplies

I really hope you are taking this ‘down time’ at home and are playing with your stamps. When I woke up this morning I felt down…….I told myself to go down to my office and make something pretty, THAT always makes me happy. I hope that you are taking care of yourselves and making pretty things too!

Please stay safe, do something creative and send some Happy Mail! Come back soon!

Lisa Tedder
A California girl living in North Carolina

Product List

Just Breathe

Hey Guys!

Today I’m sharing with you a card that was inspired by one I saw on Pinterest (it was a rival stamp company), I thought that Stampin’ Up! Stamps would be GORgeous! I used Layered with Kindness, it is a DISTinkTive set! Do you know what that means? SU! has a patent pending for a VERY beautiful way to make stamps look realistic! LOVE them!

These leaves are stunning!

Every time I stamp with a DISTinkTive stamp set I am in awe. You’ll have to tell me if you have used them, what you think. If you want to check them out, go ahead and place an order… look for this sign:


Would you like to see the inside of the card? I used the Label Me Lovely punch. It turned out so pretty!

As usual, I give you all the particulars for this card. All supplies will be in picture form below, click on any of them and you will be taken to my OnLine Store. For purchases $35 and over you will receive from me Tutorials with pictures of over 50 projects!

Stamps:
Layered with Kindness
Colorful Seasons

Inks:
Pumpkin Pie
Calypso Coral
Memento Black
Pear Pizzazz

Paper:
Whisper White thick 8 1/2″ x 5 1/2″
Whisper White 5″ x 3 3/4″ (x2), 1 1/4″ x 4 1/4″ (cut at an angle), scrap for cut out flowers
Basic Black 1 3/8″ x 4 1/4″, 5 1/8″ x 3 7/8″ (x2)

Misc:
Holiday Rhinestones
Mini Dimensionals
Label Me Lovely Punch

This card was pretty easy, a little bit of fussy cutting but you only cut out three flowers, that’s doable! Of course if you know me, you know I love bling…..I added a rhinestone to each flower and two at the top to add a little bit of bling on it’s own. I think if balances it out!

Thank you for checking out my blog, please come back again!

Lisa Tedder
A California Girl living in North Carolina

Product List

Mi Amour! Paris meets Poppies

Hey Guys!
Today I am sharing with you another card from the Occasions Catalog by Stampin’ Up! I LOVE the stamp sets Painted Poppies and Parisian Beauty. So, putting them together is a No Brainer for me! I got the stem from the stamp set Daisy Lane because I wanted the flower to have one. Surprisingly, I got the DSP from the Sale-A-Bration catalog the Golden Honey Specialty DSP. It’s cool because the inside of the card shows the other side.

Don’t you love that you can see the Wink of Stella on the flower?!

Here is a pic of the inside:

I used the Honey Bee Stamp set to bring in the DSP that you can see on the inside (not shown here)

For both the inside and front I used a strip of Gold Foil to set the ‘line’ where the DSP starts. I love black and white cards with a punch of color, don’t you? Also, I added the Champagne Rhinestones to the front to give it some added sparkle. Gotta have sparkle!

Here is the specifics for this card:

Stamps:
Honey Bee, Painted Poppies, Daisy Lane

Inks:
Memento Black
Blends: Calypso Coral, Old Olive

Cardstock:
Basic Black 5 1/2″ x 4 1/4″, scrap for ‘Amour’
Whisper White 6 3/4″ x 5 1/4″ scored at 4″ on long side
Golden Honey DSP 1 1/2″ x 5 1/4″
Gold Foil 1/4″ x 5 1/4″ (x2)

Misc:
Champagne Rhinestones
Parisian Dies
Wink of Stella
Paper snips for cutting out flower/stem
Dimensionals

I hope you like this card as much as I do! Usually, I don’t come up with my own designs, but since there aren’t many samples out there, I had to this time! Please let me know what you think!

If you are looking for a Demonstrator and live in the US, let me know what I can do to help you in your creative process! I can mail you out a catalog if you need one, and if you purchase from my Online Store I will send you a handmade card, a small thank you gift and 30 +/- tutorials that change every month!

Hope you come back to see me!

Lisa Tedder
A California girl living in North Carolina

Product List