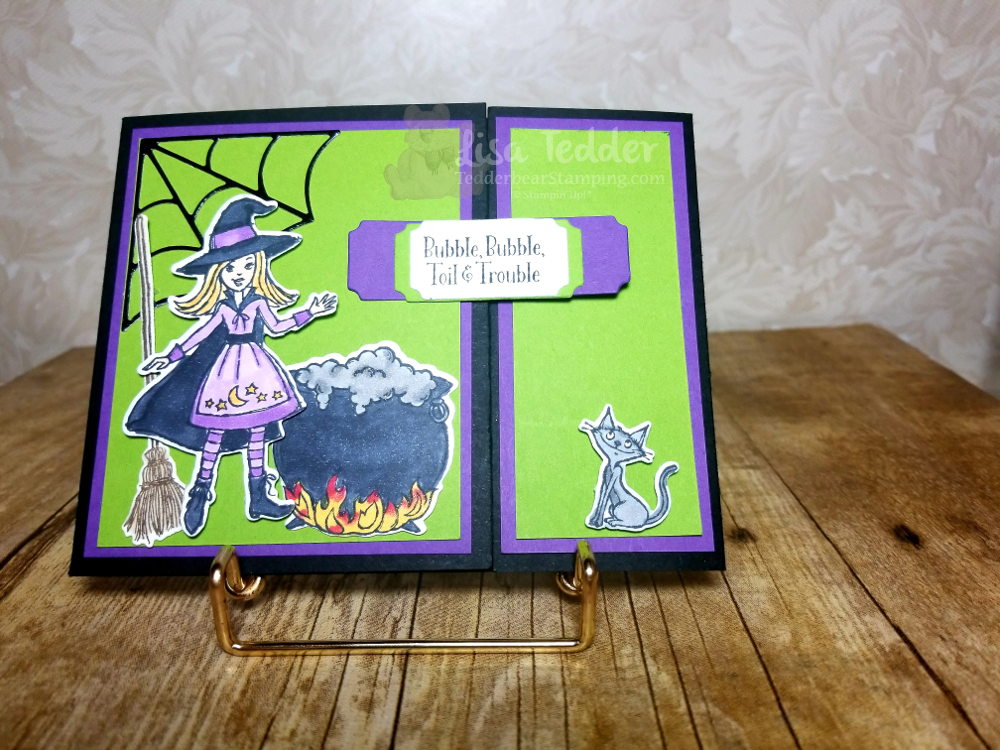
Tag Archives: Whisper White 8-1/2″ X 11″ Card Stock

Christmas card #3 Winter Woods Snowy Tree

Hey Guys!

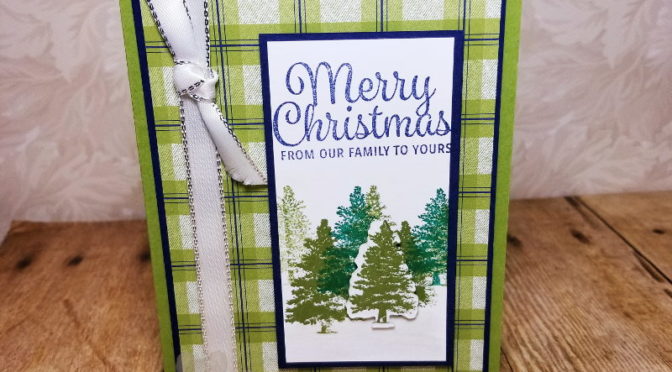
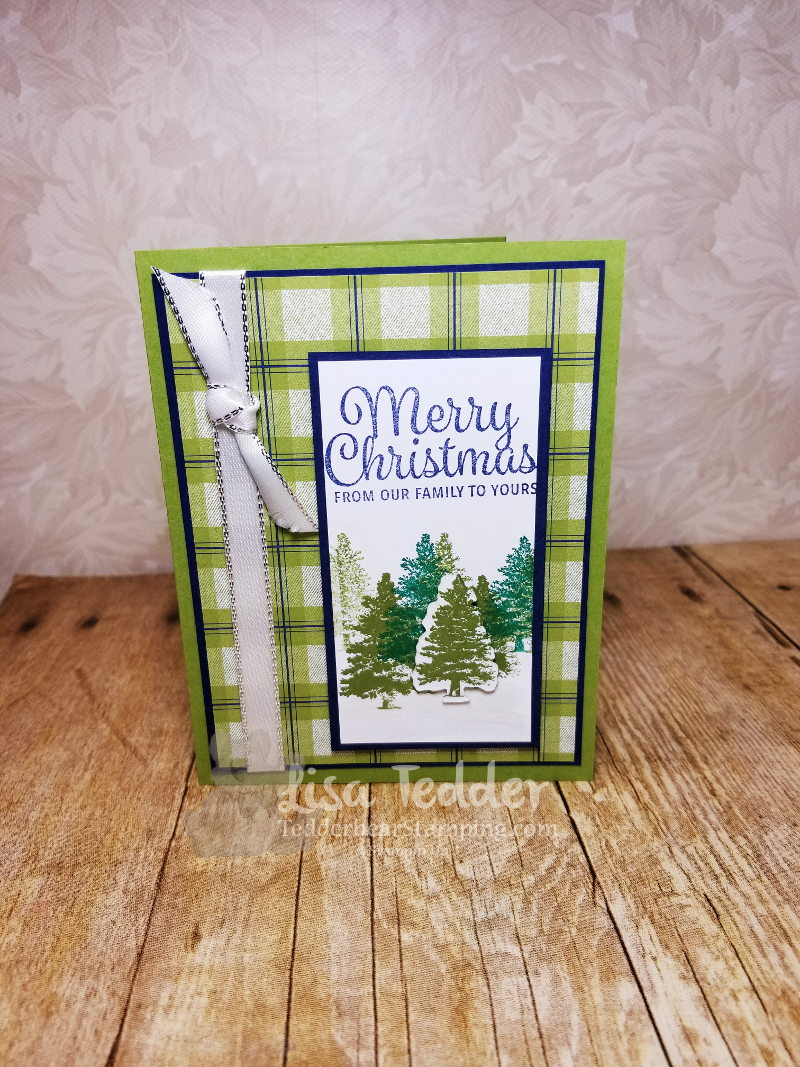
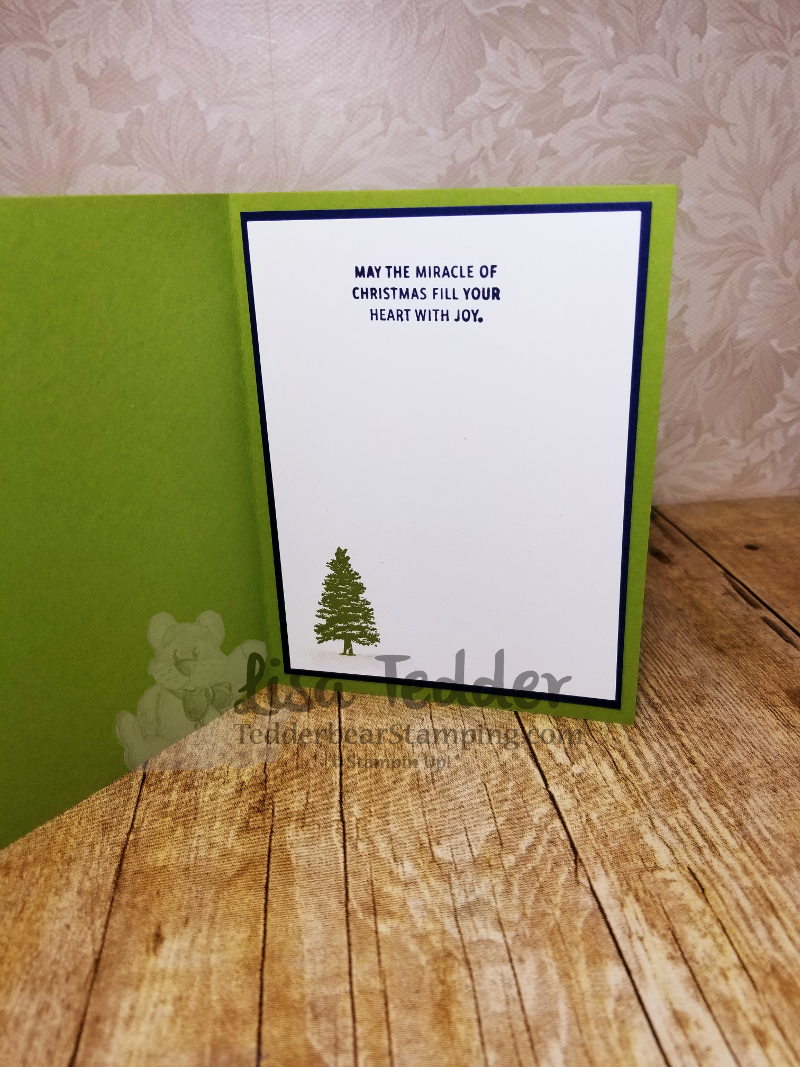
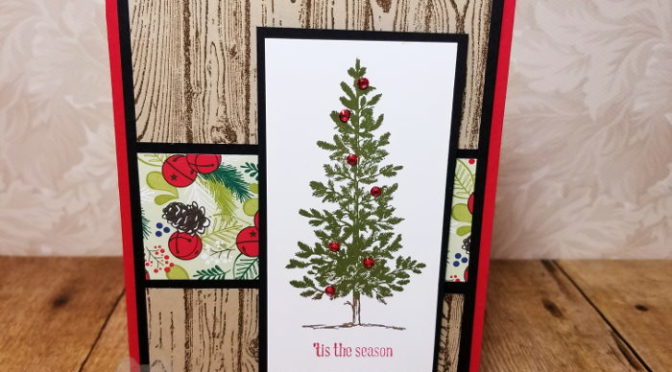
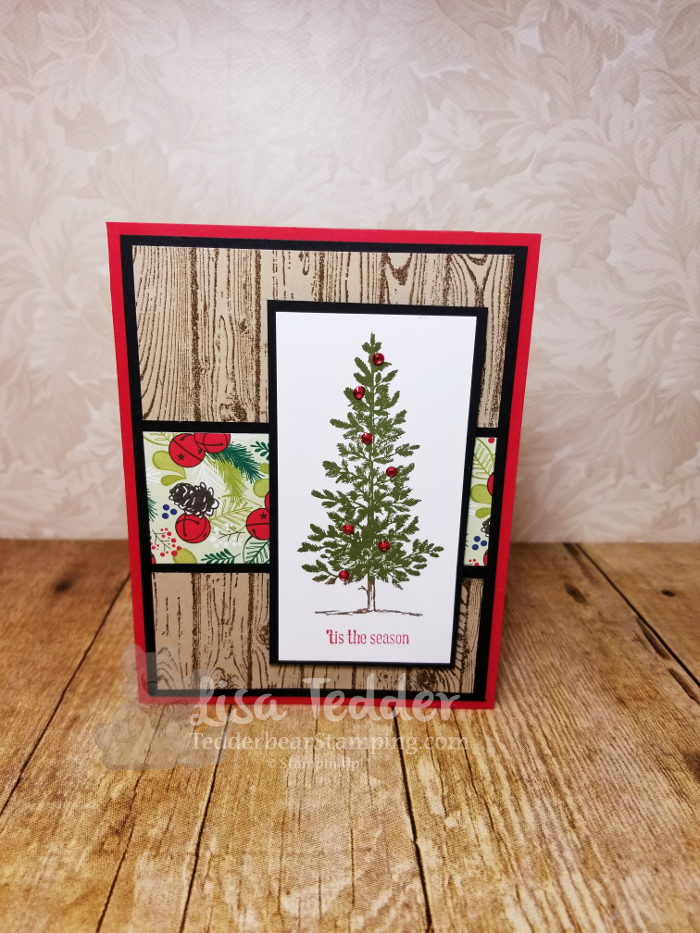
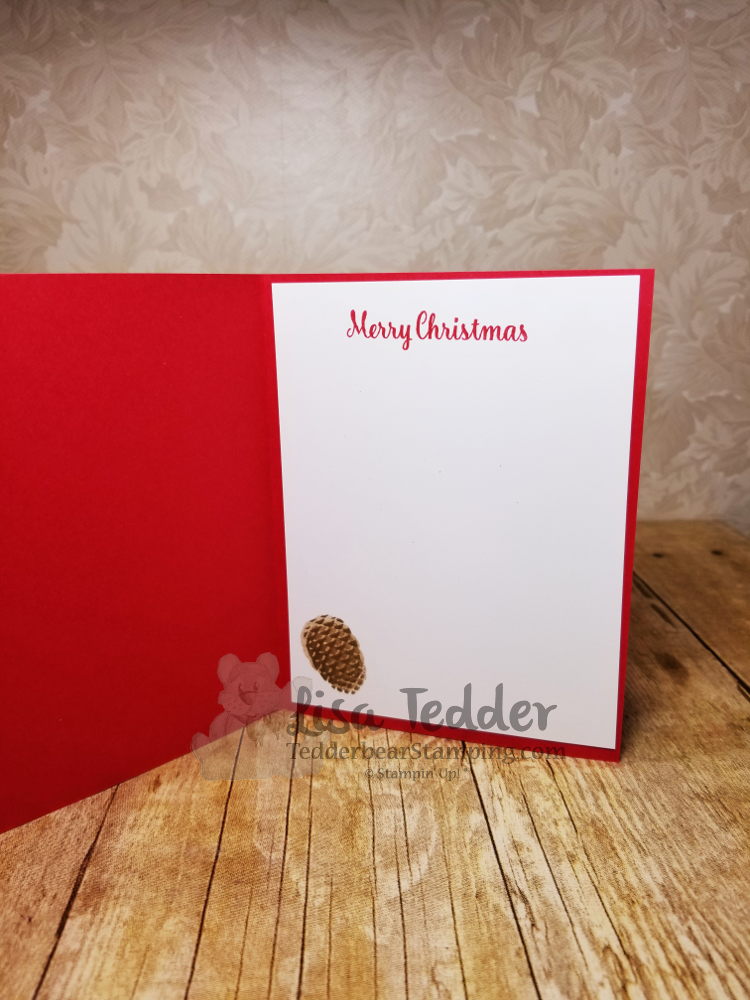
The Christmas card I’m sharing with you today was CASE’d from Sharon Armstrong.   Since I have so many Christmas card classes it is great when I come across a card that’s so pretty I don’t have to do a lot of designing.  Here is the card:

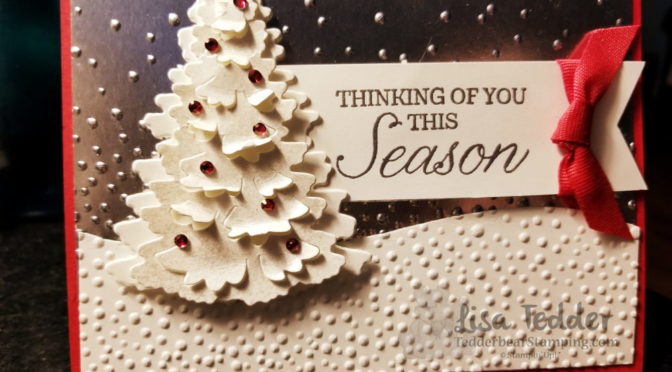
Isn’t this pretty?!  My class is going to love this!  I spritzed the Tree with White Shimmer Paint mixed with Alcohol, using the SU! Spritzer.  It really looks shimmery in person!

Here are the specifics:

Supplies
Stamp Sets:
Winter Woods Bundle, Timeless Tidings
Cardstock: Real Red 8 ½” x 5 ½”, Whisper White 5 ¼” x 4”, 2 ¾” x 5 ¼” (you will get two out of one sheet, share please), 3 ¾” x 5 ¼” (you can cut out both pieces of the tree with this one sheet), 1  ¼” x 4 ¼”, Silver Foil 5 ¼” x 4”
Inks: Versamark, Real Red
Misc: Red Rhinestones, Softly Falling Embossing Folder, Real Red 3/8” Cotton ribbon, Frost White Shimmer Paint, Stampin’ Spritzer, rubbing alcohol, Dimensionals, glue dots

The pictures below will take you to my OnLIne Store!  If you are looking for a Demo here in the US, I would LOVE to be that person!

I’m getting ready for Hurricane Florence so I need to let you go.  Hope you enjoyed this post!

Check back in to see the other Christmas Cards for my classes!

Lisa Tedder
A California girl living in North Carolina
Product List

It’s Christmas Card Time! Card #1

Hey Guys!

I’ve been getting ready for my Christmas card class that’s next month!  I plan on doing 3 Classes with 6 cards each class.  That is A LOT of planning! Each person will make 3 of each of the 5 cards and 1 special card!  That’s 16 cards that everyone makes at each class!

The New Holiday Catalog is here from Stampin’ Up! and I’ve been having fun using all my new goodies!  Are you ready to start seeing the 1st of my 6 cards?!

Here is card #1:

This was VERY fun to make! I used the New stamp set His Light on top of the Bokeh Stamp set, but this isn’t the bokeh it is the star one in the same stamp set.   I stamped the Bokeh ‘star’ stamp in Night of Navy, then stamped ‘Rejoice’ in Memento Black.  This is SUCH a pretty card in person!  Here is the inside:

I love that I can make a card that really tells the true meaning of Christmas!

Here are the Particulars:

Stamp sets: His Light, Bokeh Dots
Card stock:
Night of Navy 5 ½” x 8 ½”,3 1/8” x 4 1/8”, Black 4 ¼” x 3 ¼”, White 5 ¼” x 4 (x2), 4” x 2 7/8”.
Ink: Night of Navy, Memento Black

Below are pictures of all the items used for this project, click on any picture and you will be taken to my OnLine Store!

Thanks for stopping by!

Lisa Tedder
A California girl living in North Carolina

Product List

My Favorite ‘Holiday’ Halloween!

Hey Guys!

I say I love Halloween, but what do I love about it?  I love making scrapbook pages!  That’s it!  Well, I love the candy too.  heehee

Instead of making a page (I’ll do that too, I’m sure), I decided to make a card.  This was so much fun!!  If you want to watch me make it, go here to see my video!

I’m so happy that SU! has Blends (Alcohol Markers) in black now!  It sure makes coloring things easier.   This little witch is so cute, of course she is a good one!  Her kitty is too cute, love the expression.

I wanted to have a card the opens a little differently.  I die cut the sentiment tags using a die from Still Night stamp set.  The one in Gorgeous Grape is the size of the die.  I put the die through twice for the Granny Apple Green and Whisper White, to make it smaller. If you put the die over the long one, line it up so the middle is along the lines of the die, you can cut it as small as you want.  It gives it a very nice edge.  Underneath the Sentiment attaching to the other side is a small piece of Dual Lock.  It works like Velcro, but MUCH better for paper since it won’t pull too hard, it snaps into place.  Check out my video to see how it works!

The inside is super clean:

Don’t these colors go well together?  I hope you like my Halloween card!  I had a blast making it!

Below are pictures of all the supplies used for this project.  Click on any picture to be taken to my OnLine Store.

Thanks for stopping by!

Lisa Tedder
A California girl living in North Carolina
Product List

A NON Christmas Card using Farmhouse Christmas

Hey Guys!

I am so excited that as a demonstrator for Stampin’ Up!, that I get to purchase NEW items a month before they are available to the public!  I wanted to use them right away BUT didn’t necessarily want to do Christmas.  So, my dilemma……….how do I use these obvious Christmas sets and NOT have it be Christmas.

I got out the Farmhouse Christmas stamp set, decided to use the tree  AND the incredible fence!!  Did you see the fence!!??  I stamped the tree on Soft Suede using Early Espresso ink. This stamp set better stick around because I can use that fence for a lot of things!  Follow this link to see my video.

Isn’t it the cutest!!??  Not sure if you can see the Glitter snow in front of the fence, but in person it is very shiny and sparkly!  The tree has snow in all its crannies.  I used the Fine-Tip Glue pen to go over the white (used the chalk marker) and then sprinkled Dazzling Diamonds over the wet glue.  I forgot how much I LOVE Dazzling Diamonds!  I will be getting that out a lot more.

I stamped the ‘Love You’ from the Enjoy Life stamp set using Versamark and white embossing powder.

I layered these onto a piece of Early Espresso, but before I layered these onto white I wrapped some Burlap Ribbon around and adhered a True Gentleman button in the middle.  If you look closely you can see a Rhinestone that I colored with the Bronze Blend to go into the middle of the button (I HATE threading linen thread through those tiny holes!).  The final layer is Soft Suede to tie in all the colors.

I’m planning on doing this card in a class this month.  Hope they like it as much as I do!

Below are all the supplies I used for this card.  Click on any picture to be taken to my OnLine Store!

Thanks for stopping by!  Check back in!  I’m adding all my cards that I do for my classes to this blog!

Lisa Tedder
A California girl living in North Carolina
Product List


Reaching Out

Hey Guys!

Today I am sharing with you a mostly CASE’d from Tracy Elsom.  I loved her card so much I had to make it, I added more layers but other than that it’s like hers!

This cute Octopus is just so stinkin’ cute!!  I changed up the top of the banner, I had this really pretty Blackberry Bliss twine!   You can see her post here.

I popped up the Octopus and sign with Dimensionals so it is super cute in person!

I followed Tracy’s instructions on her blog, I sponged the background with Mint Macaron and then Blueberry Bushel.  Stamped the long seaweed in Tranquil Tide, stamping twice to give more dimension.  I set this aside, and stamped the octopus on Blackberry Bliss cardstock with Versamark and embossed with White.  Sponged OVER the white embossing powder to tint the white.  I used Blackberry Bliss on the bottom and Night of Navy at the Top.  It’s so cool in person!!  After I was sure the base was dry, I stamped the ‘net’ in Versamark and then embossed that with White Embossing Powder.  Be sure if you make this that it’s dry and that you use the Embossing Buddy!  For some reason White EP loves to stick to EVERYTHING!

Below are the supplies I used to make this card, click on any picture to be taken to my OnLine Store!

Thank you so much for visiting me!

Lisa Tedder
A California girl living in North Carolina

Product List

<!——– TAMS

Moonlit Owl using NEW Occasions catalog!

Hey Guys!

Today I am showing you a card using the new stamp set Still Night.  It’s from the Occasions Catalog from Stampin’ Up!  I love owls, and this one called to me!  I was in bed last night and this design came to me.

This was so much fun to make!  And very easy too.  I did a video walking you through making this card, you can catch it here.

I love sponging and using the brayer.  It adds that extra oooomph!  LOL  Couldn’t think of another word that fit better!

The supplies used for this card are listed below.  Click on any pic and you will taken to OnLine Store!

I hope you like this card as much as I do!

Lisa Tedder
A California Girl living in North Carolina


Shadow Box using NEW 2018 Annual Catalog

Hey Guys!,

I made a video  and at the end I showed this Shadow Box. I promised I would have the measurements here on my blog so if you want to make it you can!!  It took a little longer than I promised, but at least I got it done!  Here is a picture of the Shadow Box:

Here are all the Measurements:

Shadow Box Instructions:

Top Left:

Melon Mambo 3 7/8”sq, Black 3 5/8” sq, Rose Glimmer 3 ½” sq, DSP Petal Promenade 3 1/8”, black die cut 3” sq, Butterfly die cut colored w/blends add Wink of Stella. Add colored rhinestones.

Top Middle:

Melon Mambo 2 5/8” x 3 9/16”, Black 2 ½” x 3 7/16”, Rose Glimmer 3 ¼” x 2 3/8”, Vellum DSP cut out with oval framelit, colored on back with Blends, Foam adhesive on back of Glimmer.

Top Right:

Silver Glimmer 4” sq, Black 3 ¾” sq, White 3 ¼” sq, Black 2 7/8” sq, stamp bench in Versamark and emboss with Silver EP, add Clear Faceted Gem in heart.

Left Center:

Silver Glimmer 3 5/8” x 2 9/16”, Black 3 1/2” x 2 3/8”, White 3 3/8”, Smoky Slate 3 1/8” x 2 1/8”, Stamp Dandelion in Versamark and emboss with Silver EP. Add Rhinestones

Center:

Rose Glimmer 2 ½” x 1 7/8”, Black 2 3/8” x 1 ¾”, White 2 5/16” x 1 11/16, stamp sentiment with Versamark then emboss with silver, add rhinestones.  Under this square crisscross the Berry Burst Metallic Edge Ribbon.

Right Center:

Silver Glimmer 3 5/8” x 2 9/16”, Black 3 1/2” x 2 3/8”, White 3 3/8”, Ink up Bokeh stamp with Smoky Slate, stamp on White. Stamp fly away Dandelions using Versamark emboss with silver.  Add Rhinestones

Left Bottom:

Silver Glimmer 3 7/8” sq, Black 3 ¾” sq, White 3 1/4” sq, Black 3” sq.  Stamp Dandelions in Versamark emboss with Silver, add rhinestones.

Bottom Center:

Melon Mambo 3” sq, Black 2 ¾” sq, Melon Mambo die cut 3” sq, Silver 1 15/16” sq, Black Circle 2 ¼” punch, White Shimmer 2” circle punch STAMP FIRST, THEN PUNCH OUT!!!  Color with Blends, add Rhinestones.

Bottom Right:

Melon Mambo 3 7/8” sq, Black 3 ¾” sq, Rose Glimmer 3 ½” sq, Black 3 ¼” sq, White 3” sq, Vellum DSP 3” sq.  Add colored Rhinestones.  Color back of Vellum with Blends.

All the Supplies I used are listed below.  Click on any of the pictures  to be taken to my OnLine Store!

Hope you enjoy this project as much as I do!!

Lisa Tedder
A California Girl living in North Carolina
Product List

It’s a Sloth!!

Hey Guys,

My family has a very funny story about Sloths.  Since this time I have always had a special place in my heart for Sloths.  If you want to hear the story, just send me a msg and I will tell you.  I don’t want to bore everyone!  HA!

I was inspired by a card on Pinterest by Melissa Davies, you can see the card here.  I changed up SOME of the card, but the general idea was hers!  Thanks Melissa!

As soon as I saw the Designer Paper Animal Expedition I HAD to get it only because of this stinkin’ cute Sloth!  I wish it was a stamp, but he’s pretty easy to cut out, so I’ll take what I can get!

I used the Leaf ribbon because not only does it look awesome, but it’s so easy to adhere to the back!!

The supplies for this card are listed below, click on any picture to be sent to my OnLine Store!

Thanks for stopping by!!  I appreciate you supporting me!

Lisa Tedder
A California girl living in North Carolina
Product List

Christmas in July Final Card #6

Hey guys,

I’ve been sharing with you all the Christmas cards I did for my Christmas in July class……hope you have liked them so far!

Today is the Bonus Card where my guests only made 1 of this one. The reason is because I would have had to buy at LEAST 4 – 5 packages just for this one Designer paper since I had 10 people come and if they each did 3, well you do the math!

This was one of my favorites that we made.  I love plaid and the green with the blue is so pretty!  Plus the trees stamped on the front really remind me of picking out Christmas trees!  Does it you?

Here is the front of the card:

And the inside:

Isn’t this a pretty card!?

I added Wink of Stella under the trees on the front and under the one on the inside to give it the ‘snowy’ feeling.  One of the trees is popped up on the front to add dimension.

The supplies are listed below, click on any picture to be taken to my OnLine Store!   This is the end of my Christmas cards, be sure to come back to see what I make next time!

Thank you for supporting me!

Lisa Tedder
A California girl living in North Carolina

Christmas in July Card #5

Hey Guys,

Today I am sharing with you my Christmas in July card #5.  I’ve been sharing, so if you missed it-click on my header and you can find the others.

Today’s card uses the Greatest Stamp set, Lovely as a Tree by Stampin’ Up!  This stamp has been around for a long time, but it is very beloved!  I also used the Hardwood stamp set to get the wood look and some Designer Series Paper.  Check out my pictures below for the supplies and click on any picture to be taken to my Online Store.

Here is the card:

Here is the inside:

This is another easy, but fun card!

Come back for #6!  This is the one that I used for a ‘Bonus Card’, i didn’t have enough of the DSP to make three each for 10 people!

Thank you for joining me today!  I appreciate your support!

Lisa Tedder
A California girl living in North Carolina
Product List