Tag Archives: Whisper White 8-1/2" X 11" Thick Cardstock

Celebrate Sunflowers & Watercolor Pencils

Hey Guys!

So, I was on Facebook the other day and this card from Amanda Charlesworth made me put down everything I was doing and make it! I had to make this card! I LOVE when that happens.
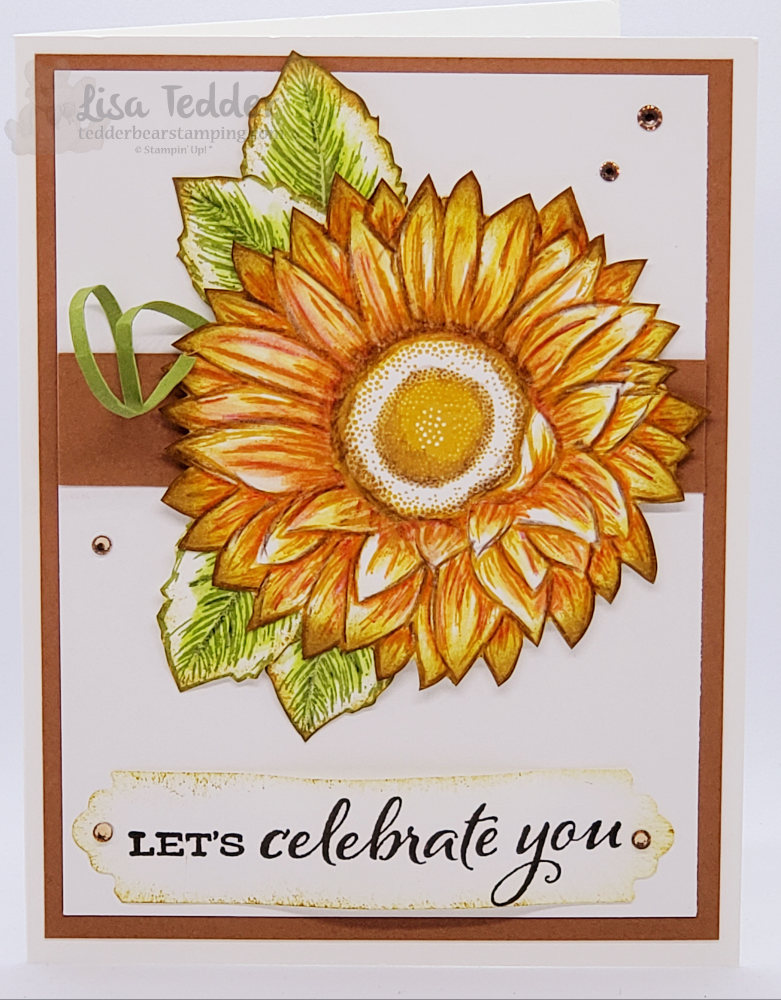
Using Watercolor Pencils, makes this image pop!

Not only was I inspired by Amanda, but I made the card exactly like she did because I wanted to see if I could color it as well as she did. I think it came out really well! What do you think?

Don’t you love it when you see something that stops you in your tracks and you want to try your hand at it? That’s what happened with this card.

Here are the specifics for this card:

Stamps:
Celebrate Sunflowers

Inks:
Crushed Curry
Old Olive
StazOn Saddle Brown
Memento Black

Cardstock:
Whisper White Thick 8 1/2″ x 5 1/2″
Whisper White 5″ x 3 3/4″ (x2) one for sunflower and leaves
Cinnamon Cider 3 3/4″ x 3/4″, 5 1/4″ x 4″
Old Olive scrap

Misc:
Champagne Rhinestones
Dimensionals
Lovely Labels Pick a Punch
Watercolor Pencils (Daffodil Delight, Early Espresso, Old Olive, Pumpkin Pie)
Watercolor Pencils Assortment 2 (Granny Apple Green)
Sponges
Blender Pen

Below are the same supplies listed in Picture form, click on any of them and you will be taken to my OnLine Store. Any purchase you make over $35 you will receive 16 step by step tutorials with Pictures! Here is a sneak Peek:
All these tutorials for purchase of $35!


This stamp set was the first one I HAD to have! So pretty!! I have offered a class using Celebrate Sunflowers where I made 5 cards and I loved everyone of them! You can see that post here. Doesn’t everyone love a Sunflower? We always had some growing, but it was very hard to keep the squirrels from jumping on them and knocking them over.

Thank you for stopping by! Please leave a comment to let me know that you are liking what I post, it also makes me happy!

Lisa Tedder
A California girl living in North Carolina

Product List

Ornate Garden Quilt Card

Hey Guys!

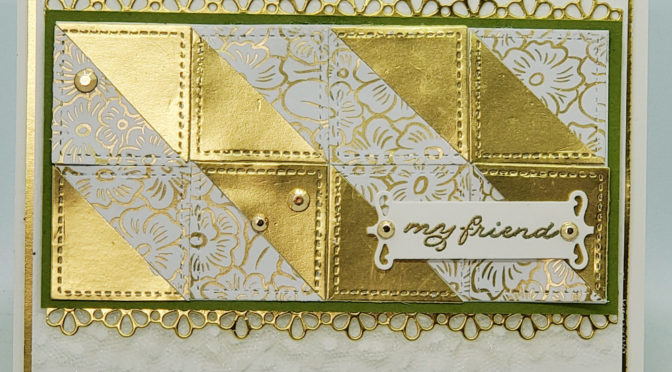
Today I am sharing with you a card where I have used the Ornate Garden Designer Series Paper (DSP), cutting it up with Square dies to make a Quilt card! Also included in the Quilt part is Gold Foil!

Hard to see, but I have ruffled ribbon on the bottom of the focal piece.

Starting out, I cut the Ornate Garden DSP and Gold Foil using the Stitched Shapes Dies (Squares). Then, I cut each square in half, lay them opposite each other until I had a pattern that made me happy. Once I had that done, I cut a piece of Whisper White to fit under and glued them into the desired Quilt shape I wanted. There are so many ways to manipulate the squares, but this is the way I liked it the most.

For the border on the top and bottom, I used the Ornate Borders Dies also using the Gold Foil. But first, I layered the quilt pattern onto Old Olive, to make it pop! Once I had all that done, I used some Polka Dot Tulle Ribbon along the bottom and ‘scalloped’ it so it had a ruffled edge. This turned out so pretty!! It’s very subtle in the picture but in real life it stands out!

After more white cardstock and Gold Foil, my Quilt card is almost done! I needed a sentiment to add to the front so I used ‘my friend’ from the Stamp set Ornate Thanks from Stampin’ Up! NOT sure if you have noticed by now but I LOVE SU! This company has added so much fun/creativity and Friends to my life, not sure what I would do if I didn’t have Stampin’ Up! in my life!

Of course I had to top off my card with some bling! I chose Gilded Gems to add that final touch. So? What do you think? Could it be for a wedding, birthday, pick me up or all of the above!?

As usual, here are all the specifics for this card:

Stamps:
Ornate Thanks

Inks:
Versamark

Paper:
Whisper White Thick 8 1/2″ x 5 1/2″
Whisper White 5 1/8″ x 3 3/4″, 4 3/4″ x 2 3/8″ (for under Quilt)
Gold Foil 5 1/4″ x 4″, 5″ x 3/4″ (x2) for border, scraps for squares
Ornate Garden DSP scraps for squares

Misc:
Ornate Borders Dies
Ornate Frames Dies
Polka Dot Tulle Ribbon (white)
Gilded Gems
Dimensionals
Gold Embossing Powder
Embossing Buddy
Heat tool
Subtle 3D Folder

Also as usual, all the supplies will be listed below in picture form. Click on any of them to be taken to my OnLine Store. If you purchase $35 or more from me, you will receive from me two different tutorial bundles that will have step by step instructions PLUS pictures! Here is a sneak peek of one of the bundles:

One Bundle you will get if you purchase $35

Hope you are doing well! I’m still eating birthday cake from yesterday so of course I am doing well! LOL

Please come back and see me again soon! Don’t forget to sign up for my Newsletter, if you have done it in the past do it again, all the info was deleted! :-O I will be sending out the Newsletter around the 10th of each month.

Lisa Tedder
A California girl living in North Carolina

Product List
Eiffel Tower all lit up!

Hey Guys!

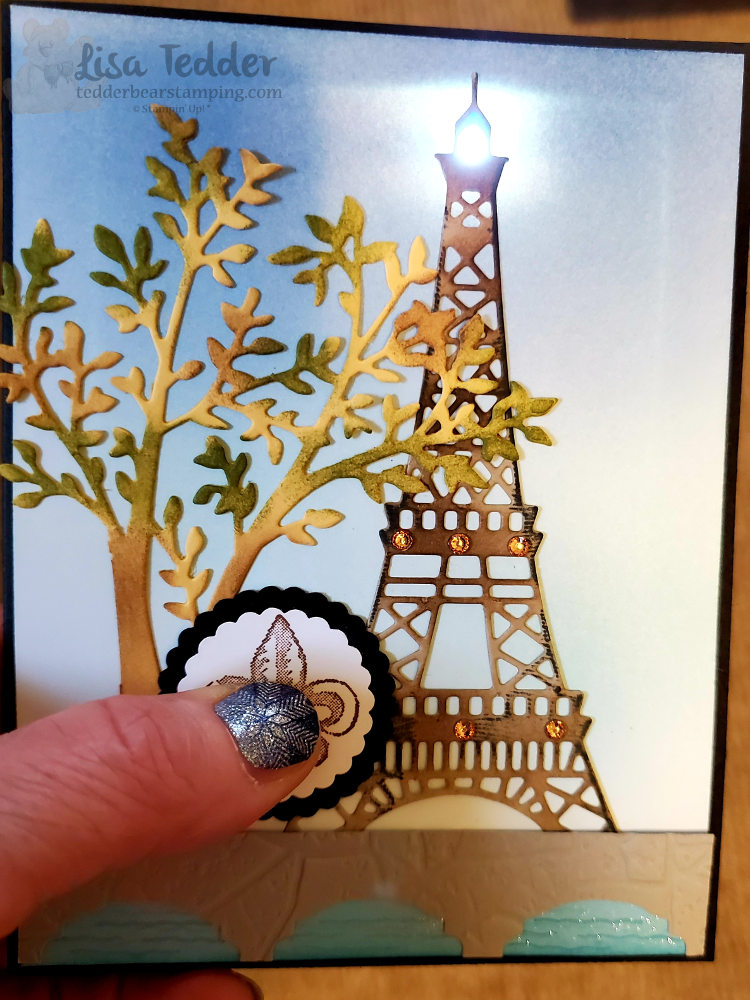
Today I am sharing with you a light up card! I love these! They are so much fun! Next year, I am planning on going to see the Eiffel Tower (thank God it’s not THIS year!). I saw this card where someone made a bridge with water under it, and the Tower is in the background. I am not sure that they used Stampin’ Up! stamps, so decided to make one using Parisian Beauty. Here is my card lit up:

Not only did I use the Parisian Beauty stamp set, but I used the punch Label Me Fancy! This is what I used to make the bridge. I tried so hard to make them evenly spaced, this is as close as I could get. Also, I used Wink of Stella to highlight the water to give it that bit of sparkle!! If you lay the Smoky Slate piece of cardstock onto a grid sheet or against a ruler, make marks at these spots: 5/8″, 2″ and 3 5/16, then put the punch into these spots and only go part way up (look at picture to see how far) making the marks in the middle of the punch. This way it will make your waterway!

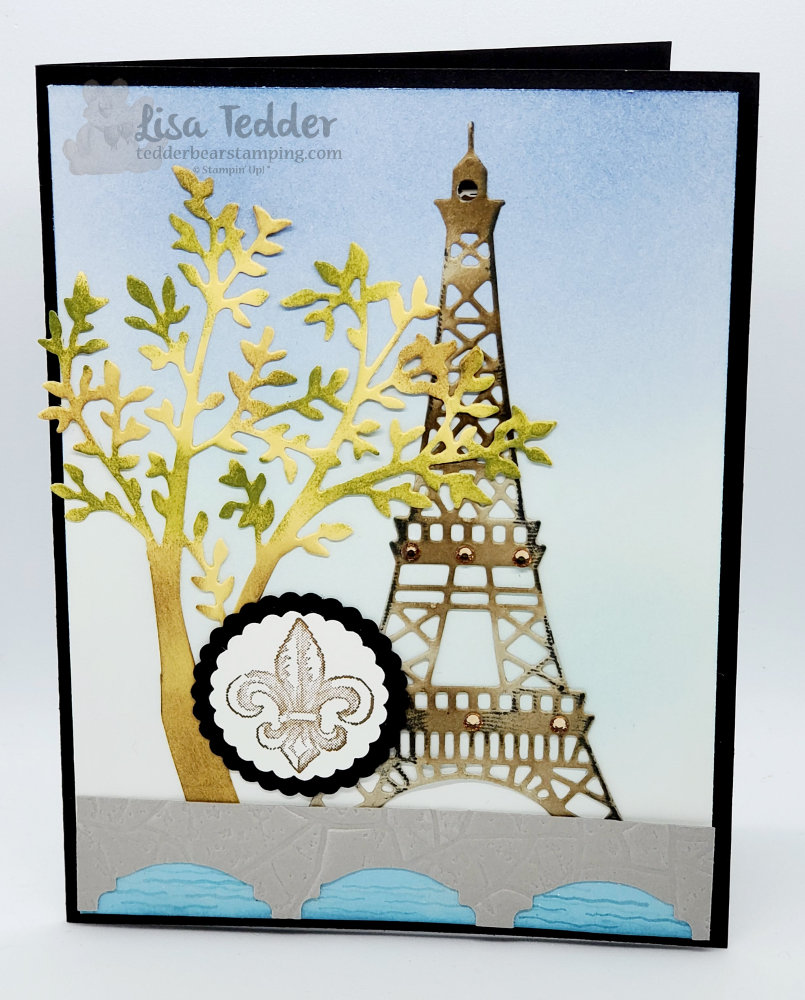
In the light of sharing with you the lit up version, I HAD to show you the card (a little more professional pic) when it’s NOT lit up:

Of course, I used a lot of bling by using Champagne Rhinestones, because you are not always going to have it turned on! The tree came from the die Sweet Silhouettes. Sponging the So Saffron cardstock after it was die-cut with Soft Suede and Garden Green, really makes this ‘tree’ look like the sun is hitting it in spots! Make sure you leave some yellow to give it that sun kissed look!

Furthermore, I also sponged the Eiffel Tower with Soft Suede and then ran the Memento Black pad itself over parts of the sides. This was to make it look like it was antiqued. What do you think? Did I hit it, or is it a miss? For those of you who love light up cards, we are going to be making this card next week! Let me know if you want to attend!

As always, here are the specifics for this card:

Stamps:
Parisian Beauty

Inks:
Soft Suede
Garden Green
Balmy Blue
Memento Black

Paper:
Basic Black 8 1/2″ x 5 1/2″, scraps
Whisper White 5 1/4″ x 4″, scraps
Whisper White Thick 5 1/4″ x 4″
So Saffron scraps (to fit tree)
Crumb Cake to fit Tower
Balmy Blue 4 ” x 1/2″ (for water)
Smoky Slate 5/8″ x 4″

Misc:
1 1/8″ & 1 3/8″ circle punches
Sweet Silhouettes Dies
Champagne Rhinestones
Stone 3d Folder
Foam Adhesive Strips
Tombo Liquid Glue
Batteries/Lights
Label Me Fancy punch

Furthermore, below you will see all the supplies in picture form. Click on any picture and you will be taken to my OnLine Store! If you purchase $35 or more from me, you will receive a handmade thank you card AND two sets of files with 16 tutorials in one and the other has over 40 tutorials! Every month you will get different tutorials with each purchase, I hope you take me up on it!

Thank you for stopping by, please come again!

Lisa Tedder
A California Girl living in North Carolina

Product List

Gang’s All Meer Double Slider Easel Card

Hey Guys,

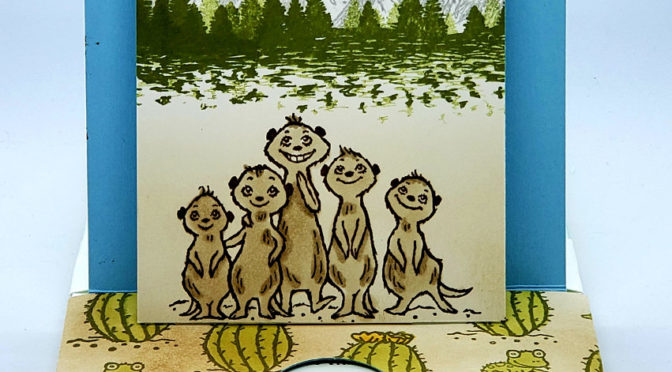
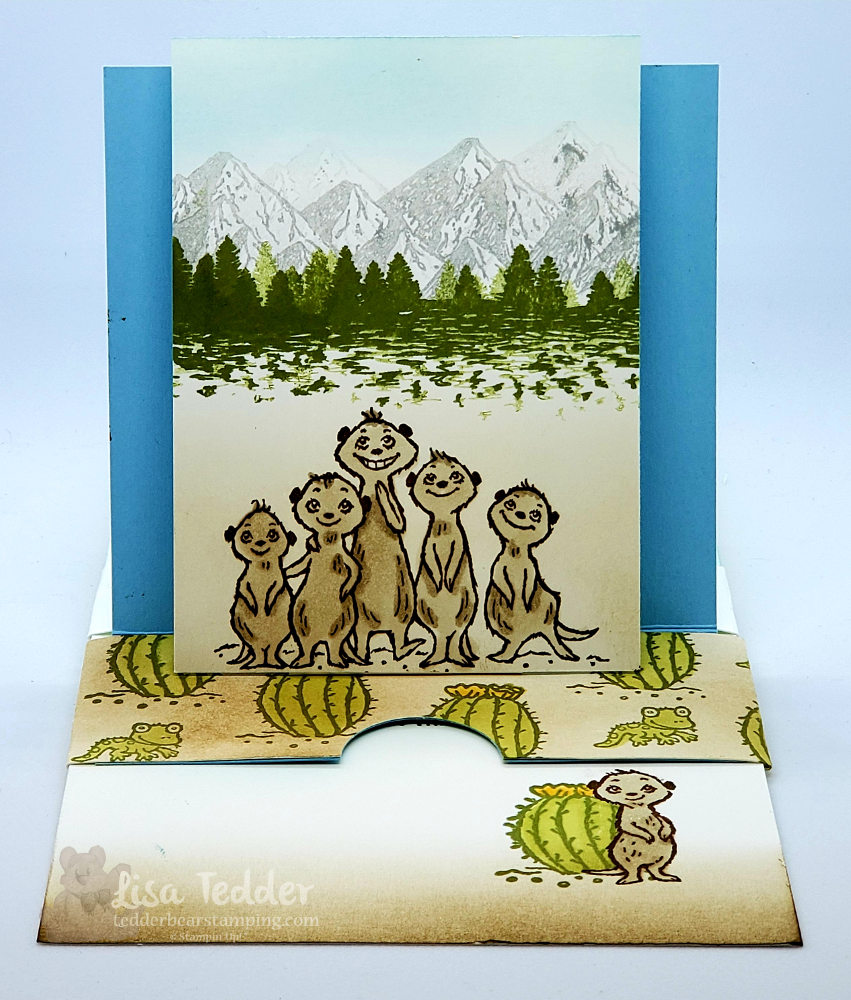
I’m sure that you have seen around the Double Slider Easel Cards, I saw them too, and tried my hand at it! Using The Gang’s All Meer Stamp set from Stampin’ Up! was a no brainer for me. They are so stinkin’ cute! Plus, the sentiment says “Happy Birthday to a STAND-UP friend”, thought it would be perfect to have a stand up card! LOL

Also I used the SU! set Mountain Air, because I thought they would make a great backdrop for those adorable MeerKats! The Belly band is stamped with the cactus and colored with Blends. I tried so hard to find a fitting Designer Series Paper (DSP) that would fit with these cuties, but alas I couldn’t! So, what is a crafter to do? Make their own DSP! 🙂

Here is my card, you’ll see a few pics since I want to show you all the angles:

This can open fuller, the sentiment is on the pull out. Can you see that this is open on it’s own?
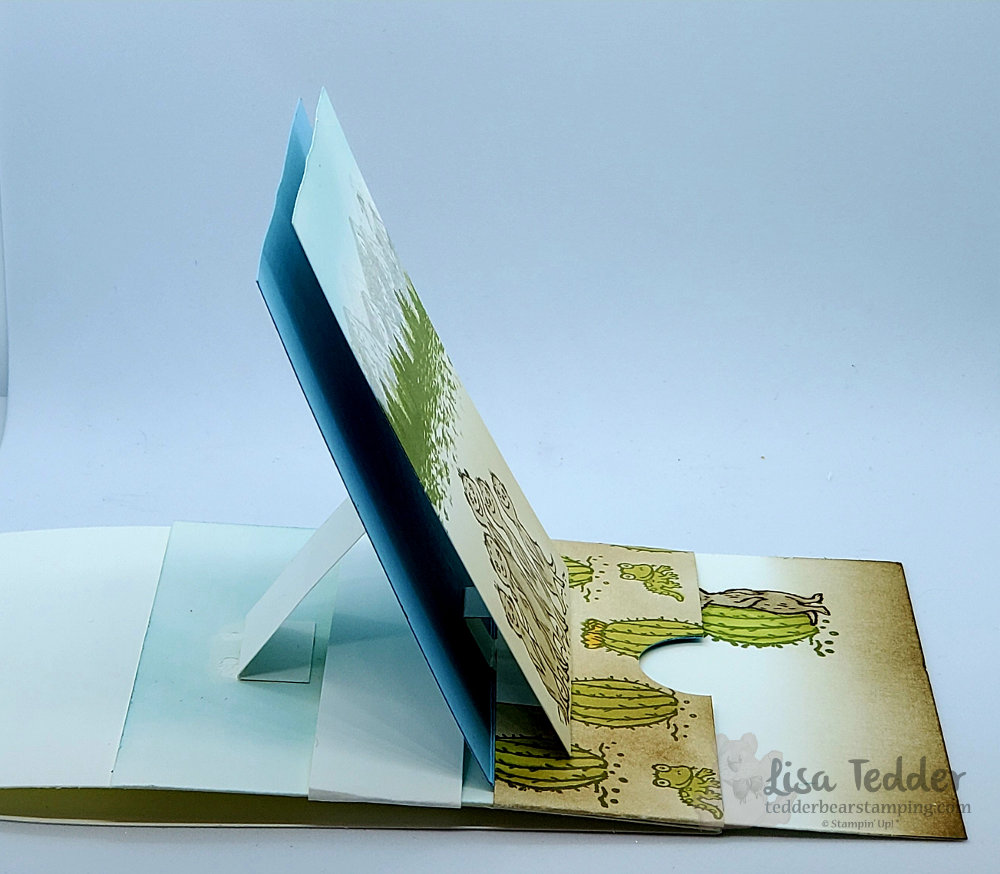
sideways view
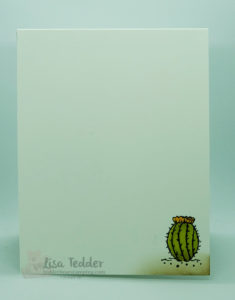
Inside

Cute right? I like it, depending on what everyone says at my classes is whether or not we make this in a class. It’s a little over the top, meaning it takes some time to get all the pieces together and put in the right place. BUT, it was super fun once I got the gist of it! Thanks go to Frenchie for her video! I may make a video if you would like to see it, just let me know!

As usual, here are the specifics for this card:

Stamps:
The Gang’s All Meer
Mountain Air

Inks:
Smoky Slate (mountains)
Old Olive (trees and cactus/lizard)
Early Espresso (meerkats)
Soft Suede (behind Meerkats and cactus on belly band)
Balmy Blue (sky)
Blends: Crumb Cake combo, Old Olive light, Mango Melody combo

Paper:
Whisper White thick 4 1/4″ x 11″
Whisper White 5 1/2″ x 4 1/4″, 3″ x 4″, 1 1/2″ x 9 1/2″ for banner & for Extra banner if you make a full card: 1″ x 9 1/2″
[2 3/4″ x 1″ (scored @ 1/2″ each end), 2 1/2″ x 1 1/2″ scored @ 1/2″, 1 1/2″ x 1/2″ scored @ 1/2″ & 1″…..for mechanisms]
Balmy Blue 4″ x 5 1/4″

Misc:
1″ circle punch
sponges
Simply scored

So, what do you think? Is this something you want to make for yourself!? I hope you give it a try!

Below you will see in picture form all the supplies needed for this card. Just click on any of them and you will be taken to my Online Store! Anytime you purchase from me, you will receive from me a file FULL of tutorials for you to use! There are usually 40 or more, but I like to promise 35…….don’t want to disappoint anyone! I will also send you a handmade card as a thank you! Every time you order you will get these as my thanks to you! If you live in the US and would like to use me as your Demonstrator, use away! LOL

Thanks for stopping by, hope you enjoyed your visit!

Lisa Tedder
A California girl living in North Carolina

Product List