Tag Archives: Versamark Pad

Shadow Box using NEW 2018 Annual Catalog

Hey Guys!,

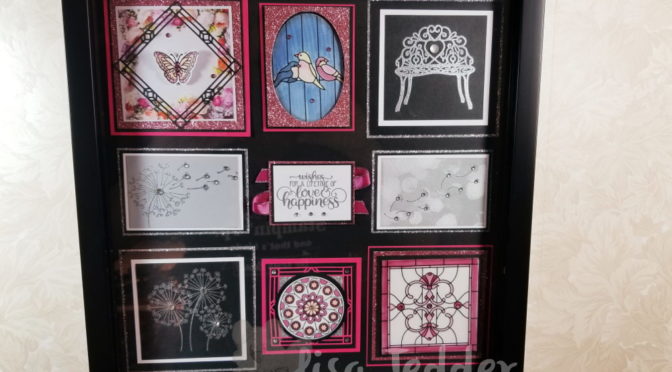
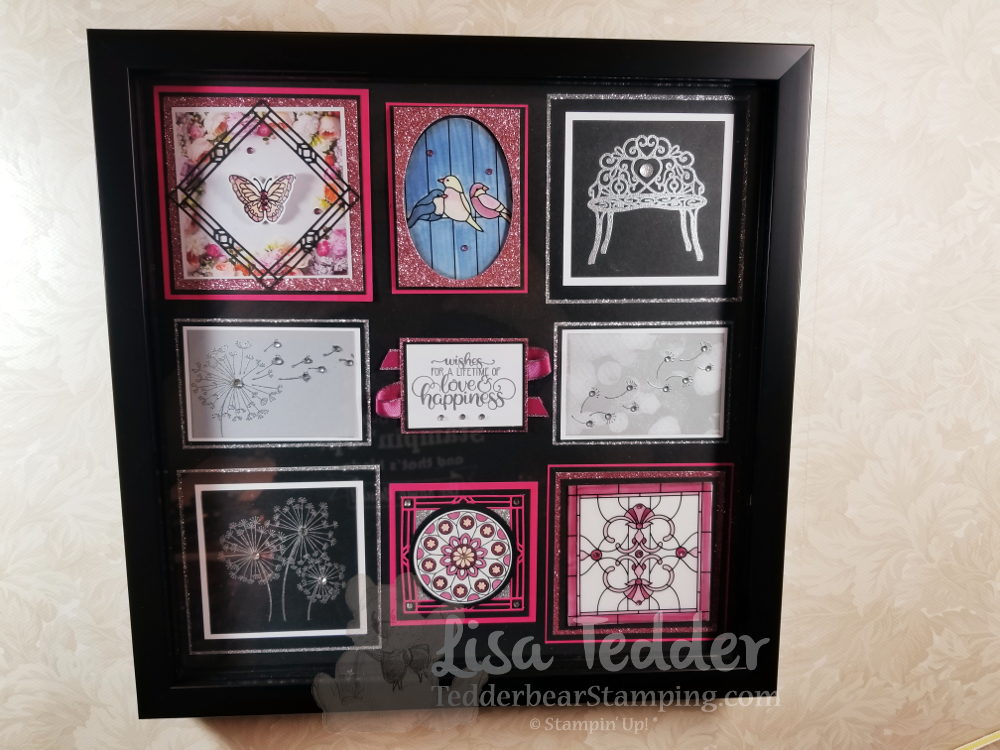
I made a video  and at the end I showed this Shadow Box. I promised I would have the measurements here on my blog so if you want to make it you can!!  It took a little longer than I promised, but at least I got it done!  Here is a picture of the Shadow Box:

Here are all the Measurements:

Shadow Box Instructions:

Top Left:

Melon Mambo 3 7/8”sq, Black 3 5/8” sq, Rose Glimmer 3 ½” sq, DSP Petal Promenade 3 1/8”, black die cut 3” sq, Butterfly die cut colored w/blends add Wink of Stella. Add colored rhinestones.

Top Middle:

Melon Mambo 2 5/8” x 3 9/16”, Black 2 ½” x 3 7/16”, Rose Glimmer 3 ¼” x 2 3/8”, Vellum DSP cut out with oval framelit, colored on back with Blends, Foam adhesive on back of Glimmer.

Top Right:

Silver Glimmer 4” sq, Black 3 ¾” sq, White 3 ¼” sq, Black 2 7/8” sq, stamp bench in Versamark and emboss with Silver EP, add Clear Faceted Gem in heart.

Left Center:

Silver Glimmer 3 5/8” x 2 9/16”, Black 3 1/2” x 2 3/8”, White 3 3/8”, Smoky Slate 3 1/8” x 2 1/8”, Stamp Dandelion in Versamark and emboss with Silver EP. Add Rhinestones

Center:

Rose Glimmer 2 ½” x 1 7/8”, Black 2 3/8” x 1 ¾”, White 2 5/16” x 1 11/16, stamp sentiment with Versamark then emboss with silver, add rhinestones.  Under this square crisscross the Berry Burst Metallic Edge Ribbon.

Right Center:

Silver Glimmer 3 5/8” x 2 9/16”, Black 3 1/2” x 2 3/8”, White 3 3/8”, Ink up Bokeh stamp with Smoky Slate, stamp on White. Stamp fly away Dandelions using Versamark emboss with silver.  Add Rhinestones

Left Bottom:

Silver Glimmer 3 7/8” sq, Black 3 ¾” sq, White 3 1/4” sq, Black 3” sq.  Stamp Dandelions in Versamark emboss with Silver, add rhinestones.

Bottom Center:

Melon Mambo 3” sq, Black 2 ¾” sq, Melon Mambo die cut 3” sq, Silver 1 15/16” sq, Black Circle 2 ¼” punch, White Shimmer 2” circle punch STAMP FIRST, THEN PUNCH OUT!!!  Color with Blends, add Rhinestones.

Bottom Right:

Melon Mambo 3 7/8” sq, Black 3 ¾” sq, Rose Glimmer 3 ½” sq, Black 3 ¼” sq, White 3” sq, Vellum DSP 3” sq.  Add colored Rhinestones.  Color back of Vellum with Blends.

All the Supplies I used are listed below.  Click on any of the pictures  to be taken to my OnLine Store!

Hope you enjoy this project as much as I do!!

Lisa Tedder
A California Girl living in North Carolina
Product List

Sitting Pretty

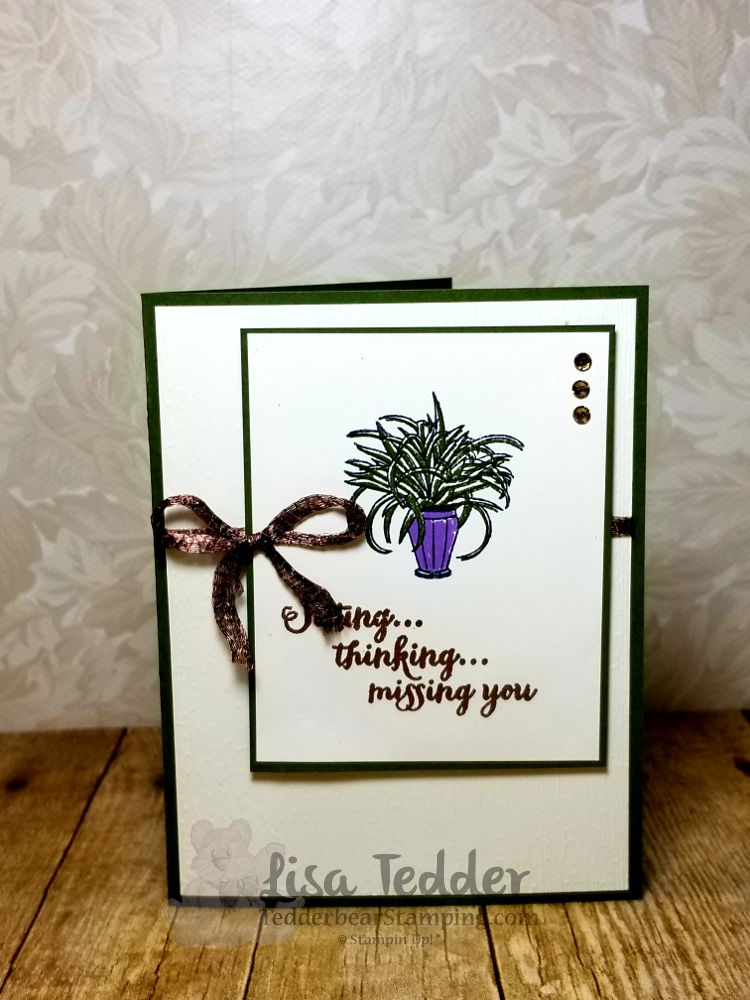
Hey Guys,

Today I am sharing you another CASE’d card (Copy and share everything), I got this idea from Nicolle Belisimo on Pinterest.  It’s almost exactly like hers!  Thanks Nicolle!

My vase is a different color, and I embossed the words in Copper.

I love the copper ribbon!

I used the Stamparatus to line the stamps up, boy does that make it nice!!

The supplies for this project are listed below, click on any picture to be taken to my OnLine Store!

Thanks for stopping by!

Lisa Tedder
A California girl living in North Carolina

Christmas in July Card # 4

Hey Guys,

I’ve been showing you the 6 Christmas Cards that I have done for my Christmas in July stamp class.  We are now on card #4!  If you missed any of the ones before, click on my header and you can find them that way.

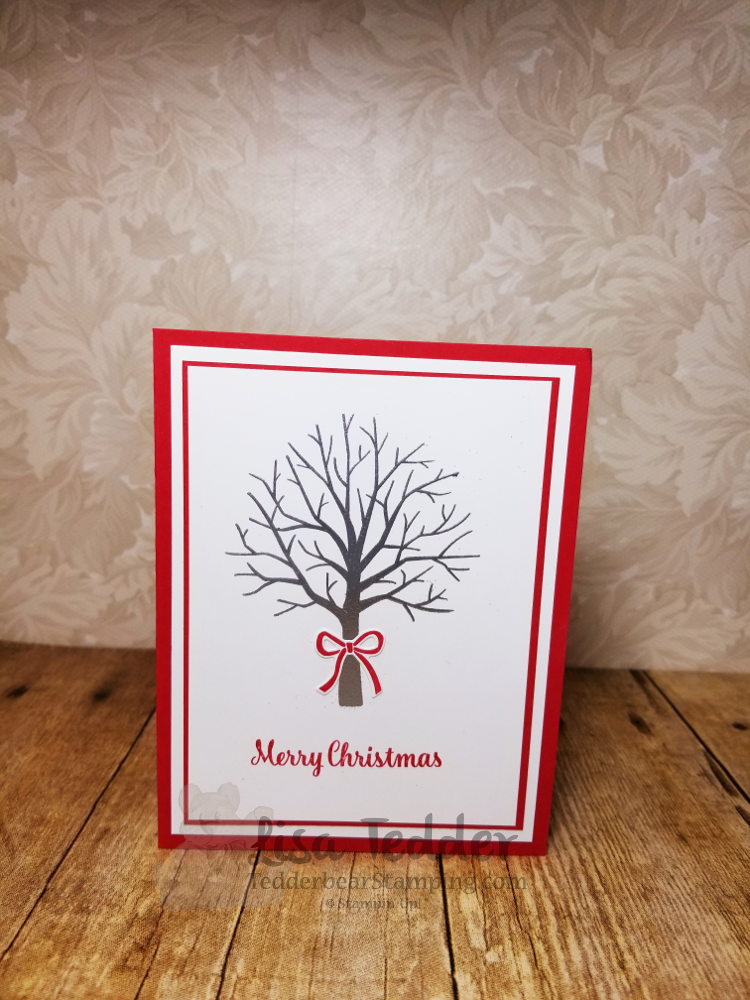
The card today is using Sheltering Tree from Stampin’ Up!

Here is the front of the card:

We Stamped the tree in Versamark and then embossed it with Silver Embossing Powder.  It’s quite beautiful in person!  The bow is from the Stamp set Beautiful Bouquet from SU! as well.

I got this idea on Pinterest by Bibi Cameron, I changed up a little by using a different sentiment and bow, but the idea was hers!  Thank you Bibi!

Here is the inside:

VERY easy yet extremely beautiful and elegant!  Everyone in class loved this!

The supplies are listed below, click on any picture to be taken to my OnLine Store!

Come back for card # 5!  Thanks for stopping by!

Lisa Tedder
A California girl living in North Carolina
Product List
Christmas in July Card # 3

Hey Guys,

My class went really well for my Christmas in July!  We made 5 designs where we made 3 of each design, and then made one of another, so my guests got to make 16 Christmas cards!  We’ll be having  2 – 3 more of these classes but we will use different stamp sets!  I love these classes and it also gets all my cards ready for Christmas!  I don’t have to worry if I already sent a certain card to a family member/loved one because I ALWAYS make new Cards!

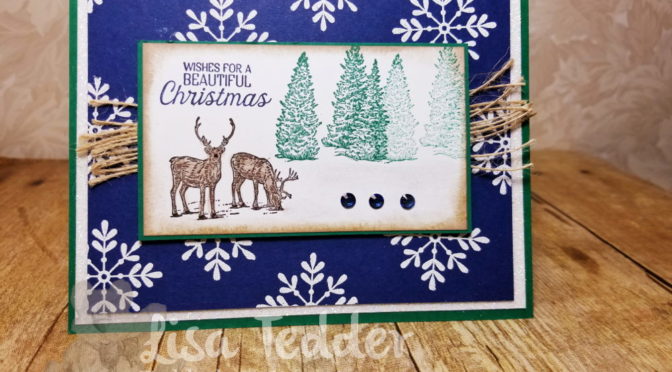
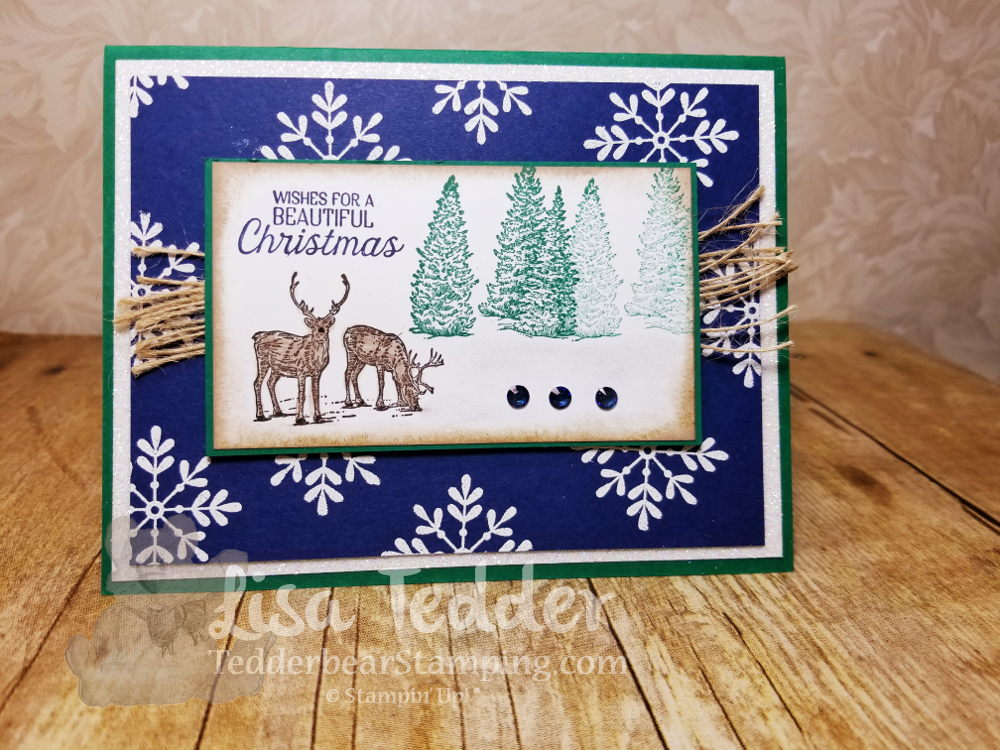
Here is the front of this one:

and the inside:

This was a fun one to make!  The white snowflakes are stamped onto the Night of Navy using Versamark and white embossing powder.  What a great way to make your own Designer Paper!

I colored my Rhinetones with my Night of Navy dark Blend!  I also added Wink of Stella underneath the trees.

Hope you like it!

The supplies are listed below, click on any of the pictures and you will be taken to my OnLine Store!

Thanks for stopping by!

Lisa Tedder
A California Girl living in North Carolina
Product List
Christmas in July card #1

Hey Guys,

Today I am sharing with you the first of 6 Christmas cards I did in a class in July.

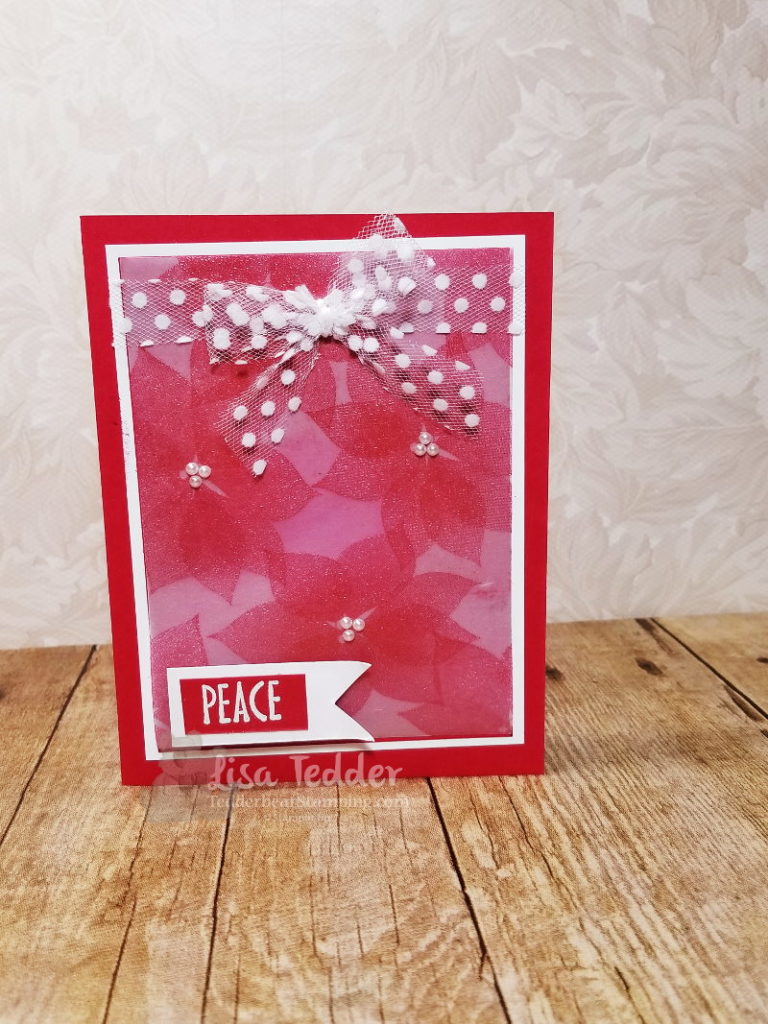
Stamping on Vellum is one of my favorite things!  I used Real Red ink and the stamp set Stylish Christmas by Stampin’ Up!

Here is the card:

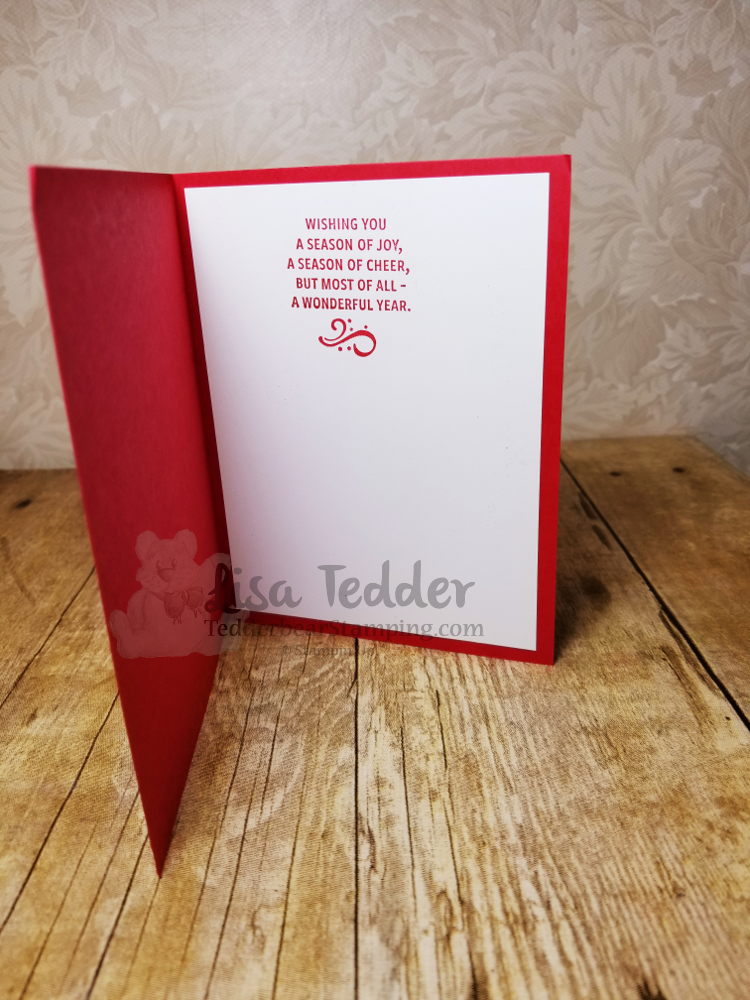
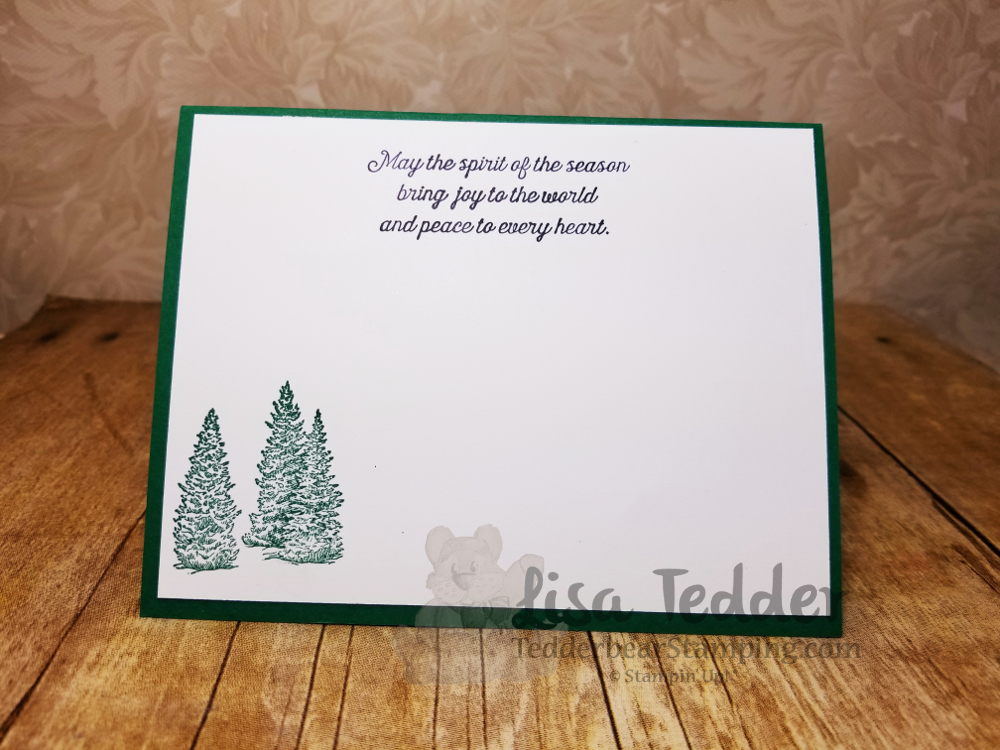
Isn’t this pretty?  I used pearls in the center of the flowers.  I have a YouTube video if you would like to see how it was done!

I TRY to do a video every week.  I would love it if you would subscribe to my channel and support me!

Below is the supplies used to make this card, click on any picture to be taken to my OnLine Store!

Thanks for stopping by!

Lisa Tedder
A California girl living in North Carolina
Product List

<!——– TAMS End —


Sneak Peek Animal Outing

Hey guys!

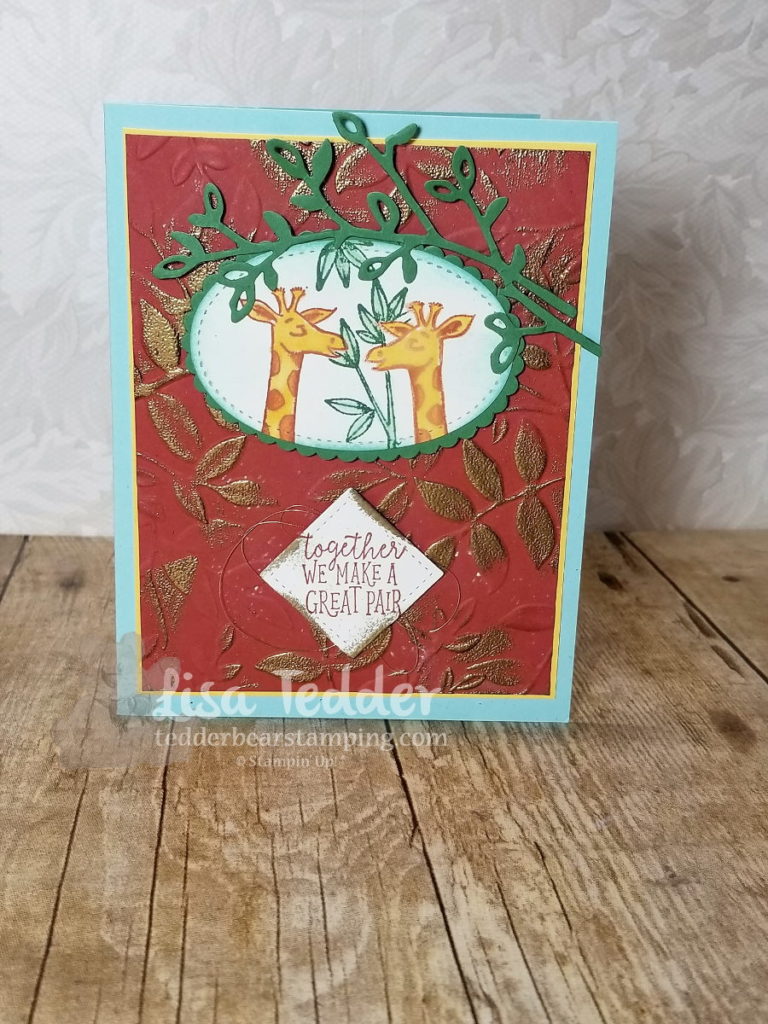
I’m not sure that I’ve told you before, but I LOVE Giraffe!  They fascinate me.  I got to feed one by hand when I visited my daughter in MN!  NOW when I go to  visit we’ll HAVE to go feed them again!

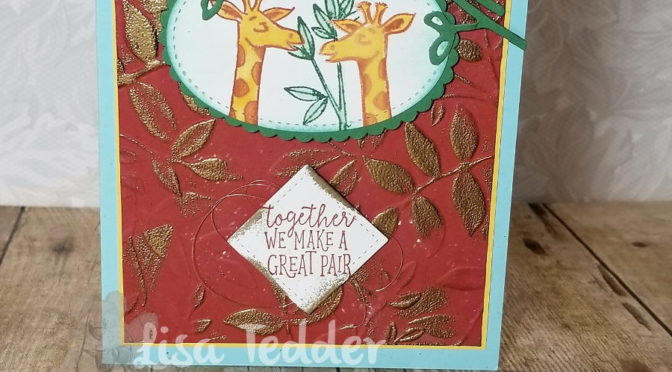
Here is a card I made by creating a second giraffe facing the other way.

To get the image to face the other way, stamp onto the Silicone Craft Sheet and then immediately turn over and ‘stamp’ the image onto your cardstock.  This works really well, since the image doesn’t dry as fast on the mat.  Then color as usual!  Now, you have two Giraffe facing each other!

Dimensions:

Soft Sky 8 1/2″ x 5 1/2″
Daffodil Delight 3 7/8″ x 5 1/8″ (x2 for inside also)
Cajun Craze 5″ x 3 3/4″
Very Vanilla 5″ x 3 3/4″
Scraps of Garden Green and Very Vanilla

I embossed the Cajun Craze with the Layered Leaves Embossing folder, then ran the Versamark over the images GENTLY to have it only on the raised areas.  Then embossed with Copper embossing powder.

The Stitched framelits is a MUST for any stamper, I use it all the time!

If you would like to choose me as your demonstrator, I would love to have you purchase from me!  Just click on any image below to be taken to my Online Store!

Lisa Tedder
A California girl living in North Carolina
Product List

Sneak Peek Rooted in Nature

Hey Guys!

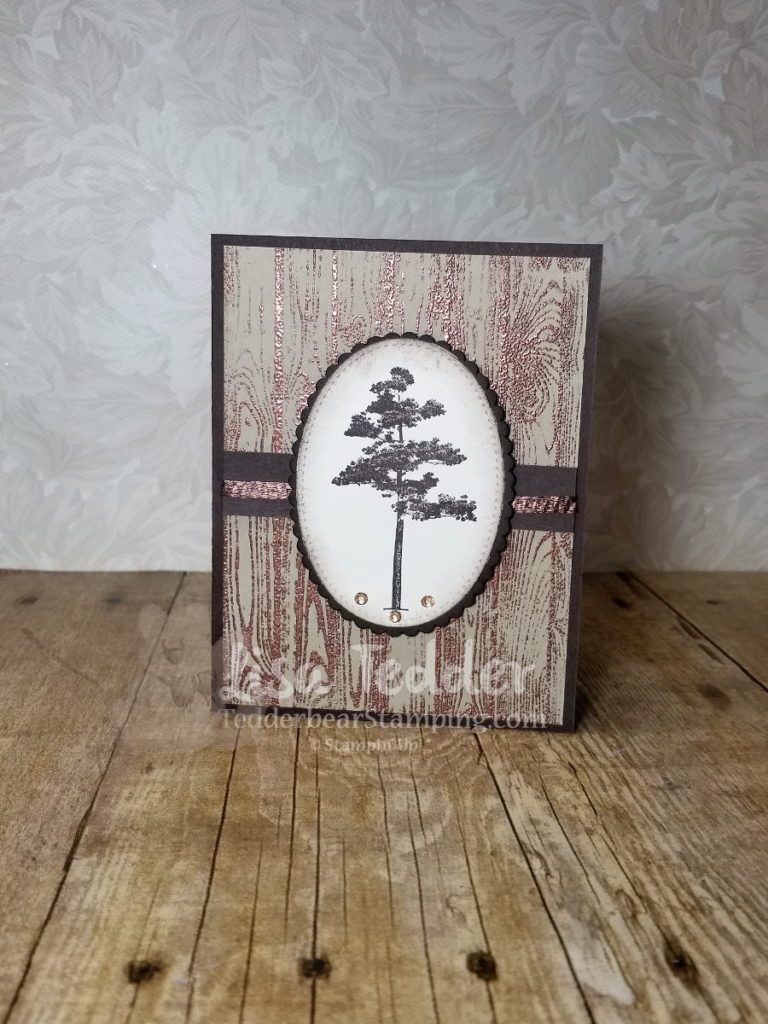
While at OnStage, an event that demonstrators attend to learn and get product early, I saw a card that made me make this card.  I don’t know about you, but if I get an idea in my head it is very hard to wait to try and make it!  I have a class that is at the Senior Center here in Kernersville that I bring elegant cards for the participants to make, this is one of the cards that we will be making soon.

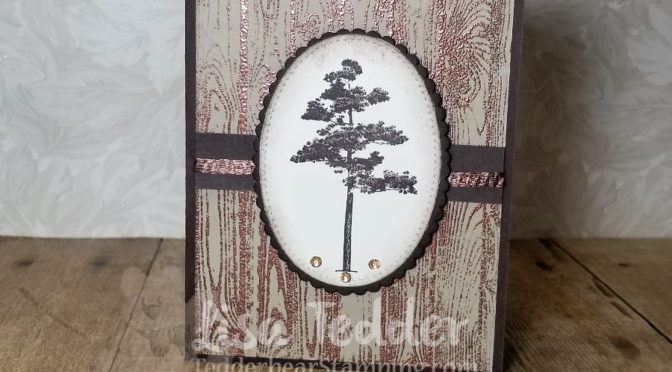
I used the background stamp set Hardwood from SU!  I stamped it with Versamark and then poured copper Embossing powder on it and heat set to make this dynamic background!  Very easy (and still fun to do even after 17 years…….I LOVE to watch the magic of embossing!) yet this is a Stunner!  The tree is from the NEW catalog from Stampin’ Up! called Rooted in Nature, that will be coming out in June 2018.

I got this set FOR FREE while at On Stage along with 4 other stamp sets!  If you want a job where you get freebies, get to play every day and meet FANTASTIC people, join my team and become a Demonstrator!

I  colored the Rhinestones using the Bronze Blends so it would all coordinate!  THAT is the reason I decided to join SU!, I don’t have to guess which colors coordinate!  Plus, I got the discount!  hahahaha

Thanks for stopping by, if you like what you see and want to buy from me, just click on any pic below and you will be taken to my OnLine Store!

Lisa Tedder
A California girl living in North Carolina
Product List

Cool Treats – Get yours before it’s gone!

Hey Guys!

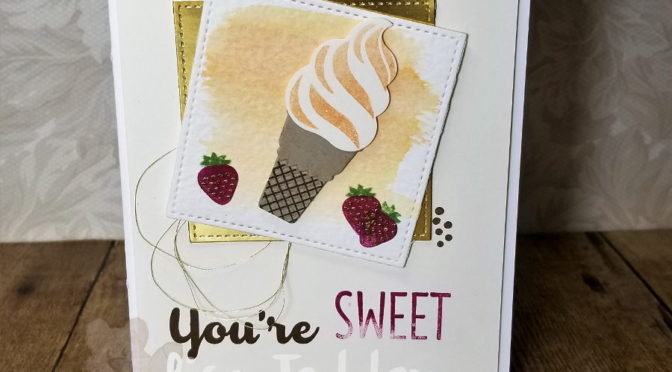
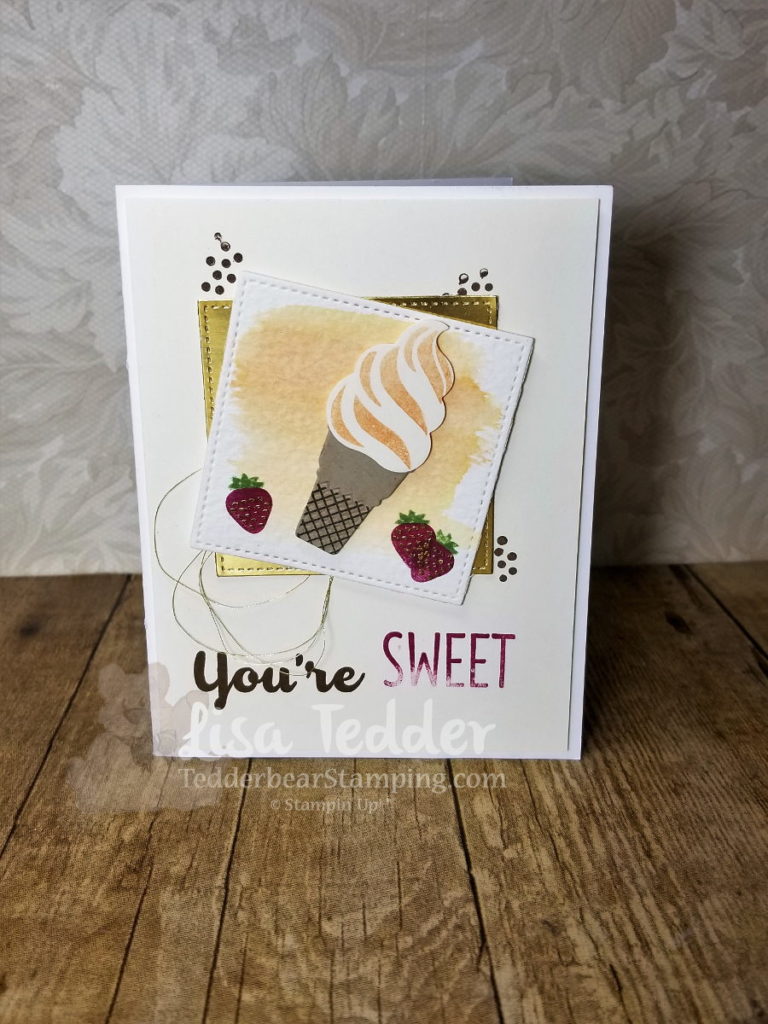
I was perusing Pinterest and saw this Beautiful card by Robin Feicht.  I loved it so much I CASE’d it just like it was!

Here is my card:

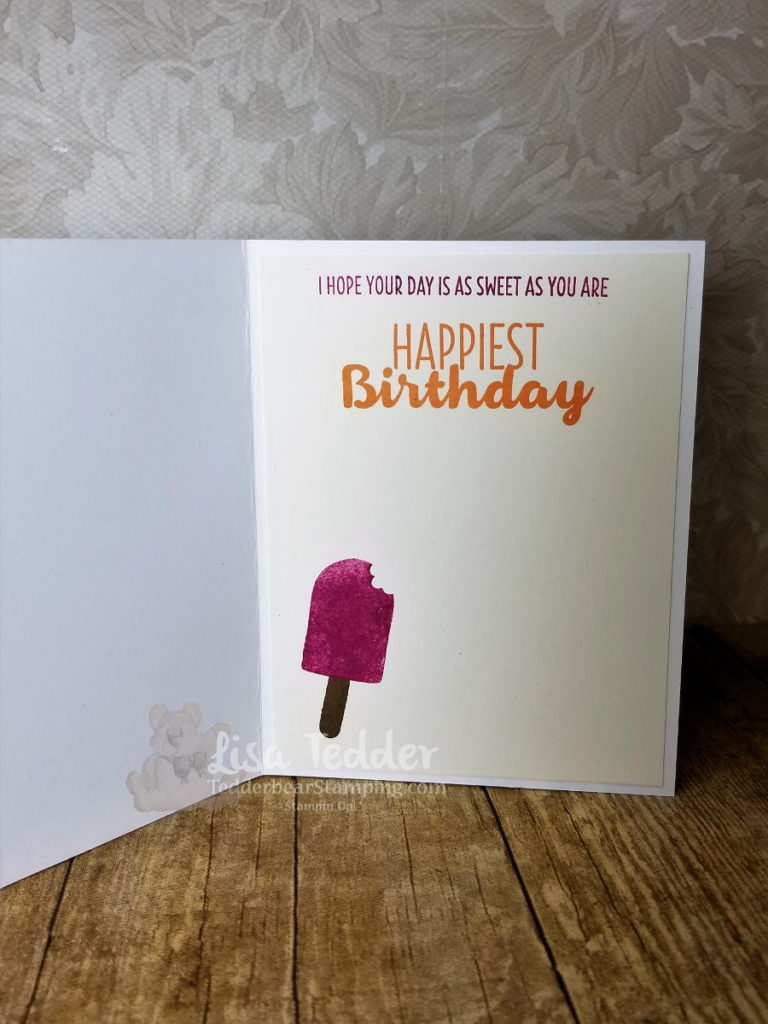
Here is the inside:

She didn’t show her inside, so this is what I came up with.  I LOVE this set and am sad to see it go.  If you want this set, be sure to check out my OnLine Store to get yours!  Just click on any of the pictures below to be taken there!

Dimensions:
Whisper White 8 1/2″ x 5 1/2″
Very Vanilla 5 1/4″ x 4″ (x2)
Watercolor paper 2 3/4″ sq then cut out with biggest Square (stitched shapes)
Gold Foil same as watercolor paper

I hope you enjoyed my card, if you are in the neighborhood of Kernersville NC, come attend a class!

Lisa Tedder
A California girl living in NC
Product List


FUN Swap card using Magical Day

Hey Guys!

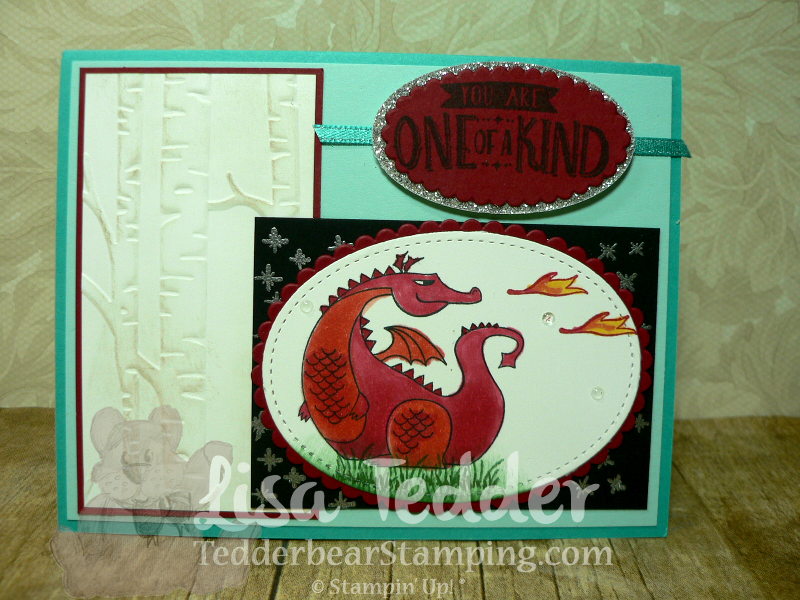
I am sharing with you a card that I made for a swap that I signed up for where I made 20 of these cards (below) and received 20 different swaps back!

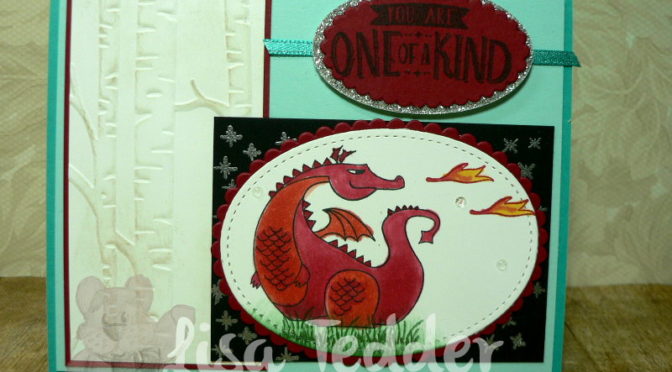
Here is my card:

I think I love this stamp set so much because it reminds me of Disney and being a kid.  Below I will have all the supplies listed to make this card, just click on any of the pictures to be taken to my OnLine Store.

I also used the Stamp set In the Trees by Stampin’ Up! for the grass under the dragon.  I stamped the ‘Magic stars’ in Versamark on the Black and then embossed it with Silver Embossing powder.  I thought it added just that right sense of MAGIC!!

The dimensions for this card are as follows:

Bermuda Bay Base: 8 1/2″ x 5 1/2″
Soft Sky: 5 1/4″ x 4″
Cherry Cobbler: 2 1/8″ x 3 7/8″, scrap for scalloped Ovals
Whisper White: 2″ 3 3/4″, scrap for Stitched Shape Oval
Basic Black 2 1/2″ x 3 1/2″
Silver Glimmer Paper: scrap for Oval

I hope this helps you if you want to recreate this card!  I had a lot of fun making it!

Lisa Tedder
A California Girl living in North Carolina
Product List


Card #4 – Christmas Cards

Hey Guys!

Can you believe that I have already shared 3 other Christmas cards with you!?  Check out #3 here.

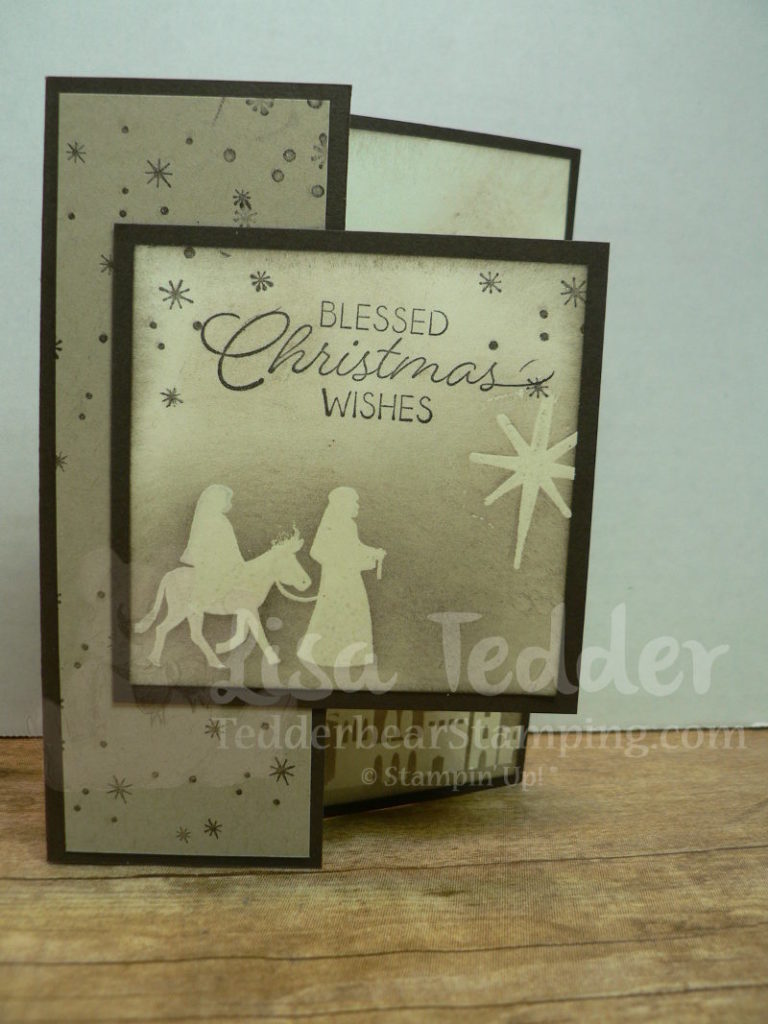
Here is #4!:

I got this idea from Sandi MacIver, you can see her YouTube video here!

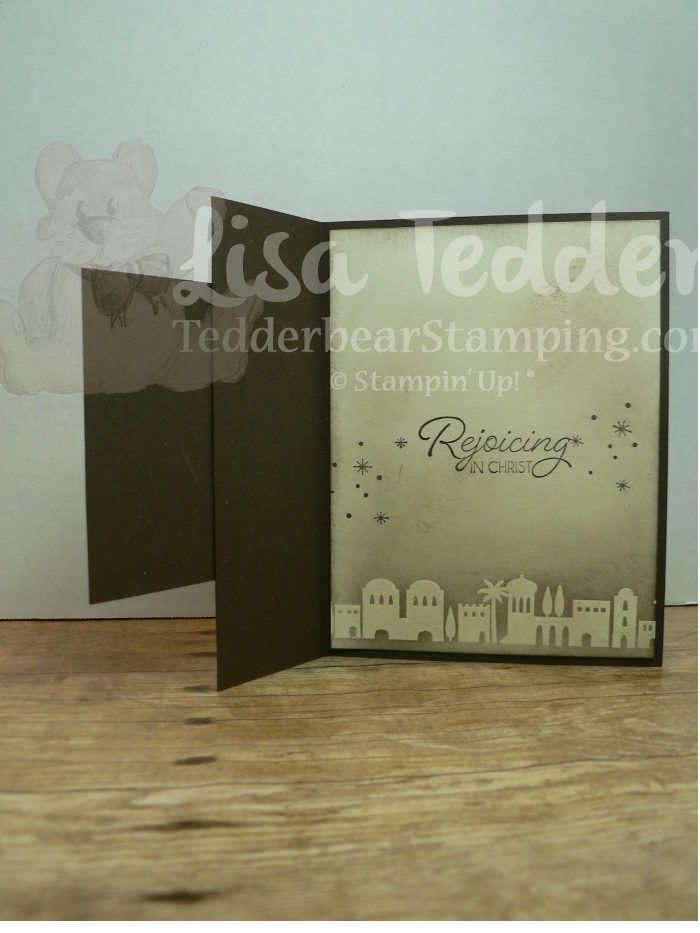
Here is what it looks like on the inside!:

Beautiful card!  Thank you Sandi for the great idea!

If you are interested in my 7 page tutorial for all 6 of my Christmas Cards (get instructions, dimensions and color photos) you can get it just by purchasing $50 from my OnLine StorePlease use hostess code CGCDT6ZJ
All supplies are listed below, just click on any picture to be taken to my Store!
Gotta Run!

Lisa Tedder
A California Girl living in North Carolina
Product List