

Hey Guys!
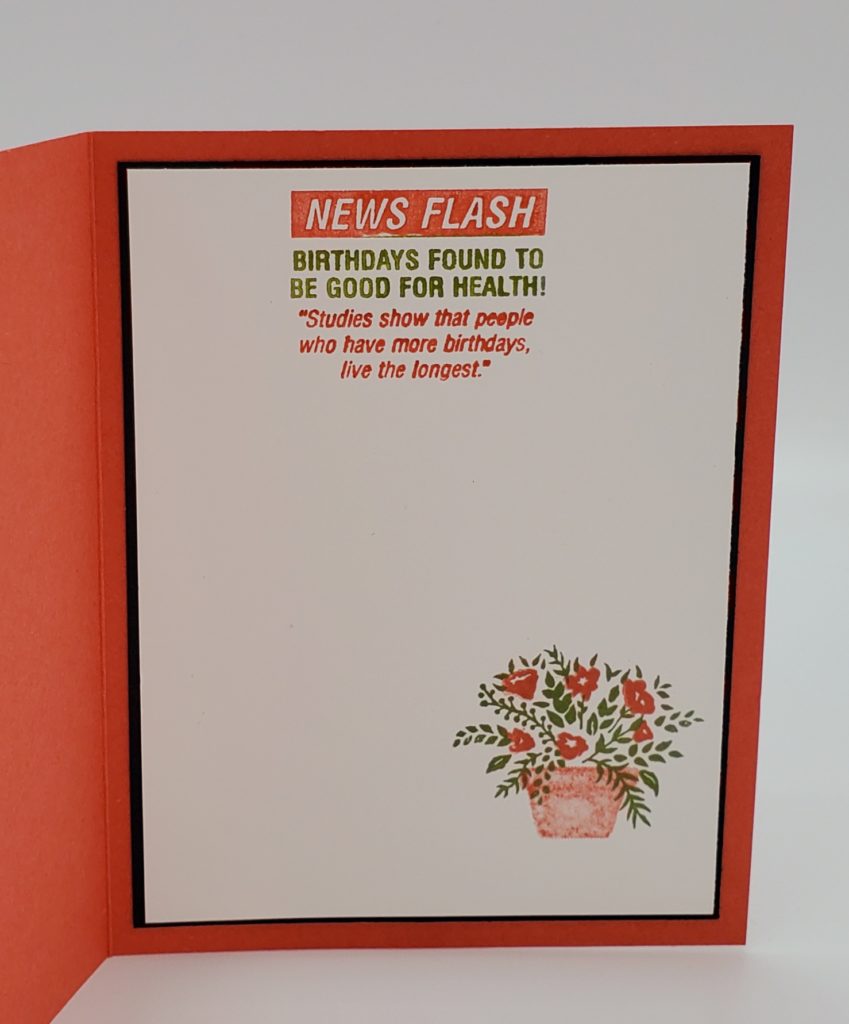
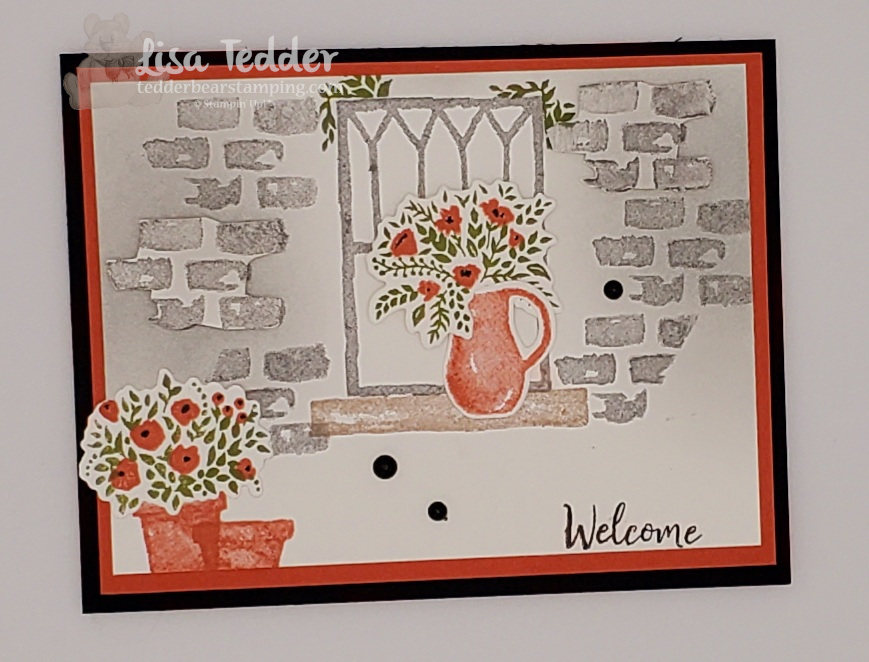
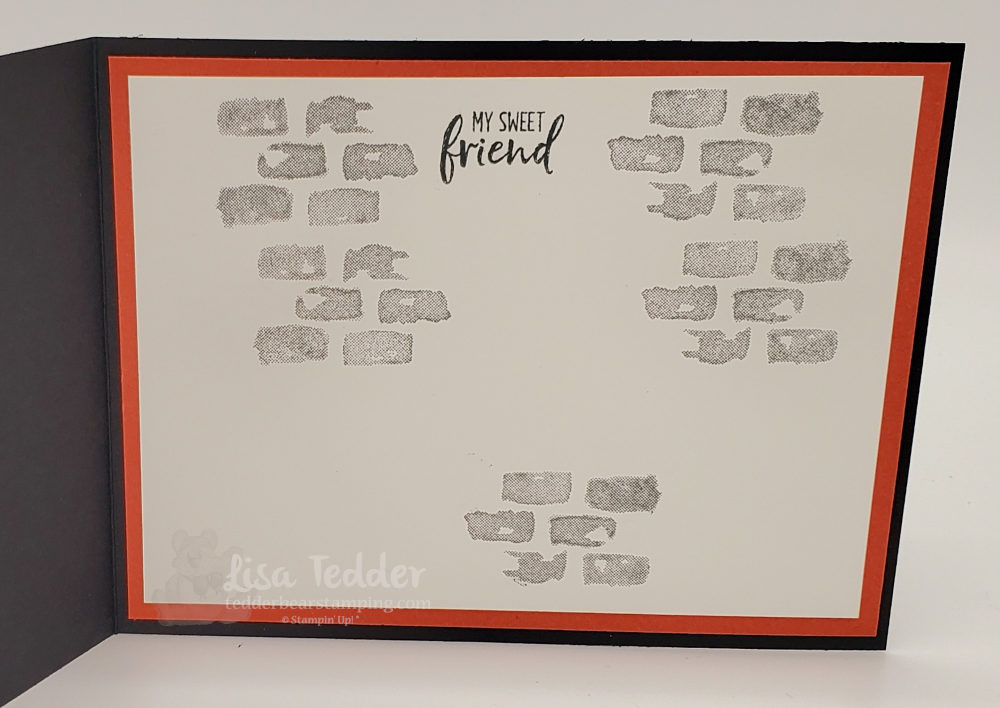
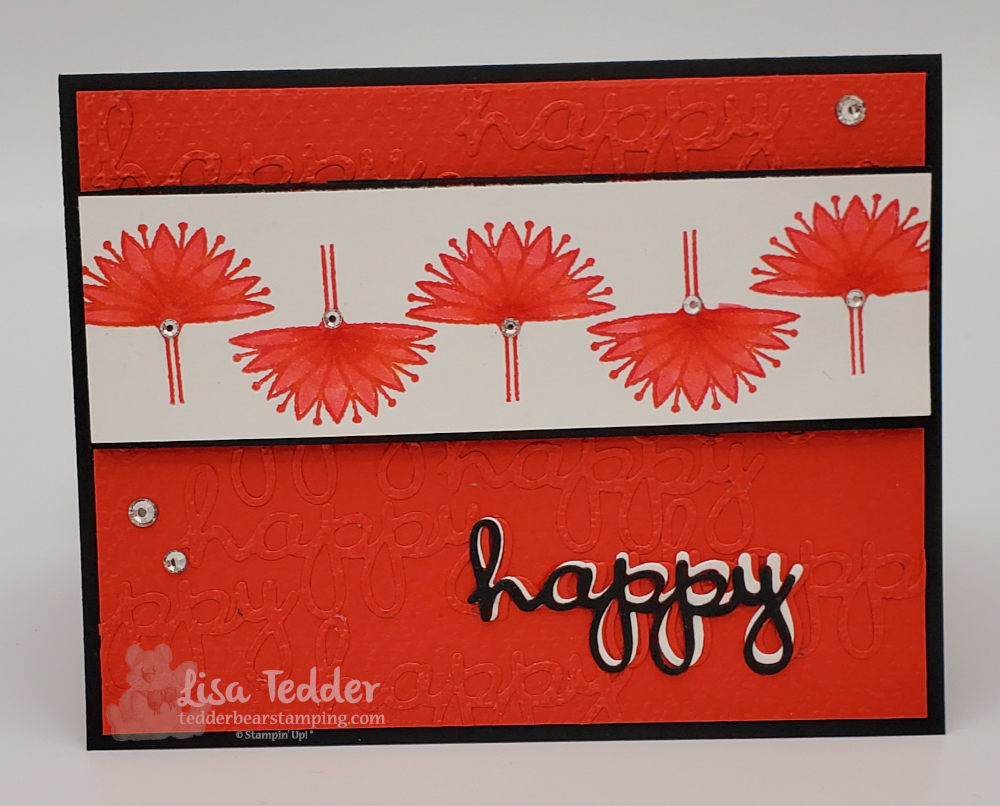
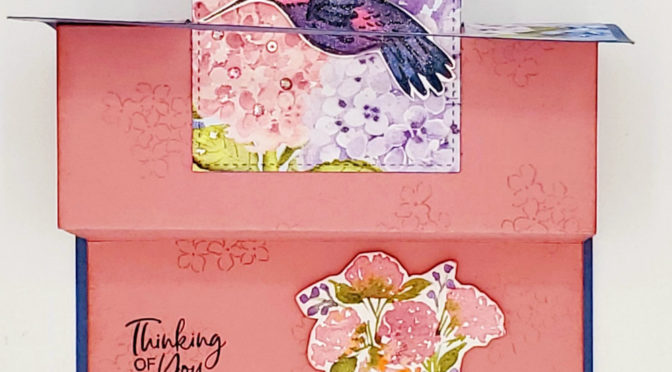
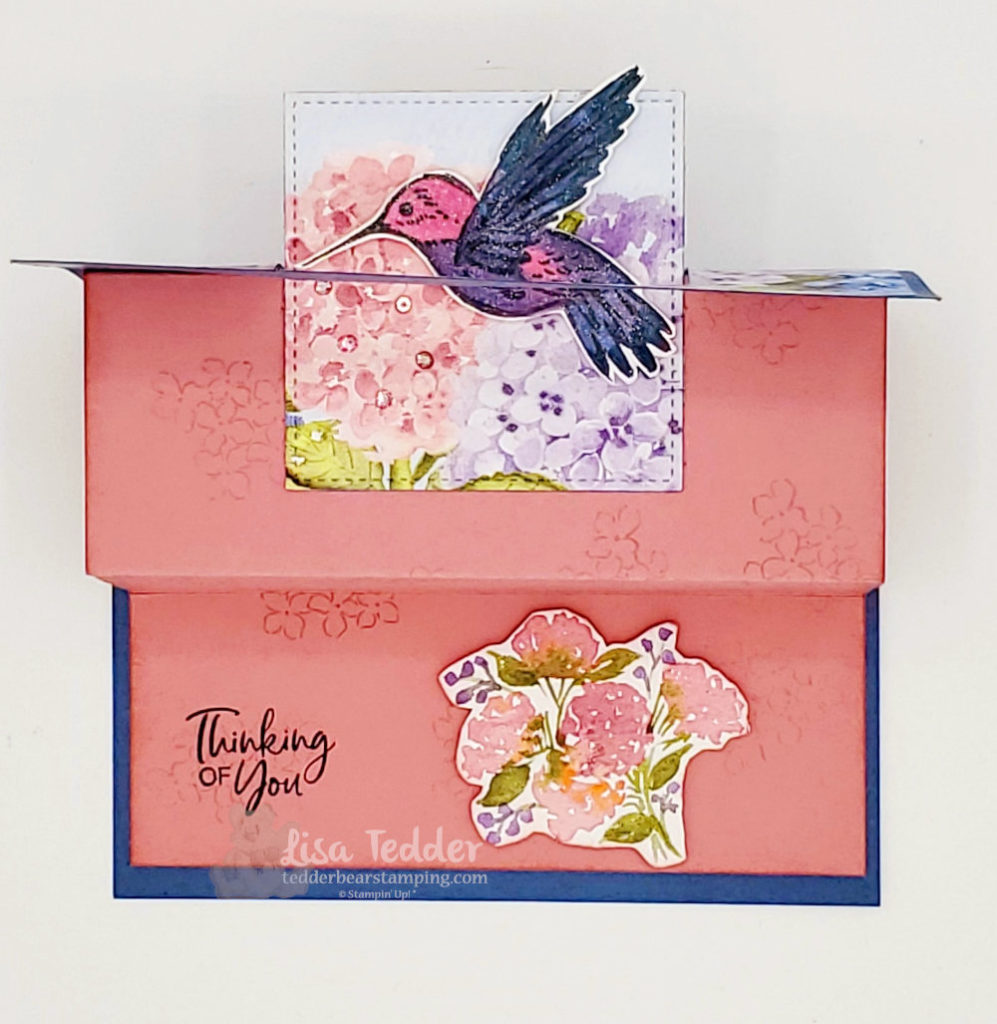
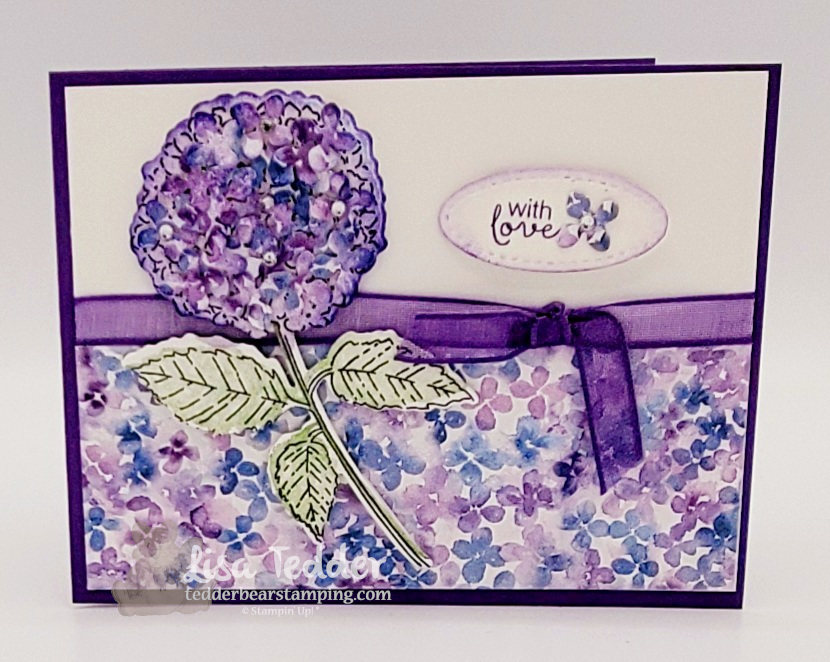
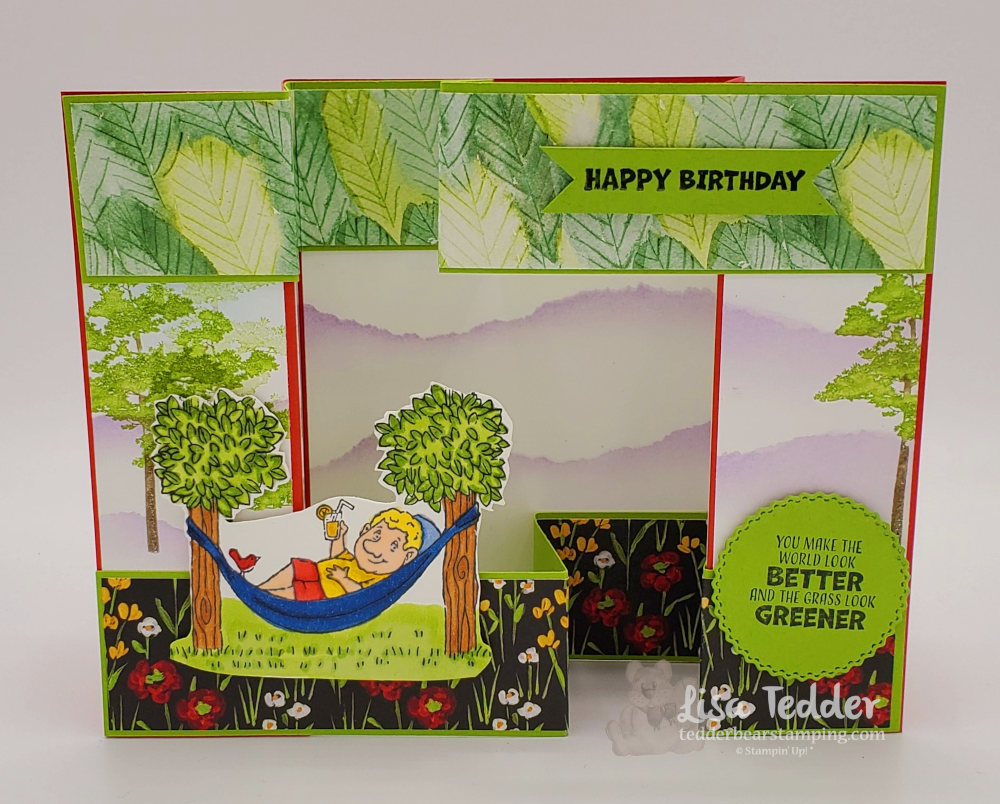
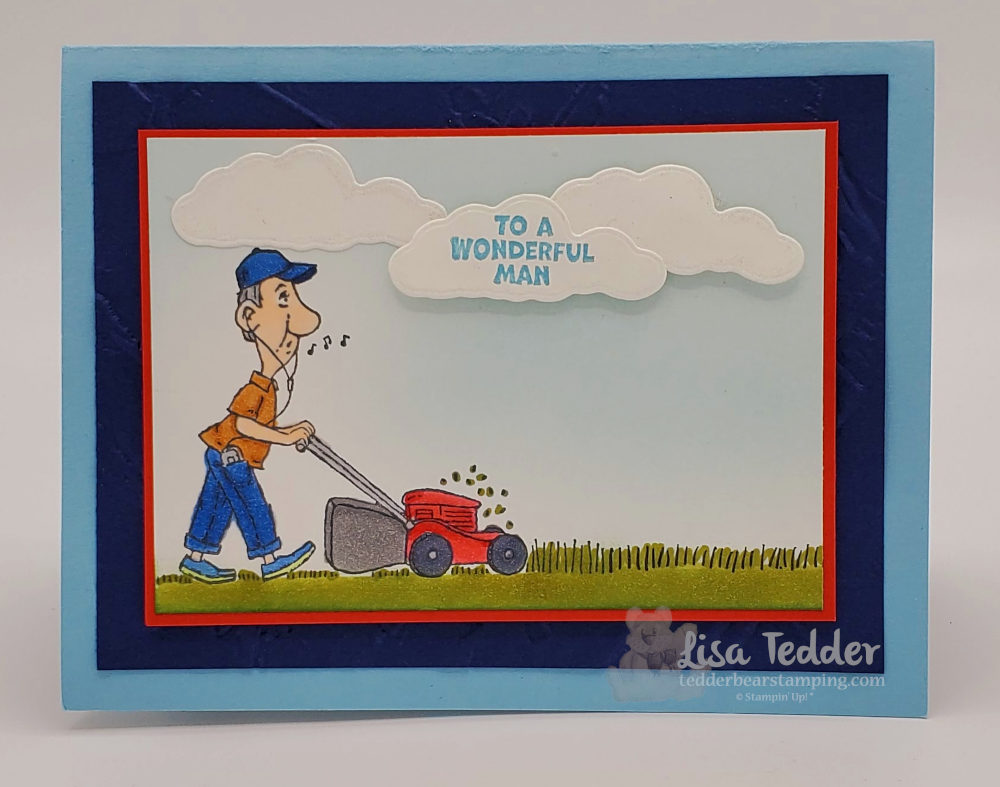
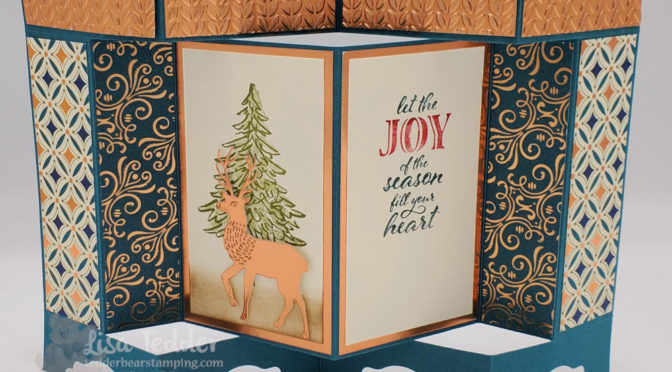
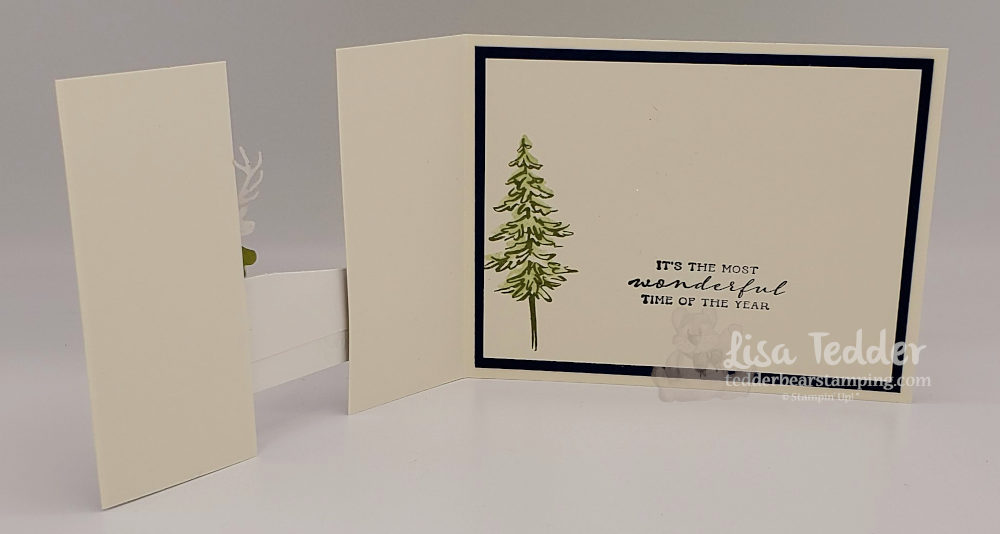
For today’s post I am sharing with you a mini class that I am doing on YouTube that has two techniques! One of the techniques I’m doing for the first time! I really hope you joined me on my Live, but if not you can always catch it here.

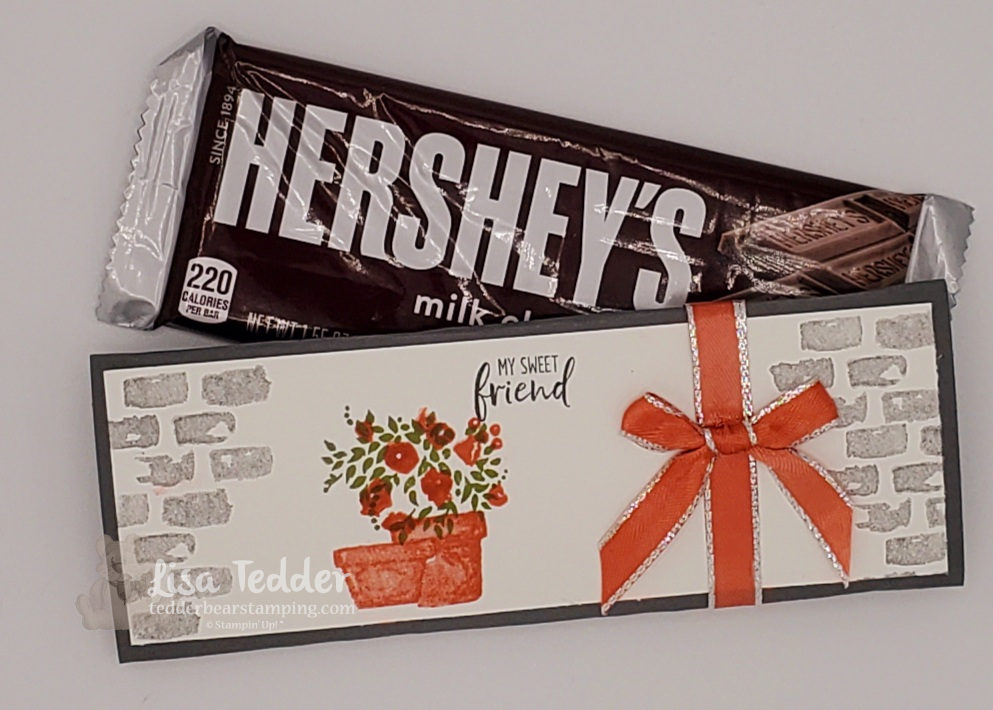
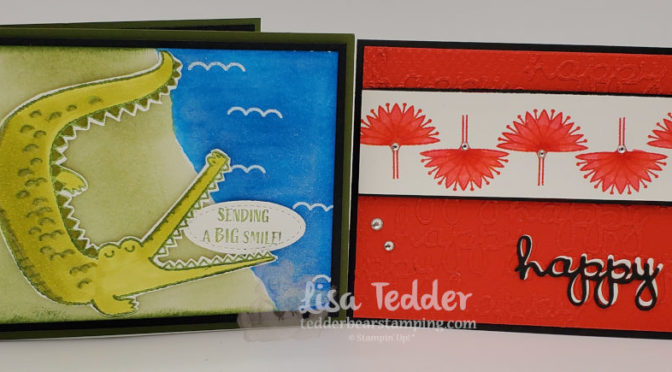
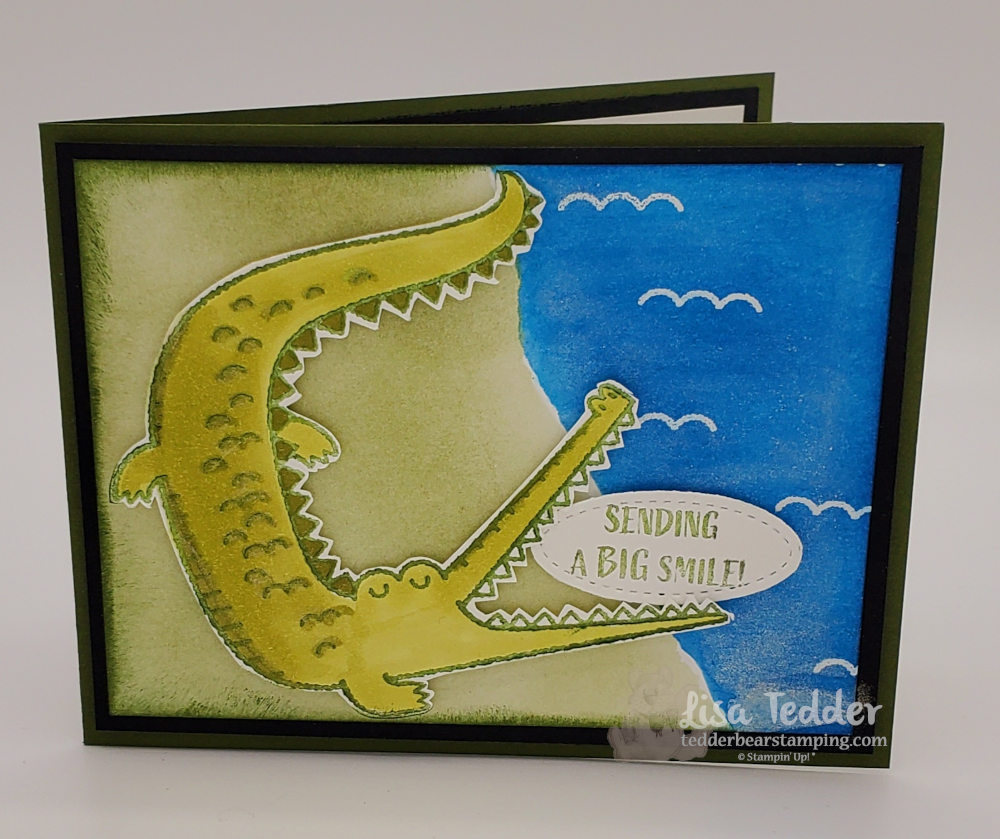
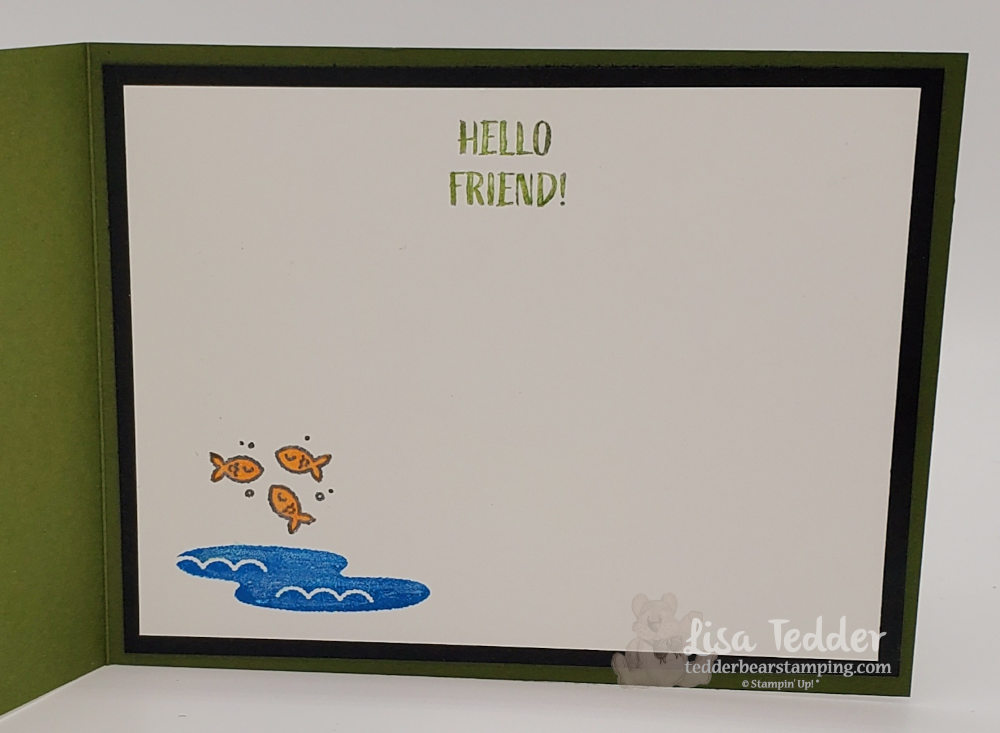
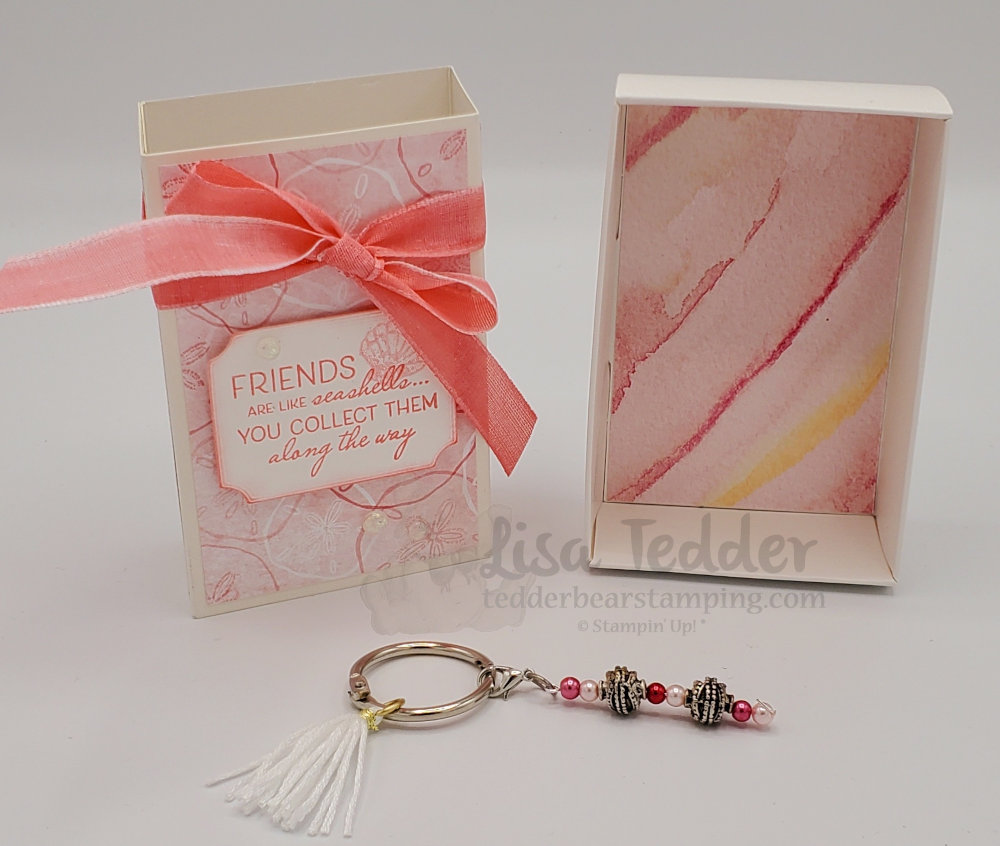
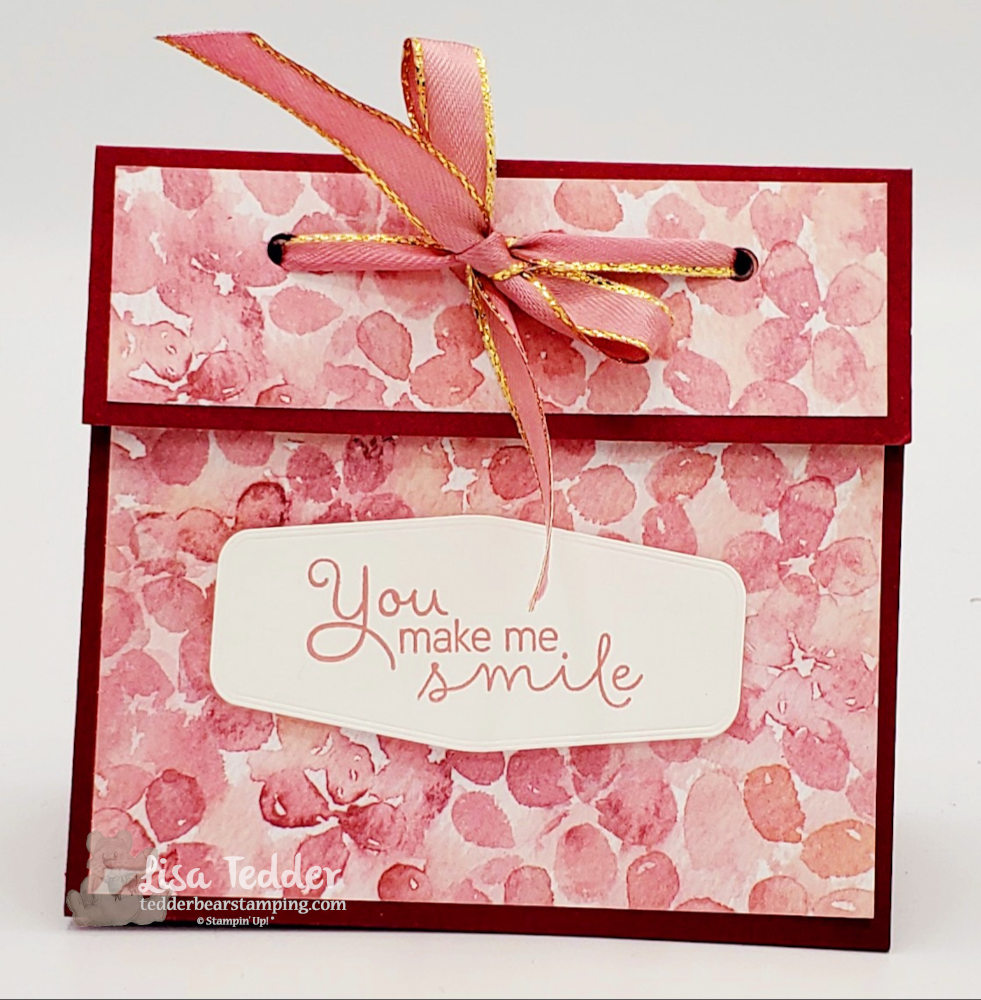
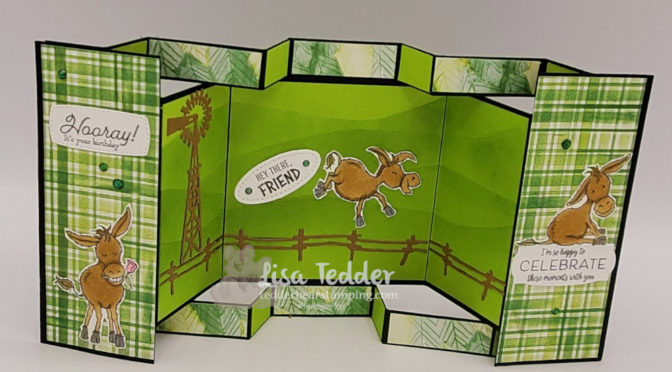
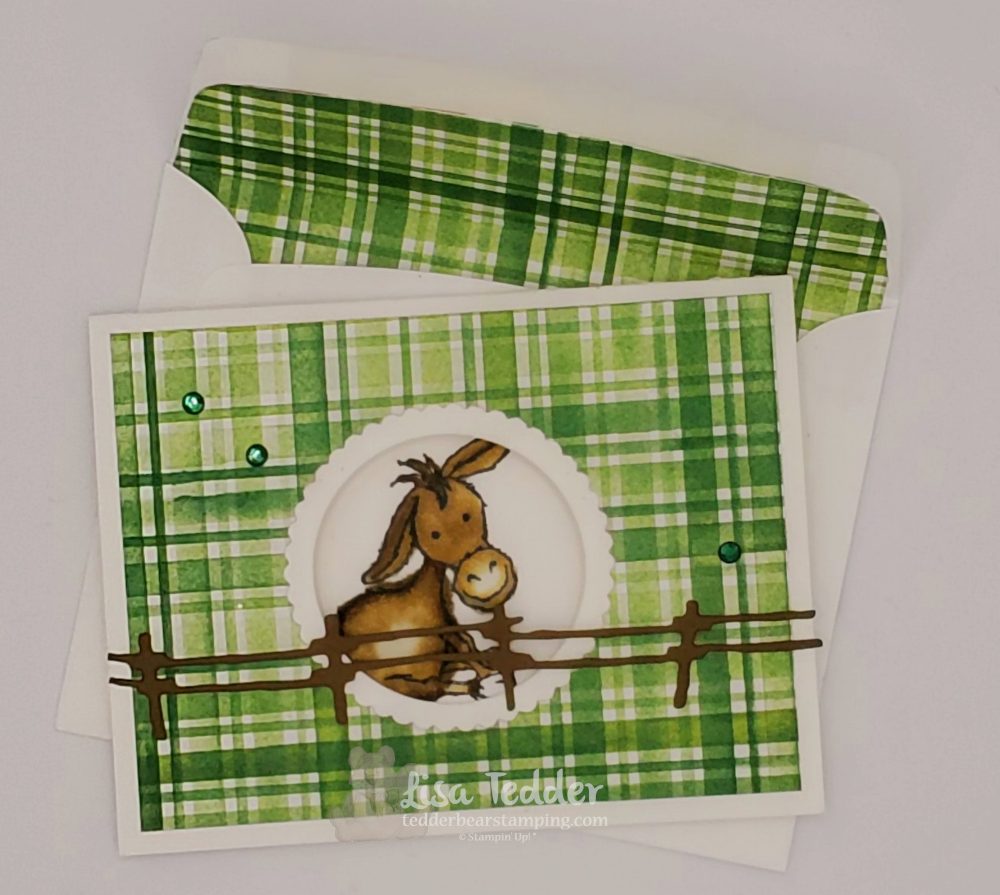
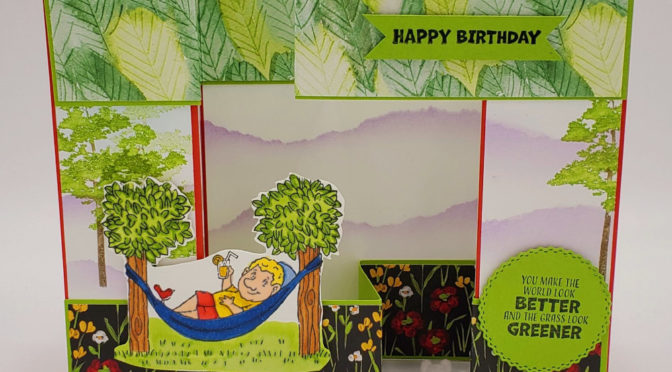
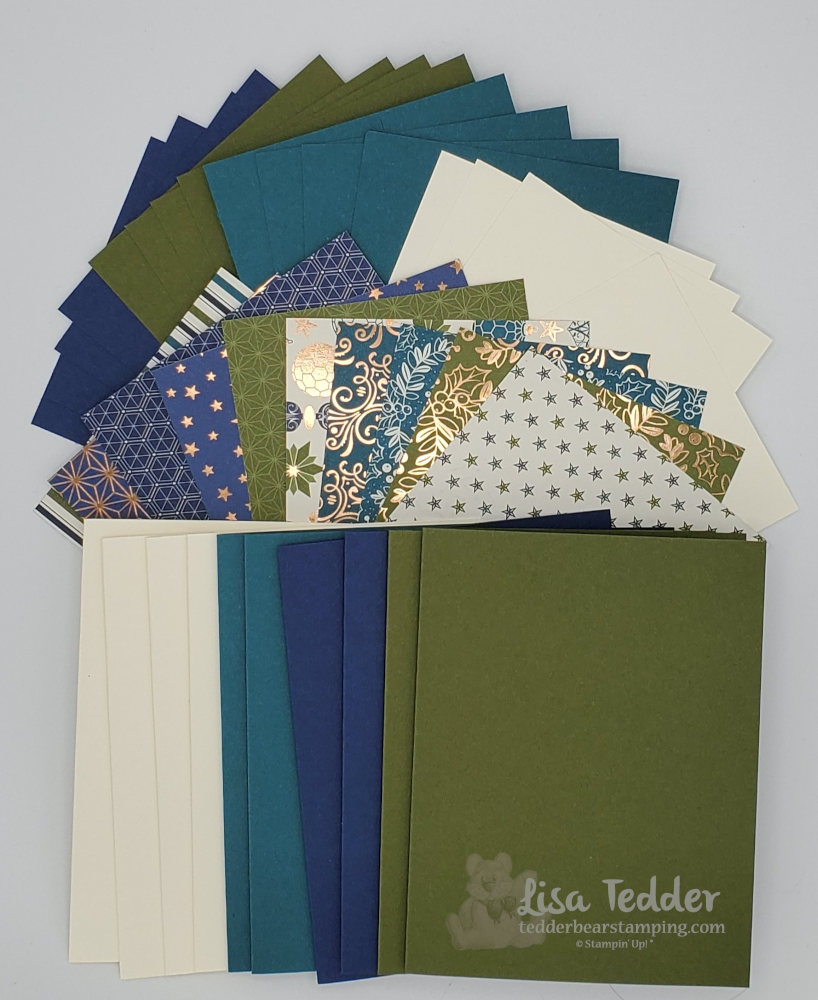
As always, here are the supplies for both of these cards:
- Stamps:
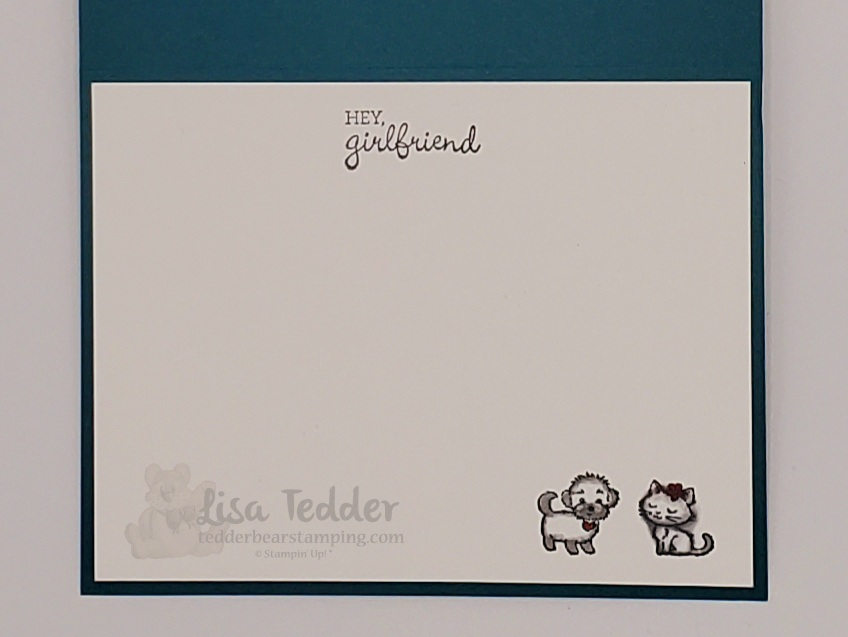
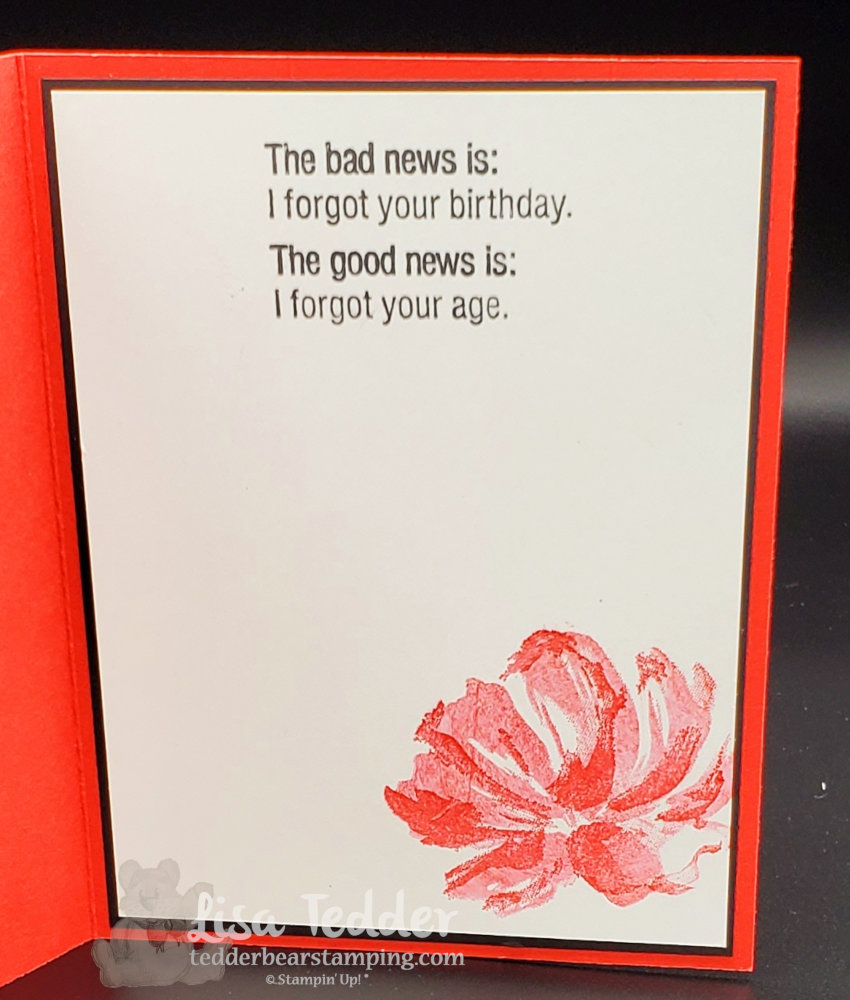
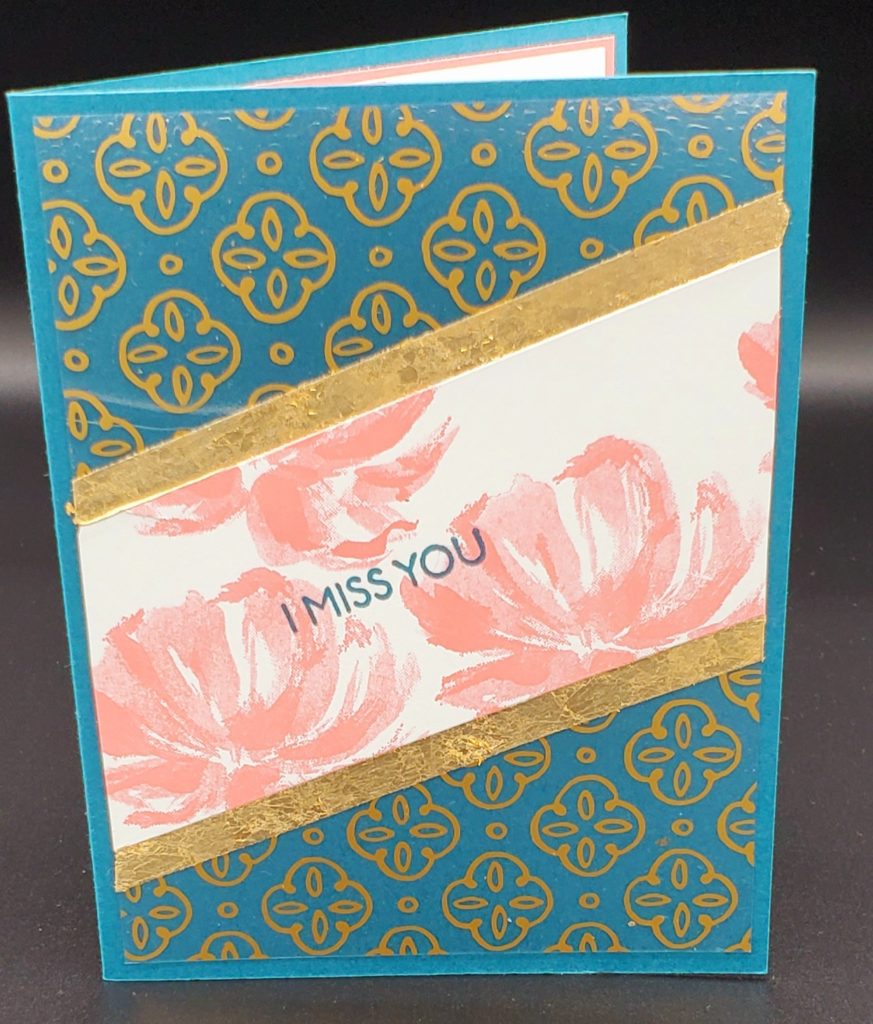
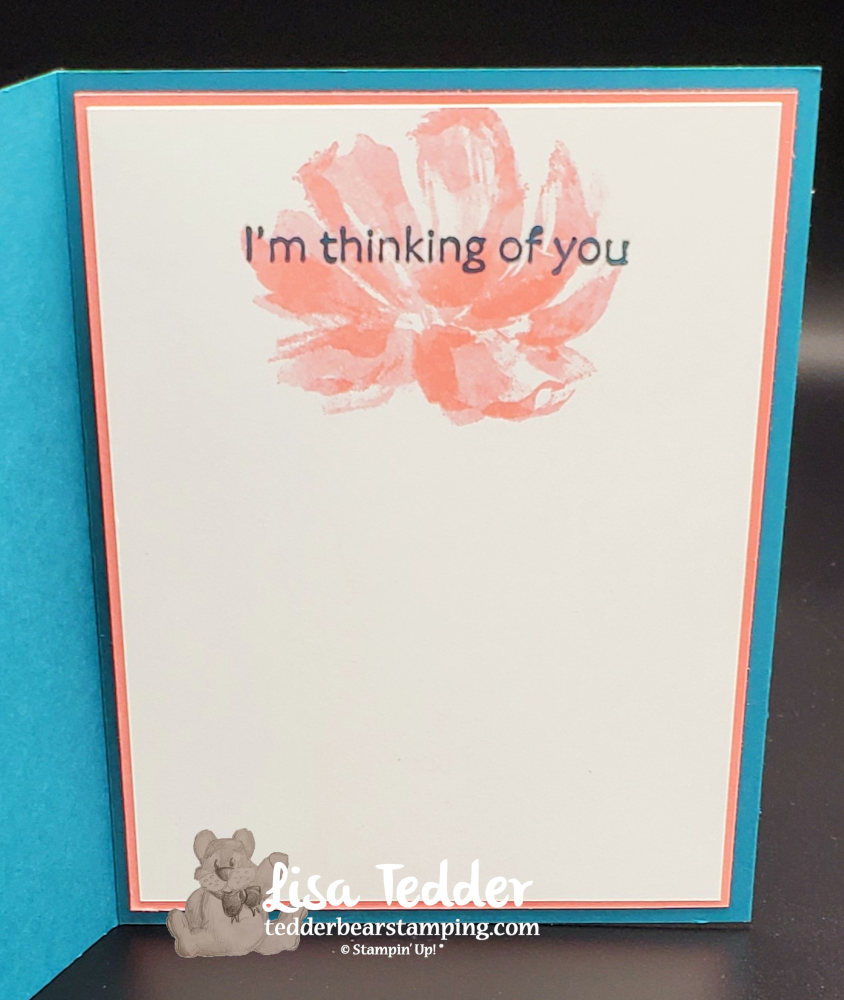
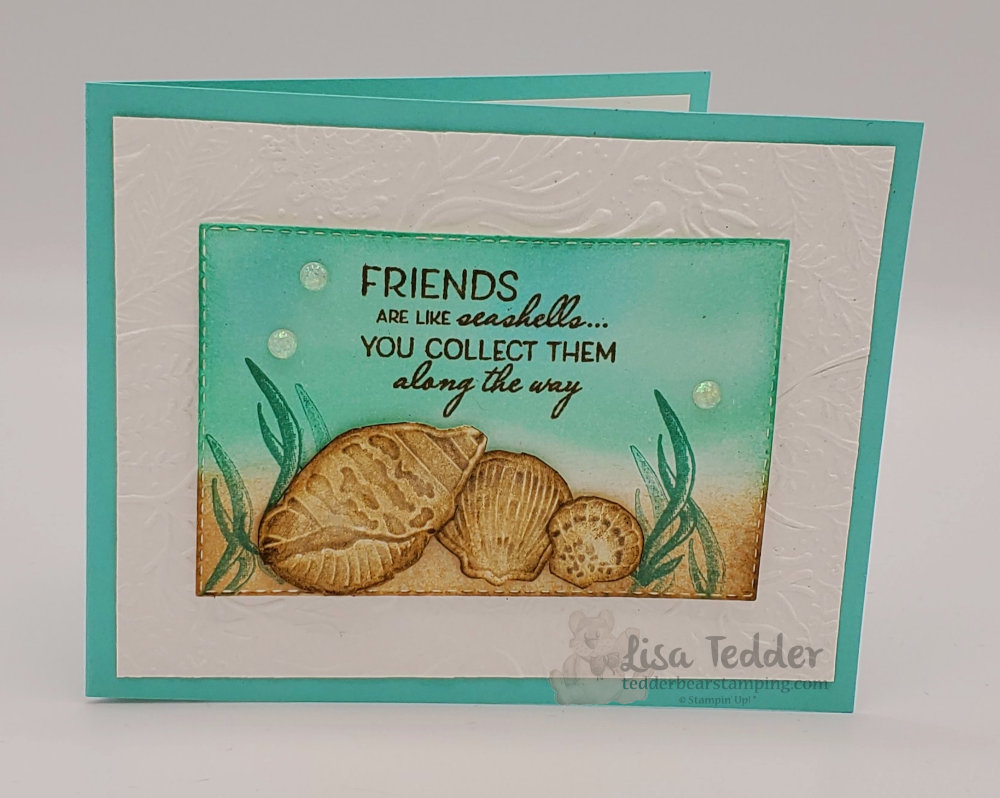
- Hey, Girlfriend
- Inks:
- Memento Black
- Blends:
- Real Red
- Basic Black
- Mango Melody
- Cinnamon Cider
- Ivory
- Petal Pink
- Soft Suede
- Granny Apple Green
- Smoky Slate
- Paper:
- Pretty Peacock 8 1/2″ x 11″ card 2
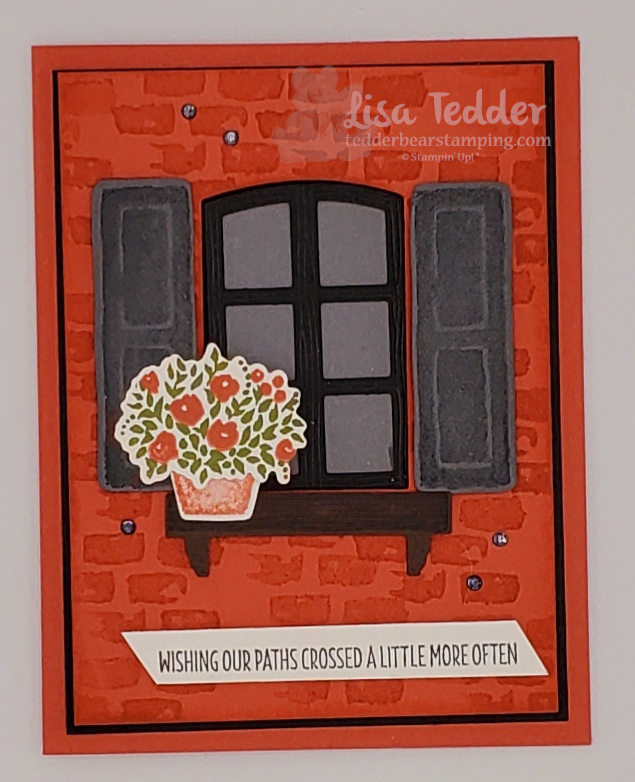
- Fine Art Floral Designer Series Paper 5 1/4″ x 4″ card 2
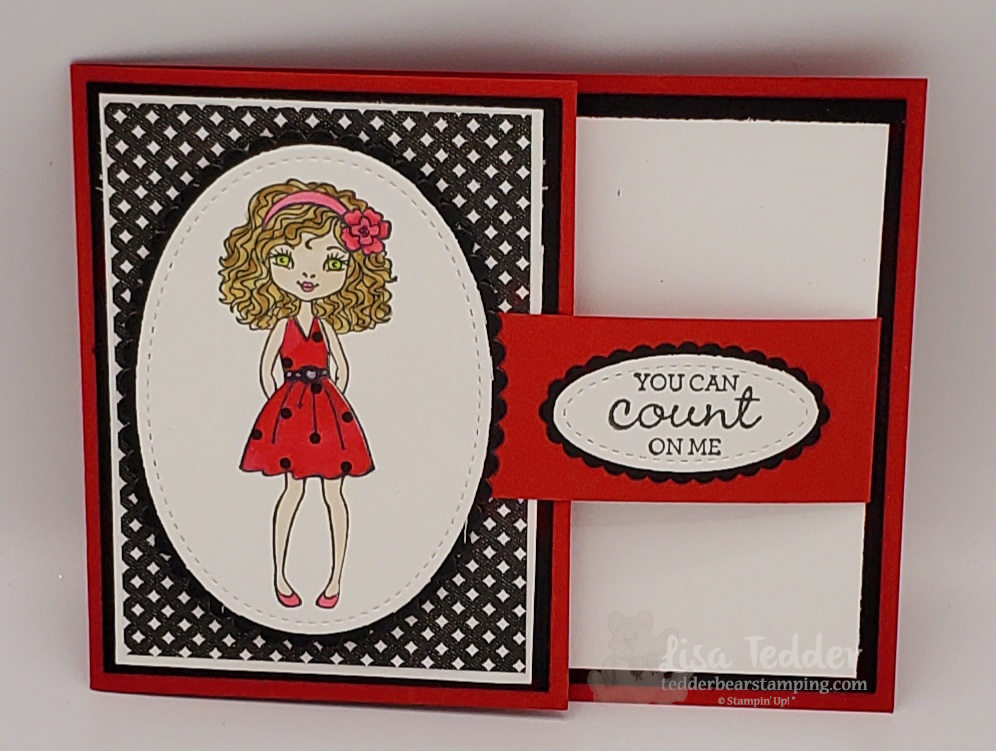
- True Love Designer Series Paper 3 3/4″ x 2 3/4″, scrap for dress. card 1
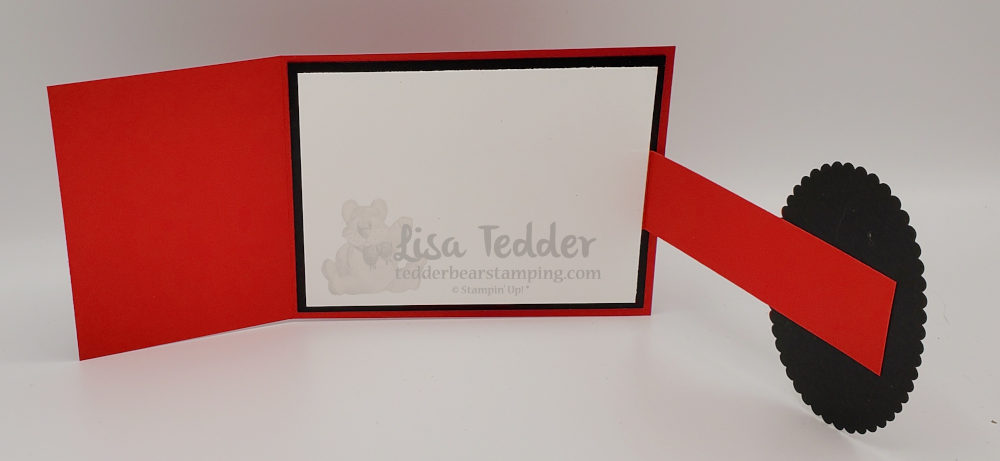
- Real Red 8 3/4″ x 4 1/4″ scored @ 3 1/4″, 5″ x 1 1/4″ scored @ 1/2″. card 1
- Basic Black 5 1/4″ x 4″, 4″ x 3″, 3 3/4″ x 2 3/4″ (for scalloped piece behind girl), 2 1/4″ x 1 1/4″ (for scalloped piece behind sentiment) card 1
- Basic White 5″ x 3 3/4″, 3 7/8″ x 2 7/8″ (front flap card 1), 3 1/2″ x 2 1/2″ (for stitched shape of girl) , 2″ x 1″ for sentiment, 5 1/4″ x 4″ for card 2, scraps for circles for card 2
- Misc:
- Layering Ovals dies
- Stitched shapes dies
- Foam Adhesive Strips
- Woven Threads Sequin Assortment
- White Chalk Marker
- Magnet
- Stampin’ Cut & Emboss Machine
- Stampin’ Seal +
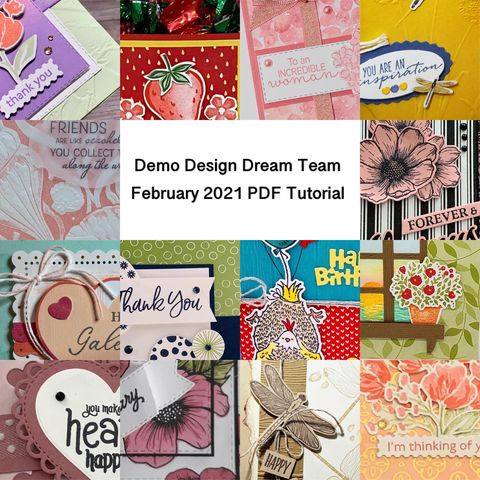
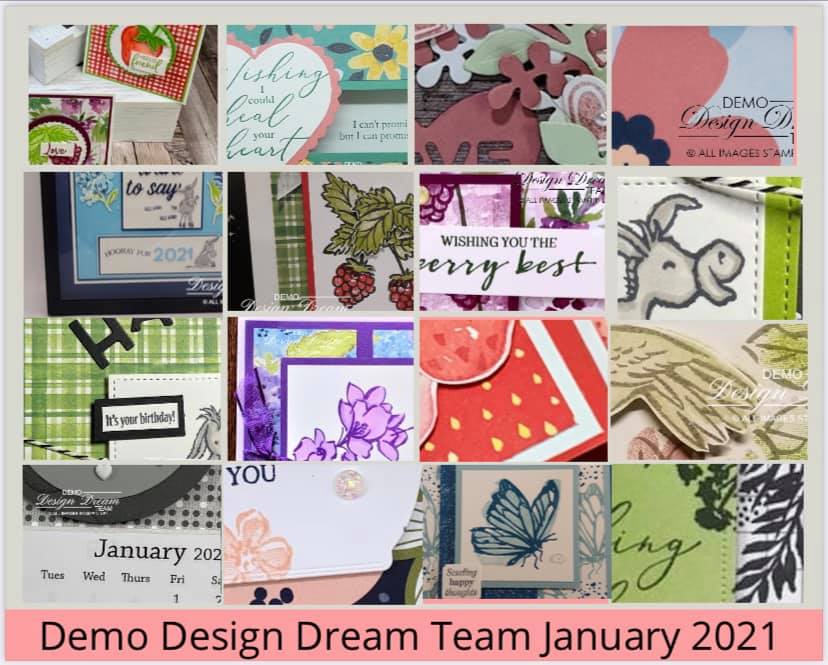
As a rule, I have the same supplies listed in picture form below, click on any of them to be taken to my OnLine Store! Likewise, for every $35 purchase you will receive from me the class packet from this class (excluding stamps/inks) and a PDF of 16 projects with step by step instructions. Sneak Peek:

Subsequently, I hope you enjoyed my Two Techniques in one Mini Class, if you missed my class from last week, you can go here. Likewise, if you missed my last blog post about that video you can see it here. That class was one of my very favorites, I hope you like it as much as I do!
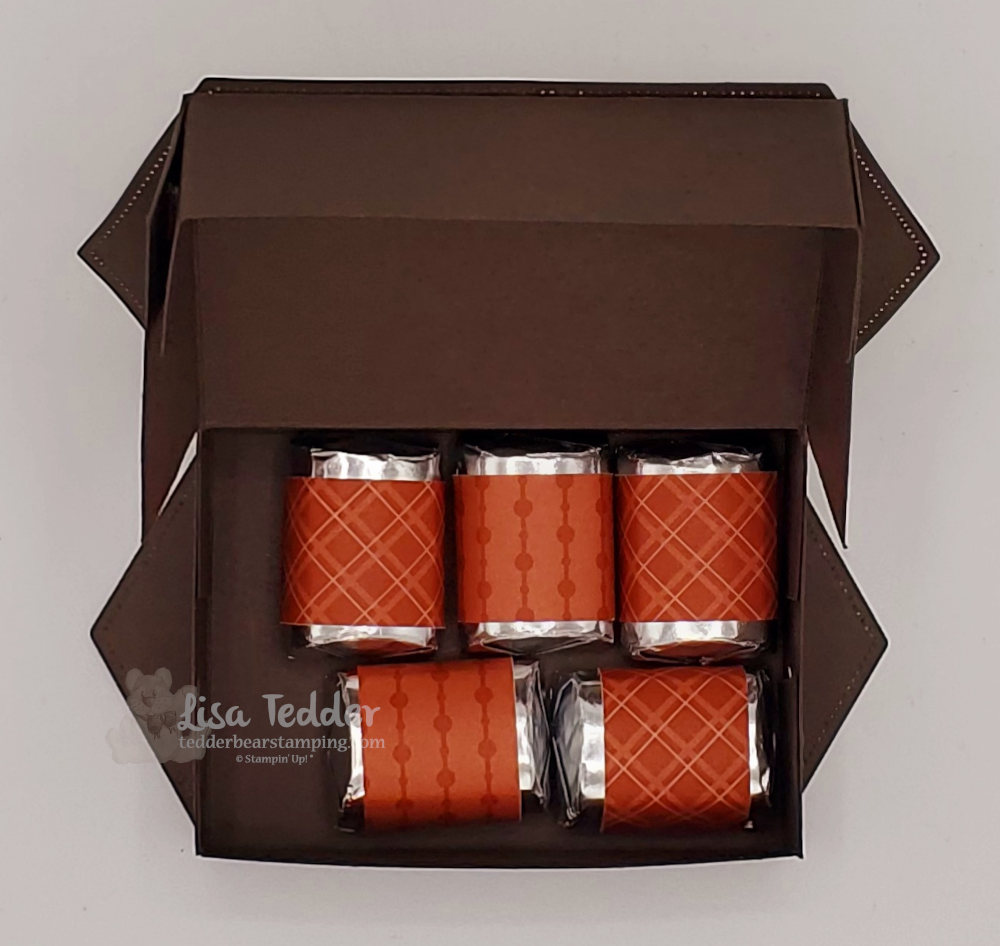
Again, I want to share with you my Stampin’ Bestie Club! You can find all the info about it here, and you can join at any time! Though, you DID miss our inaugural class you can always be there next time! For those who join, Hetty, Carol and I would love to let you in on one of our favorite traditions: getting a charm for a bracelet every time we get together! We supply the bracelet too! Hence you will LOVE being apart of our club, we will have so much fun and each month you will receive between $19 – $22 of fun product!
In Conclusion, thank you so much for joining me today! I appreciate you supporting my small business and hope to see you on one of my Live videos so I can say hi!
Lisa Tedder
A former California girl living in North Carolina
Product List


 Designer Series Paper")


")


 Braided Linen Trim")


")


 Gorgeous Grape Sheer Ribbon")


")


